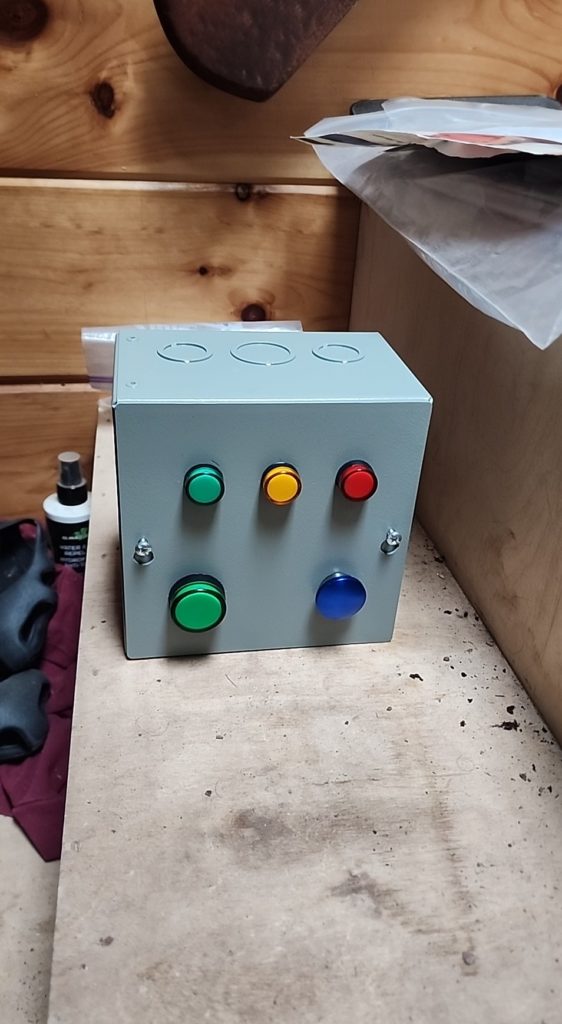
As spring approaches, it’s time to repair the damaged fence around the bee yard (which failed to attract wild bees but did evidently attract a wild bear). Actually, the whole skimpy step-in fiberglass poles and tie-outs concept was deficient — but it was the best I could do since it is so very difficult to dig in this clay-rich, profuse-with-rocks soil. Digging holes for proper fence posts was going to be just too much hard labor.
But now I have Bob. And Bob is strong and tireless (well, he has four tires, but you know what I mean). And Bob will happily dig post holes for me if I get him the proper attachment. You know, one like this:
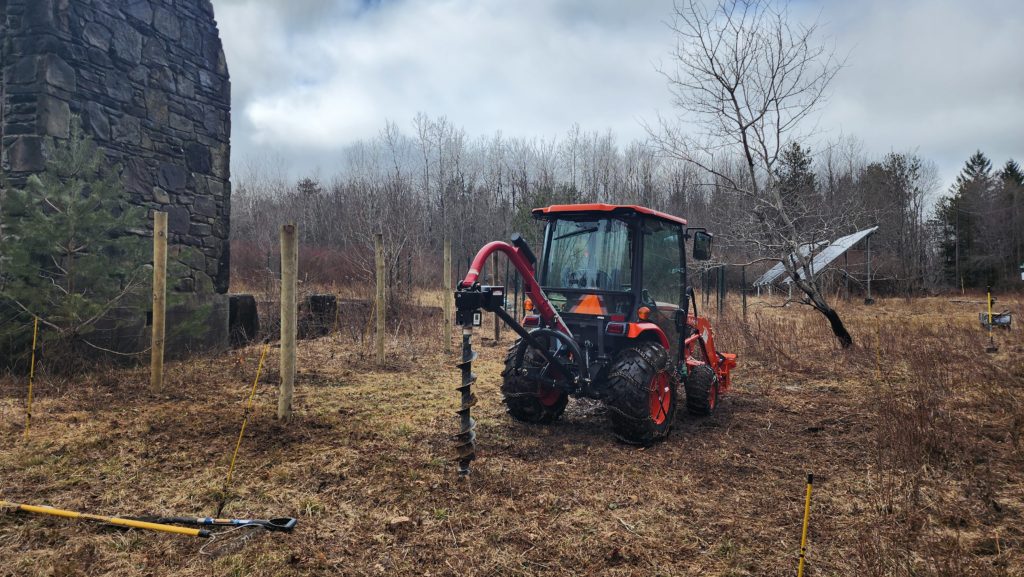
Yonder auger rig worked great, but that location was especially soggy — soil draingage here is also terrible — and as soon as I dug the holes, they filled with water. And I routinely hit either a rock shelf or just got amazingly unlucky and for nearly all the holes here, I couldn’t get more than about 2ft down. To really set these poles securely, 3ft is the appropriate depth. They didn’t seem particularly stable at 2ft. Now, as shown here, the poles are at factory length, not yet trimmed to the 36-48″ above ground that I intend to use for the fence, but still – soggy soil and shallow holes didn’t seem like a winning combination for a sturdy fence. After completing the holes and setting posts in all of them, I let it sit for a few days to see how it would be after the land settled a bit. And maybe dried out some?
Answer: terrible.
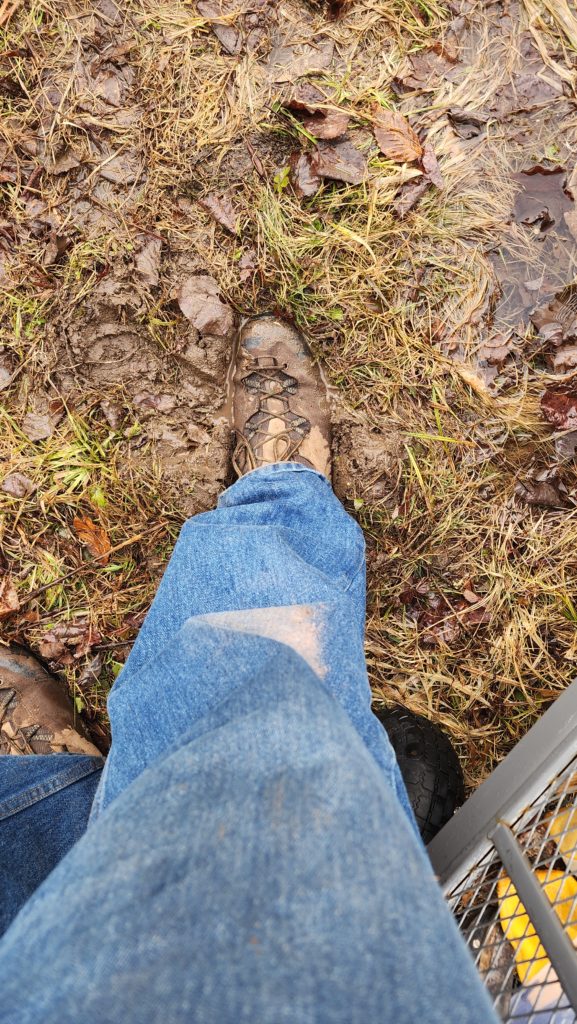
Just to drive home the point… observe my boot sunk down to the laces… and how many holes I had to dig to find one that was even kinda maybe a little bit deep enough at this general location! Click for closeup.
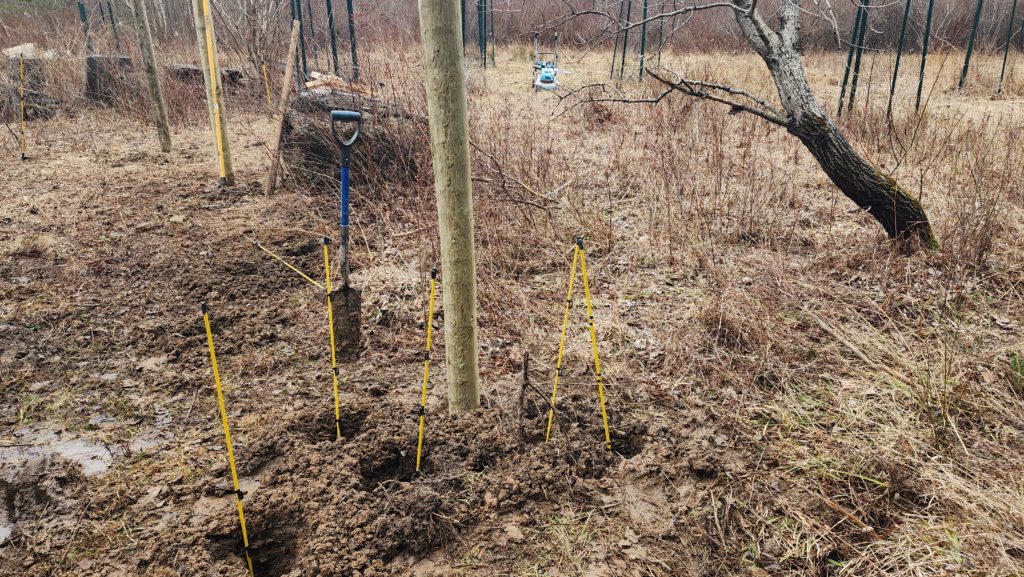
Okay. Much as I didn’t like the idea of undoing and re-doing all this work, and much as I liked this exact location for the bee yard, it was just untenable. There was one other location that seemed like it might be better… and indeed, was pretty much the only other place on the property I’d want to put the bee yard for reasons of sufficient proximity to get power to the e-fence and not so far that it’s a journey to go check up on the bees, etc. Alrighty then, time to pull up all the poles, dig some new holes, and try again.
The old poles were easy to remove. All I had to do was push them over and lift. I told you they weren’t secure. Schlepping them 150ft over uneven forest terrain wans’t my favorite, but I got it done.
Doing this work made a new mud pit (dark patch in the middle), though.
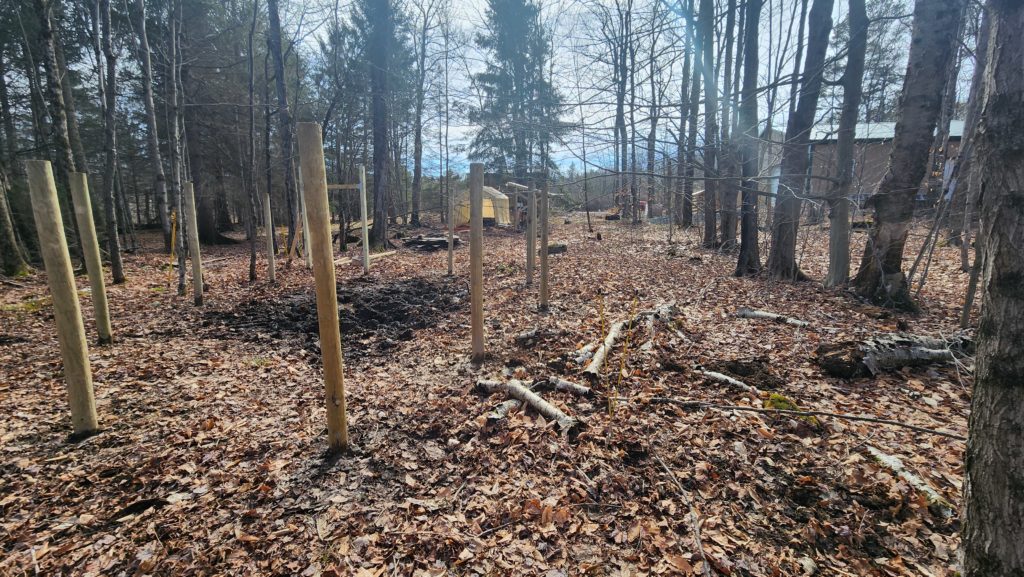
See that dark patch in the middle? When I say “mud pit” I’m not kidding.
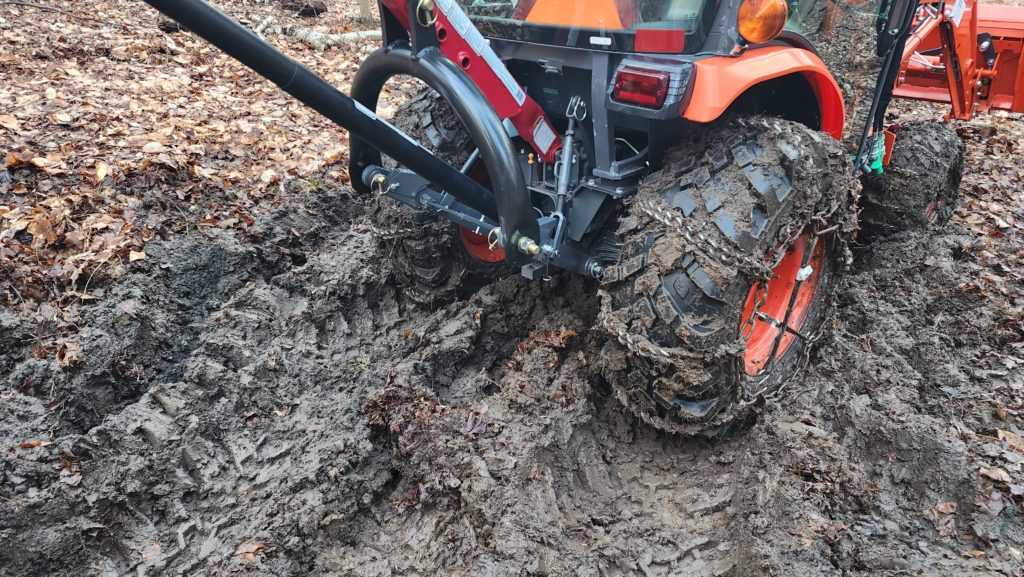
These ruts were nearly 12″ deep! The snow chains did nothing to help with the mud – they’re just still on the wheels because it wasn’t quite past the end of snow season when I was doing this.
I wasn’t able to get much deeper holes here than there, but since this is all I got, it’s all I got! I mean, I can think of a way to secure the poles better, but it involves complete excavation of the area, setting concrete footings, embedding the poles in the concrete, then backfilling everything. That would almost certainly do it, but I really didn’t want to be that intrusive into the land. It also occurred to me that if I ran the electrified wires on the outside of the poles, instead of the inside, as would be typical of a containment (rather than exclusion) fence, then my ursine friends would meet the zappy wires before the poles, so maybe the poles don’t have to be particularly structural. Just enough to keep the wires in place while the bear gets dissuaded by the electric shock. And anyway, like I said, this is the land I’ve got and the place I need to use, so it’ll have to do. Either it works or it doesn’t.
I did tamp the soil around the poles with a 2×4, in hopes of securing them a bit more. That helped some, but seeing as it was all sloppy mud anyway, it didn’t do much. I think the land just has to heal around the poles and snug them up on its own over time. And dry out, which hopefully comes with warmer spring weather.
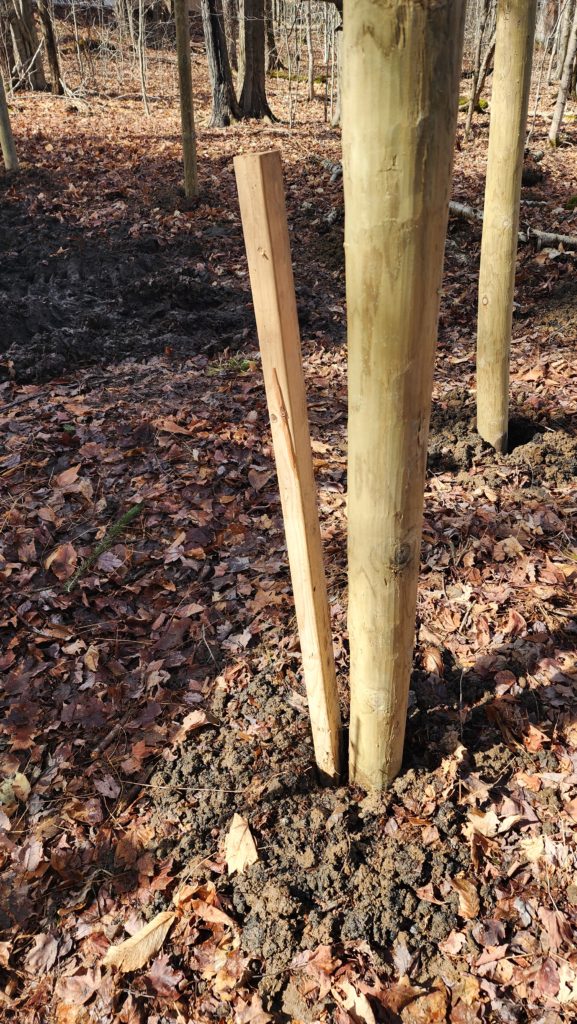
It did occur to me that leaf and forest detritus wasn’t going to make for strong soil, though, so I got some of this stuff, that promises me it will grow anywhere, in hopes it takes root decently and begins to both secure the soil as well as consume some of that standing water (in the future).

It hasn’t been particularly sunny since I applied the seed, and it’s been cold again, so it’ll be a while yet before the grass begins to take.
I did build a nice gate for the yard.
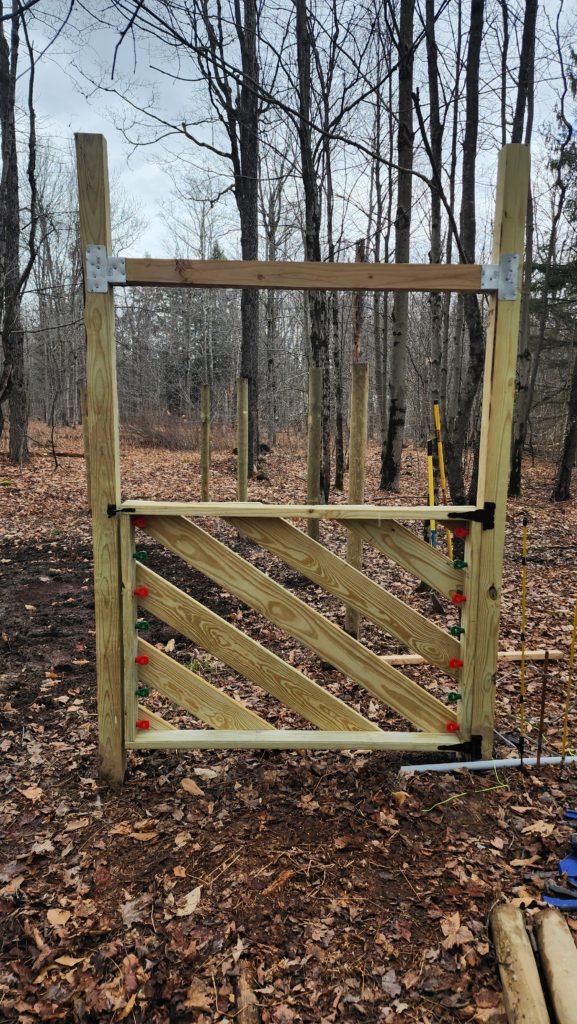
Simple but elegant. Those Christmas lights aren’t Christmas lights. Theyre insulating eyes that will hold the electrified wire for the front of the gate. The angled slats also are intended to be specifically difficult to climb, to further dissuade any would-be interlopers. They serve as cross-bracing for the gate itself, as well.
What goes at the top, across that transom? Well, I needed that cross member for lateral stability of the gate, but that space above it is fair game. Maybe I’ll put a sign or some relevant art there at some point.
Now, I’ll need to get power to this fence, too. The house is a bit more than 100 ft away and I already brought the wire that powered the prior fence’s zapperator down to this new location. Although this is outdoor-rated wire, I just don’t like the idea of it being exposed. I’d much rather it was in some conduit and ideally below ground. I didn’t much fancy burying the whole run, but at least at critical points where it would be a tripping hazard for humans. The trick here is I already have this wire run but now I want it inside conduit. Also, the wire itself is pretty stiff. Getting it through a whole run of conduit would be tricky (usually one wants to use stranded wire in conduit for this reason — it is more supple than solid — but this is solid wire and copper is expensive so I don’t want to replace it if I don’t have to). What to do?
Then it dawns on me I can actually just slide the sections of conduit over the wire, then carry them up to the end, and cement them all together when the whole set is in place!
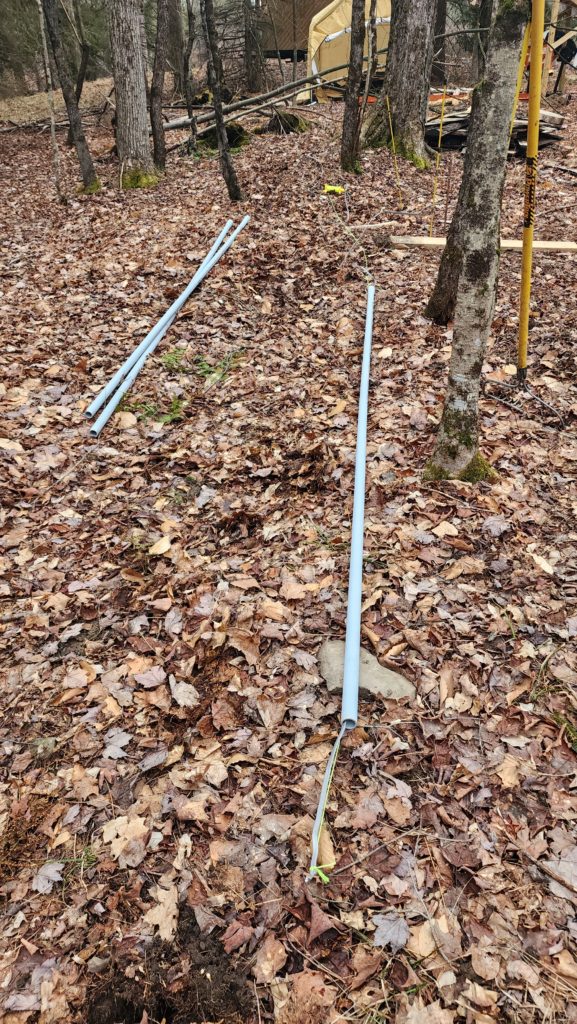
See that yellow string? There’s a nylon mason’s line that follows the wire all the way to the other end. Why? If I ever want something else in this conduit, I stand a chance of it being easier since I can pull it through with this string. Even if the first thing I pull is a nylon fish tape which would then pull the real thing (and perhaps a new string). This is what I didn’t have when I wanted to run that network wire from the office out to the solar array to mount an outdoor wifi node there. Now, this is about 110ft of conduit, it’s narrow (just 1″), and it takes some bends and turns, so pulling anything more through it won’t be easy, but it’s probably possible, especially with pulling lube.
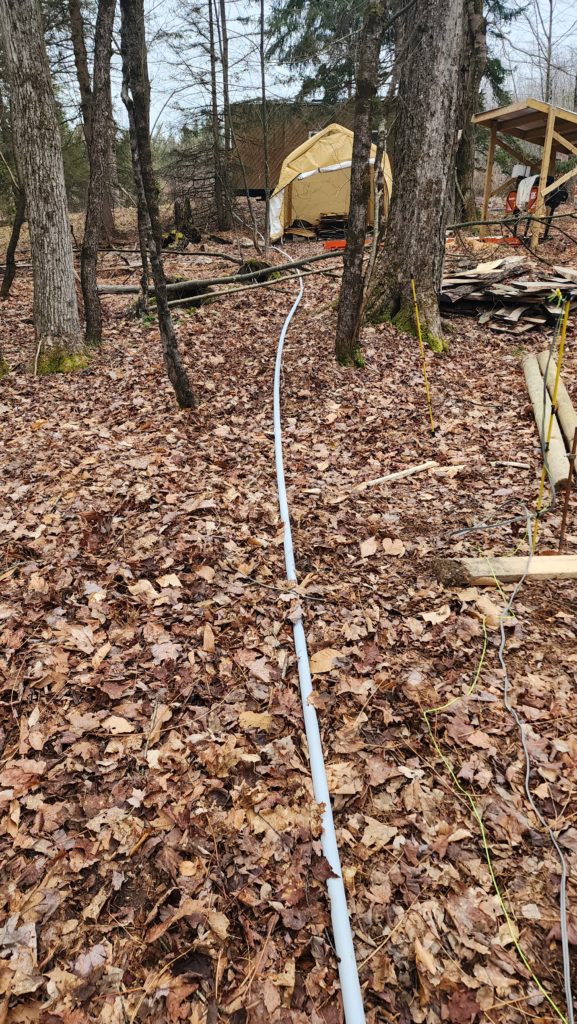
Here’s what most of the run looks like, still abve ground, but with the wire inside. The yellow string and wire you see to the right is the terminal end. The rest of it is in the conduit, heading back uphill to the house (past the sawmill — background, right; past the wood drying tent — background center).
At the house end, a box to terminate the 1″ rigid conduit and switch to 1/2″ liquid-tight flexi conduit.
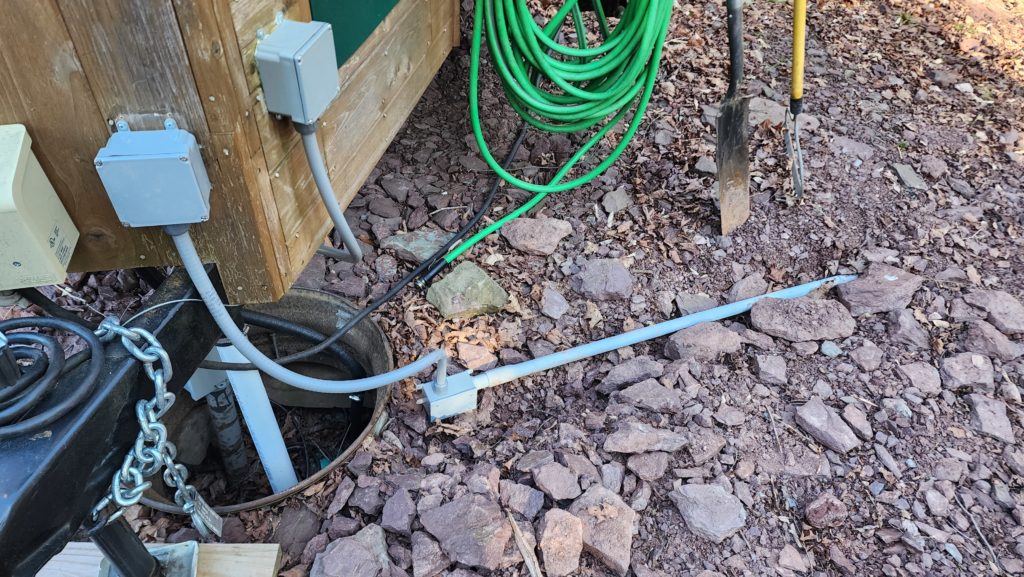
You can see the pile of shale that the house sits on quite clearly here. Burying the conduit in this was no picnic. It mostly involved using a narrow shovel to just get under the rocks and pry them up one or a few at a time, until I had a narrow trench. The rest of the rigid conduit will get buried soon — I left this end free so I could flex things around as needed to make the final connections here.
The liquid-tight flexible conduit is great. I’m a big fan. It solves just about any outdoor cable routing problem, no matter the angles.
The nice thing about those plastic boxes is they are totally weather tight. The only inconvenience is if you want any holes in them (such as for liquid-tight fittings!), you have to drill them. Not a big deal and I’d rather have only the holes I want, exactly where I want them, rather than have to get some pre-cast/drilled box and deal with sealing/plugging the holes I don’t want.
Despite the very spring-looking weather we’ve had recently, winter isn’t over yet! We had quite an ice storm a week ago. The ice didn’t stay long, but it sure transformed the look of the place for a couple of days. Click for larger.






“Snow Crocus” for nothing!

Two days later, it warmed up a bit and a barrage of ice bombs came down from the trees. Fortunately, I was prepared.

I know, you’re driven to near madness wondering over the past three weeks whether the old leader battery which had been suffering from dementia turned out to be okay in follower mode, now that I had a new leader. You’re in luck! That story continues (and ends!) here.
First, let me remind you that the manufacturer told me not to send it back to them and indeed, encouraged me to recycle it. They wouldn’t even sell me a new control computer to install myself (well, they offered, then recinded the offer shortly thereafter). They wanted nothing to do with this unit and left it to me to dispose of this hazardous material (most of its 230# is a bank of lithium batteries). I had tried pretty much everything I could think of (and everything they told me to do, no matter how non-sensical) to no avail. So okay, I guess I need to junk it. But not before trying a few things because I just can’t bring myself to scrap this young unit, considering how many natural resources went into making it. First, what about that follower mode?
I set the switches for follower mode and restarted the battery. Still berserk. Shit. That’s discouraging. What about stand-alone mode? Now, I don’t want it in stand-alone mode, but maybe entering stand-alone mode might help it recover? I set the switches for stand alone mode and restarted the battery. Still berserk. Actually, possibly berserkerer. When I shut it down, the display kept going, like a chicken who had recently lost its head to a cleaver. Not encouraging at all. Shit. Well, there is precisely one more thing to try. I had performed this operation once before, I think just after the first update that made the thing go nuts originally. However, a lot has happened since then, including a number of mode changes with restarts and indeed, the manufacturer had sent some additional updates either to this unit or its older followers or both (I lost track). What is this operation? It’s opening the wiring compartment and yanking the wire that connects the control computer to the battery bank itself, effectively power-cycling the control computer. I had definitely done this once before, but not lately. I do it.
When I reconnect the power to the computer, it comes alive, still set for stand-alone mode.
But it is showing no signs of berserkitude.
That’s great, but I don’t need it in stand-alone mode. Will it behave in follower mode now? I set the mode switches and restart it with a soft reset.
It comes up, showing no signs of berserkitude, though an alarm light saying “I can’t see my leader” is lit. That’s okay – the unit is not actually connected to anything else right now, for safety as I experiment on it. But this is very encouraging!
Next I hook up the data cable to the other 3 units and restart the system. The formerly berserk unit comes up along with its neighbors… and is fine! No alarm (expected, the leader can be seen now) and no berserkness. Is it cured? Can I be this lucky?
There’s only one way to find out. Next step is to hook up the heavy DC lines and have the battery fully participate in the set. I do that, but before I power it up, I make sure my fire extinguisher is close at hand.
I power up the whole system – all four units – and… it’s fine! IT’S FINE! Nervous, I monitor it closely for about an hour… and everything is still fine. It’s early evening at this point, no energy coming in from the solar, so I figure it’s safe to leave it overnight and I’ll check up on it in the morning when the sun comes out and see how the whole bank charges.
The next day the sun is out and the bank charges nicely. And by nicely I mean they all take charge evenly, as they should (and as the berserk unit definitely wasn’t, before). A few days later, I put the whole system under a moderately heavy (3kW) load to see how they contribute to supporting that load. They’re all contirubuting evenly, as they should! I think it’s working!
Indeed, three weeks later, the whole set continues to perform exactly as expected. So this battery they told me to scrap could, in fact, be recovered, even if they couldn’t figure out the steps to do it and only my random machinations got me there. So now I have 33% more storage than before, for the low, low price of eight weeks of fighting with tech support.
Good news and bad news with that. The good news is I have more storage, which is always a good thing. The other good news is I didn’t even have to pay cash for it and anyhow, these units are discontinued so even if I wanted to buy a new one to expand my set, I would not have been able to! The bad news is that my power corner only has room for three. In the photo below you can see that the batteries are blocking the door a bit, three of which are on the existing battery dolly which has been pulled out from its nook next to my desk, and the newly recovered unit is sitting on the floor. This will never do for long term.
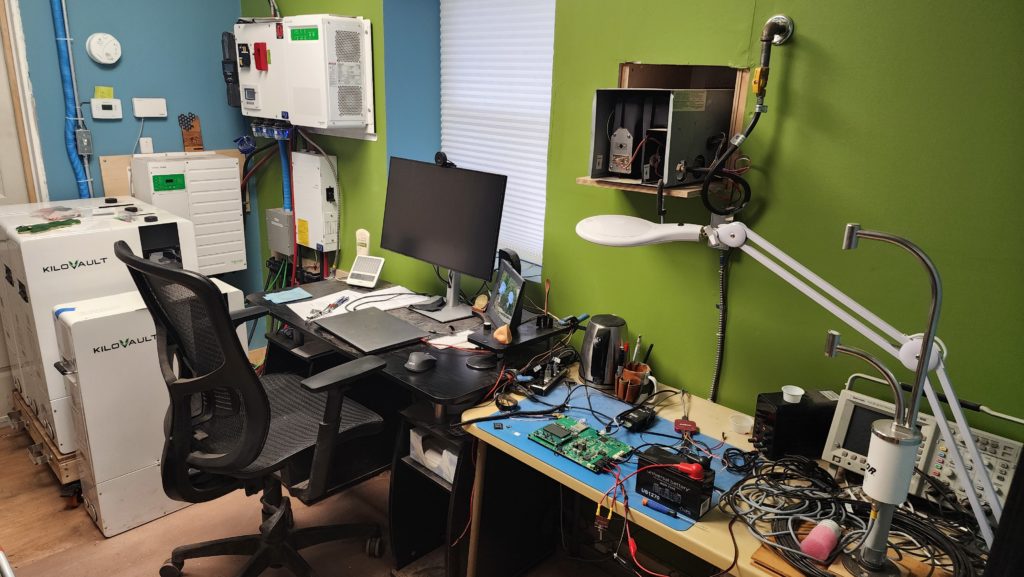
There is, however, no room to move my desk to the right to make space. And anyhow, if I did, I’d lose my window view, which is preciouIs. I need a narrower desk, with the seating area at the left. What’s that mess of electronics at the right? That’s my day job. This is my office, after all 🙂
I thought about just using a sheet of plywood and a few 2x4s as legs to just rig up something utilitarian to get the job done, but then I found an inexpensive mini desk online that would save me time and money and looks great.
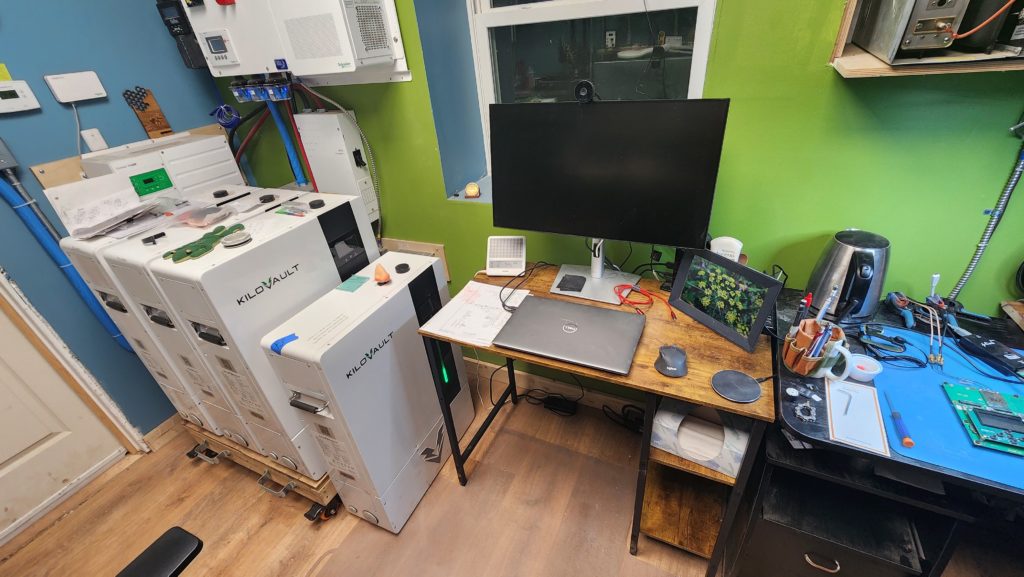
I still need to build a wider dolly for the batteries, but at least they’re no longer blocking the door. I removed the table previously acting as my electronics bench and promoted my old desk to that job, since its top was almost identical in dimension. This also lets me keep the desk’s storage in service. The new desk isn’t made out of much but it’s enough to hold my laptop and external monitor with a little room left over for a document and a mouse, so okay, it’ll do. And for $50 and 30 minutes to assemble, it’s hard to beat. And I sitll get to sit in front of the window with its nice woodland view and southern exposure.
There’s more to do in here, though, a lot more. The soft-starters I got for my heavy machinery (table saw, new dust collector) are almost enough to get them to start up reliably, but not always. Even though the power inverter is rated for 12kW transient loads, it’s not actually enough to solidly get these machines going. When they’re both running, they run about 3kW, not even half the continuous load rating of the inverter, but when they start, even with the soft starters, they draw much more. If I really crank up the parameters on the soft starters, making the starting power draw much lower, the machines still can fail to start because their own self-protection systems kick in after noticing they don’t have adequate power!
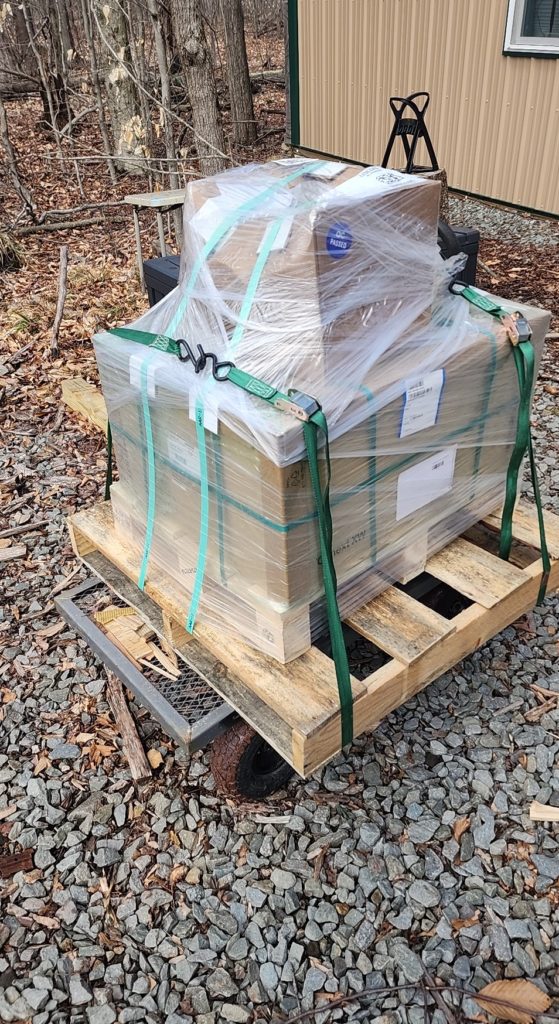
What to do? Well, the answer, sadly, is an expensive investment in a second inverter, synchronized to the first, so I can provide 24kW of starting power, even if I only need it for 20s. That’s around 100 amps. So I’ll ned a second inverter. Got one:
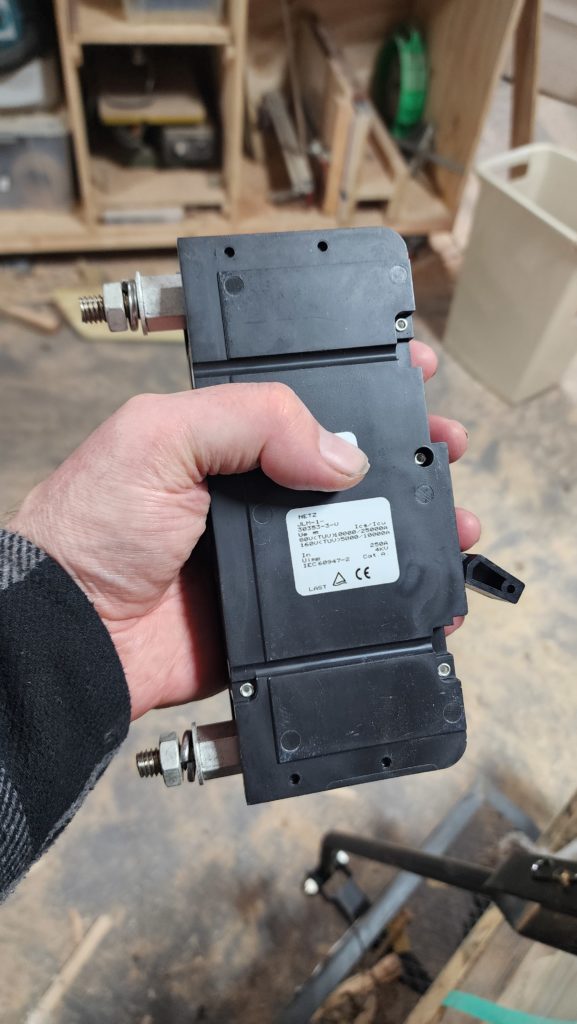
And another 250A circuit breaker for it. Got one:
And a supply of expensive 4/0 wire to hook it up (that stuff is like $10/ft these days!) and it turns out the wiring box that has my existing 250A breaker in it (red arrow) won’t accommodate a second one, so I need to solve that problem, too (I have an idea – you’ll see in a later post). All that stuff is on order and should be arriving this week.
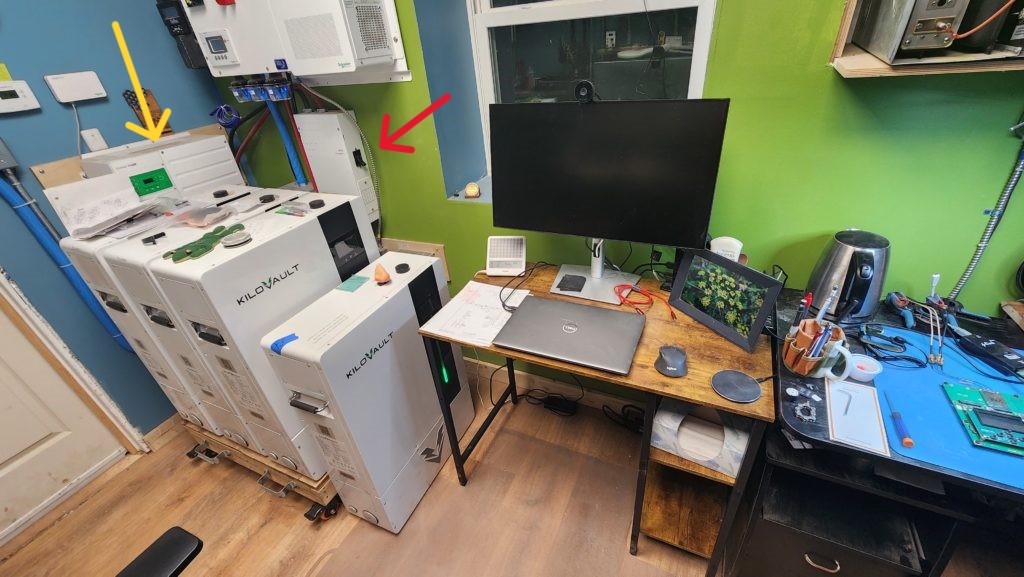
And there isn’t room on the wall as-is for inverter #2 (#1 shown with yellow arrow).
All this means I need to disassemble and re-work a fair bit of my power corner to make room for all this stuff. It turns out two inverters will fit on the wall if I move the metal and plastic (blue) conduits near the light switch and mount the two inverters side-by side, first moving the existing one closer into the corner. Or something. I’ll give it some careful thought before actually taking this stuff apart. It’s gonna be a big job, though. Those inverters weigh over 100# each and the batteries are 230# each, so plenty of heavy lifting to do that day, in addition to the wiring and such.
And I’ll need new wire to go from the inverters to the breaker box in the shop, too. The existing wire isn’t ready for that 100 amps! I’m not sure the necessary wire will fit in the blue conduit I’ve got heading there now, either. Actually, I’m pretty sure it won’t… but I’m going to try it first – it’ll be close – and if it does fit, I definitely want to re-use the conduit.
And while it’s still occasionally freezing out, and therefore too soon to plant things, I have decided to get a jump on growing season with some starter pots inside.

They’re really quite joyful. I’m enjoying having them in the house, especially on cold, gray days.
After setting up my first 96 pots, I decided I needed more. So now there’s a lot more 🙂
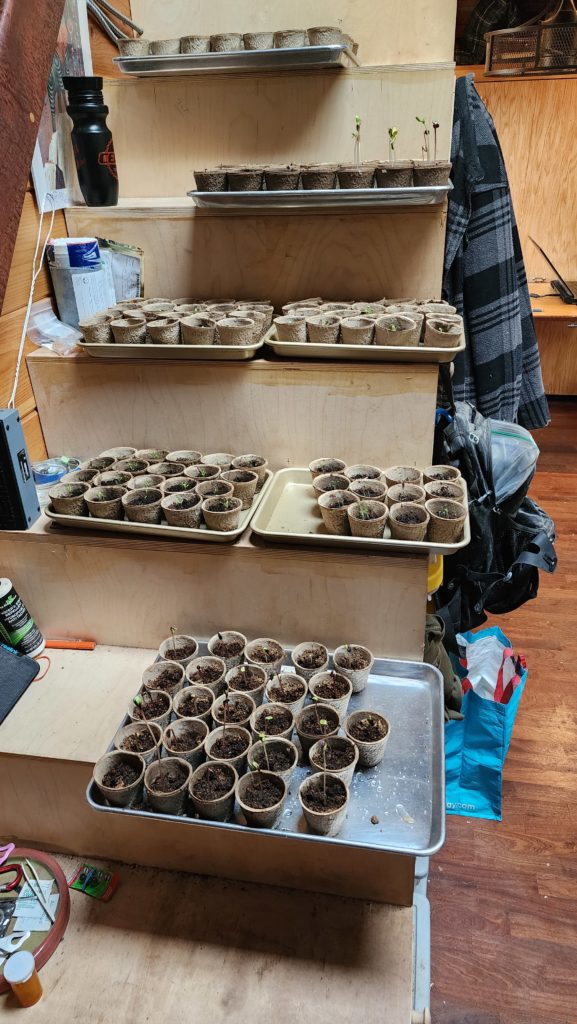
Who are those tall ones? One-week-old sun flowers! They clearly know they have a lot of growing to do and are wasting no time getting started!
I have bee balm, echinacea, sun flowers, and maltese cross planted in these pots.
And I’ll finish this post wit a couple of random shots…
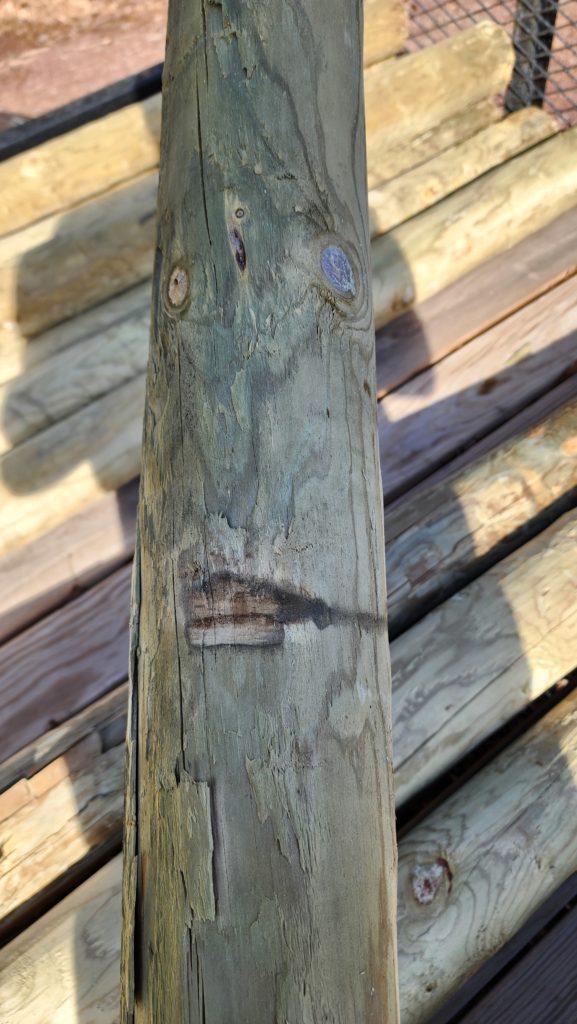
First, a tree face in a fence post
And a part of the water control computer, still very slowly making progress in the background, as other more time-critical things are done.
