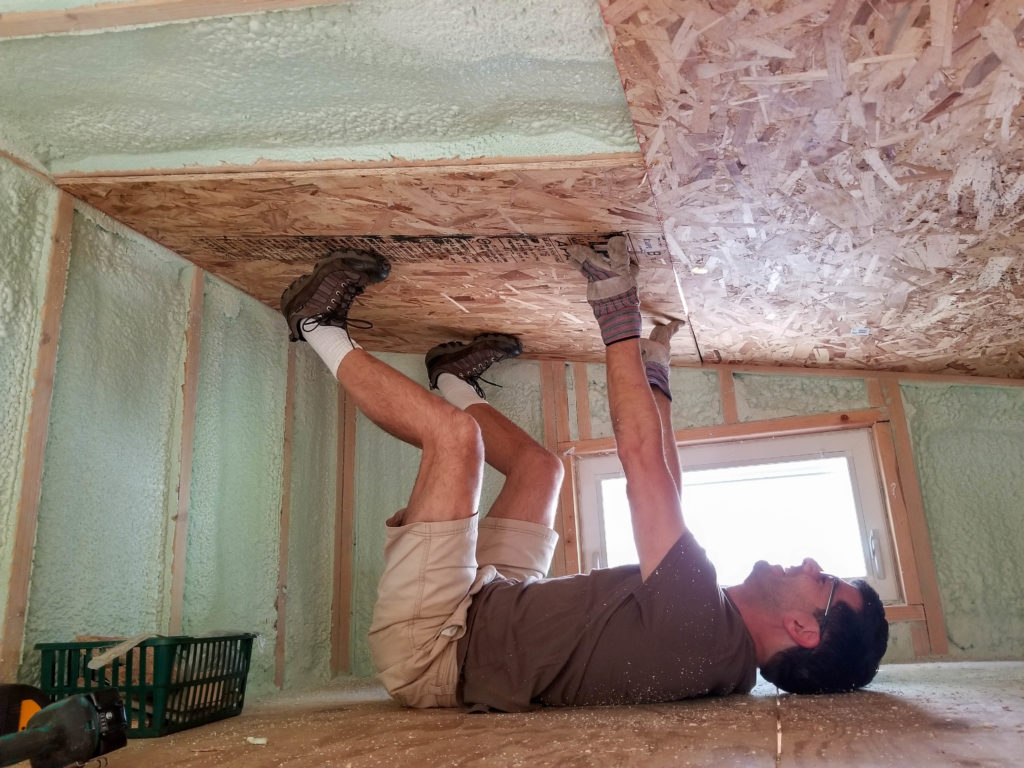
I had wondered just exactly how I was going to get the ceiling boards installed myself… I mean, yeah, there are ways… but they all seemed like an immense amount of work to do solo. Naturally, then, I invited my long-time friend John (seriously, we met in 1990, when some of you weren’t even born) to come over and help. He intuitively assumed the obscure yoga pose Deadbugasana, which conveniently solved the problem of holding the board in place while I went at it with the screw gun.
Experienced yogis may think this is just a variation on “Happy Baby”, but I assure you, Deadbugasana is a distinct pose as it involves upward thrust forces that Happy Baby does not.
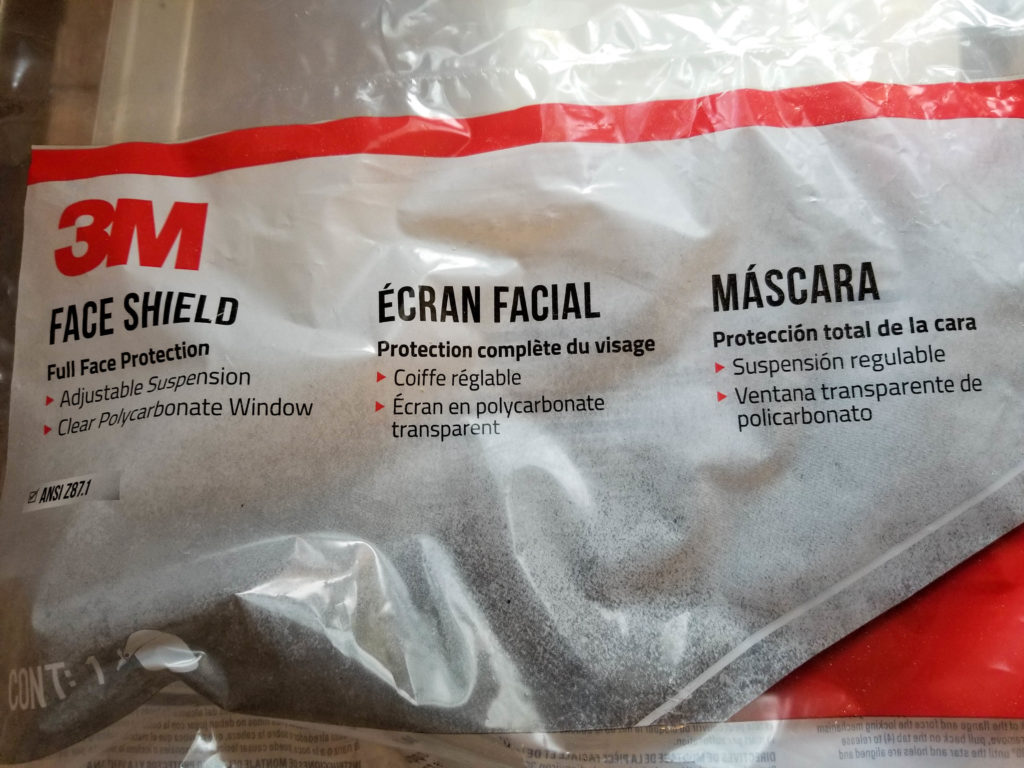
Those sky lights over the cozy loft and the kitchen area I treated just like regular windows: cover them with the boards then use the flush trim router to open the exactly correct aperture. All router work is profuse with sawdust and I definitely wanted to keep it out of my face when working overhead. But really, one simply *must* look good doing it, so I bought this mascara to wear while operating the machine.
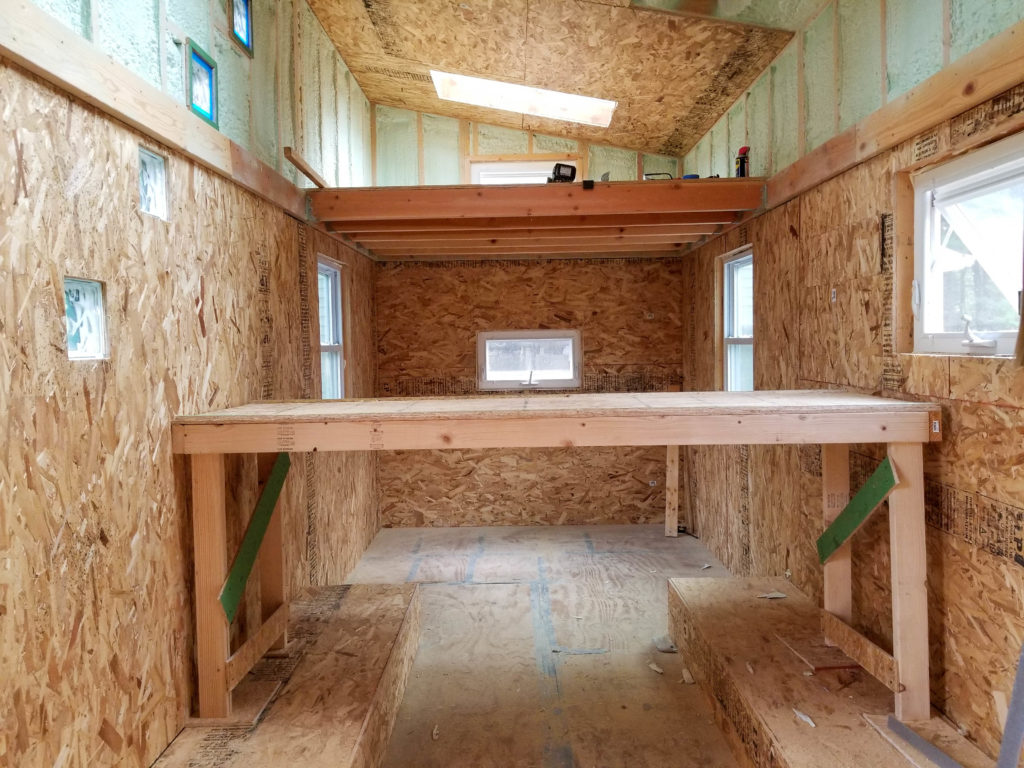
To safely reach the vaulted area over the kitchen, I built this sturdy bridge. Its height was precisely determined to allow me to stand freely upright in the middle of the house, be able to comfortably reach the low wall *and* the high wall as needed It’s 36″ tall, standing atop 10″ high covers for the wheel wells. It proved quite useful for installing and truing the flue bracket, as well.

The first section of flue, installed! It turns out that the silicone boot that seals the pipe to the roof slid a bit during installation plus I had underestimated the encroachment effects of the vertical pipe to the slant of the roof so it turns out the position of the boot, already screwed down and sealed with RTV was about an inch further downhill on the roof than it had to be for the pipe to have the necessary clearances. Shit.
Well, it seemed like a worthwhile effort to attempt to remove the boot (20 screws and a lot of adhesive sealant) in hopes of being able to simply re-install it in the correct location. No pictures were taken, as that involved ladder work and I’m not especially keen to share how good it doesn’t look from up there.
I did get it done, however, and the boot is now re-located and re-sealed and appears to be happily in its new home, one inch uphill from its old home. The smart way to do this was to install the flue bracket and a section of flue first, getting the angles and clearances all set, THEN install the boot around the actual flue, so it is guaranteed to be (a) in the right place and (b) held there by the pipe. We did this the second time (today) and it worked great. There would not have been a second time had I done this the first time. Ah, well. Live and learn.
Even though the stove isn’t ready to install yet, just having the flue protrude into the living space is kind of exciting.
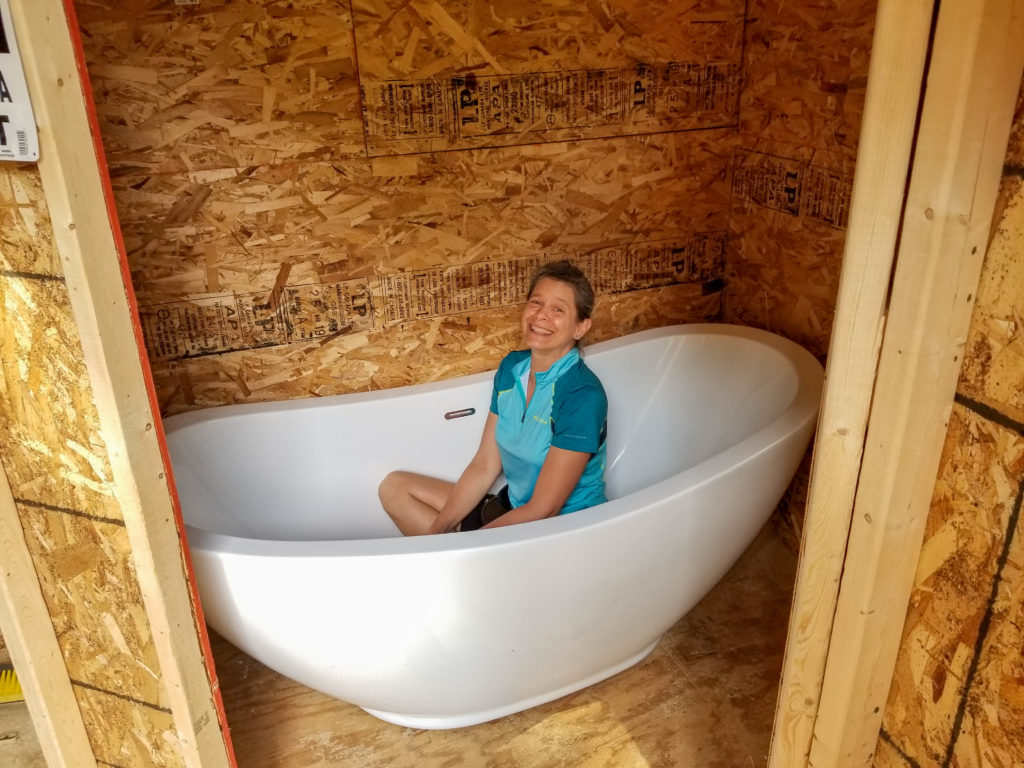
Remember when I said there was going to be a full sized bath tub in the tiny house? THERE IS A FULL SIZED BATH TUB IN THE TINY HOUSE. Here it is, for real, almost 6 feet long and 2.5 feet wide at its widest, nestled in the tub nook of the bathroom. Yup, it fits! It even fits with enough room around it to install finished wall materials and run some pipes (good thing, as both of these are necessary!). To accommodate the drain, I will need to put this whole thing on a little stage, maybe 4 or 5 inches high, but that won’t be a big deal at all. Look at M beaming with delight!
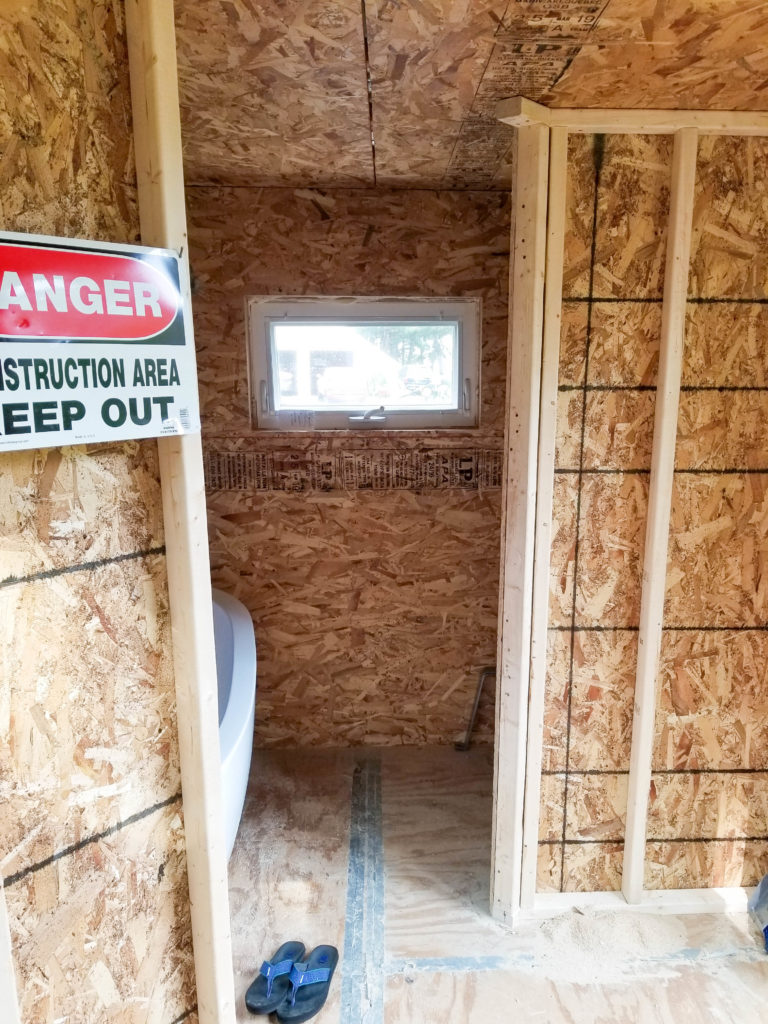
The real reason I placed the tub in the bathroom today was simply to see if I could comfortably walk past it, given how close it is to the bathroom doorway (as seen on the left here). As it turns out, even fairly-wide me can walk right in to the bathroom, take a turn to the T.H.R.O.N.E. chamber (to the right, behind the wall), without brushing up against the tub. Excellent. I had hoped for this and my measurements said it would be this way, but before I moved on with the running utilities through the bathroom (that’s where they enter the house, through the wall shared with the Propane Porch located just on the other side of the little window), I wanted to be CERTAIN the layout was acceptable. It definitely is. Tiny house with full sized tub is a GO!