Somehow it’s been two months since my last post… and quite a lot has happened since then. Let’s jump right in, without regard to time sequencing.
That tool cart I was making out of the lathe crate, it’s done. The crate plywood was absolute crap and therefore a huge bother to work with because of being uneven thickness, brittle, and prone to splintering. Nevertheless, I managed to coax it into a thing.
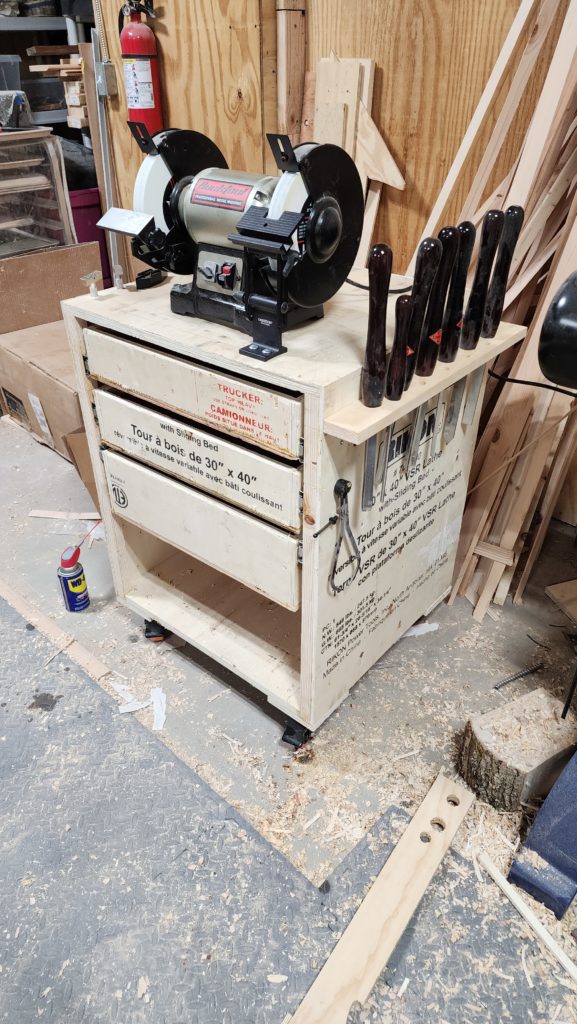
This now stands next to the lathe, keeping tools at the ready. Additional tools and accessories/chucks live in the drawers. The grinder on top serves my sharpening needs, just a couple of steps from the lathe work area.
On the subject of completion, the tidy room walls, ceiling, lighting, and power are done.
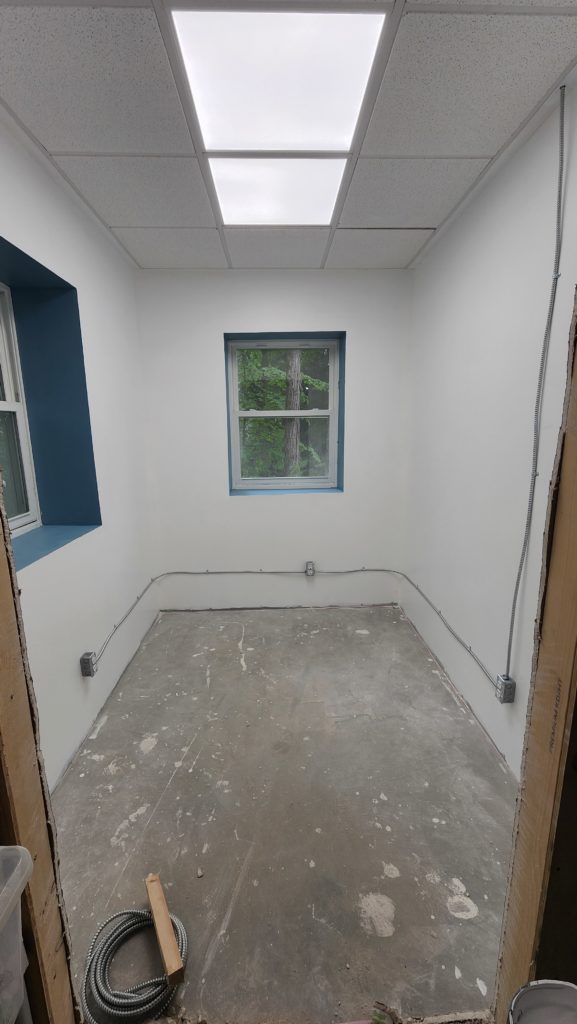
Flooring and a door remain on the to-do list for here, but it’s definitely getting close!
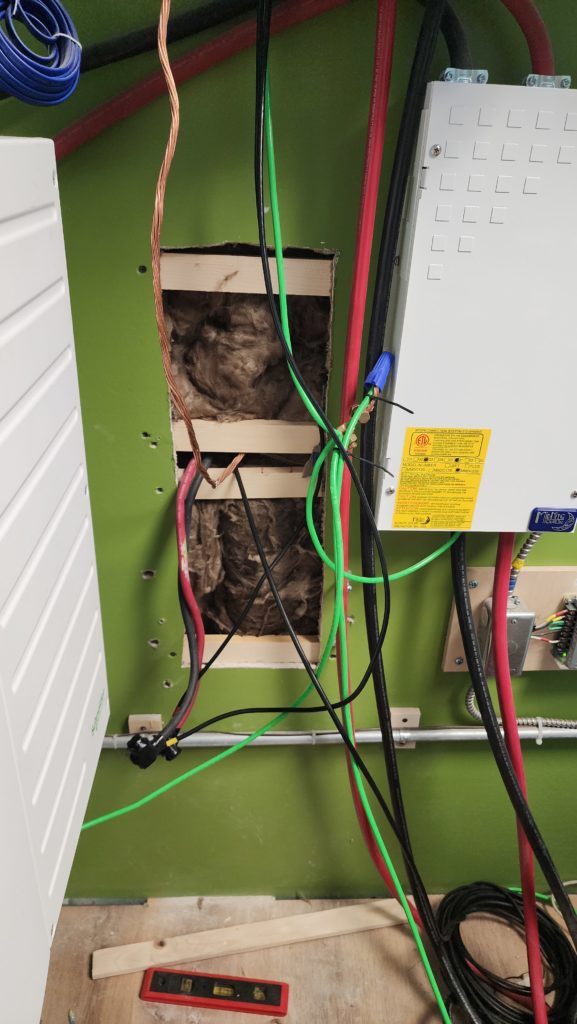
The big hole in the wall I needed to make to access the conduit in the office to run the wire for the outdoor wifi access point is all fixed up now, too.
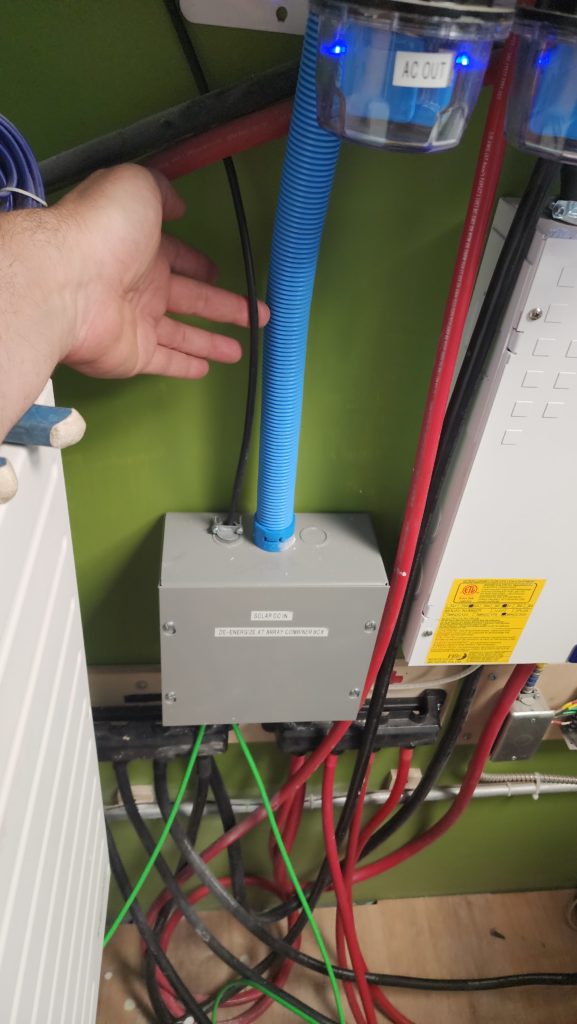
Other office improvements include door and base trim
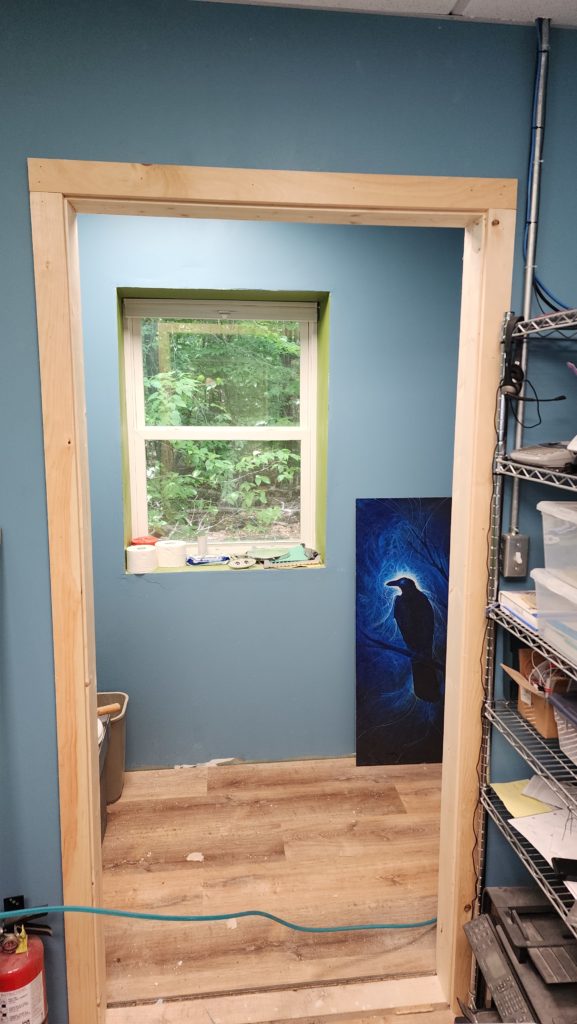

There’s still no trim at the entry door because I intend to replace that door — why bother trimming it out when I’d just have to remove/destroy it to install the new door? That said, the places where I did add trim really do look a lot nicer!
Shelves added above the office work table and the pressure chamber (gray, next to printer) has a home now, too. Photo distorted due to need for wide-angle lens.

Add a new desk & chair and suddenly the office is looking less like a makeshift workspace and more like a legit office.

Wait, that’s the new chair? No, that’s the old chair. The new chair has mesh fabric and can be seen in the previous pic. This pic was taken after the desk, before the chair 🙂
That about covers it for things getting improved/completed.
There was a bit of a humidity emergency in the workshop over the summer, though! I walked in one day and found a fair bit of mold growing on the side of my workbench! A bit of rust I can manage/mitigate, but it was so wet in there that things started to grow. No bueno! There was mold kind of everywhere.

So just exactly how wet was it? I got out my hygrometer and was kinda stunned to see just how much. Even though they consume an immense amount of energy (when compared with the energy budget of the shop and the size of my battery bank), I had to get a dehumidifier going ASAP. Hopefully enough sun to keep it going most of the time?
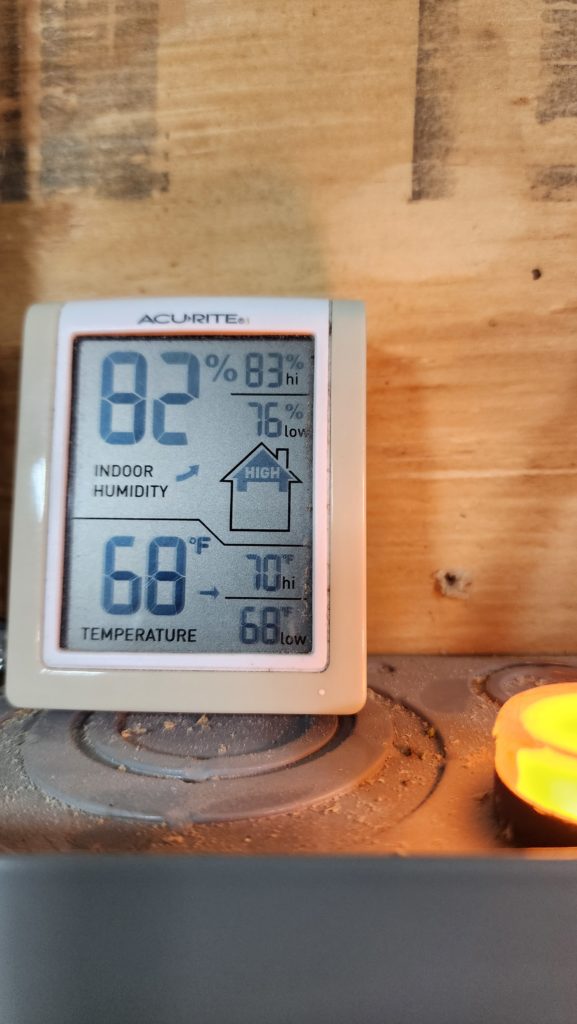
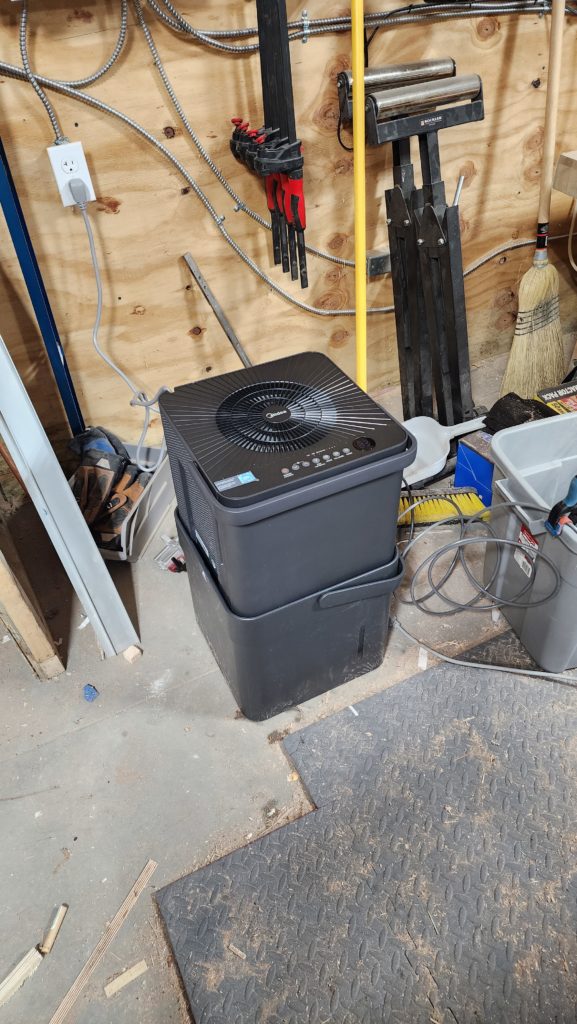

The first several days, many gallons of water were removed from the air. Now at equilibrium, it’s not so bad, but the machine is still consuming about 3.5kWh/day. That’s actually just about the entire energy budget for the workshop. But that’s the winter number. In the summer — when the humidity is a problem — there’s usually a lot more sun, so I can afford to run the dehumidifier. Still, two or three dark gray days in a row and I have to turn it off until the sun returns. But at least now the space isn’t saturated like it was before, so a few humid days in there are probably okay.
The growth has been arrested and I’m slowly going after all of it with a spray bottle of 10% bleach solution. Fortunately, it was growing on, but not in, the wood. It brushes right off.
It sure seems like water management has been the surprise challenge of this homestead project. Humidity in the house (remember the mold and condensate in the skylights and on the baseboards), water ingress by the house door, and now this. Indeed, the snow break for the workshop building counts as water management, too. Frozen water, but water nevertheless. Too little water in the spring caused my channel to dry up and my froglets to die. Then a super wet summer has kept the land wet and has stressed my fruit trees.

That soggy spot is what it looked like after I removed one of the two peach trees which were really suffering. I didn’t realize they had wet feet, but boyo did they! I transplanted them, but I’m pretty sure they were too far gone when I did. All their leaves are gone and there’s been no new growth for over a month. I’m going to leave them where they stand, just in case a winter’s rest might encourage them to regenerate, but I’m not really expecting them to.
Some of the trees are going very well, especially the cherries.
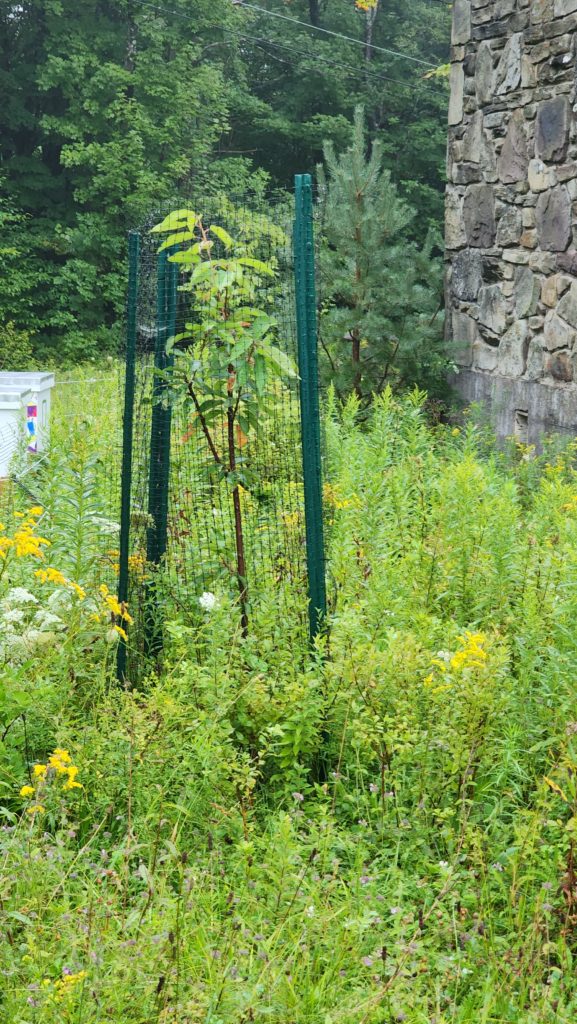
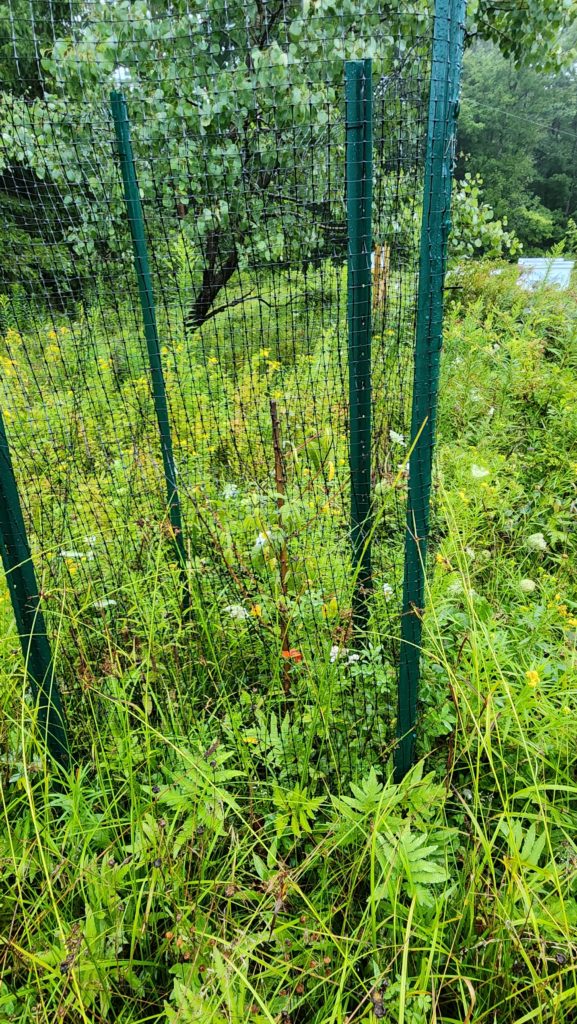
The peach tree (right) is hard to see against the background foliage, but you can see the orange tag on the skinny trunk and then see that there are leaves around it, but no height to speak of. It may be that the moisture here is still too much for it to thrive but not enough to kill it. The soil has poor drainage, so when it rains so much, it really does get — and stay — soggy. We shall see how things go next spring/summer.
Meanwhile, elsewhere in nature… some creature sightings!

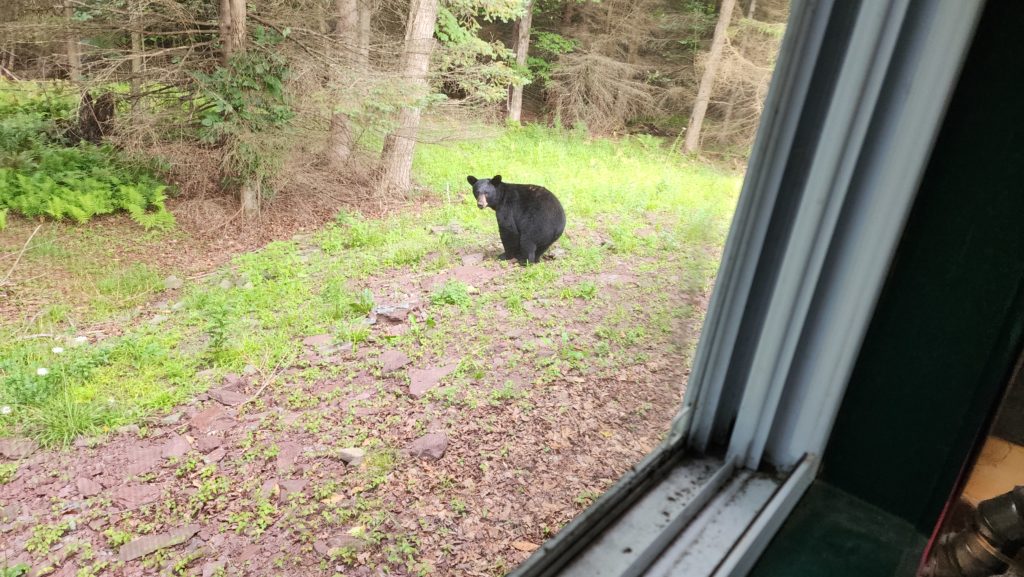
Bear was RIGHT outside my window. A few days later, they were back, this time I saw a paw on my window screen. That was a bit alarming. A few loud claps and a stern “GO AWAY!” were sufficient to send my ursine neighbor on their merry way, thankfully. Bear hasn’t been back for a few days.
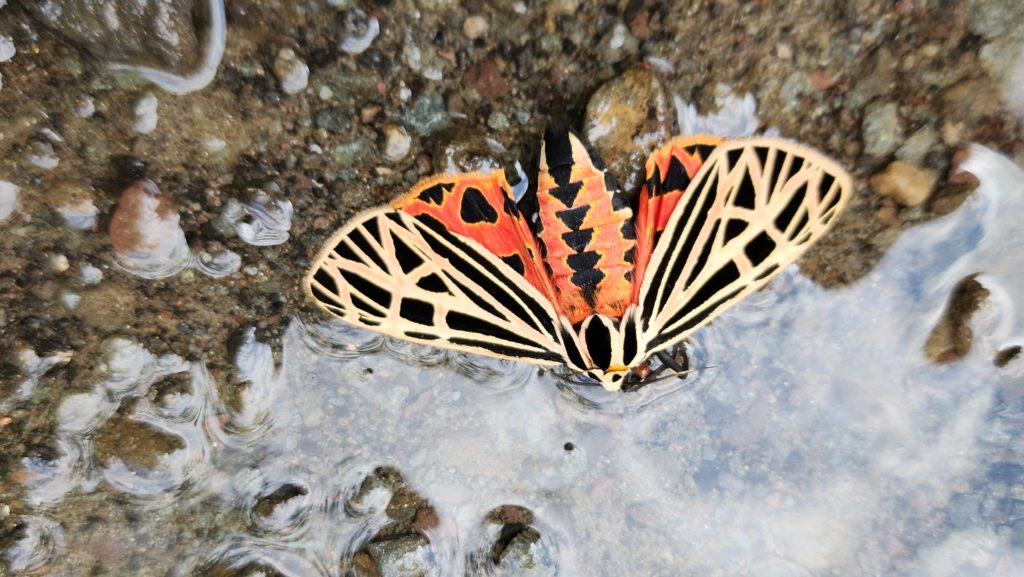
The moth I didn’t even believe was real when I saw it — I thought it was some kind of discarded fishing lure — but yes, it’s a thing. A rare thing, but a thing. I forget what kind itis.
Hey, speaking of bears, it turns out this *is* the woods, so bears will do what they will…
And this cute little fella popped up for a visit, too.
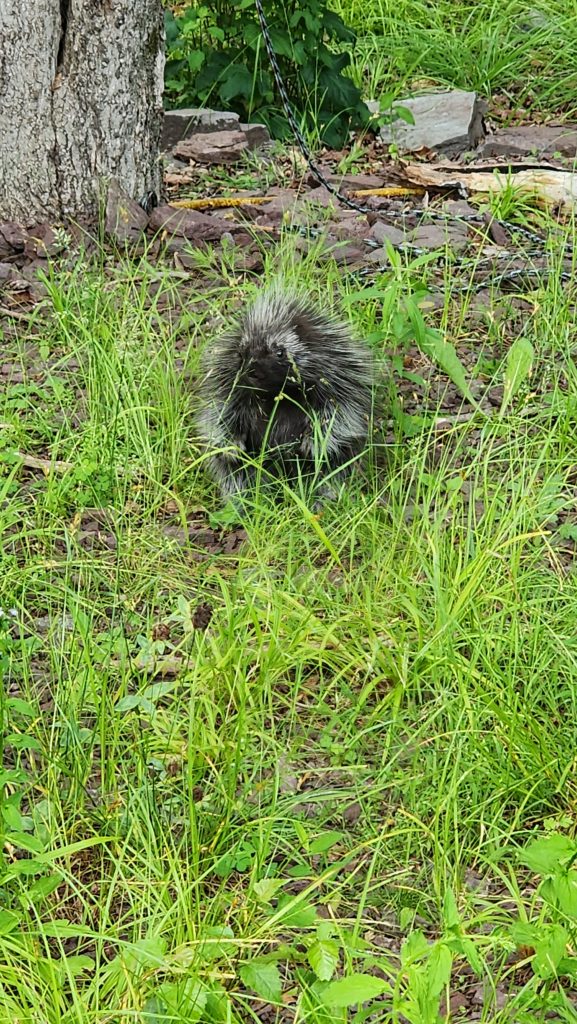
I’d never seen a porcupine in person before! They’re so cute 🙂
Remember those five Phoebes who hatched in the nest on my porchlet? Well, Mr & Mrs Phoebe liked that spot so much, they did it again.
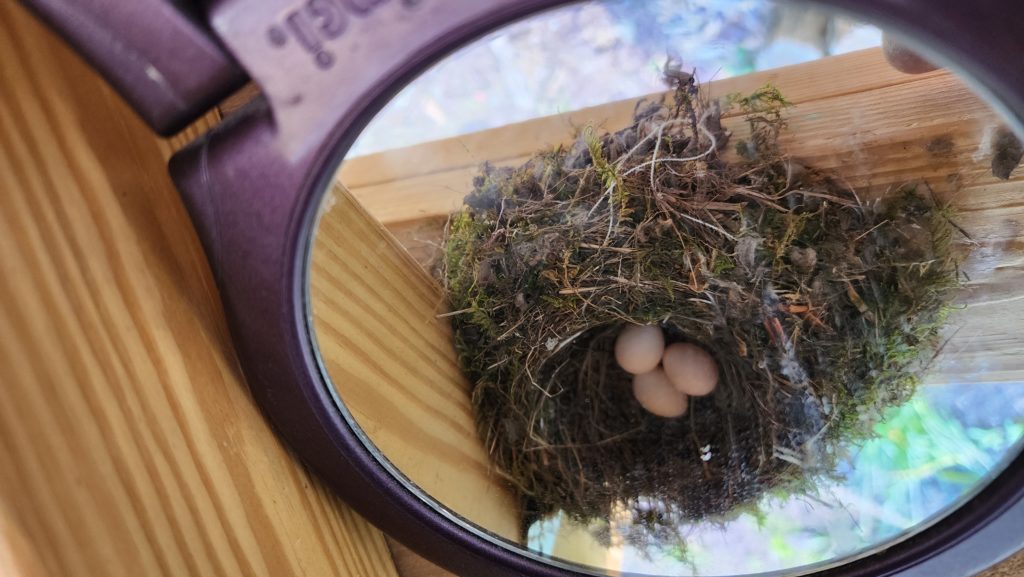

And when it came time for them to fledge, the left me this…

From which I can only conclude that fledging is so terrifying, it literally scared the shit out of them!
Some plants of note, as well.

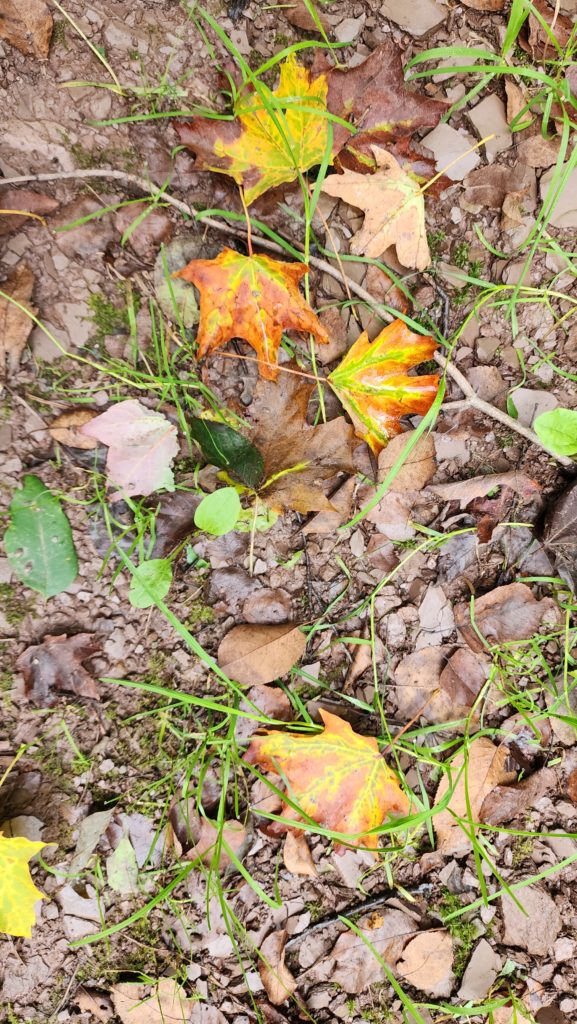
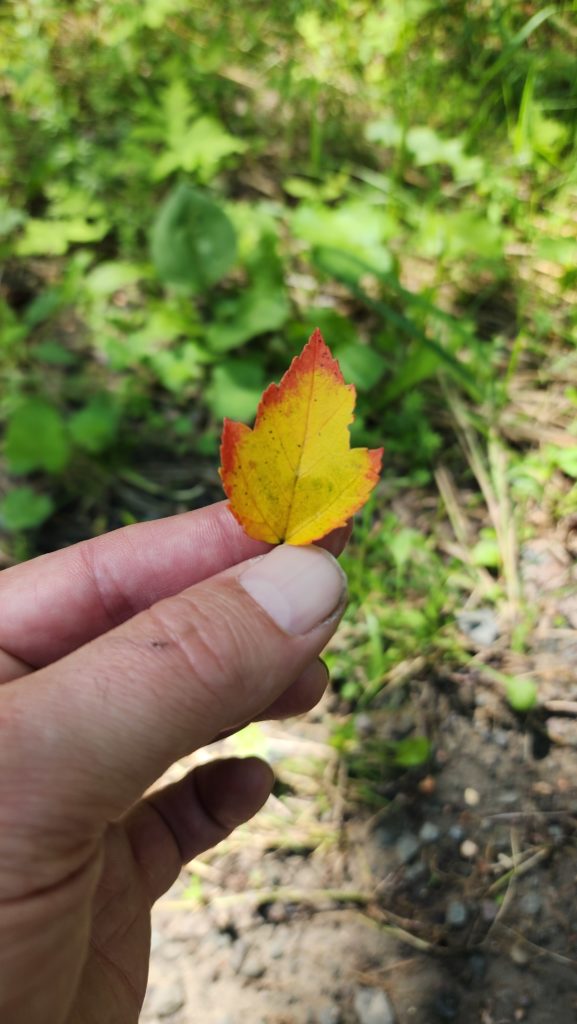
This is the first thistle I’ve seen here. Turns out there are a couple more scattered about. I don’t think I’ve seen one in person before, either. They’re curious plants, for sure.
Despite plenty of wildflowers, there have been only a few honeybee sightings and definitely nobody took up residence in my deluxe hives, even with the scent lures. I’m not surprised – if there were a lot of bees around, chances of some of them being from an overflowing colony are decent. But with so few, and such a small percentage likely to be in search of a new home, the numbers just don’t work. I’ll buy some starter (“nucleus”) colonies from a regional supplier for next year and give my apiary a jump start in the spring.
I finally did something with those fieldstones I harvested from the solar field a year ago…
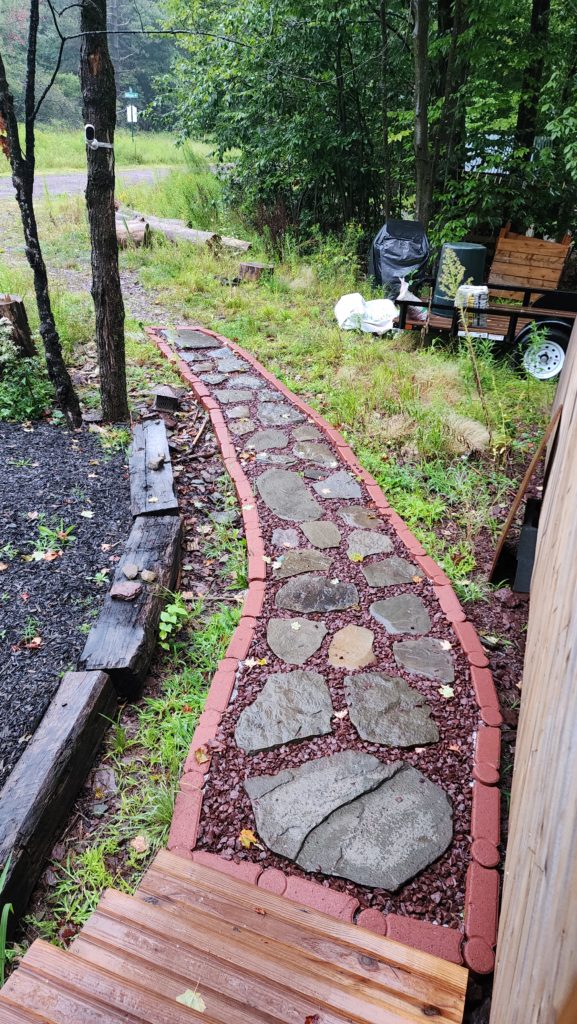
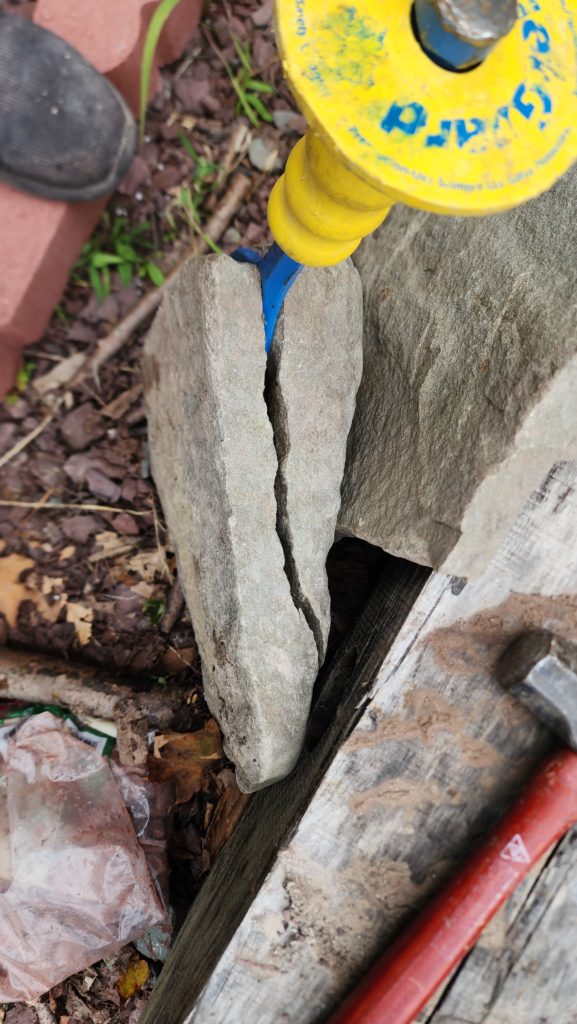
Some of the stones were just too thick to fit well in the path bed. It turns out that whatever kind of stone these are, they cleave without too much fuss.
And I was back at the mill recently, thinking maybe some of that wood from the spring’s felled trees might actually be usable. Turns out there was! Some nice, wide boards, too. And this isn’t all — but the logs are so damned heavy, I can only move a couple of them at a session.
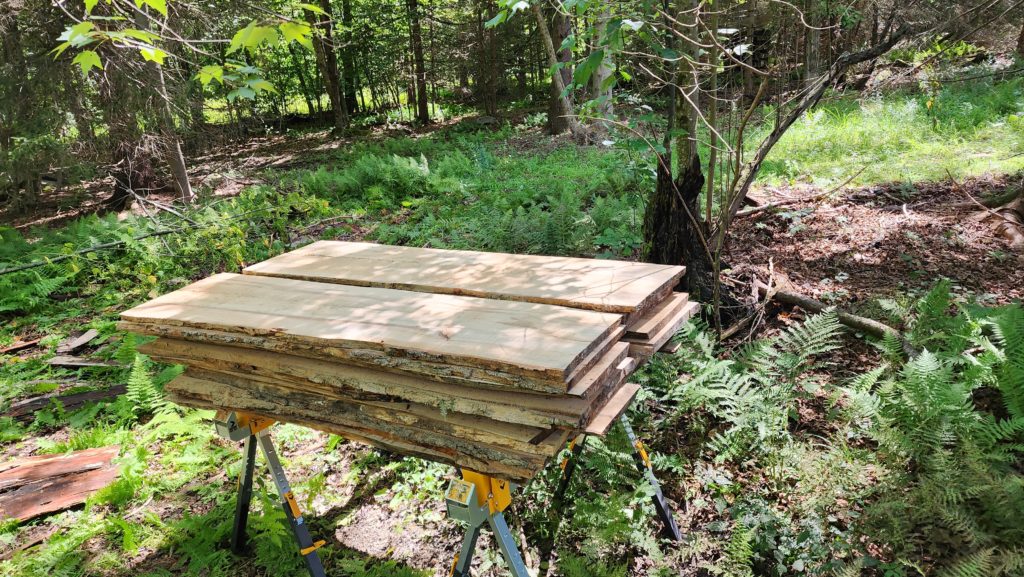
The thing is… my wood drying area is already full.
Good thing my friend gave me this “portable garage”…
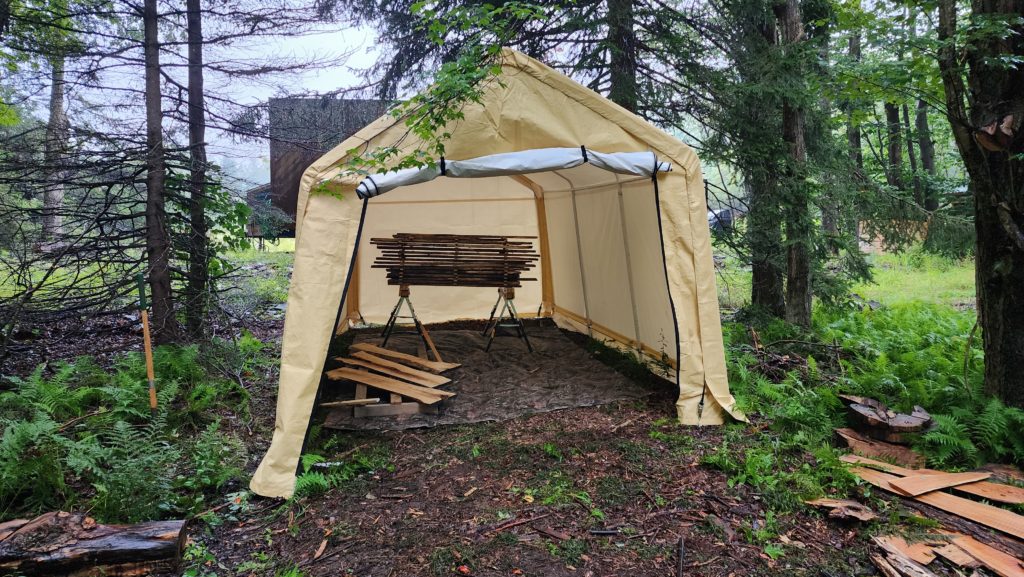
At some point, I’ll make a more proper support structure in there. For now, a tarp on the ground to minimize evaporation into the structure from the earth, and an open end for air exchange. Will it survive the winter? A fair question. Maybe? It’s in a very protected spot, so perhaps it won’t get snowed on so much and for sure it’s sheltered from wind. Ask me in the spring how it went 🙂
A few surprises arose while milling. Some interesting figure, as often happens, and a staple, buried deep in the log!
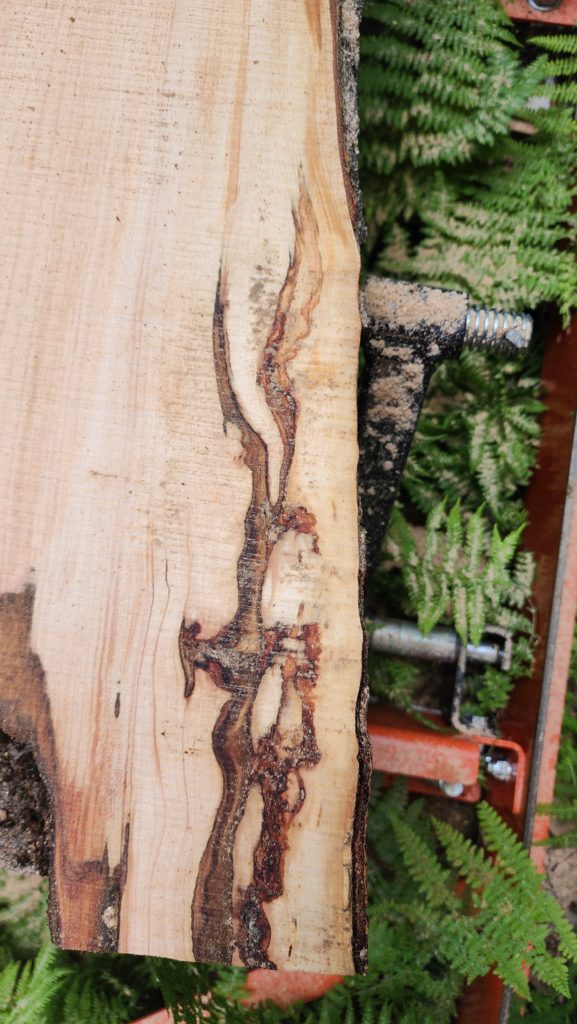
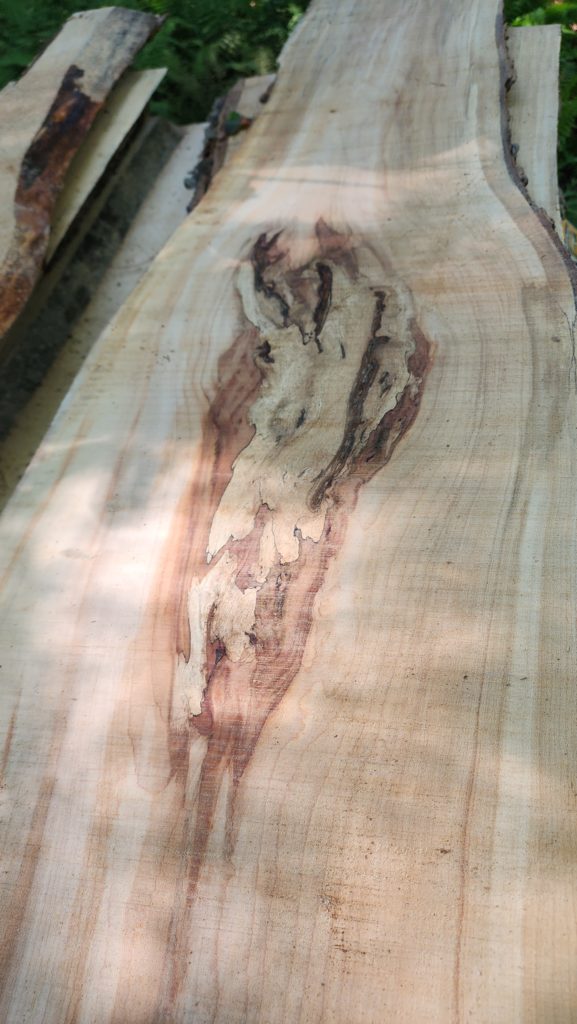

The thing with the staple is that the metal beats up on my saw blade rather a lot. It’s unavoidable if the metal is buried inside the wood, where it can’t be seen until the log is sliced, but still, it’s annoying to put so much wear on the blade over the course of a half inch.
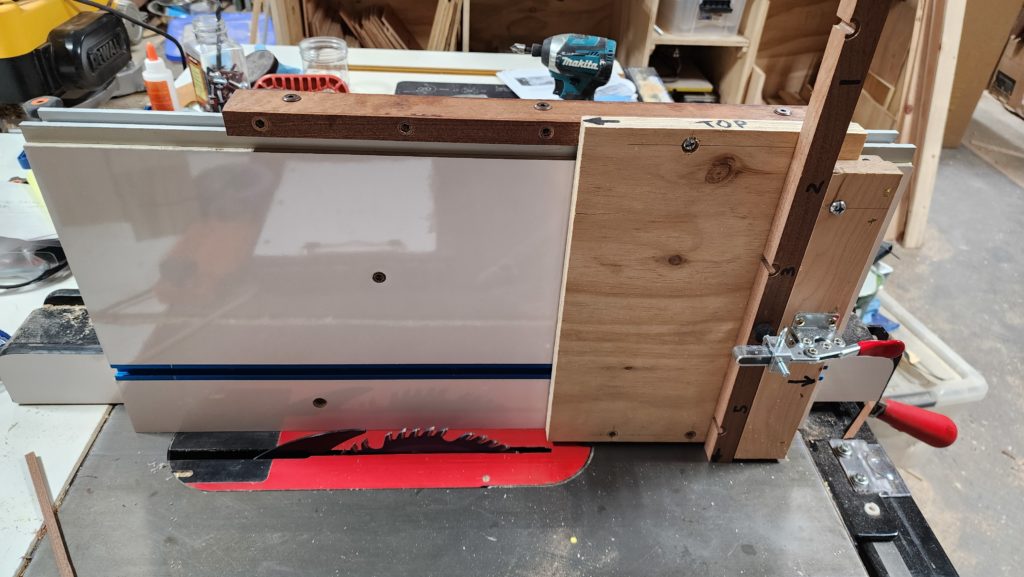
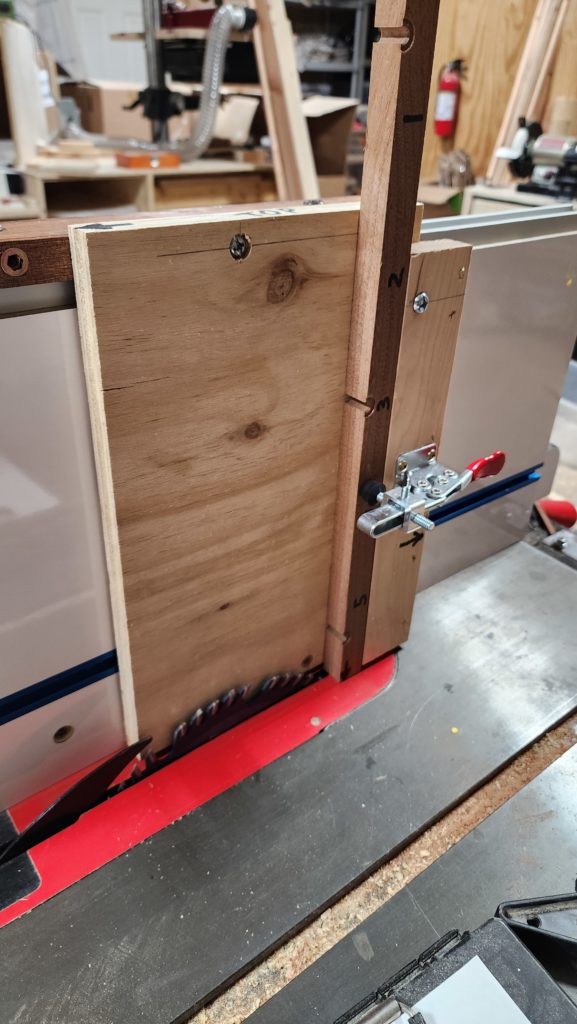
I’ve also built this fixture in the woodshop for use with the table saw. It secures to the rip fence and is itself solidly built. It has a few purposes. Shown here, you can see a carriage that rides in the top track, holding a vertical work piece (dark) so it can have cuts made safely on end. The whole thing is driven from the top, far from the blade. The track keeps it all aligned and the toggle clamp keeps the work piece firmly in place.
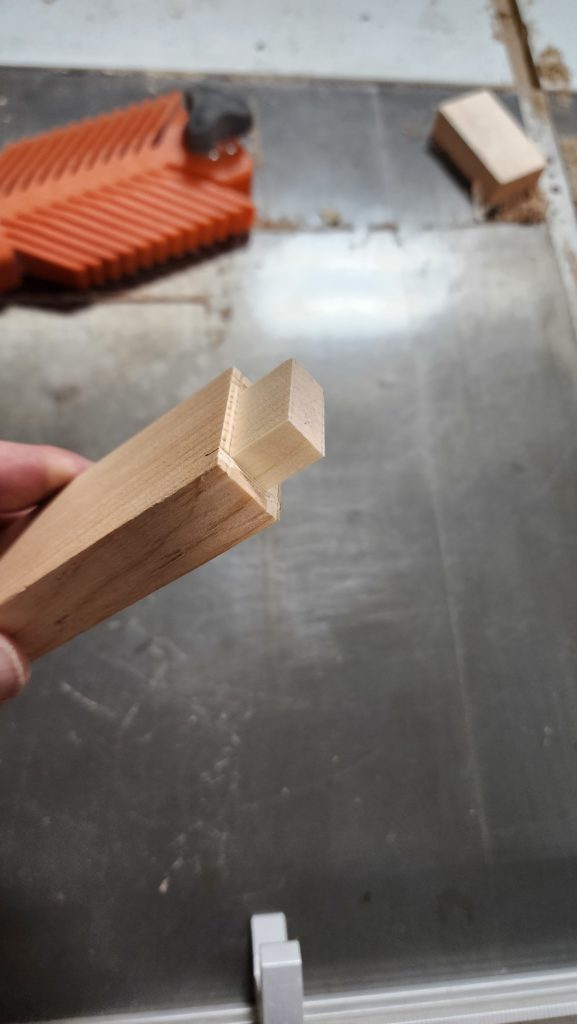
The purpose of such end cuts is this, which involves some flat cuts and some end cuts:
The fixture has other uses, too. The blue track is used to mount featherboards, which hold work tight against the table. This is useful for thin pieces that may be slightly bowed or to ensure more uniform groove depth as a slightly wavy piece rides over the blade. This fixture also works for the router table.
There are also threaded holes in the face which can mount other stationary fixtures as desired.
A 45-degree carriage (like the first one, but holding the work at an angle instead of vertical) can cut grooves for splines in mitered frames.
As you can see, a super versatile fixture. I’m looking forward to the increased safety and precision that it offers. End cuts without a tall support structure are treacherous. I’ve made such cuts — not all have ended well. I have scars to prove it.
I have already used the fixture to make a replacement part for a broken chair — a stretcher with two tenons like shown above — and it was fast, easy, precise, and safe. Hooray!
And lastly, I leave you with these random images from Lincoln, Nebraska.


