They say of a rainy day, “it’s nice out… if you’re a duck”, but as far as I can tell, these ducks had no interest in waddling about when we were having heavy rains recently.
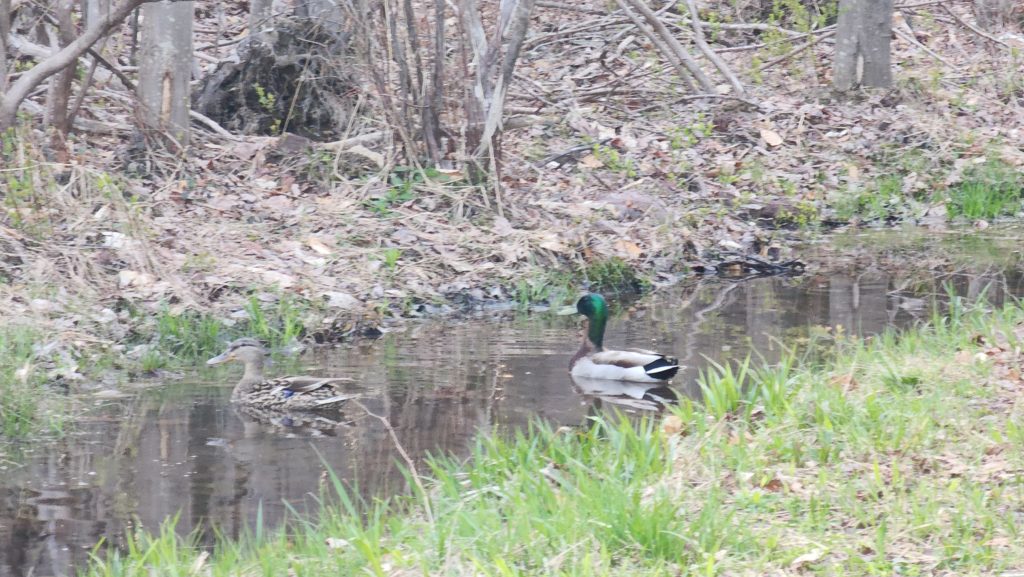
That said, my little drainage channel (a/k/a frog habitat & nursery) seems to have attracted a pair of Mallards. Usually, ducks prefer larger bodies of water, or so I thought, but I’ve seen them around quite a bit over the last week or so, notwithstanding the heavy rains of the past few days. I wonder if they’re scoping out the neighborhood in consideration of starting a family here. That would be lovely, some ducklings! There’s a big lake not far from here, so I’d have thought that open water was a bit more appealing to Mr & Mrs Mallard, but what can I say, here they are and here they seem to return. Ask me in a month if I’ve got ducklets 🙂
In other water news, it was time to change the sediment filter on the well. There’s a good reason I have the filter. This is the reason.
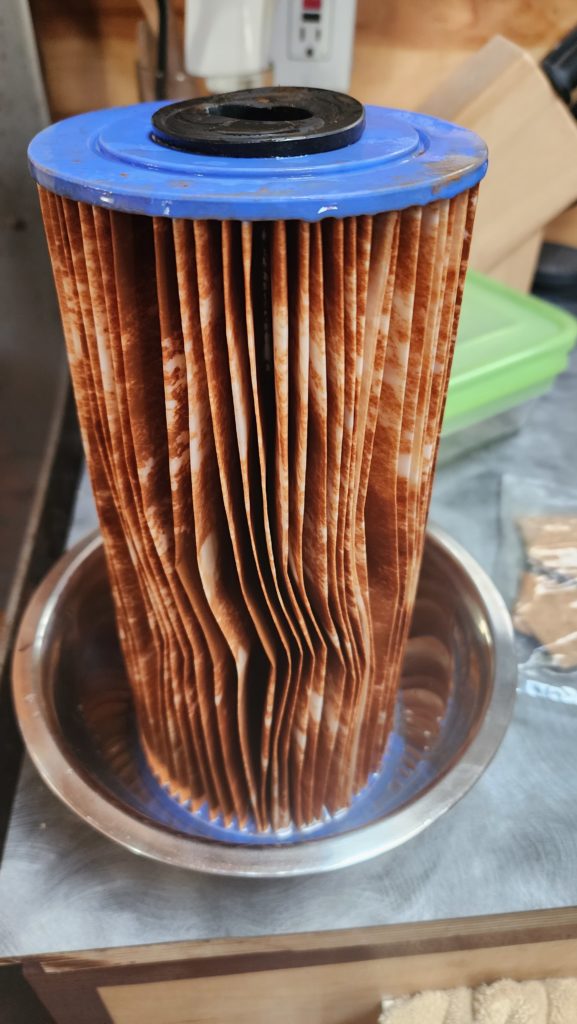
Lots of very fine red dust. The area is known for its shale and shale can definitely be about this color, which is what I think this is. I’ve not had it tested, so I don’t know for sure. Speaking of tests, though, since I’d been having some digestive issues, I thought it prudent to have my well water tested. It turns out this can be a largely self-service activity. I ordered some tests, got a bunch of bottles in the mail, along with various shapes and sizes of shipping-back containers. Some of the tests needed just a little water. Others, surprisingly much. There were three test suites ordered and these are the return bottle sets.
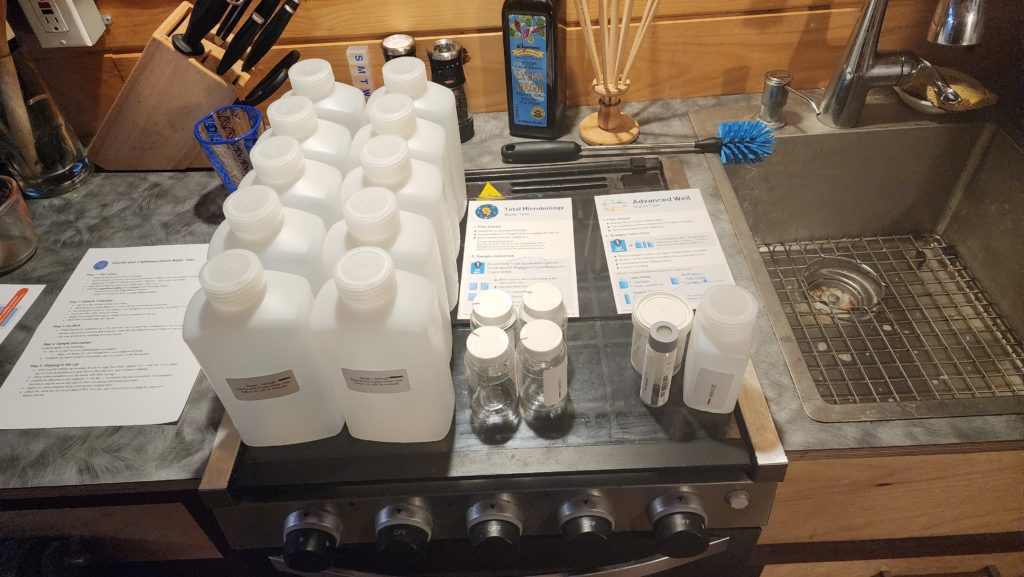
They all had to be chilled and sent back next-day to the lab. This explains why the tests were so expensive! Imagine filling these all with water (about 11 liters in total) and then packing them in ice in styro boxes or a cooler, in the case of the set of 10 bottles, and shipping all that weight next-day. Yeah, I bet at least half the costs of the tests were in shipping alone!
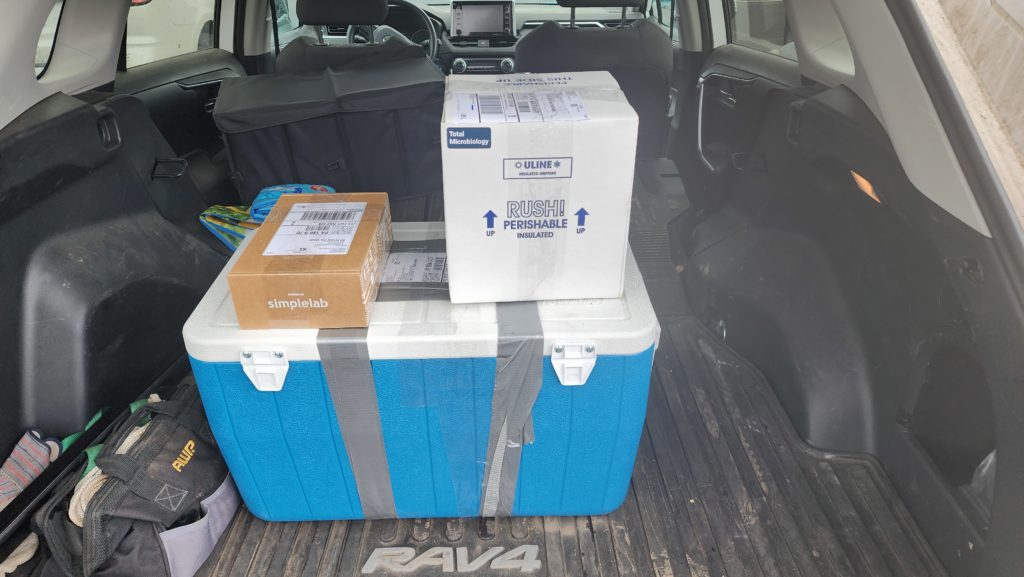
Ready for UPS. Yeah, they sent me that blue cooler to use as a shipping container! The thing is, how does on keep it shut? I mean, sure, it’s got latches, but for handling by UPS, one wants it secured so it doesn’t just come open accidentally, right? But nothing sticks to the textured plastic surface! I wound up simply wrapping it with duct tape and sticking the tape to itself. That worked, but you might imagine that once this thing is full of 20# of water in bottles and then packed with ice, it’s a little awkward to then wrap it in tape that sticks to itself just fine but not so much to the cooler. Add to that the cooler exterior was damp from condensation (I left it outside the night before because it was a cool night and that would easily pre-chill the cooler). Not a fun time but it got done.
So, how’s my water? Well… (no pun intended… well… okay, maybe a little it was) two of three test suits are in and so far nothing alarming. For sure nothing measured registered over the federal limit for drinking water, but are those limits really actually for real safe? Hard to say. But at least nothing is obviously egregious. So far, at least, good news: nothing to really worry about, though the water could be cleaner (water can always be cleaner) if I cared to add more aggressive filtration.
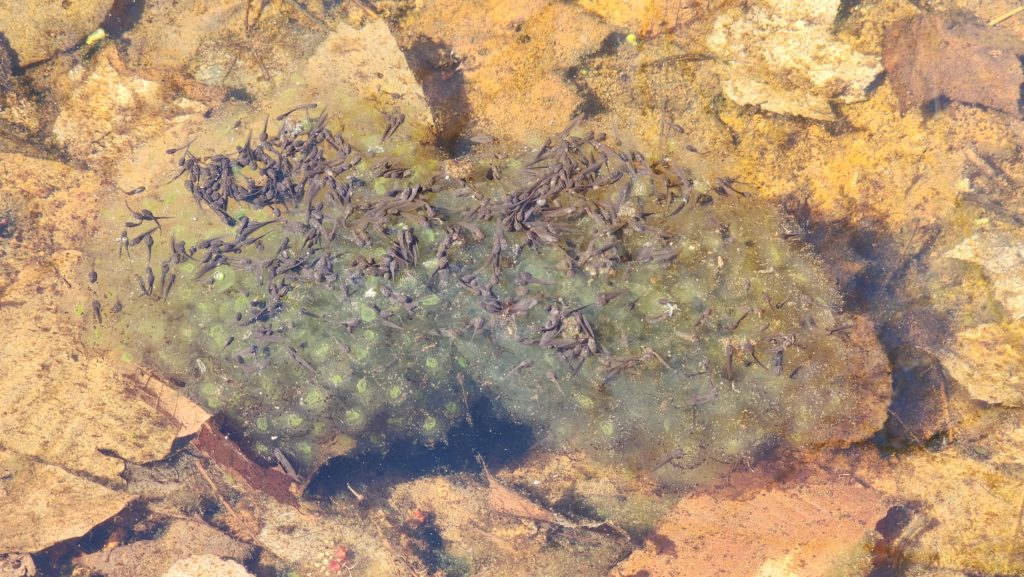
In other other water news, frog eggs have hatched and I have a fresh class of froglets!
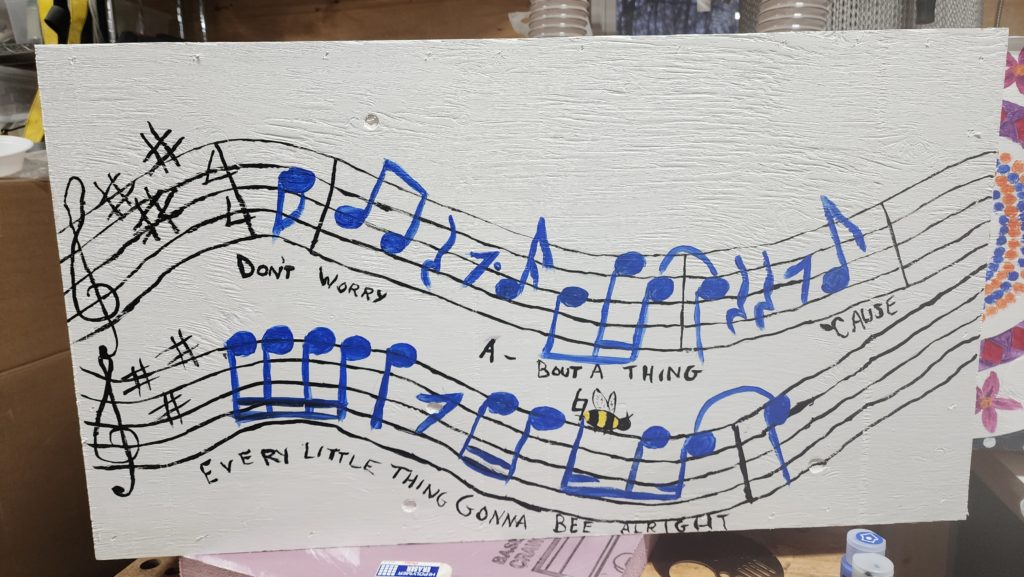
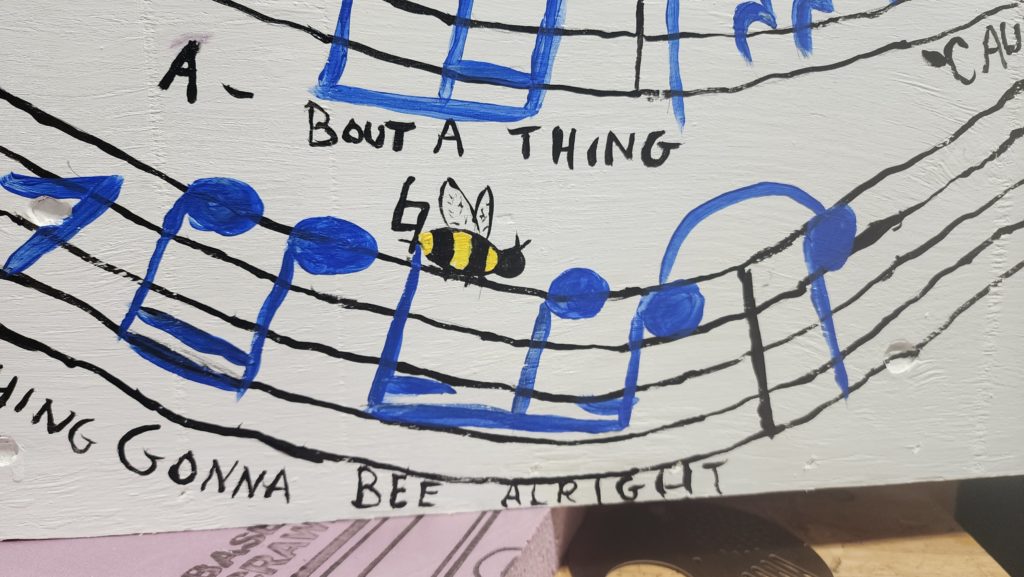
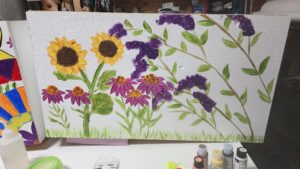
Beehive construction is just about complete. I have built the hives, painted them, D has arted their fronts.
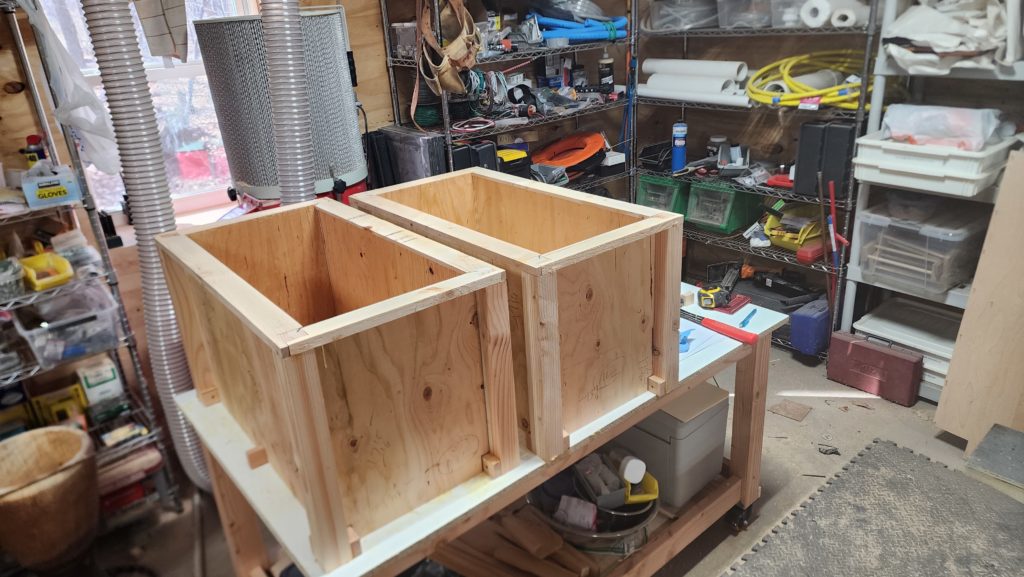
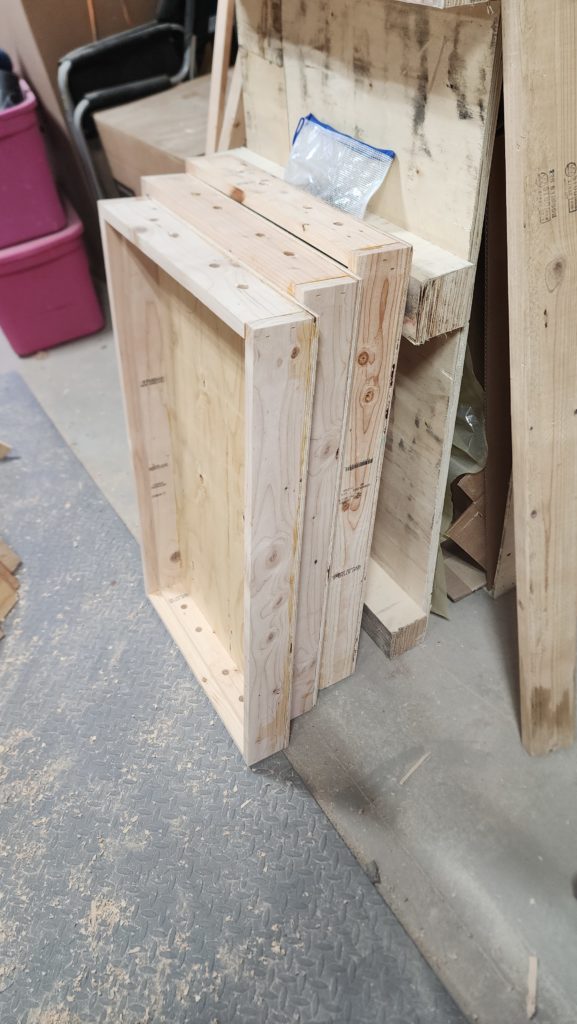
Shown above, before insulation is installed on the outside. Remember the assembly table? This is what that’s for. They have lids, too:
These are the hive fronts, before the entrance holes are drilled, after D arted all over them. Click for larger.

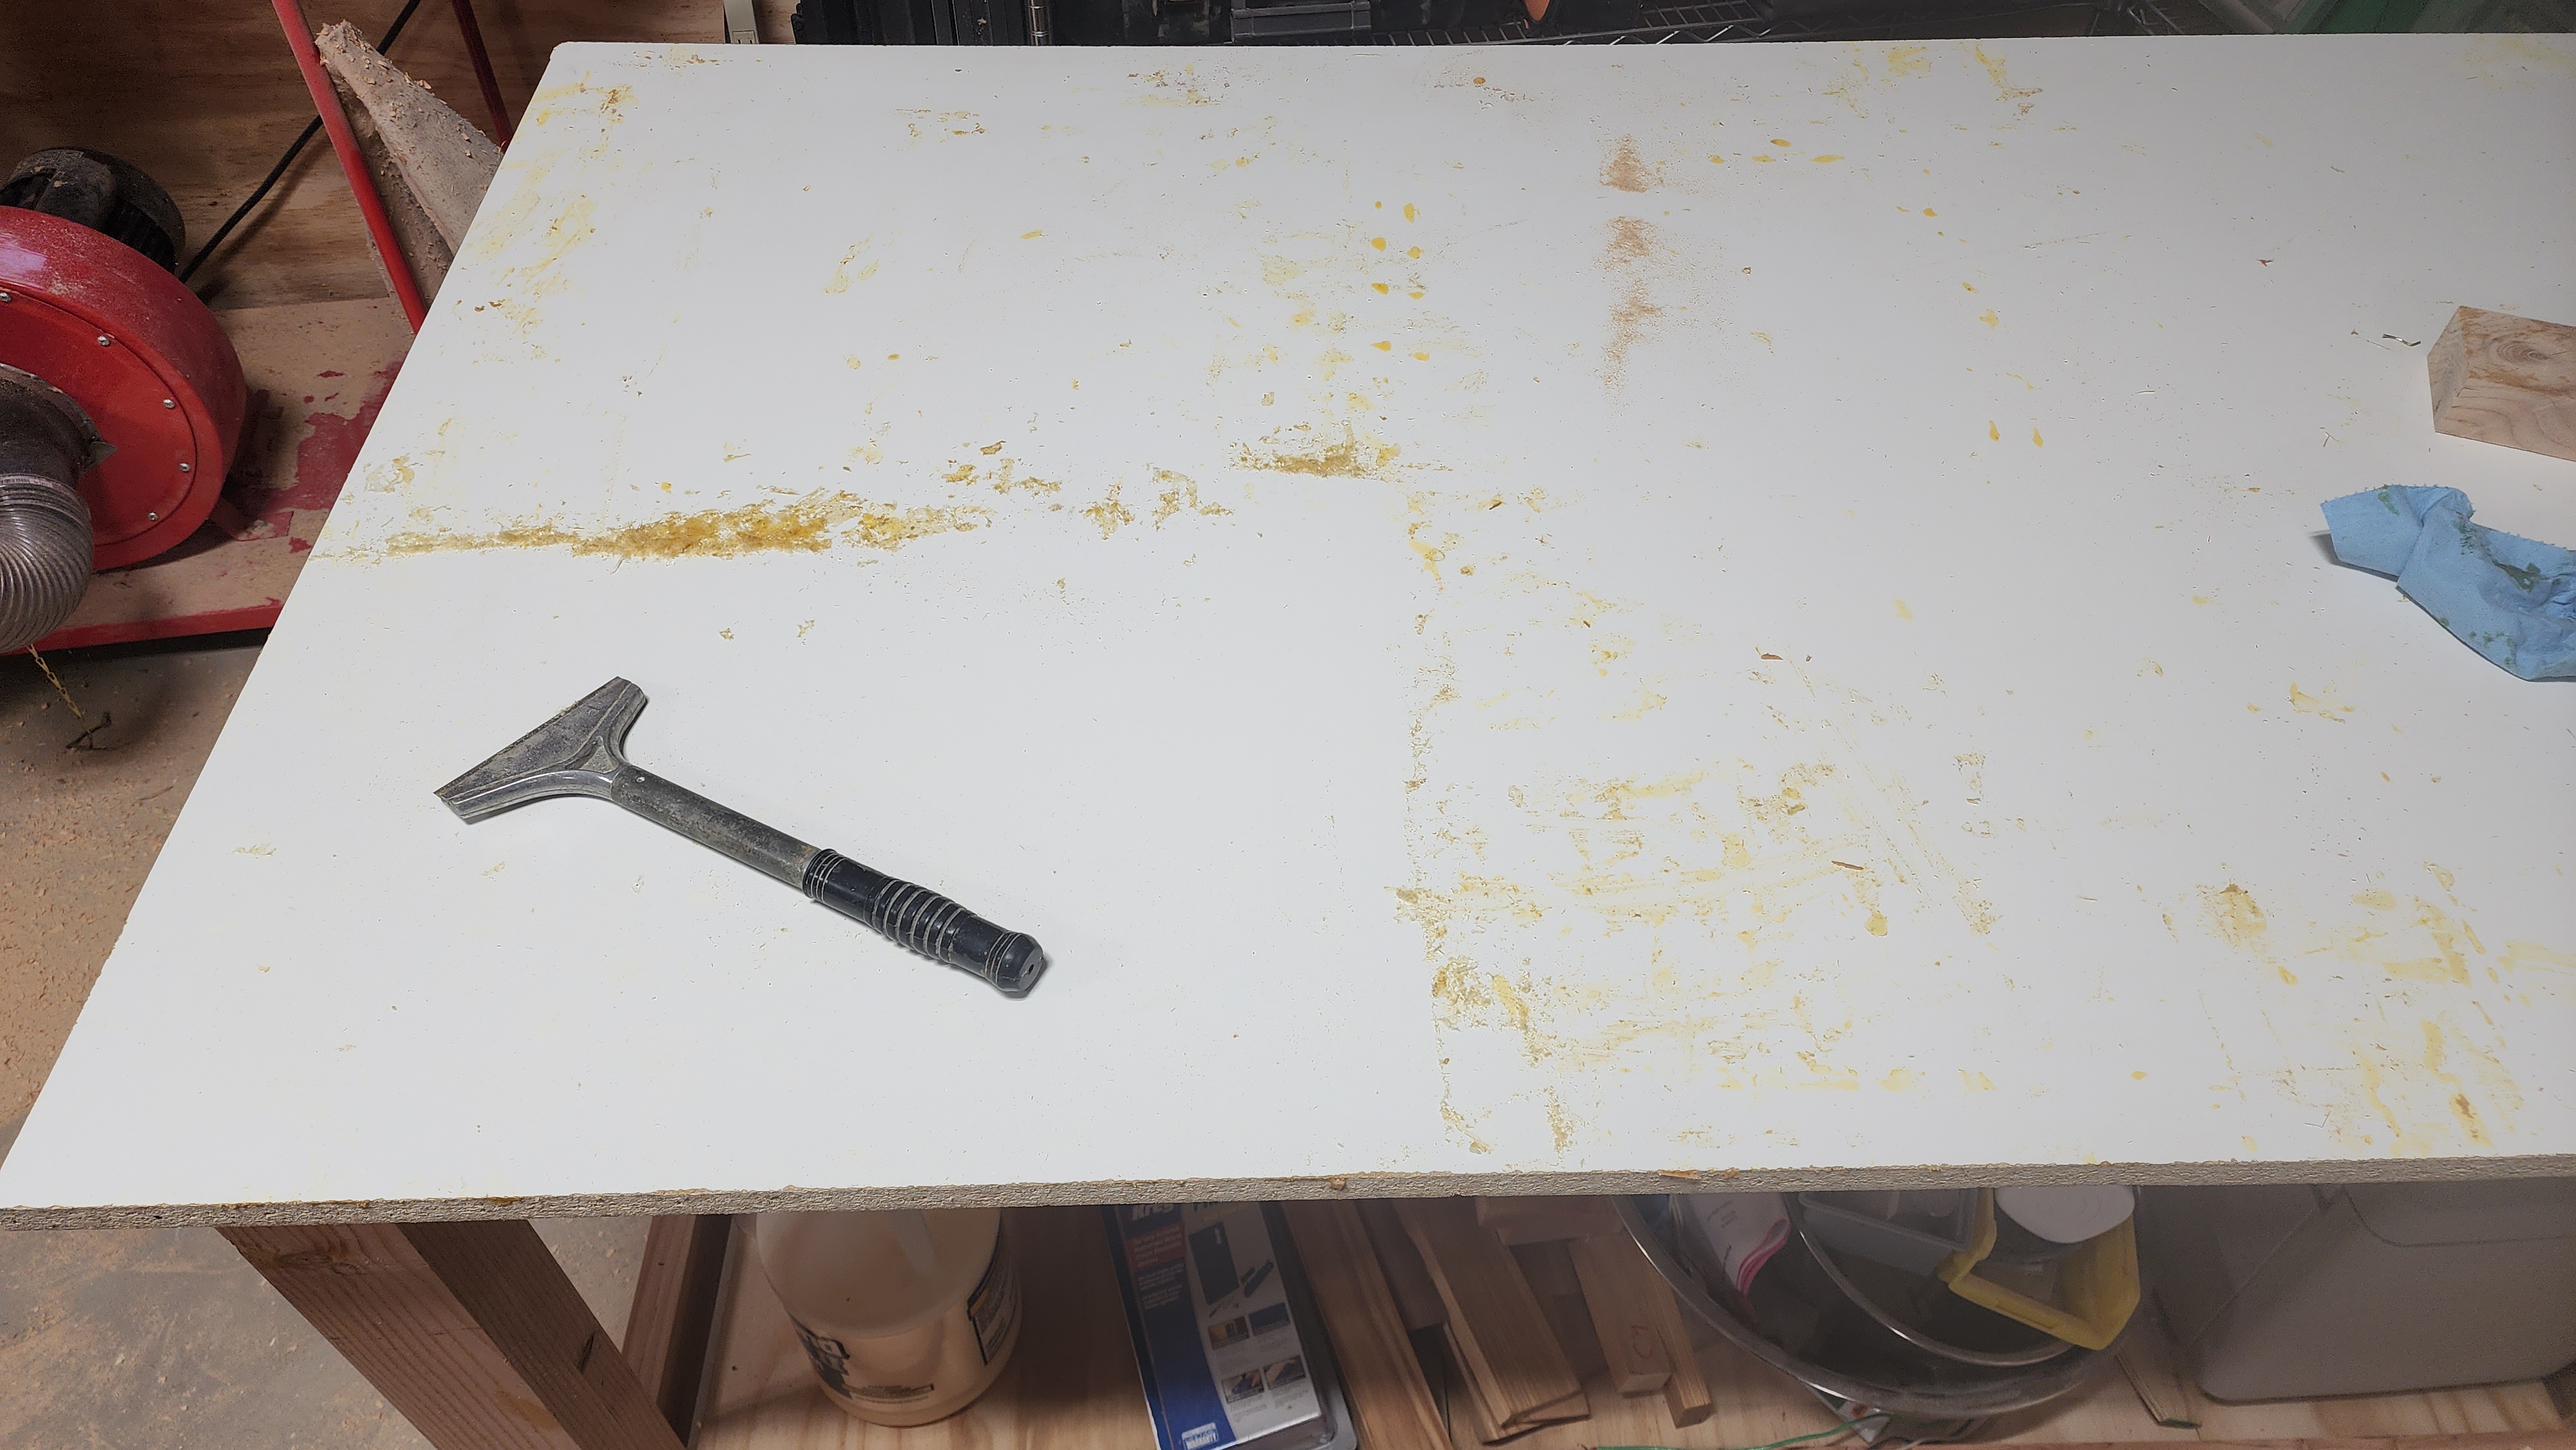
One of the special features of the assembly table is the melamine laminate top. It lets me not think about glue mess while working and just scrape it nicely clean after. EZPZ.
The other things that have to happen before I can put the hives out in the bee yard is to install a bunch of frames in them. And I have to (electric) fence off the yard, too.
The frames are done – four parts each, plus wire (holds the honeycomb in place during centrifugal honey extraction), times 60 frames. A lot of parts! Each frame looks like this at first.
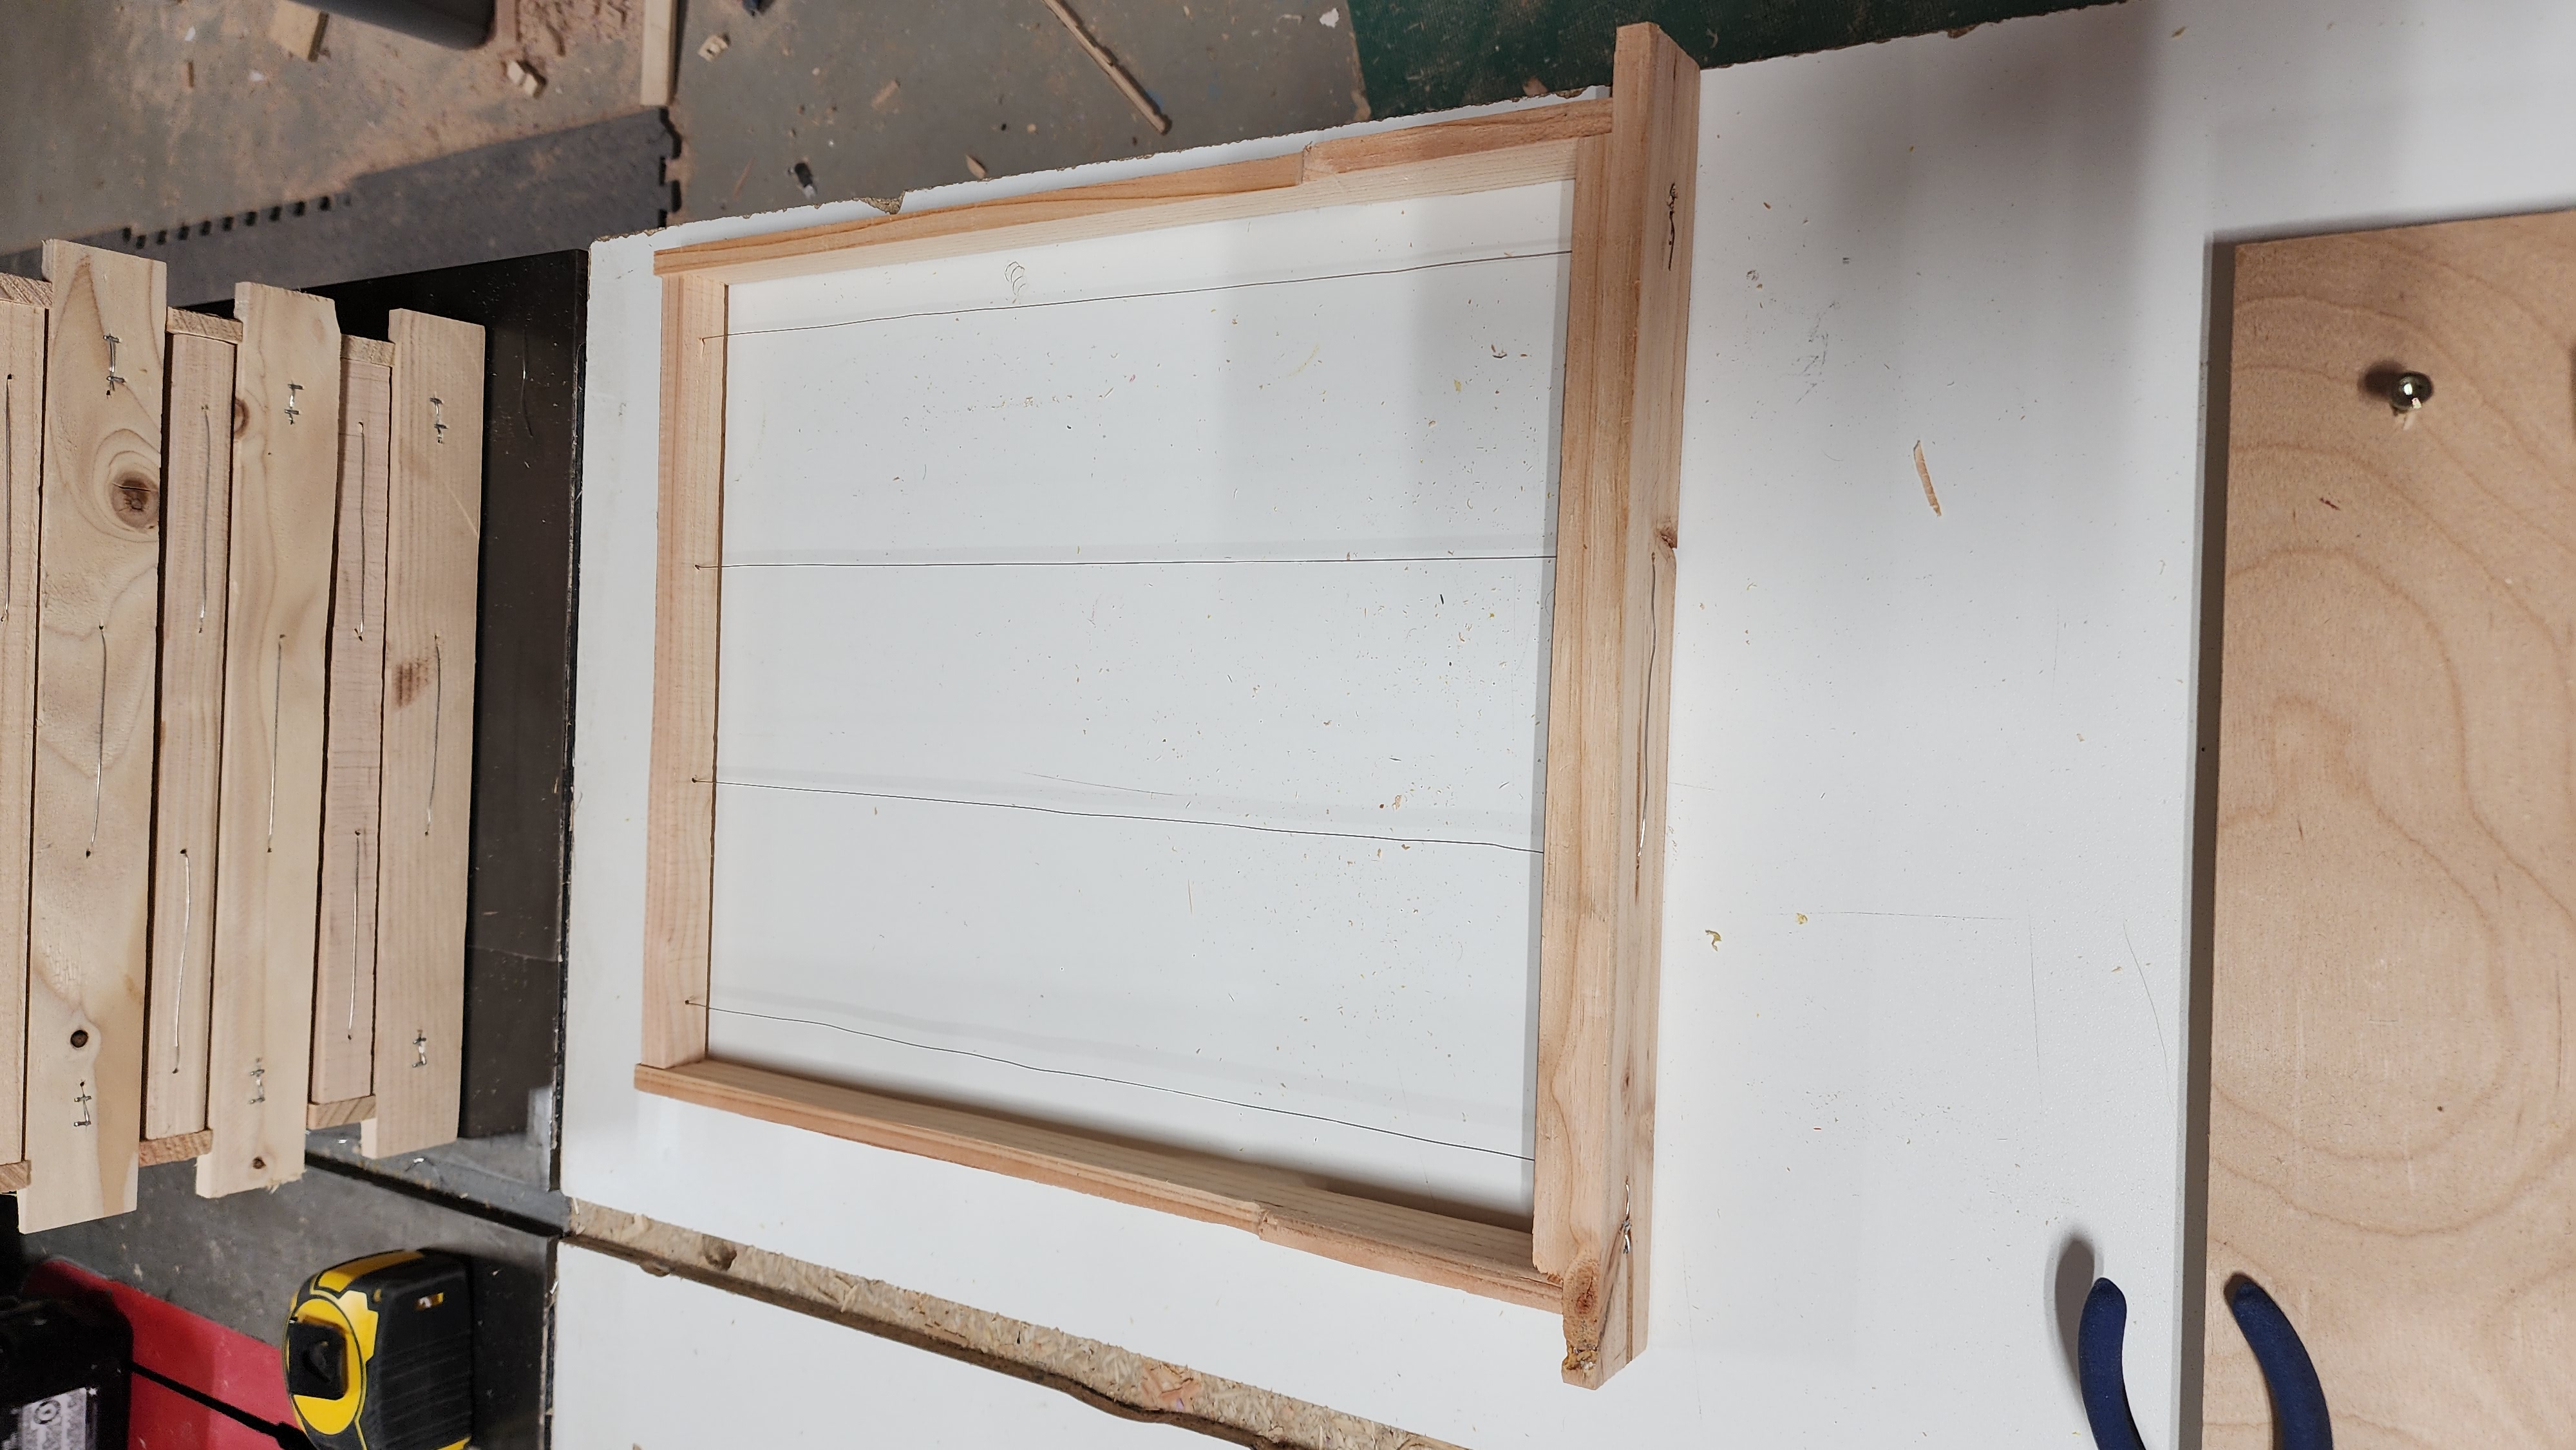
Then I lay some beeswax foundation — basically a thin sheet of wax with honeycomb cell outlines embossed on it. Bees are keen to continue work already done, so they’ll simply draw out these comb cells as-is. This saves them some starter work but most importantly, guides construction so the honeycomb is centered on the midplane of the frame. I use electricity to heat the wires which then slightly melt the foundation, just enough to get the wires embedded as the weight of the foundation sheet presses into the hot wires, securing the foundation until it’s drawn out into proper honeycomb and locating it exactly in the midplane where I want it. This takes only a few seconds.
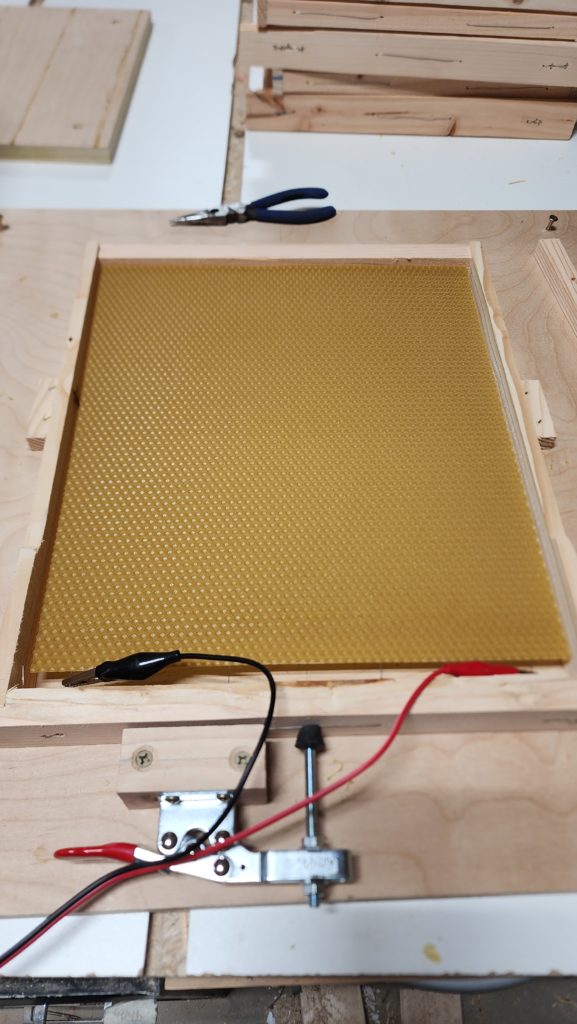
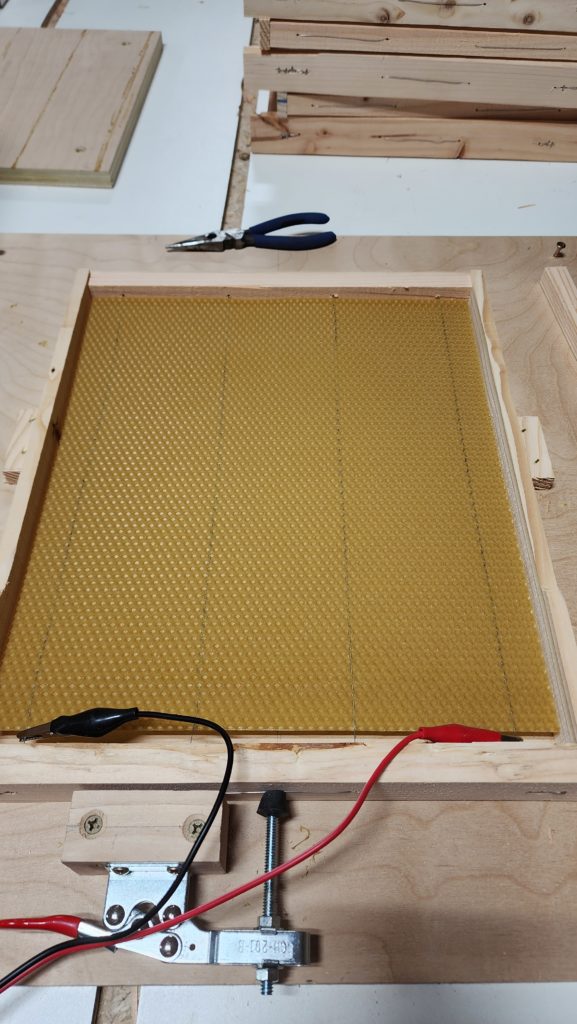
And presto, a lot of finished frames.
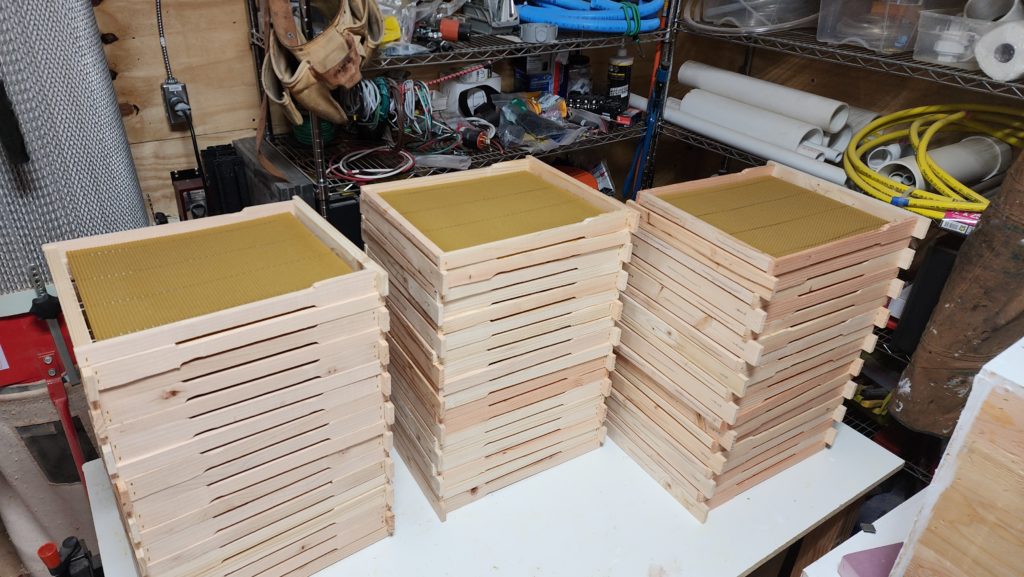
It’s important NOT to fill the entire hive with frames when getting started. The bees will get overwhelmed with how much finish-work there is. It’s better to just put a few in, then more later as they build out. So I’ll need yet another box to hold the prepared frames until then, keeping them safe from pests and such. That’s in progress.
Meanwhile, e-fence materials are arriving every few days. I’ll have a temporary fenced area established soon, at which time I’ll put out the hives with the stink-me-nice meant to attract local bees in search of a new home.
Hey, speaking of workshop, a quick bit of workshop minutia apropos of making the frames. I bought this nifty table fixture for my drill press. Note the aluminum flip-stops (long fingers with holes).
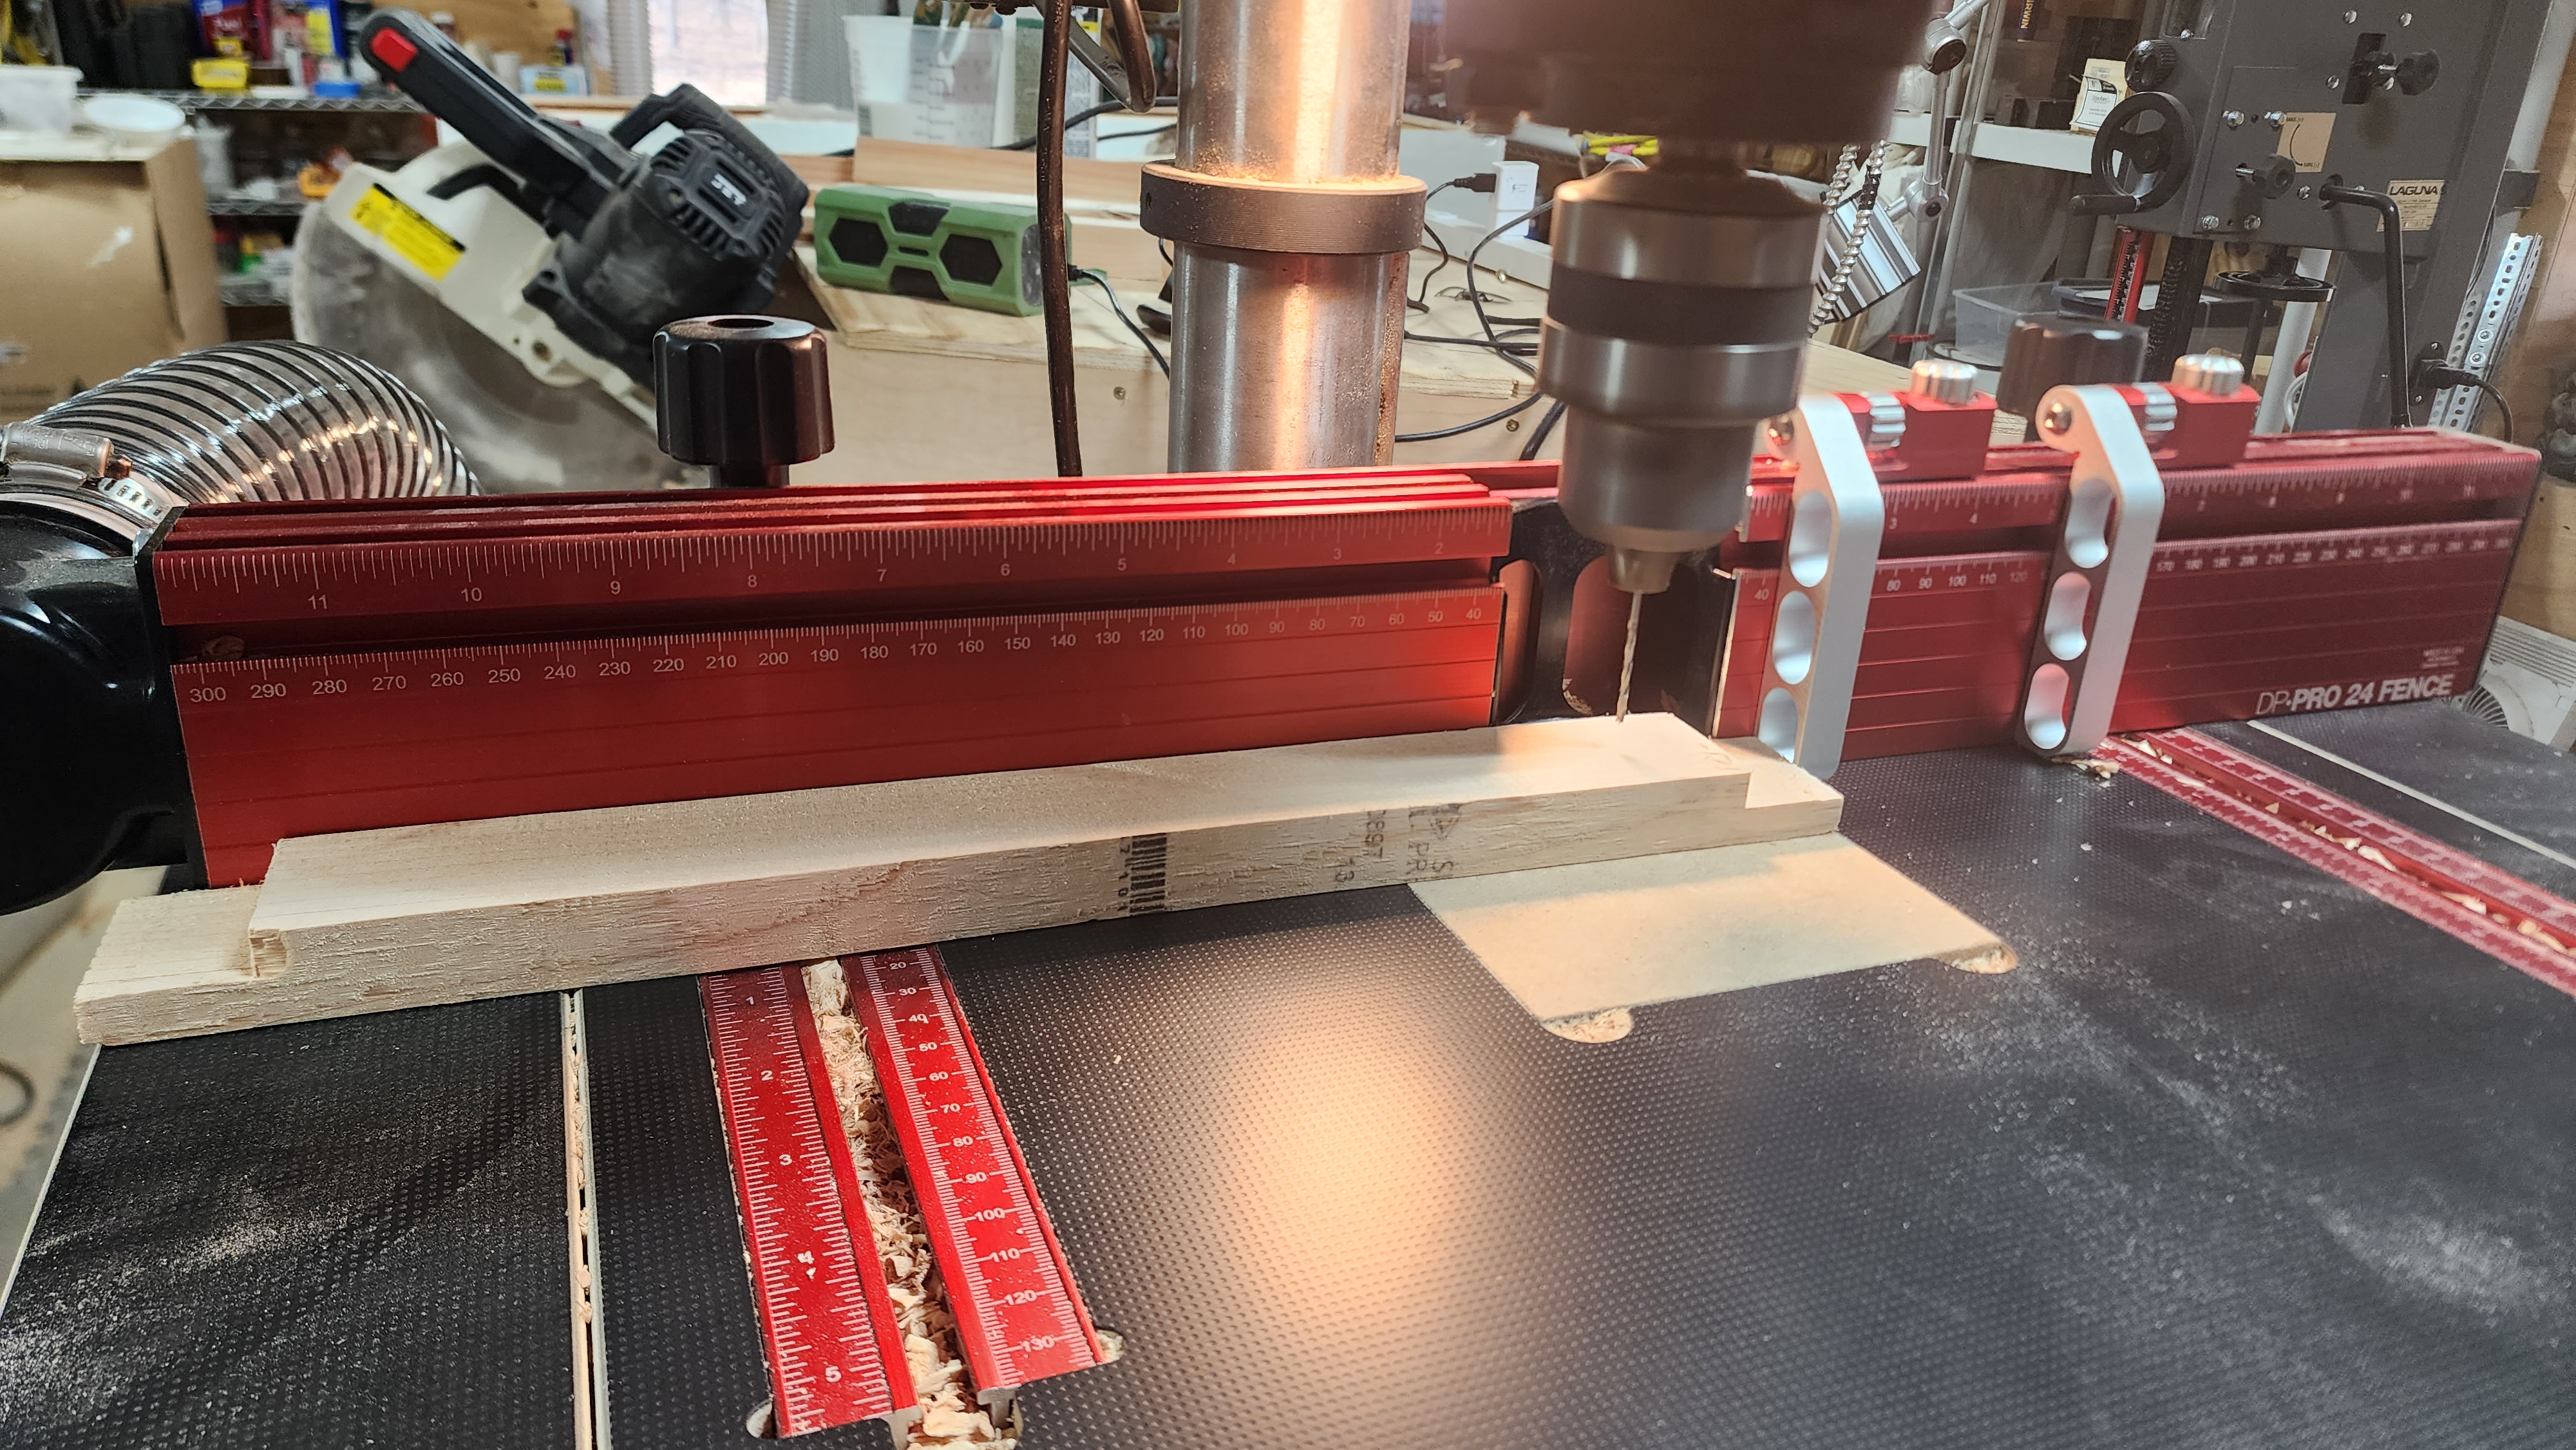
These are so handy! I had four holes to drill, symmetrically along the length of the top and bottom bars of the frames. I set the stops for two of the positions. Drilled hole #1, flipped up the stop, slid the workpiece to stop #2, drilled hole #2, spun the workpiece around, drilled hole #4 (opposite #1), then backed it up and restored the first flip stop and drilled hole #3 (opposite #2). This is super quick and easy to repeat 60 times. Drill, flip, drill, spin, drill, flip, drill, flip, done. The drill press table had a stupid dust port, though, expecting some kind of fitting that I didn’t have. But I do have a 3D printer… so now I have the fitting.
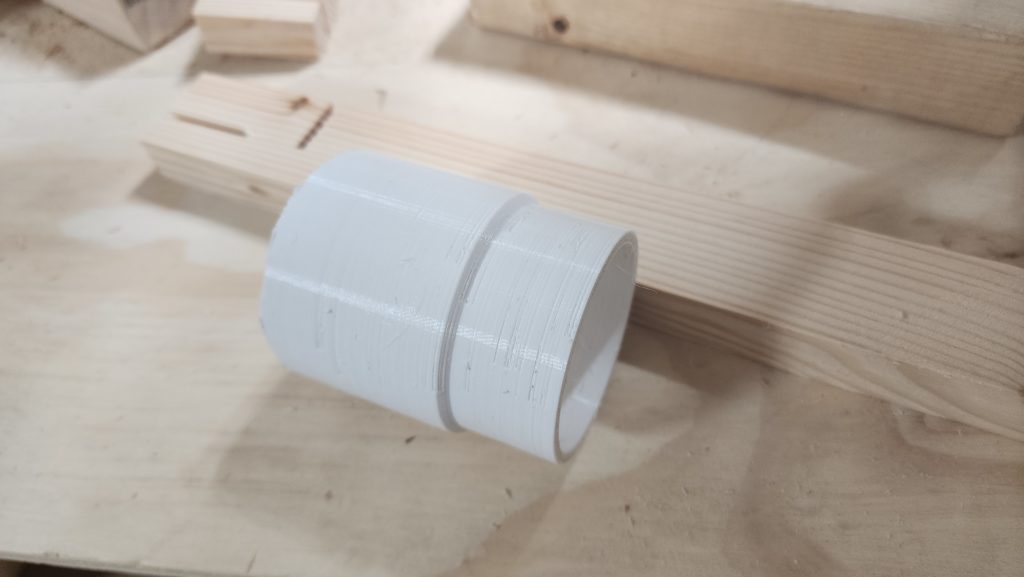
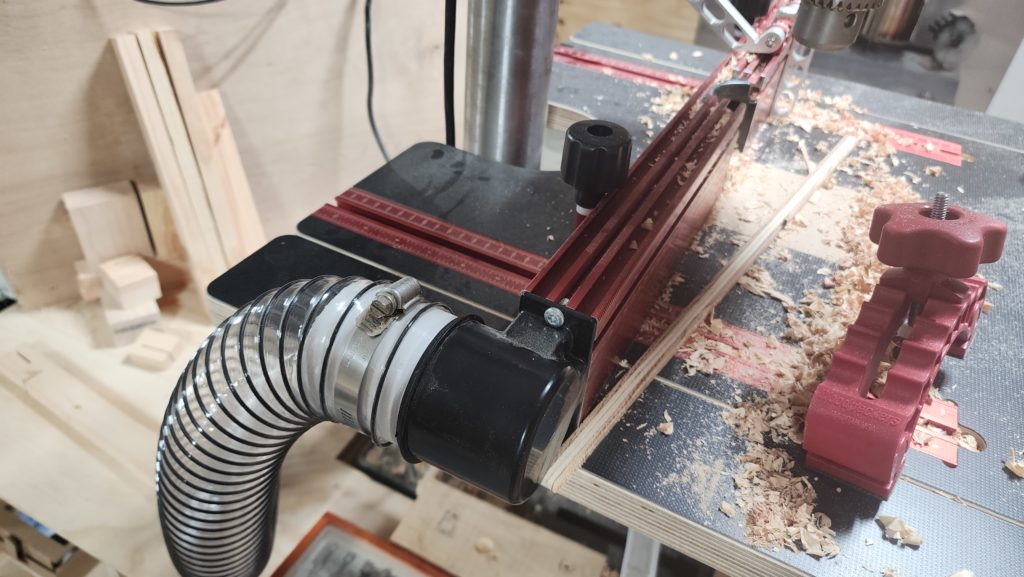
That’s the great thing about having a 3D printer – if you need a thing, you can often make the thing. The fused-filament printing technology isn’t perfect and sometimes requires a bit of fussing about, but even so, it can be just the thing when you need a thing.
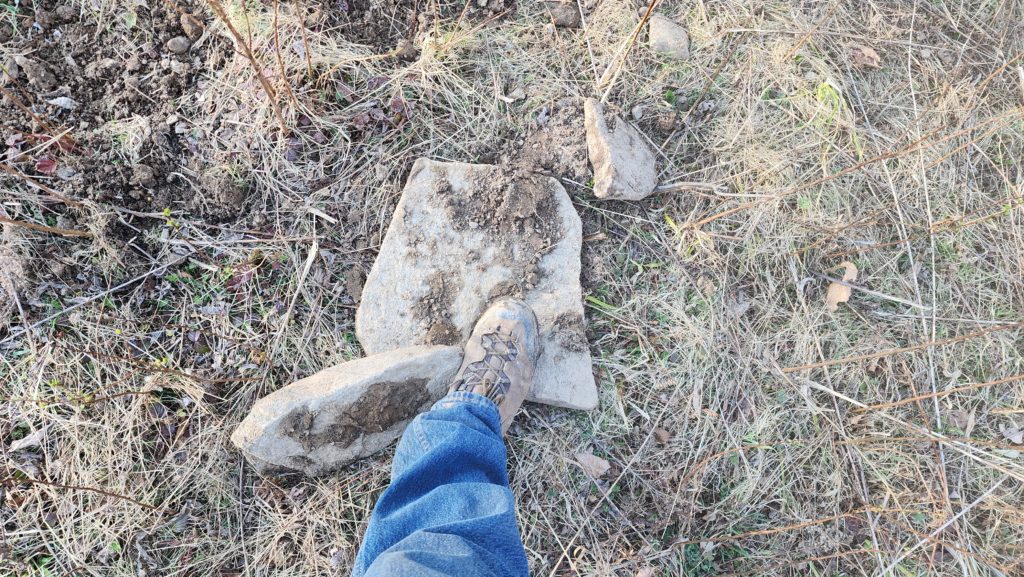
Trees! Remember the fruit trees that arrived at the end of the last post? Now they’re in the ground and thriving. To get them in the ground, though, I had to dig some holes. A lot of holes. Five holes per tree! Why five? Well… first, one hole for the tree… then, because the ground is so rocky, I had to dig out for the fence posts, too, because usually they wouldn’t go in deeply enough if I didn’t.
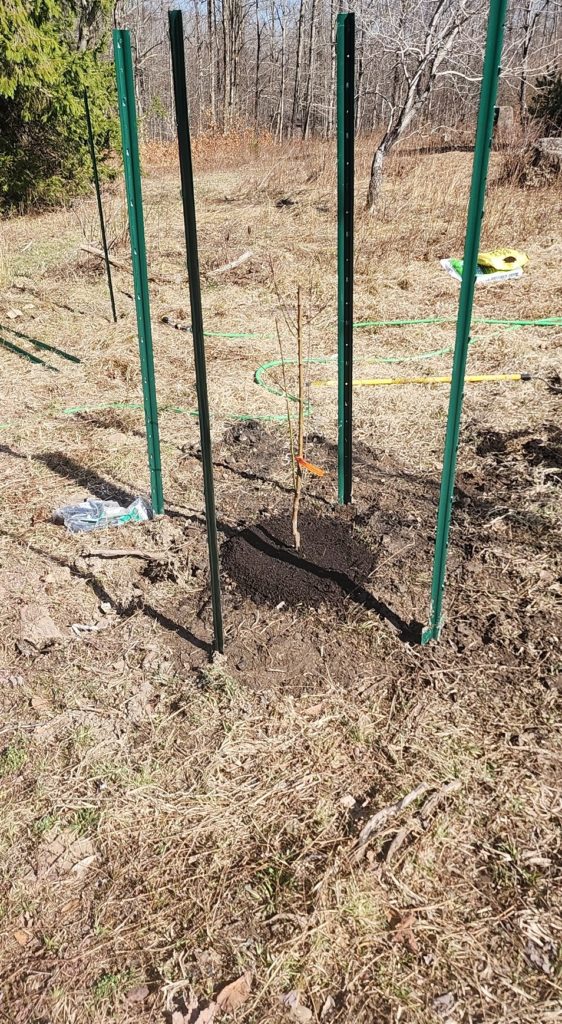
Rocky soil, I say? Rocky soil, I say. Here’s some of what I had to dig up to get the posts sunk deeply enough:
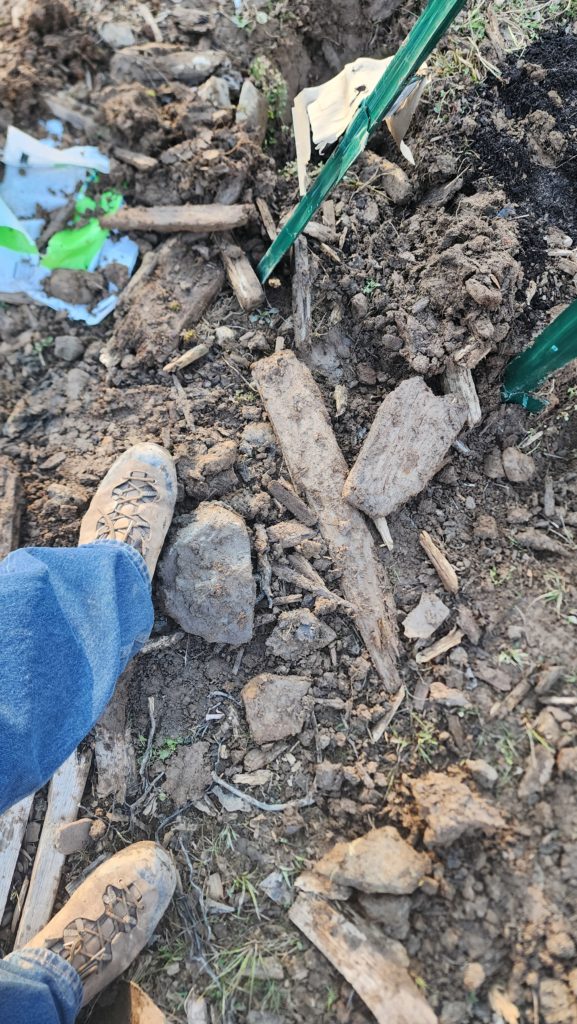
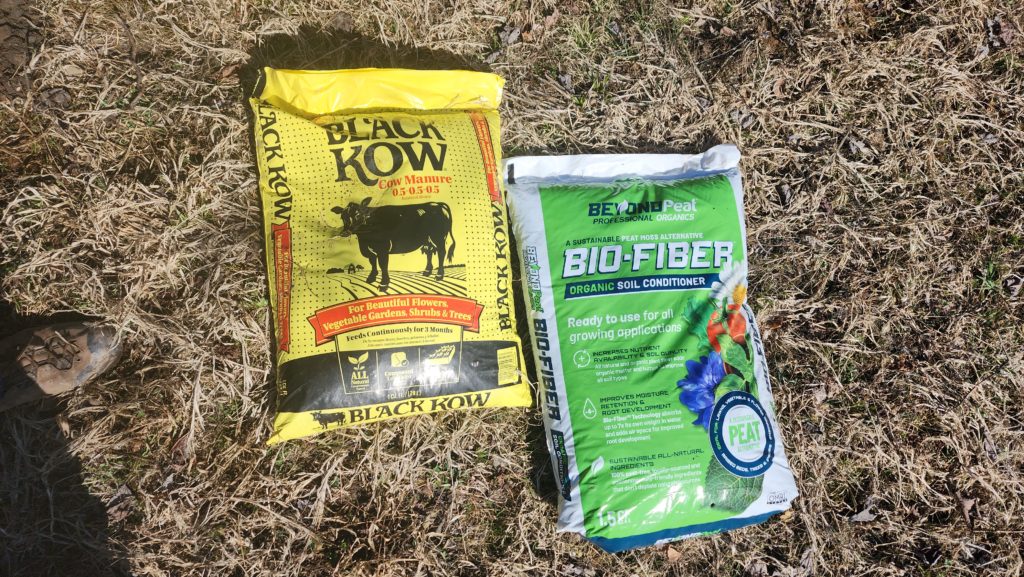
To help my new tree friends, I put some goodness in the holes with the roots.
And now all 8 trees are planted, though it’s hard to see them all in this view. There’s deer-repellant fencing all around each, which is why the posts.
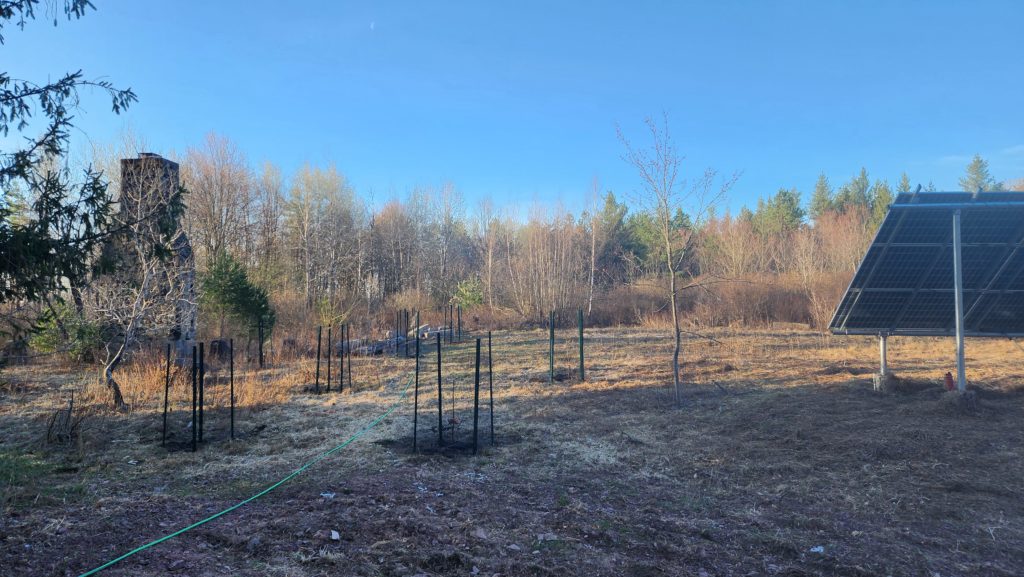
That whole area to the right, in front of the solar array, is the wildflower field. The fact that this is turning into a pollinator paradise is not accidental. The bee yard will probably go in behind the old chimney (far left). That’s not accidental, either.
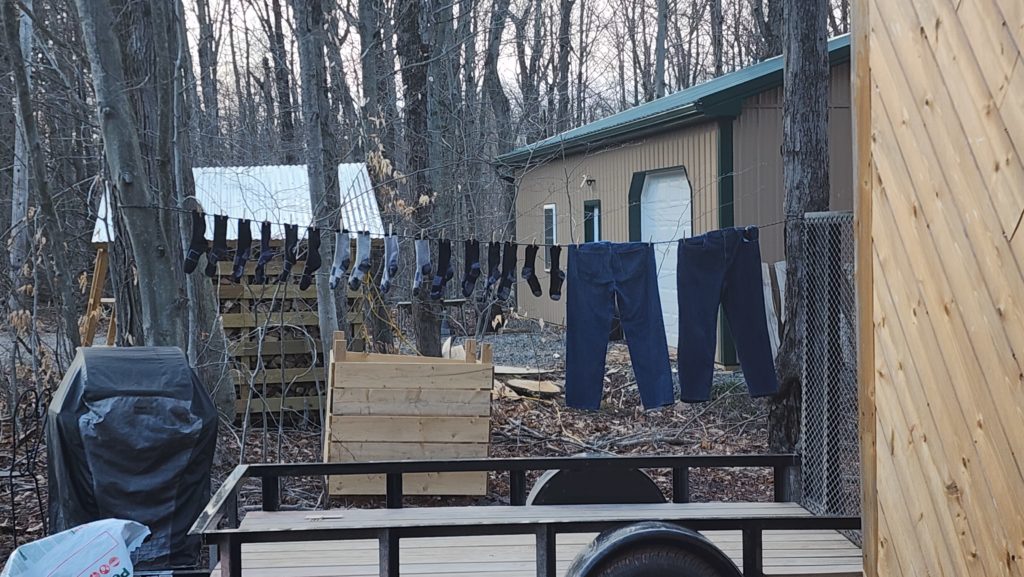
Speaking of fields and yards… it’s tick season again. Most of Nature’s creatures seem to be worthy of a degree of respect and having a role to play in the ecosystem. I’m not sure ticks (or mosquitoes) would be missed if they were gone. I’m not a big fan of pesticides generally, but tick-borne diseases can really mess you up long-term, so some protection is warranted. Here we see clothing on the line just before being sprayed with permethrin. That stuff is highly toxic to the ticks, which also means it’s toxic to what might eat the ticks, sadly, but without it, I’d be bathing in DEET every day. Before I started using the permethrin, I’d get at least one tick, if not two or three, any time I went out anywhere but the middle of the road. The place is profuse with them. I’m told by the property owner that 20y ago there were basically zero ticks here, but I’m telling you today there are quite a lot.
In other tree news, the two big, dead trees in front of the house are now down. I had a pro do it due to the trees’ proximity to the house and some power lines.
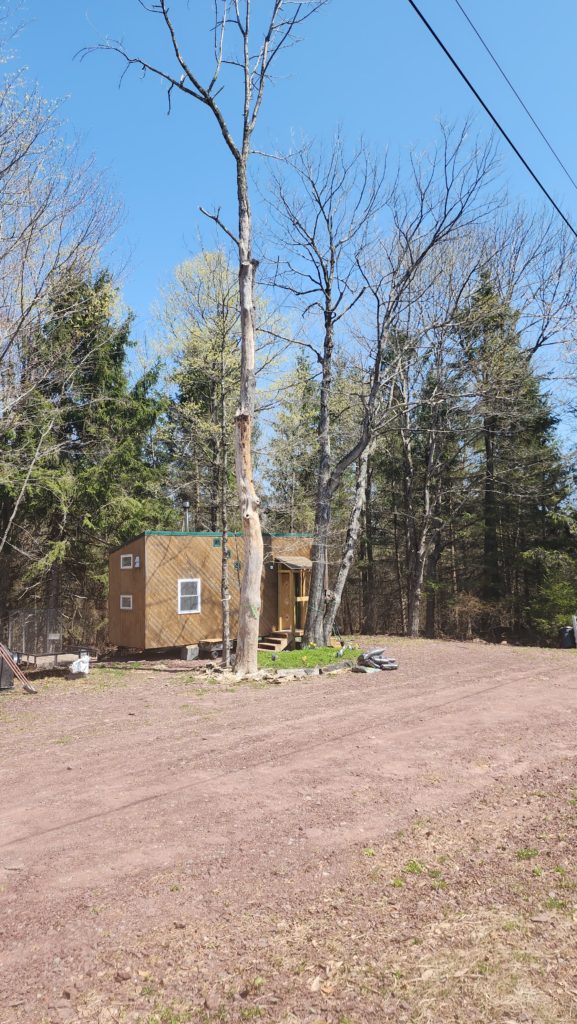
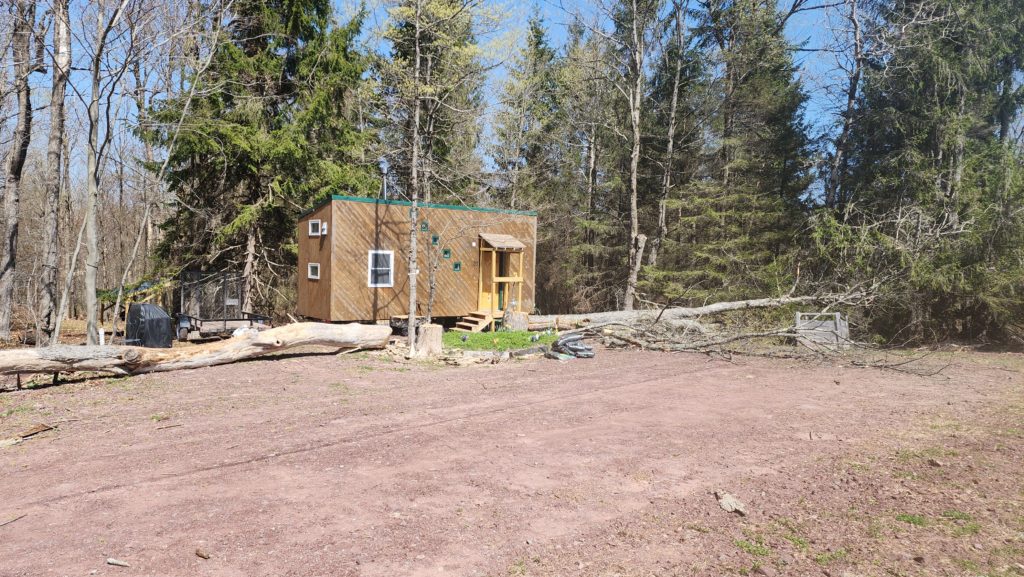
The good news is they managed to miss the spring garden, the house, the power lines, and the compost. The bad news is (1) the crookedness of my porchlet is now much easier to see and (2) it turns out the big ash tree (left) was dead for too long and dried out a bit, cracking all the way through, making its lumber unusable for projects. The tree was sad, too…
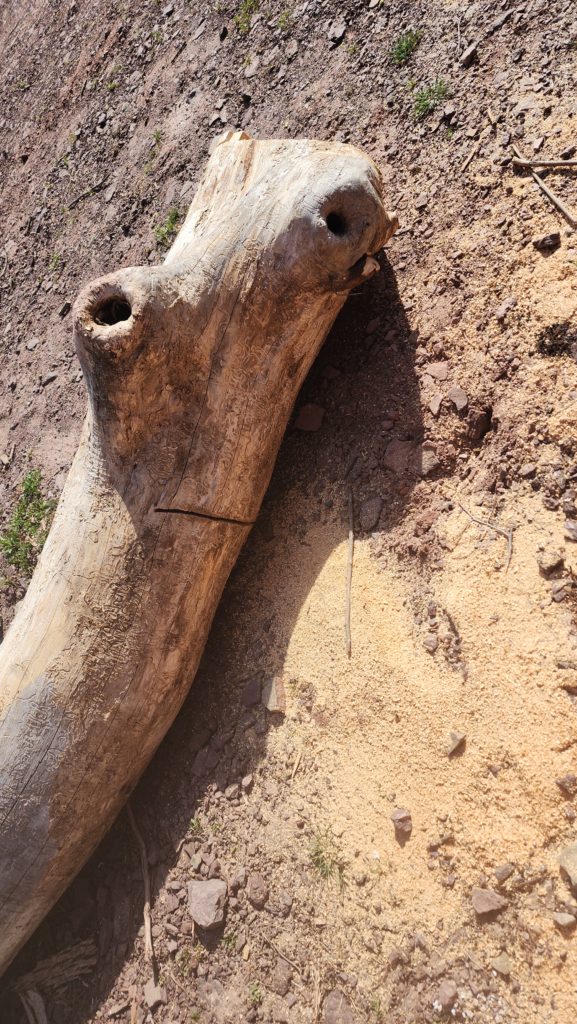
Maybe I will slice it, stabilize and fill the cracks with epoxy, and then turn those slices on the lathe into plates/platters/bowls. That might be nice to do. Meanwhile, it’s heavy work to cut these felled trees into manageable sizes. I’ve learned a little bit more about lumberjacking since the last time I did any of this and with that knowledge, I knew to buy some wedges. These prevent pinching of the chainsaw while cutting sections that are under compression.
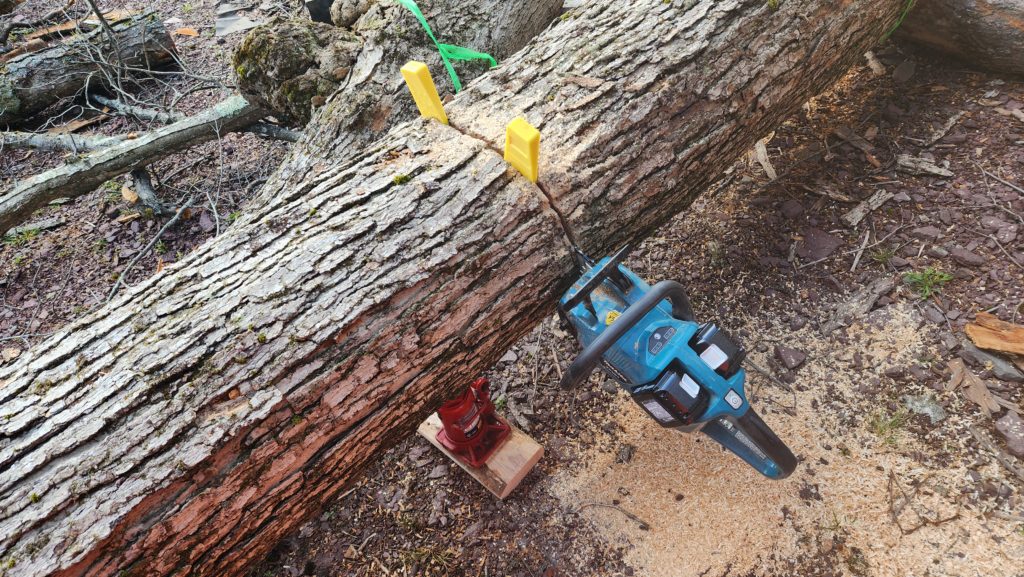
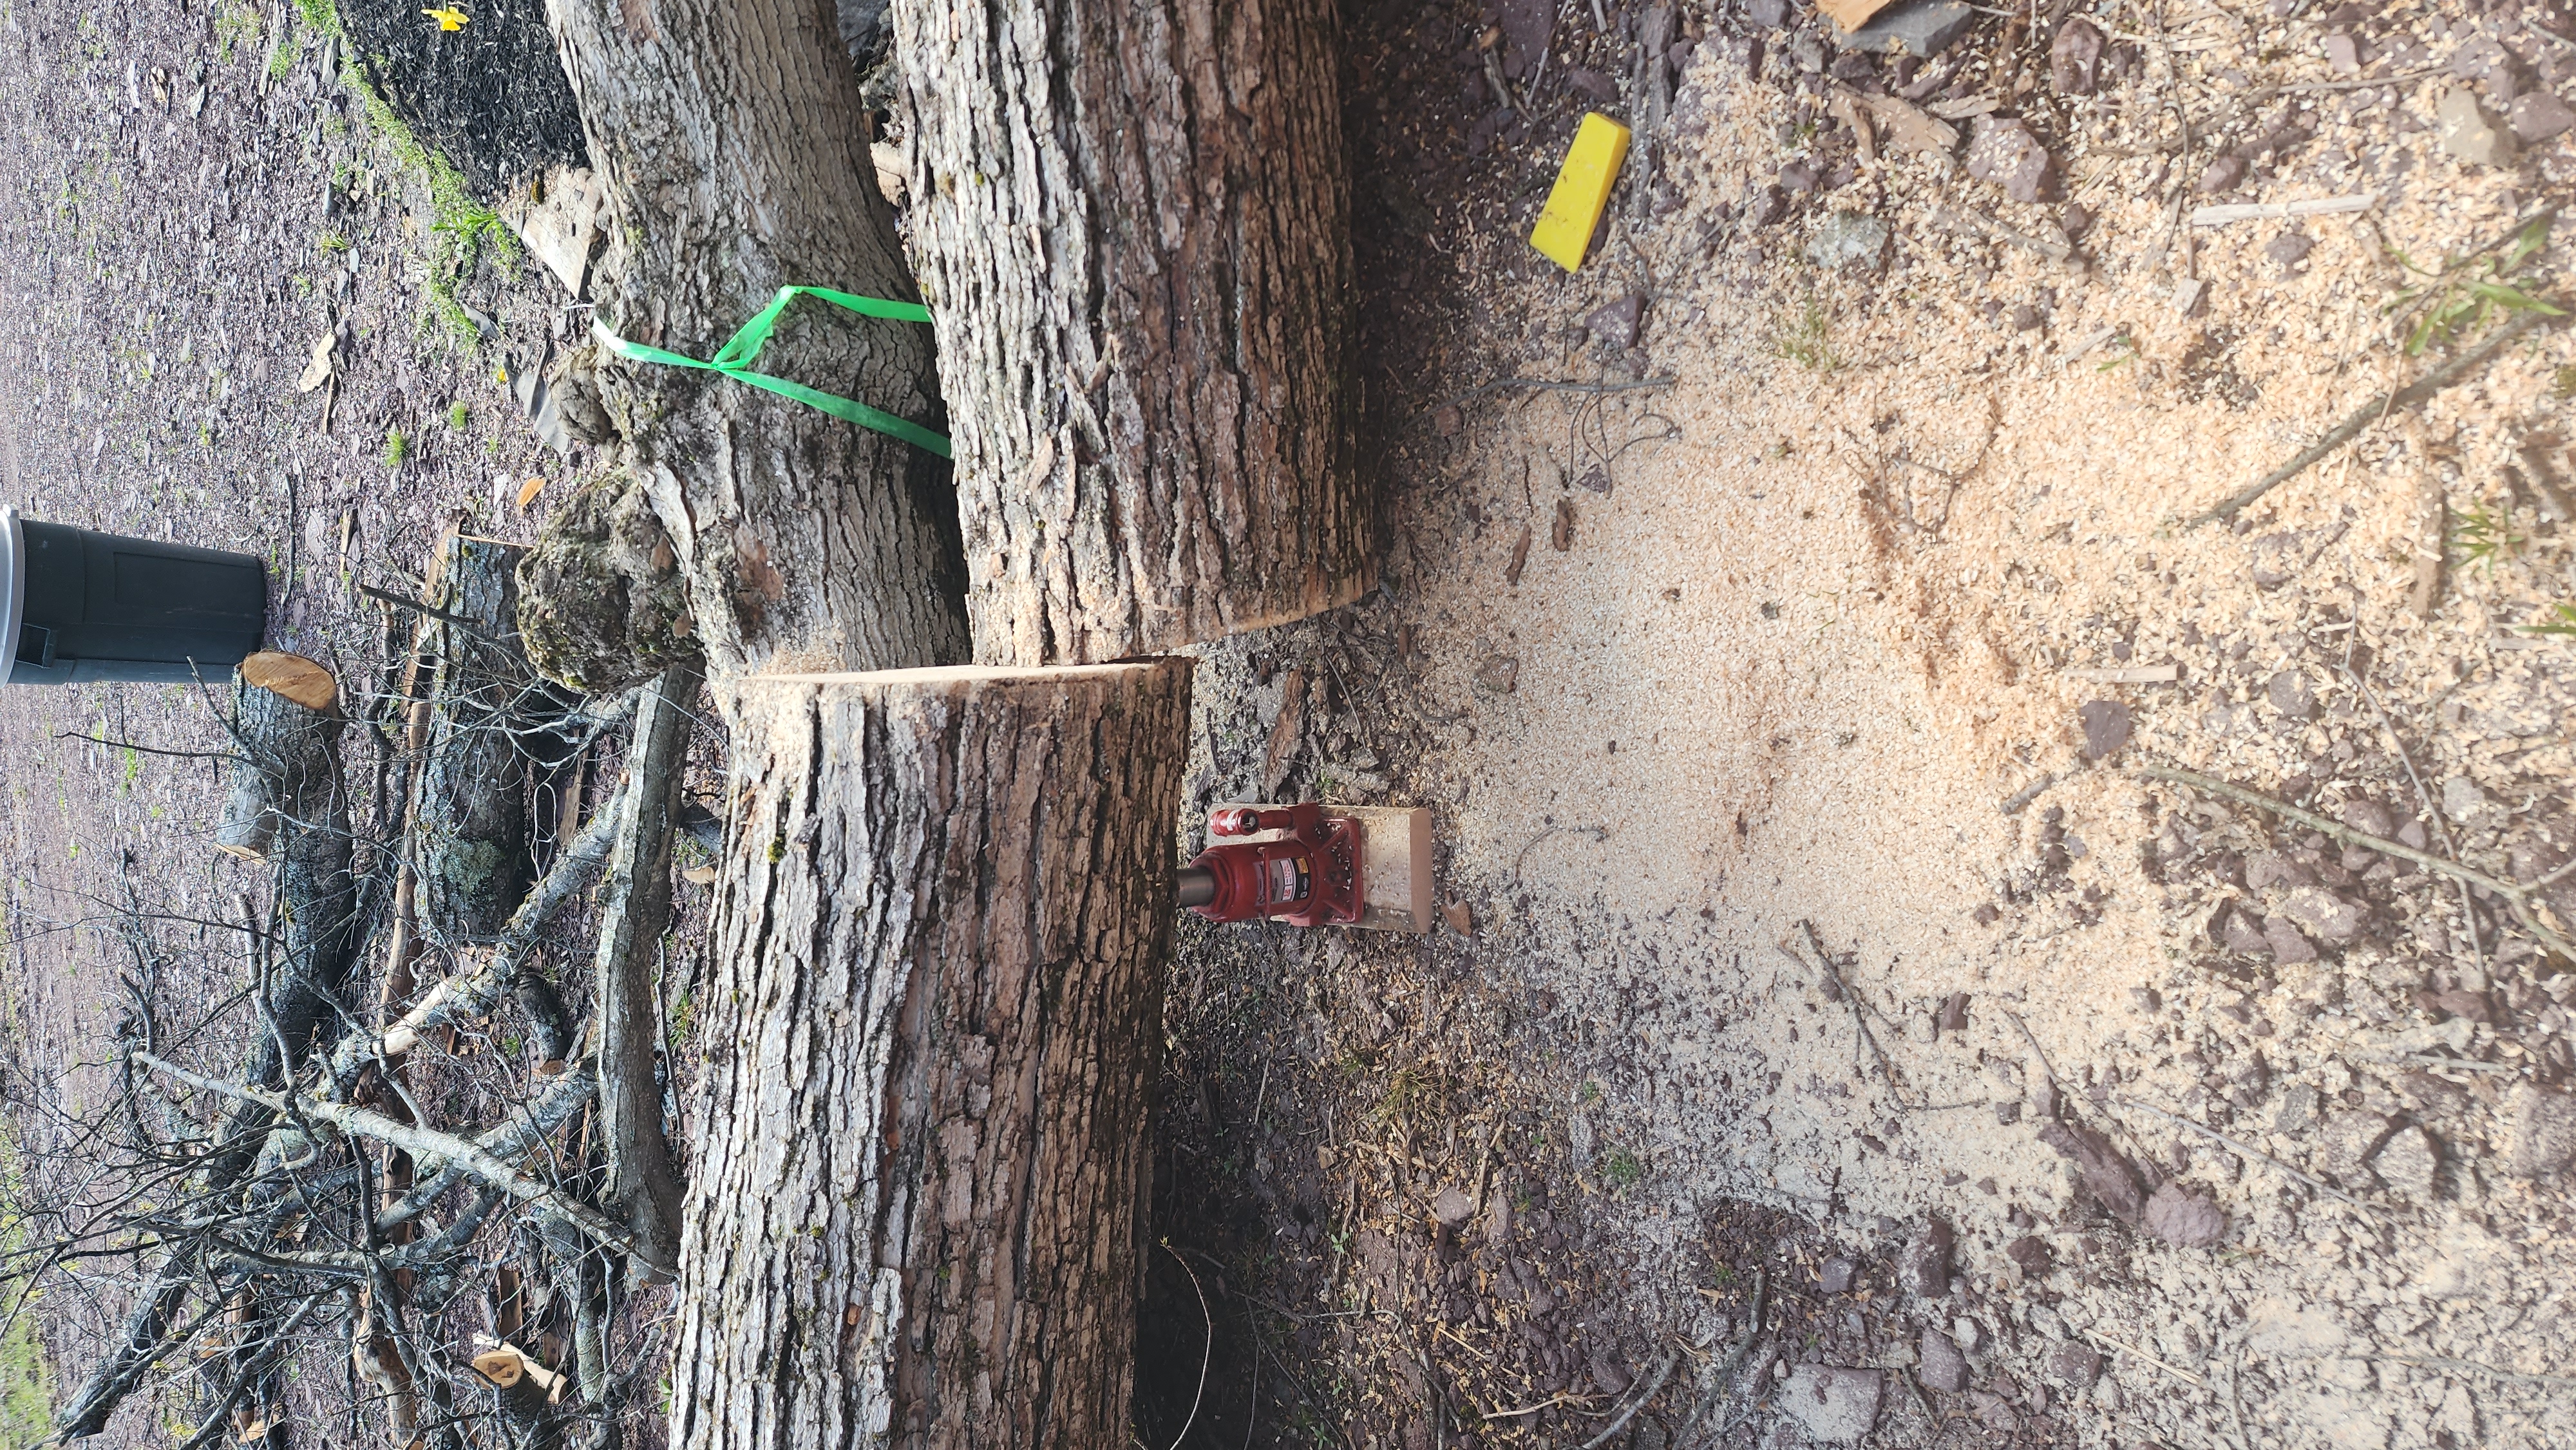
The other innovation here is the use of the little red bottle jack to hold up half of the situation, preventing the whole thing from collapsing when I cut through. This greatly increased safety of the scene and made my chainsaw a lot happier.
In other miscellaneous news…
The spring garden is in second stage (after crocus) and blooming nicely. Some black mulch really made the colors stand out. There was more work done after this picture was taken, but you get the idea.
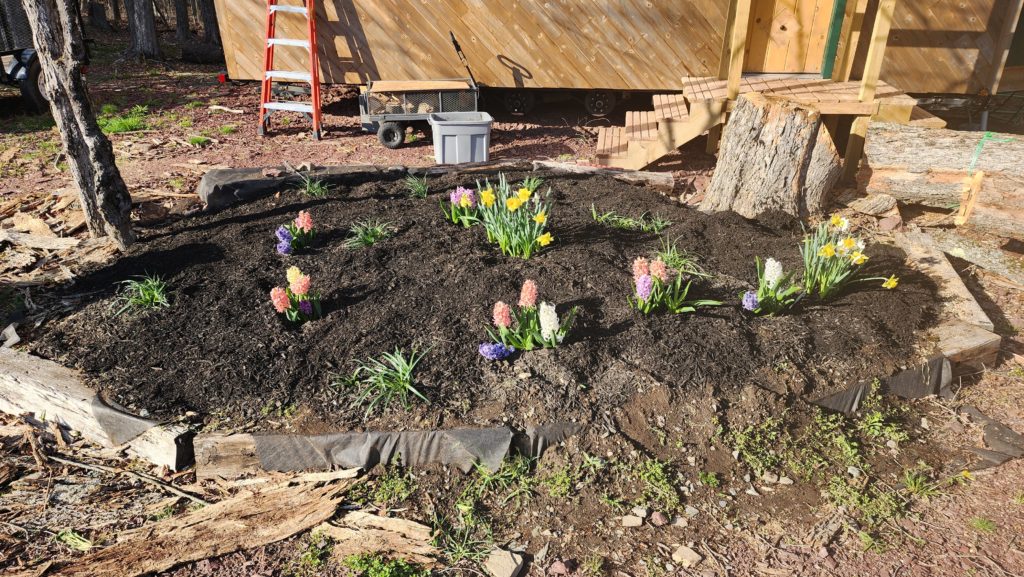
There’s plenty of room for the bulbs to grow and expand and fill in the garden mound over the years. I’m looking forward to it. The bloomless greens seen here are the aftermath of the crocus, which have finished their flowering stage.
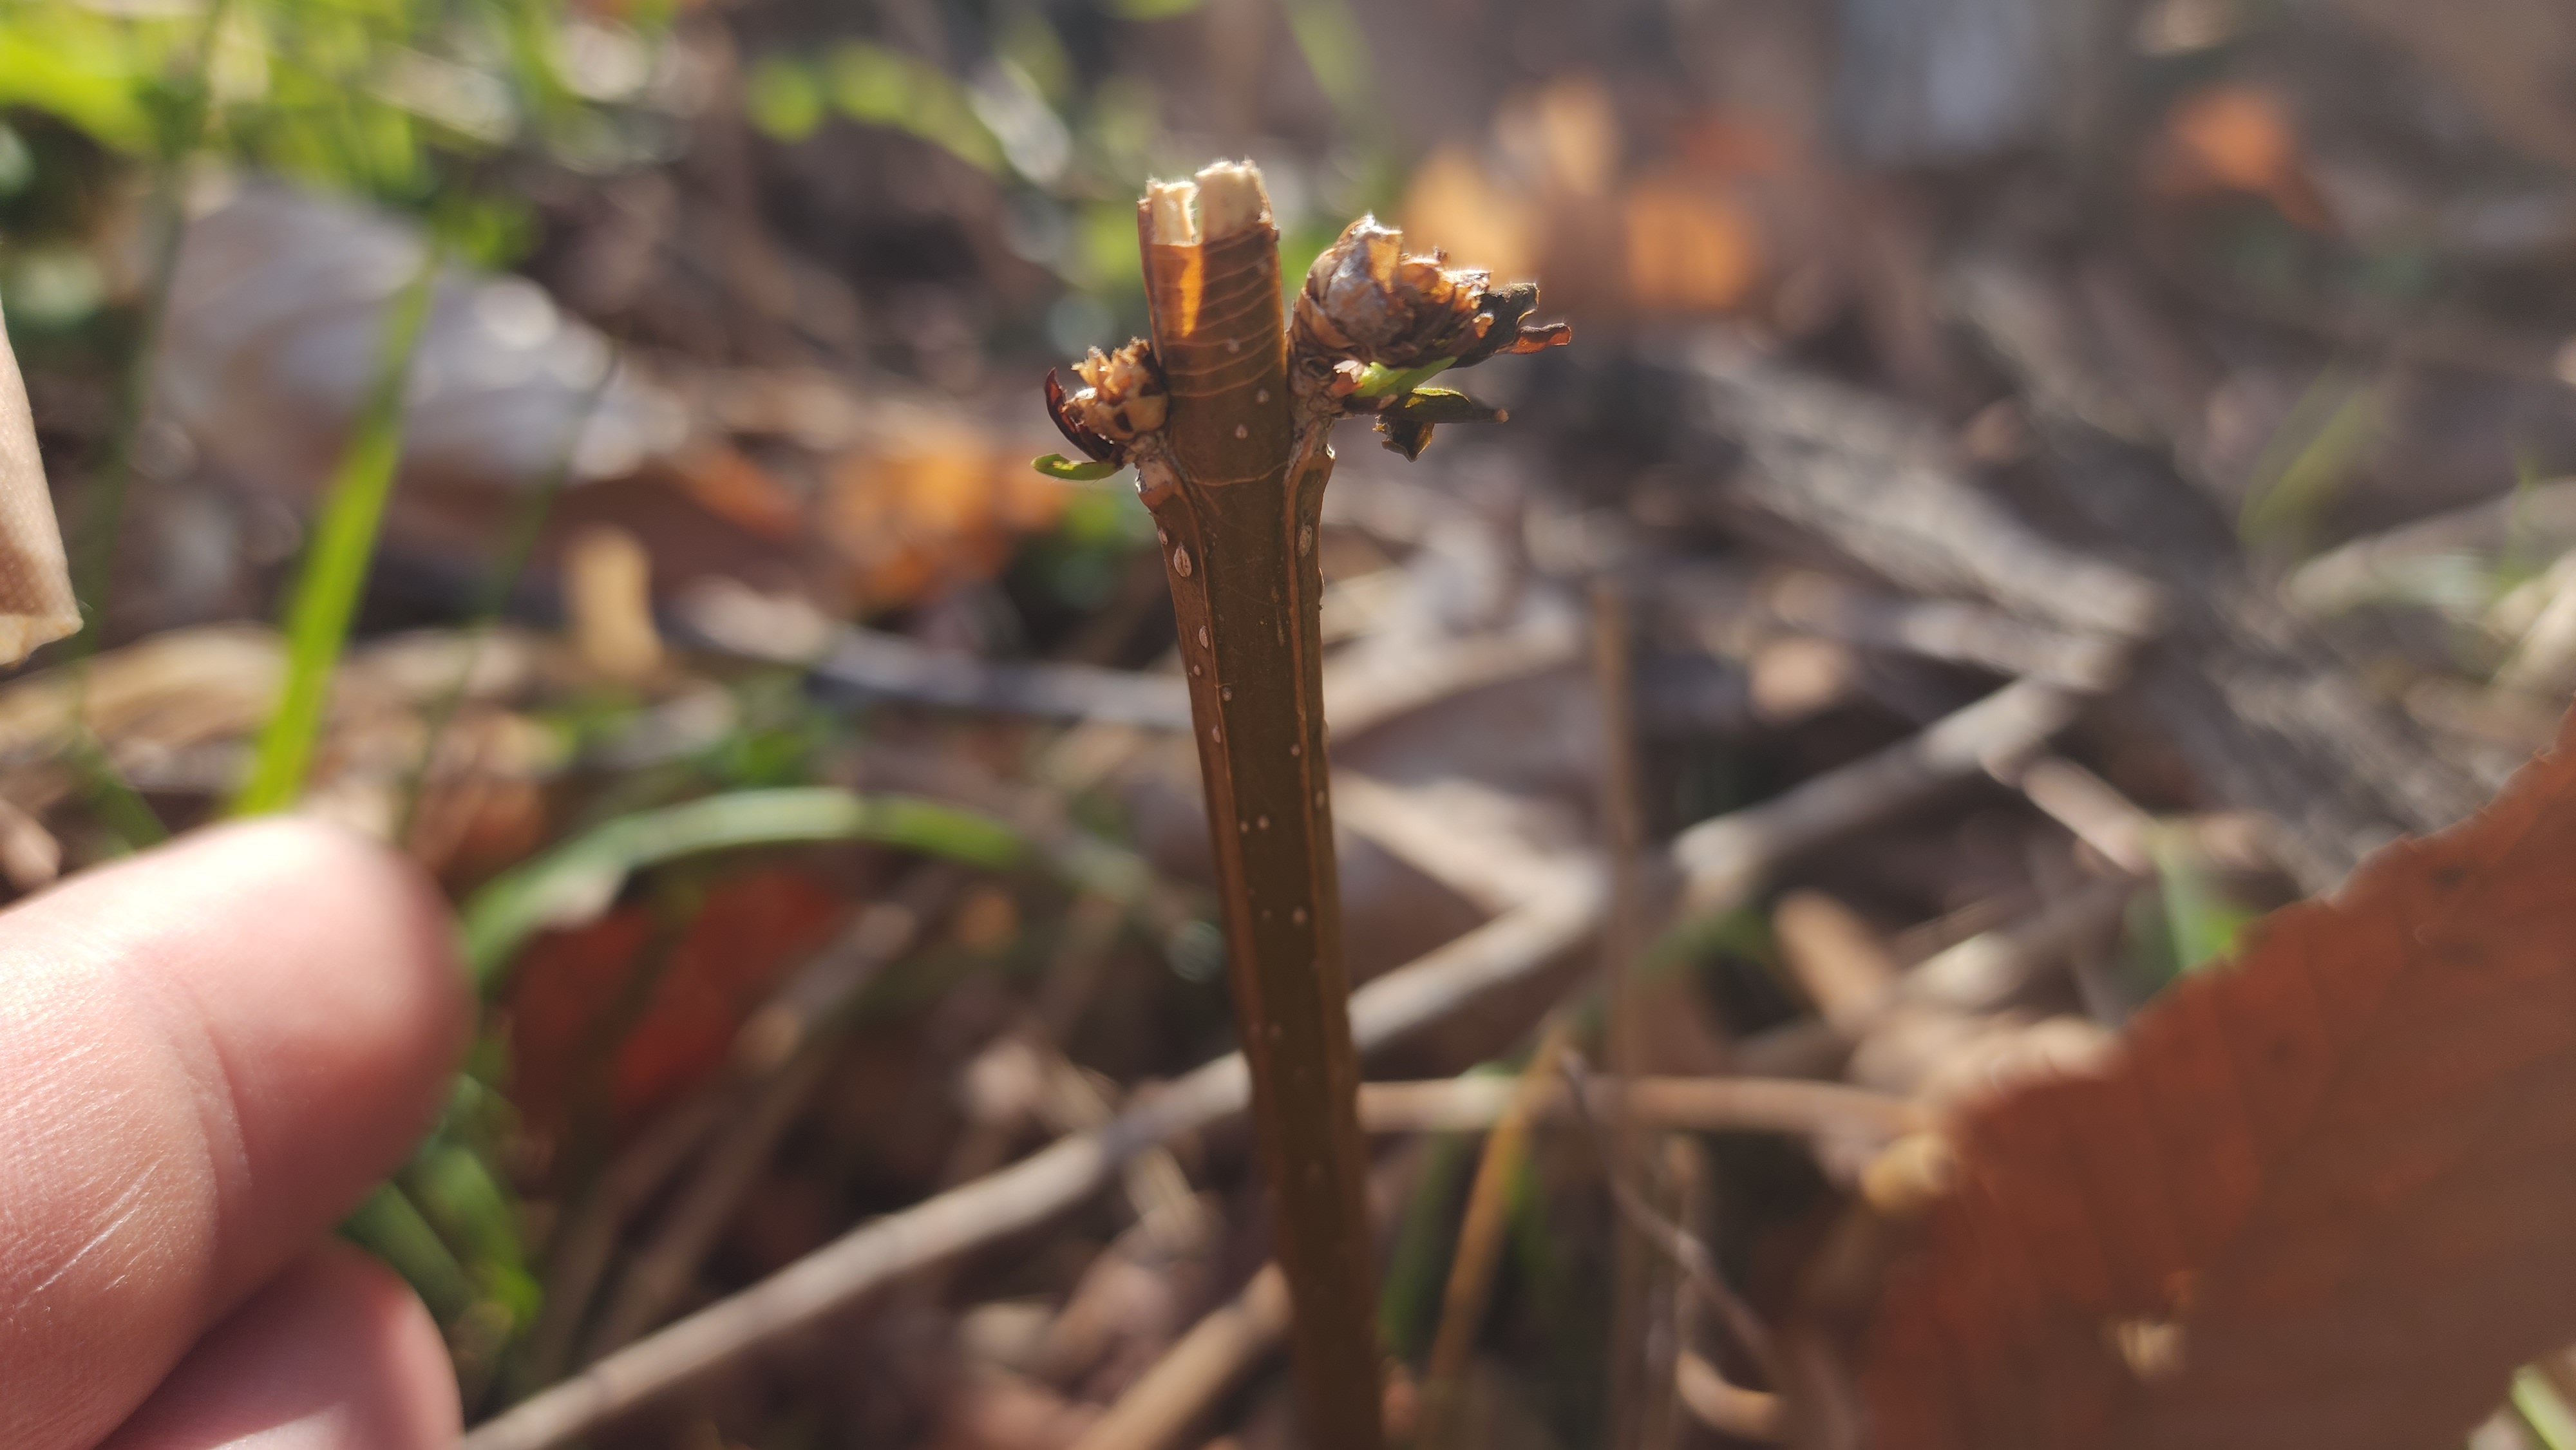
I also planted some forsythia cuttings, one of which had the misfortune of getting whacked a bit by the recently felled trees. Even so, it seems to be recovering. Forsythia seems especially resilient as well as particularly easy to plant. Cut shove a cutting in the dirt and keep it watered for a bit and it’ll root and thrive. See the little green shoots emerging just below where the previous buds were? Yep. Nature finds a way.
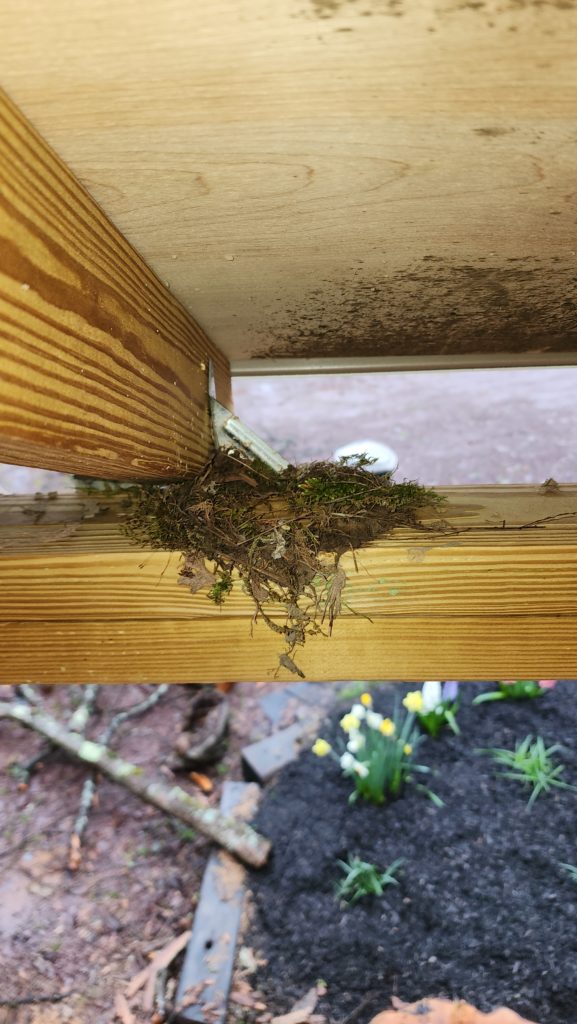
The Mallards may not be the only birds moving in… this nest-in-progress appeared recently on the porchlet. It hasn’t been worked on in a few days, but it has been quite rainy, which isn’t good weather for construction (or flying). We shall see if they finish it and take up residence.
Lastly, there was one more SawStop activation recently. Happily, it had nothing at all to do with the blade touching flesh. In this case, it was blade touching staple touching miter gauge touching cast iron (grounded) table.
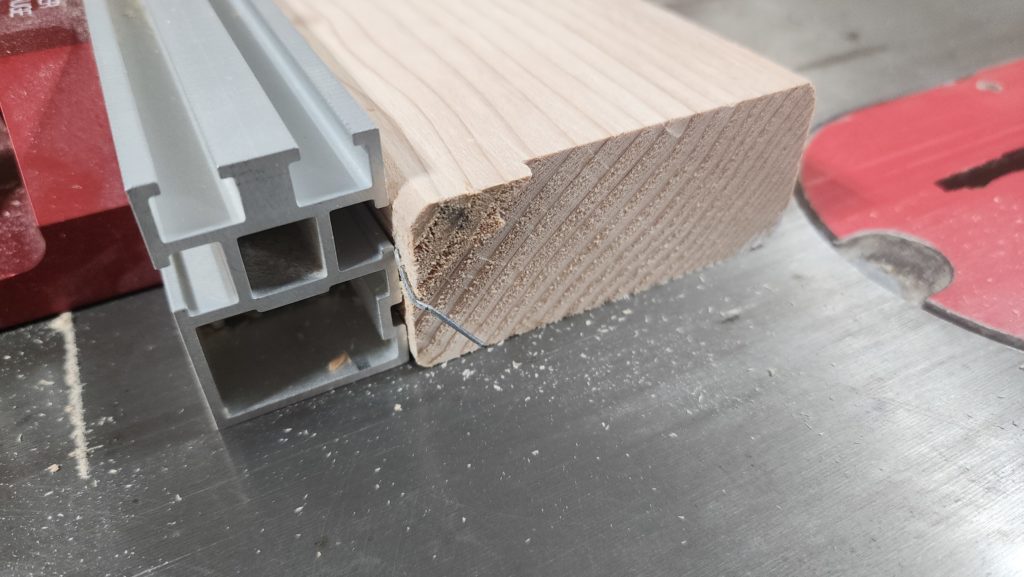
The last time the brake activated (finger injury), I put the halted blade+brake up on the shop wall with a sign “if you can’t see your fingers, don’t make the cut”. Following this tradition of making a big fuss over lessons learned, I put this one up with the advice, “check AGAIN for staples”. The blade would have gone right through the staple, no problem, but in this case the staple provided a conductive path to ground, which triggered the safety system. On the one hand (the one that didn’t get a finger amputated a month ago), I’m quite pleased that the safety system works. On the other, I wish it knew the difference between a staple and my hands. This time, at least, it seems I was able to extract the blade from the brake and the blade appeared to be unharmed, so instead of being a $200 event, it was only a $100 event. I prefer $0 events, but so it goes.
Next post will probably feature the bee yard and perhaps a visit to the orchard. The trees are budding and some have begun to leaf-out. It’s lovely to see them grow!