Third in the title but first in the story: the assembly table. This is the second to last (not counting the tidy/finishing room, which it a nice-to-have but not a prerequisite for using the workshop effectively) step on the workshop readiness journey. What is it? Simply a big table with melamine laminate top (resists glue, etc) for doing project assembly so my workbench, which has built in vises and is a heavy monster meant to stay put while doing all manner of finesse or violent woodworking, does not get cluttered by things that simply need to be glued or screwed together and left for a while.
Because it had been a minute since I did any mortise-and-tenon joinery, I decided I was going to build my assembly table like a piece of fine furniture… with the exception that it is actually made out of 2×4 construction lumber from HD that I simply ran through the jointer (thanks, new cutter head and segmented belt) and thickness planer (which got a similar upgrade recently, though after this project) and pretended it was nice hardwood. It was not nice hardwood and I remembered why we don’t do these techniques on soft pine while I was doing these techniques on soft pine. It does not respond especially well to chisels and planes unless the aforesaid are especially sharp and then only kinda okay. My tools are nicely sharp, but not especially sharp, and this work wound up being a bit messy.
Even so, I managed to make some pretty low quality lumber look a lot like furniture parts!
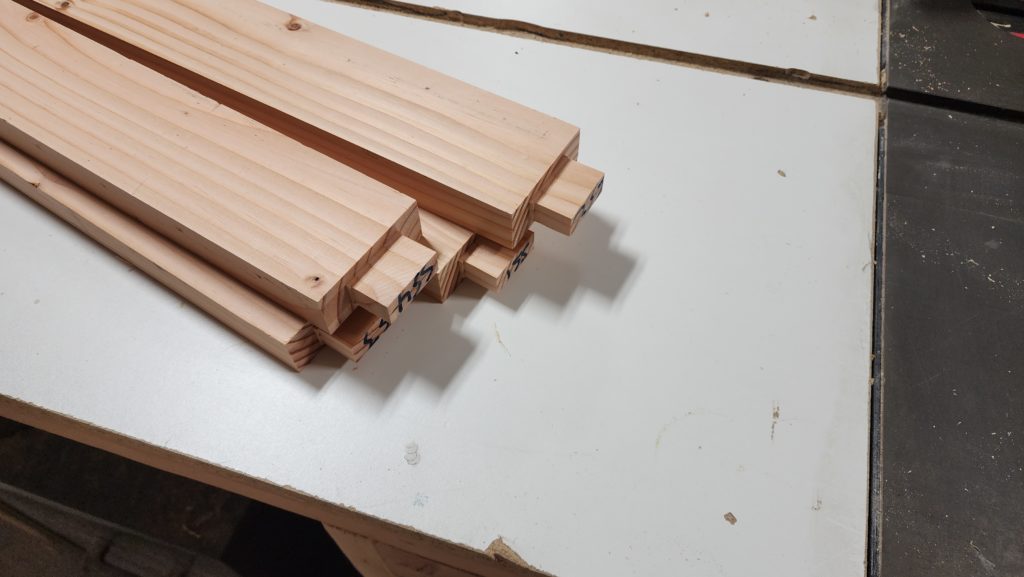
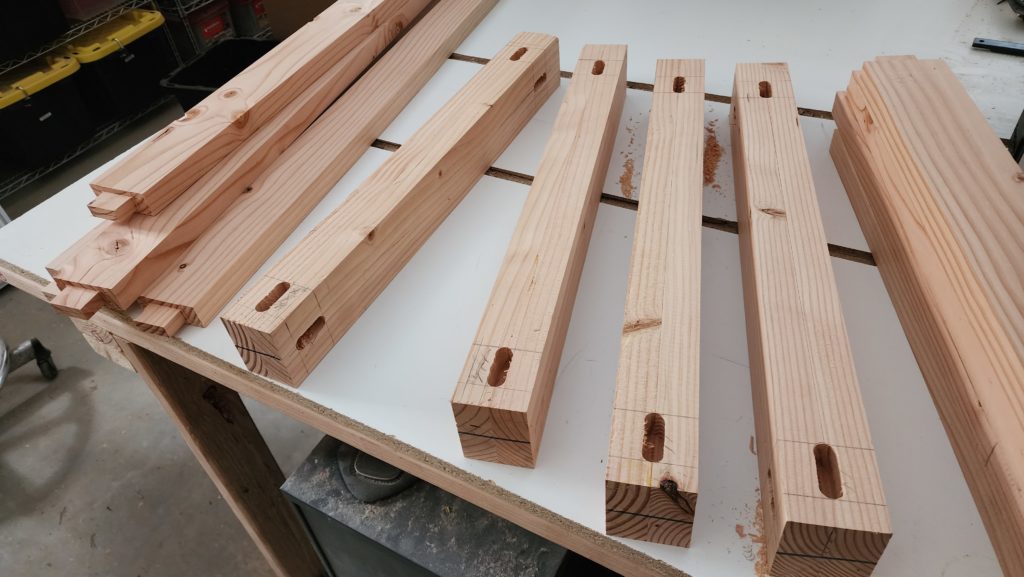
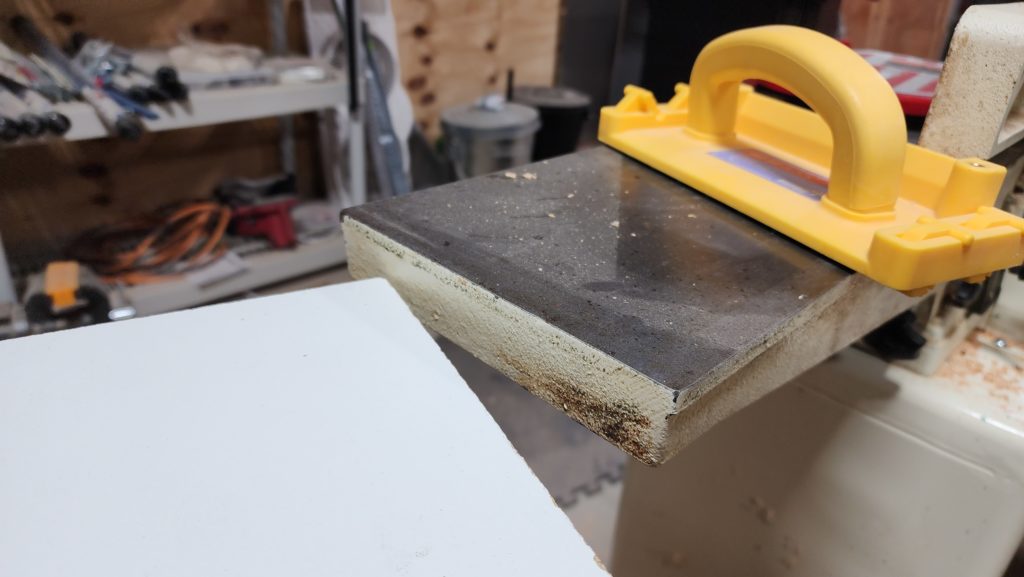
Including some more tricky techniques such as cutting tenons on a table saw… note the big stabilizer board in back and the push block to keep the workpiece tight to the fence and my fingers away from the blade. This worked very well.
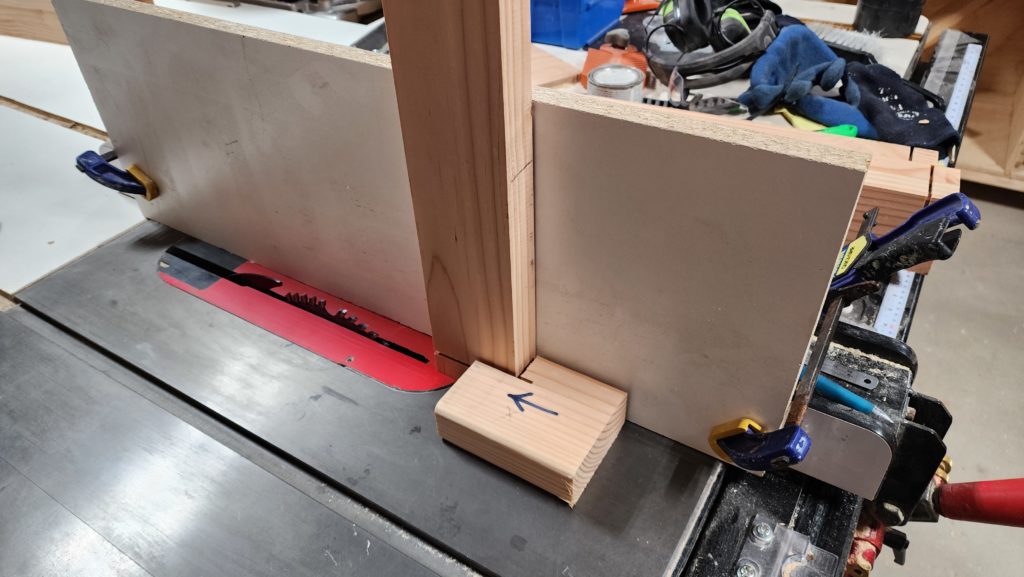
I have plans to build a fence add-on that will do this job even better and more safely. Actually, I have two or three sets of plans for such a thing. I will hybridize them and make one that suits me.
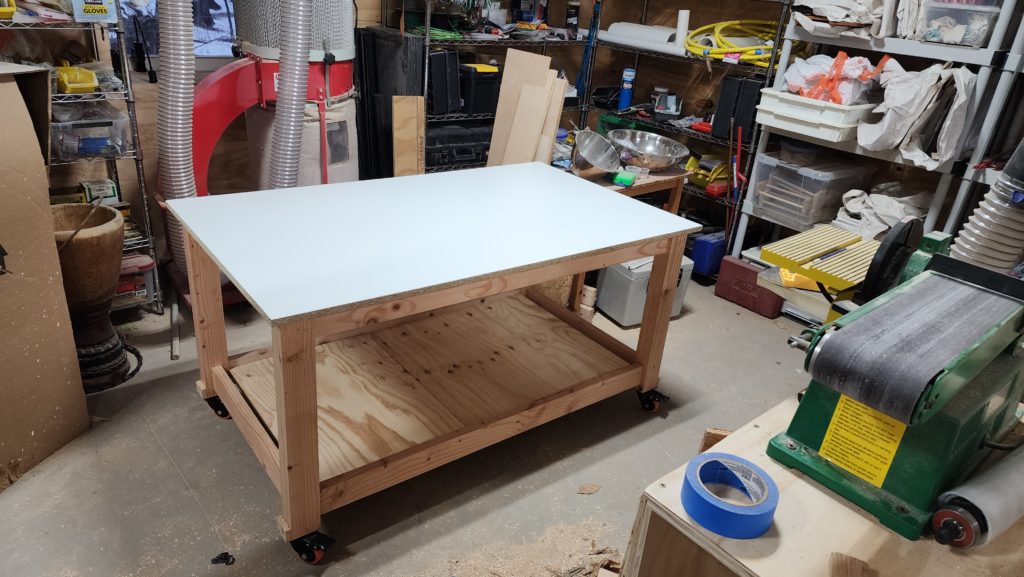
The assembly table, assembled. It’s on heavy duty locking casters (I absolutely love these exact ones – they have an easy lock and the lock prevents swivel as well as roll) so I can move it out of the way of the storage shelves as needed but otherwise I’m able to access it from all sides. It doesn’t look like much, but it really helps with workflow and overall shop efficiency.
As part of the overall master plan, the table is just lower than the jointer, so I can fly workpieces over the table enroute to the jointer without interference.
Tenacity! I still want to get that network wire to the solar array. I found this super low-resistance, flexi-leader fish tape that I thought surely could get around any obstacles in the conduit better than the steel one that failed me a few weeks ago.
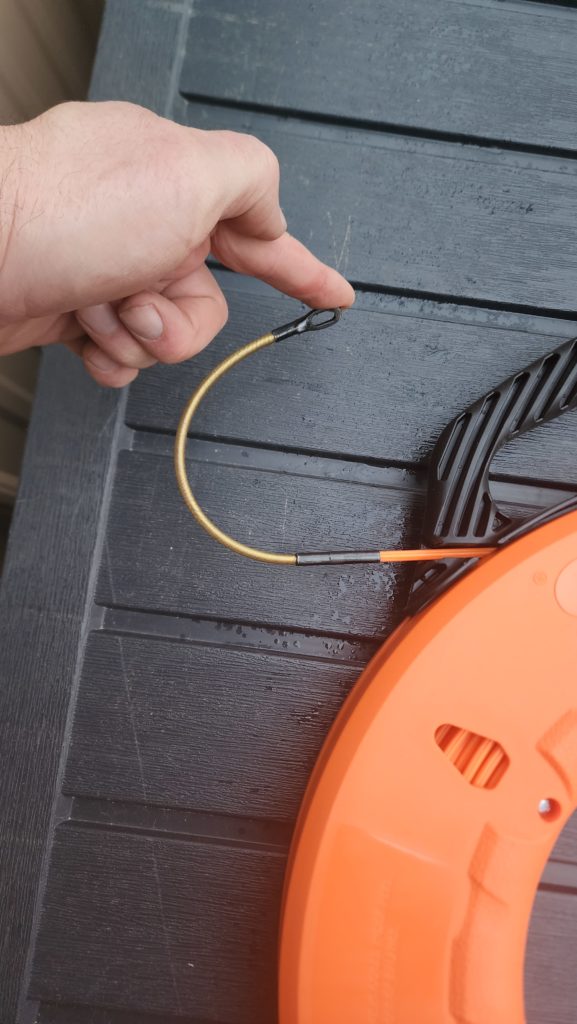
I tried it from both sides – got stuck before going all the way, both times! WTF? Wondering how close I was actually getting, I had an idea: lay out the fish more or less along the route, then carry that paid-out filament to one of the conduit ends and feed it in. When it gets stuck, see how much is left. That will give me a hint about where the trouble is, right? Right. I did that.
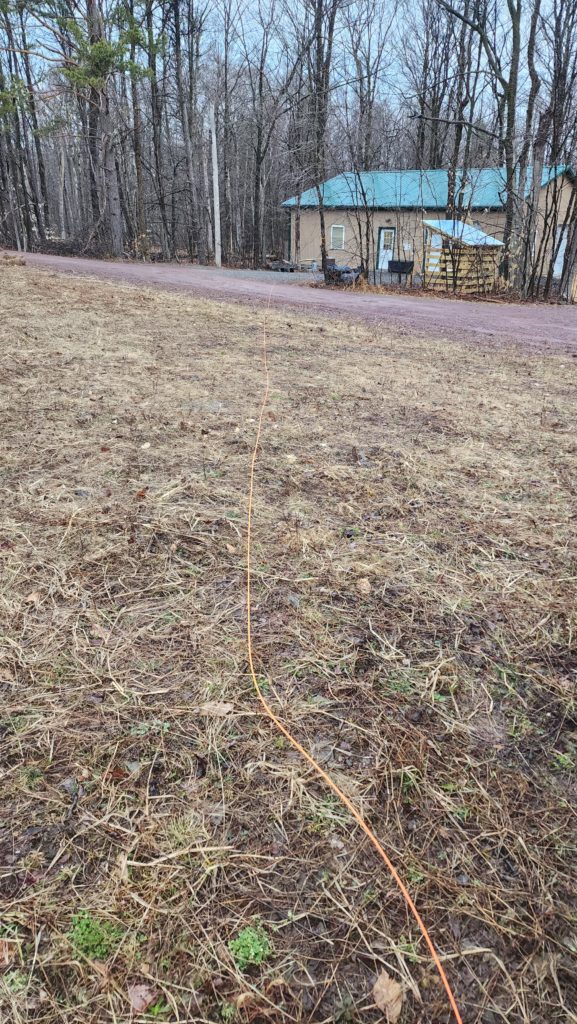
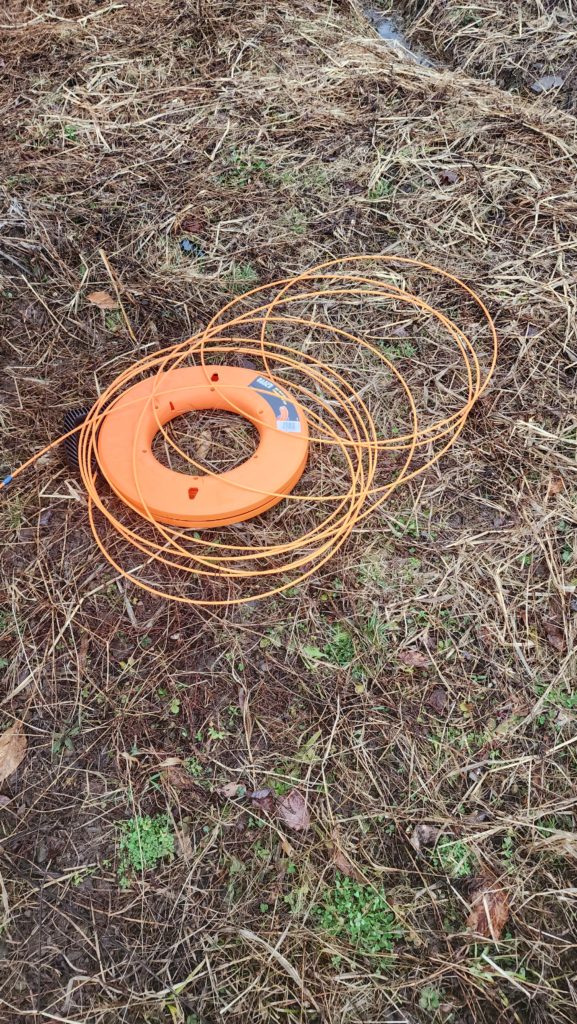
It turns out quite a bit was left after it got stuck. This tells me the obstruction is midway, not what I thought it was: trouble navigating where the conduit takes a 90 degree turn to come up into the room. Hm! Curious. I have no idea what the problem is. I do have plan C, which is to actually yank the wires that are already in and through the conduit out, pulling something new behind them, which I will then use to pull them BACK IN, along with the network wire. If they can move at all, this should work. If somehow the conduit got crushed, some distance below the road surface, the wires won’t come and I’ll know I have a different problem. That’s a task for another day.
One of the prerequisities for this job was opening up the wall in the office a bunch more so I could better feed the fish line in and also see (and mitigate) any obstructions at this end.
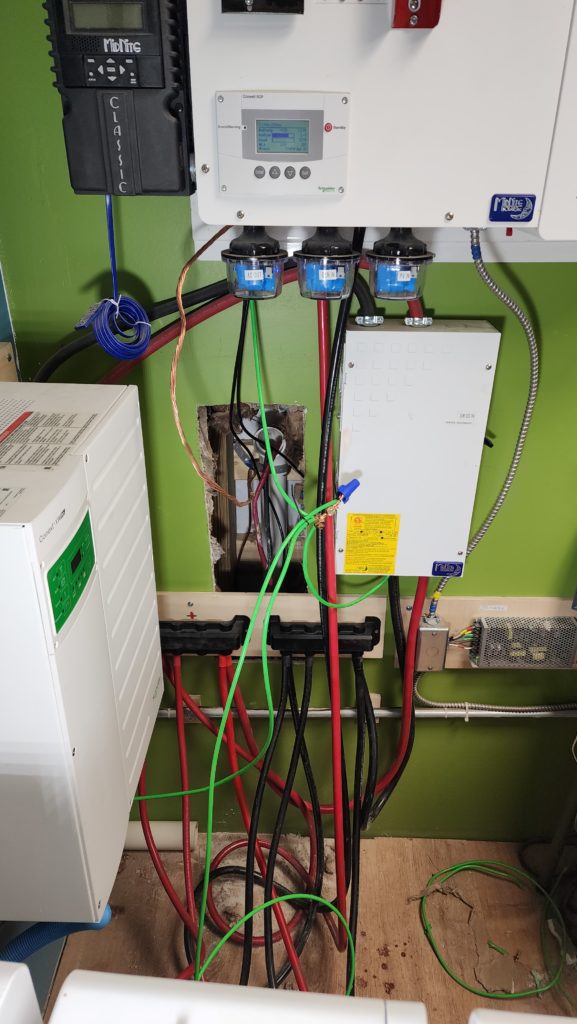
So okay, disconnect the battery bank, roll it out of the way (all 650# of it – on those great casters), dismount the junction box, which involved removing wires from the power center, too.
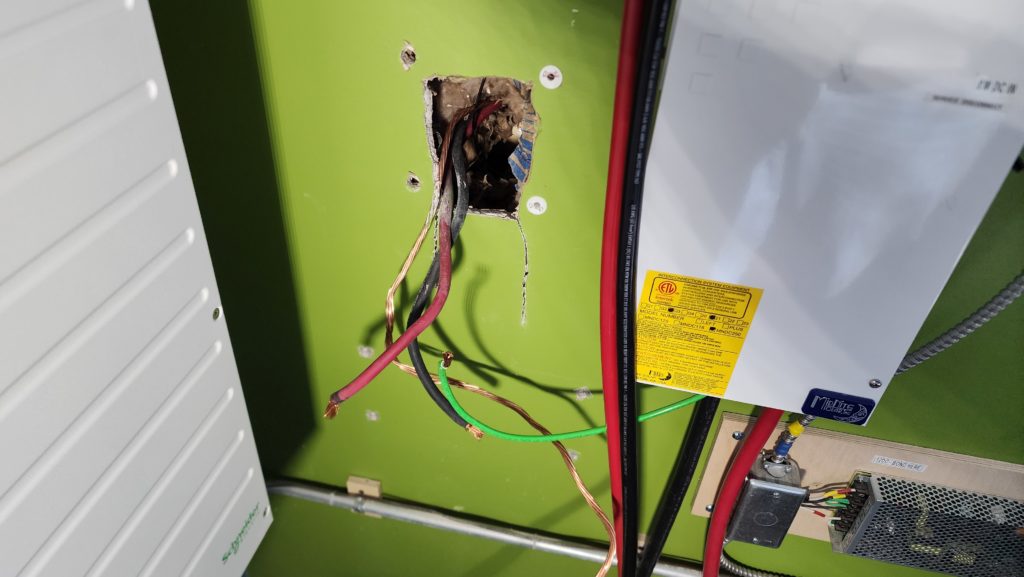
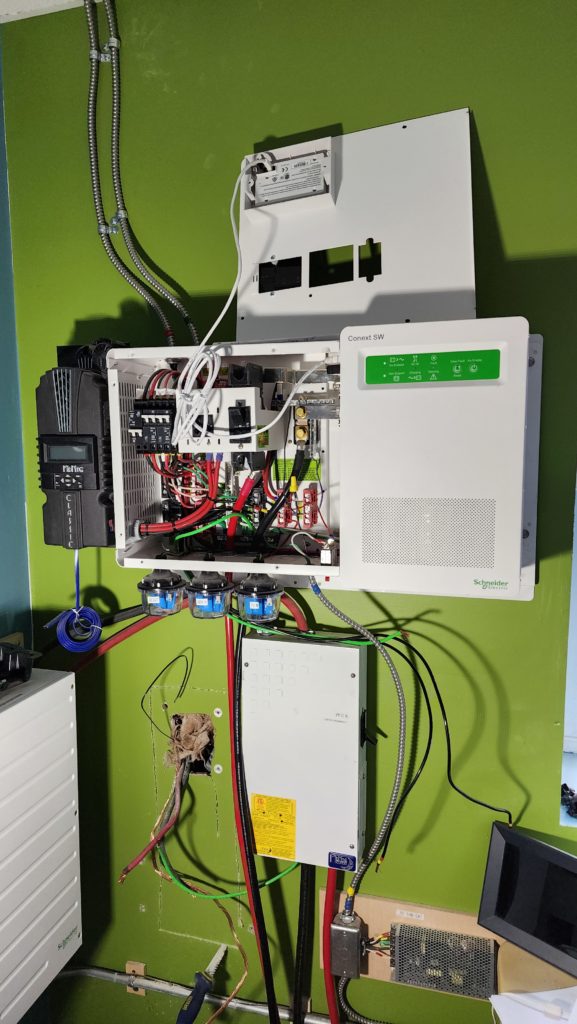
and finally, making that hole in the wall a bunch bigger. You can see the wallboard saw and the outline of the soon-to-be opened hole. See how close I am to done? Maybe 2 or 3 more strokes and it’s open.
But here’s the next photo I took.
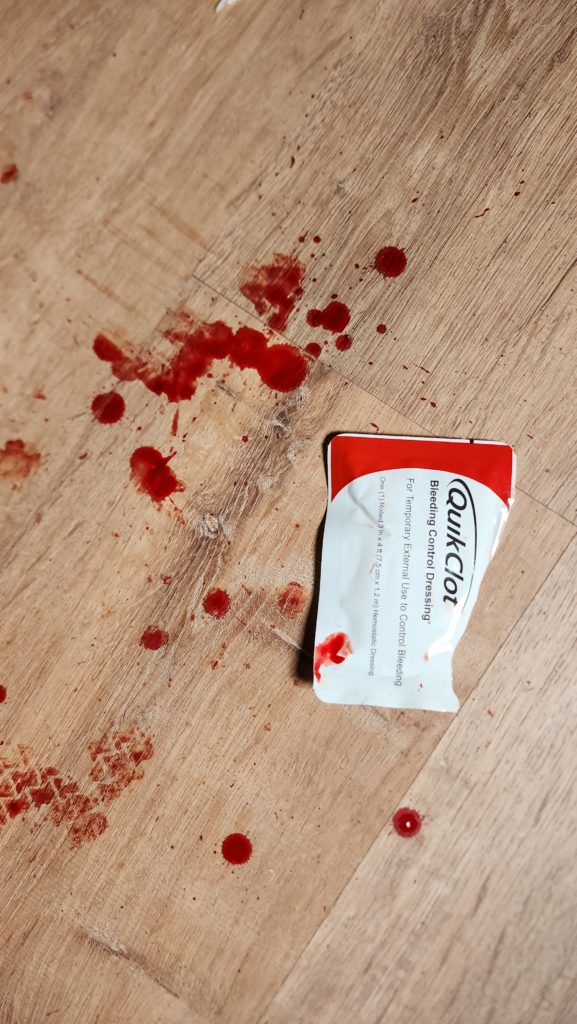
WHAT?
Yeah.
Go back one picture. See the cover of the power center, sitting atop it against the wall like I always do when I work on the power center? Well, when cutting wallboard below the power center, the wall vibrates… causing the cover to migrate… and fall on my head. It only hurt a little but it bled plenty. I’ll spare you the bloody selfie I took after using this QuikClot dressing to stabilize it. I’ve got a nice gash now, but it’s healing well. Kinda scary to be bleeding a lot from the head, though. But this is why I HAVE the QC dressing, among other things. I live a solid half hour or more from the nearest medical services. It’s important to be prepared out here! By the way, those QC dressings are worth their weight in platinum. Clotting powder and gauze work well, too, but are a bit messy. This doesn’t rain powder on you, so it’s great for a head wound especially (no powder in eyes).
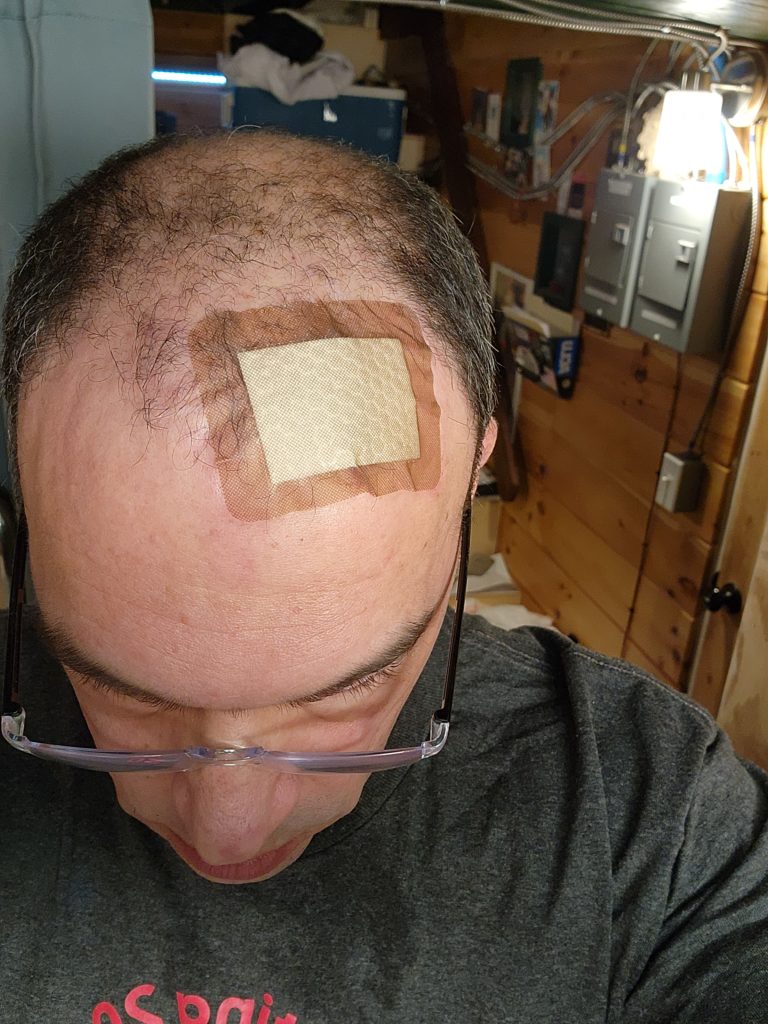
The hair is gone forever.. the skin will heal 🙂
After taking care of my noggin and then getting back to work (tenacity anyone?), doing all that stuff with the new orange fish tape and still failing, I wired everything back together and will get on with plan C another day.
For those of you keeping track of headlines, that was both tenacity and fright 🙂
So, freight next? Yep. More freight! Again with the big passage door to the garage. It’s almost as if I put it there so it would be easy to get machines into the shop, without having to get them through people-sized doors. Yup. That’s exactly why that door is there. So what is this new monster?
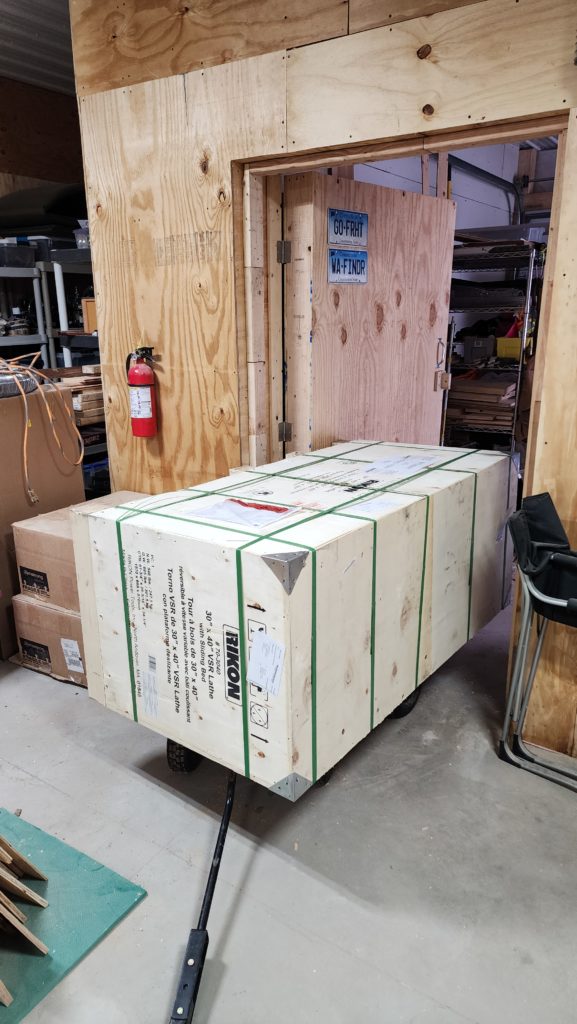
It’s this, the last part of workshop phase 1, a heavy-duty lathe! Light duty size 12 shoe shown for scale.
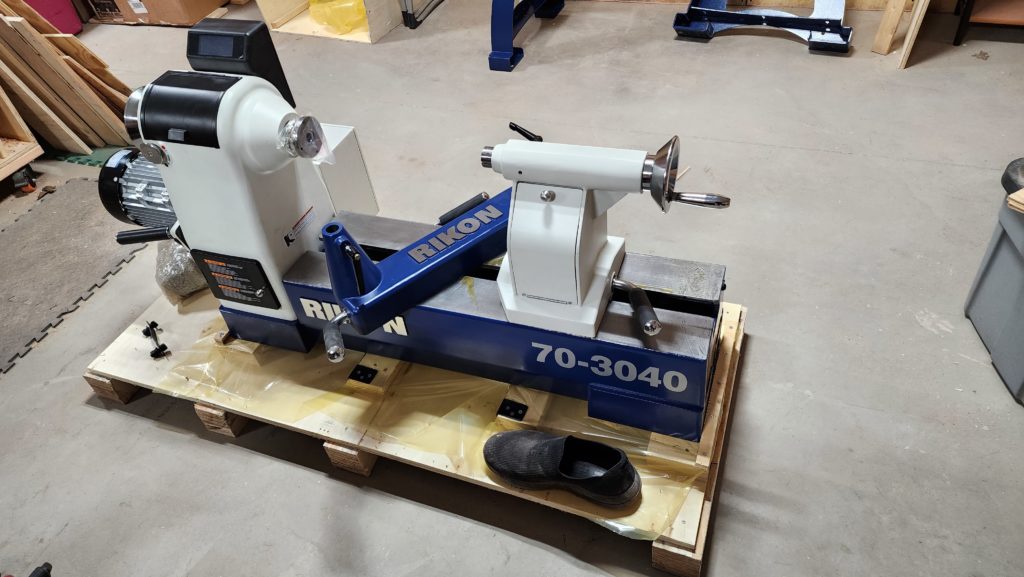
But this lathe needs to get some legs assembled to it and all >500# of it needs to be placed and bolted to the floor. That’s more than I can deadlift. By about double.
I had a friend lend me an engine hoist for this job. The thing is, I couldn’t get the hoist’s legs under the pallet to position it properly! A little creative leverage and some riser blocks got it up high enough to slide the hoist legs under and get it in the right position to lift.
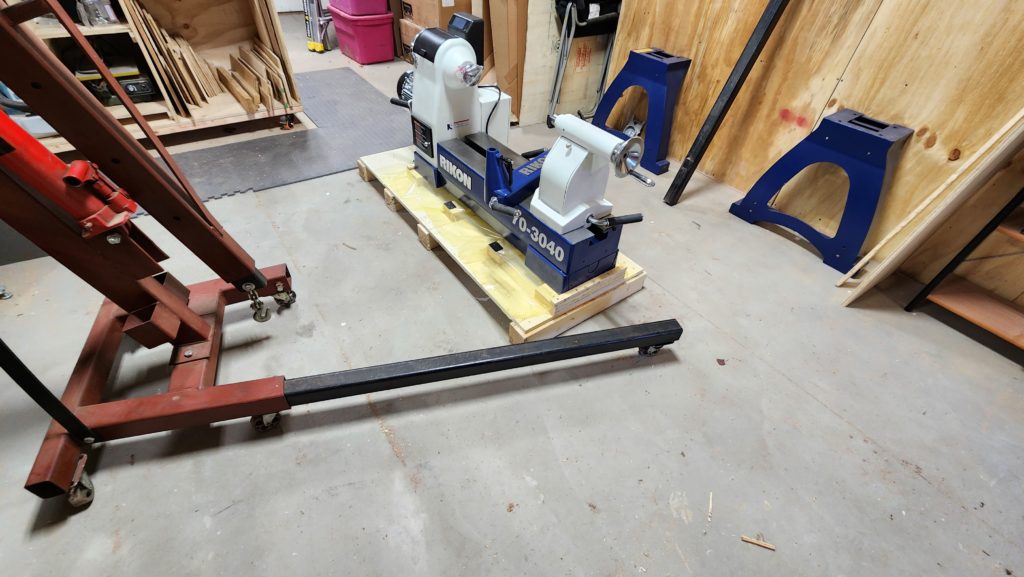
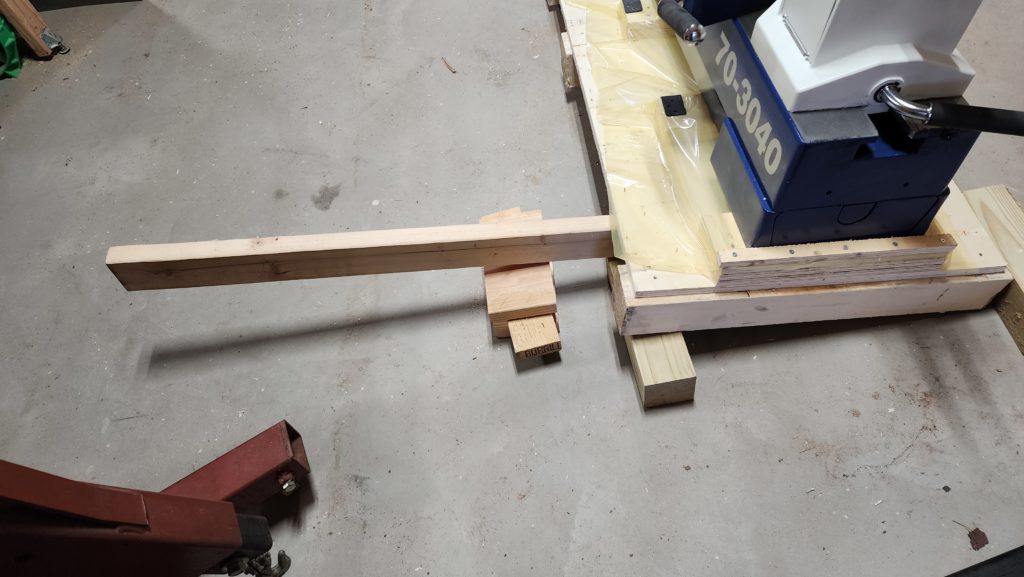
Upsie-daisy!
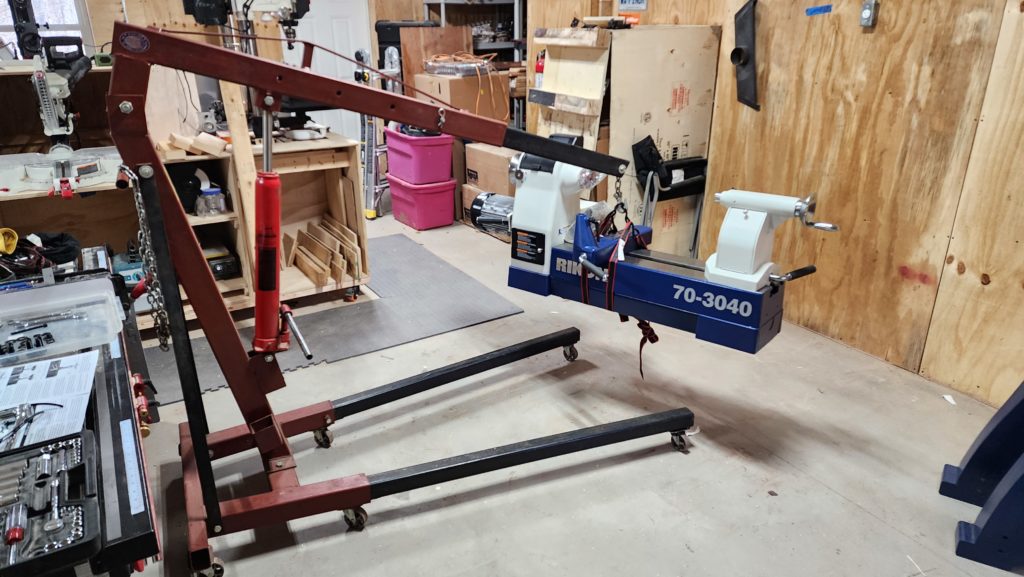
One tricky bit was figuring out how to actually rig this thing so it would stay balanced and not tip. I realized that the tool rest anchor can be positioned anywhere along the machine and locked in place. It was perfect for keeping the lifting straps in place and let me easily fine-tune the balance point until it was perfect.
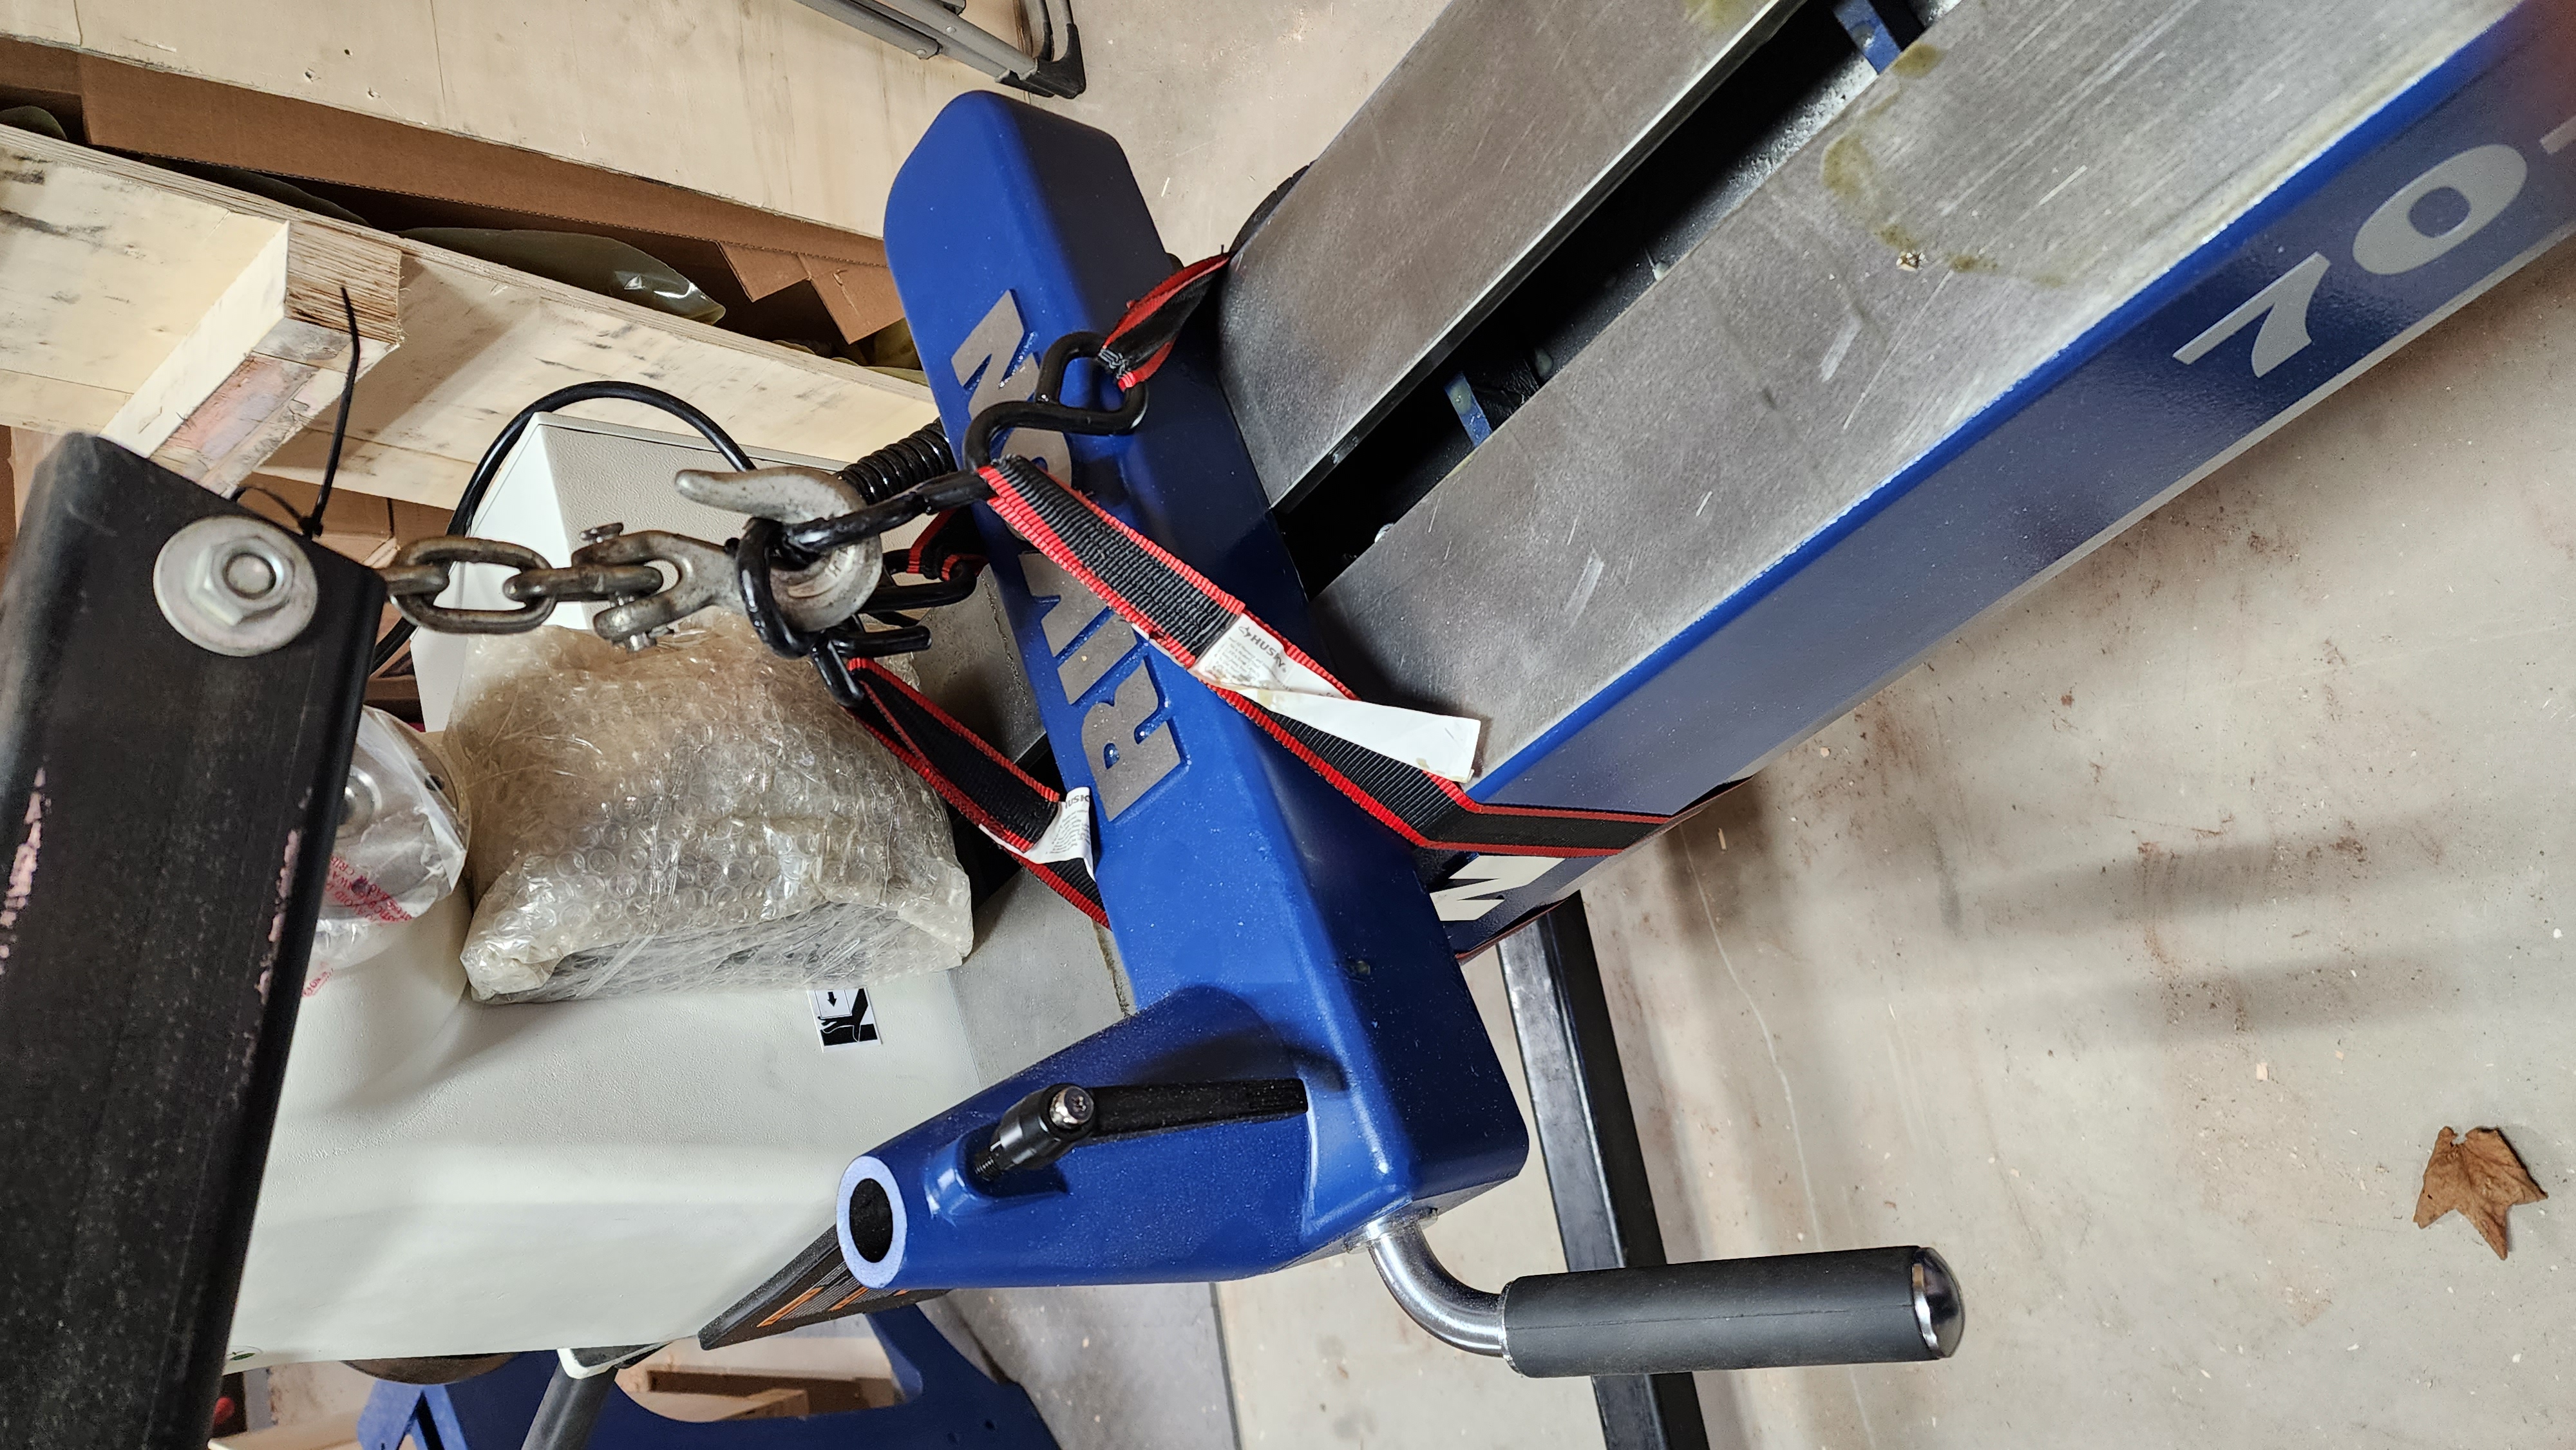
Okay, machine is airborne! Now I can install the legs and place it. Except I want to bolt it to the floor and the holes in the feet are obstructed. No way can I get an accurate trace of those holes into the concrete below. Hm. What to do?
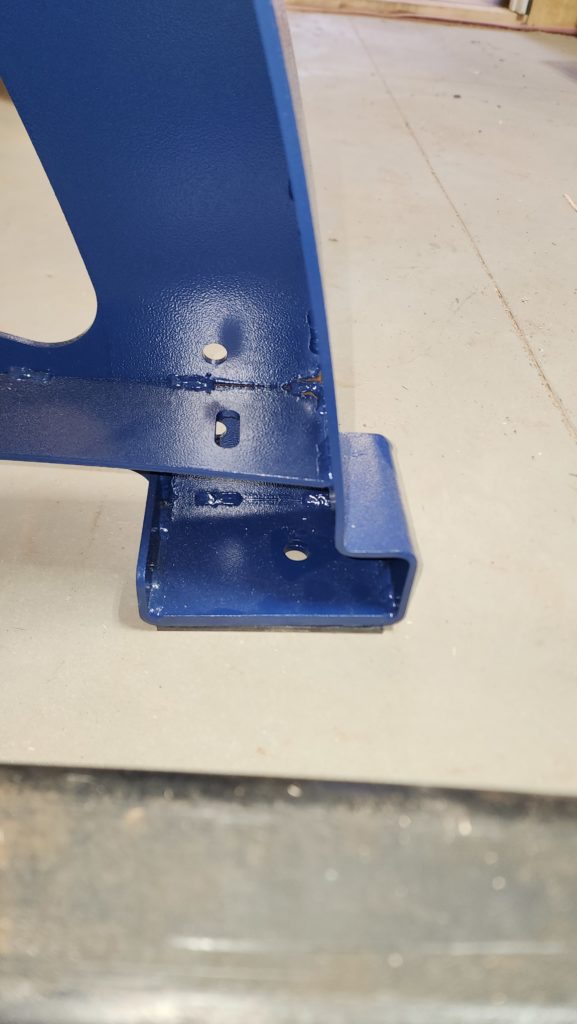
I had an idea (you’re not surprised). The hole was 5/8″ diameter. I had some 5/8″ diameter rod stock. I had some plywood. I drilled 5/8 holes in the plywood then used stubby pieces of rod stock to match the plywood hole to the foot hole when the machine was in place.
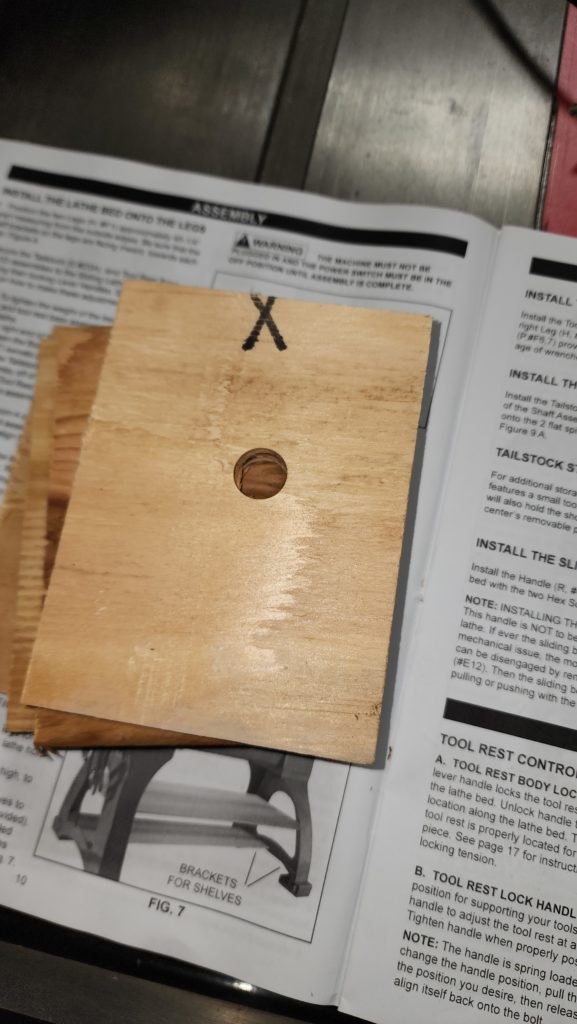
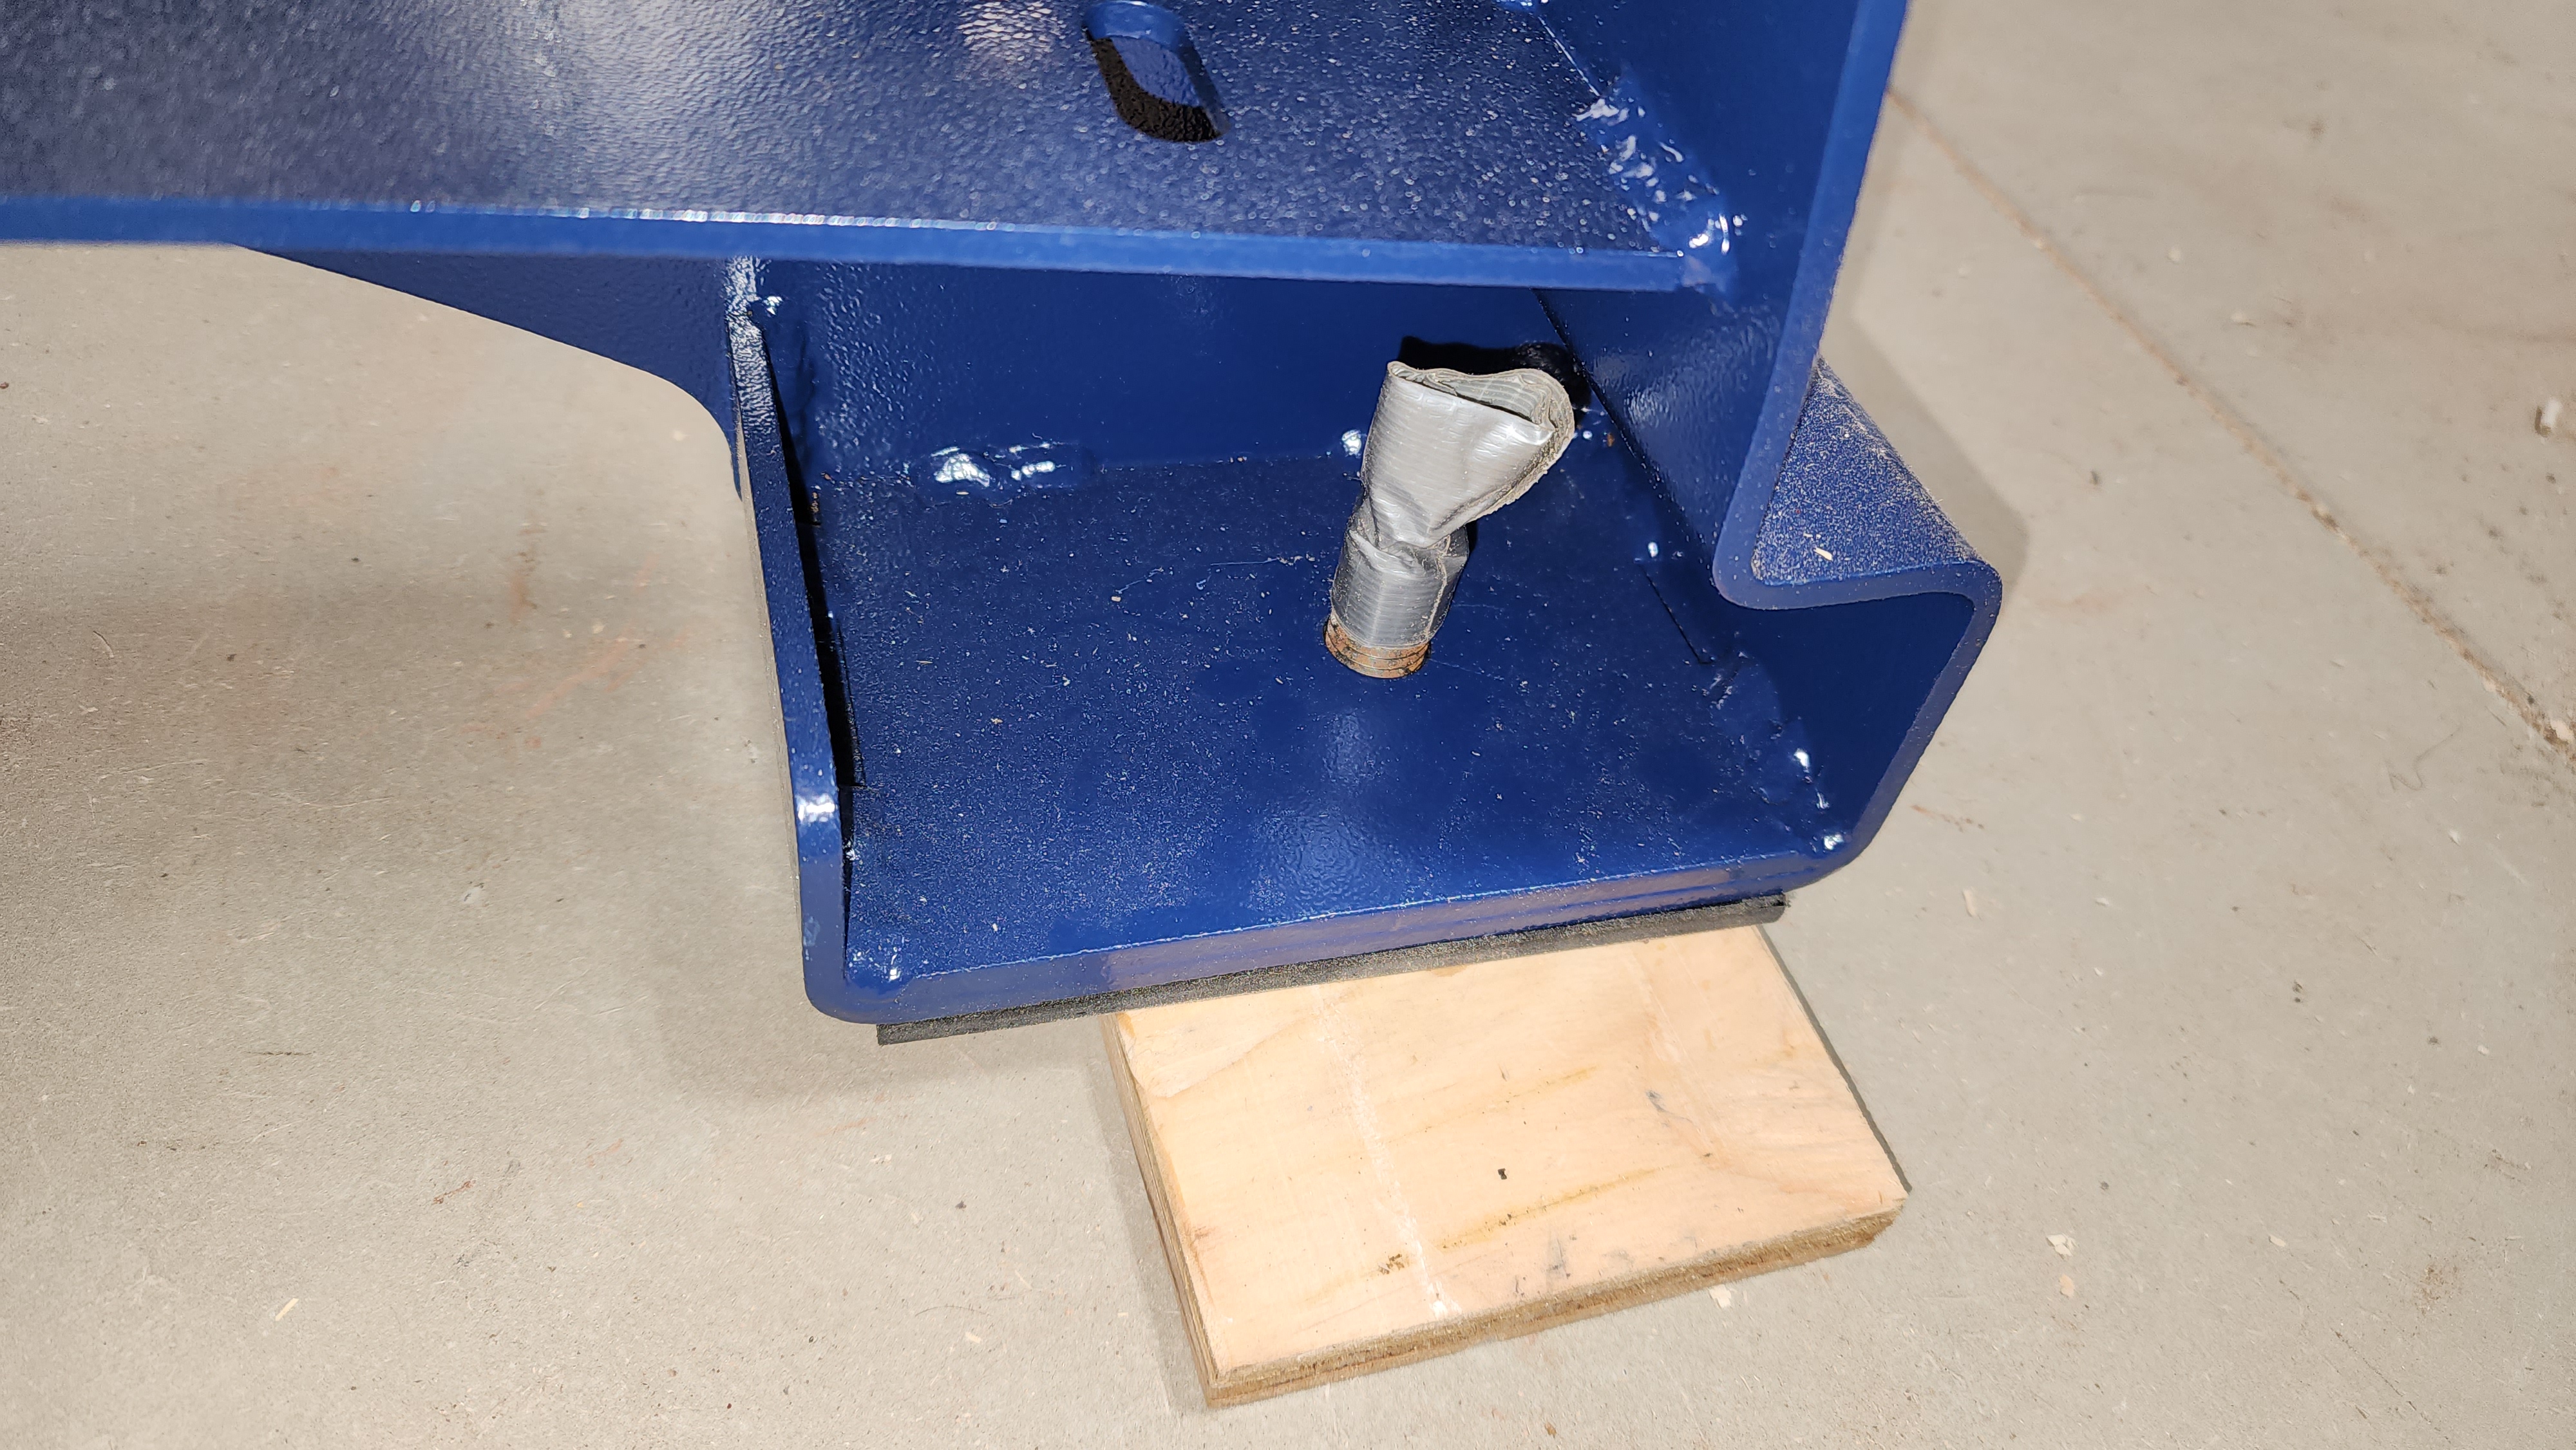
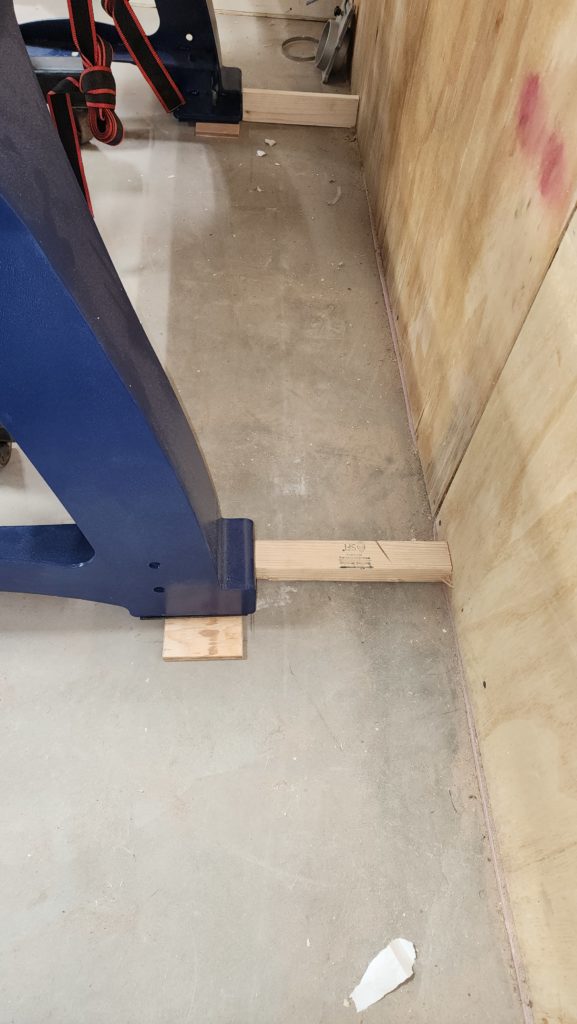
To be sure the machine was parallel and the right distance to the wall, a simple block of wood was the answer:
Okay, now in position, but how am I going to mark those holes?? Step 1 – tape the plywood down. Step 2, remove machine!
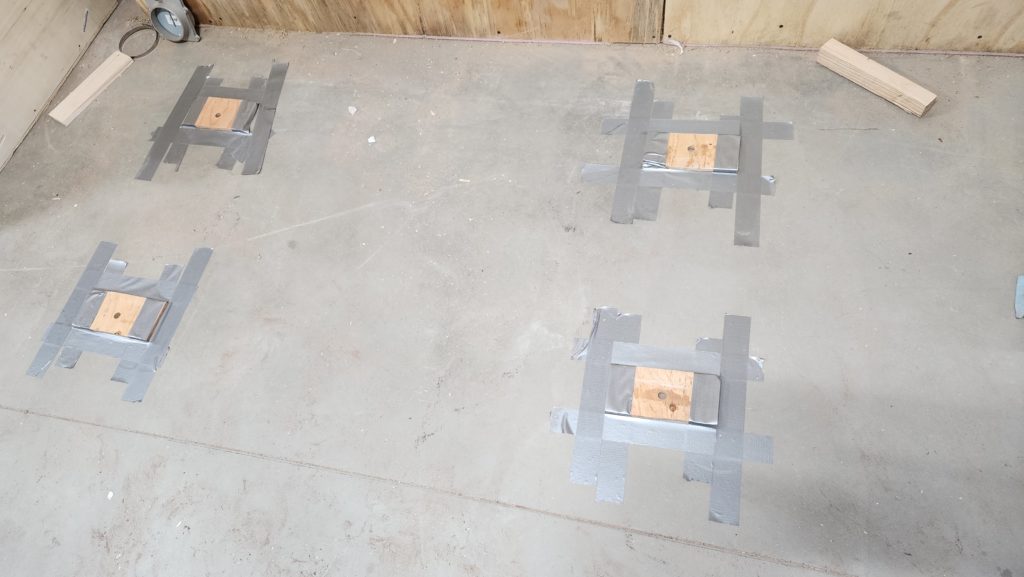
NOW I have easy access to the hole positions, no machine in the way! A quick visit with a sharpie and I was good to go!
Drill for anchors, install anchors, fly the machine back and land it over the anchors.

Almost. It turns out my drill wandered a smidge and one of the anchors was out of place by too much. I dismounted the leg set on that side and drilled out the foot holes a little to compensate. Long live the step drill and the can of Tap Magic!
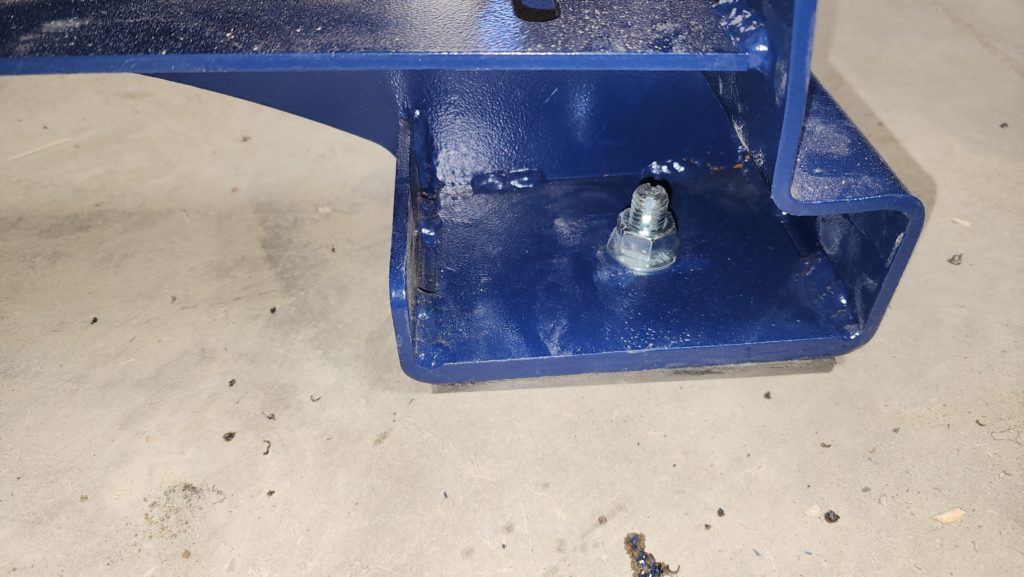
That’s better.
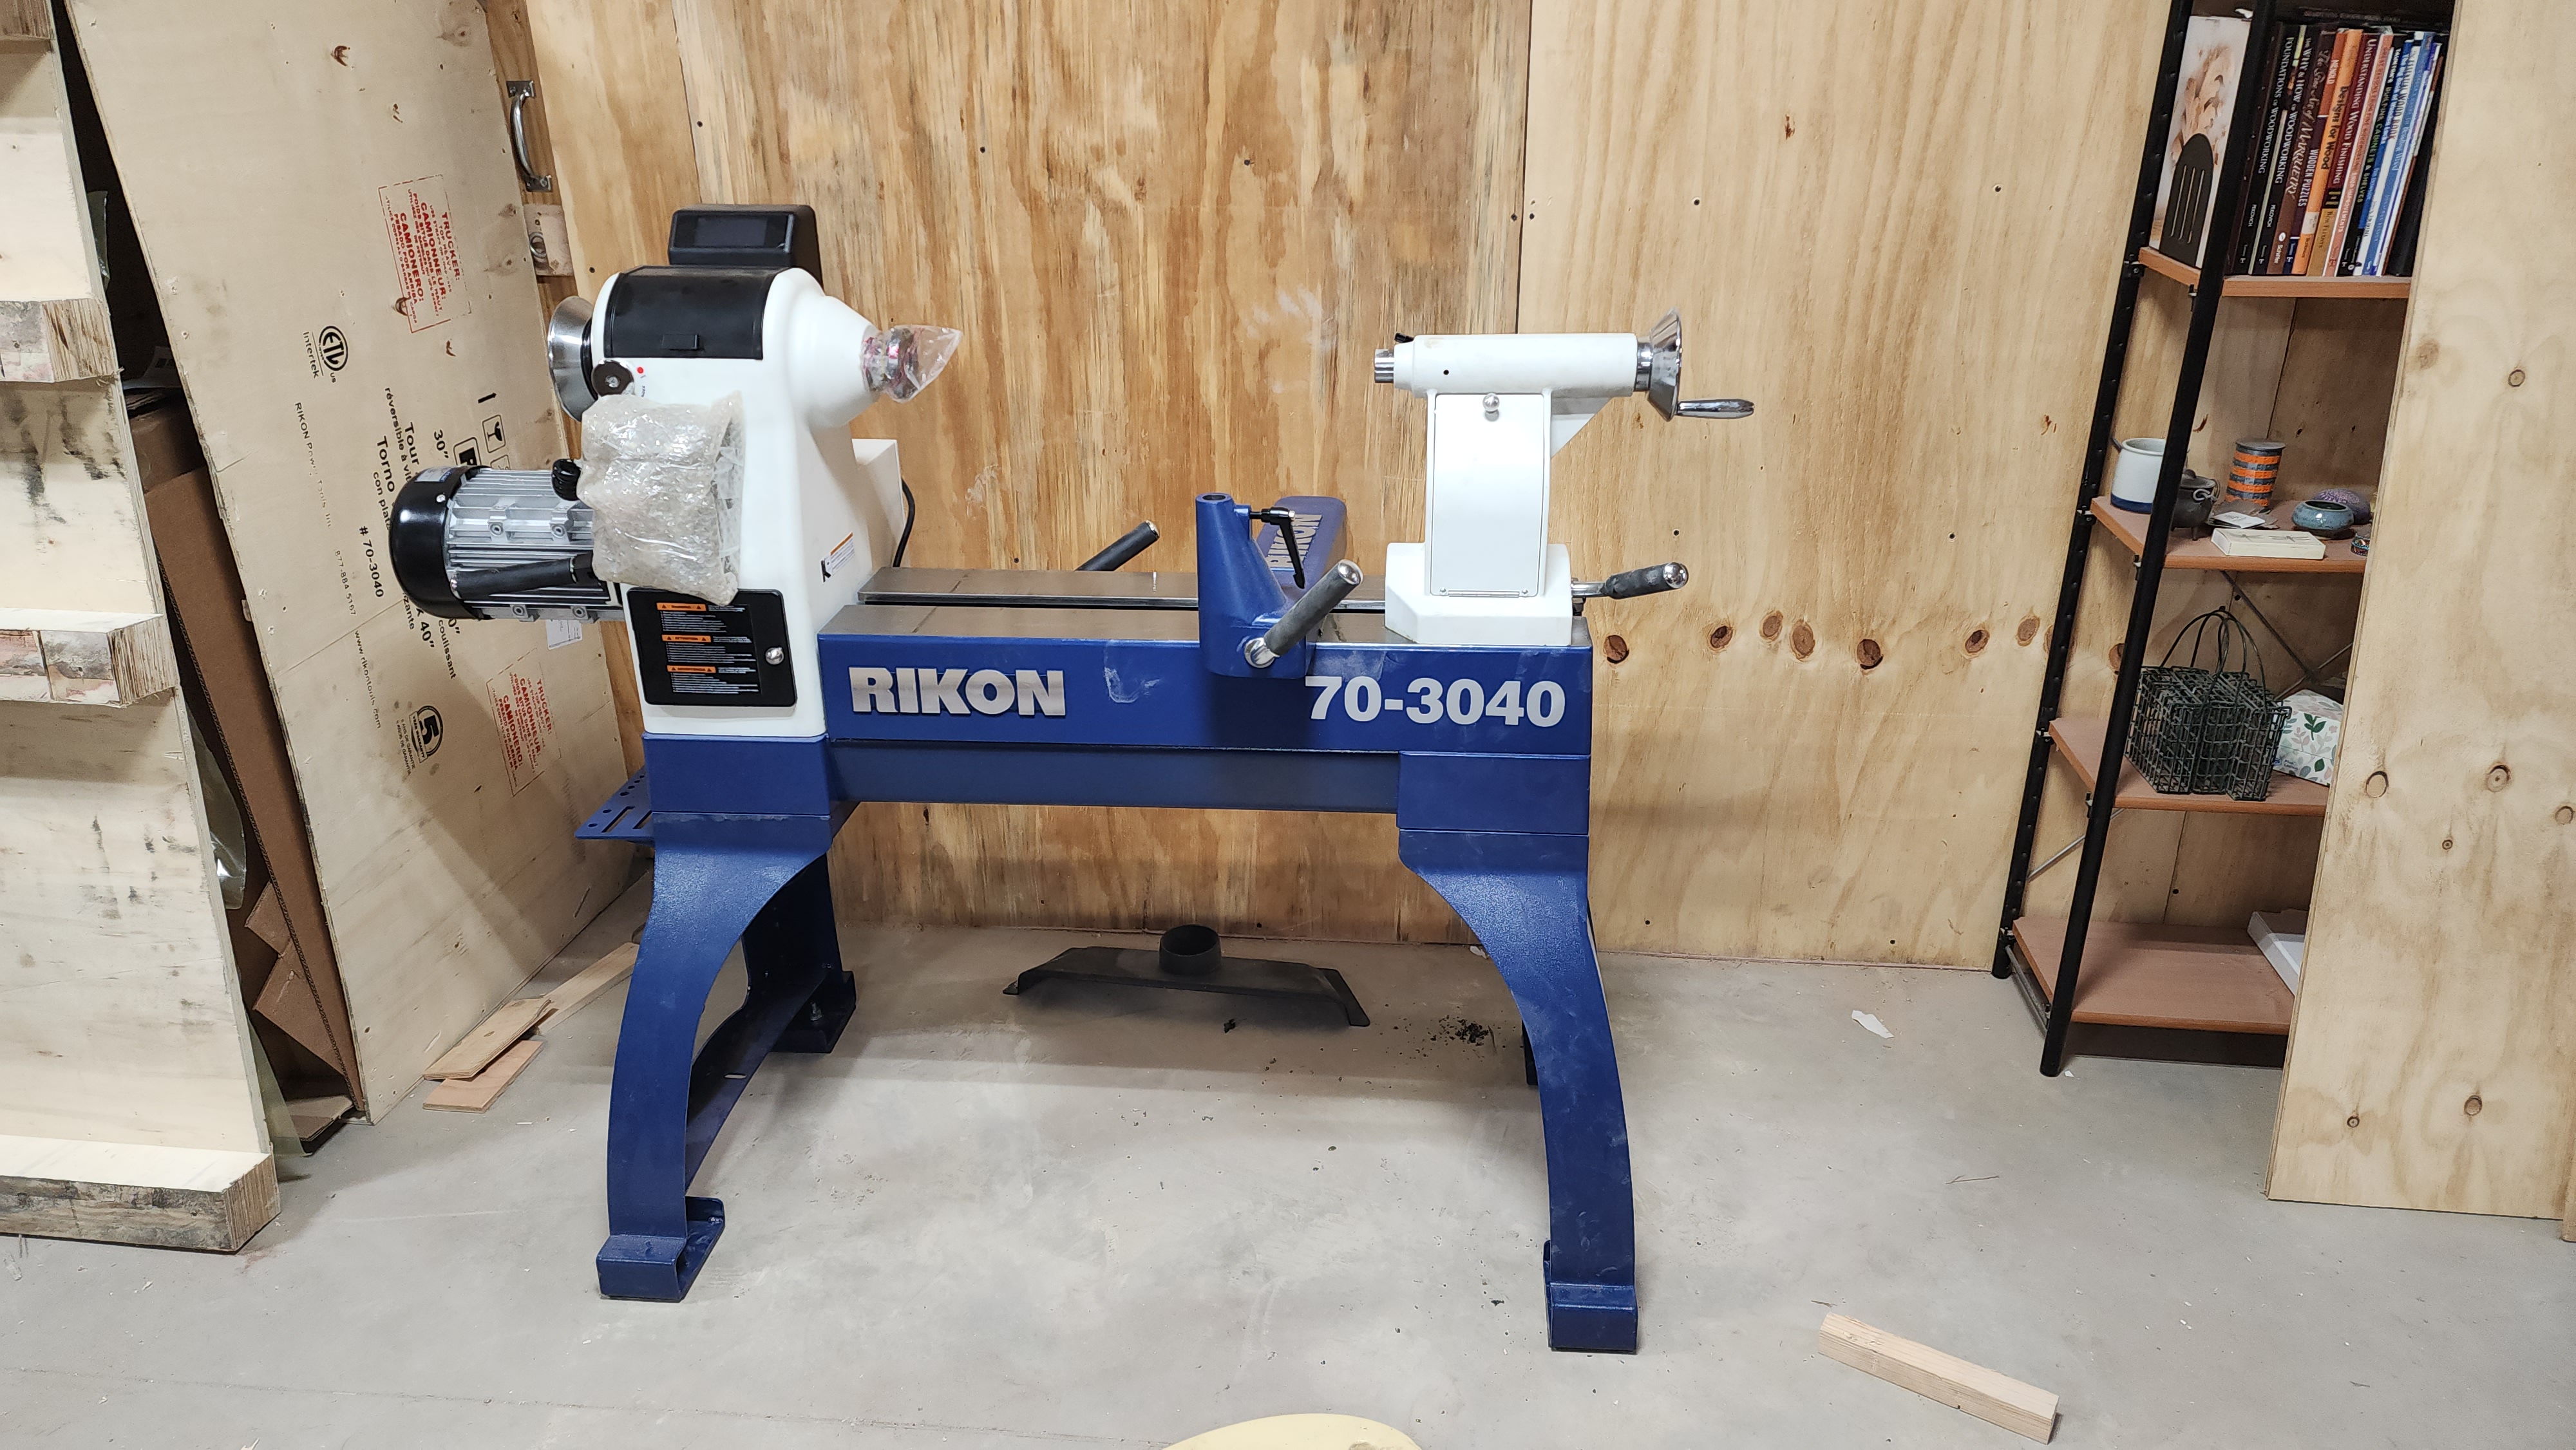
Installed! The black fitting on the floor will be connected to the dust collection system. I’m under no delusions of being able to capture the sawdust thrown by this machine! Just sweep it into the floor fitting afterwards, with the vacuum running, and presto, clean floor.
In other news, spring has sprung and the first round of those bulbs I planted last autumn are now in full bloom. The crocus are small compared to the size of the flower bed, so it doesn’t make for a good whole-scene photo, but be assured there’s plenty of color and not just one bunch!

Daffodil greens are up and budding. Hyacinth greens are starting to emerge. It’s lovely.
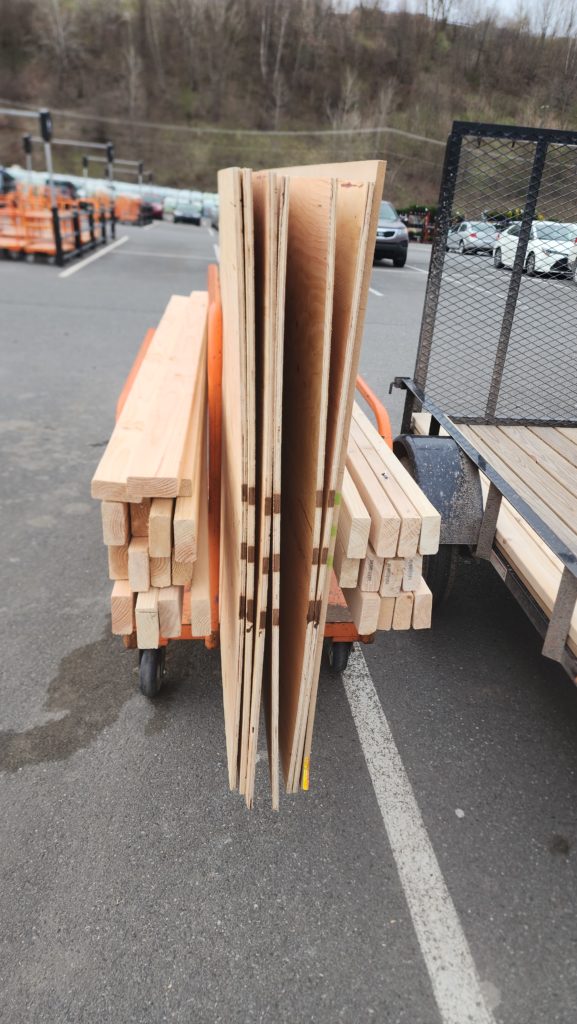
In other other news, I have started construction of the beehives. It starts with a load of lumber…
and gets interrupted by this!
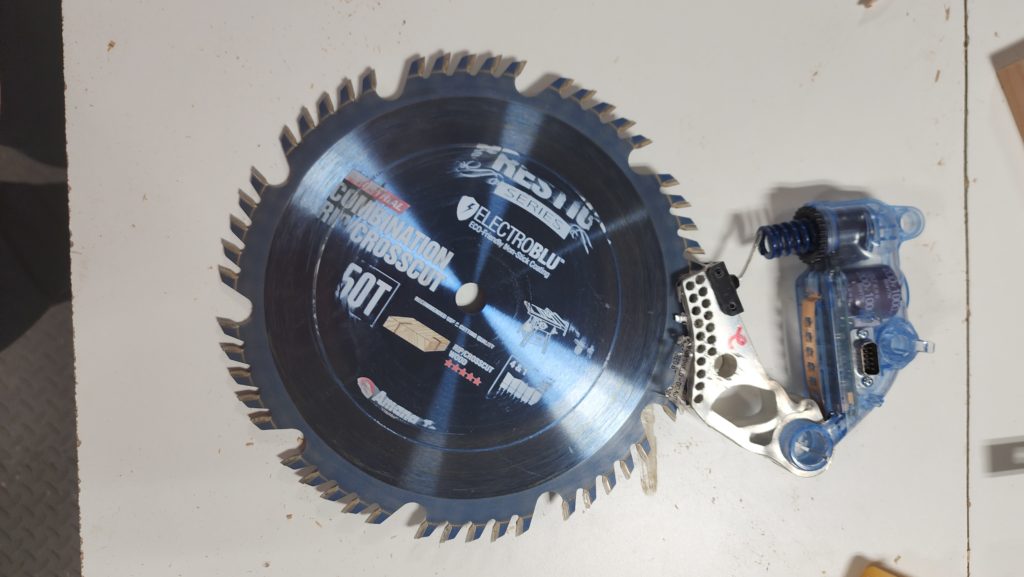
Do you know what this is?
This is what happens in a Sawstop table saw if it thinks flesh has touched the blade: it deploys the brake pawl and halts the blade. It also usually destroys the blade. The last time this happened, I was cutting some unusually wet plywood and that triggered the safety system.
This time, it was me.
25y of having tools like this without incident… until now. I touched the spinning blade (accidentally!) while making a cut. I made 8 identical cuts just before without issue, but I must have slipped or gotten careless with my hand position on the 9th (of 12) such cut. These were fast action cross-cuts, too, so the workpiece — and thus my hands — were moving quickly toward the blade. It detected me immediately and halted the blade. The system also ducks the blade back into the table — for further securing the scene. All that is excellent. But if the part of the blade that touches you is the sharp part, then even the slightest continuation of motion is gonna do some damage. At 3000 rpm, that’s 50 per second, so even an impressive response time of the brake at an optimistic 1ms, that’s still 1/20 of rotation. My blade as 50 teeth, so that’s still 2.5 very sharp carbide teeth cutting in before the brake stops it. If one is moving quickly toward the blade, that’ll do some damage. And it did.
A rush to the aid kit for clotting powder and a pressure dressing and then a hasty 40 minute drive to the hospital followed because it was really deep. Two days later as I write this, it’s healing well and I get to keep all my parts, though I’ll be typing with 9 fingers for a while. Thank goodness for that safety system! This could have been much, much worse. 25 years of owning a wood shop with just one emergency dept trip is an excellent record… hopefully I finish out my woodworking career with zero more. I’ve always been very good about safety (see also: 25y record) but accidents DO happen. And this is why I have a dedicated stop-bleeding kit in the workshop. No fumbling about through random aid supplies to find what I need. Clotting powder and dressings/tape only. Quick access for urgent, one-handed use. While I was refilling my supplies, I bought some extra for the kitchen (turns out there are sharp cutting tools there, too) and stuck them to the fridge for immediate access if needs be. You don’t want to be far from your stop-bleeding kit.
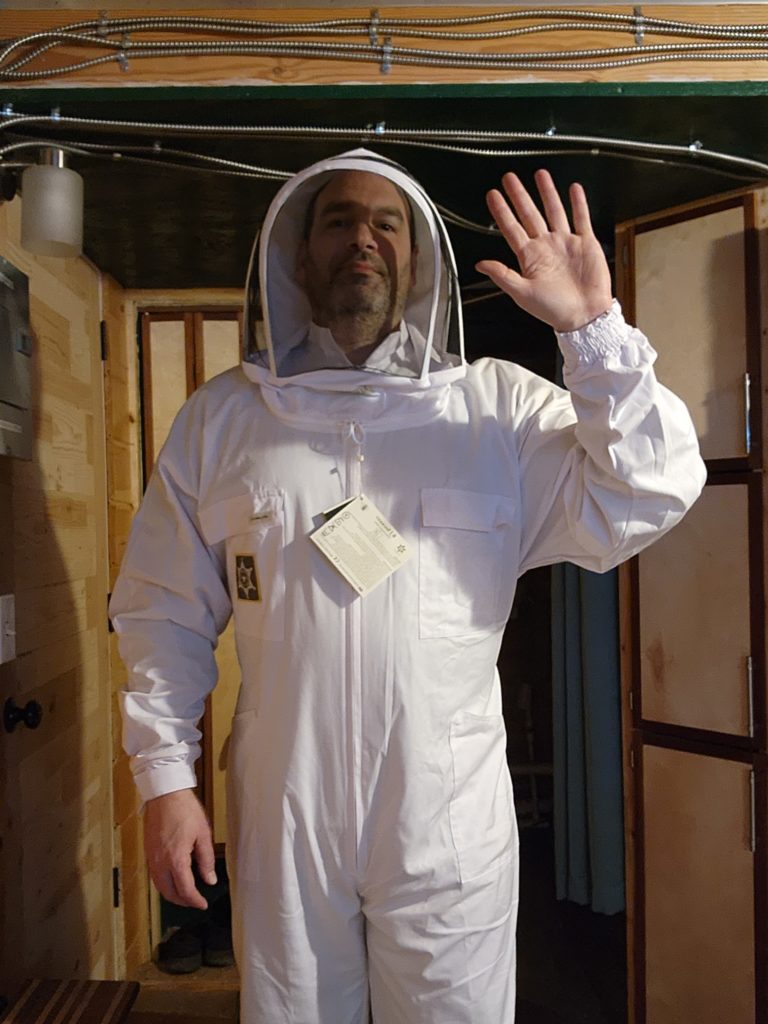
Speaking of beehives… I’m getting prepared in other ways, too… anti-sting suit & screen hood. I have matching work gloves, too.
And speaking of spring… frog eggs!

Far fewer than last year (they may not be done with the laying…), but that’s okay.
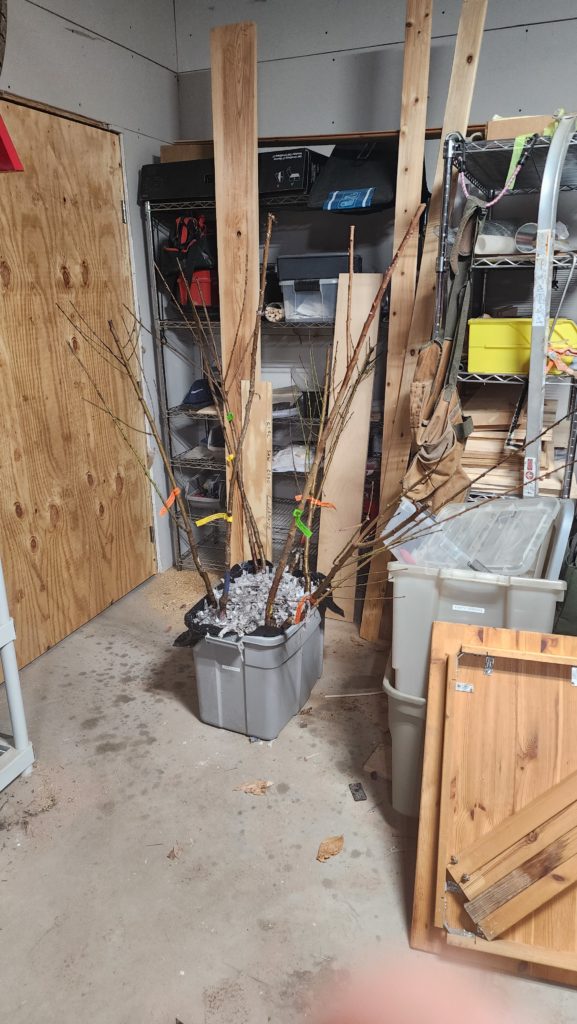
Also, my baby fruit trees are here! They are resting in the garage for a few more days until the deer fencing arrives before planting, so I can protect their tender young leaves from being nibbled on by hungry fawns.
As per usual, lots going on in the homestead! Especially now that spring has sprung!