It’s been a very busy few days!
I will often have many projects running concurrently. This happens due to a few types of circumstances. In some cases, there’s a need to wait before proceeding with a given project due to my own scheduling, the weather, lack of materials or tools, or needing something to dry/cure/etc. In other cases, I’m just tired of working on a particular thing and want a change of pace. Either way, projects move along to some point and then they are set aside and attention is paid elsewhere, be that to other projects or to non-project aspects of life. This is good for making forward motion even when a given project has a pause point, but it also means that unfinished projects tend to accumulate. This weekend started out with a Completion Day. A day where I don’t start anything nor do I work on anything incrementally, but rather anything that can be finished gets finished. In this case, that was chiefly electrical work.
For example, it was months ago that I installed the Heat Recovery Ventilator but the box for the control never got mounted and had just been sitting on the floor. Time to finish that.
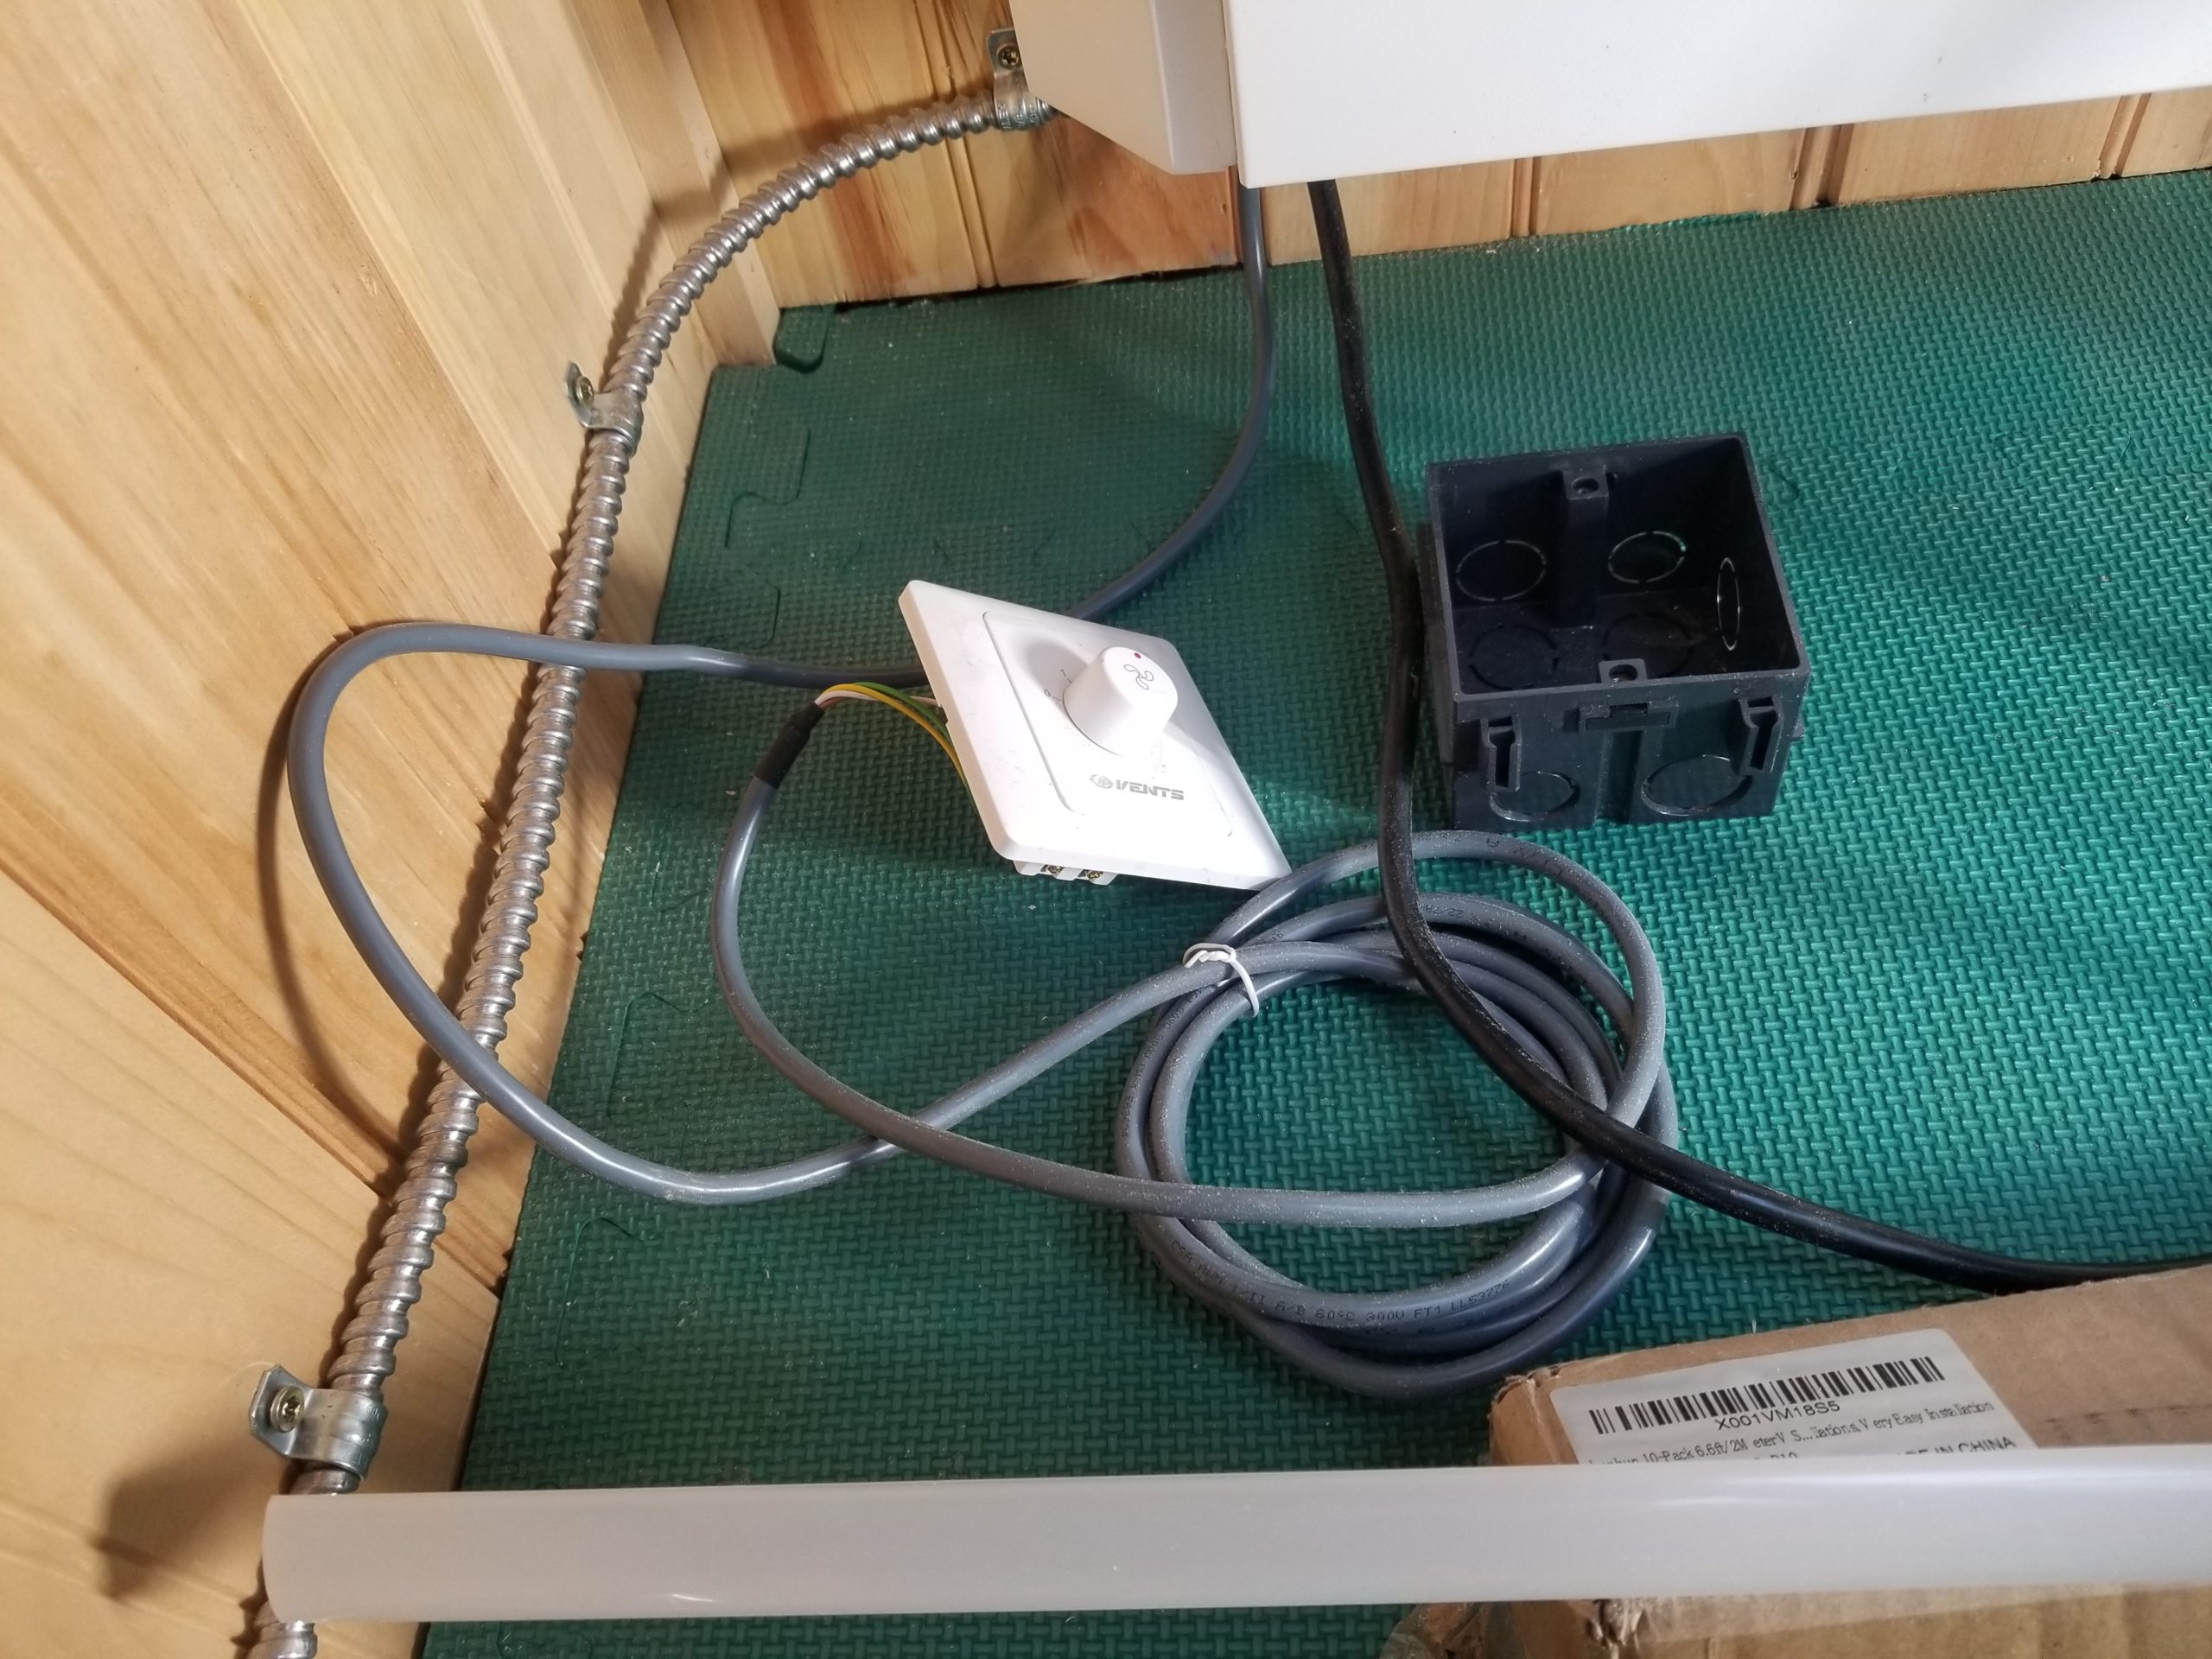
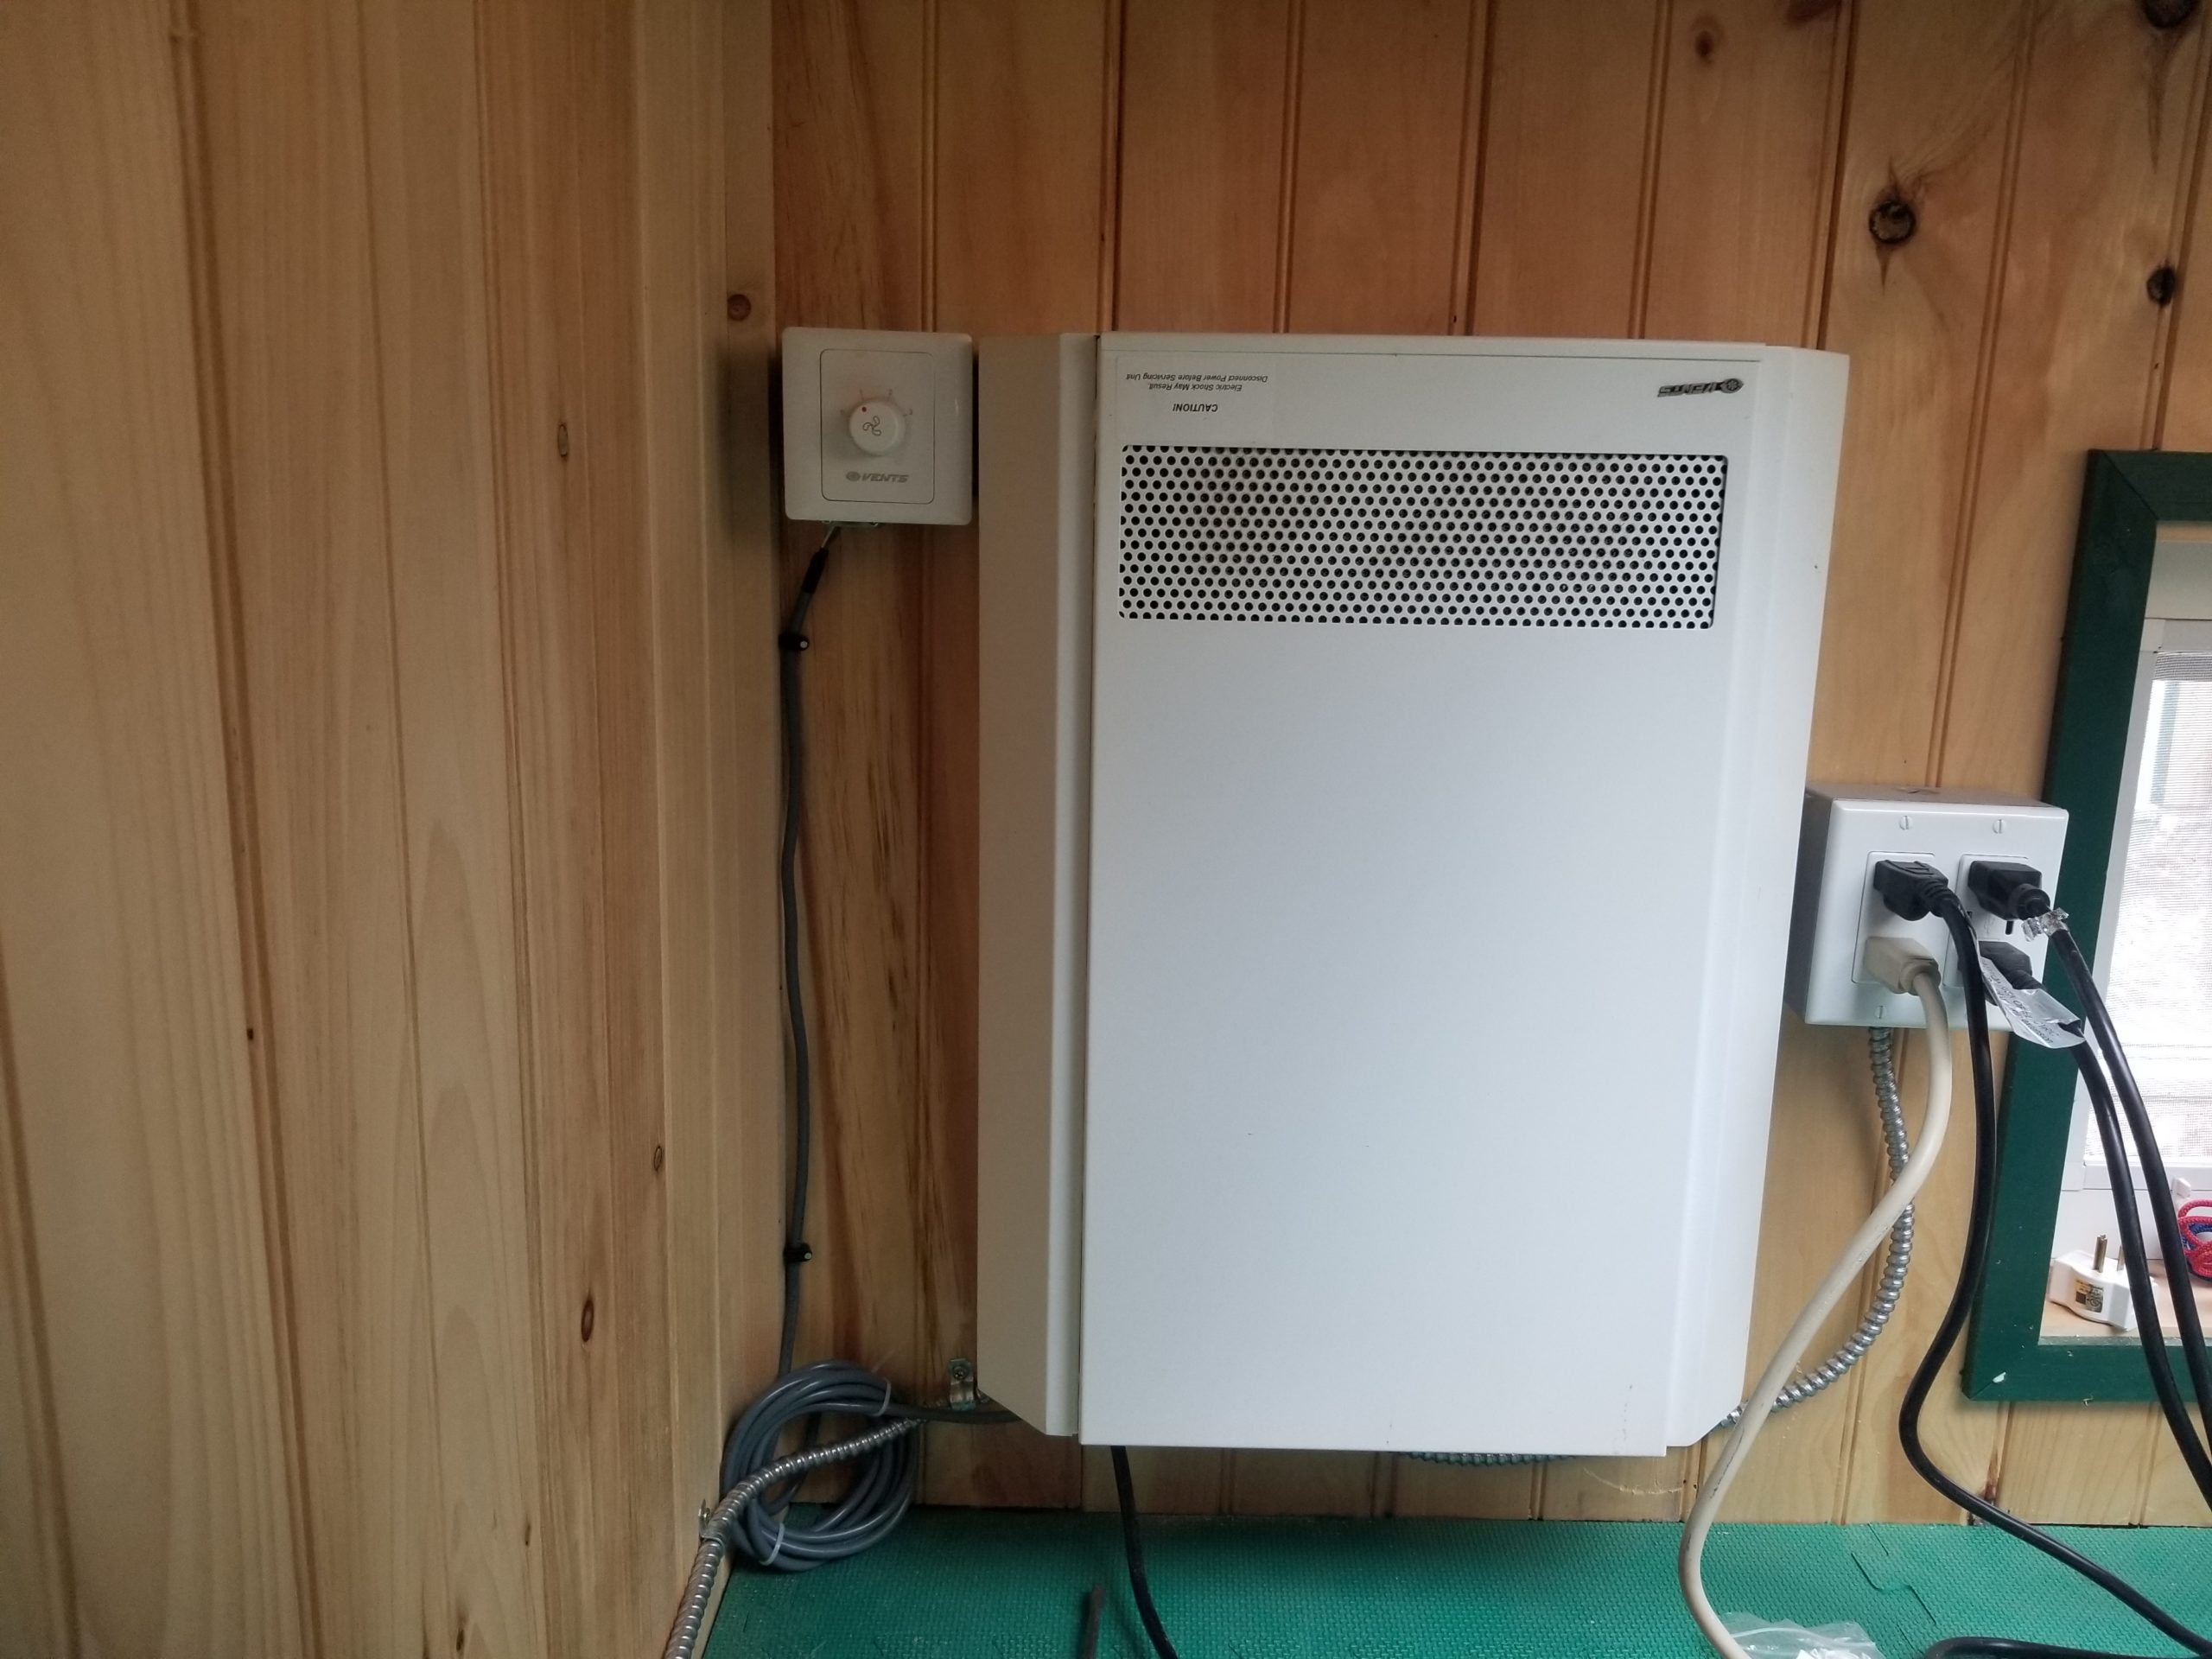
The control cable needed to be tacked in place to keep it tidy. No problem, I have clips that will do the trick nicely already in stock. The problem isn’t the clips. The problem is there’s no room to swing a hammer to drive the clip’s nail.
In situations like these, one must get a little creative. In this case, the screw driver was used to drive the nail. What I needed was something to strike the screw driver.
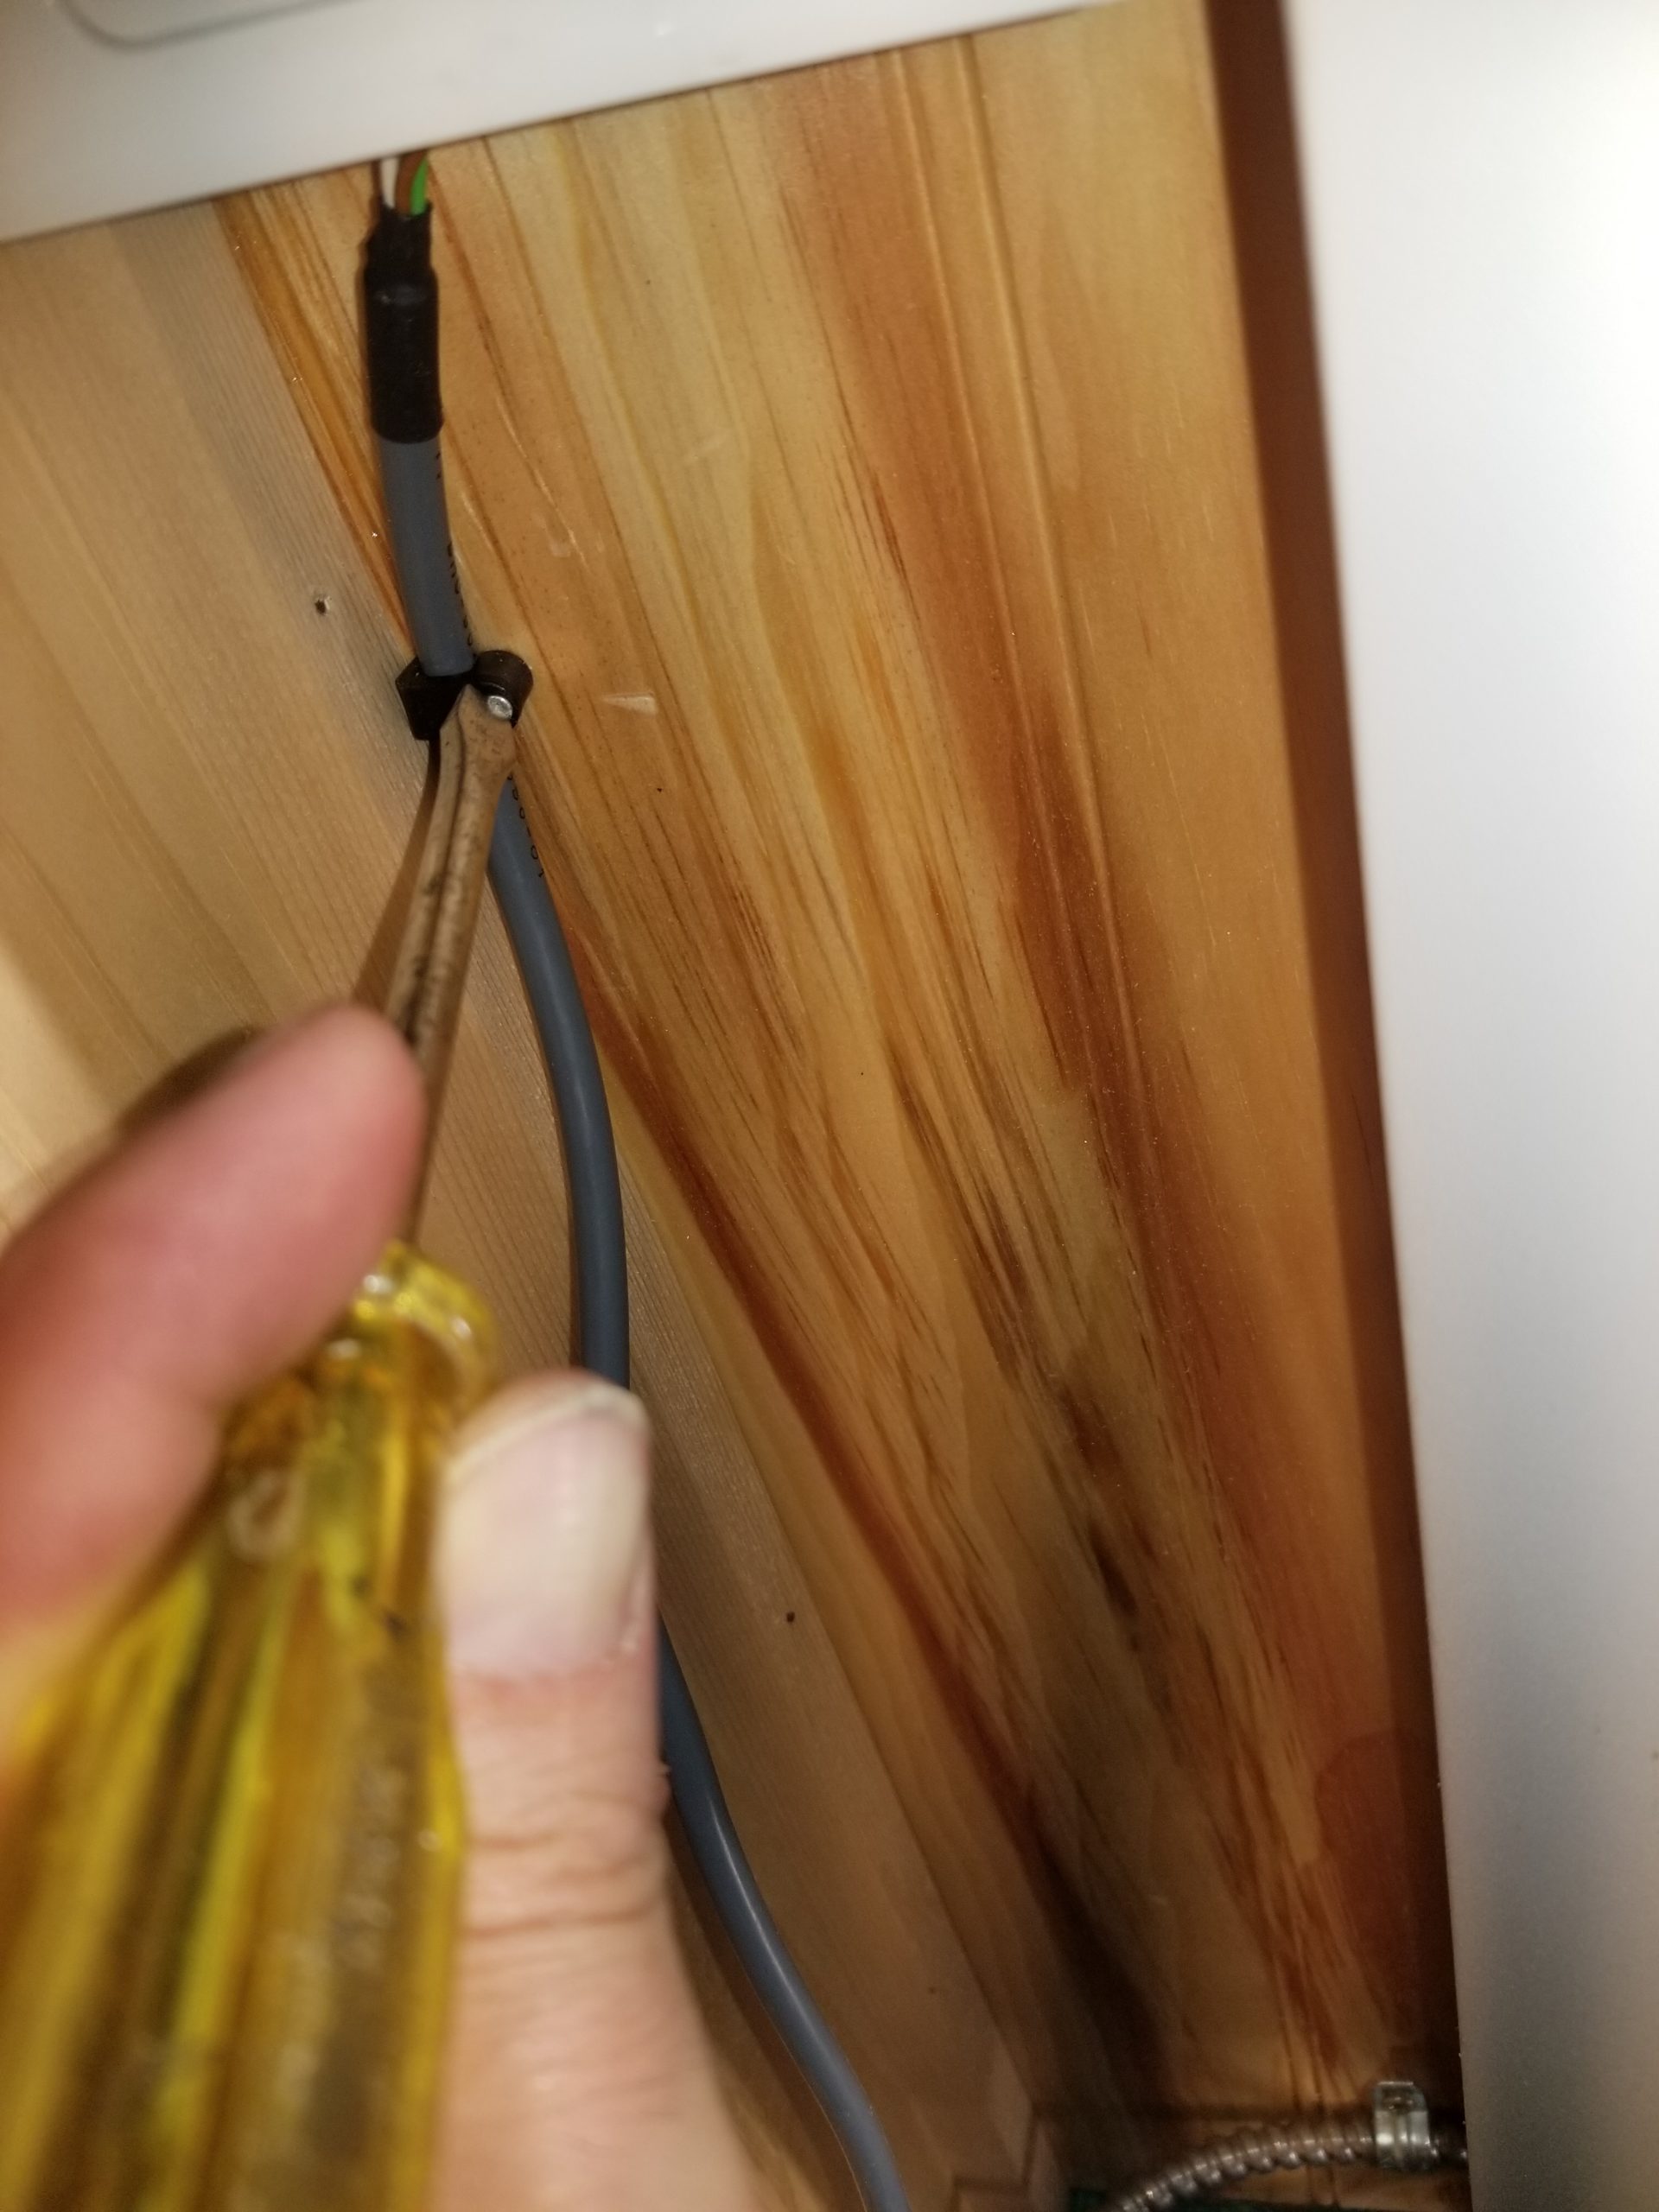
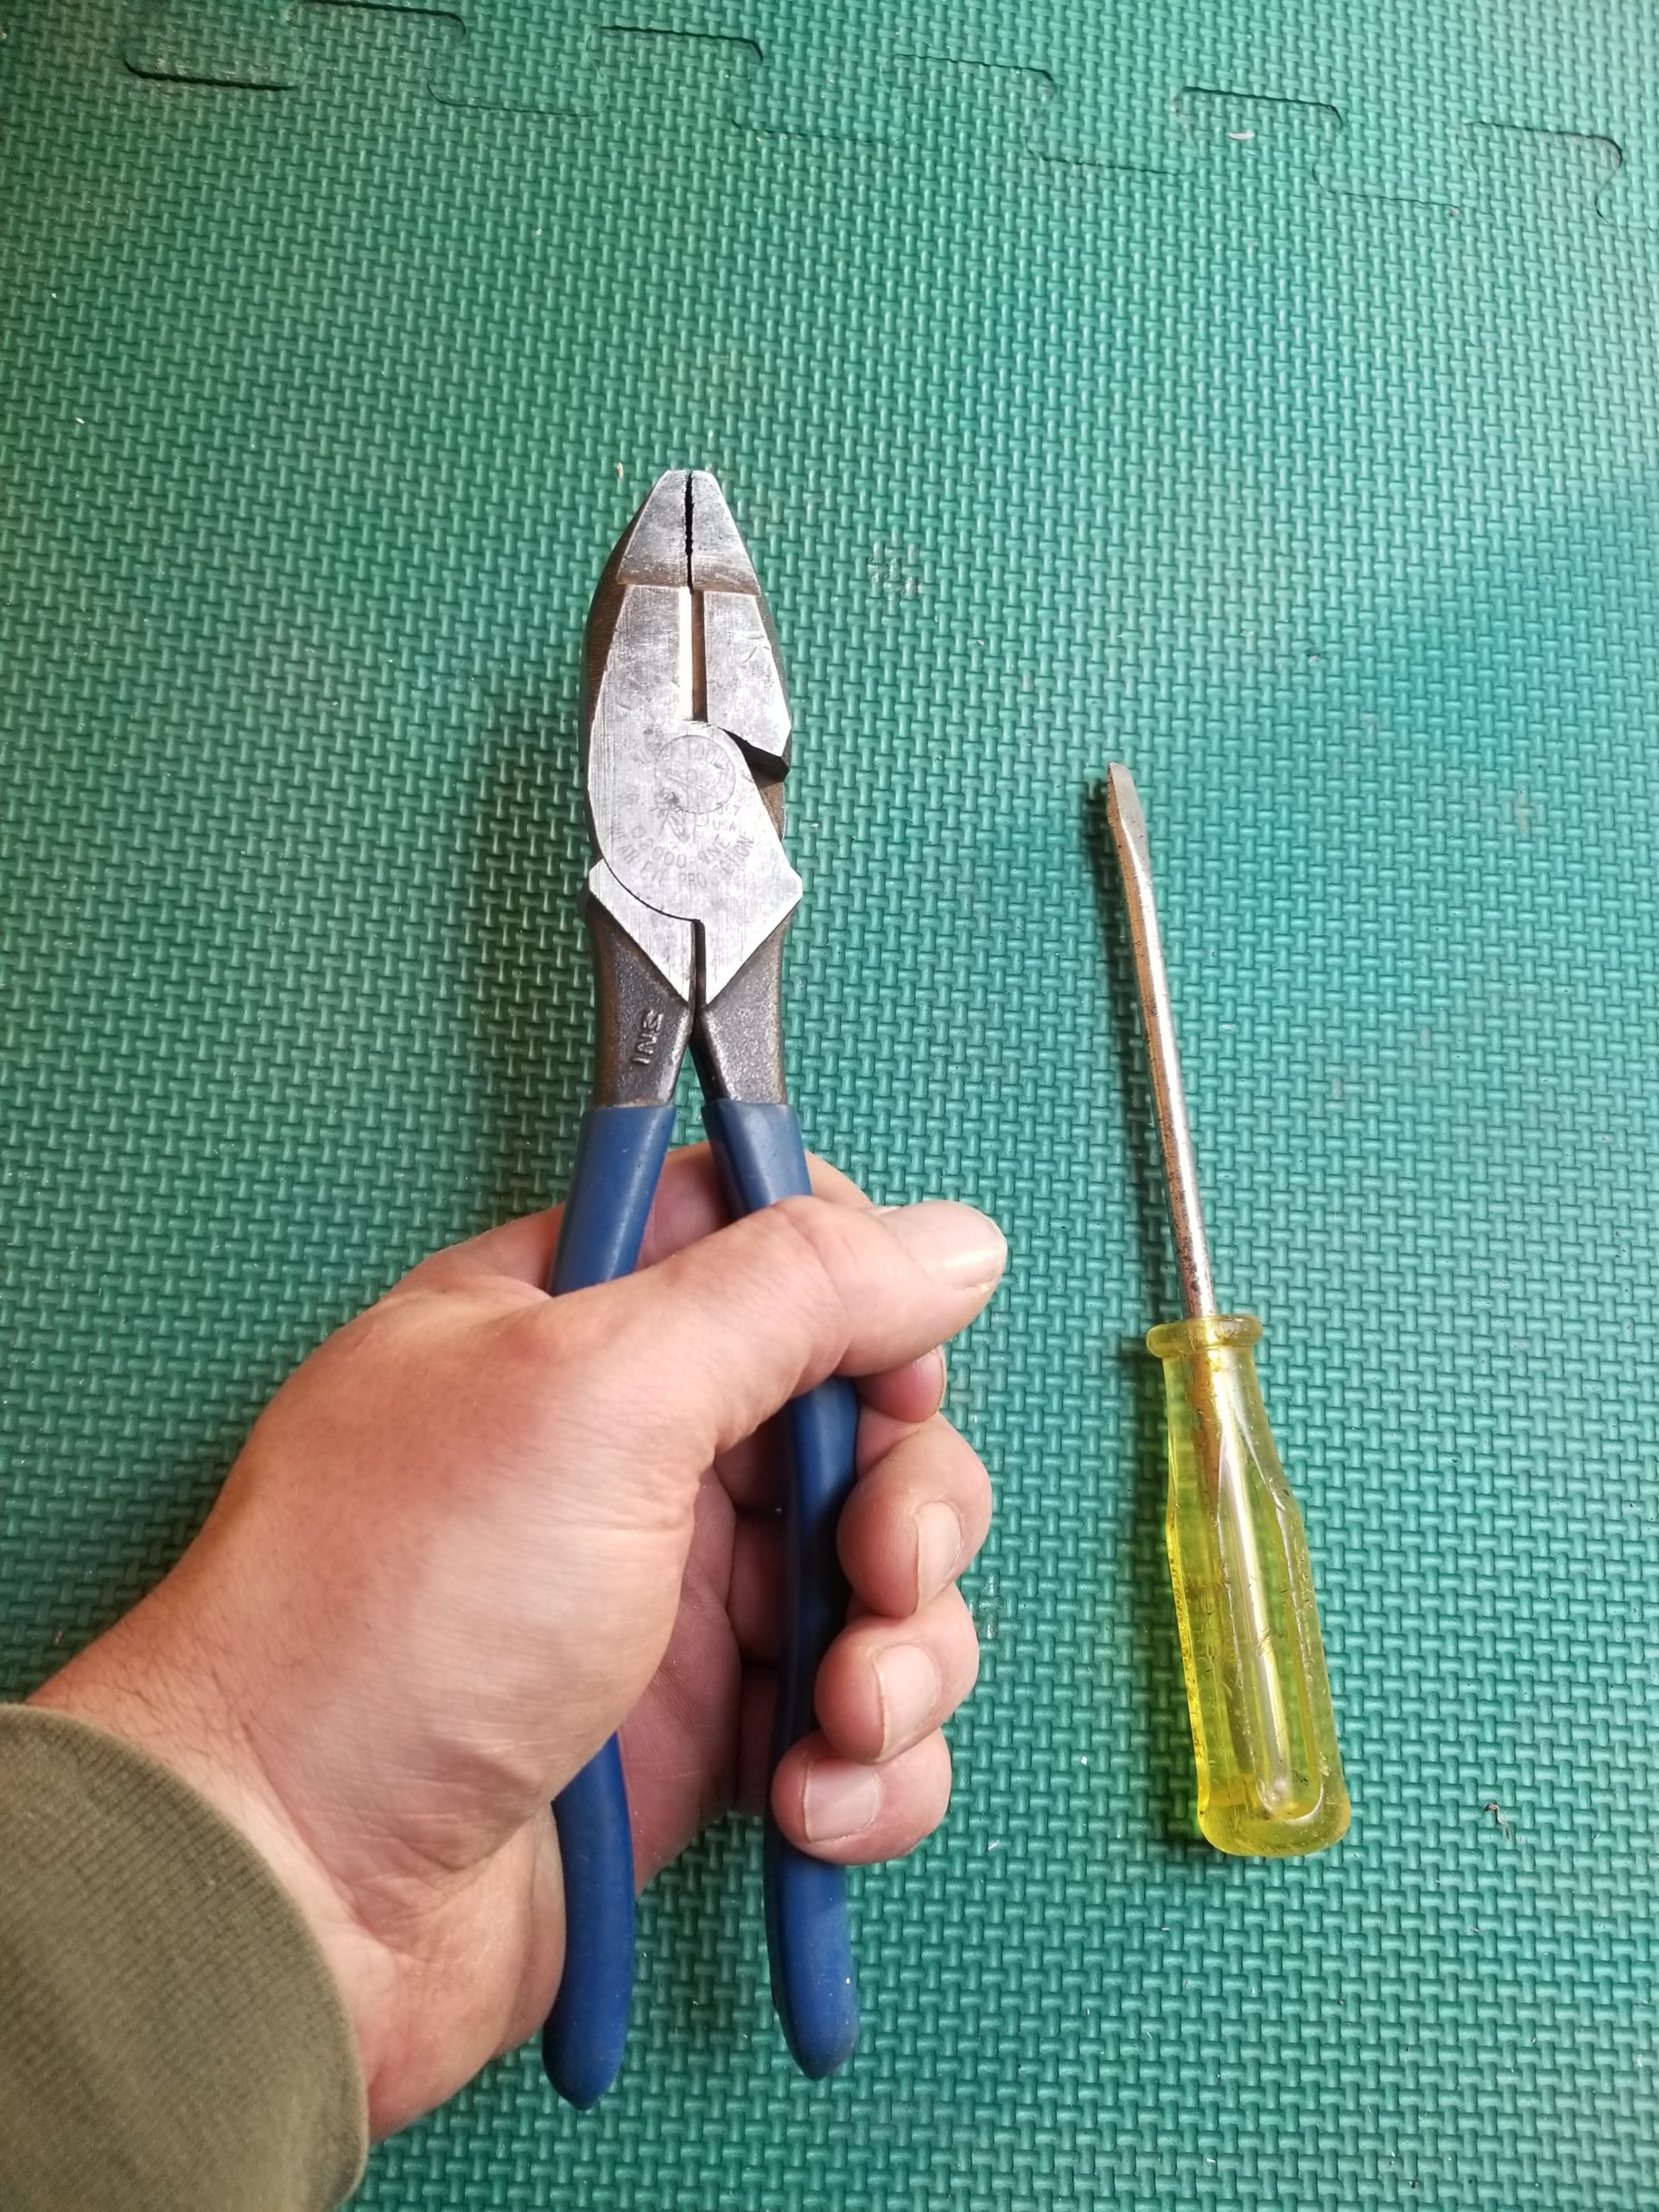
Way back when I didn’t actually do all my own electrical work, I had an electrician by the name of James McCarthy. Jim had a saying when it came to things beyond the actual wiring: “if you can’t do it with pliers, it’s not Electrician’s work”. You can imagine why I thought of him when I used this pair of heavy lineworker’s pliers as a hammer.
And of course per usual when working in the loft, even at the point of greatest headroom, there wasn’t great headroom.
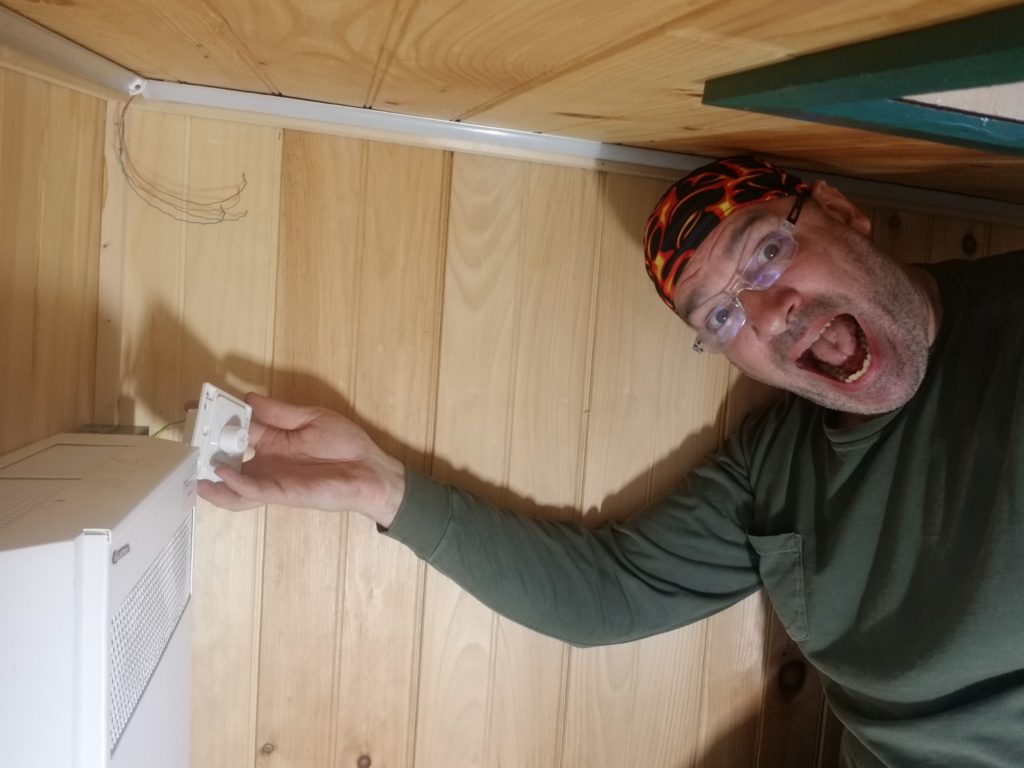
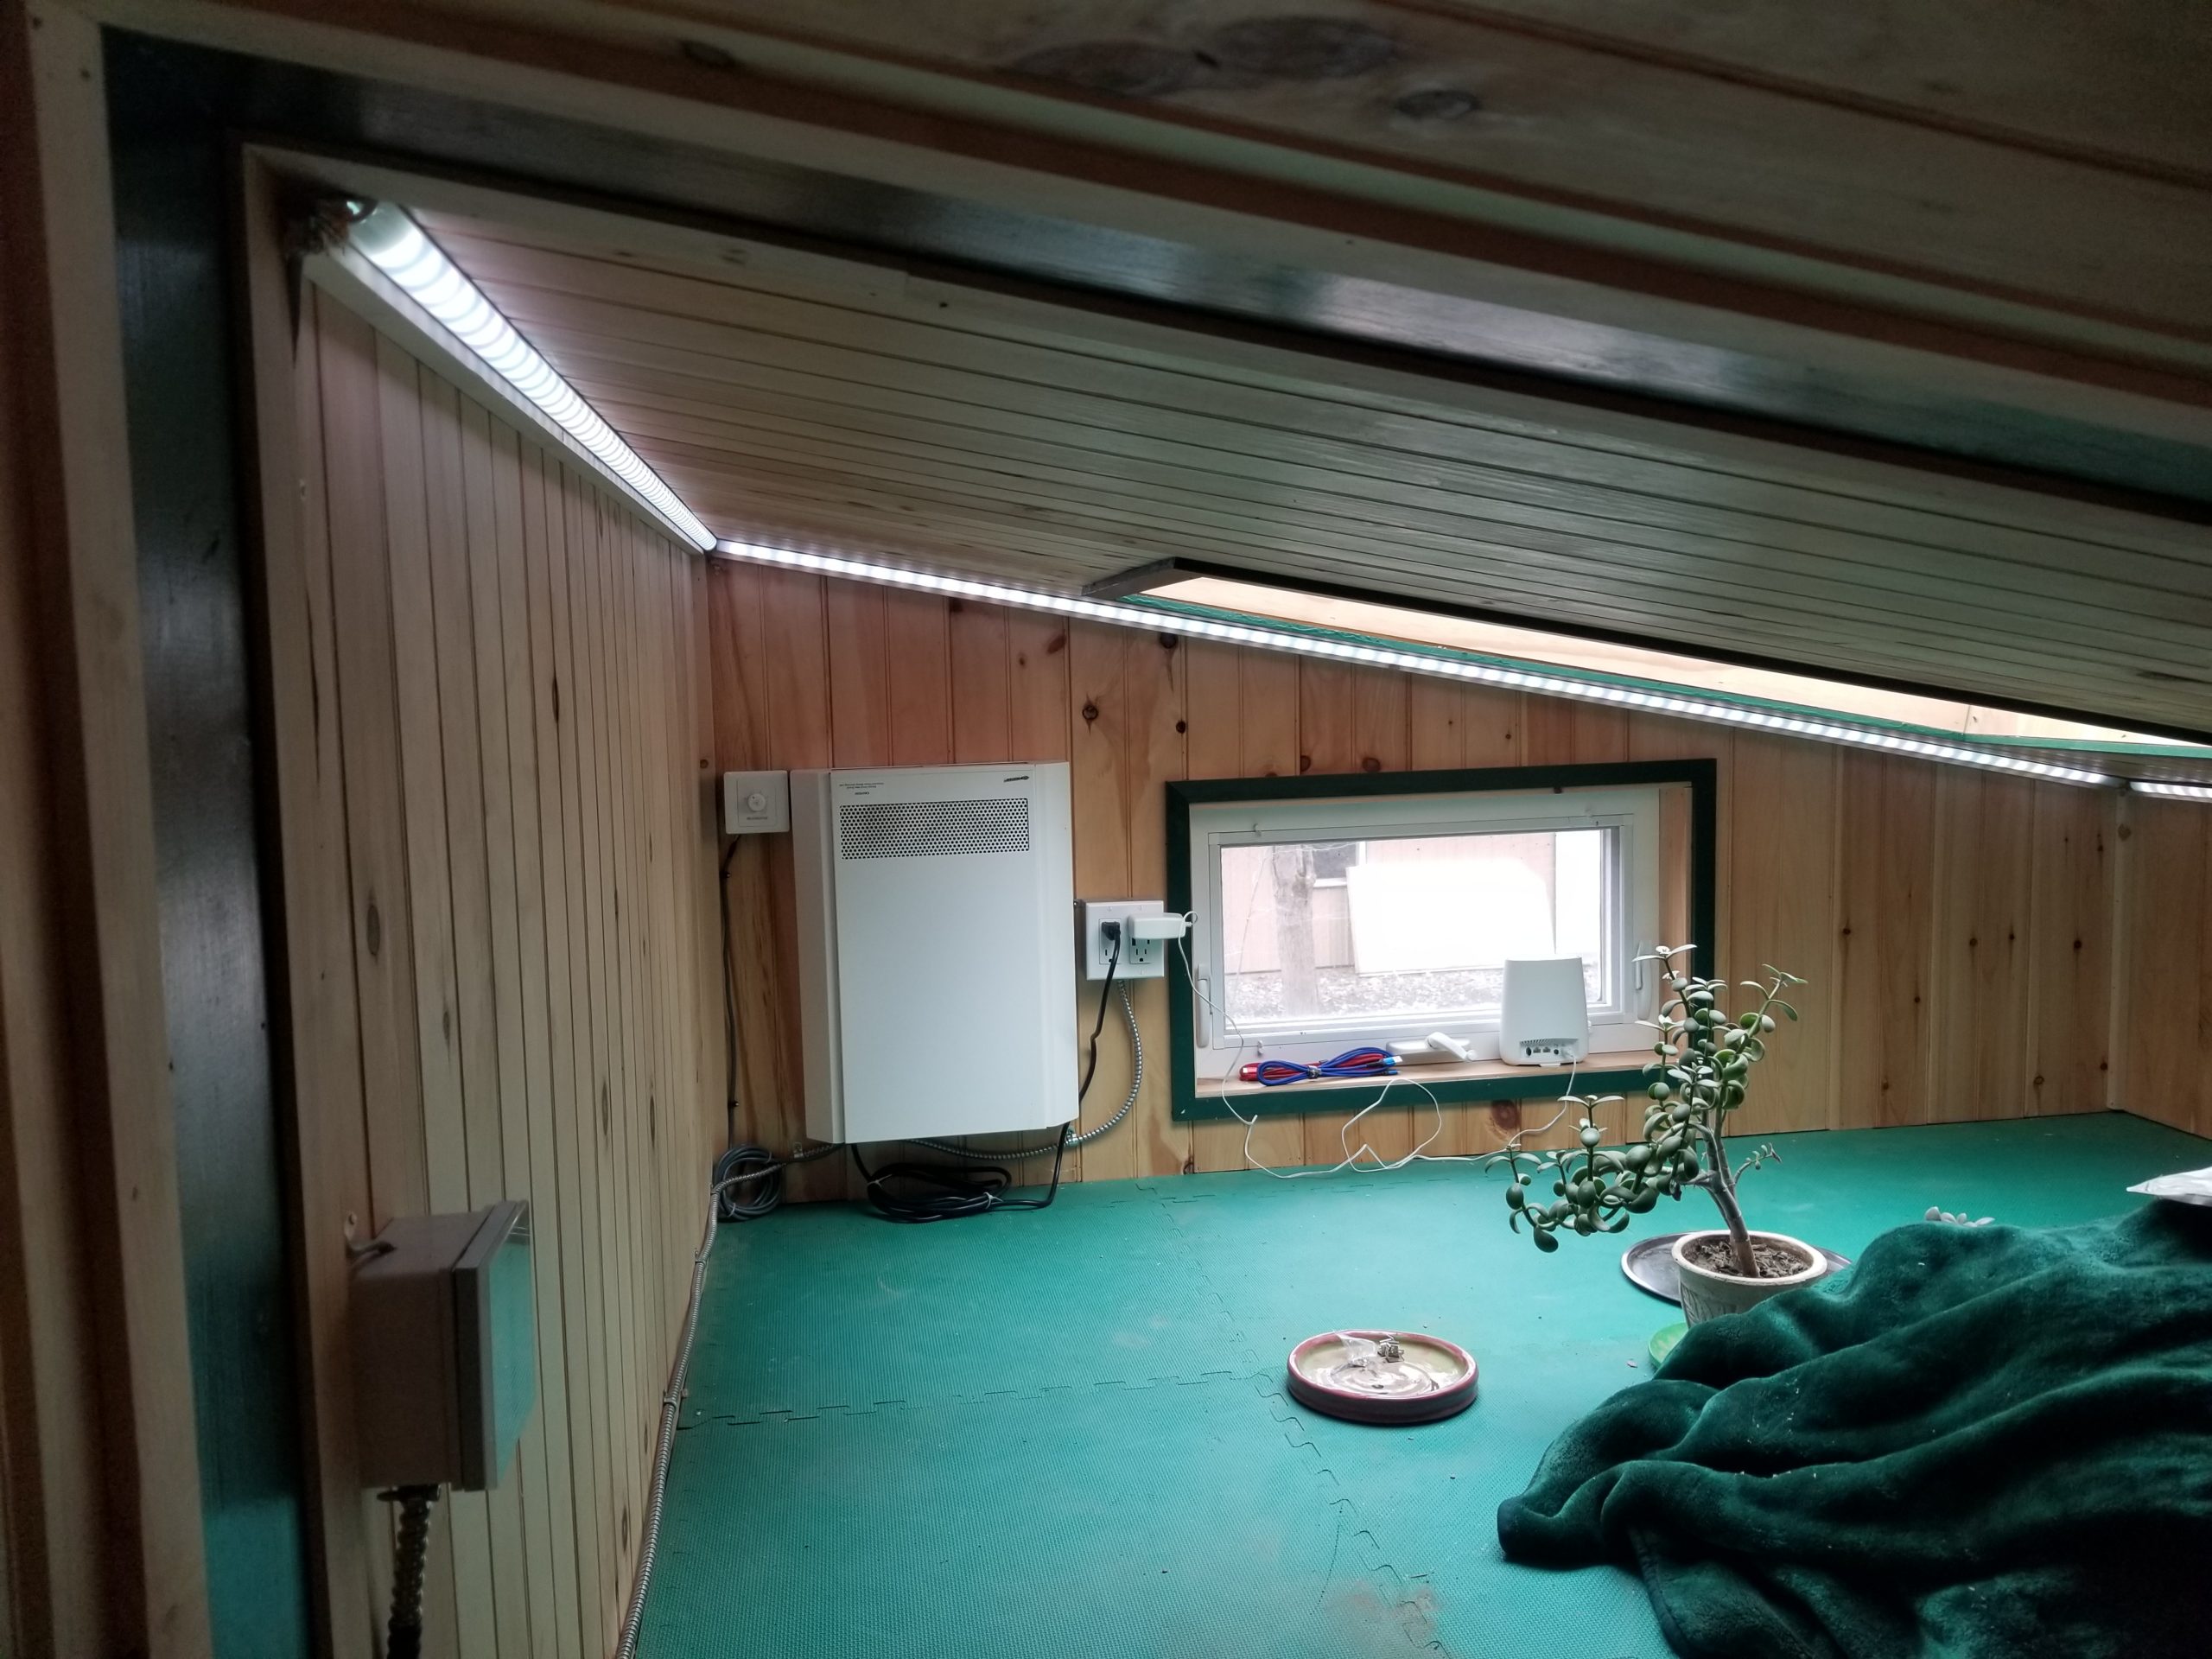
The other thing to finish in the loft is the LED ambient lighting. That’s what’s happening up against the ceiling looking like translucent crown molding.
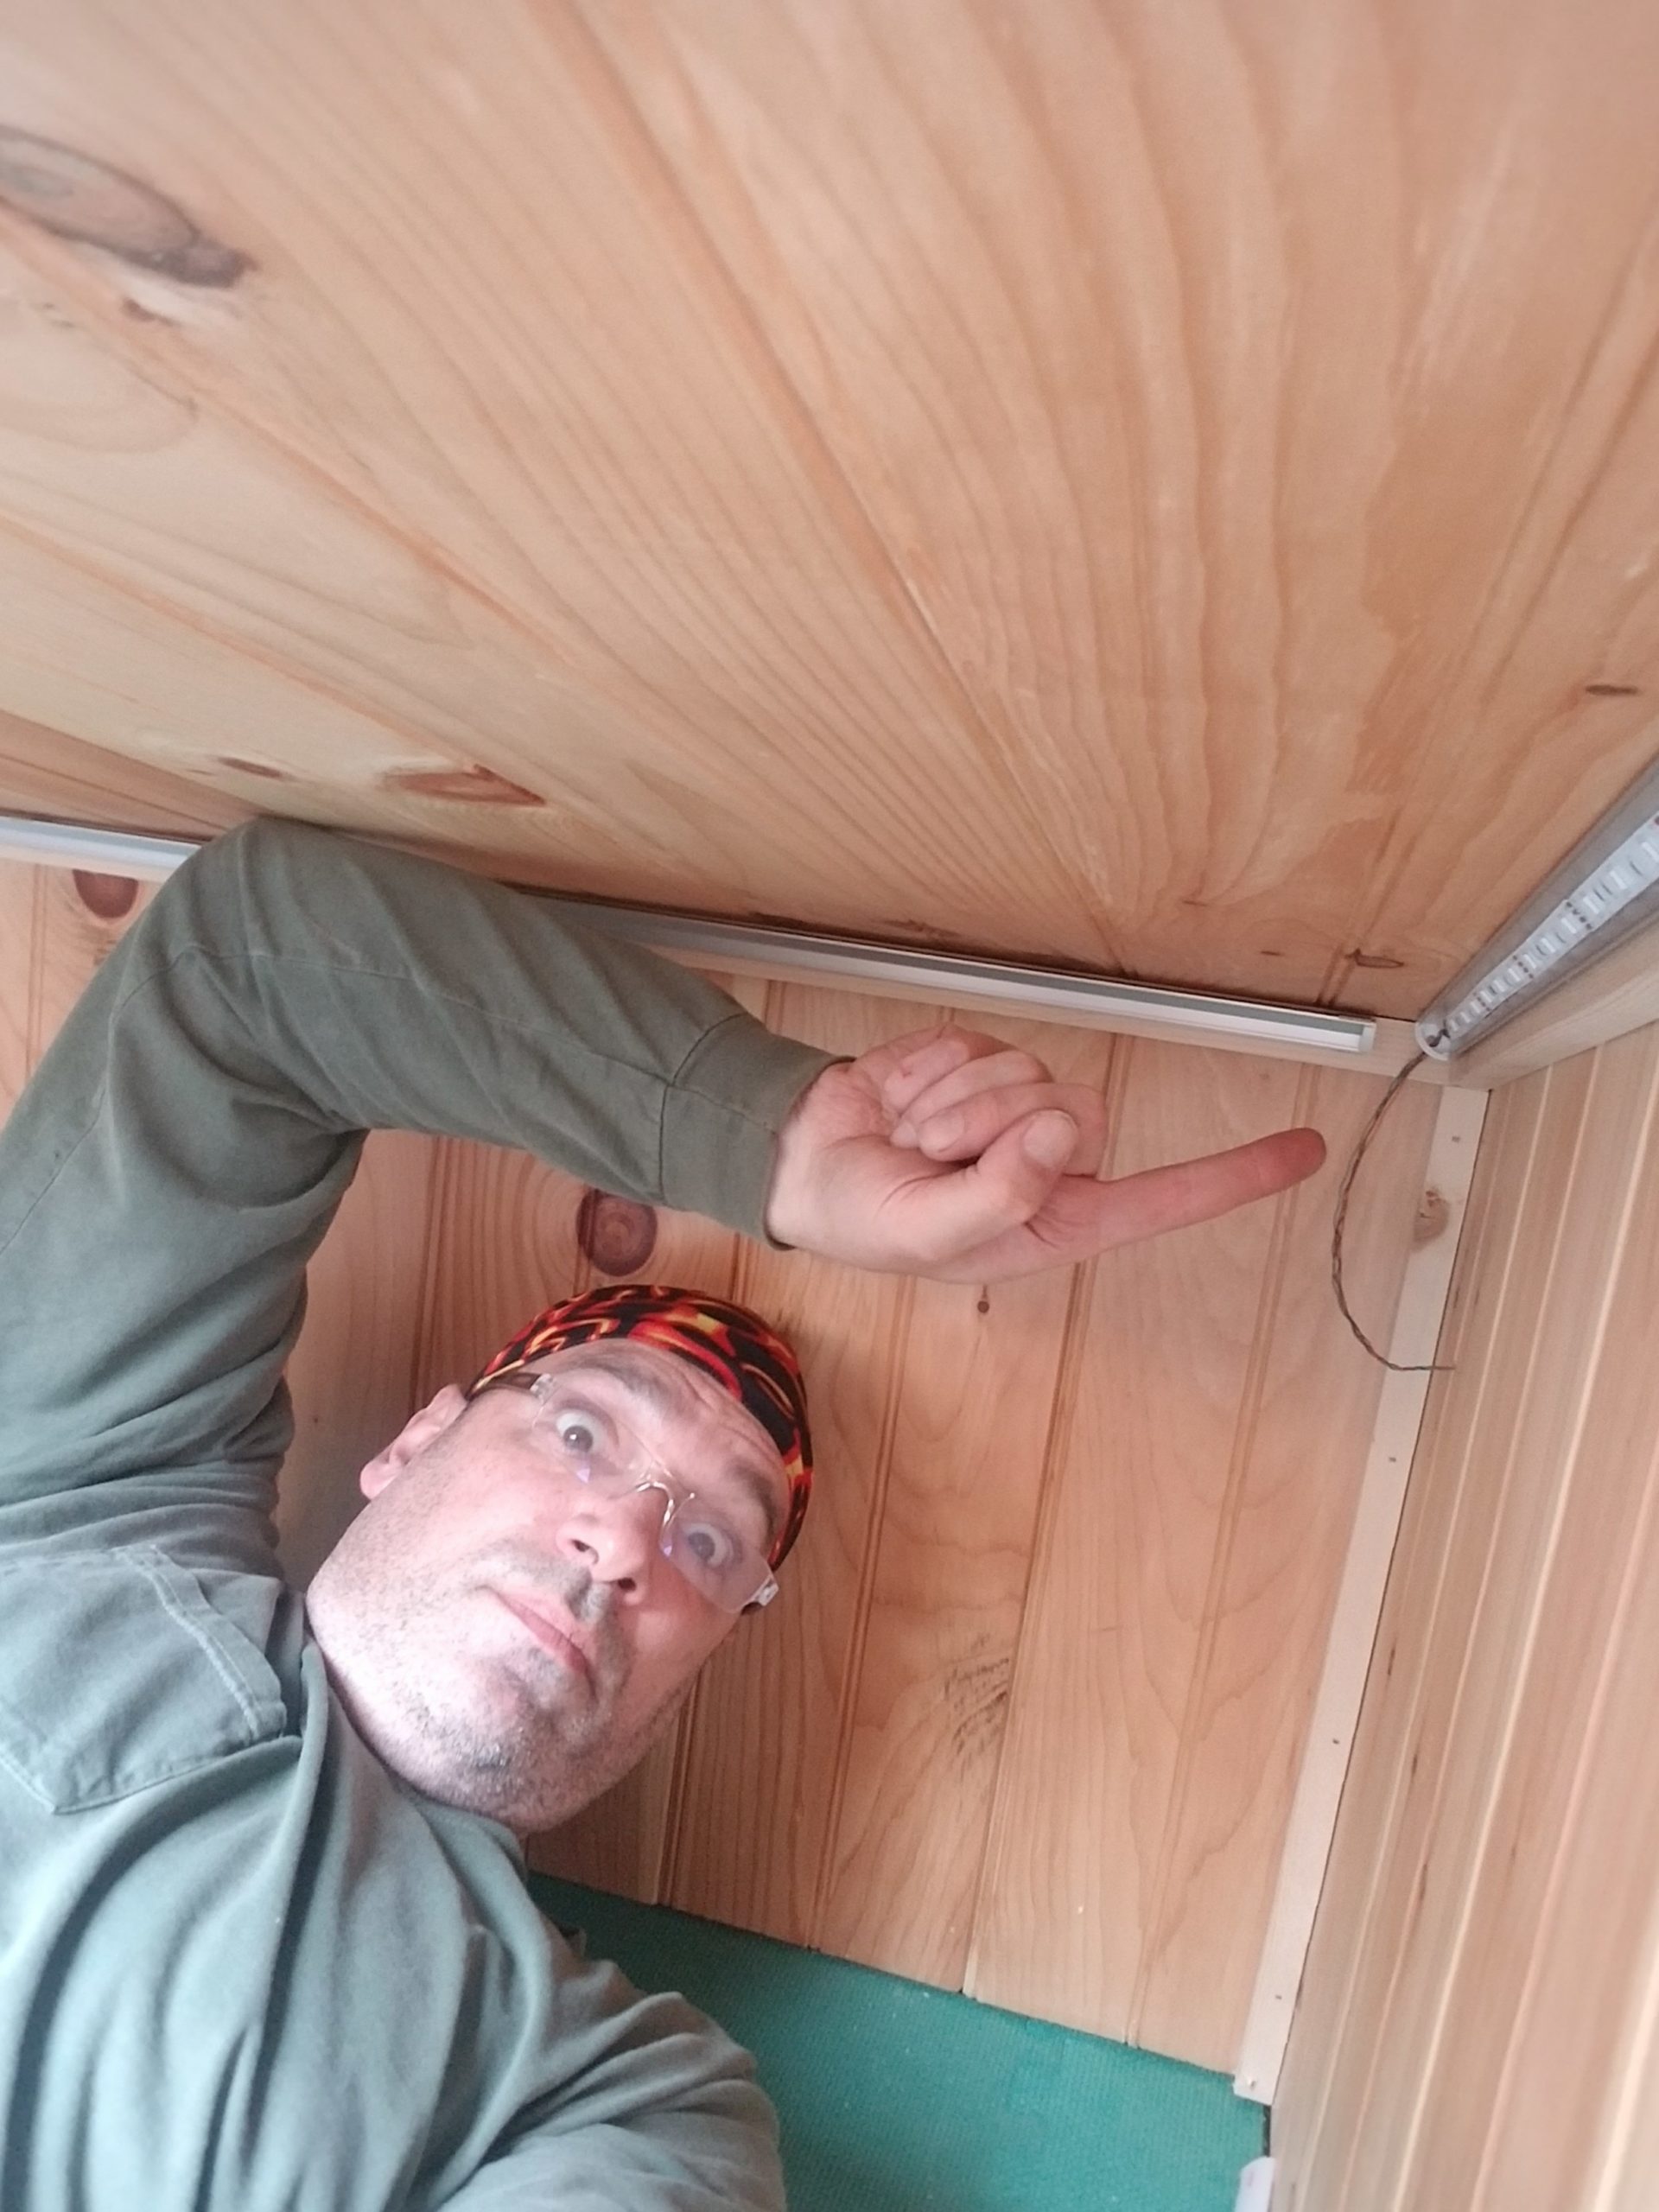
Wanna talk about no headroom? That other picture was at the high side of the loft. The low side is even tighter. The only way to do that work was on my back, over head. But now the loft has the lights it was always meant to have.
Two more lighting jobs to finish.
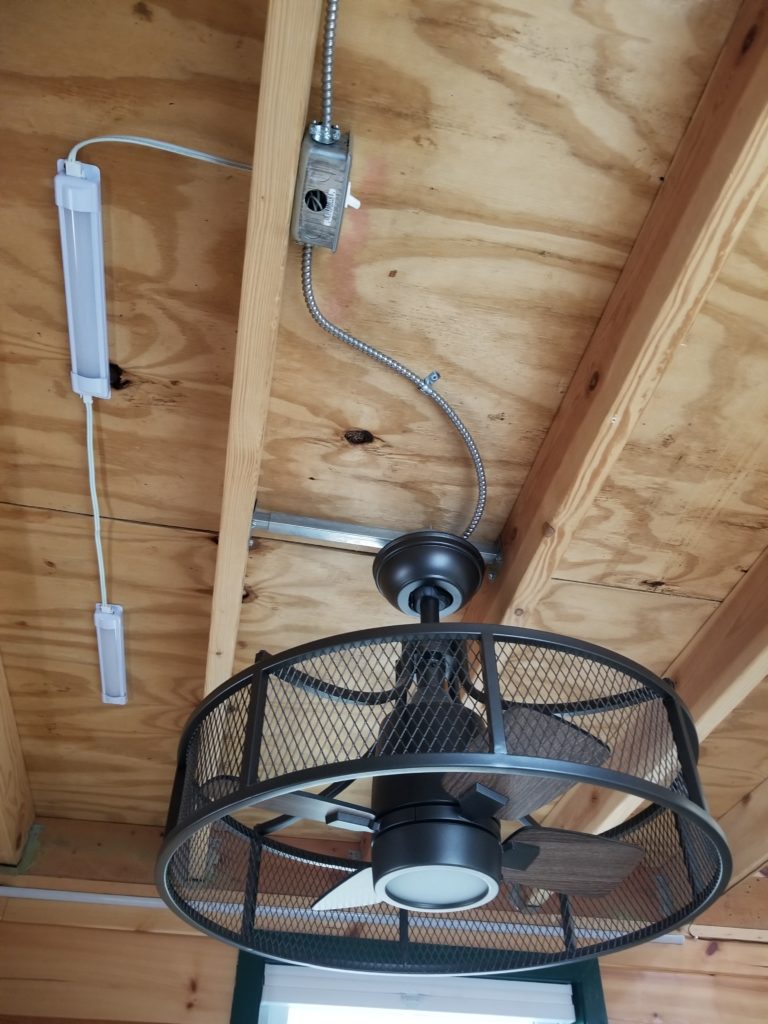
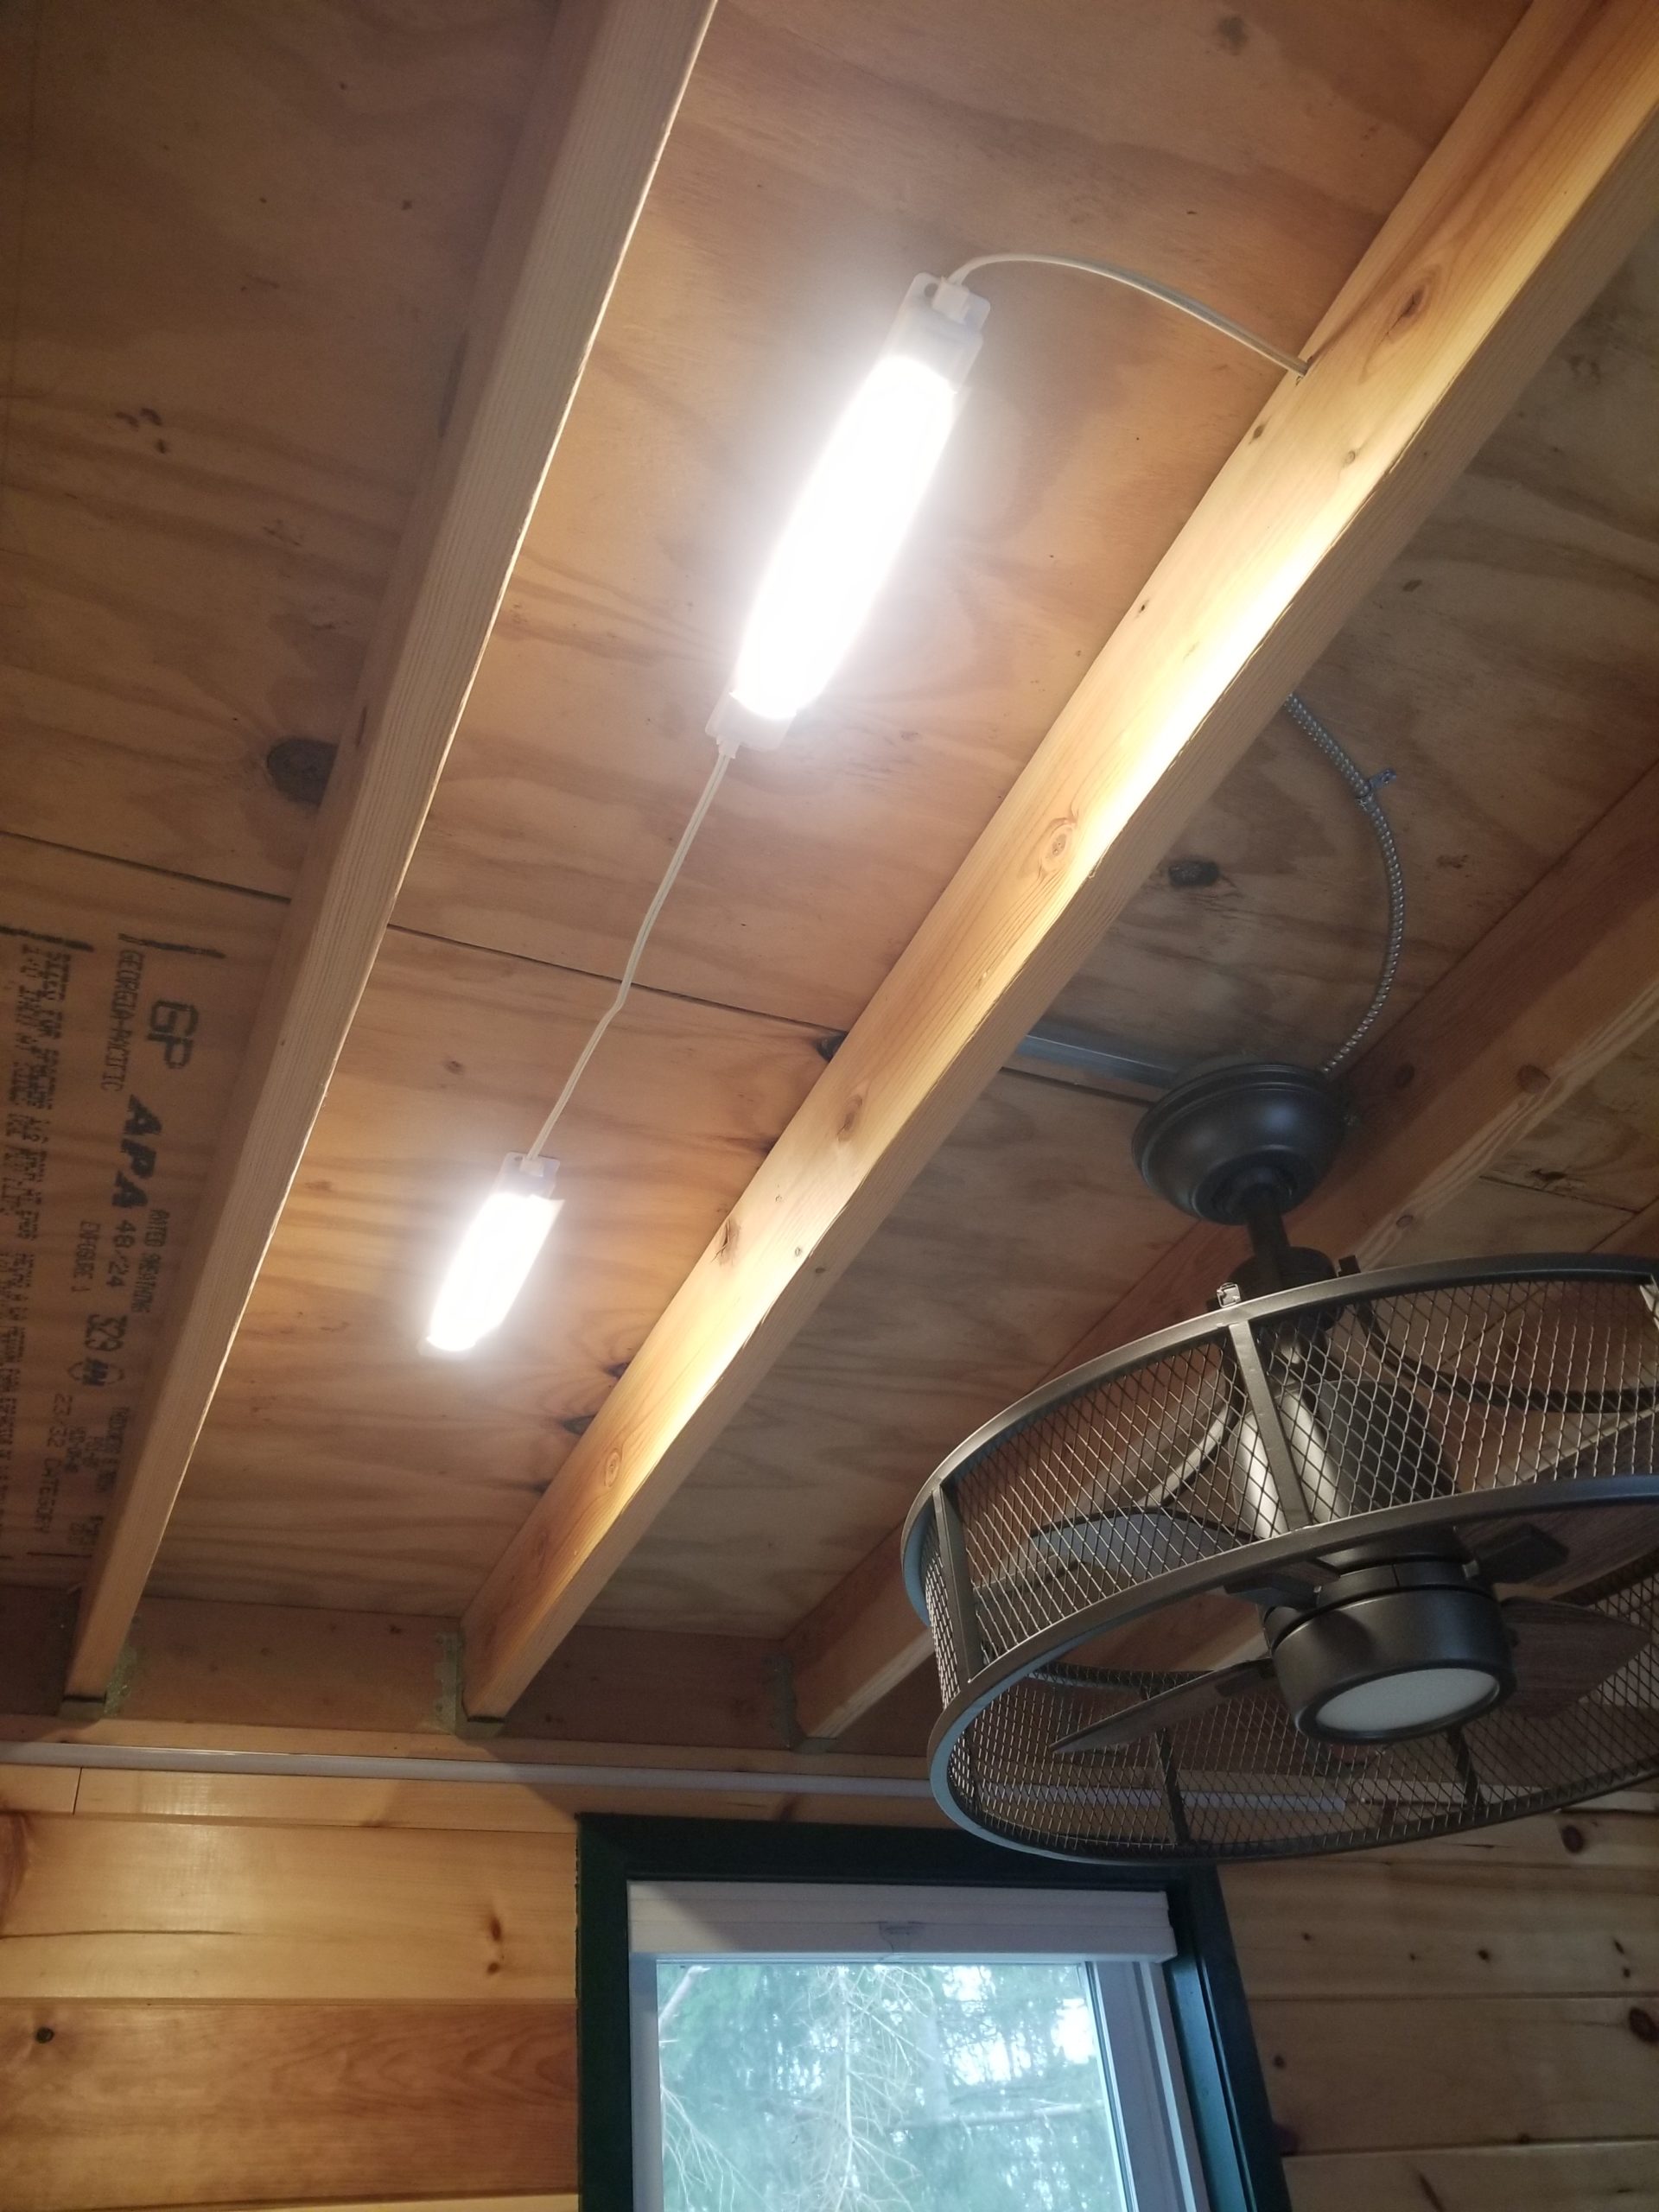
Some time ago I realized that the BeDiLiA lighting was good enough for almost everything but NOT good enough for reading if I wanted to lean up against the wall in the corner. The only downward light is from the ceiling fan which just doesn’t reach the corner well enough to illuminate a book or magazine. I found these high-intensity lamps and started to install them, but it wasn’t quite obvious how to wire it in and their little switches were really hard to reach anyhow, so a proper light switch was required, as well. But where to put them? I saved that problem for later. Completion Day was later.
Turns out the easy answer was to tap off the feed for the ceiling fan (which had to be re-routed a bit to make its way to a moderately accessible switch) and employ the infrequently-used trick of actually going out the BACK of the junction box with a wire.
The last of the lights were these two, indicating whether there is power supplied to each of these load centers in the W.O.G.
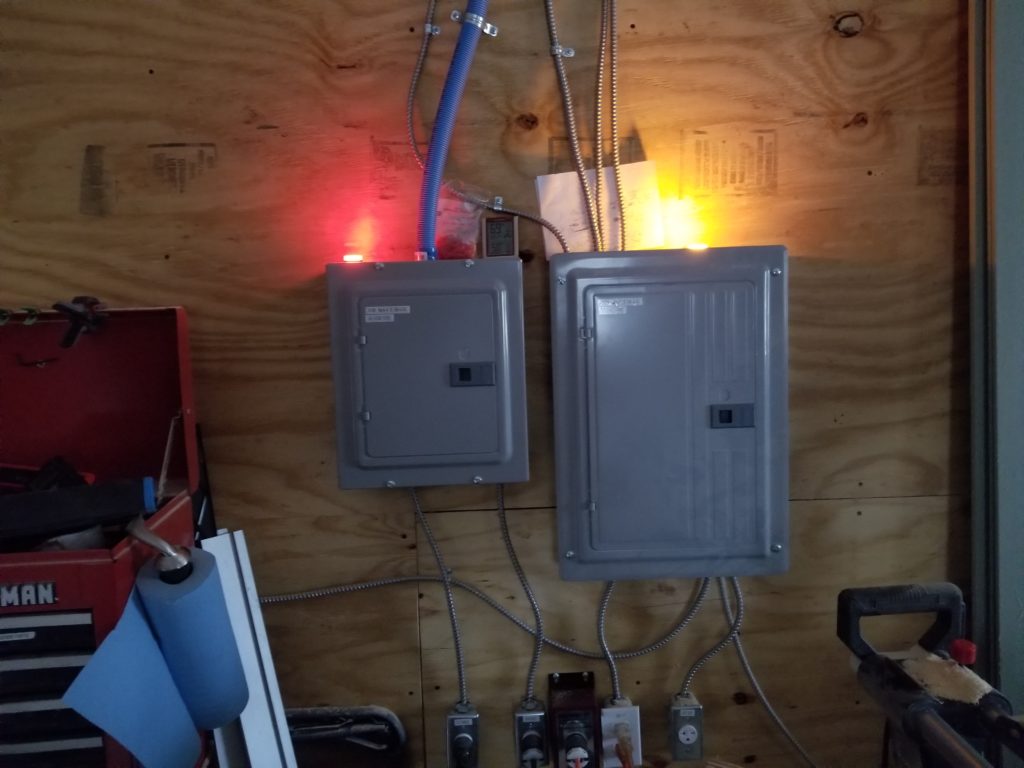
You might very reasonably ask why I need these. The load center on the left is the one supplied by the heavy-lifting inverter. That’s for the table saw, dust collector, and up to two more big motors, one of which is likely to be a lathe. To save battery, when I’m not actively using the shop, that entire system gets shut down. Just being on ready, that system would consume 10% of battery per day. If it was gray / winter, when recharge sunshine is scarce, that matters. The red light reminds me that system is still powered-up as I leave for the day — and reminds me to shut it down.
I didn’t want the other system to get jealous, so I gave it a light, too. They came in a 3-pack, so I might as well 🙂 I will NOT be installing the third light in the AC power system for the house. Those lights are fairly bright (thought further exaggerated in the photo, as an artifact of how the camera works) and the last thing I need in the house is another always-on light. I can practically use the little green LEDs in the GFCI outlets as night lights already!
Logs. Many more logs have been moved, including some even more massive ones.
One was so heavy, I couldn’t even lift it from one end to stand it up for my dolly transfer technique. There was just no way. I wound up just rolling that one on the ground all the way to its resting spot. The tricky bit here is how to change its direction, as was needed from time to time along the route? The answer turned out to be pretty simple: just roll the log onto something narrow, be it a 2×4 or even a moderately flat stone with some thickness. At that point, if the pivot is near the middle of the log, I can actually just spin the log on the pivot like it was in a roundhouse and when it’s in the desired orientation, roll it off the pivot. Presto, steering!
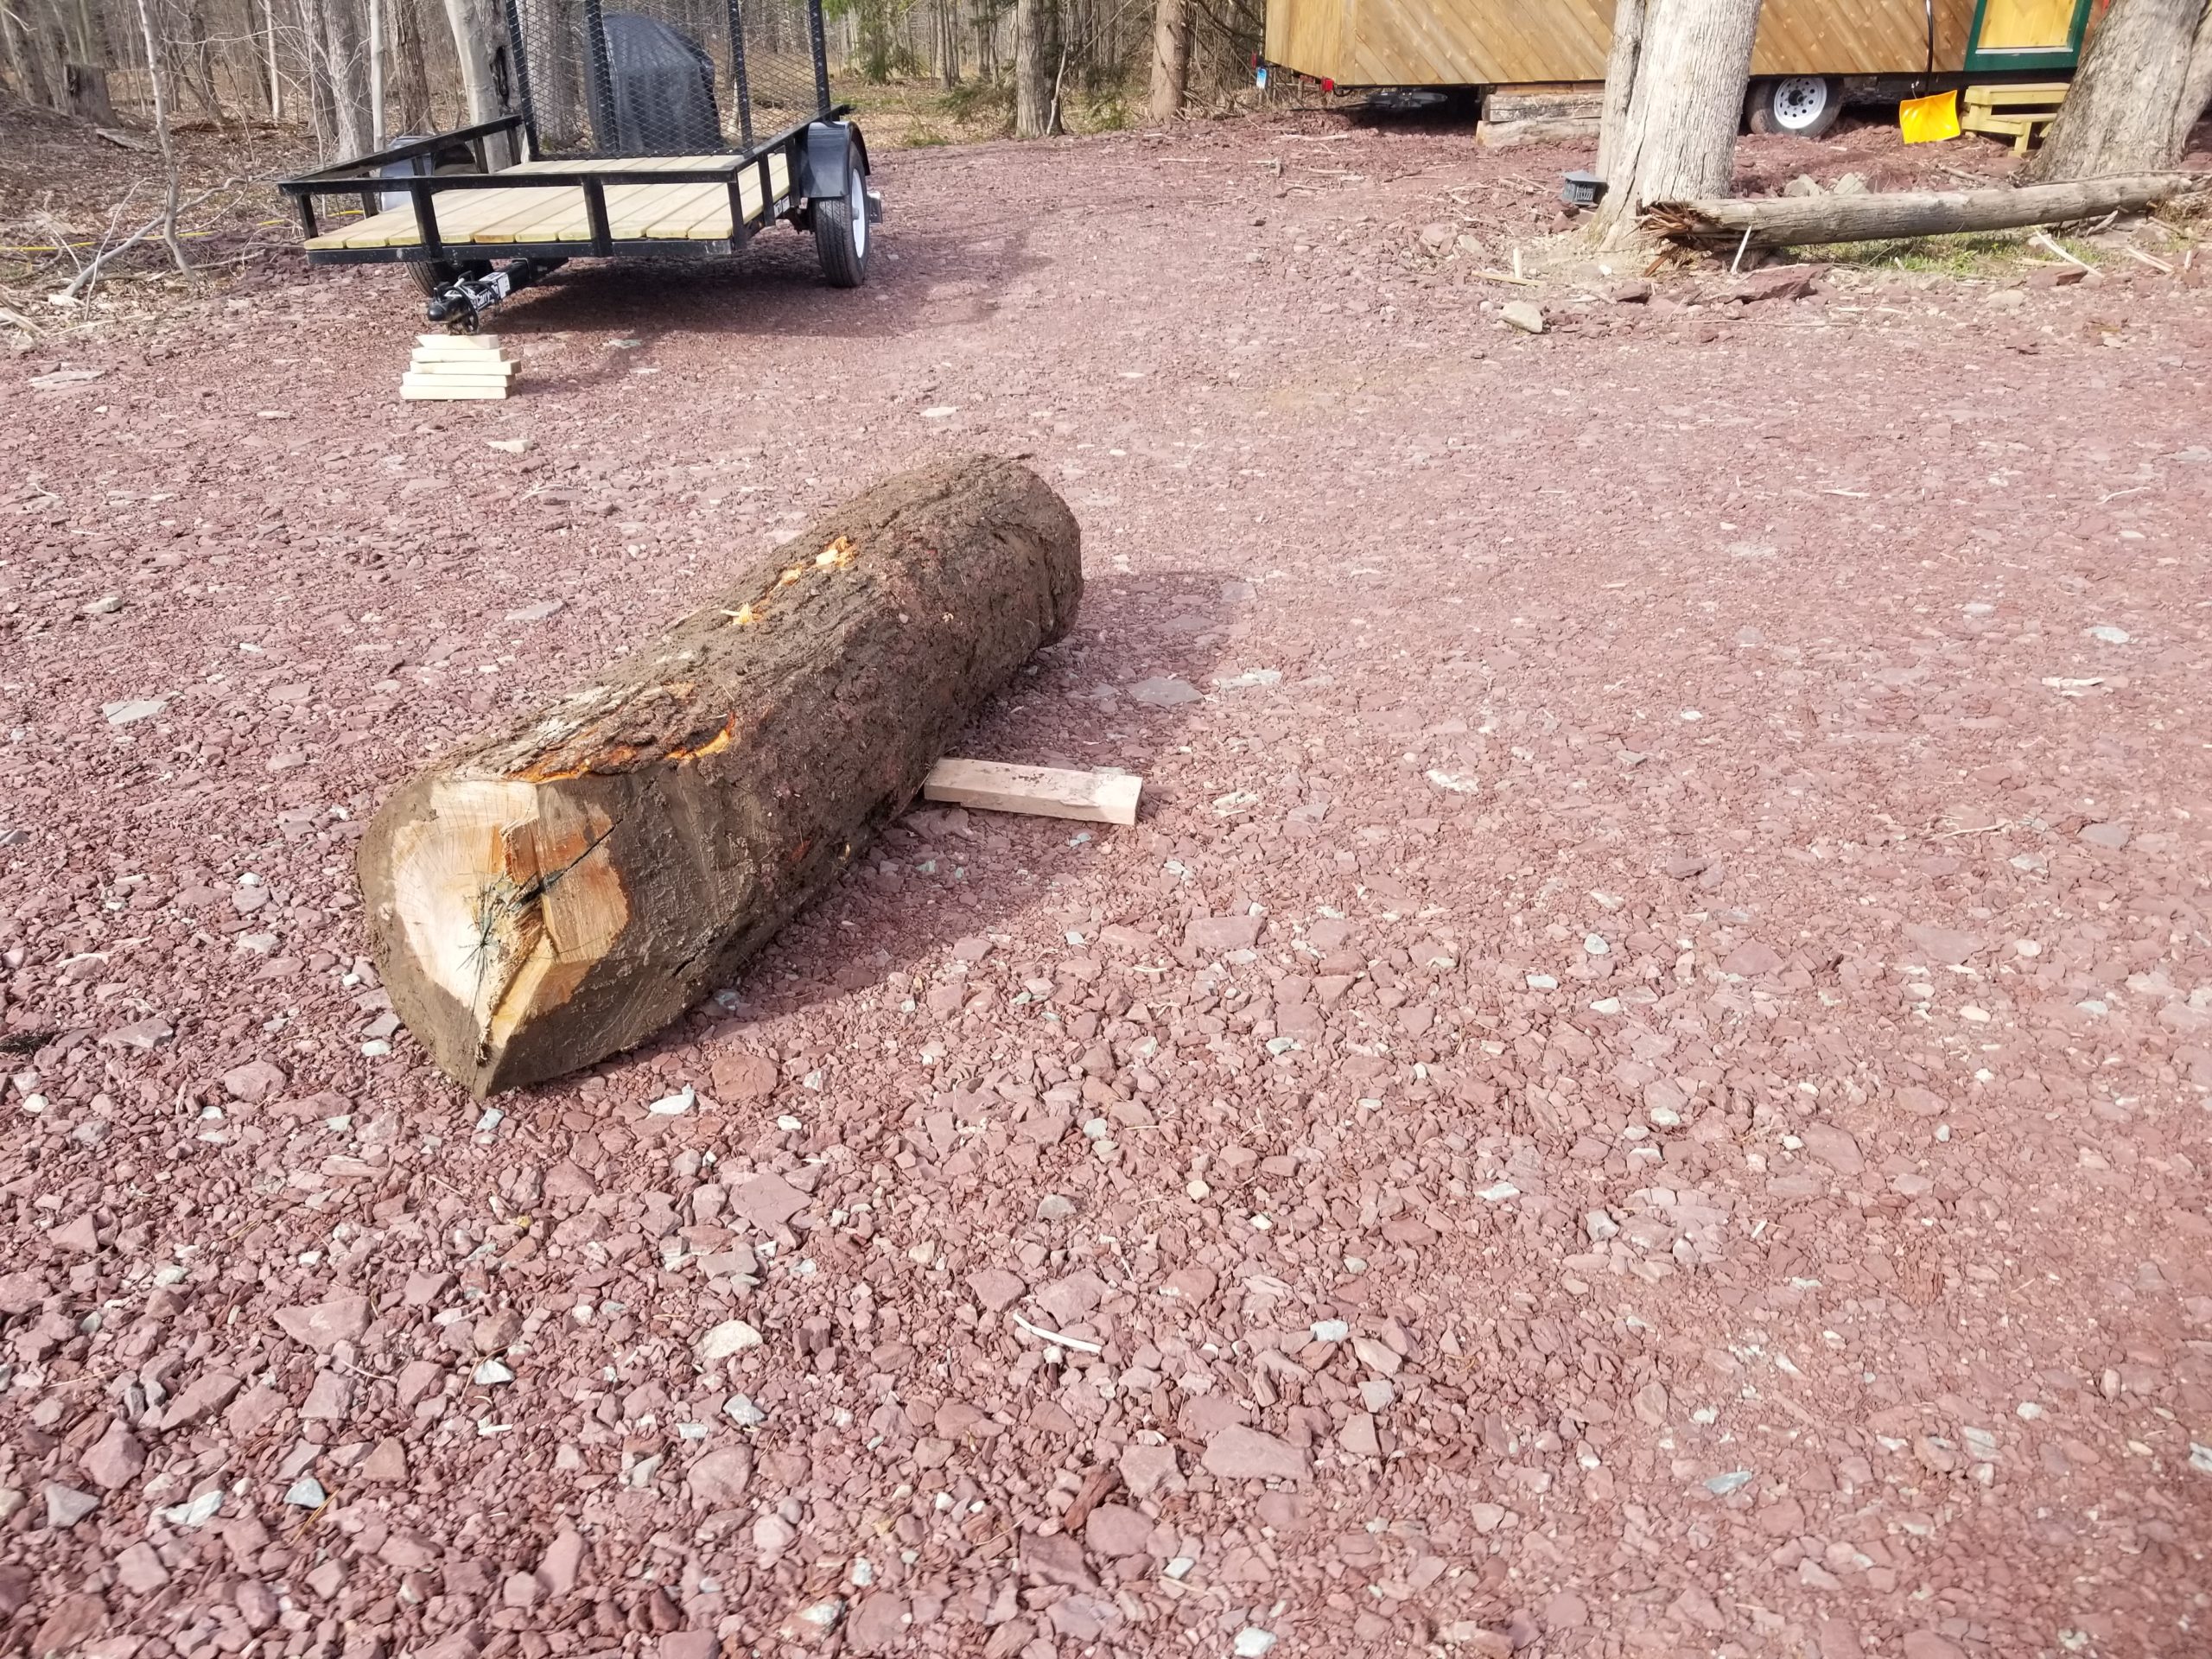
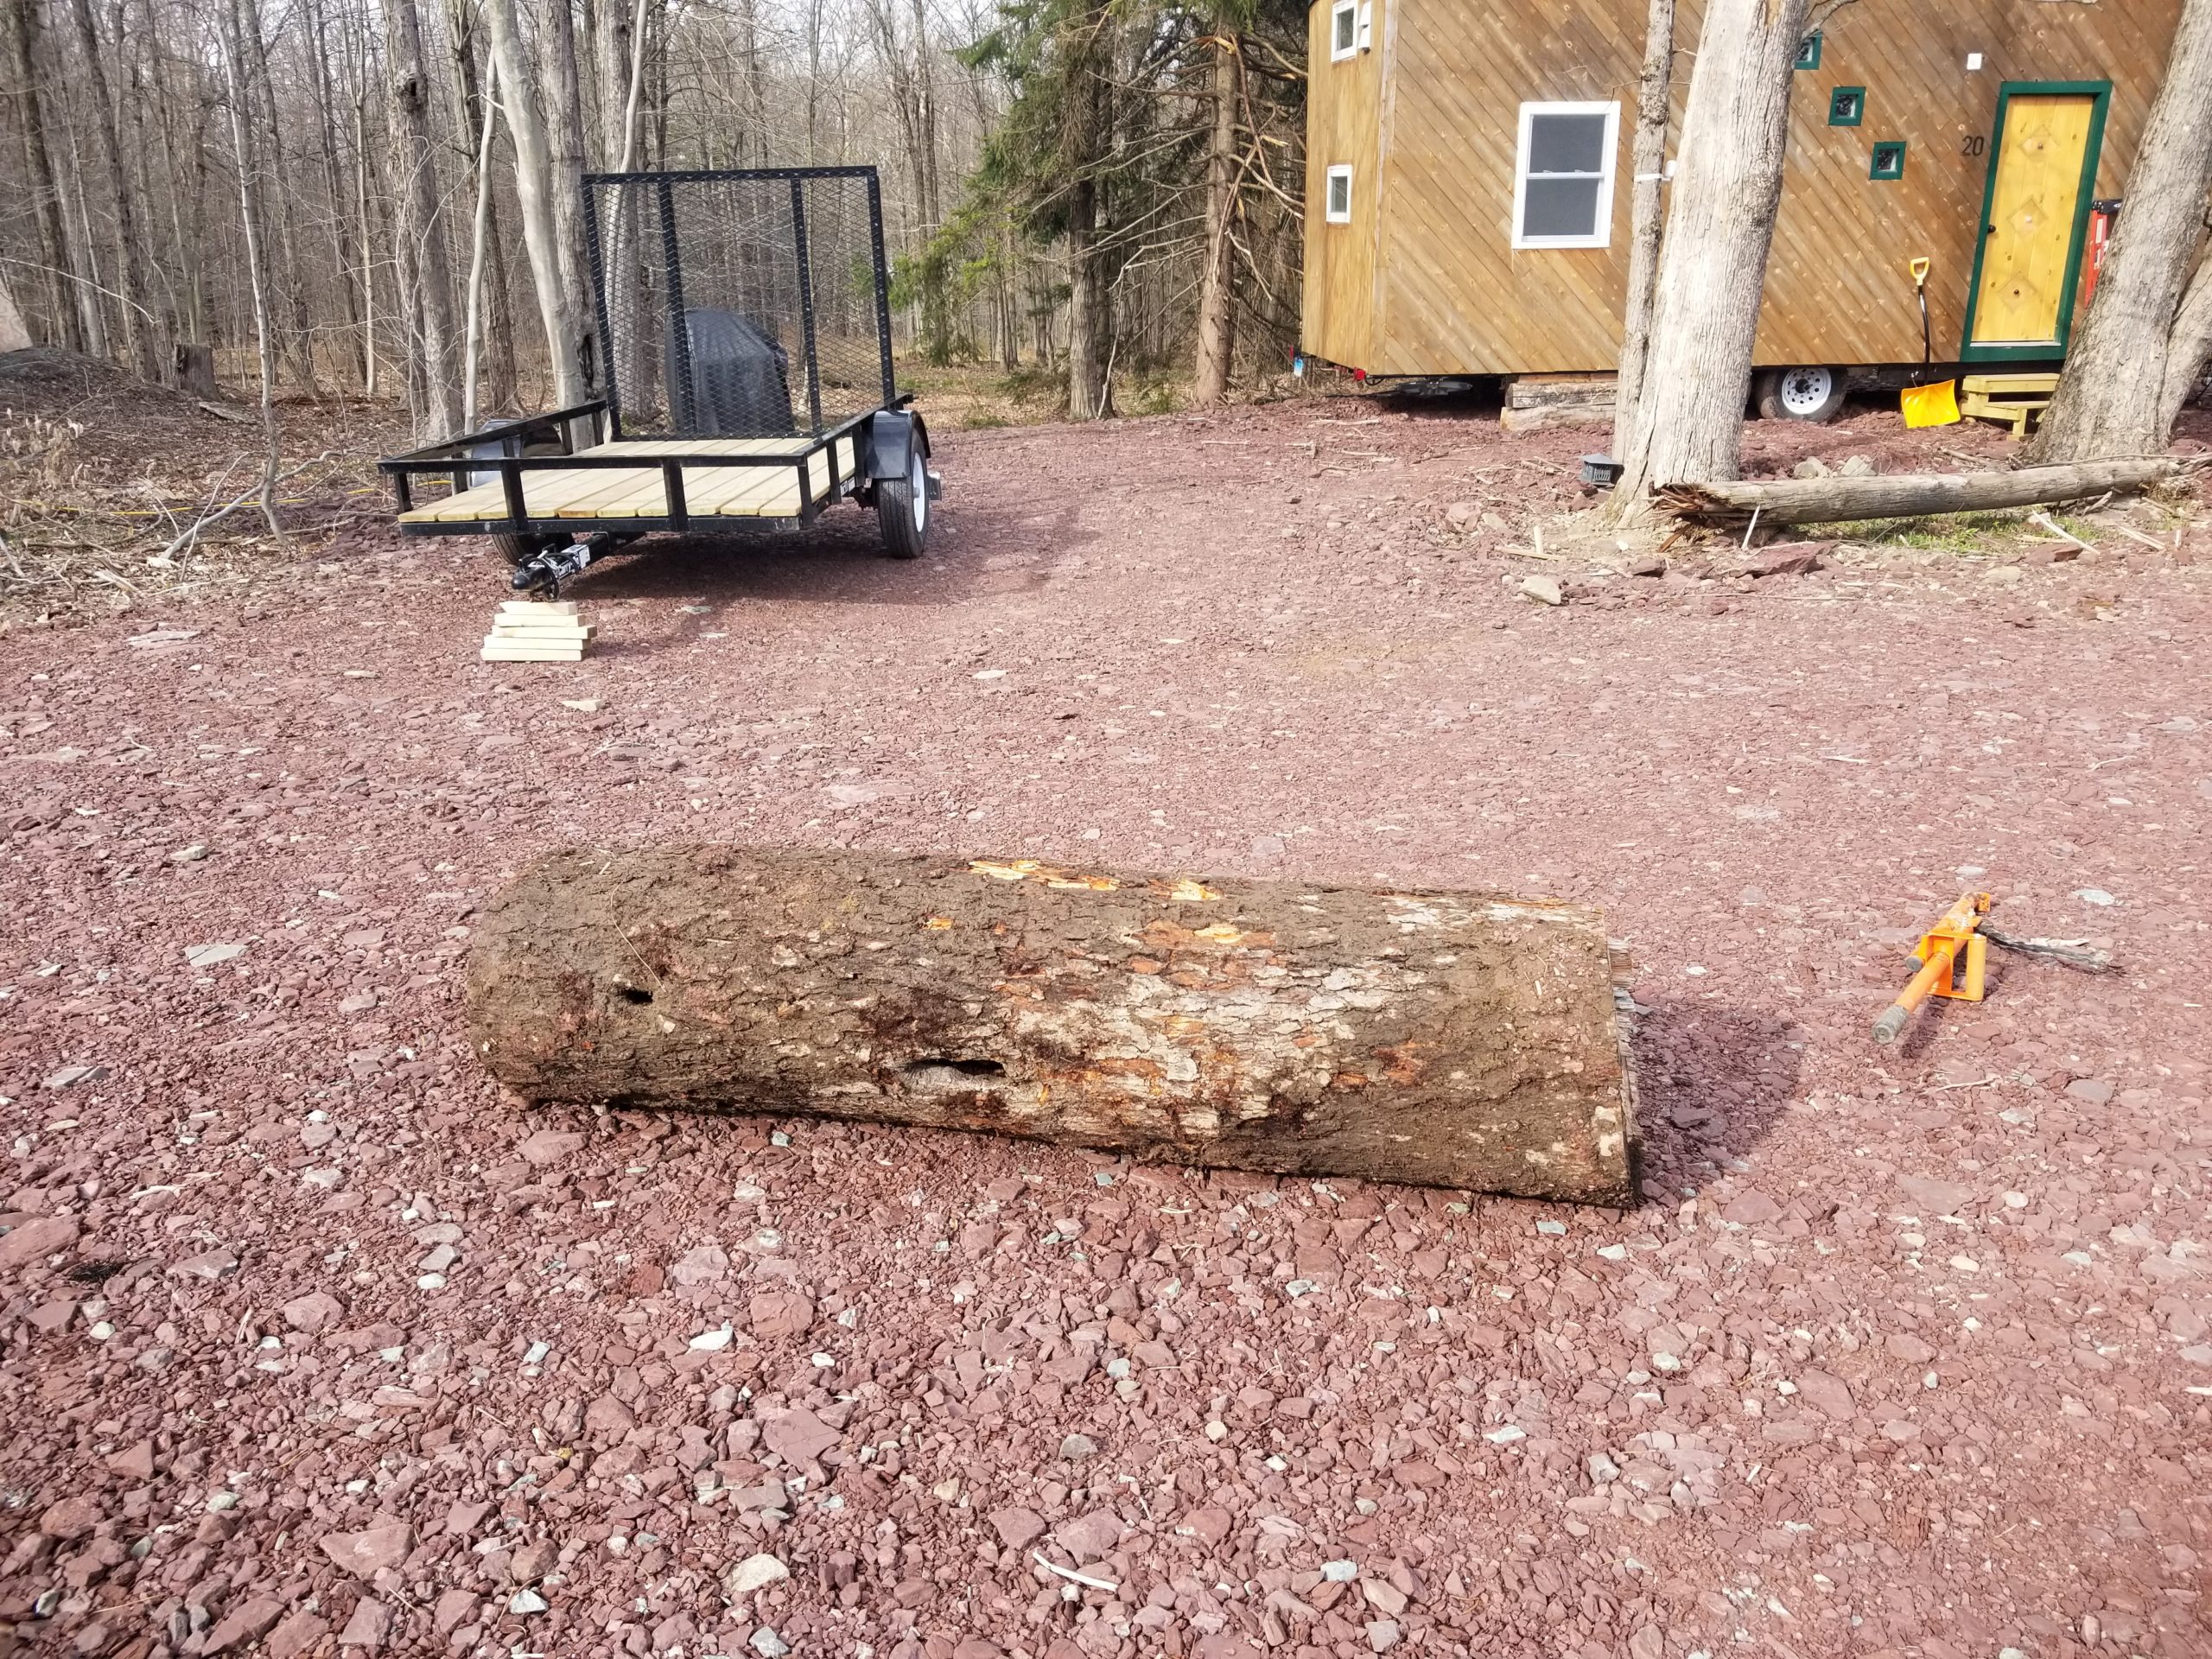
When I got the log to the staging yard, it dwarfed the ones I did the other day… and explains why it was impossible to lift. The others I could do, with some effort. This one was quite a bit bigger!
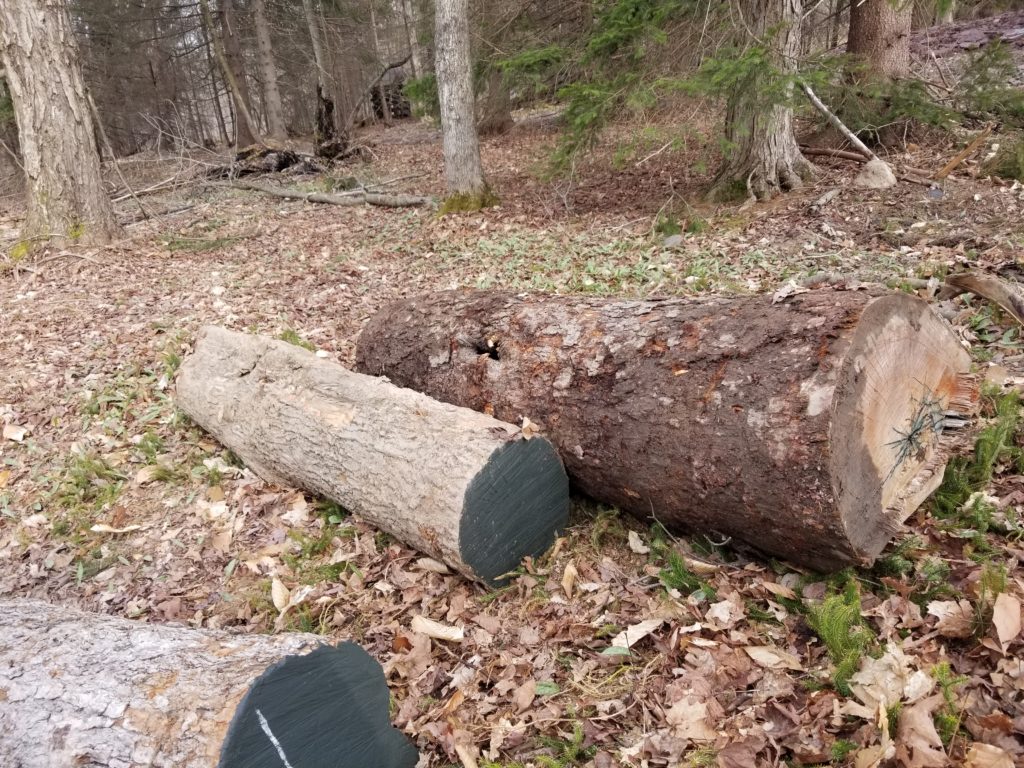
See that green splash on the end of the log? That turns out to be evidence of some kind of badness. The log was hollowed out significantly, though there was still some good wood toward the outside. I don’t know what kind of yield I’ll get when milling it – we’ll just have to see what it looks like inside. Maybe this one gets to be first in the mill, as I learn how to use it 🙂
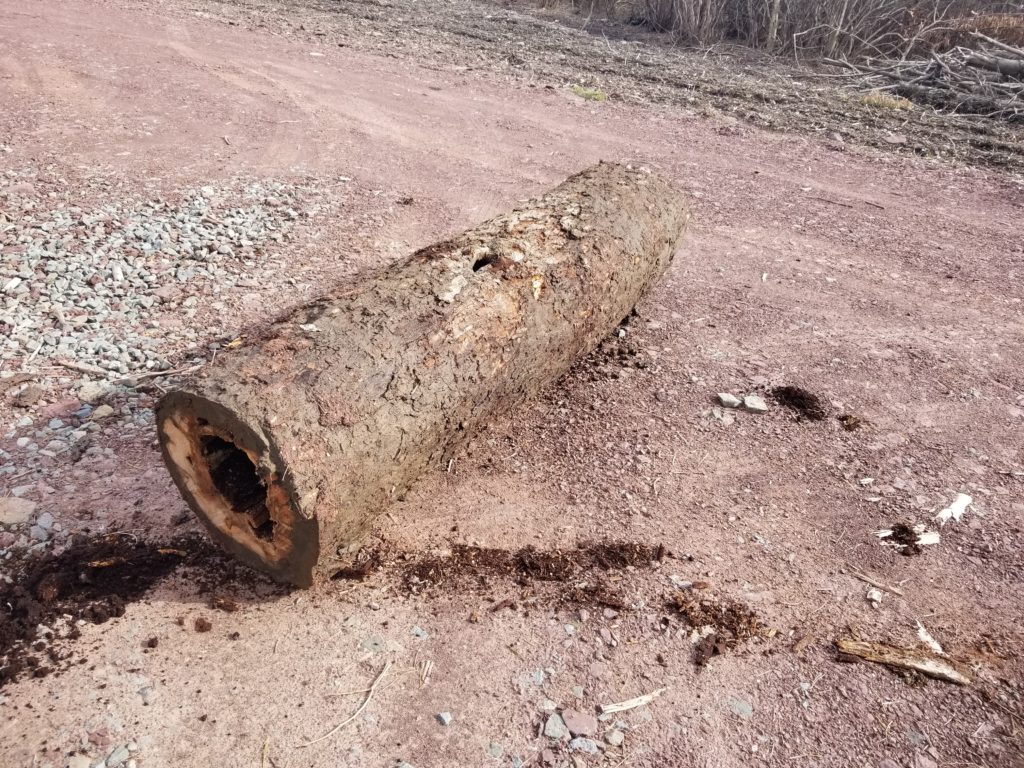
And can I just take a minute here to say how hard this was? The logs were on the other side of the drainage channel, which is wet and full of mud and has a bit of a rise that I had to somehow roll these logs UP and OVER even though it was all mud.
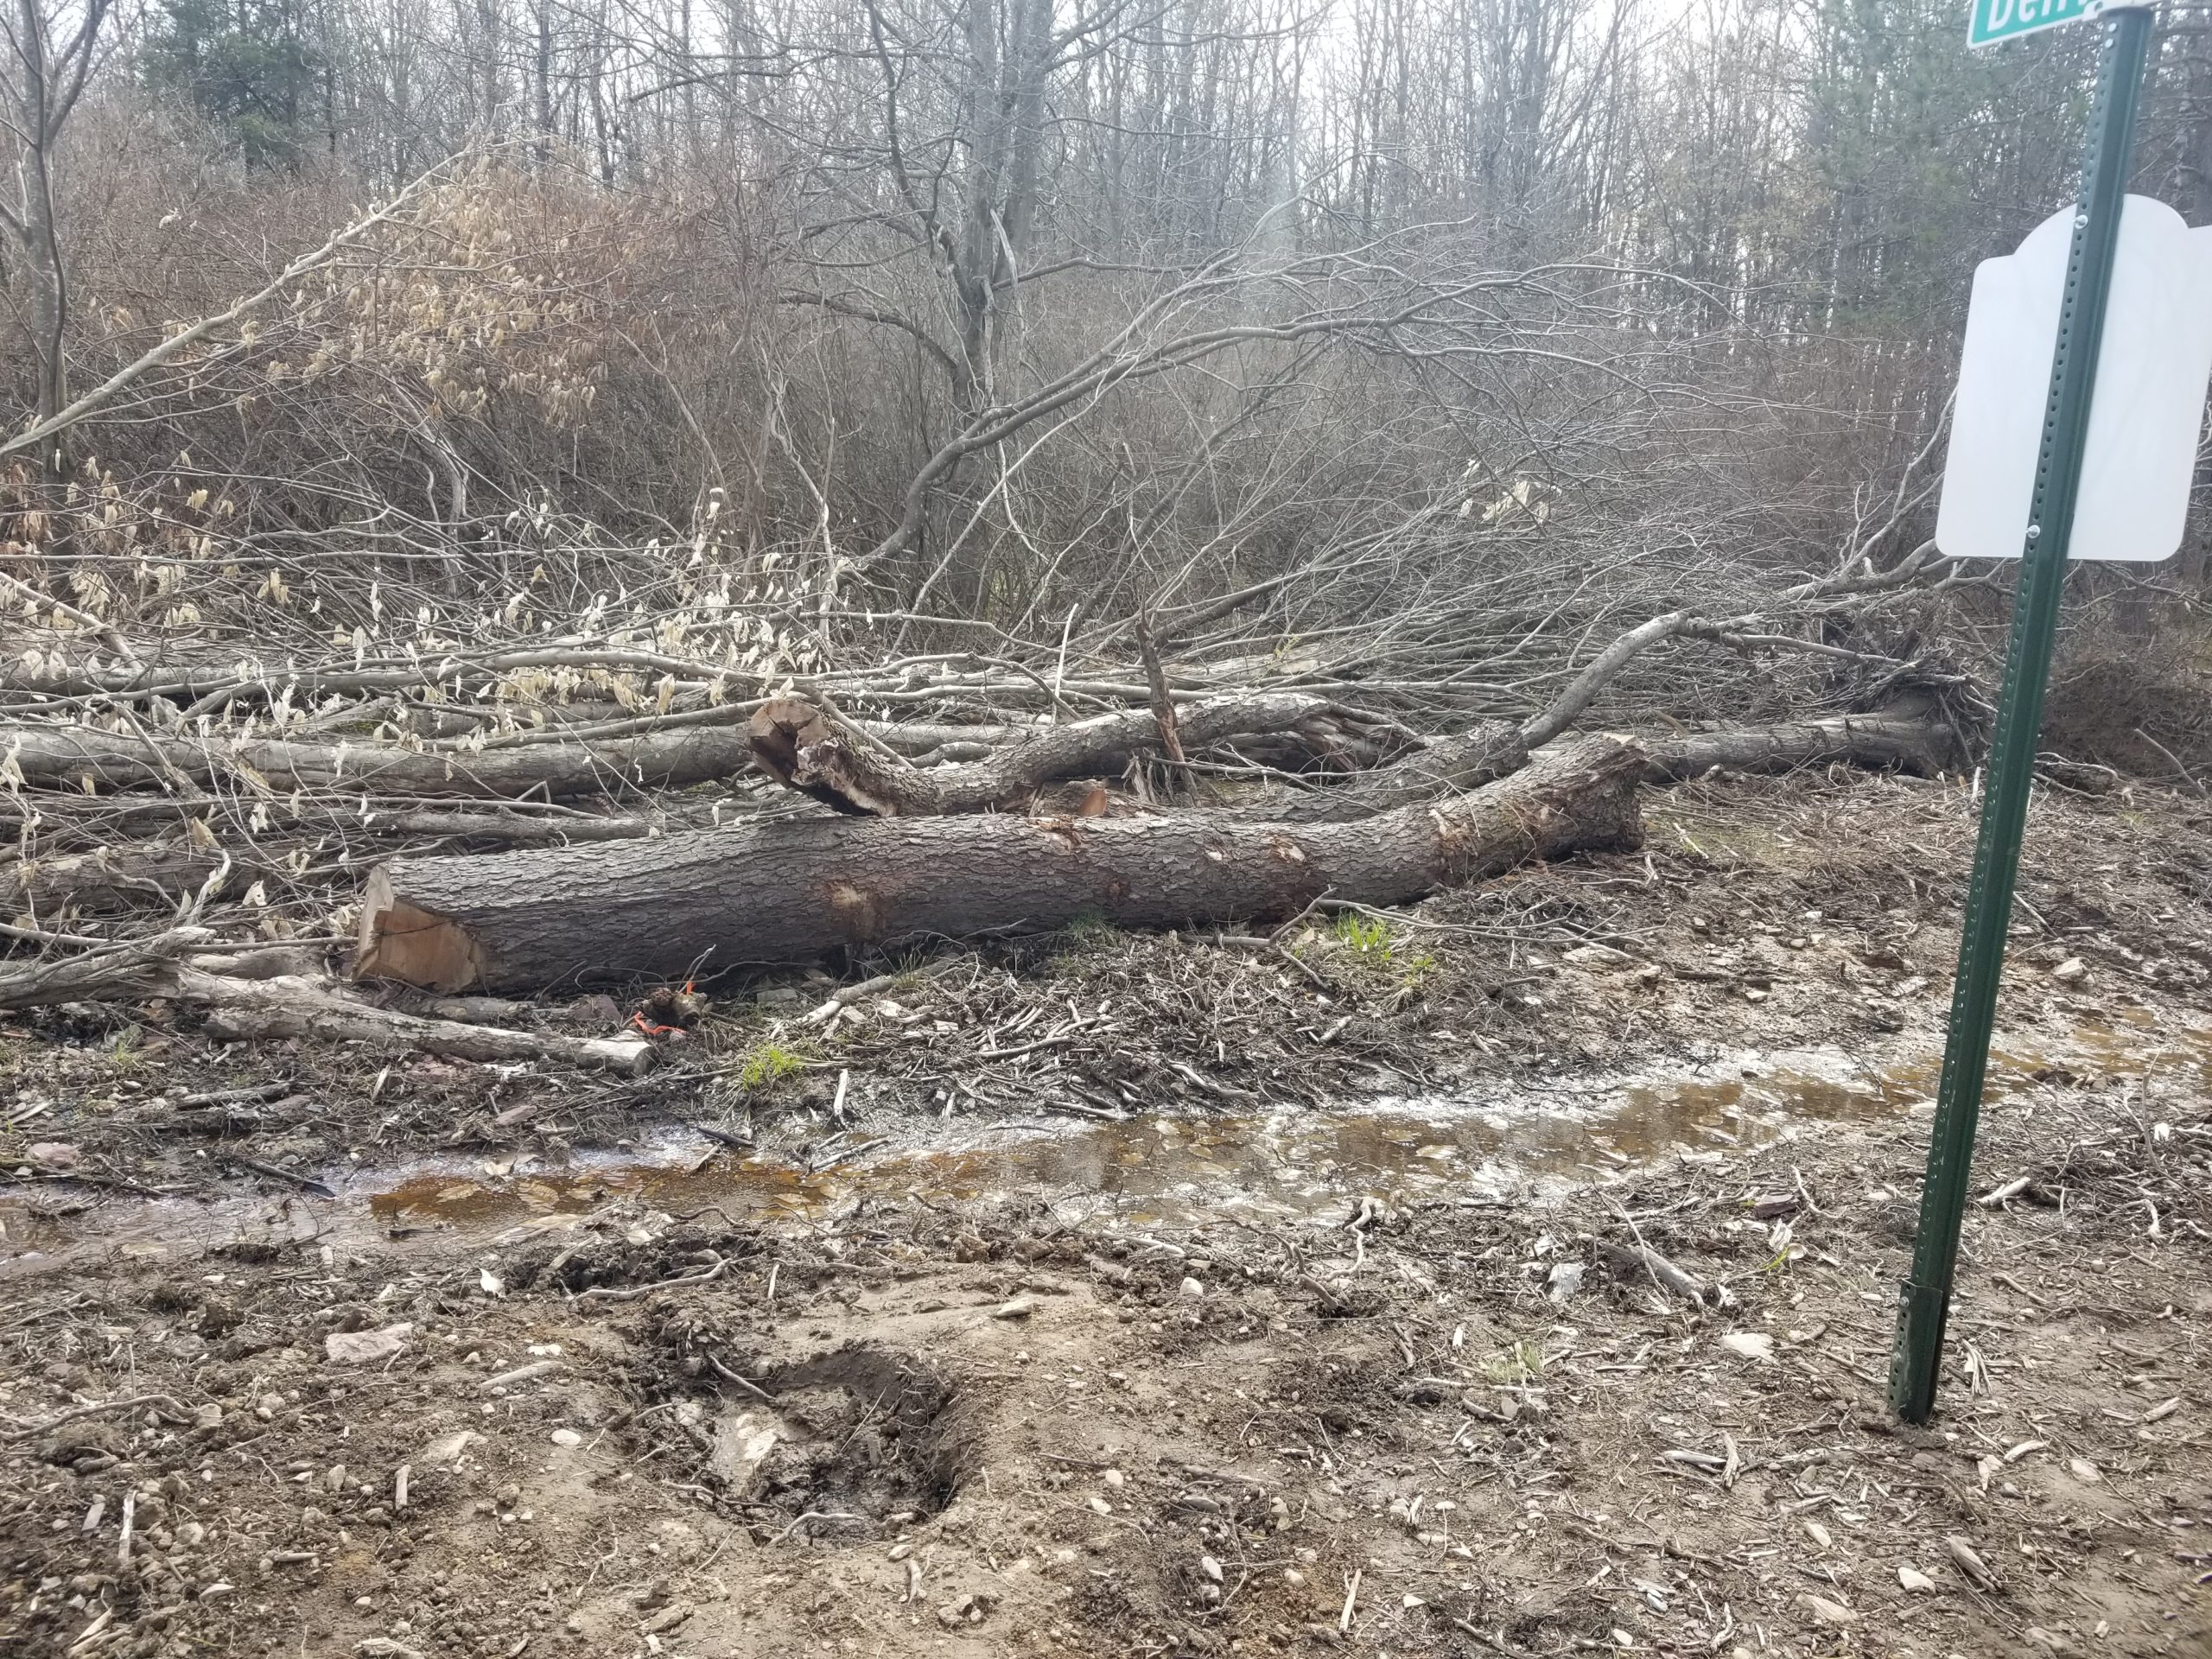
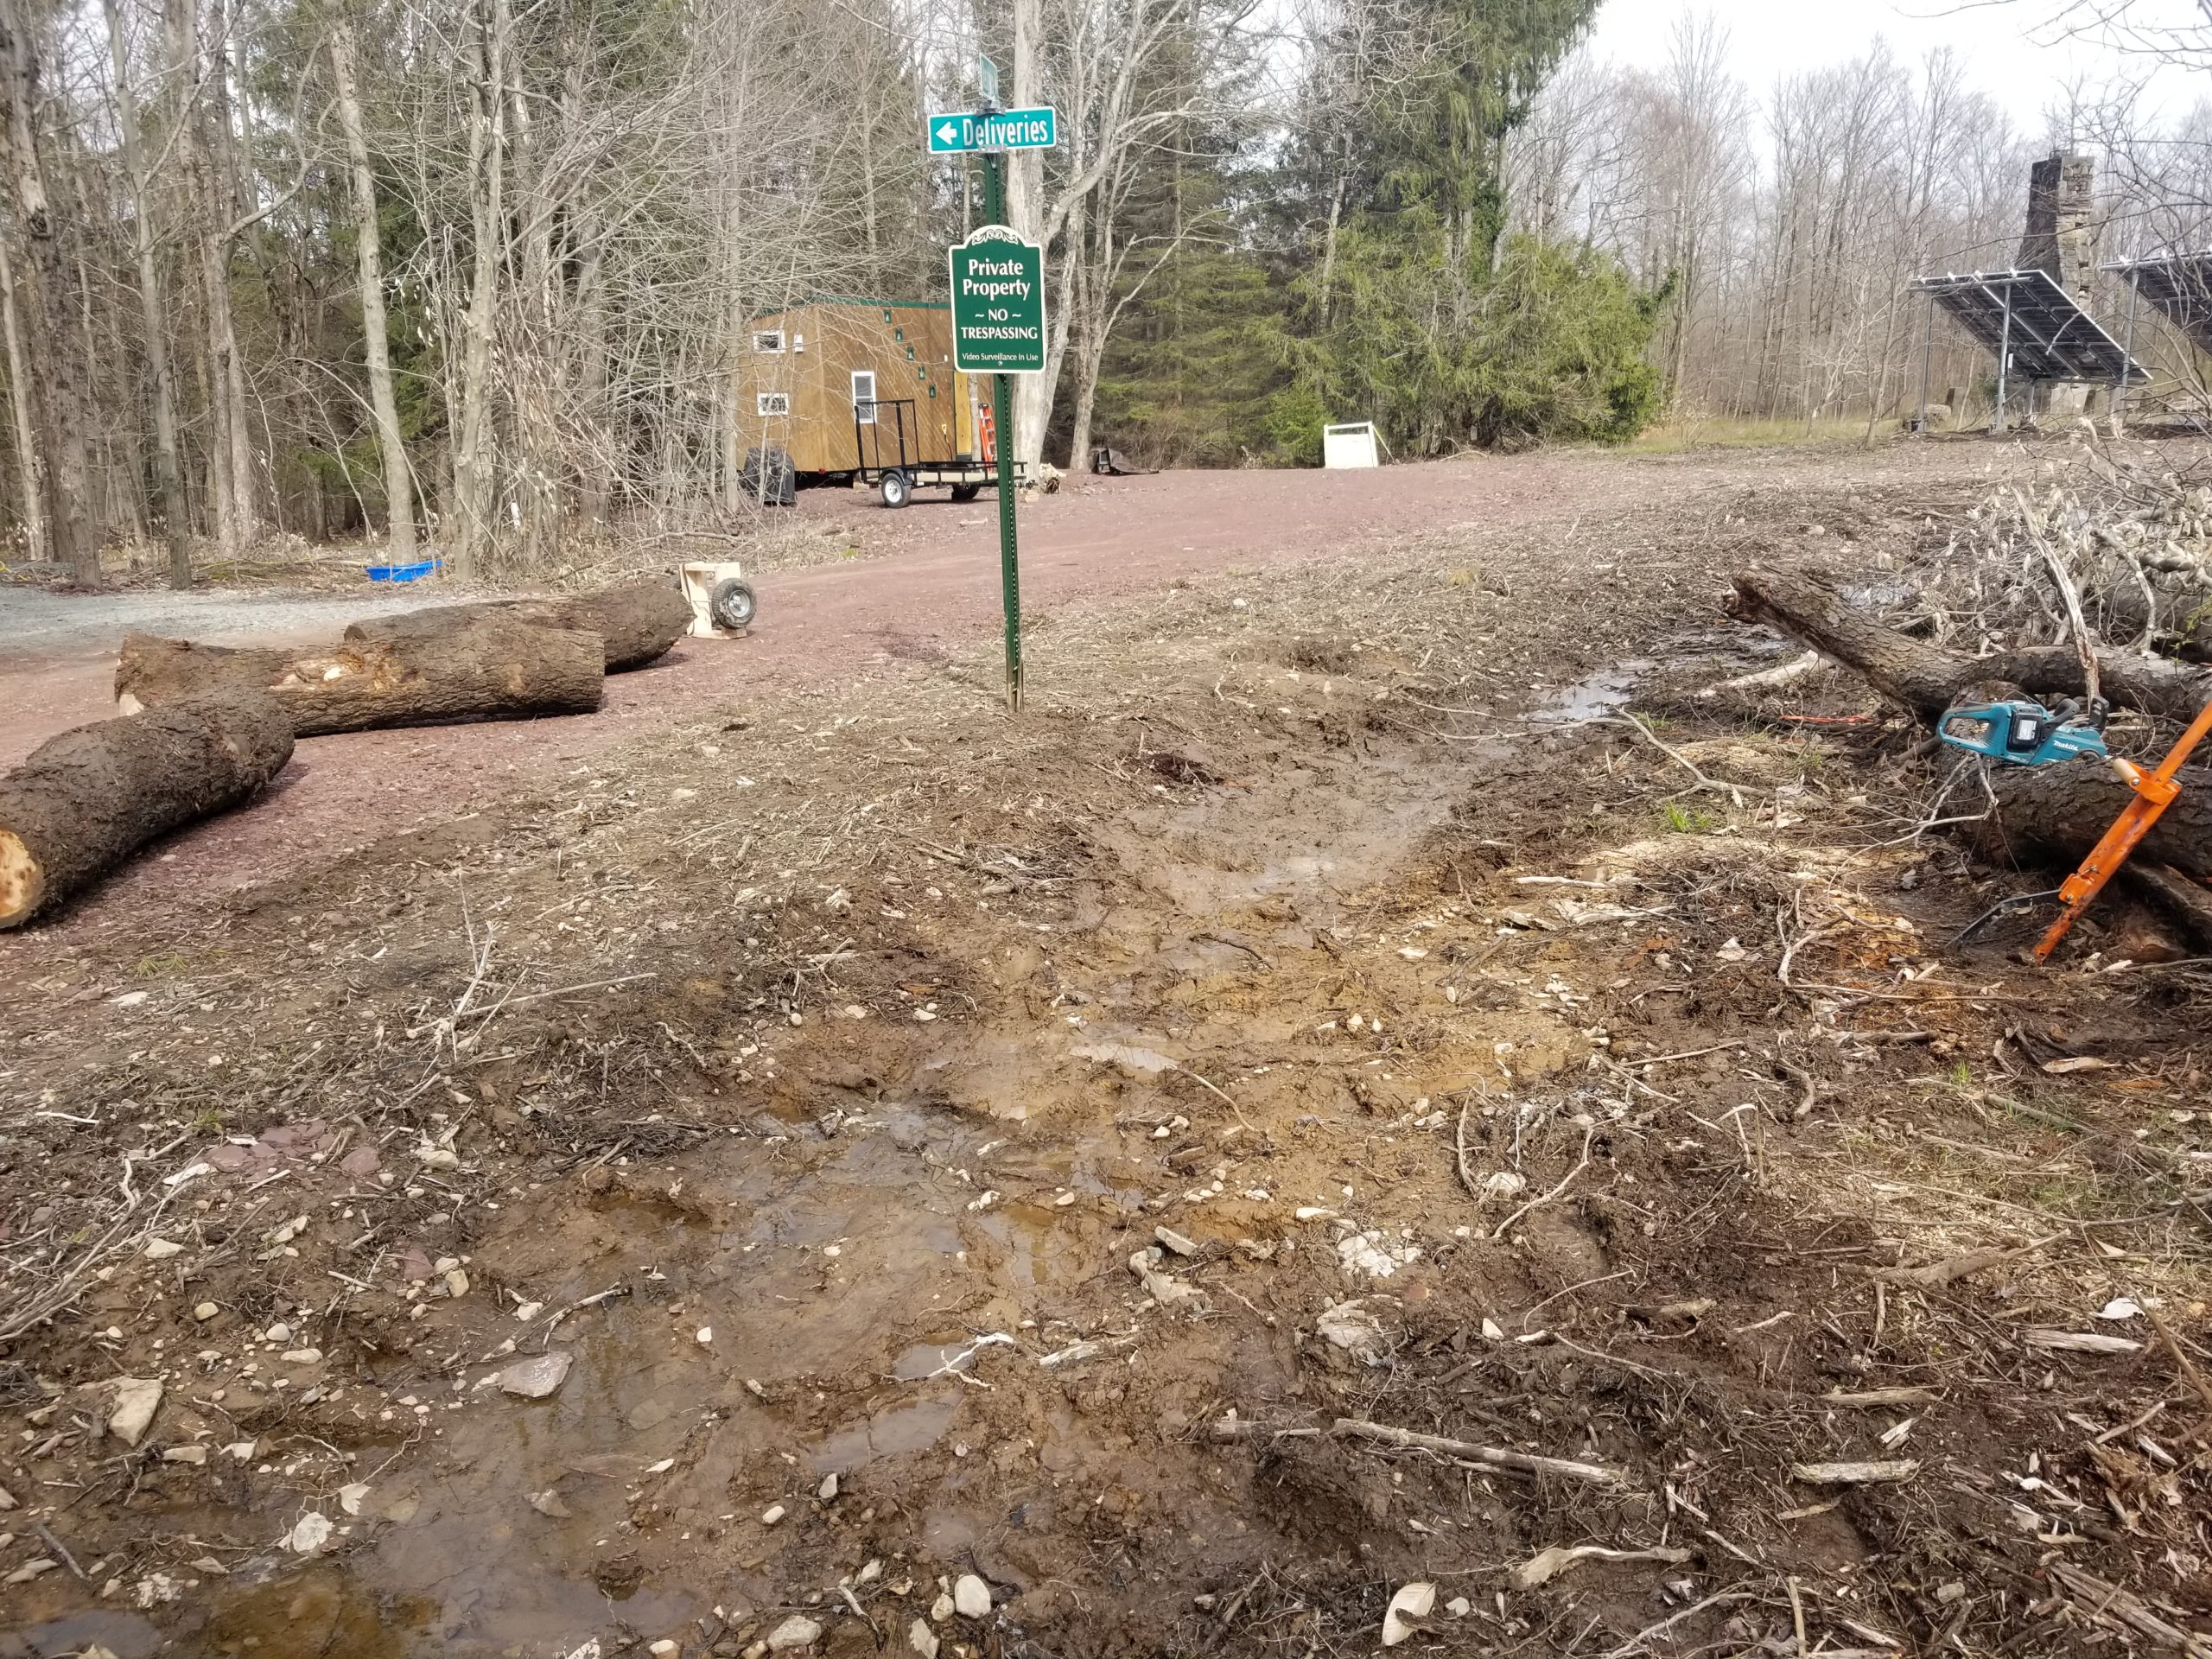
The muddy slope might not look like much, but you try rolling a 300# log up it.
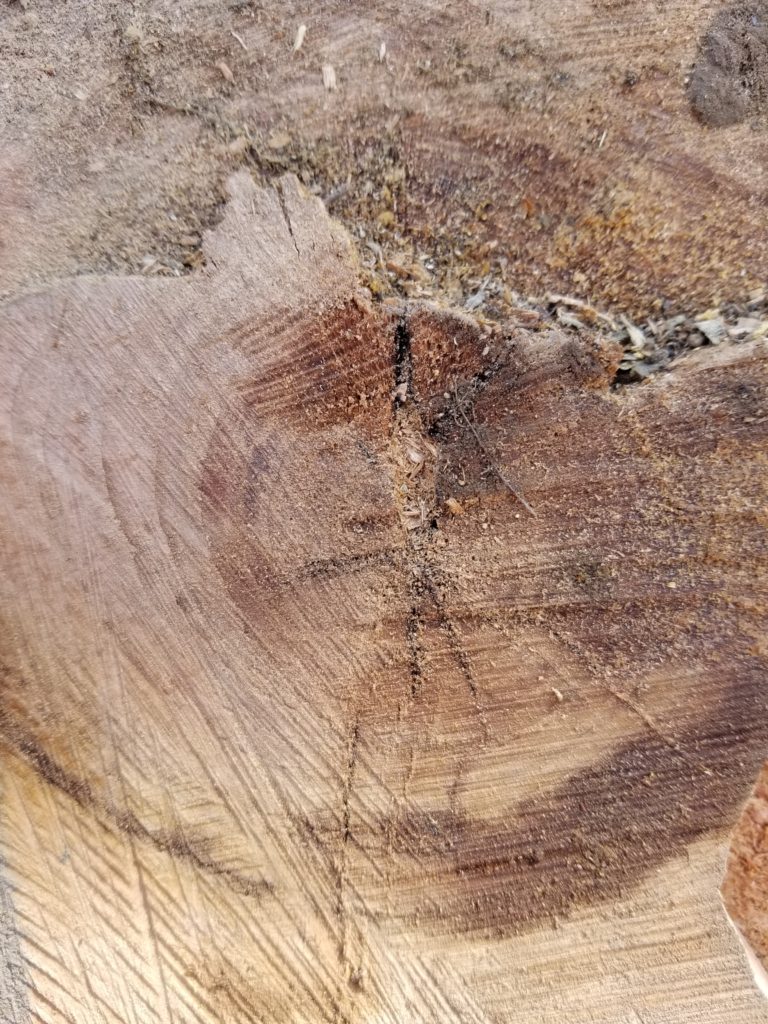
The hollow in the log did not extend the entire length of the tree. It got smaller along the way and eventually it was solid wood again. Only milling will answer the question of what might be harvested from this poor tree. It even had a frowny face (the left half of one, anyway). Look at the middle.
Aside from that most largest log, I was able to get the rest of them on my dolly, but not without a Great Deal Of Effort and a few times dropping the logs. For most of this work, I had on my steel-toed boots, for exactly this reason.
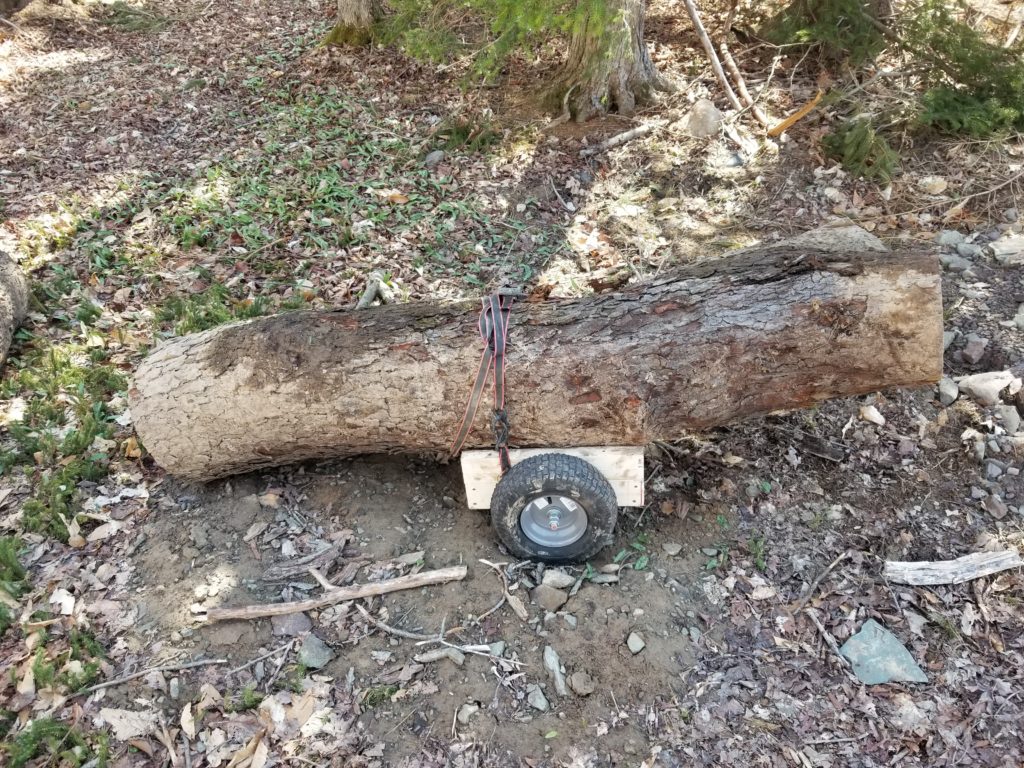
Good thing those tires are rated for 400# each. That’s a seriously heavy log. It’s not an 800# log, but still.
The last of the logs was actually an old power pole that had for some reason been left in this especially anti-aesthetic position by the house.
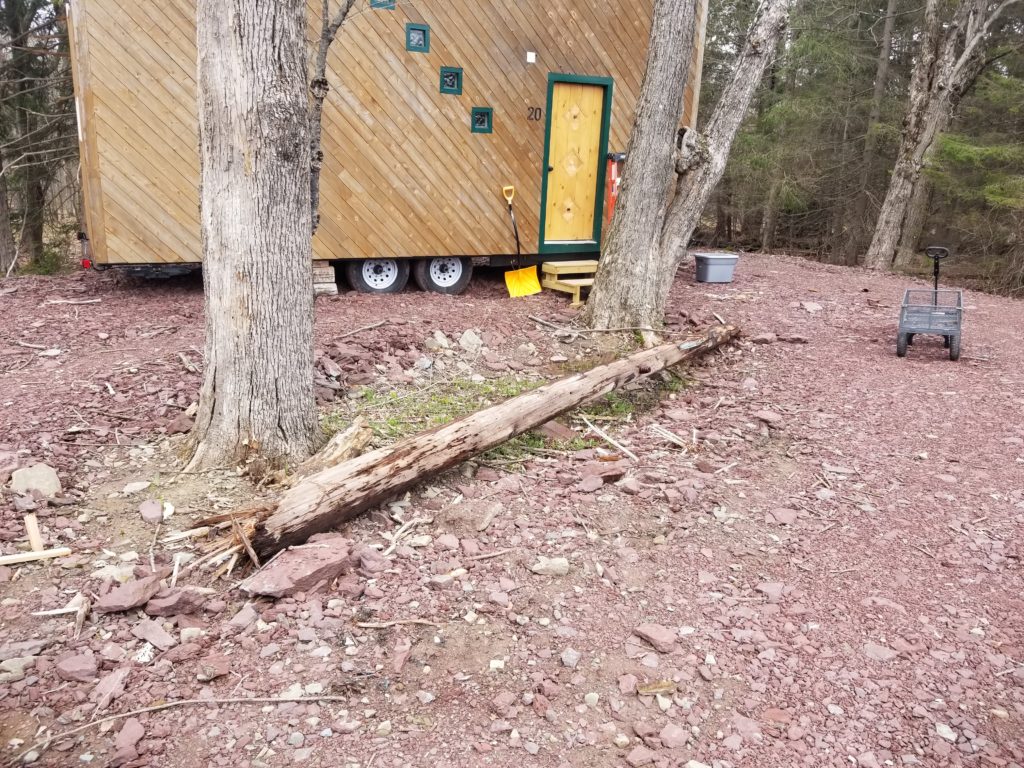
It simply had to go. I’m thinking that area between the trees would be perfect for a spring bulb garden. Can’t have some 100-year-old telephone pole in the way of that! Chop it up, haul it away. Much better.
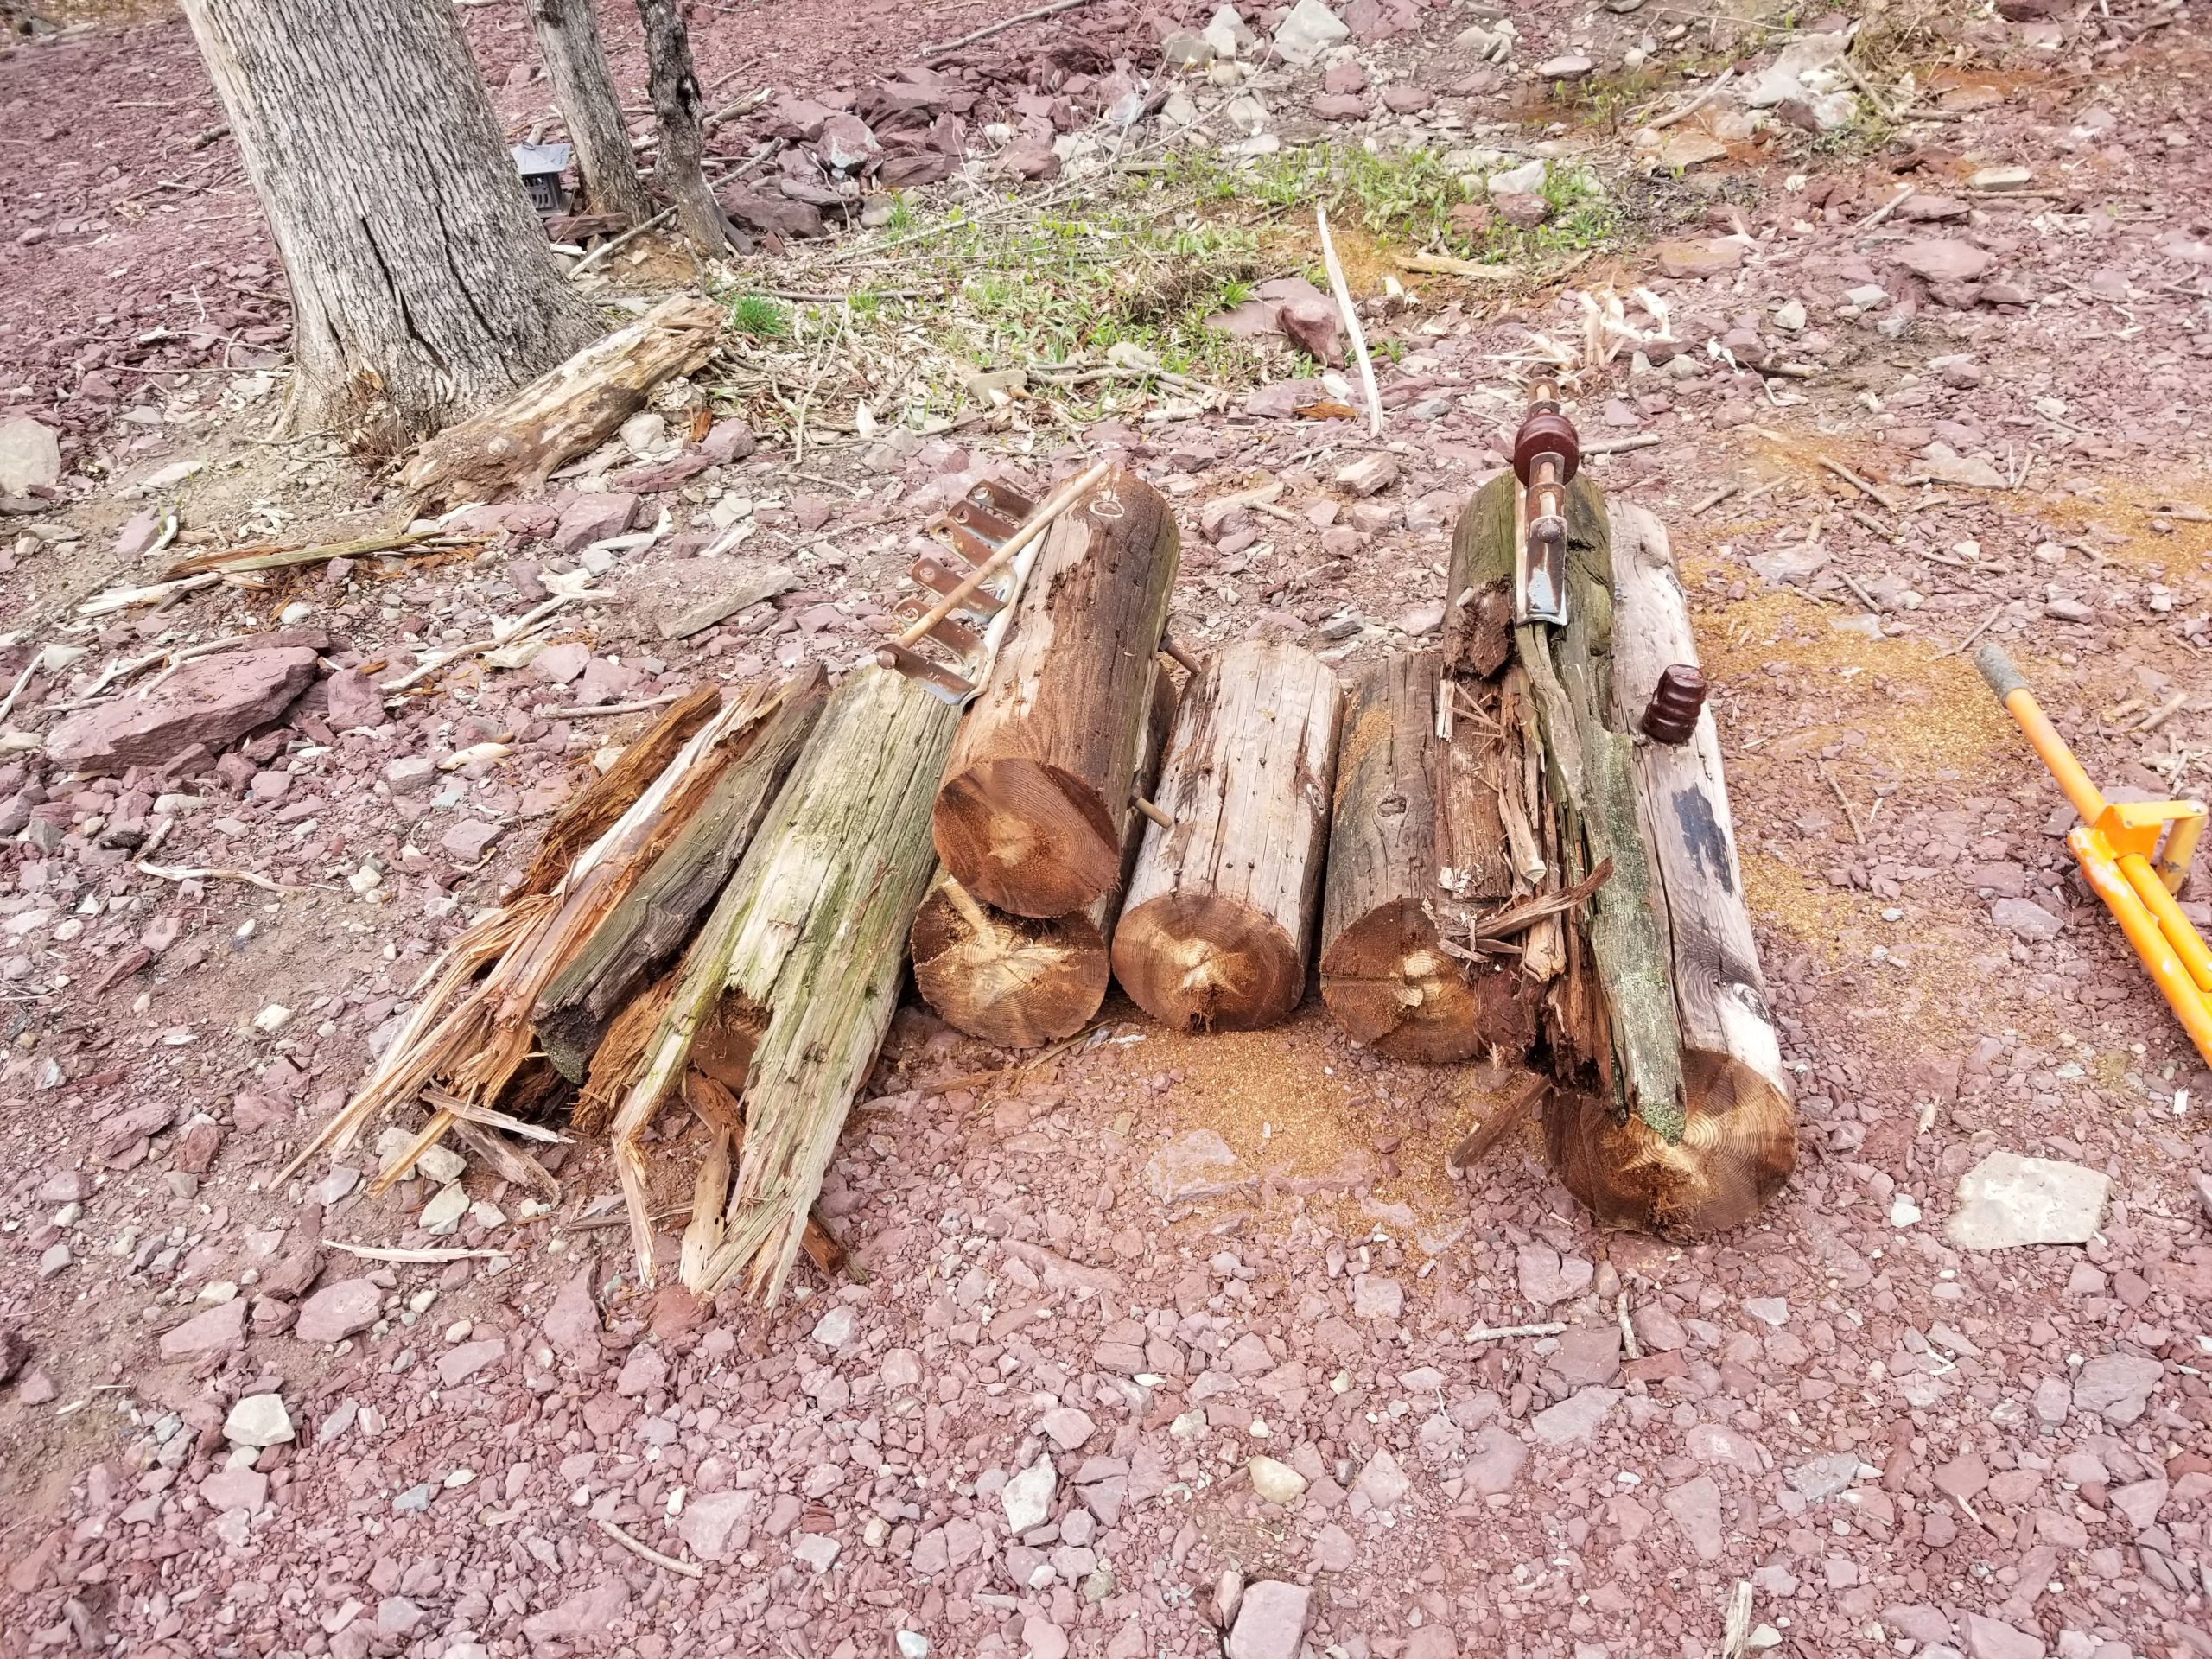
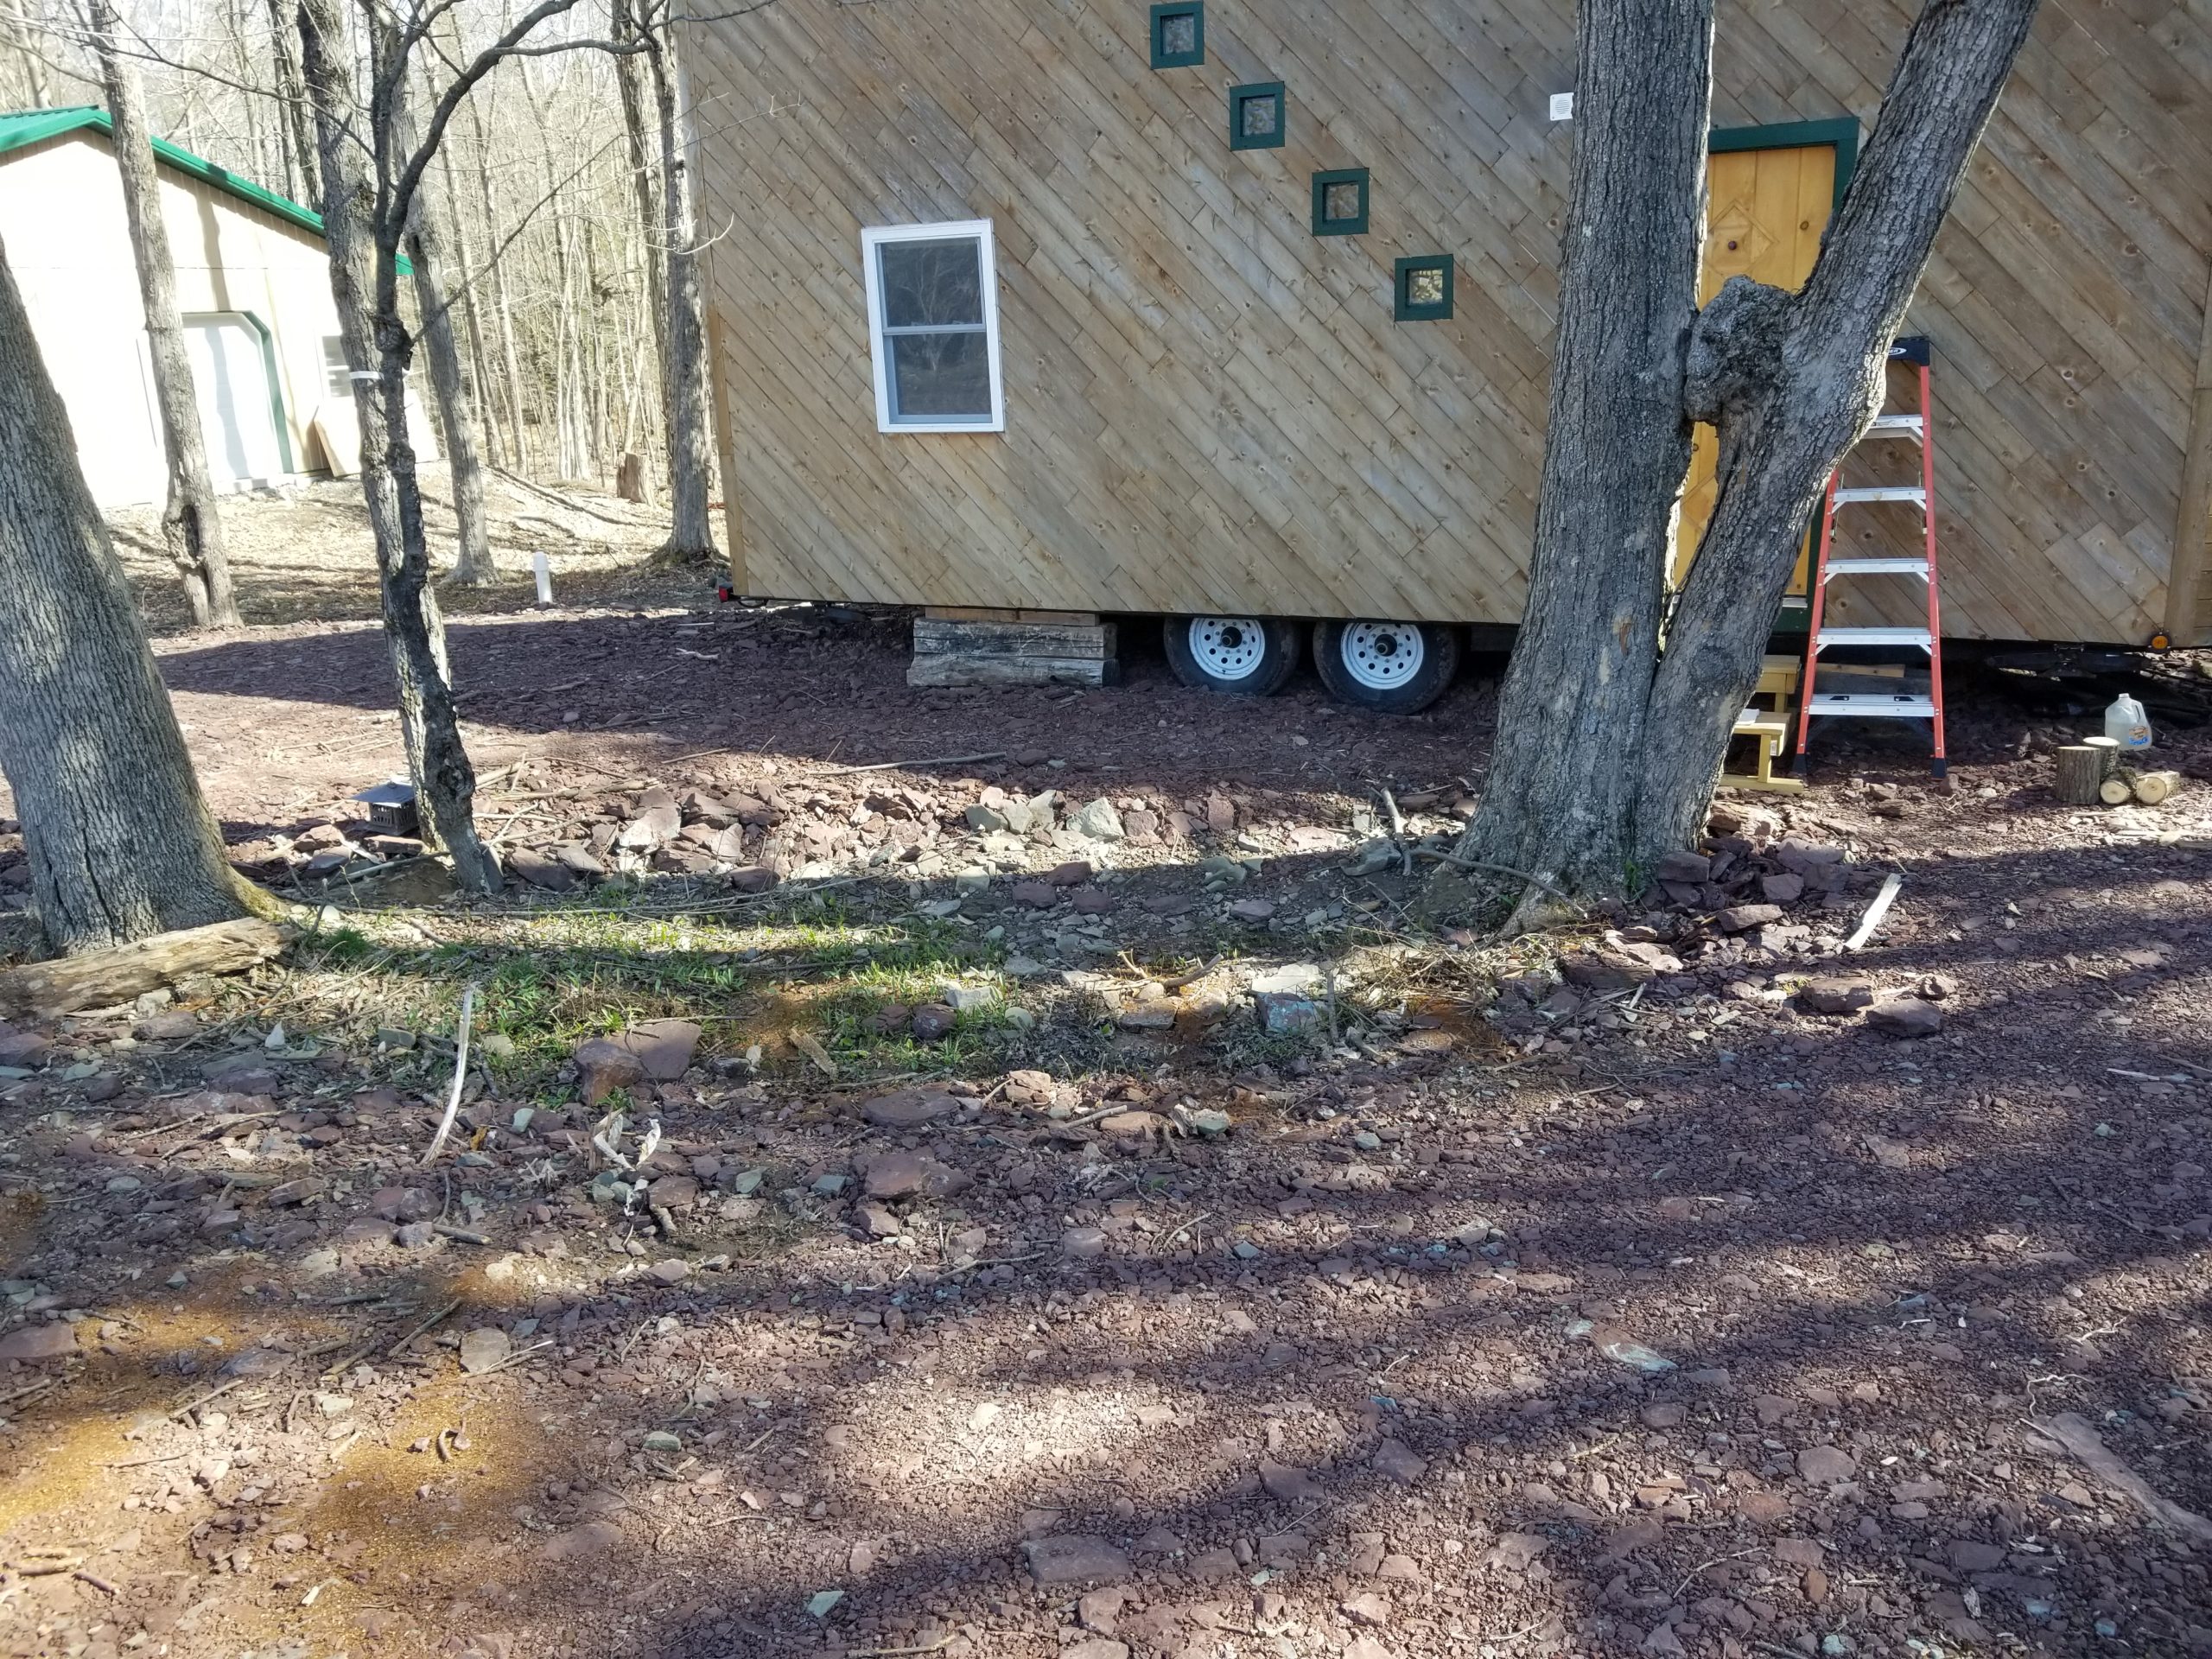
It turns out that this, too, had some heavily rotten regions as well as some not-as-bad ones. At first I thought those logs in the middle of the stack might become rustic stools or something but on closer inspection, they weren’t rotten but they were in pretty bad shape in their own way. They moved along to the this-will-get-disposed-of pile. It may be toxic to burn them, since this is heavily preserved wood.
Hey, speaking of 100-year-old telephone poles, there’s this one by the W.O.G. which happens to be leaning a bit. I noticed that the sign post I installed (green, background) is leaning at almost the identical angle! I can assure you this is 100% coincidence, since my back was to the pole while working and any tilt in the sign post is the result of the post being deflected by rocks in the soil as I drove it down.
Still, it amused me when I noticed.
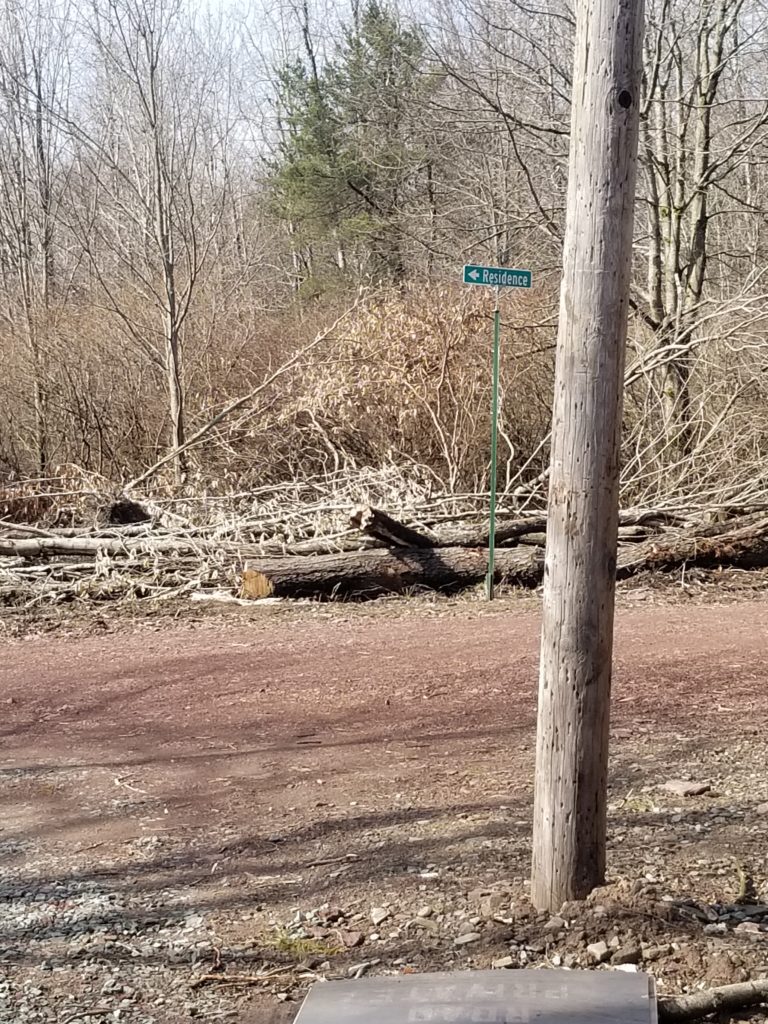
I’ll get around to removing that old pole eventually. Not today. Today is about finishing things, not starting them!
While cleaning up the Solar Field in preparation for becoming a wildflower garden, I collected rather a lot of debris left from the ruins of the building that once was there. And that’s not even all there was. These pictures were taken before I finished and there was some stuff too big/heavy or pinned down by concrete chunks that I simply couldn’t extract.
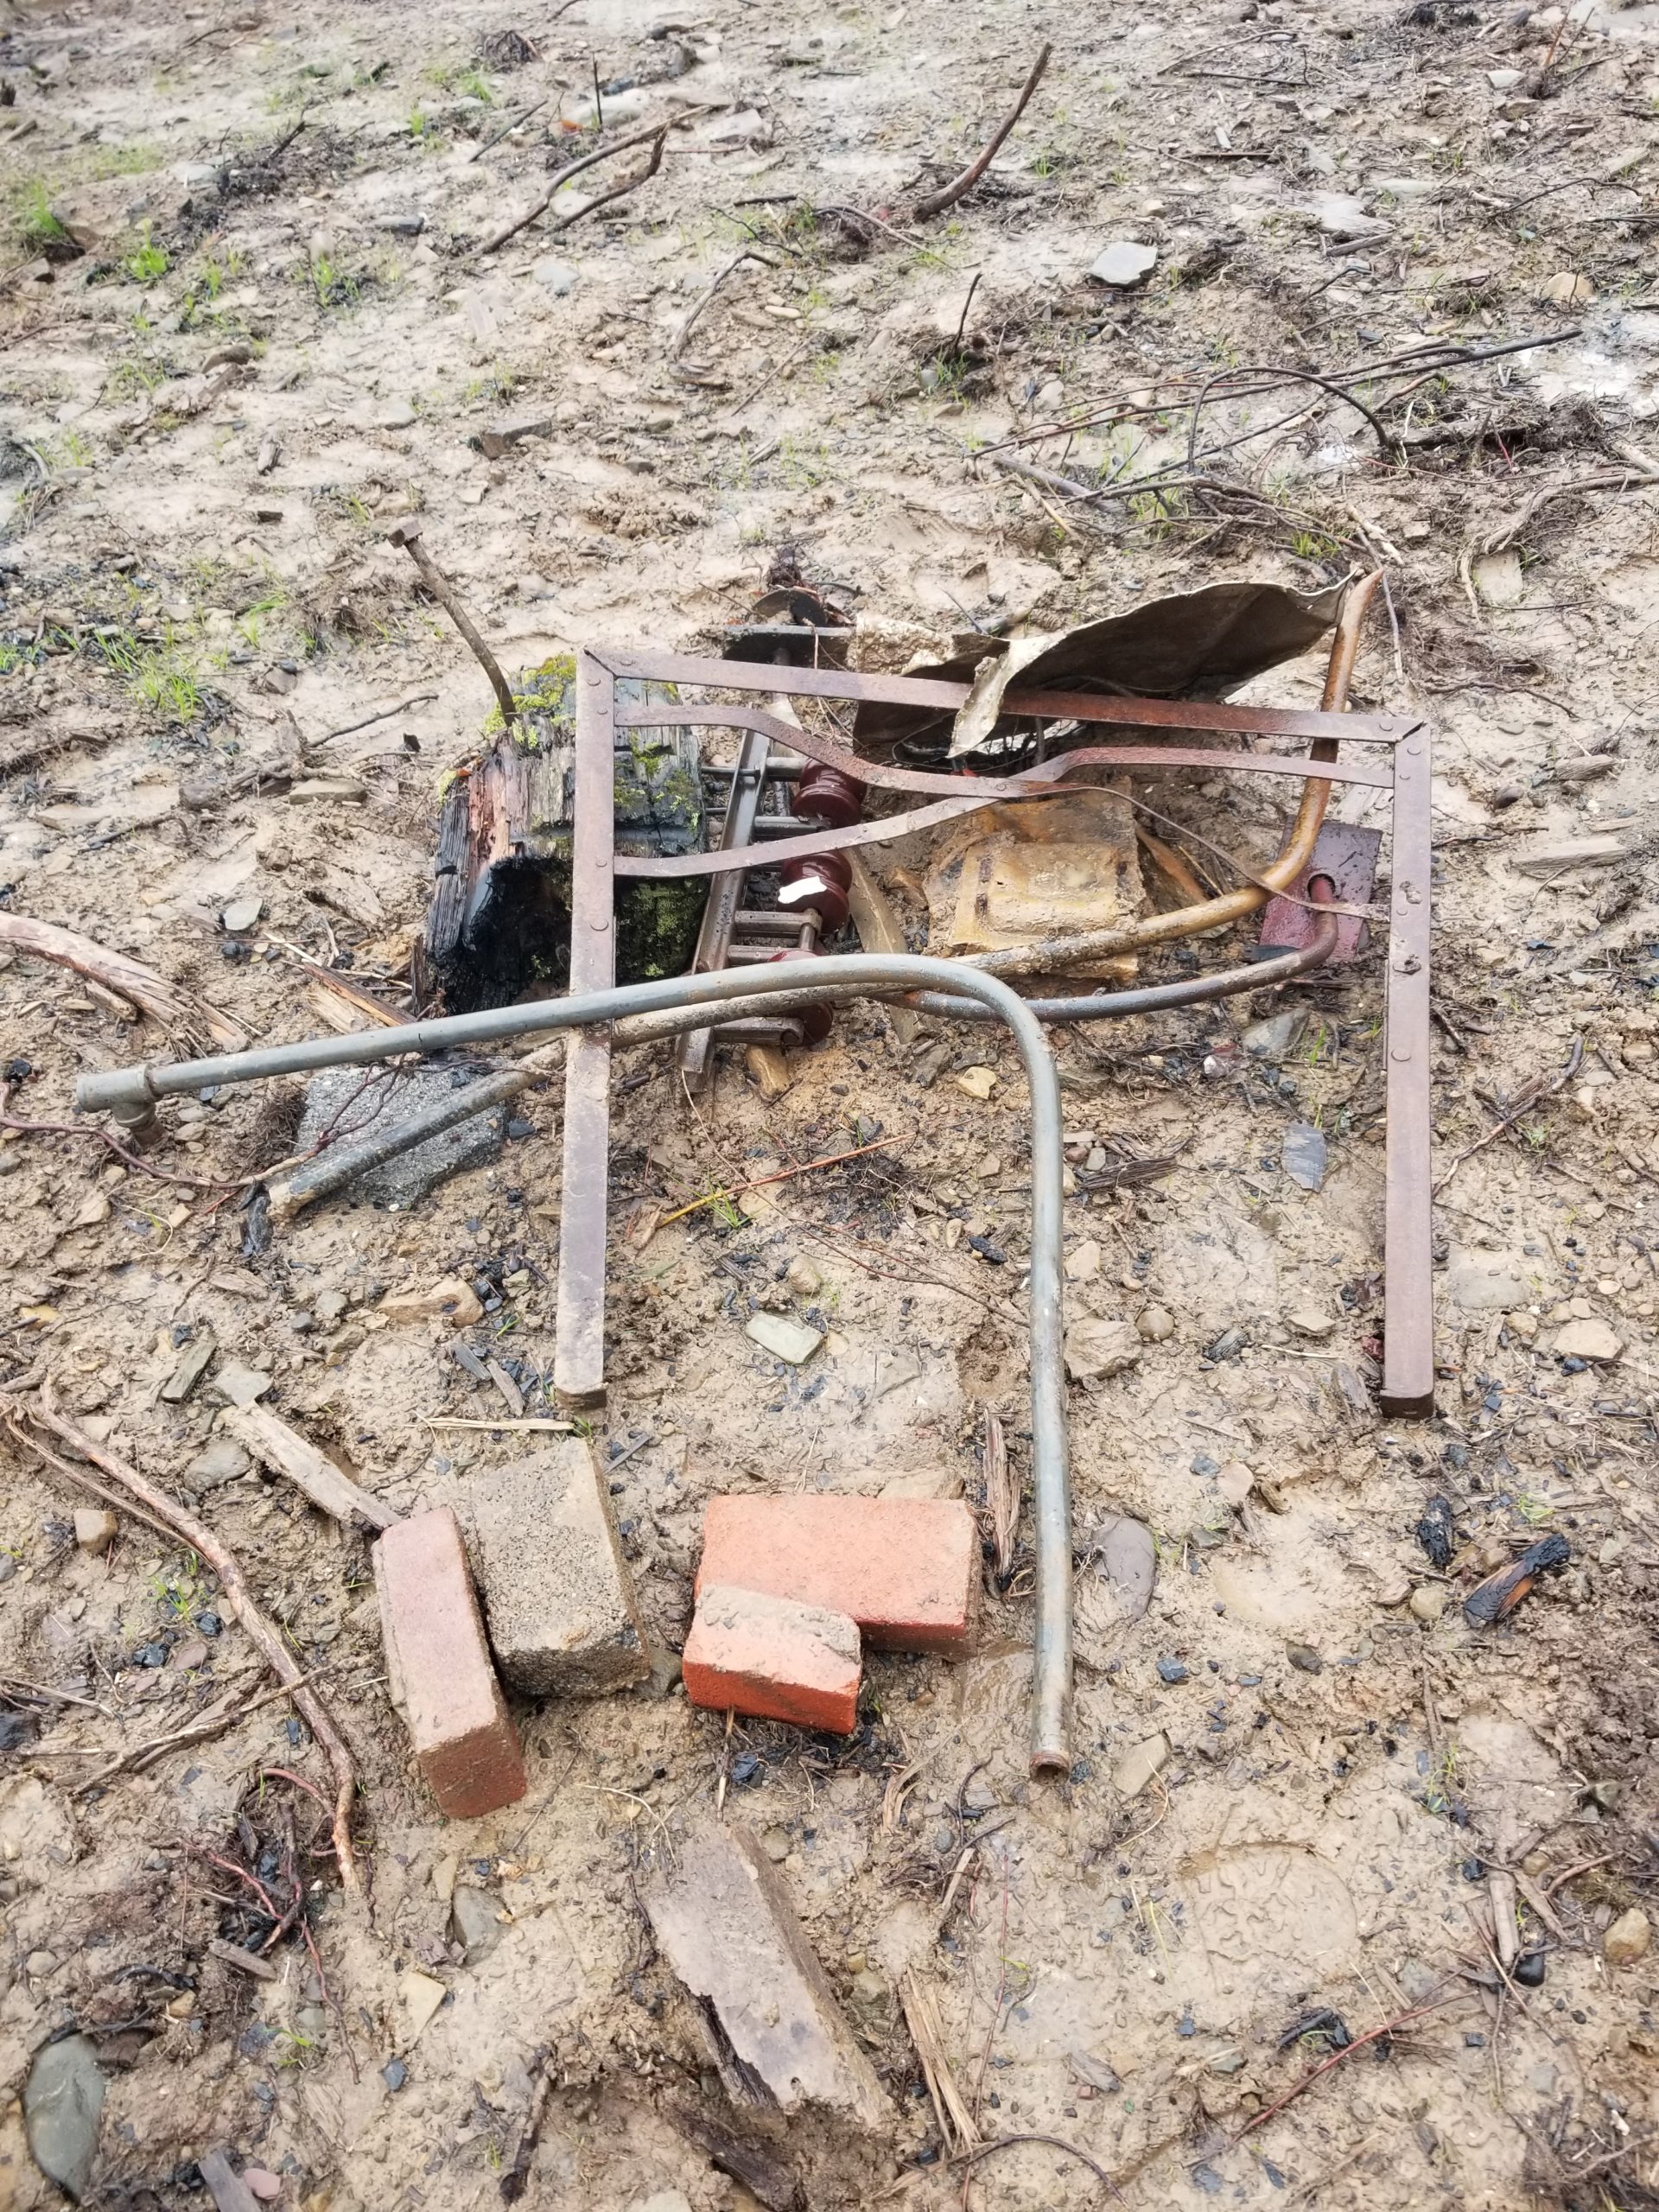
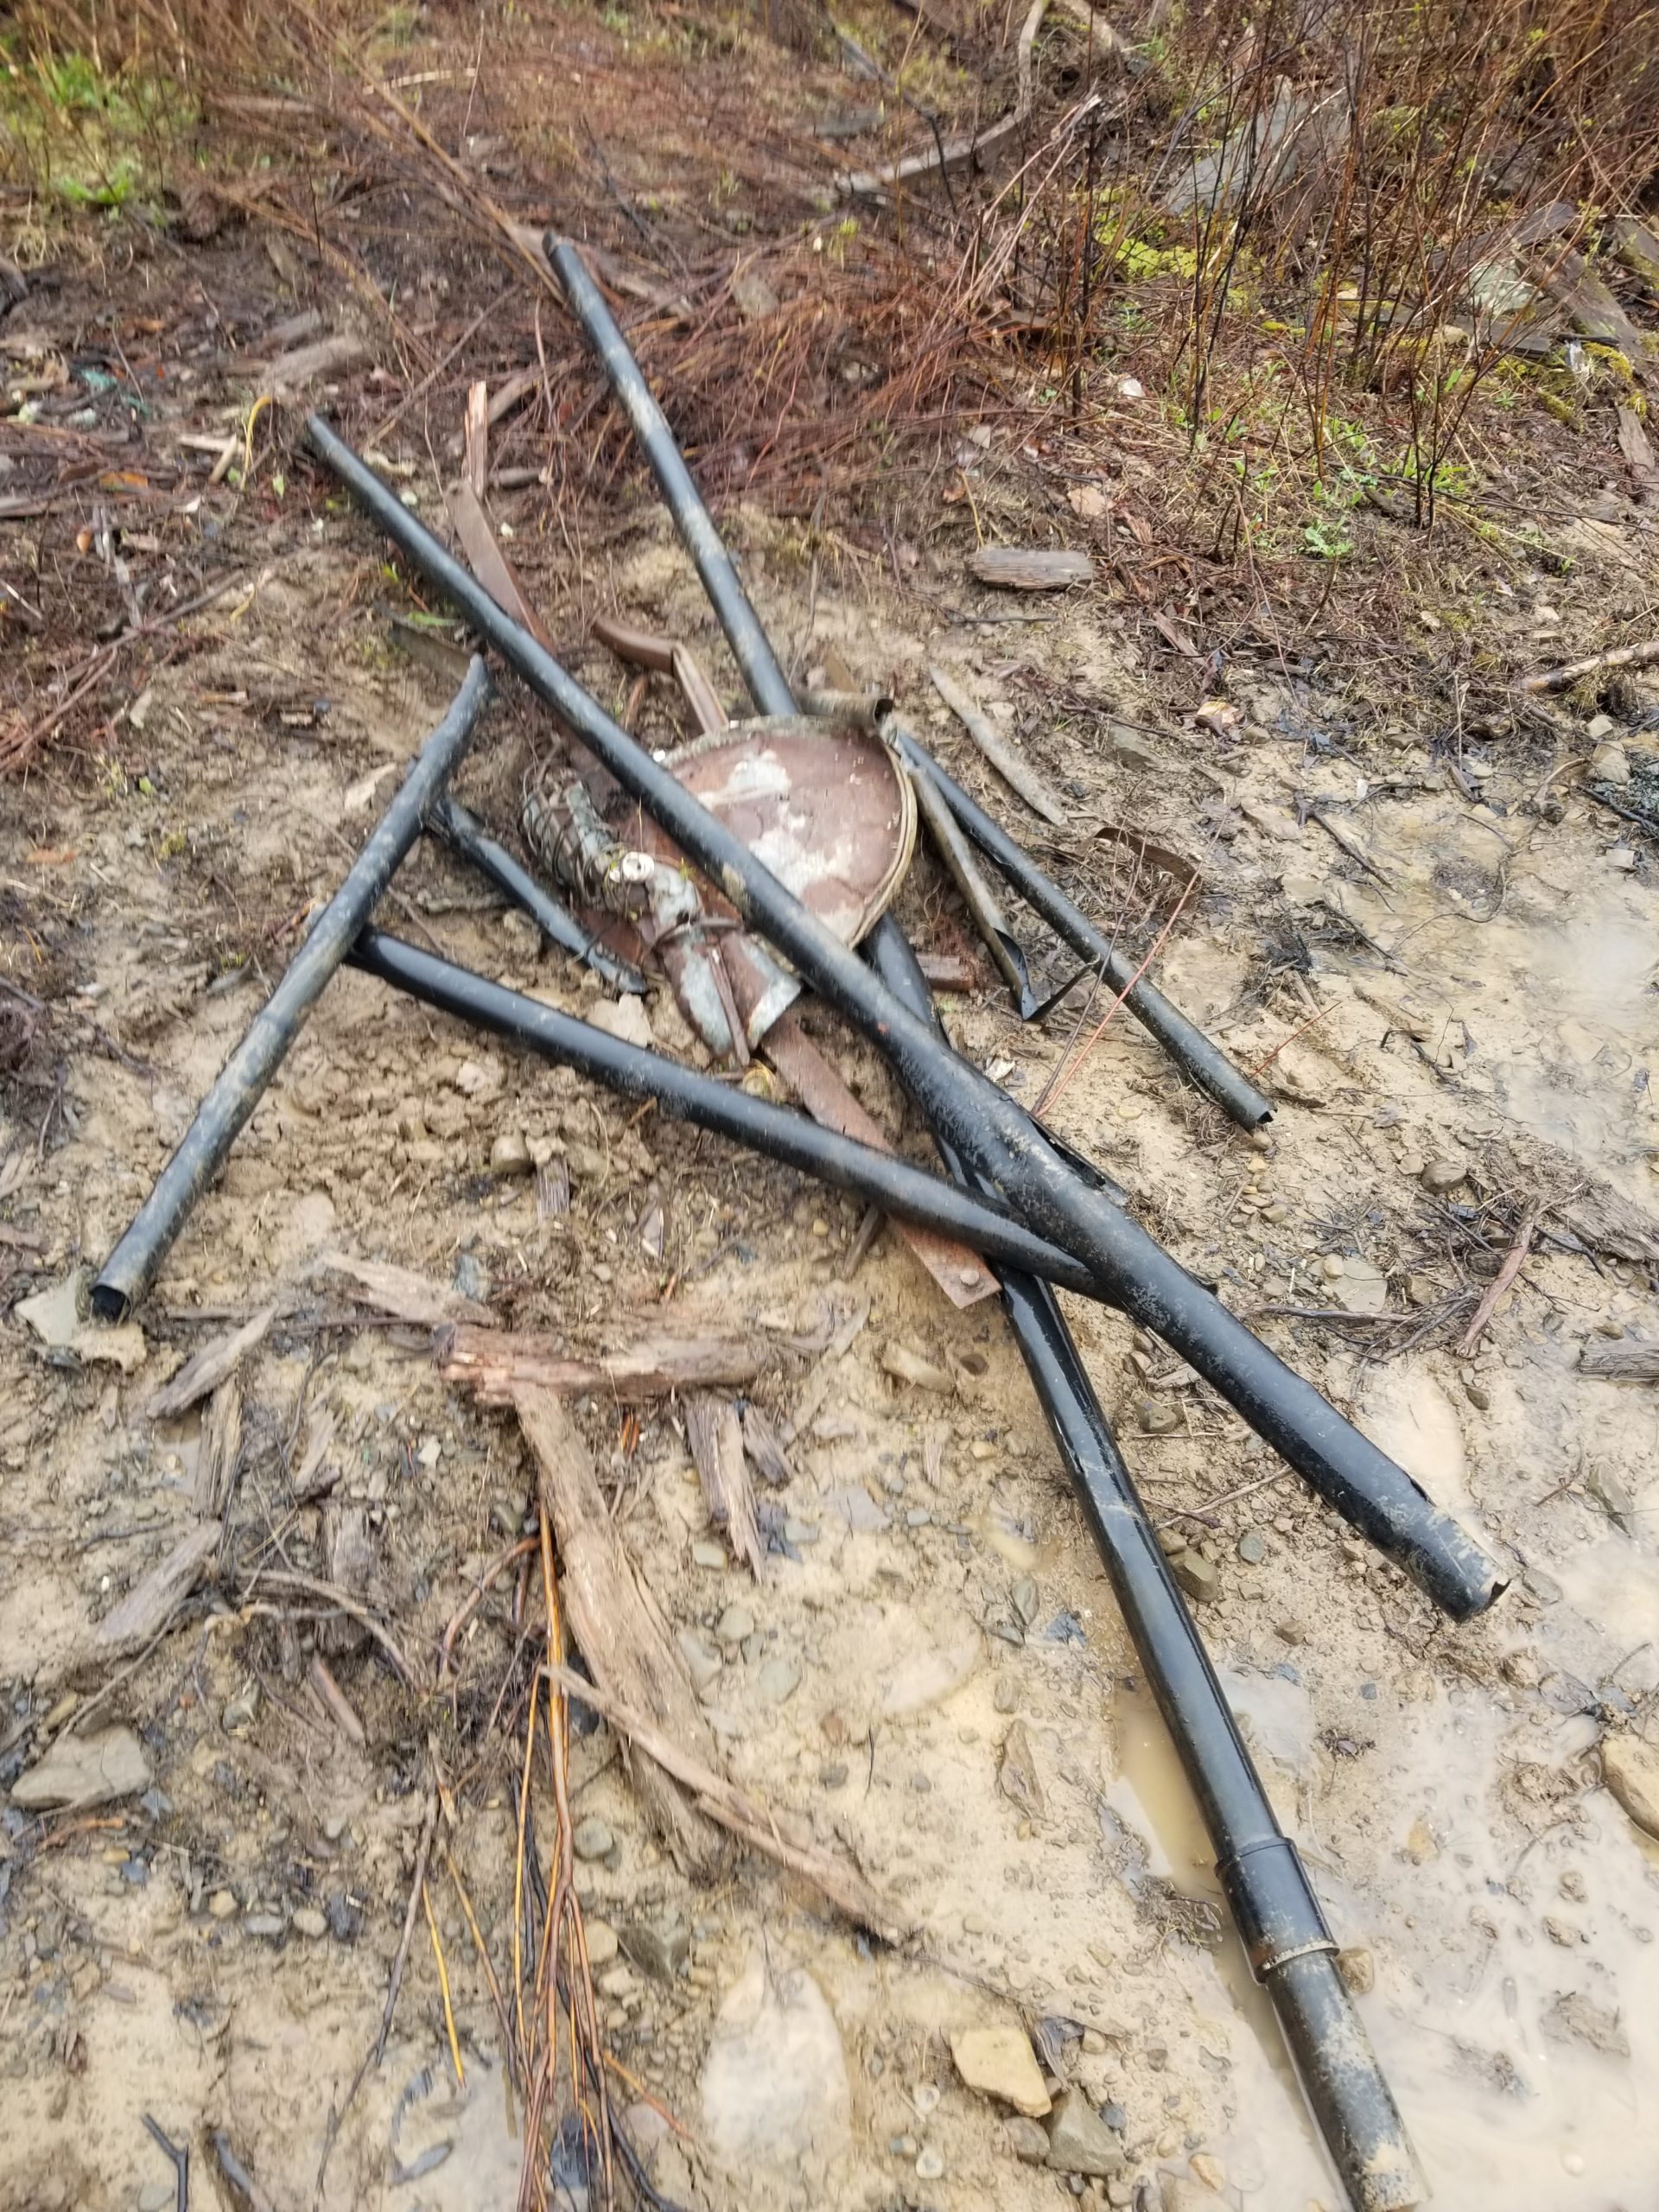
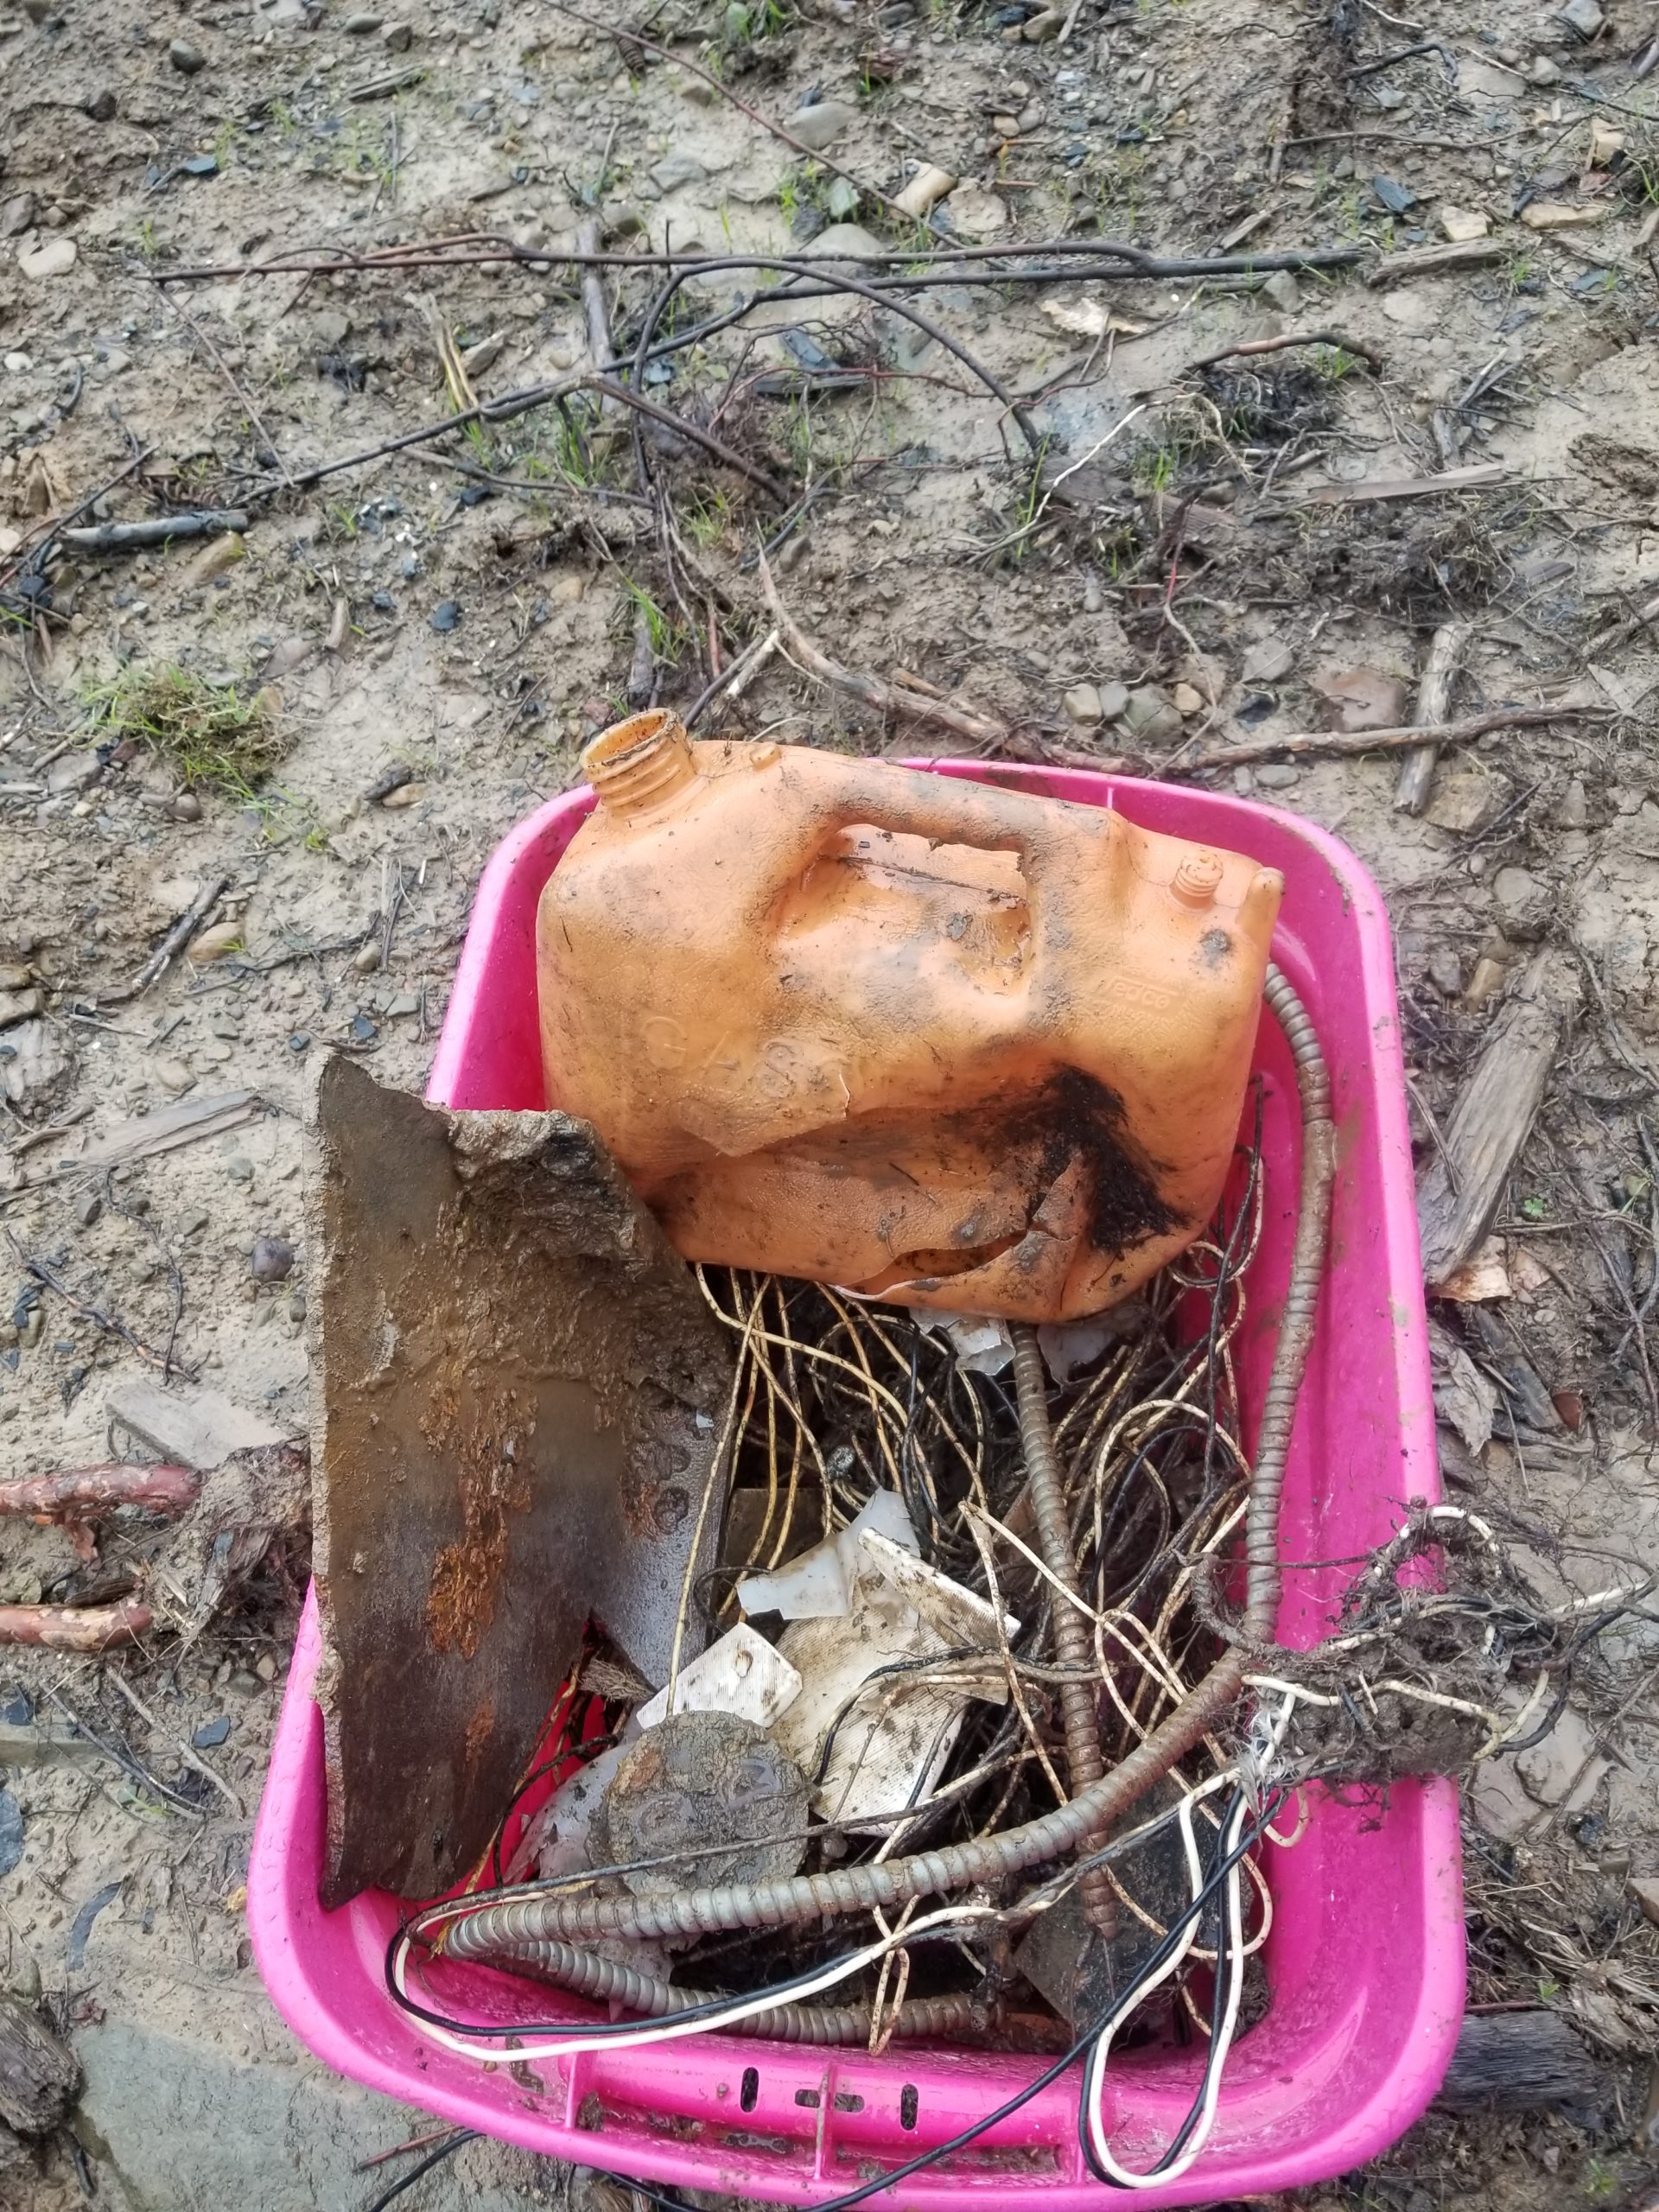
There was rather a lot of wire, armored cable, and very badly rusted junction boxes. Some ceramics. Some glass. A few big chunks of thick metal sheeting. Some plastic pipes. Some bed framing and springs. All kinds of crap. Now it’s out of the field.
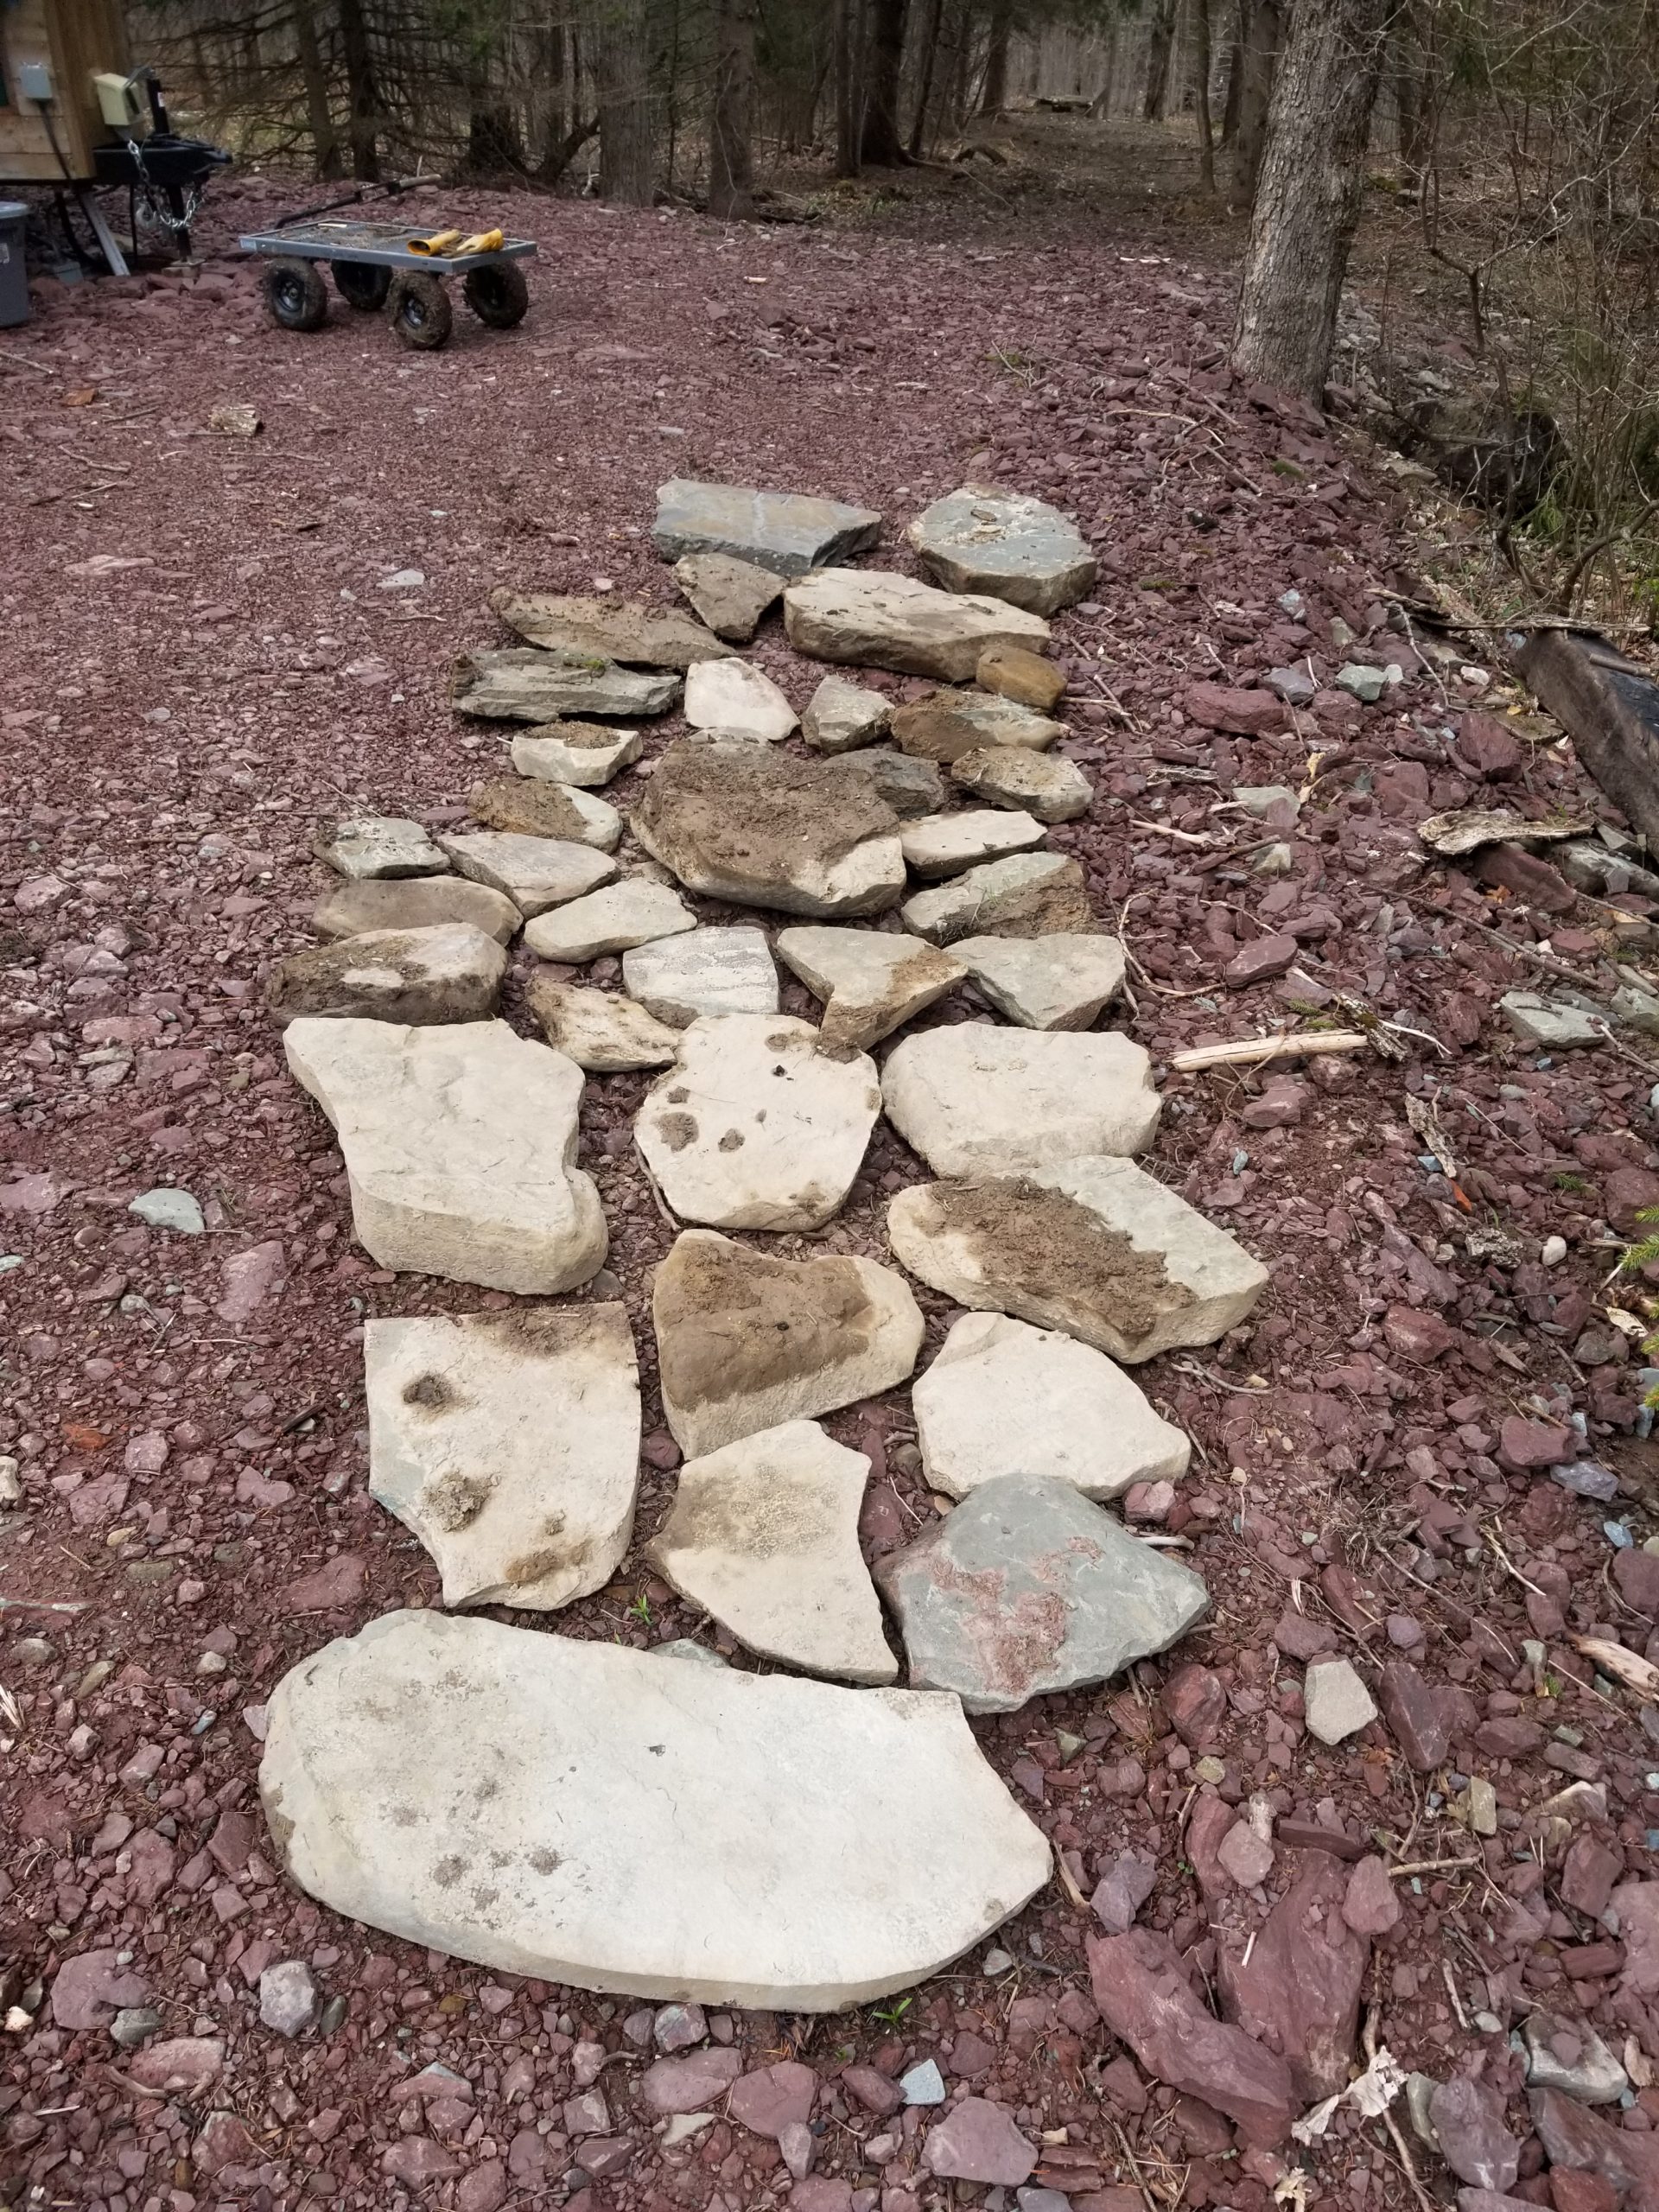
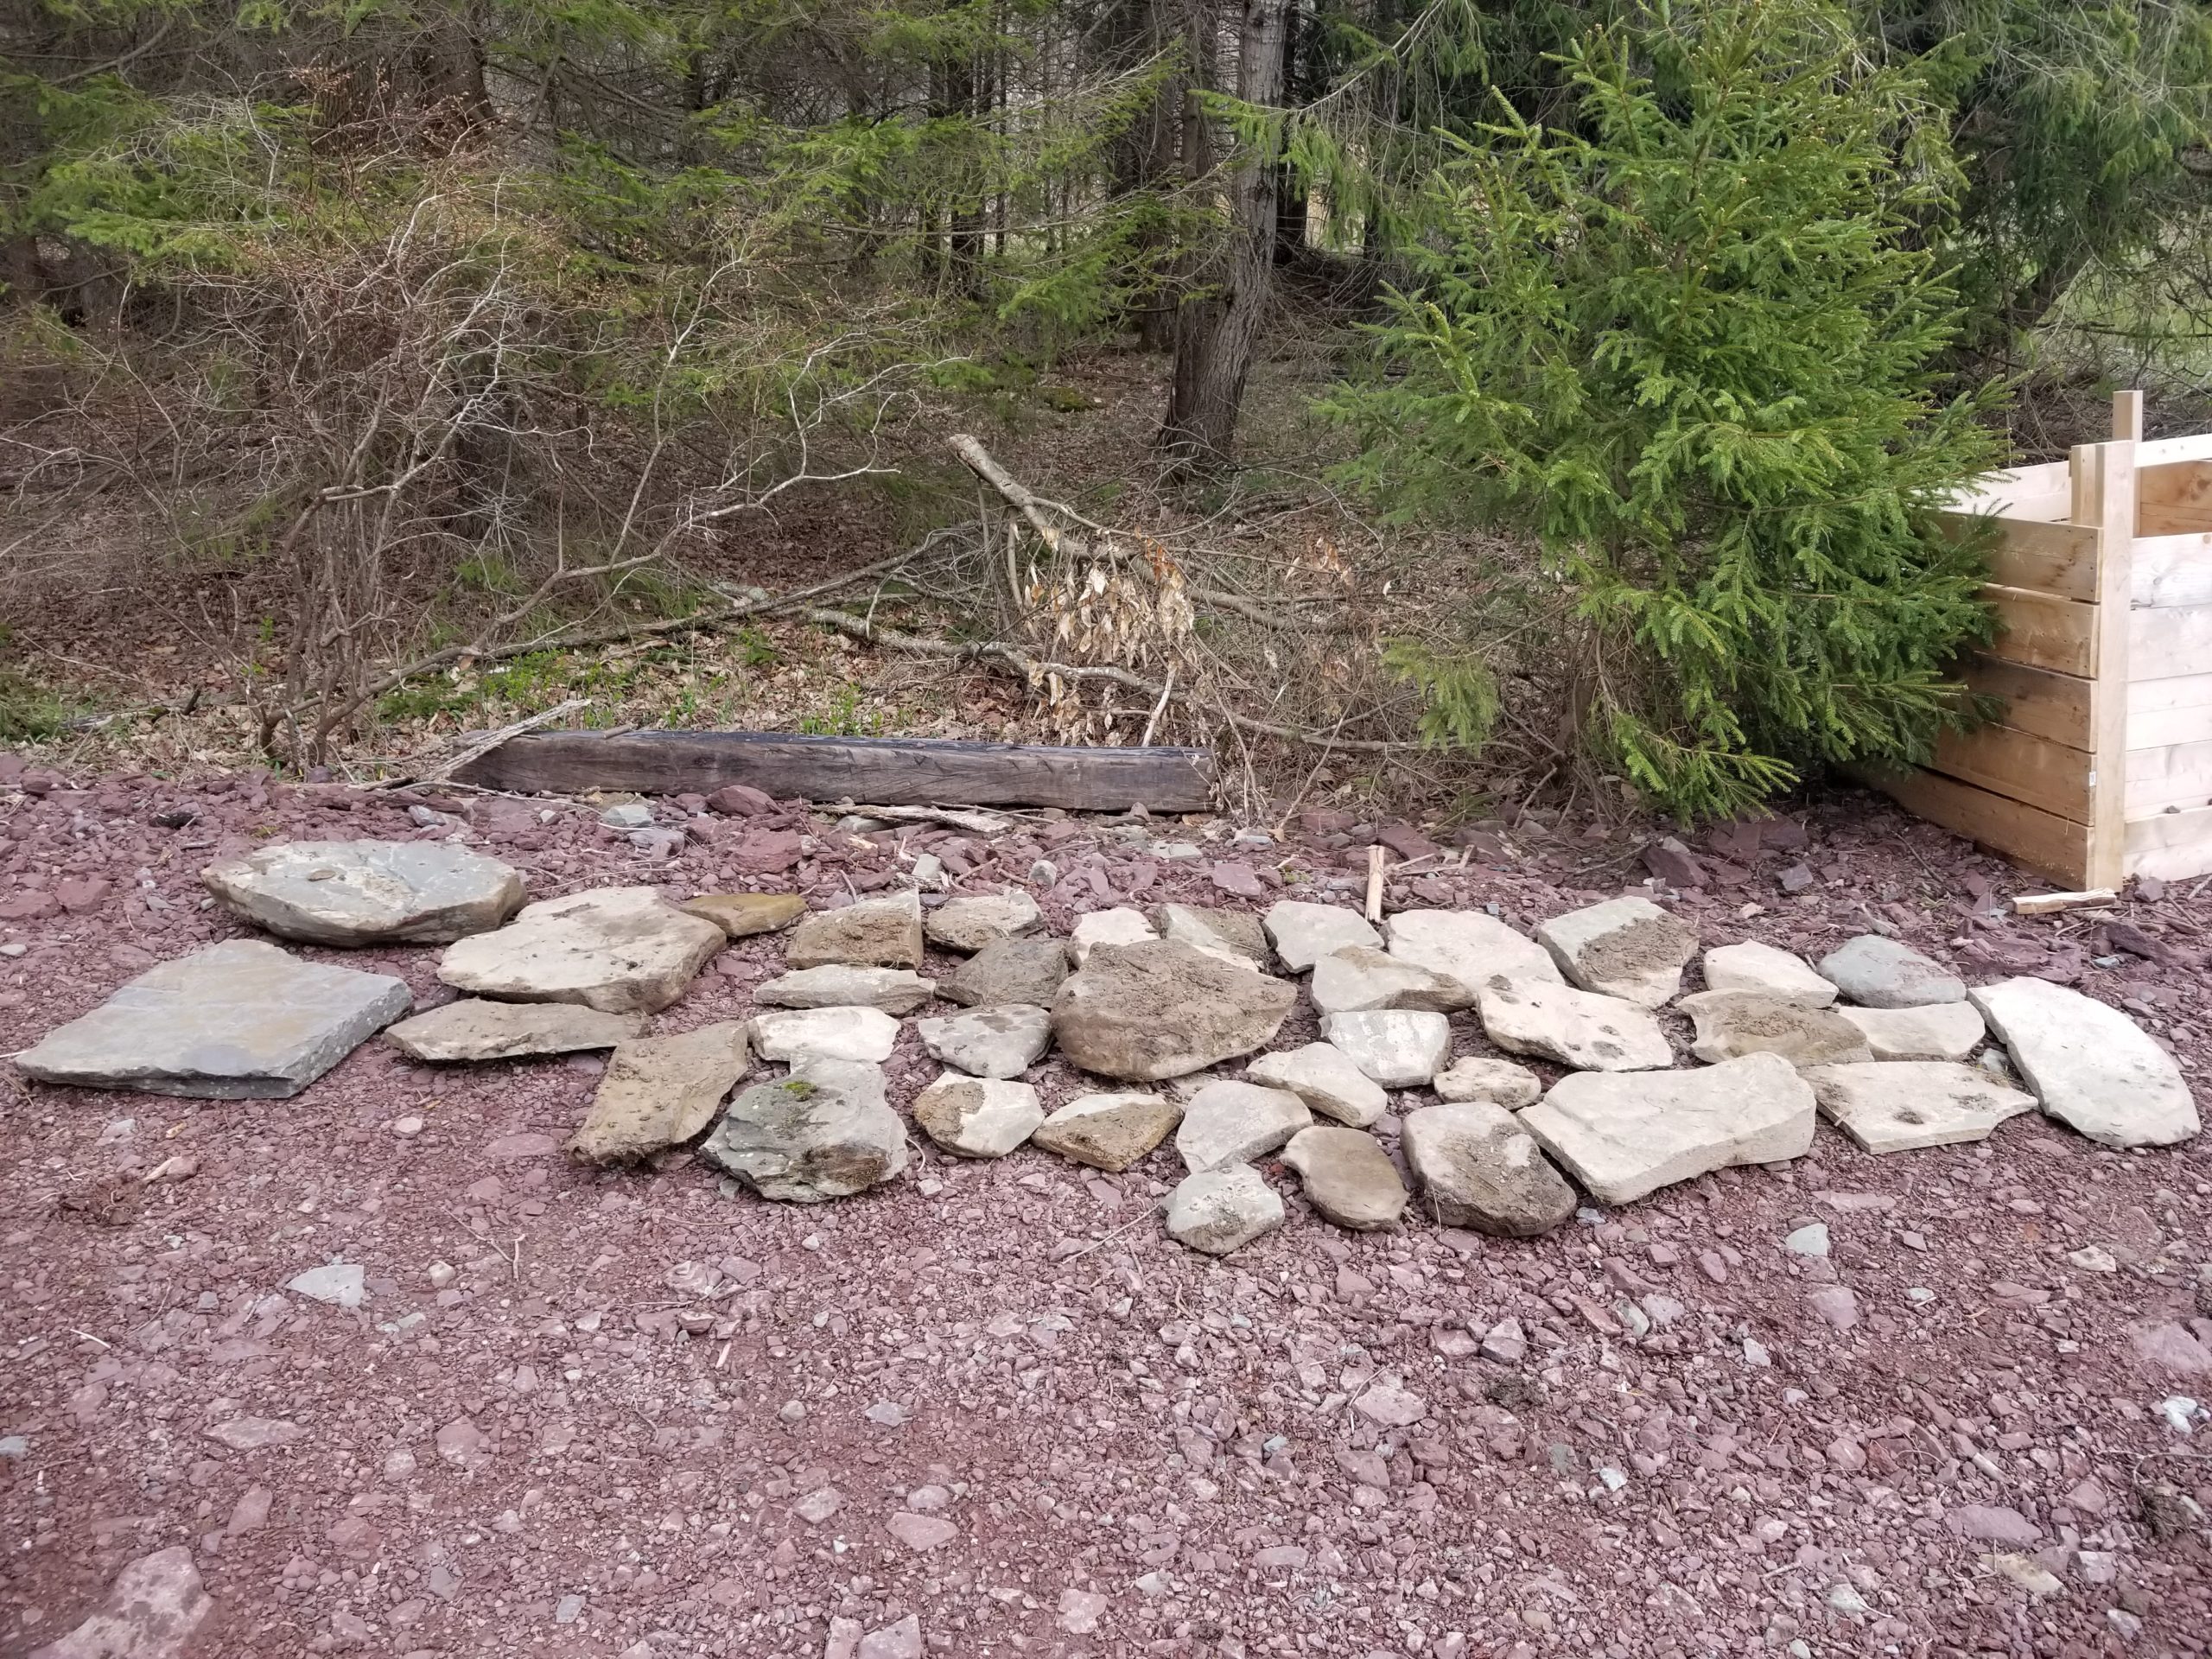
Stones.
I also noticed there were rather a bunch of lovely field stones in the field. Before turning this into a flower garden, I harvested the stones for use in a future path as yet unplanned.
Bones.
I found these bones, too, which after some discussion with friends, are believed to belong to a beaver. Beaver are known to inhabit the lake close by, so this is quite reasonable. Left: lower jaw bone. Right: probable femur with damage consistent with the beaver being someone’s dinner. Center: unknown.
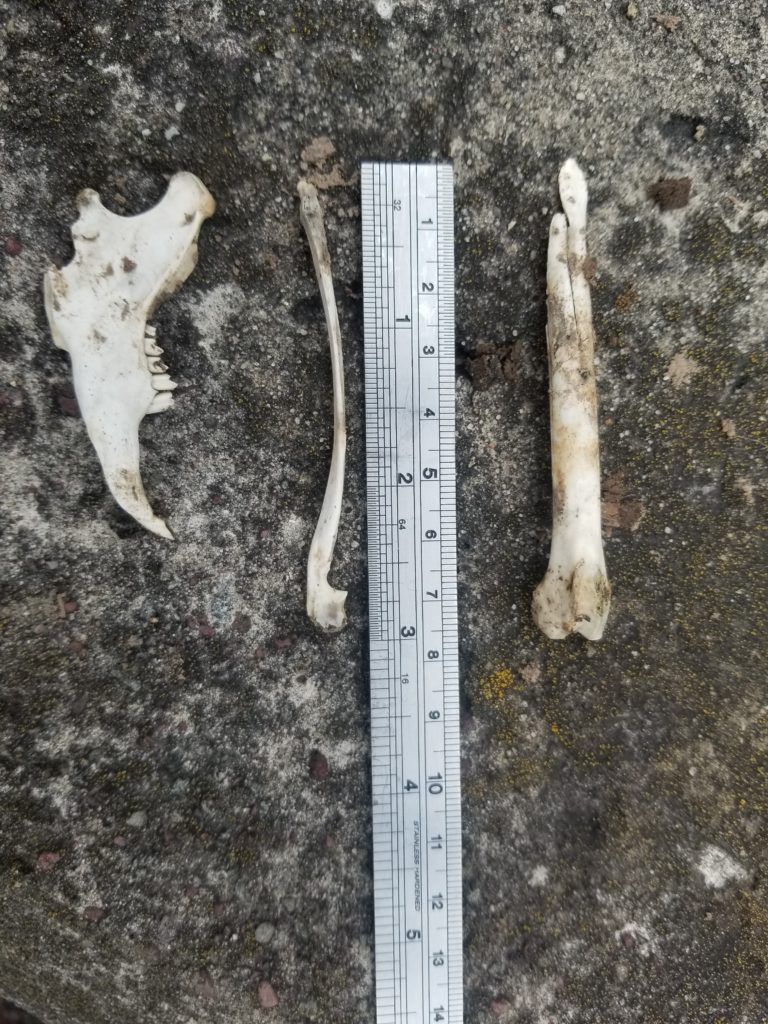
And just about everybody I showed this photo to didn’t realize the right scale was in centimeters and the inch scale was on the left 🤪
Flowers.
Now that the Solar Field is cleared of debris and field stones have been harvested, it’s time to turn this:
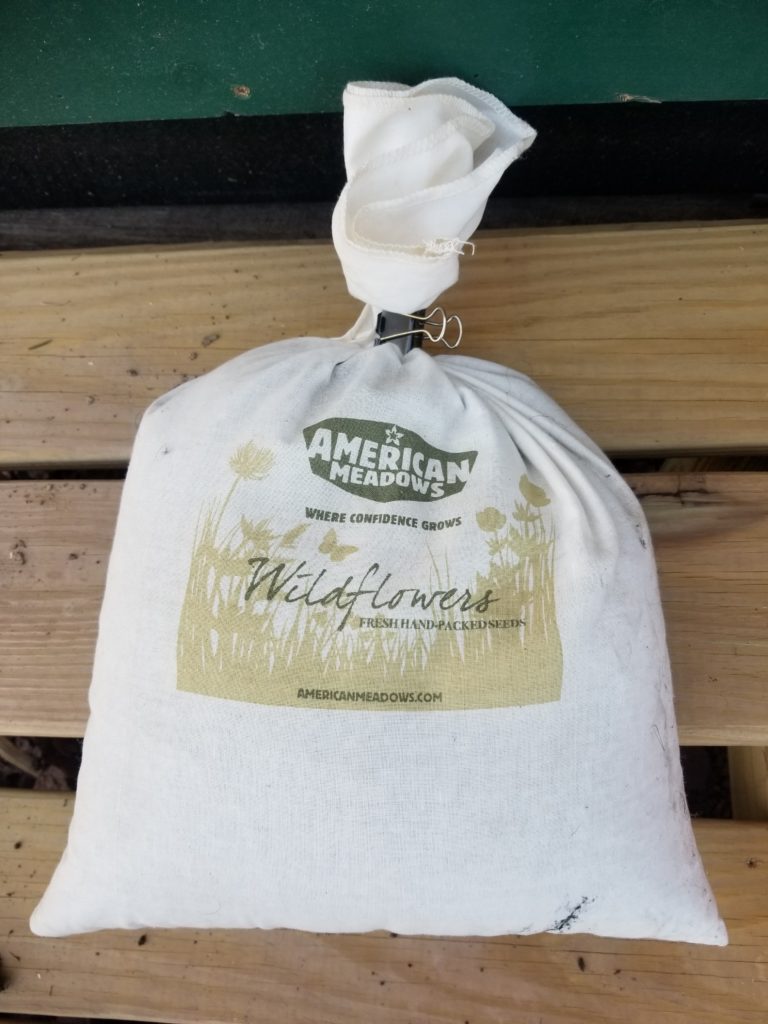
into this

By sowing the seeds all over here
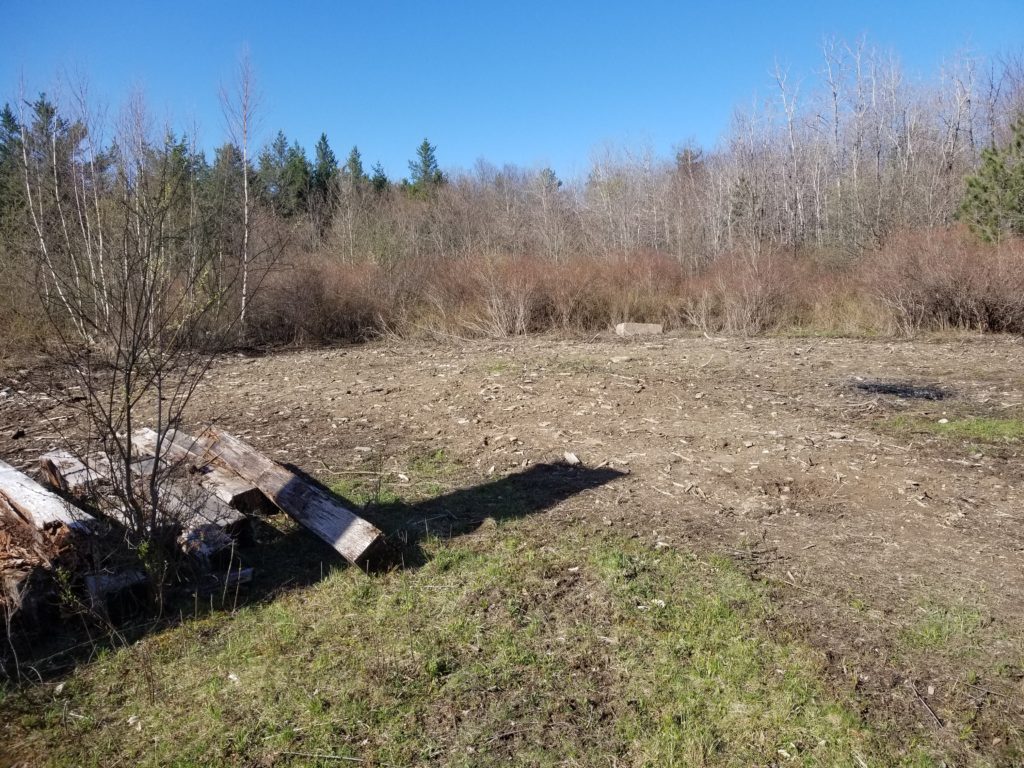
This is the area just in front of the solar array, which is unseen just out of frame to the right. The sense of depth isn’t great in the photo, but it’s a decently large area. The entire 5# bag of seed was scattered here. The excavator also scattered grass seed here last autumn, some of which has begun to germinate. I’m hoping the grass and the flowers will help to control the mud bath going forward, as they drink up the water and their roots hold the soil. This is very clay-rich, poor-drainage soil. I’m actually thinking I might try my hand at pottery with this local soil some time in the future. But for right now, it is what it is. I’m sure not all the flowers in the wildflower mix will take kindly to this dirt, but it’s what I’ve got and whomever thrives here, that’s who gets to live here.
I also planted 16 Burgundy Glow Ajuga plants along the drainage channel bank. Those are known to like the soil conditions I have. They’ll beautify the bank and hopefully also contribute to soil strength.
You can’t see them in this picture because they are small, but they’re here, along the right bank.
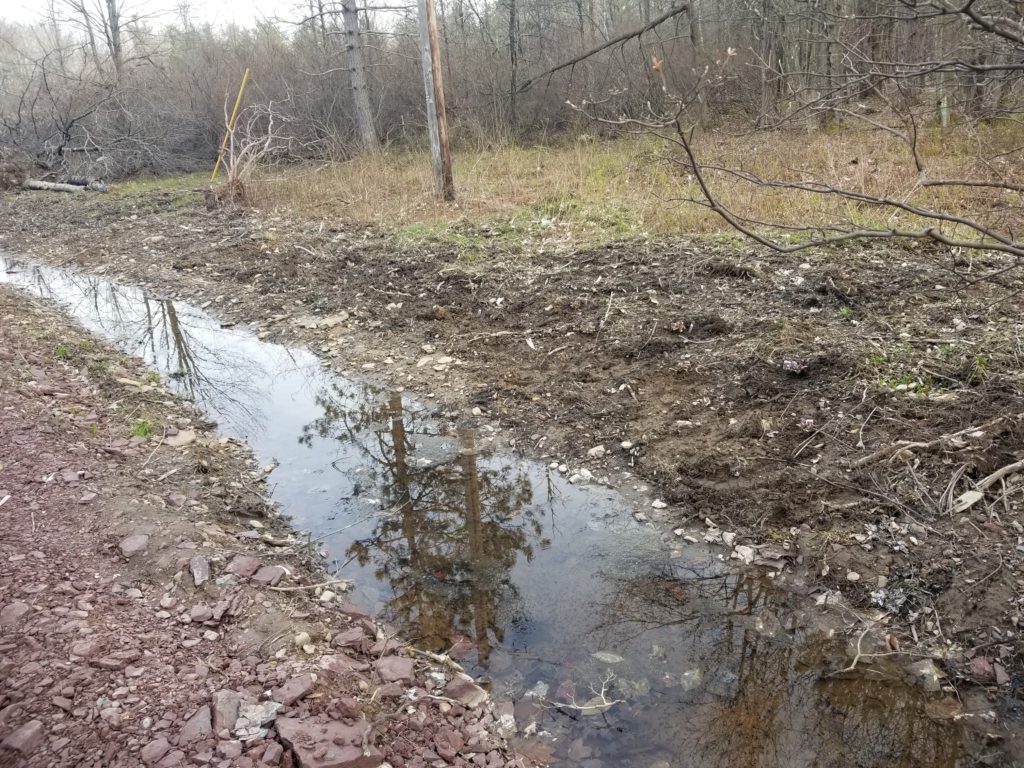
This section of the channel is also where the froglets are living and where the salamander eggs continue to gestate.
Here’s what a few of the baby Ajuga plants look like in-situ. Or in clay-mud-u, as the case may be.
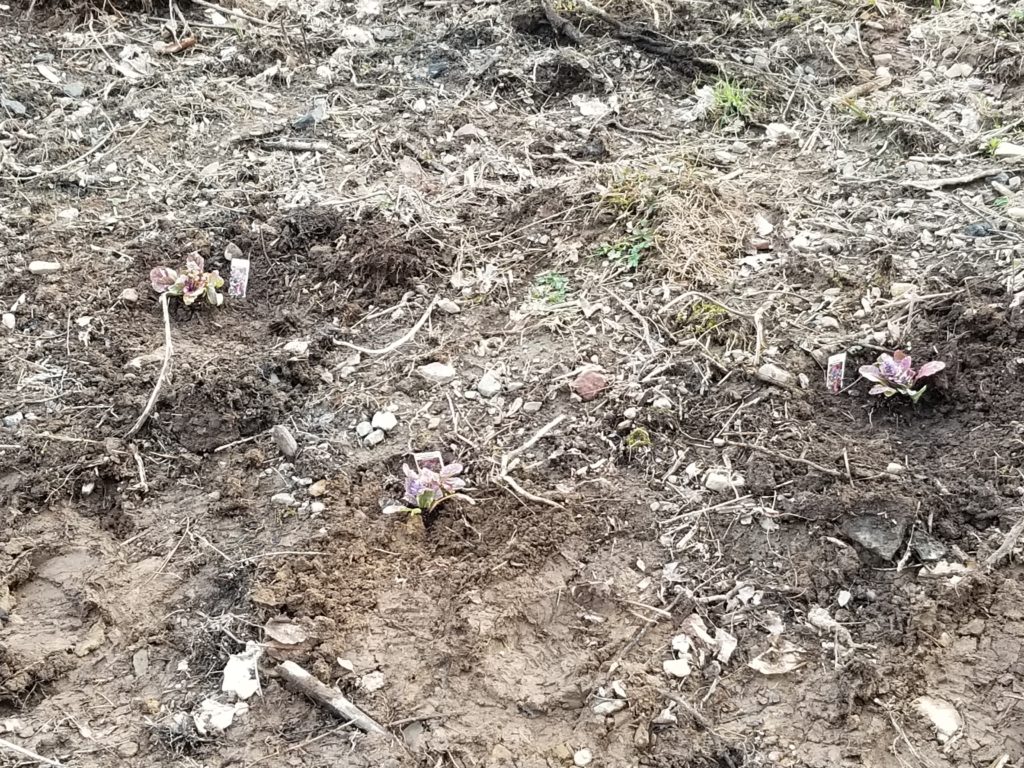
The land here has been through a lot lately. First, there was the old scout camp – decades ago some of it was demolished but not cleaned up (see above) and many bits of ruins in various states of decomposition exist throughout the area. These will be cleaned up in due time. Next, the preparation of the Solar Field and the access road (and the W.O.G., too, to a lesser degree) disturbed quite a lot of land and plant life. This is me beginning the process of restoration and care for the land, as well as starting to beautify the homestead.
Those plants came in a set of carriers in a box…
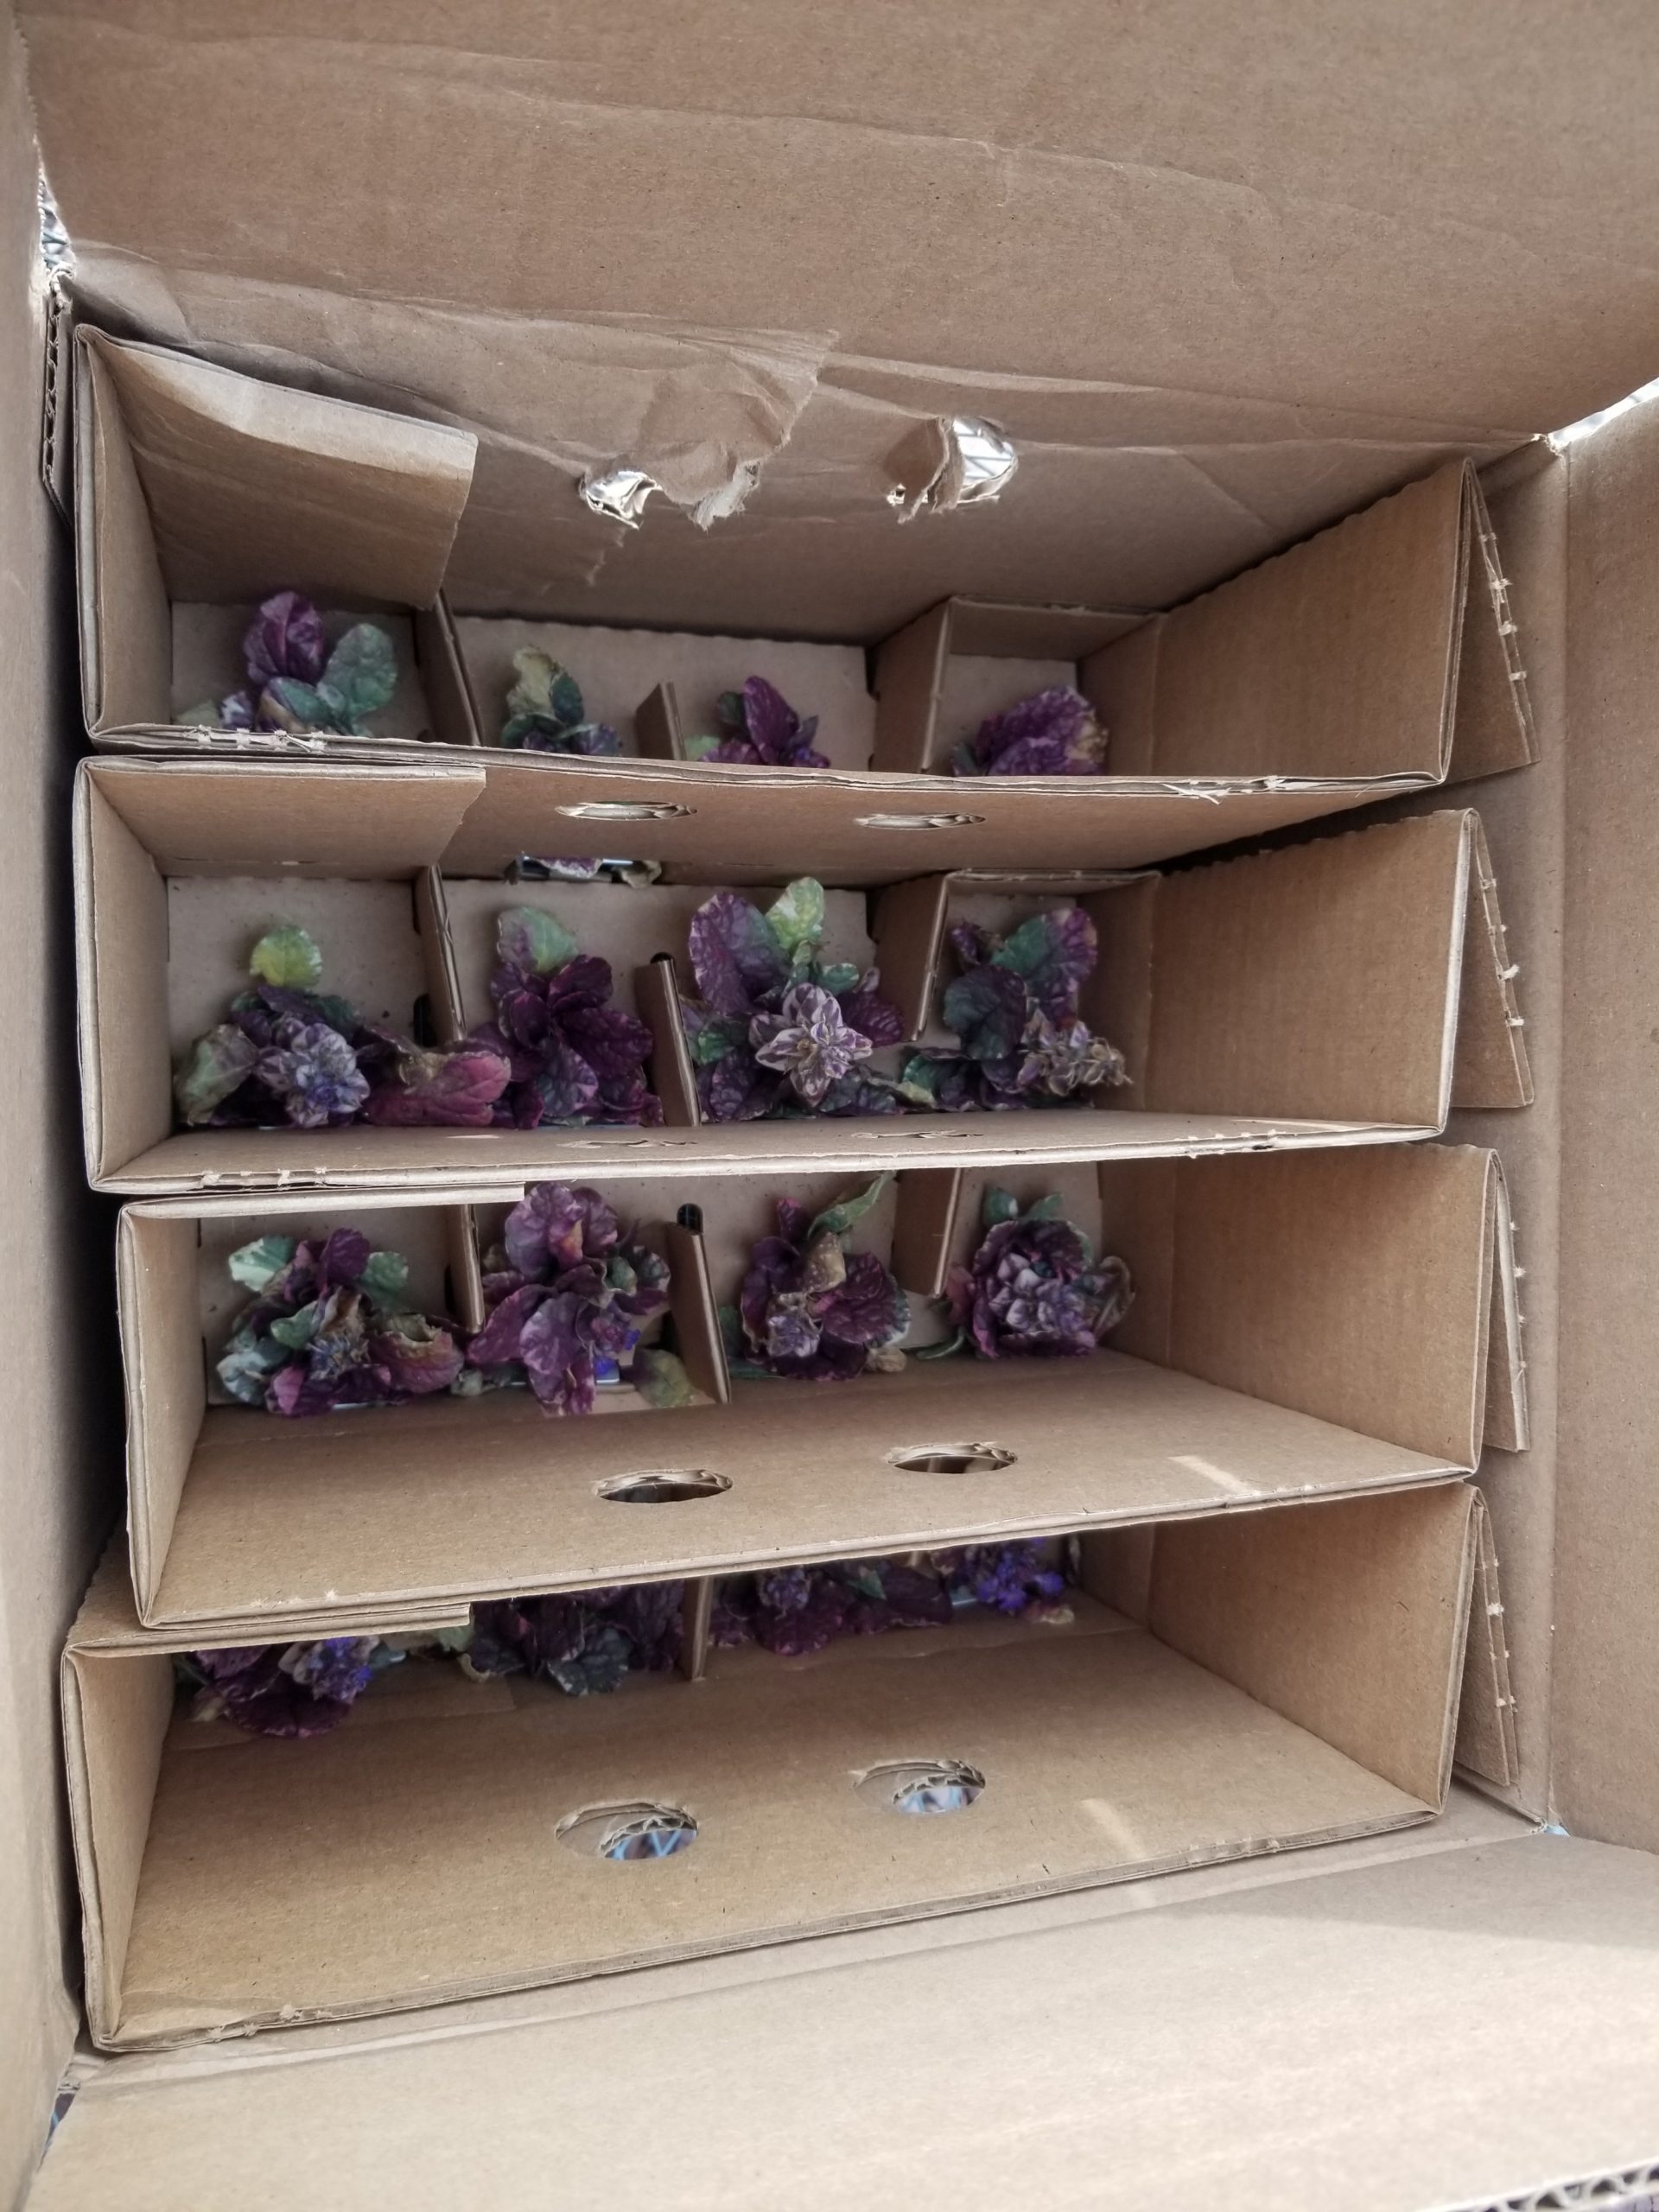
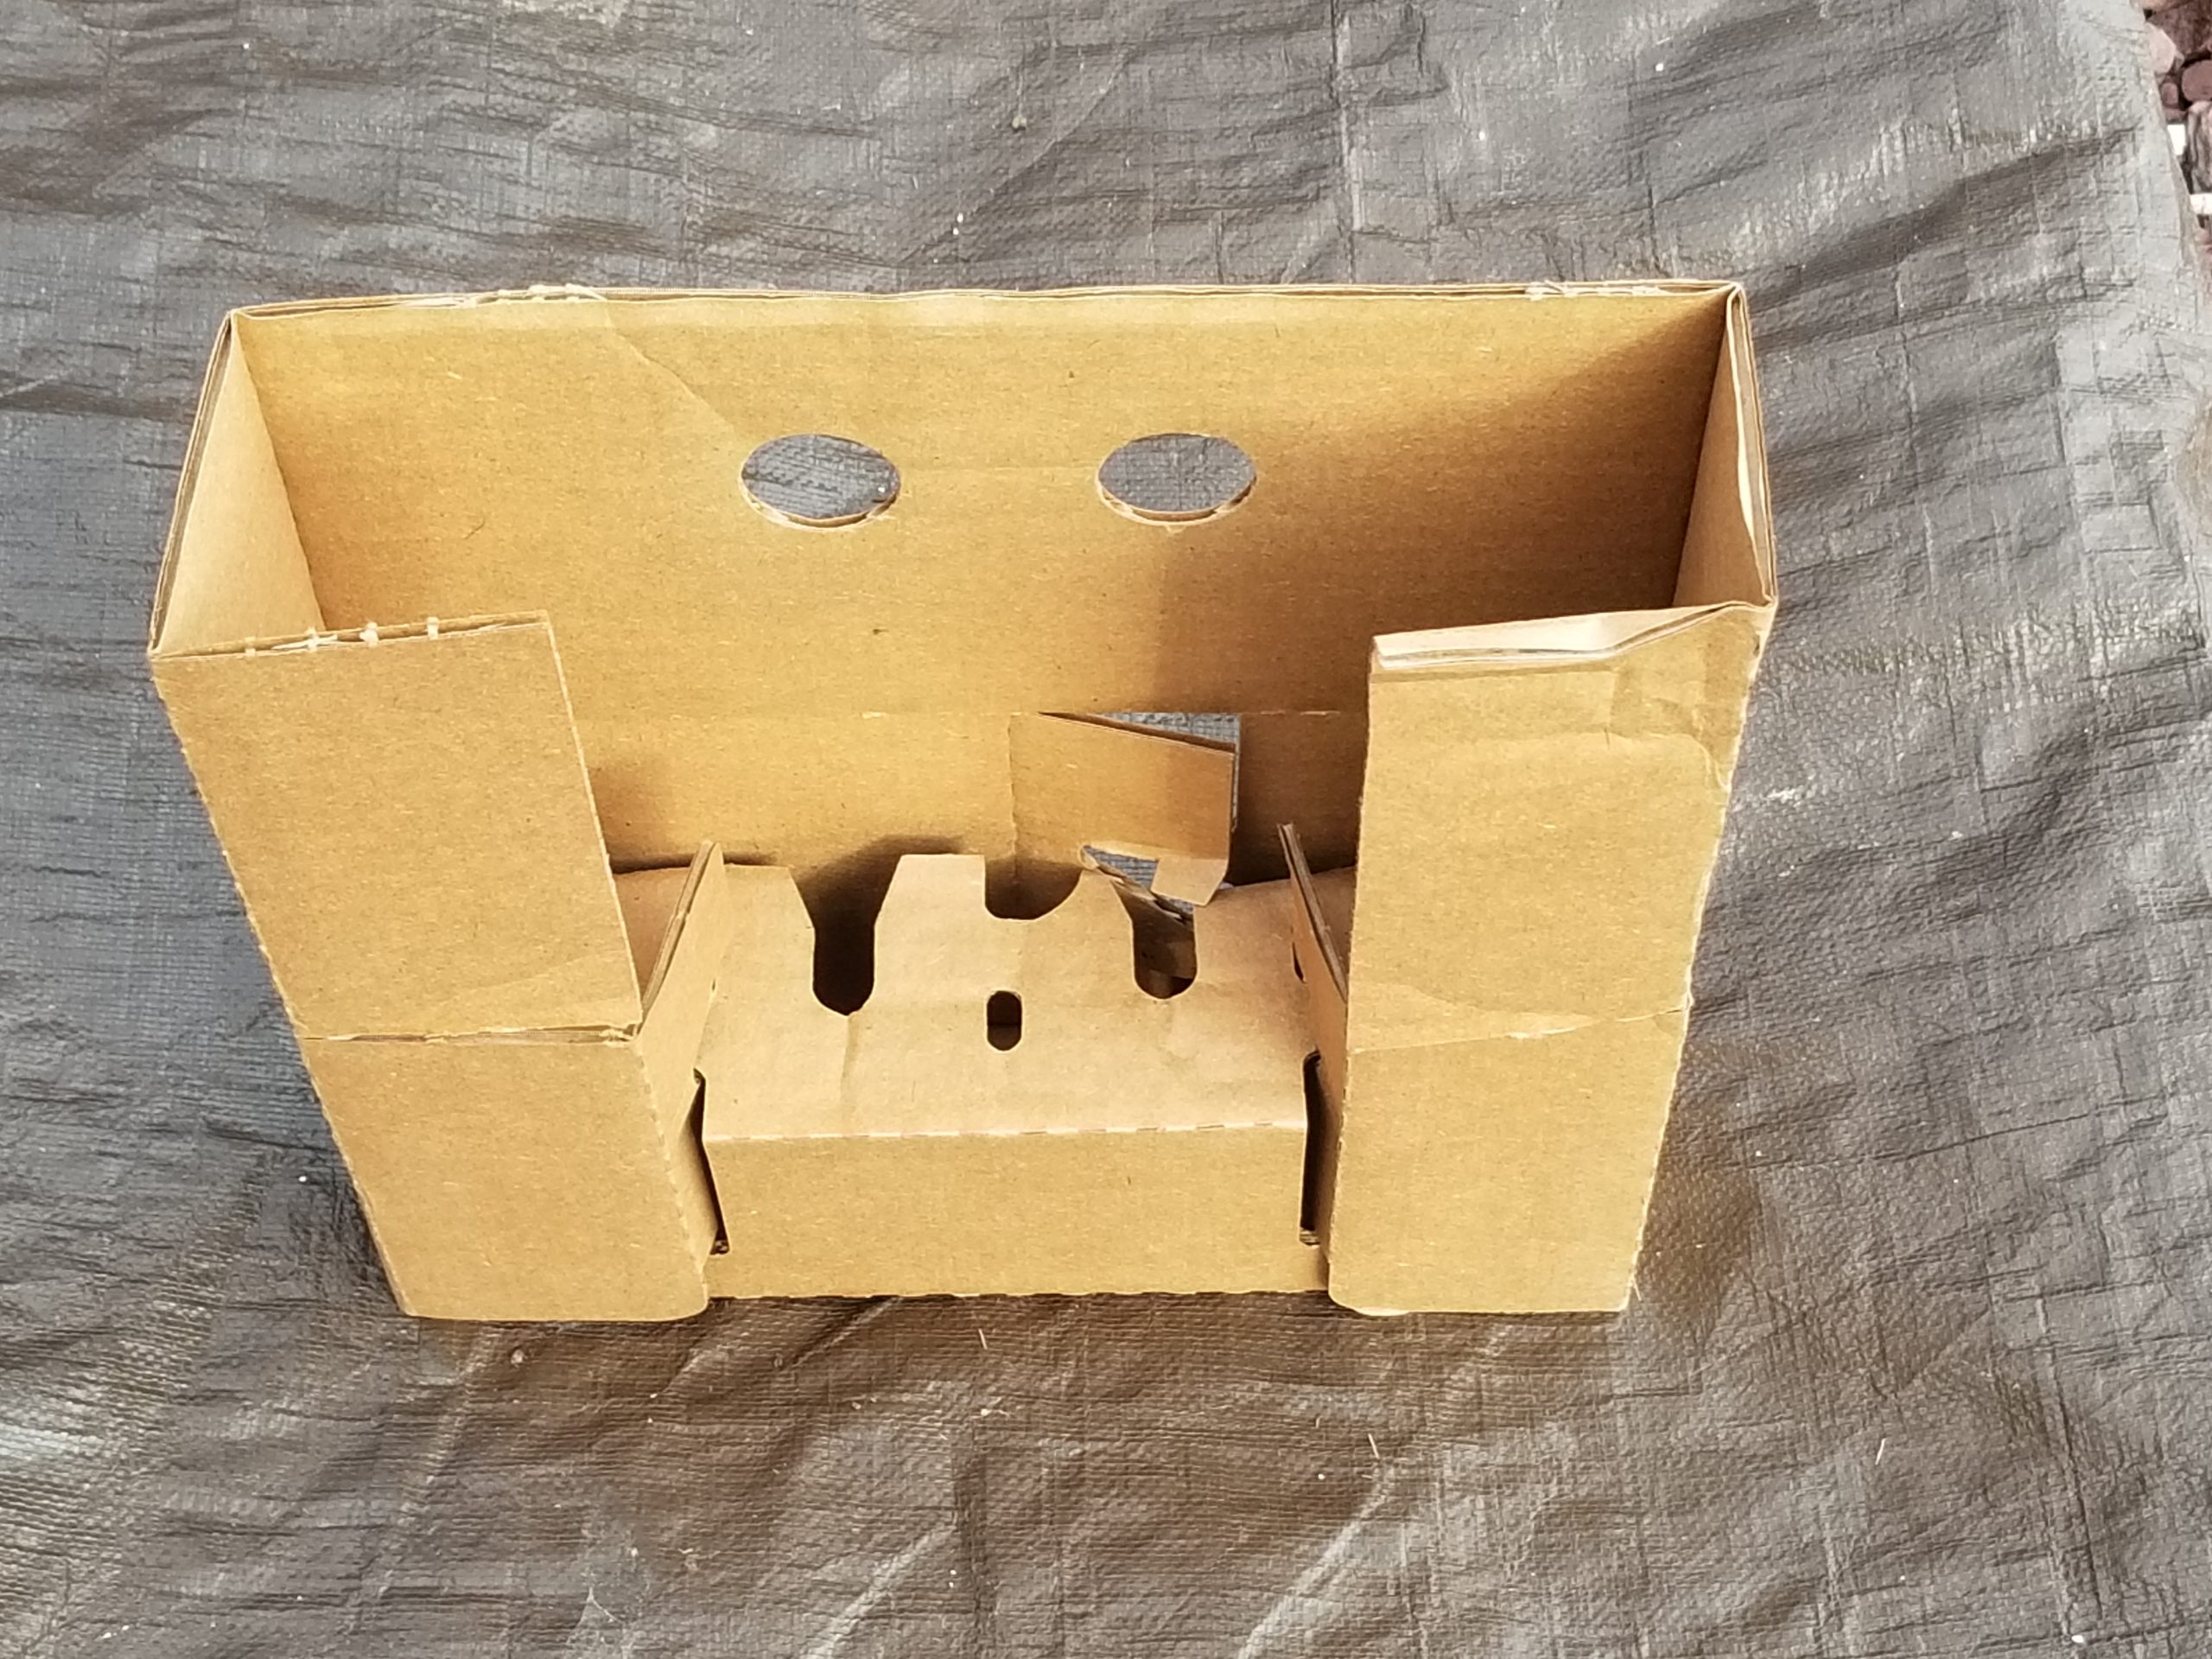
When I want to unfold and flatten the carriers for storage prior to recycling or burning, I couldn’t help but notice how cute they were!
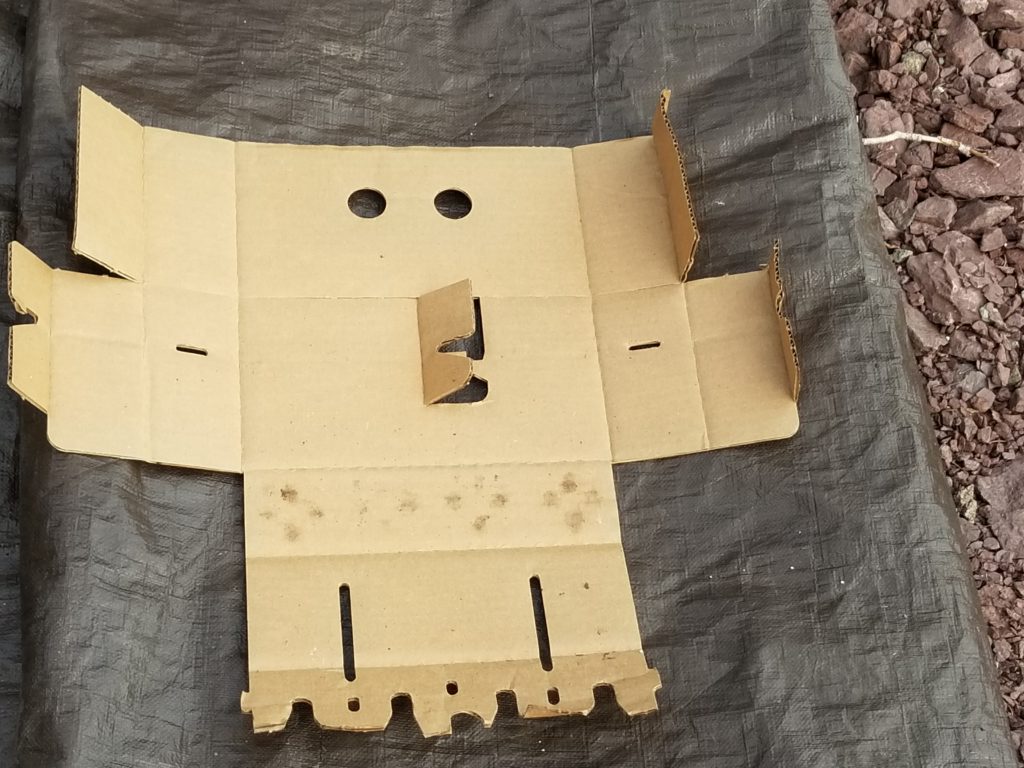
These little birdies are definitely on purpose! A little cardboard birdie was hugging my plants during their journey here. How cute! I was delighted. So delighted, I wrote to the company and thanked them. The love they put into their work really shows.
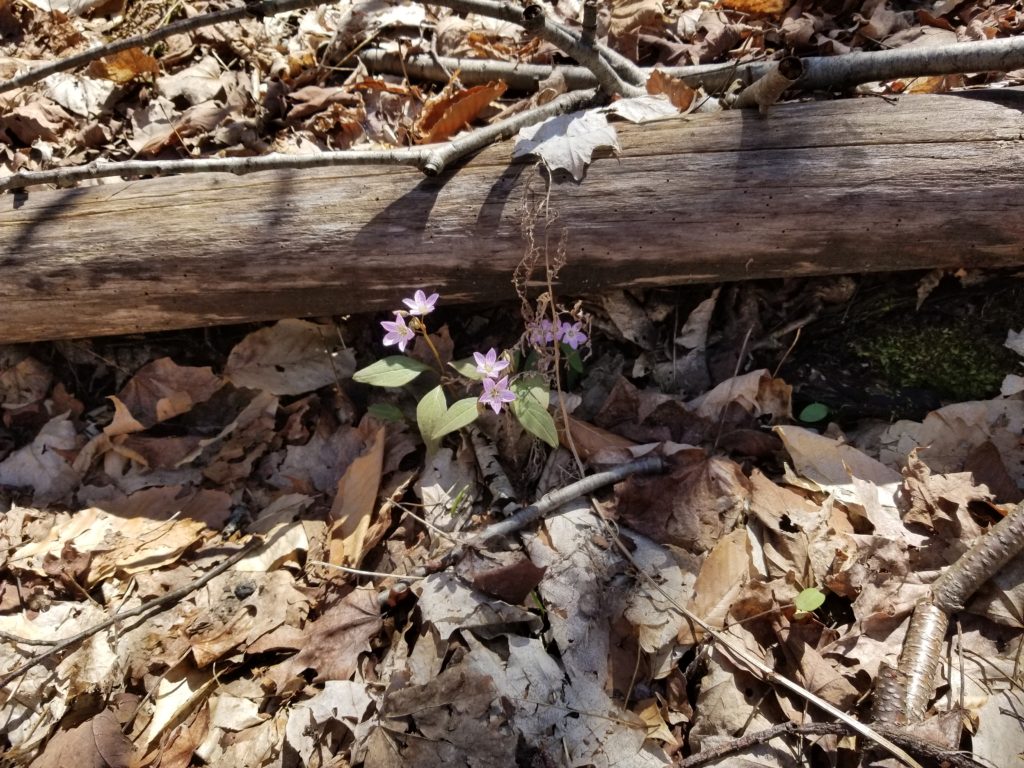
Speaking of flowers… while out on a walk today, I found these sneaking out from below a log.
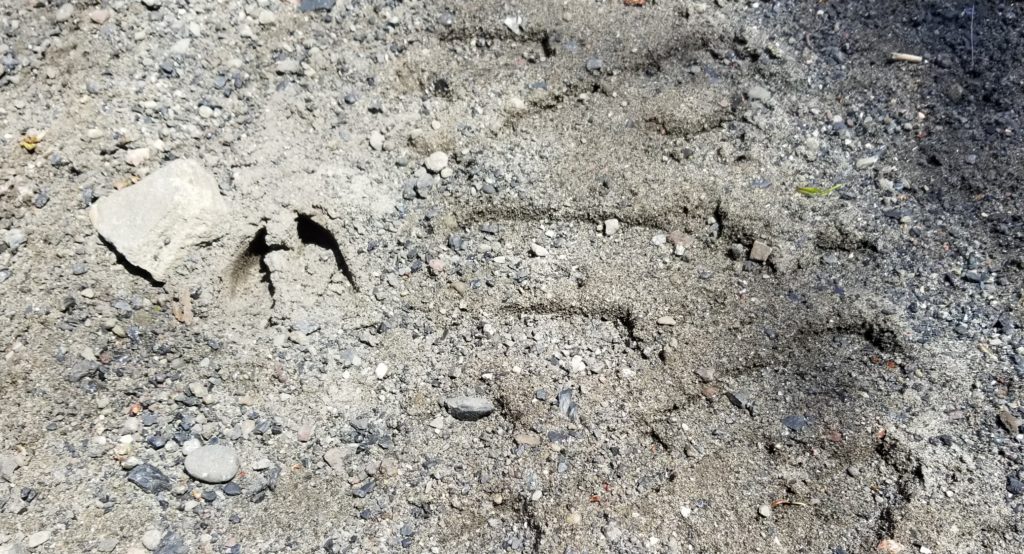
Not far from these deer tracks. Which were not far from these ATV tracks 🙂
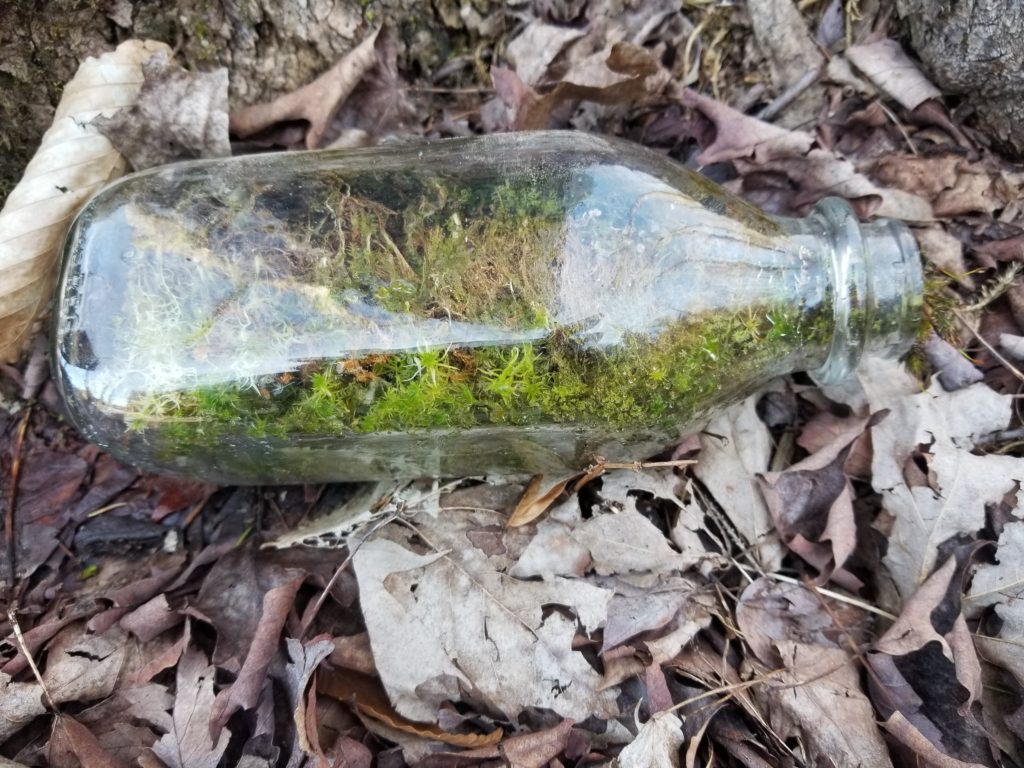
And while not technically a flower, I came across this bottle of… I’m not sure what… but it was like an accidental terrarium. I liked it and left it right where it was, even though that was an area I was “cleaning up” today.
Fry.
Time to visit the froglets and the salamander eggs. The froglets continue to mature, getting bigger every day. No legs yet, they are still very much pollywogs, but of course, it’s only been a few weeks and the process of frogification takes a few months. Slow and steady, my little froglets!
The salamander masses have transformed from white blobs to collections of pearls… which have become translucent, revealing the embryonic salamanders as they grow!
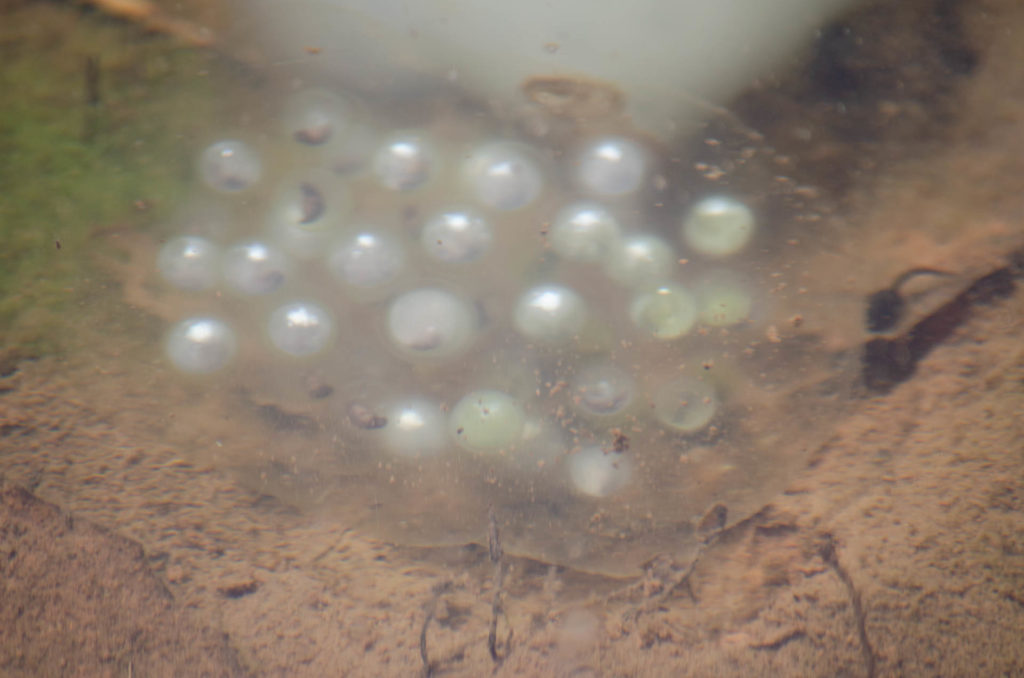
Some other egg masses are even more transparent, this one caught in between pearl and clear stages.
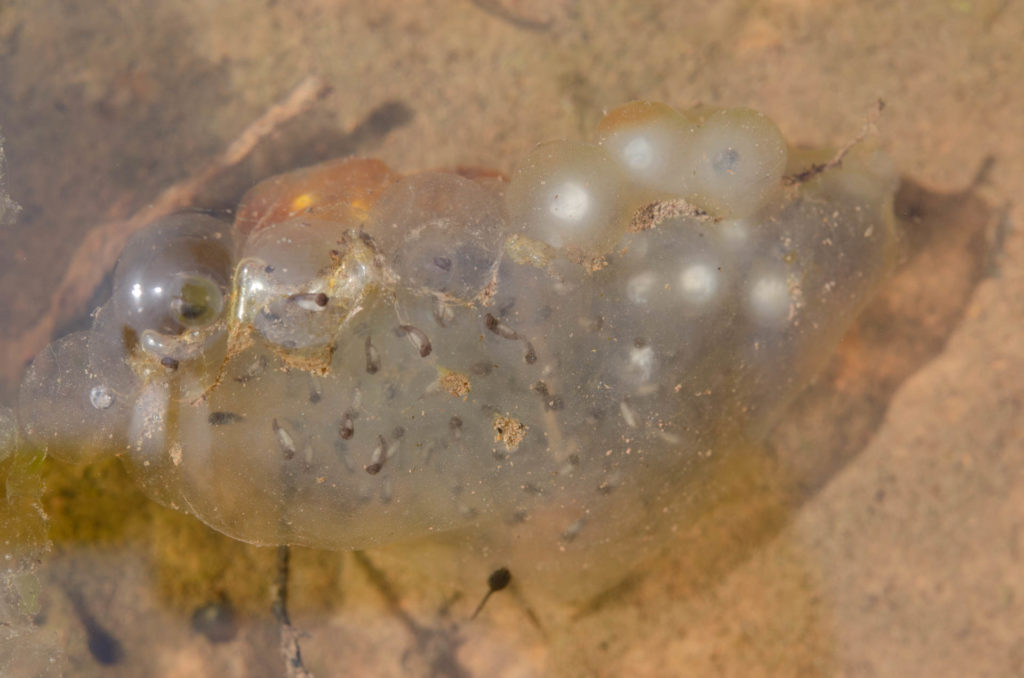
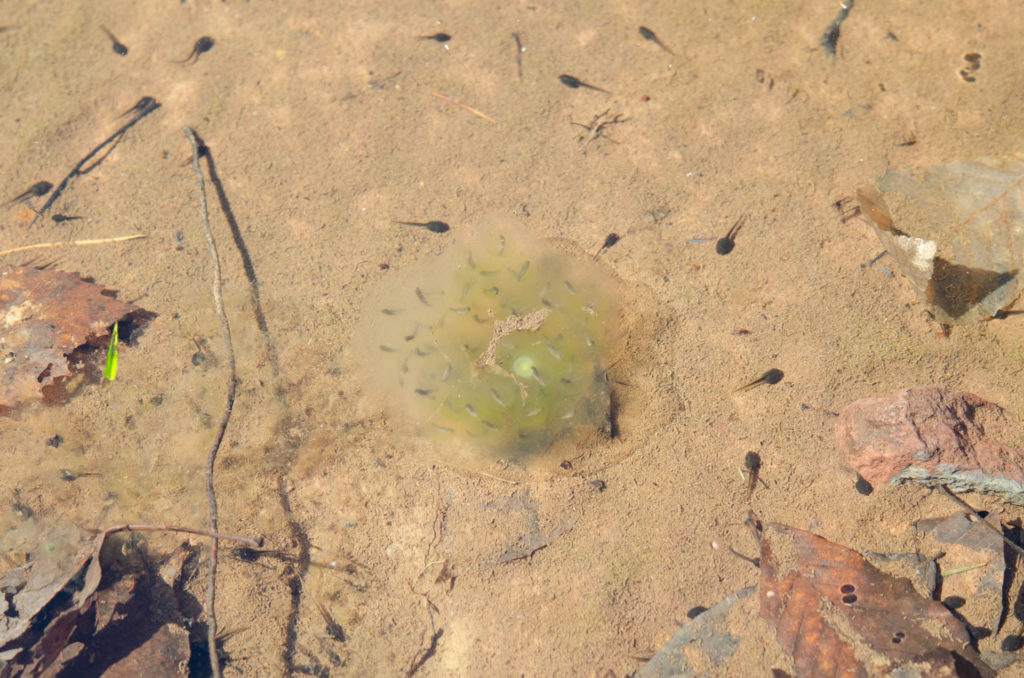
I don’t know at what stage they’ll leave the eggs, but I’m guessing it won’t be too much longer now. You can also see the progress of the froglets in this last photo.
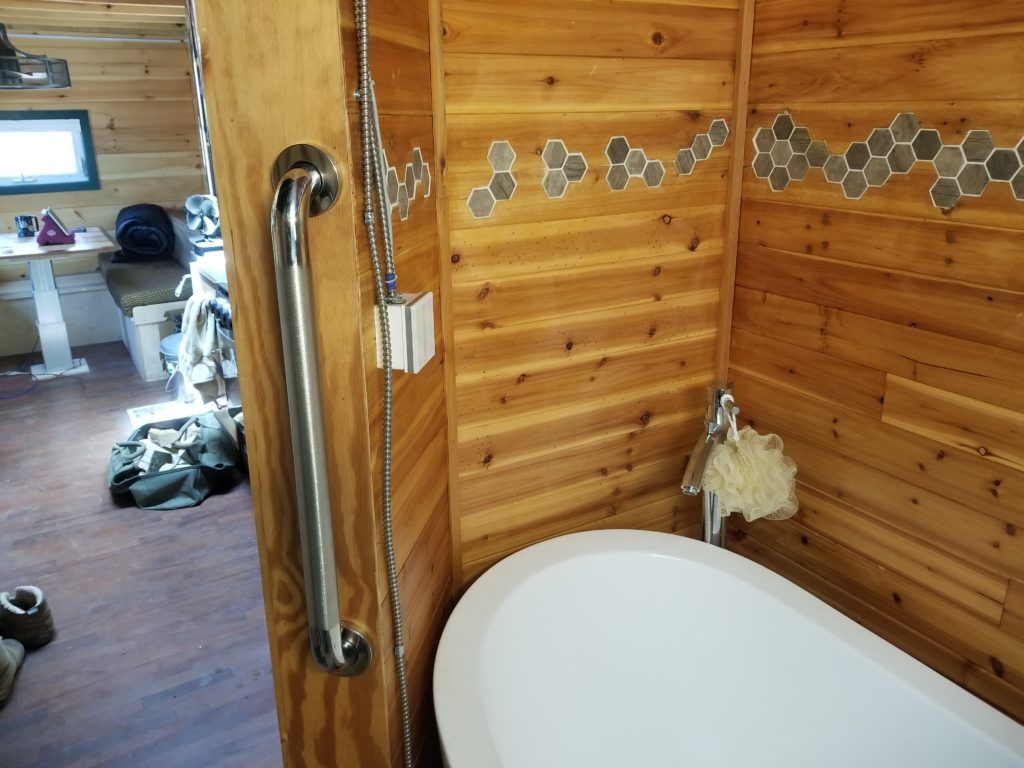
And lastly, having nothing to do with lights, logs, stones, bones, flowers, or fry, one more item crossed off during Completion Day: the grab bar for the bathtub.
I’m not mobility-challenged, but it is slippery and a fair bit of a step to get in and out of this tub, so having a stout hand-hold makes a lot of sense for safety. And so it is.
