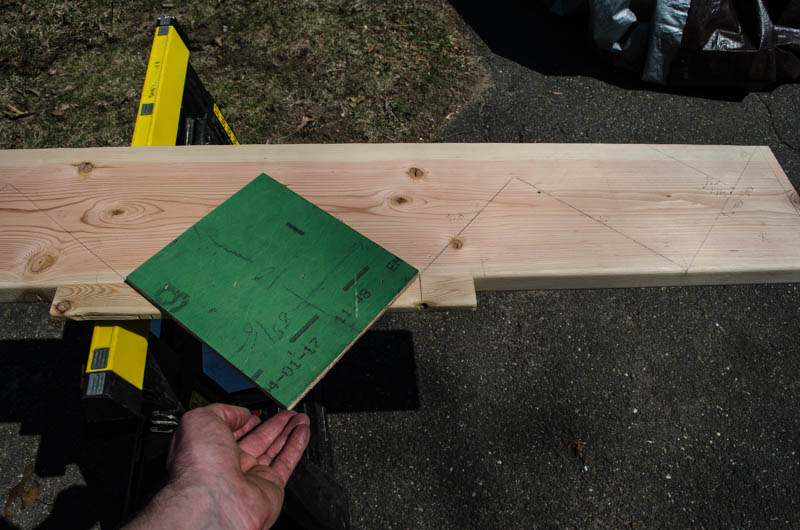
Laying out stair stringers is challenging, especially getting the treads and risers perfectly perpendicular and carrying those lines and angles up the whole stringer. I had an idea which made it go much easier and quick: cut a scrap the size of the tread on one side and the size of the riser on the other. Then, staple it to a block such that the edges of the block are perfectly aligned with where the treads and risers get cut out of the stringer. After that, all I had to do was trace two edges of that green board, slide the jig down the lumber until the right edge lined up with the triangle I just drew, then draw another. Shift. Trace. Repeat. Easy peasy!
I was pretty happy about having thought to build this little helper BEFORE I started cutting things.
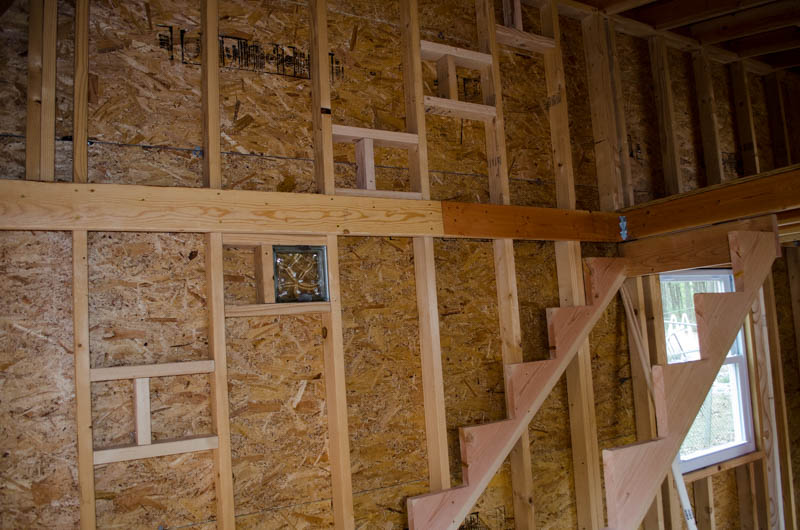
I don’t actually need the stair stringer for real just yet but I do need to know how it fits exactly against the wall so I can place my light ports. So, yeah, I have to build at least one stringer now so I can place it against the wall. I could try to lay out the profile directly against the wall, but there’s no continuous surface there, it’s just studs interrupting the rough back of the sheathing. It’s actually easier to just build the thing and then I know where it is because it’s there.

Stair stringers installed temporarily (they’ll go in AFTER the finished interior wall is installed, to make that installation easier than having to go around all the angles in the stairs). Also, shown here, light ports framed up! There is a solo glass block temporarily installed to show how it fits. These will add some nice light and lightness to the stair wall and visual interest to the exterior. They’ll get cut out for real shortly before the siding goes on.

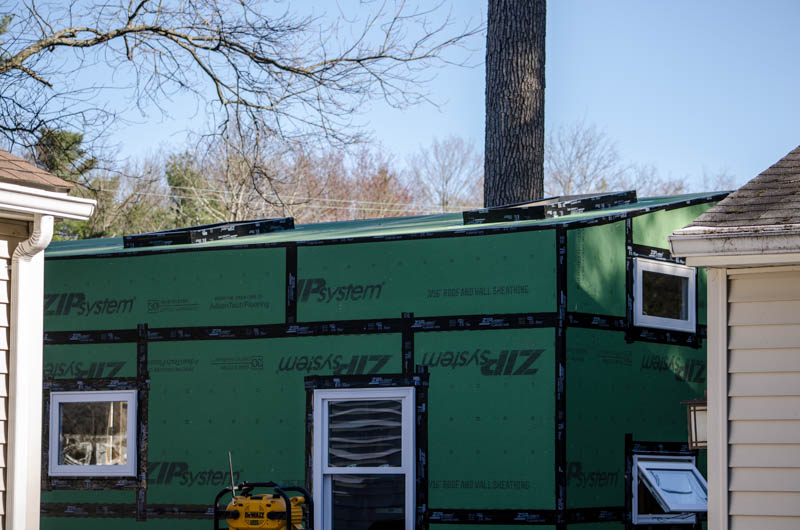
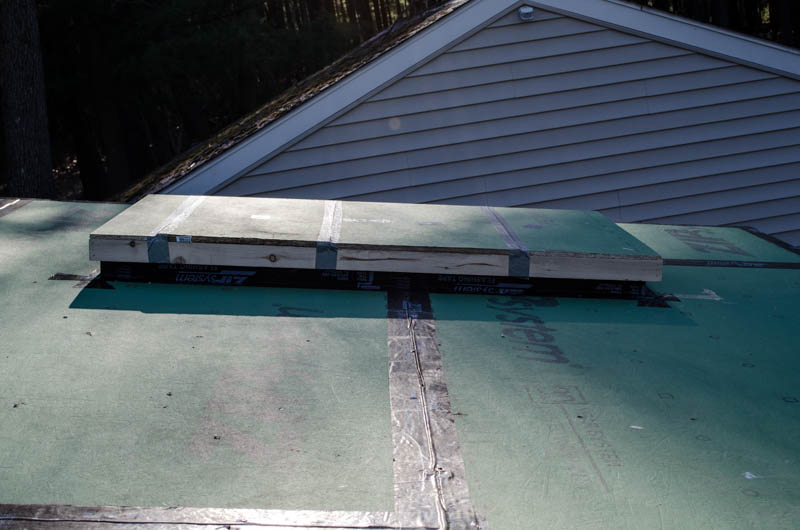
Although daytime temps are just fine for applying finish to wood, nighttime temps are *just* a little bit too cold. It won’t be long until it’s warm enough for long enough to do that work, but it wasn’t today, sadly, which would otherwise have been a beautiful day to finish wood. So, instead of siding, I worked on the sky lights. Shown here, the “curbs” on which the sky lights will be mounted. They are black because they’re wrapped in flashing tape to water proof their interface to the roof deck as well as all their joints. Of course, now I have two big holes in the roof and it’s not time to install the sky lights themselves just yet (for one thing, I don’t have them on hand!).

To address this, I made some “shoe box” lids out of some scrap wood and left over sheathing boards and set them over the curbs to keep the weather out for a little while. It turns out that operating (openable) sky lights are actually a bunch taller than non-operating ones, and given the geometry of my roof, an operating one would actually violate my height limit by a couple of inches. Feh! Okay, non-operating it is, then. I’ll have to get ventilation another way. The cozy loft has an operable window on the gable, so that’s pretty good. The other end does not have a window or a vent, though I’m now thinking of installing something like a small attic fan on that side, in an insulated box such that it’s as good as my walls when closed, but can be opened and energized to draw out the heat in the summer.