My excavator shared a few more pics from prior work – instead of editing those posts, I’m just going to show them here. I was happy he was able to snap some shots while I wasn’t on site, but do wish they were a bit better in focus 🙂
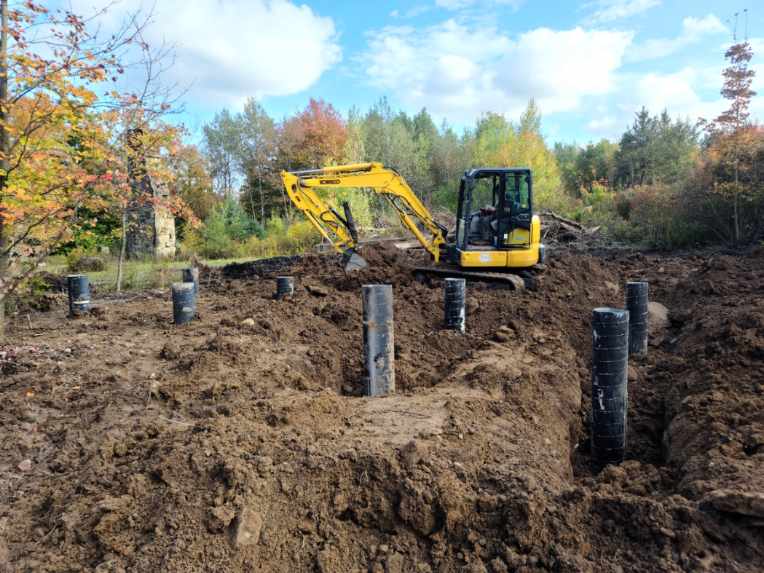
It turns out that due to their required depth (7ft!) and the soil quality, simply boring holes was insufficient to the task for the solar array footings. He wound up using the digger to make this happen. It really puts the effort in perspective!
Time to get rid of some of that cleared brush…

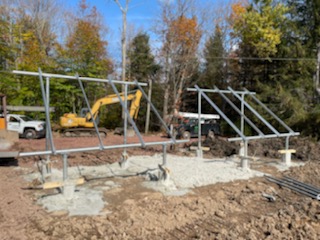
Concrete was poured into the footing tubes after the racking was installed. It made a bit of a mess getting the concrete in there, but it hardly matters. All that will be hidden below the backfill anyway.
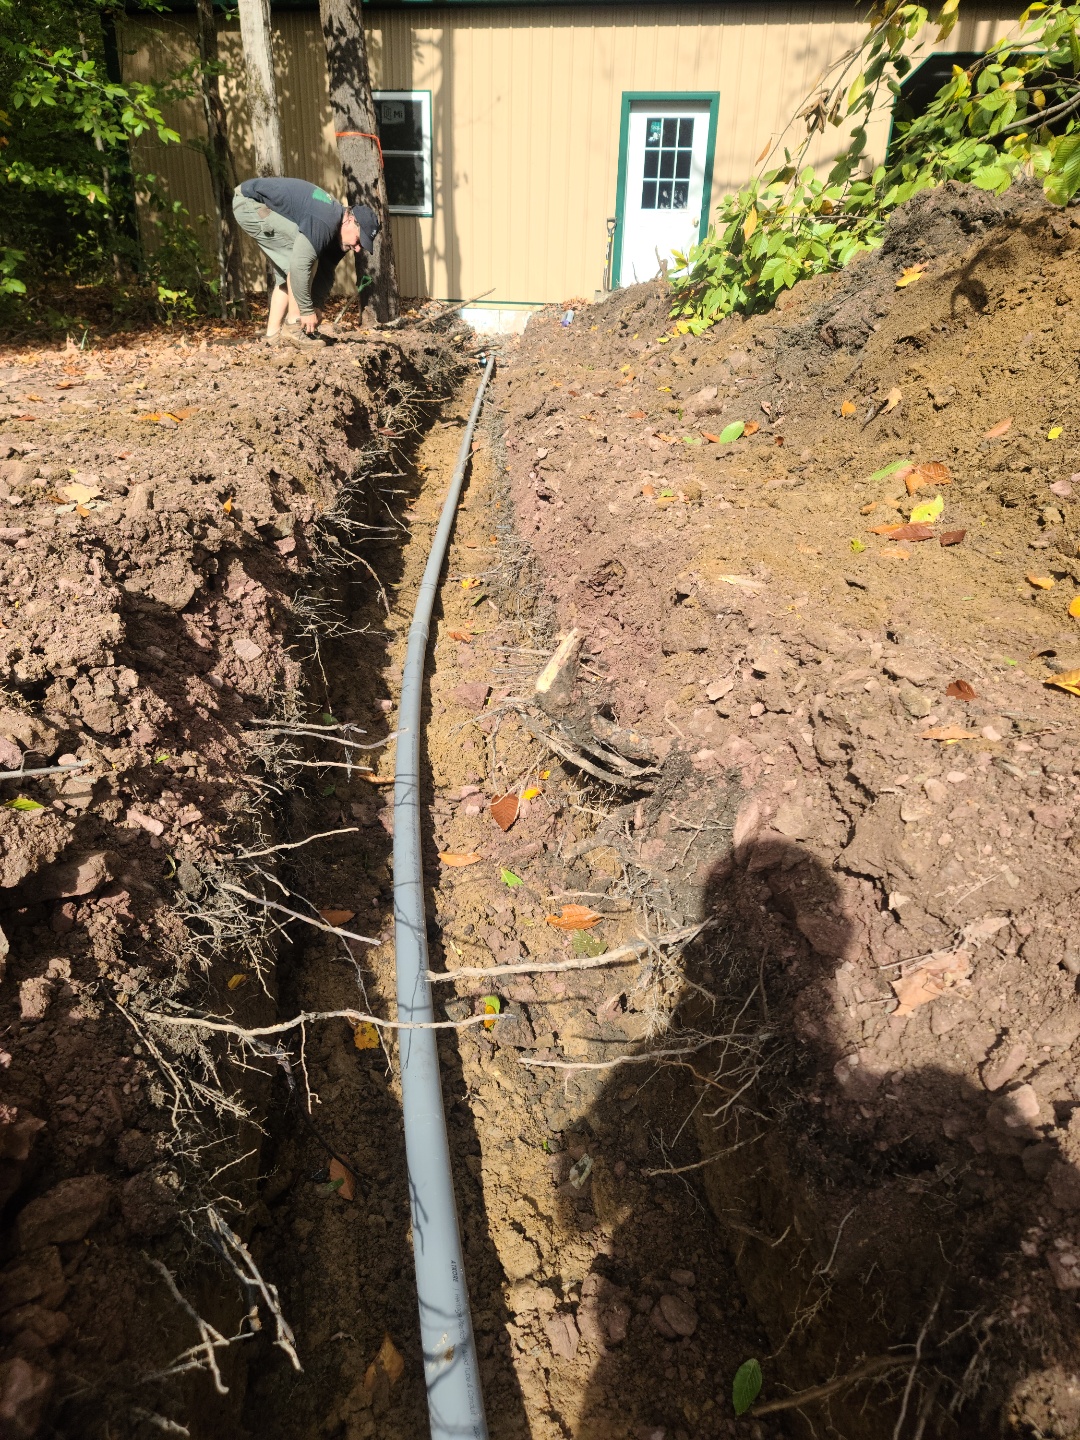
Conduit run from the array to The WOG. The DC power feed from the solar panels will travel in here. These will be beefy AWG 2 wires – nearly 1/2″ diameter! Now, in point of fact even on a bright day, it’s only going to be like 100V at 30A, which certainly doesn’t need AWG 2 wire, but it’s also a long run – well over 100ft, closer to 200 probably – and at that kind of distance, especially for DC, transmission losses start to really add up. Solar energy is precious, so I really don’t want to lose any to resistive heating of the wires. Hence the seriously big cables. These are about the size you’d see on an arc welder.

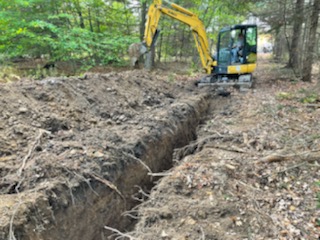
A long trench down to the well, as long as we’re digging trenches.
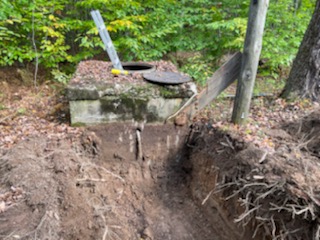
Then came the well truck and changing out the old pump (right). That pump is considerably smaller than I expected…
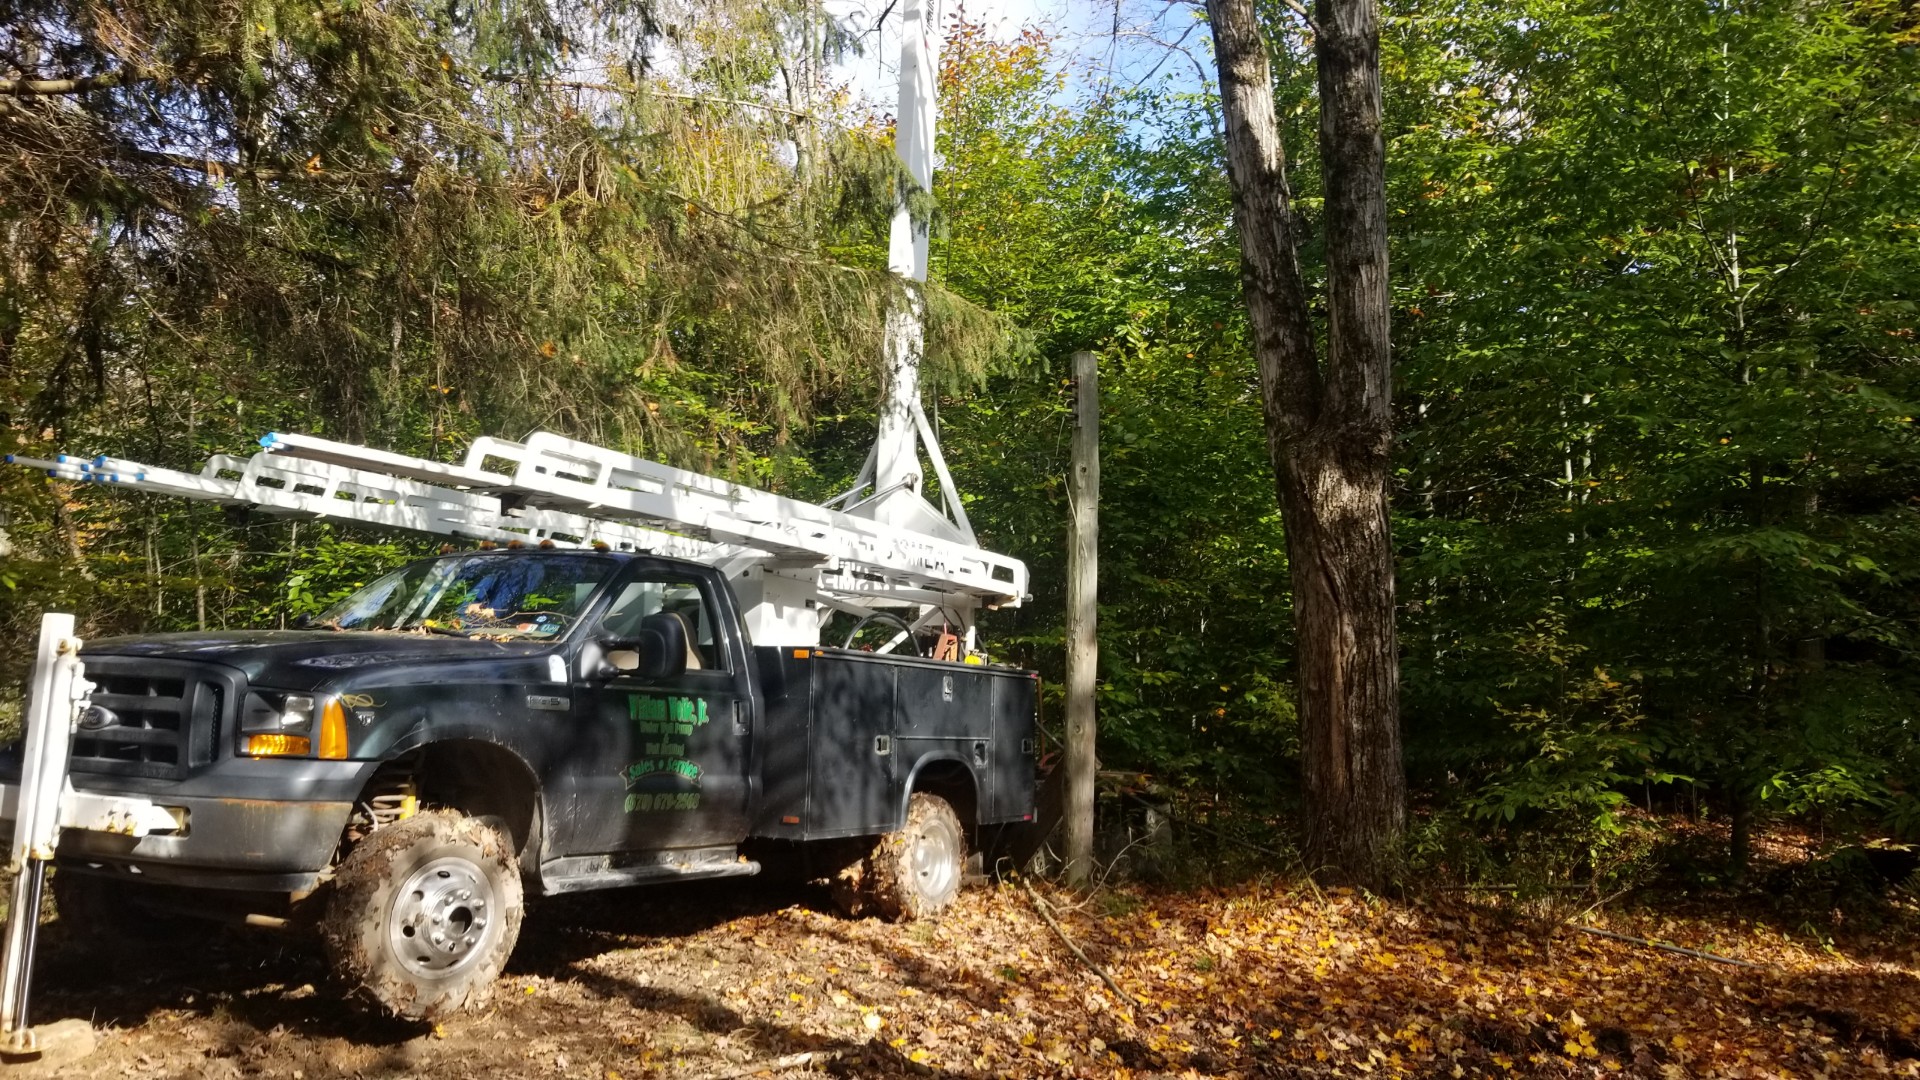
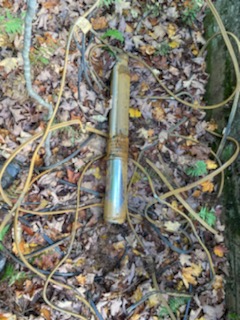
And this, according to legend, is the new well pump & water line doing their thing!
Meanwhile, at The WOG, the crew were making ready for the concrete floor. It seems the mud wrestling venue was still in place and they were quite worried about being able to pour a slab there. Lots of shoveling out, lots of stone, and who knows what-all else they had to do, but since I didn’t hear back after the initial frantic phone call from the production manager in the morning, I can only assume that between the prep crew and my excavator (whom I asked to go help them get it solved), they got it sorted. This pic they sent later also suggests that they got things stabilized sufficiently.
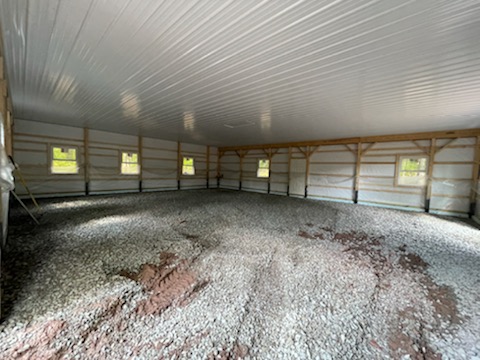
Inside… stabilized? 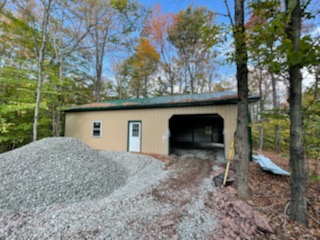
More stone for slab underlayment, I presume
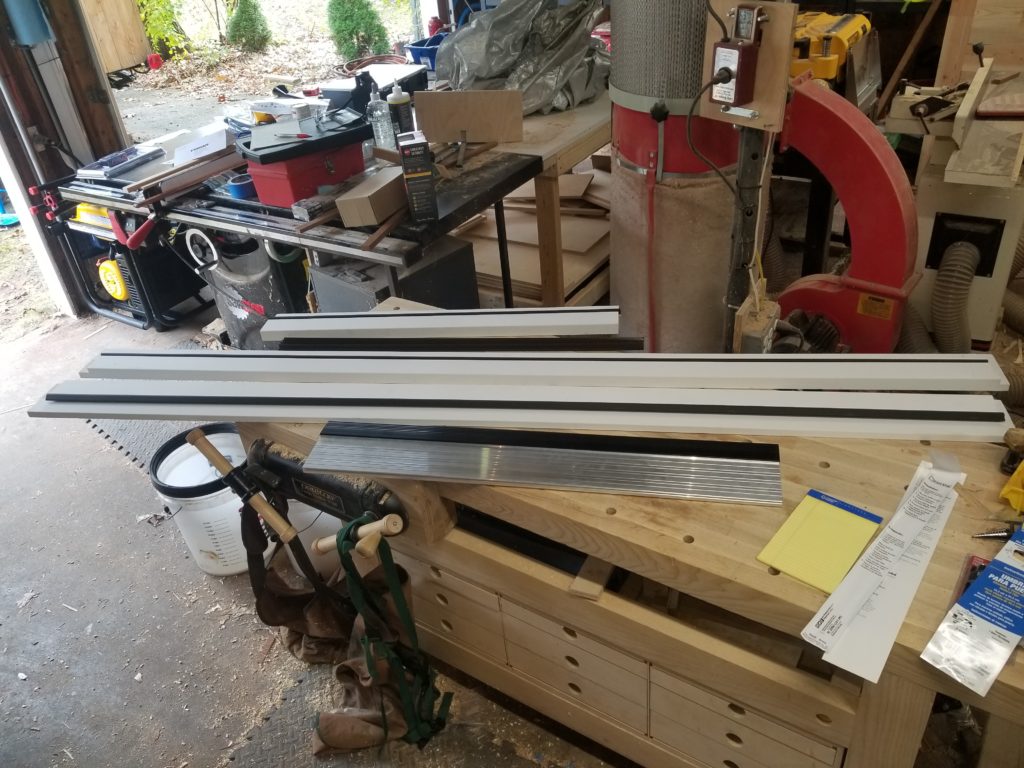
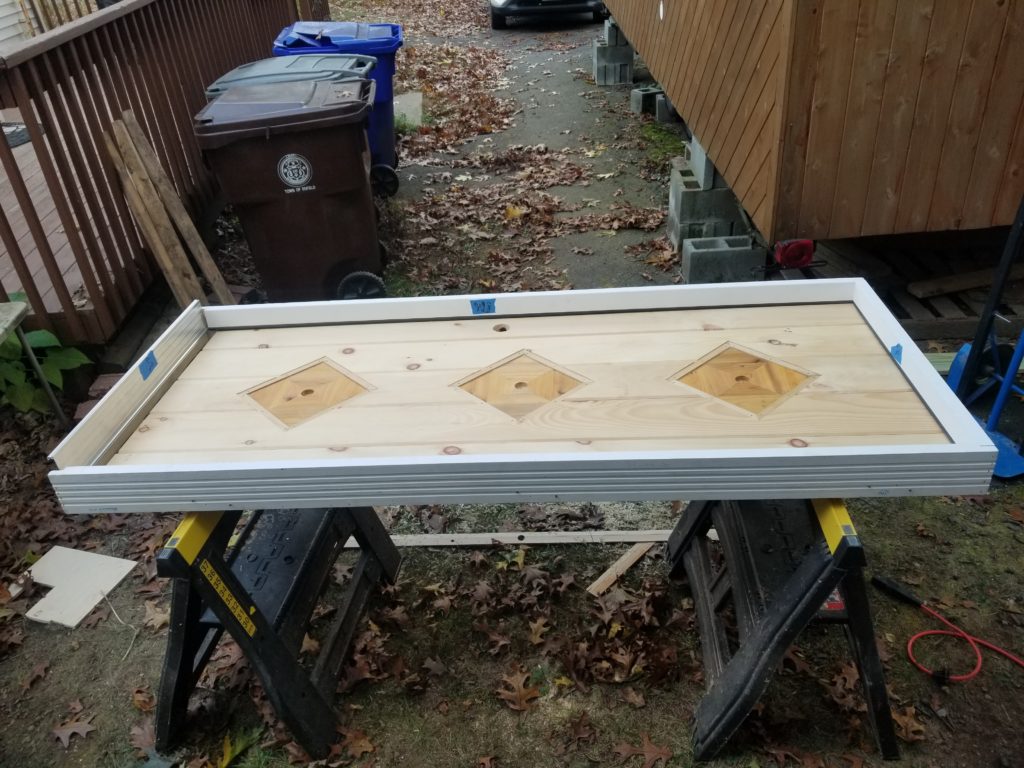
Back at the HomeBox construction site, it was finally time to get to work on the front door! You may or may not remember way back when I built the patchwork door out of stud and joist off-cuts so long ago. It’s been a bit of a background project as I work on the rest of the HomeBox simply because I didn’t want to ding up the real door with construction materials. Well, that time has come and gone and it’s high time to get that door installed.
I’ve never built an exterior door before. I know what it needs but I’ve never done it. Happily, I found a nice jamb kit at the local home center – it even had integrated weather stripping. They had metal thresholds, too. Perfect. I’ll just use these! The kit was for a standard 36×80 door and my door is 34 x 77, but hey, a little trimming and it should be fine, right? Of course right.
Of course some of that trimming gets complicated since there are recesses that if cut off simply disappear – and therefore need to be re-made. After doing this, I wasn’t so sure buying the jamb kit saved me any effort at all.. but here it was and I might as well use it.
That whole bottom bit needs to come off, flush to the other face, to re-create a recess that got cut off when I shortened the long part from 80″ to 77.
I did have to remove the old construction door (thank you construction door, you have served with honor for four years!) entirely to start fitting the new jamb. That also meant I had to finish the job before there was any weather of concern as well as before I left the site unsupervised, lest nature or humans decide to come for a visit through the wide open doorway. Awrighty then, I’m on the clock!
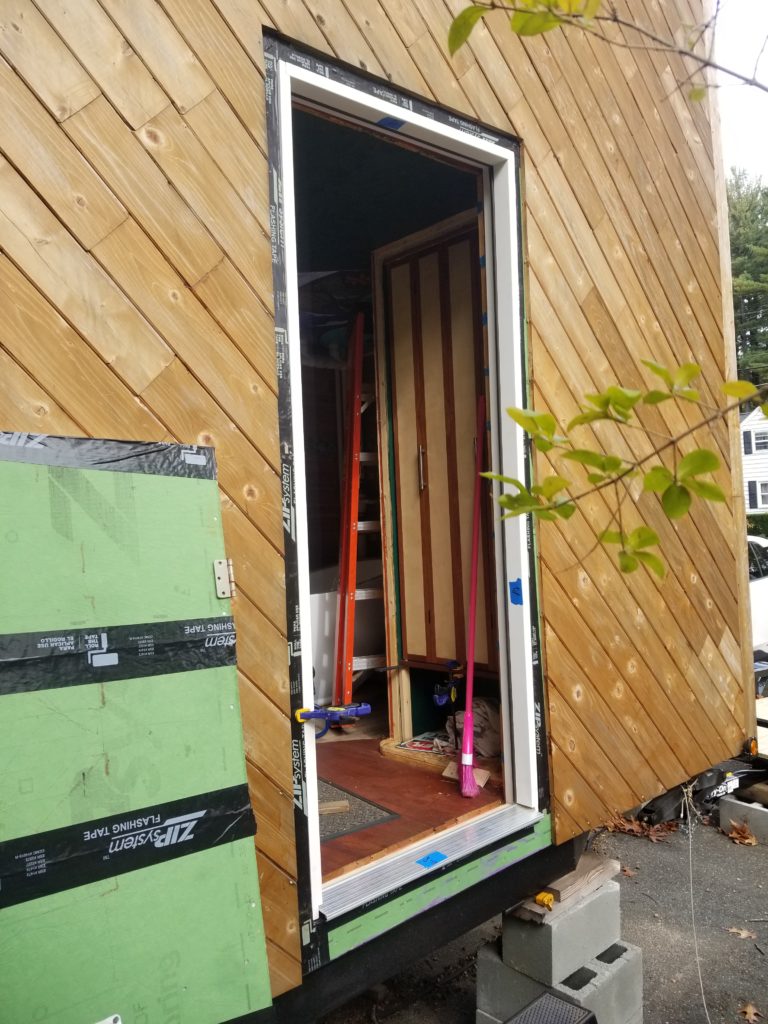
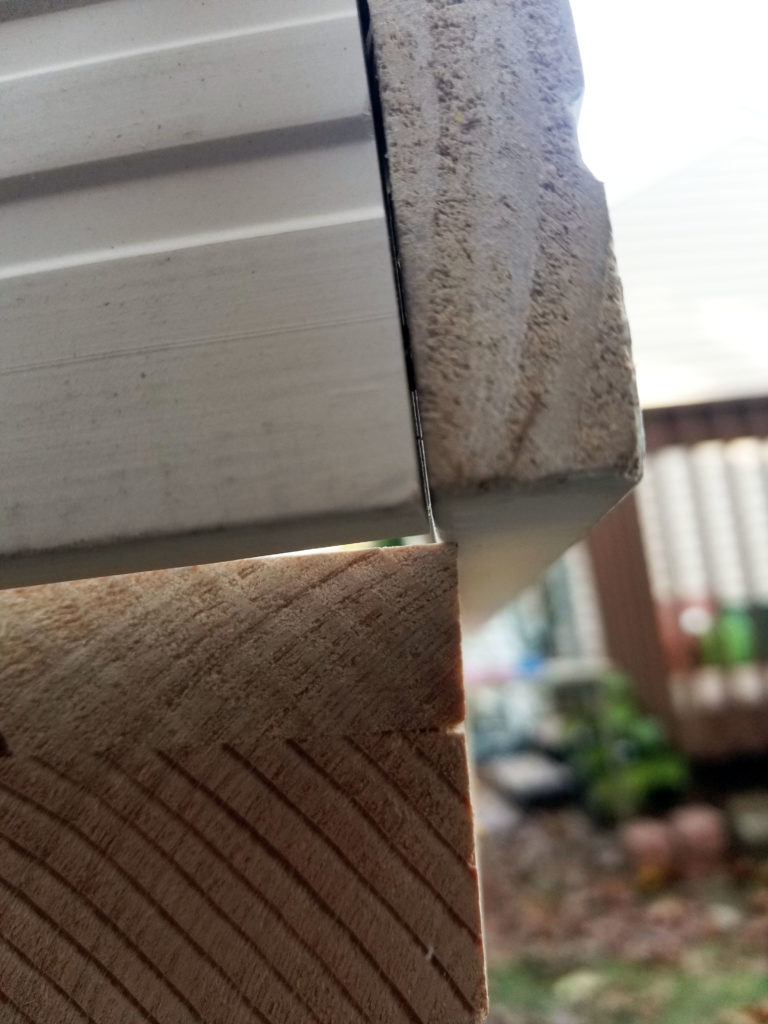
It took some doing, but I did finally get the jam sized properly to the opening. I learned a lot in the process, not the least of which is that I prepared the overall opening incorrectly long ago, so there were some very tight fits that could have been a lot easier. Also, there’s an angle to the threshold (to shed water outward) that I just didn’t have time to neatly replicate on the jamb edges, so there’s a triangular gap you can see there where the aluminum meets the primed wood. I will fill that with epoxy putty and it will get painted so nobody will ever know except us.
Fitting the hinges was a bother, but more of a bother on the pre-fab jamb, as it was built such that it would be very difficult to use a router to mortise for the hinges because of the weather stripping and the stop. Hmf. Well, if I mortise the hinges into the door but leave them flush on the jamb, will it be okay? Yes, it will be okay. There’s plenty of weather stripping to cover the little gap by the hinges and it won’t be any different than the gap on the catch side of the door anyhow. Fine. Let it be.
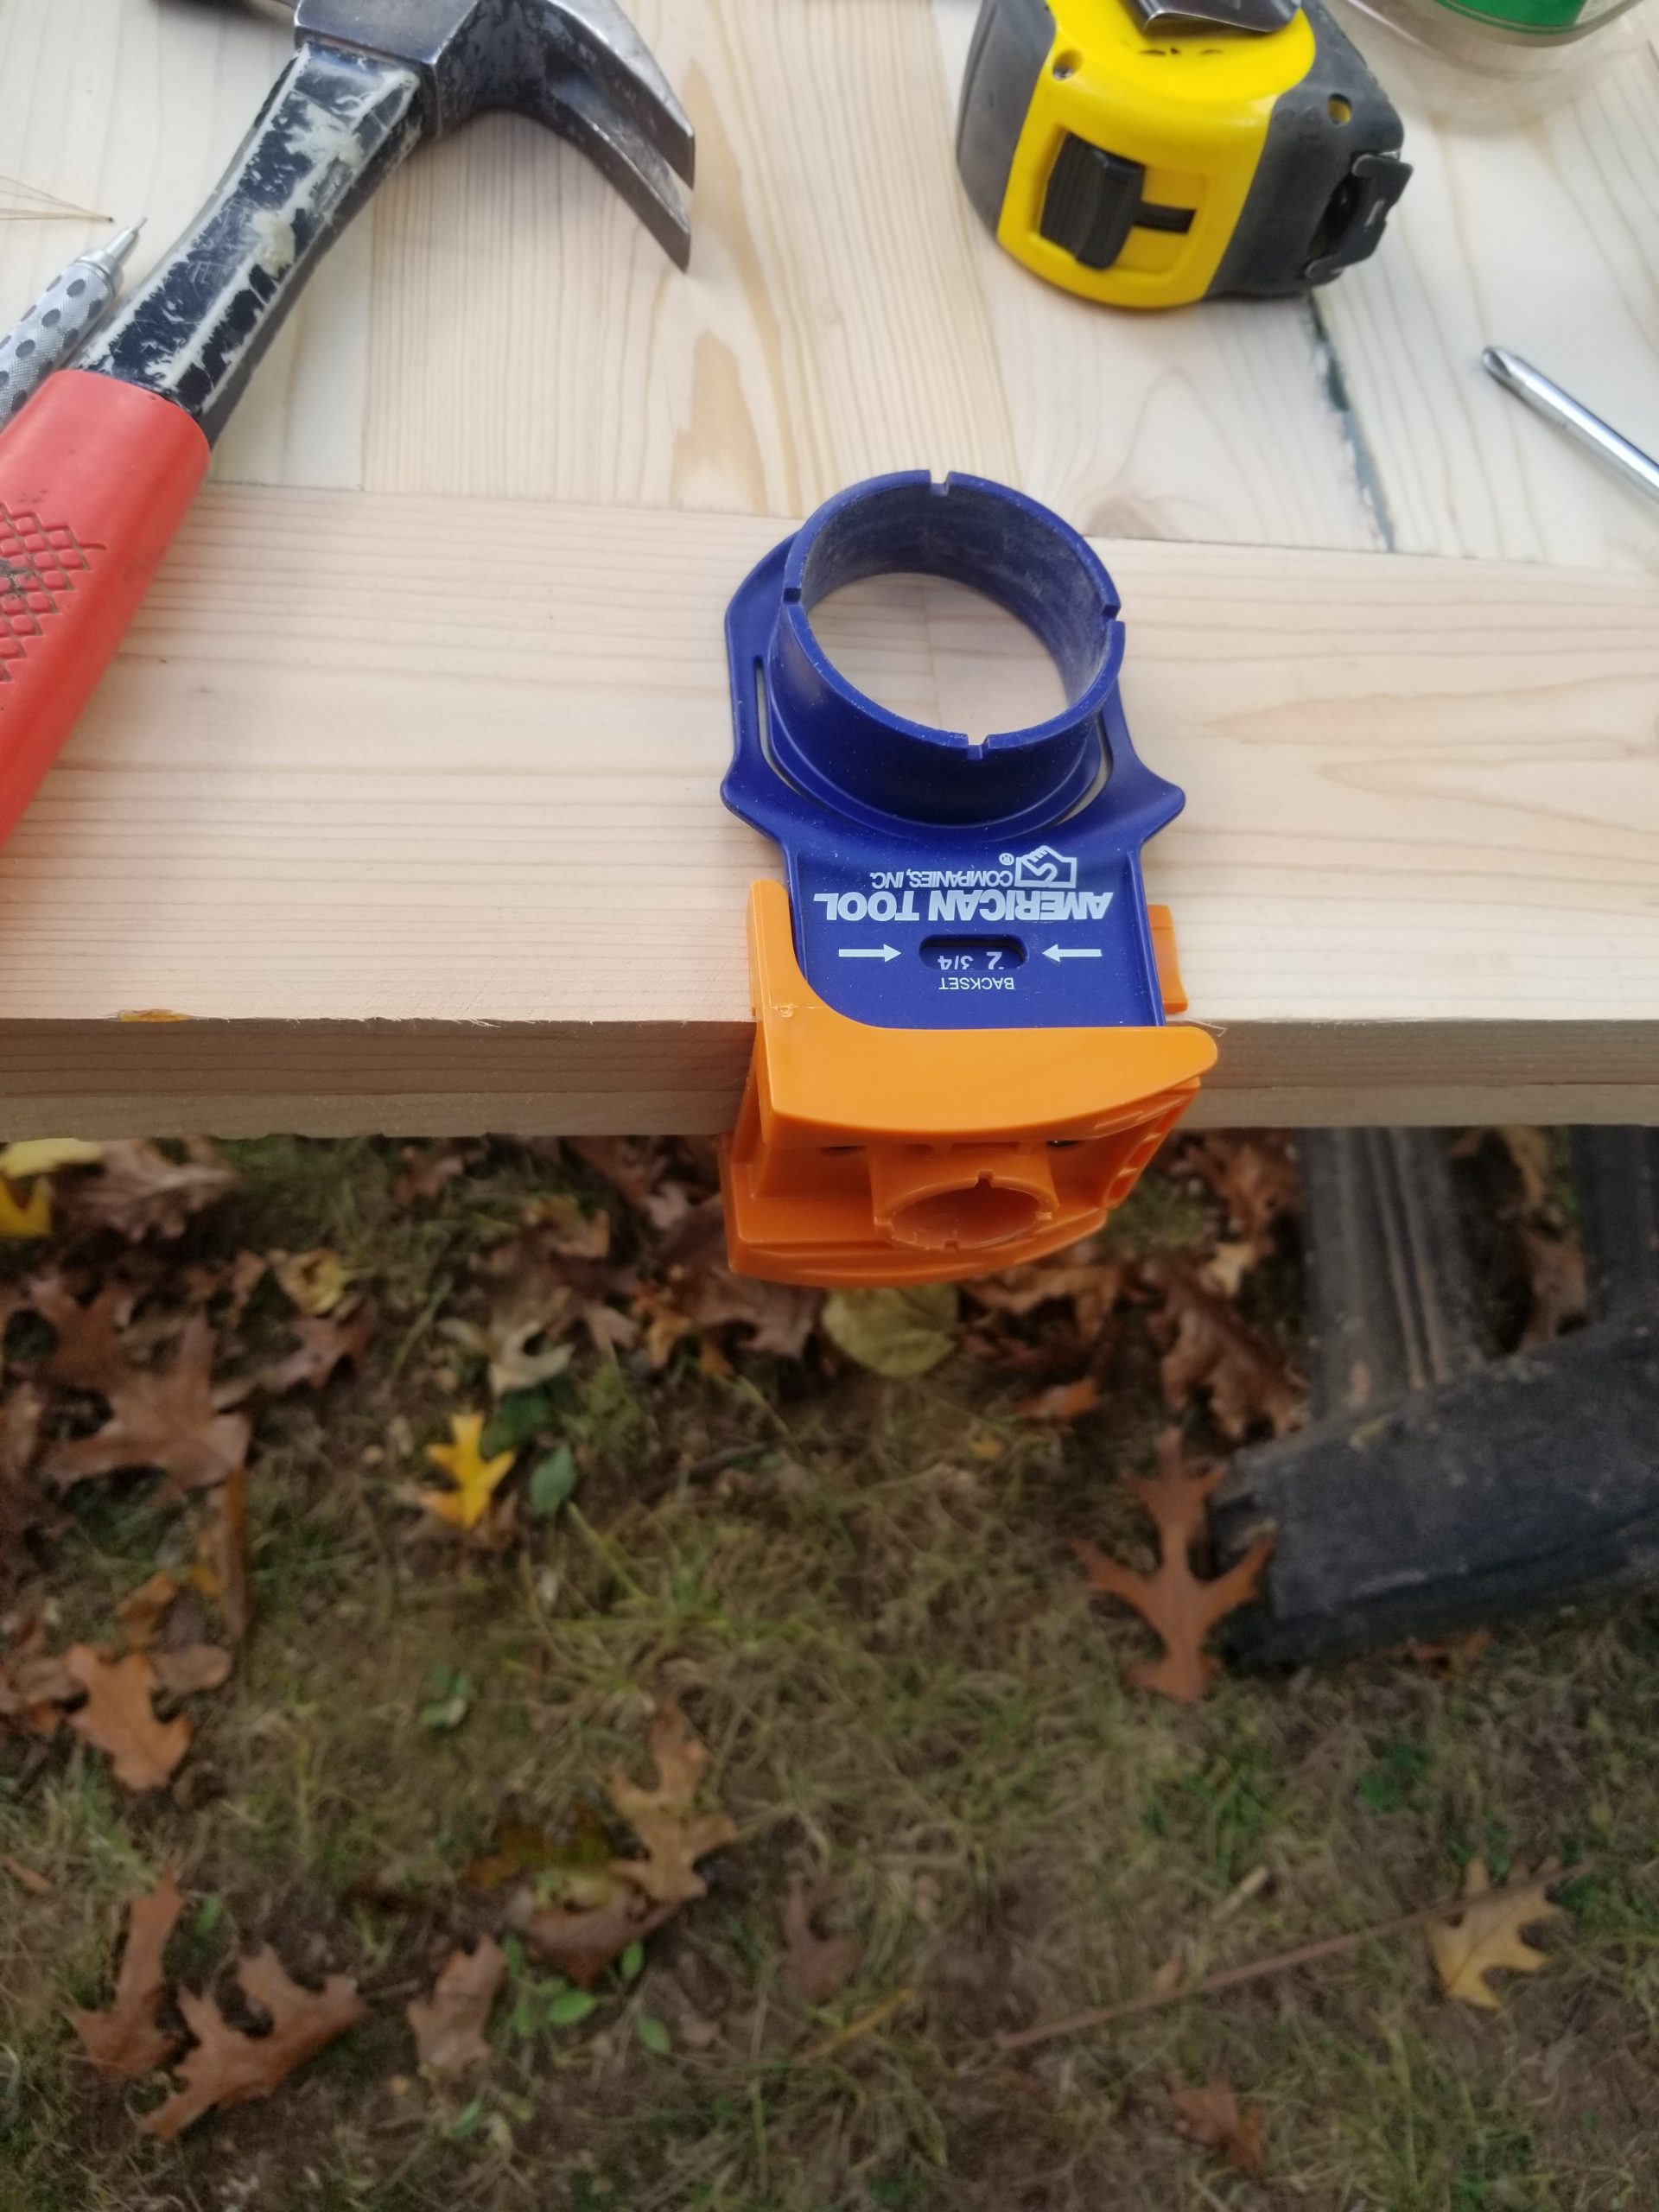
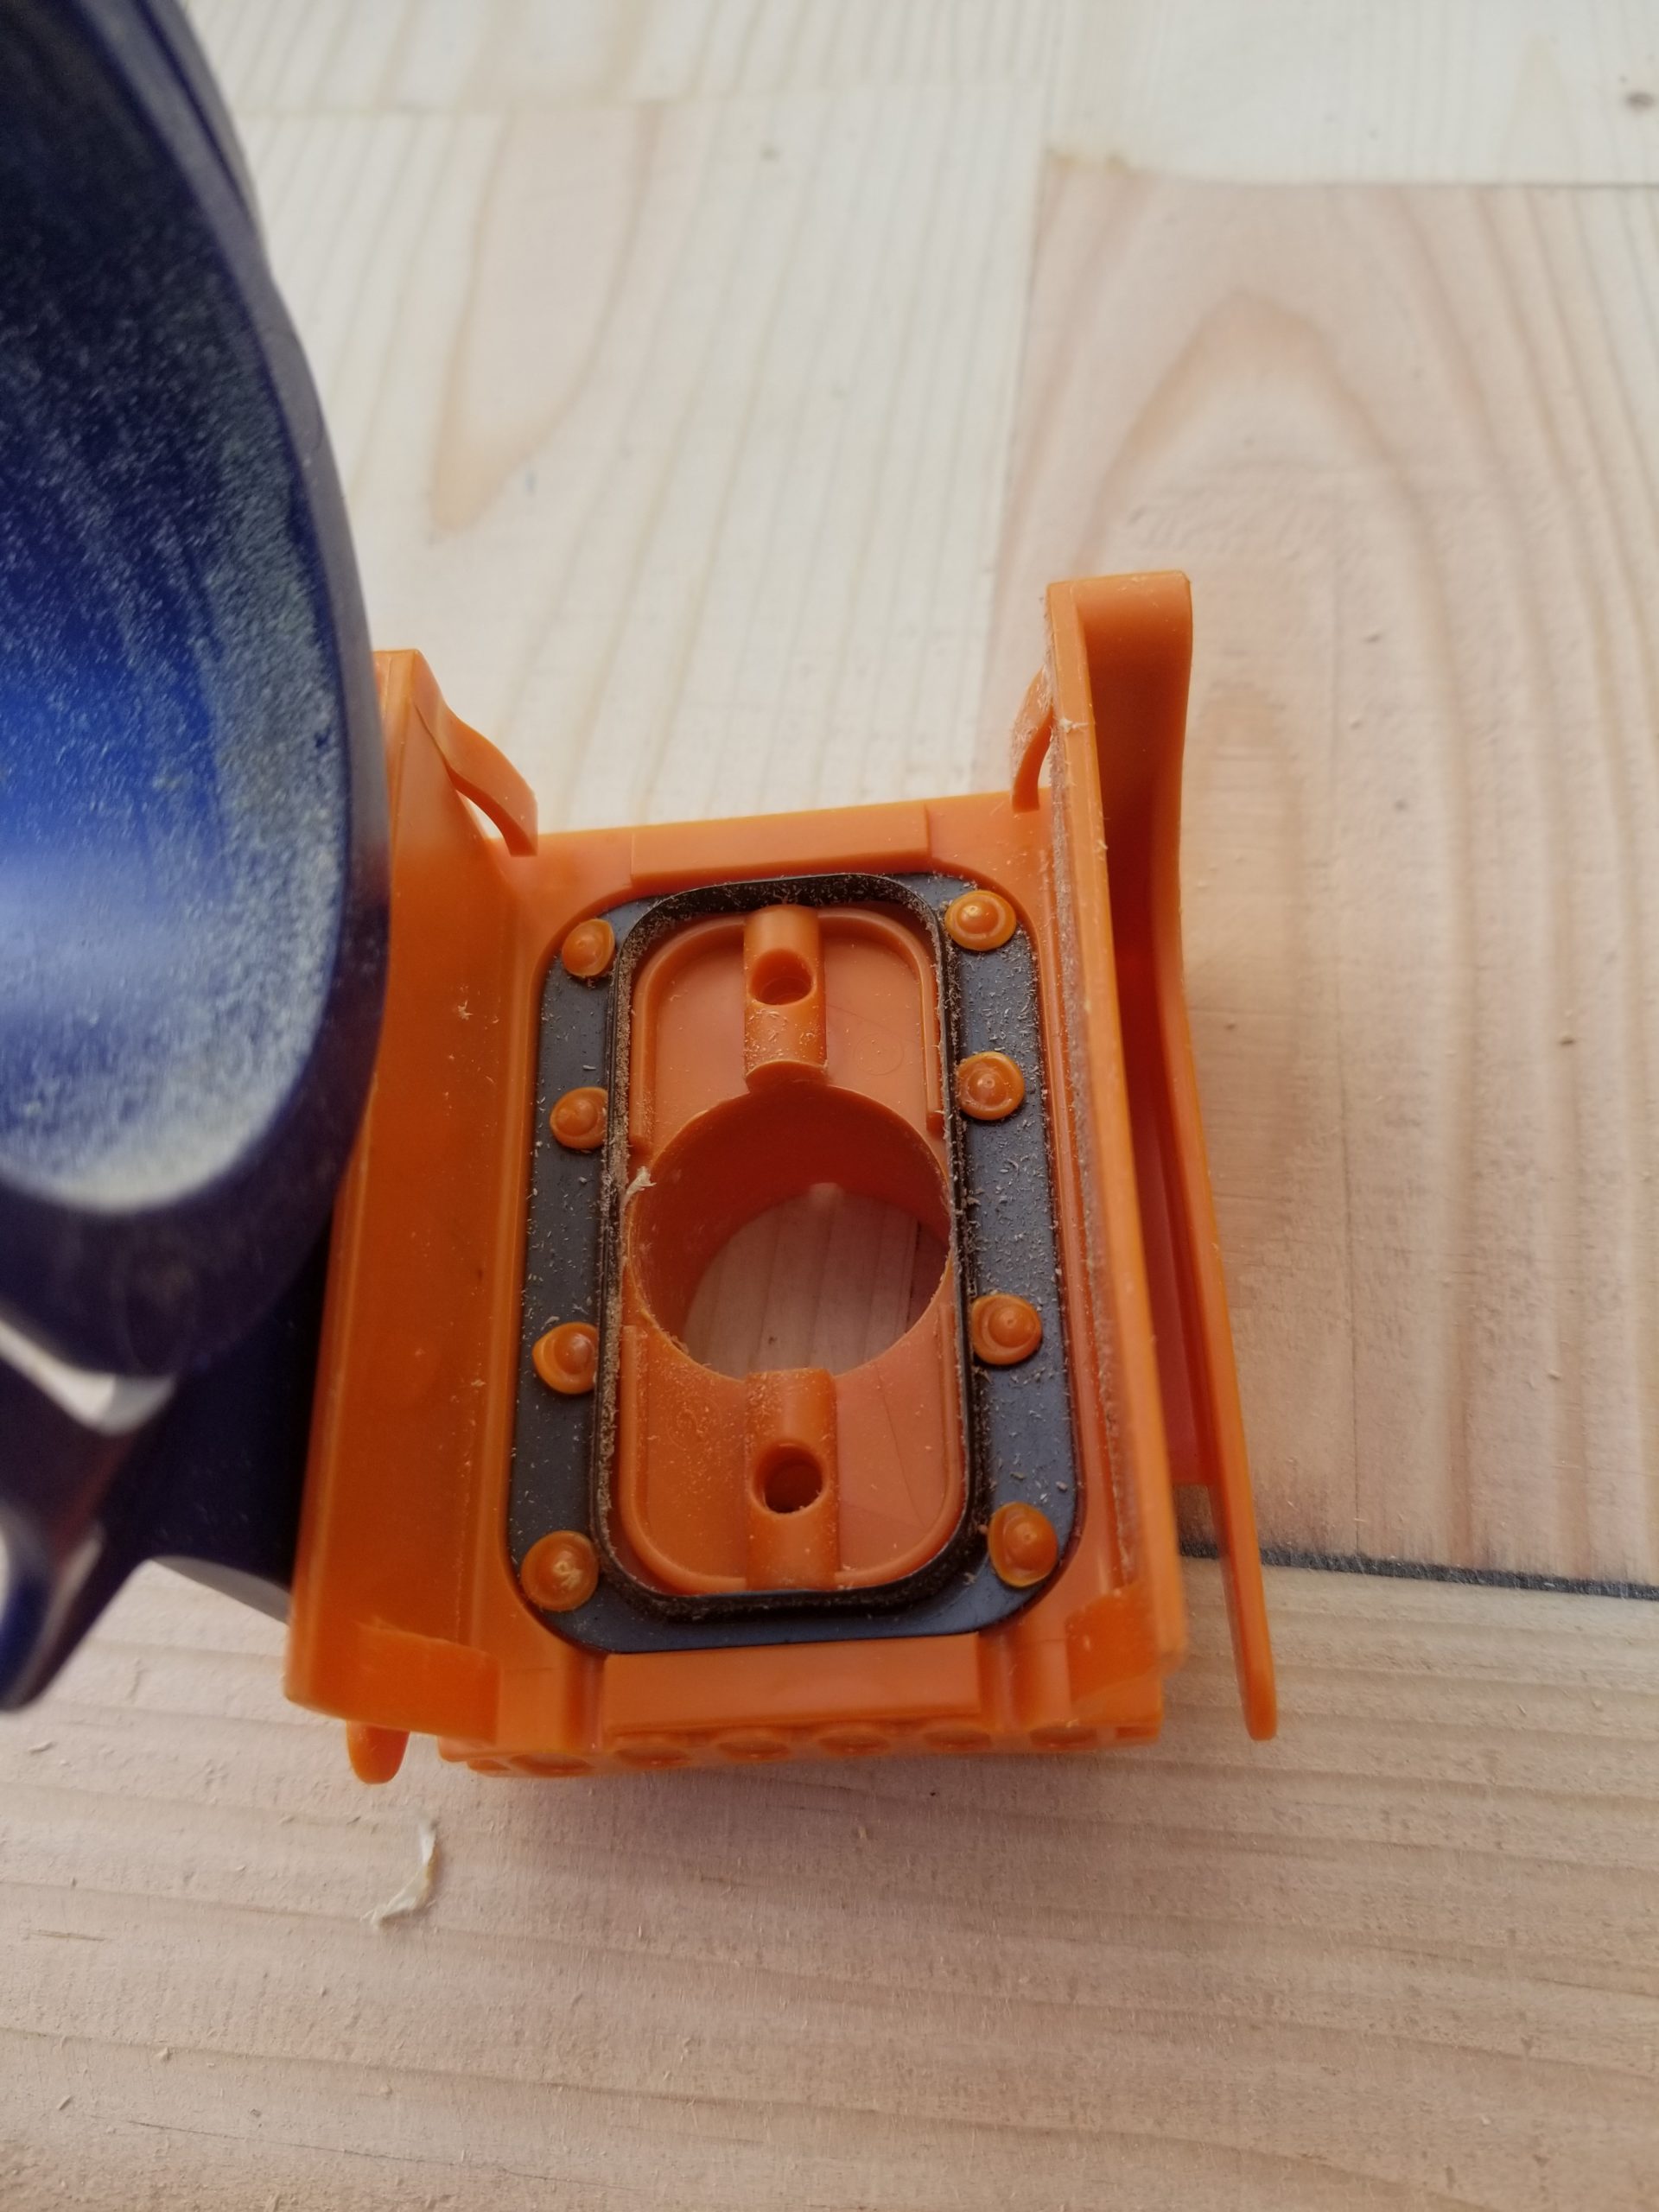
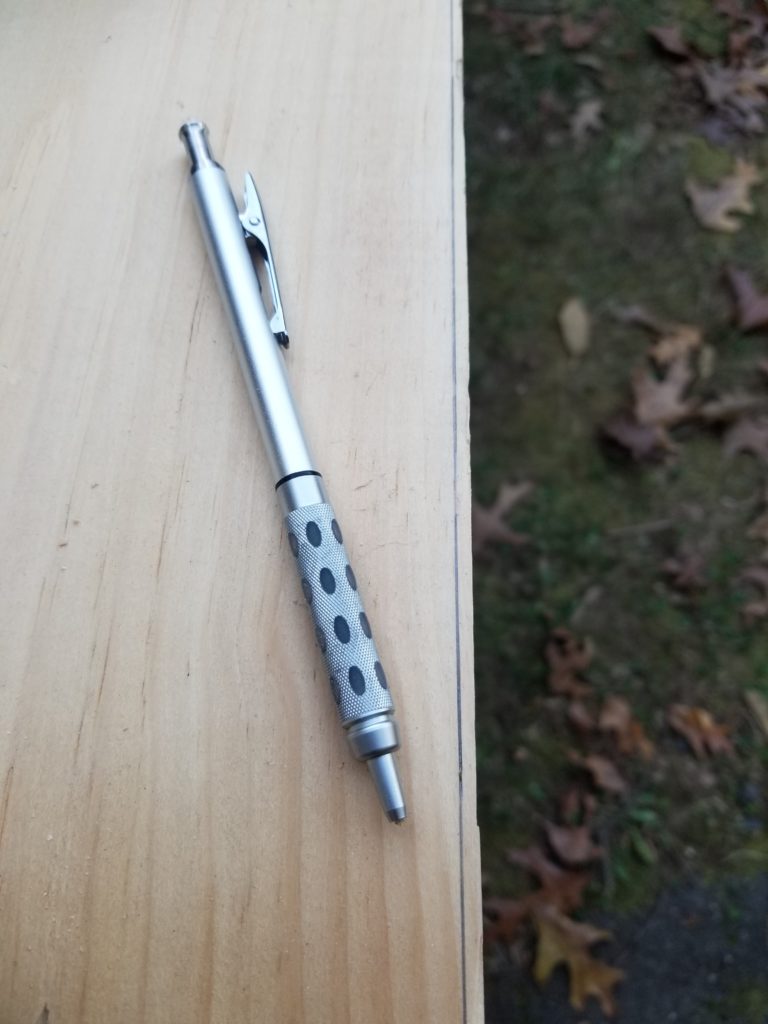
Let’s move on to preparing for the lockset. I have this nifty jig that not only places all the holes just so, it also leaves an impression on the face of the door telling you the outline of the latch plate so you know just where to route it out.
Remember how I didn’t mortise one side of the hinge leaves?
Now the jamb, which I carefully cut to just slightly wider than the door, is now too tight because the thickness of the not-mortised hinge is interfering! Feh! Not a problem, I can trim it, but this was an avoidable problem I wish I had avoided.
Trimmed, let’s check the fit. I got smart and actually set this up so I could swing the jamb around the door rather than the door around the jamb. The door is nearly 2″ thick of solid wood and is very heavy. The jamb is light and easy to swing.
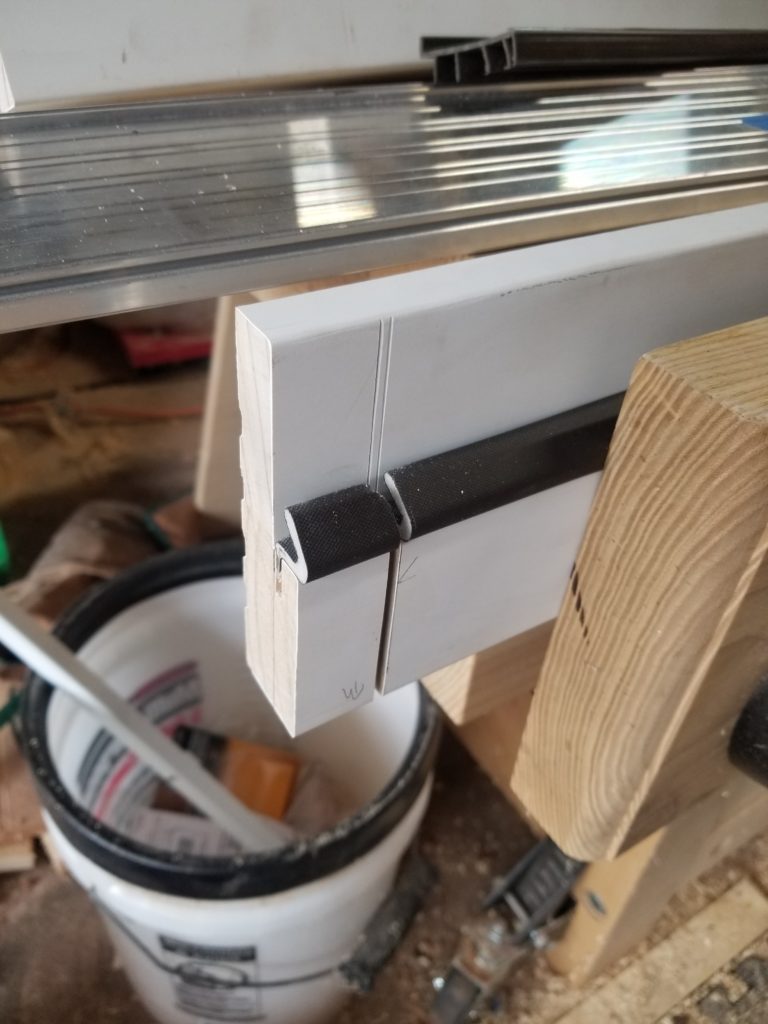
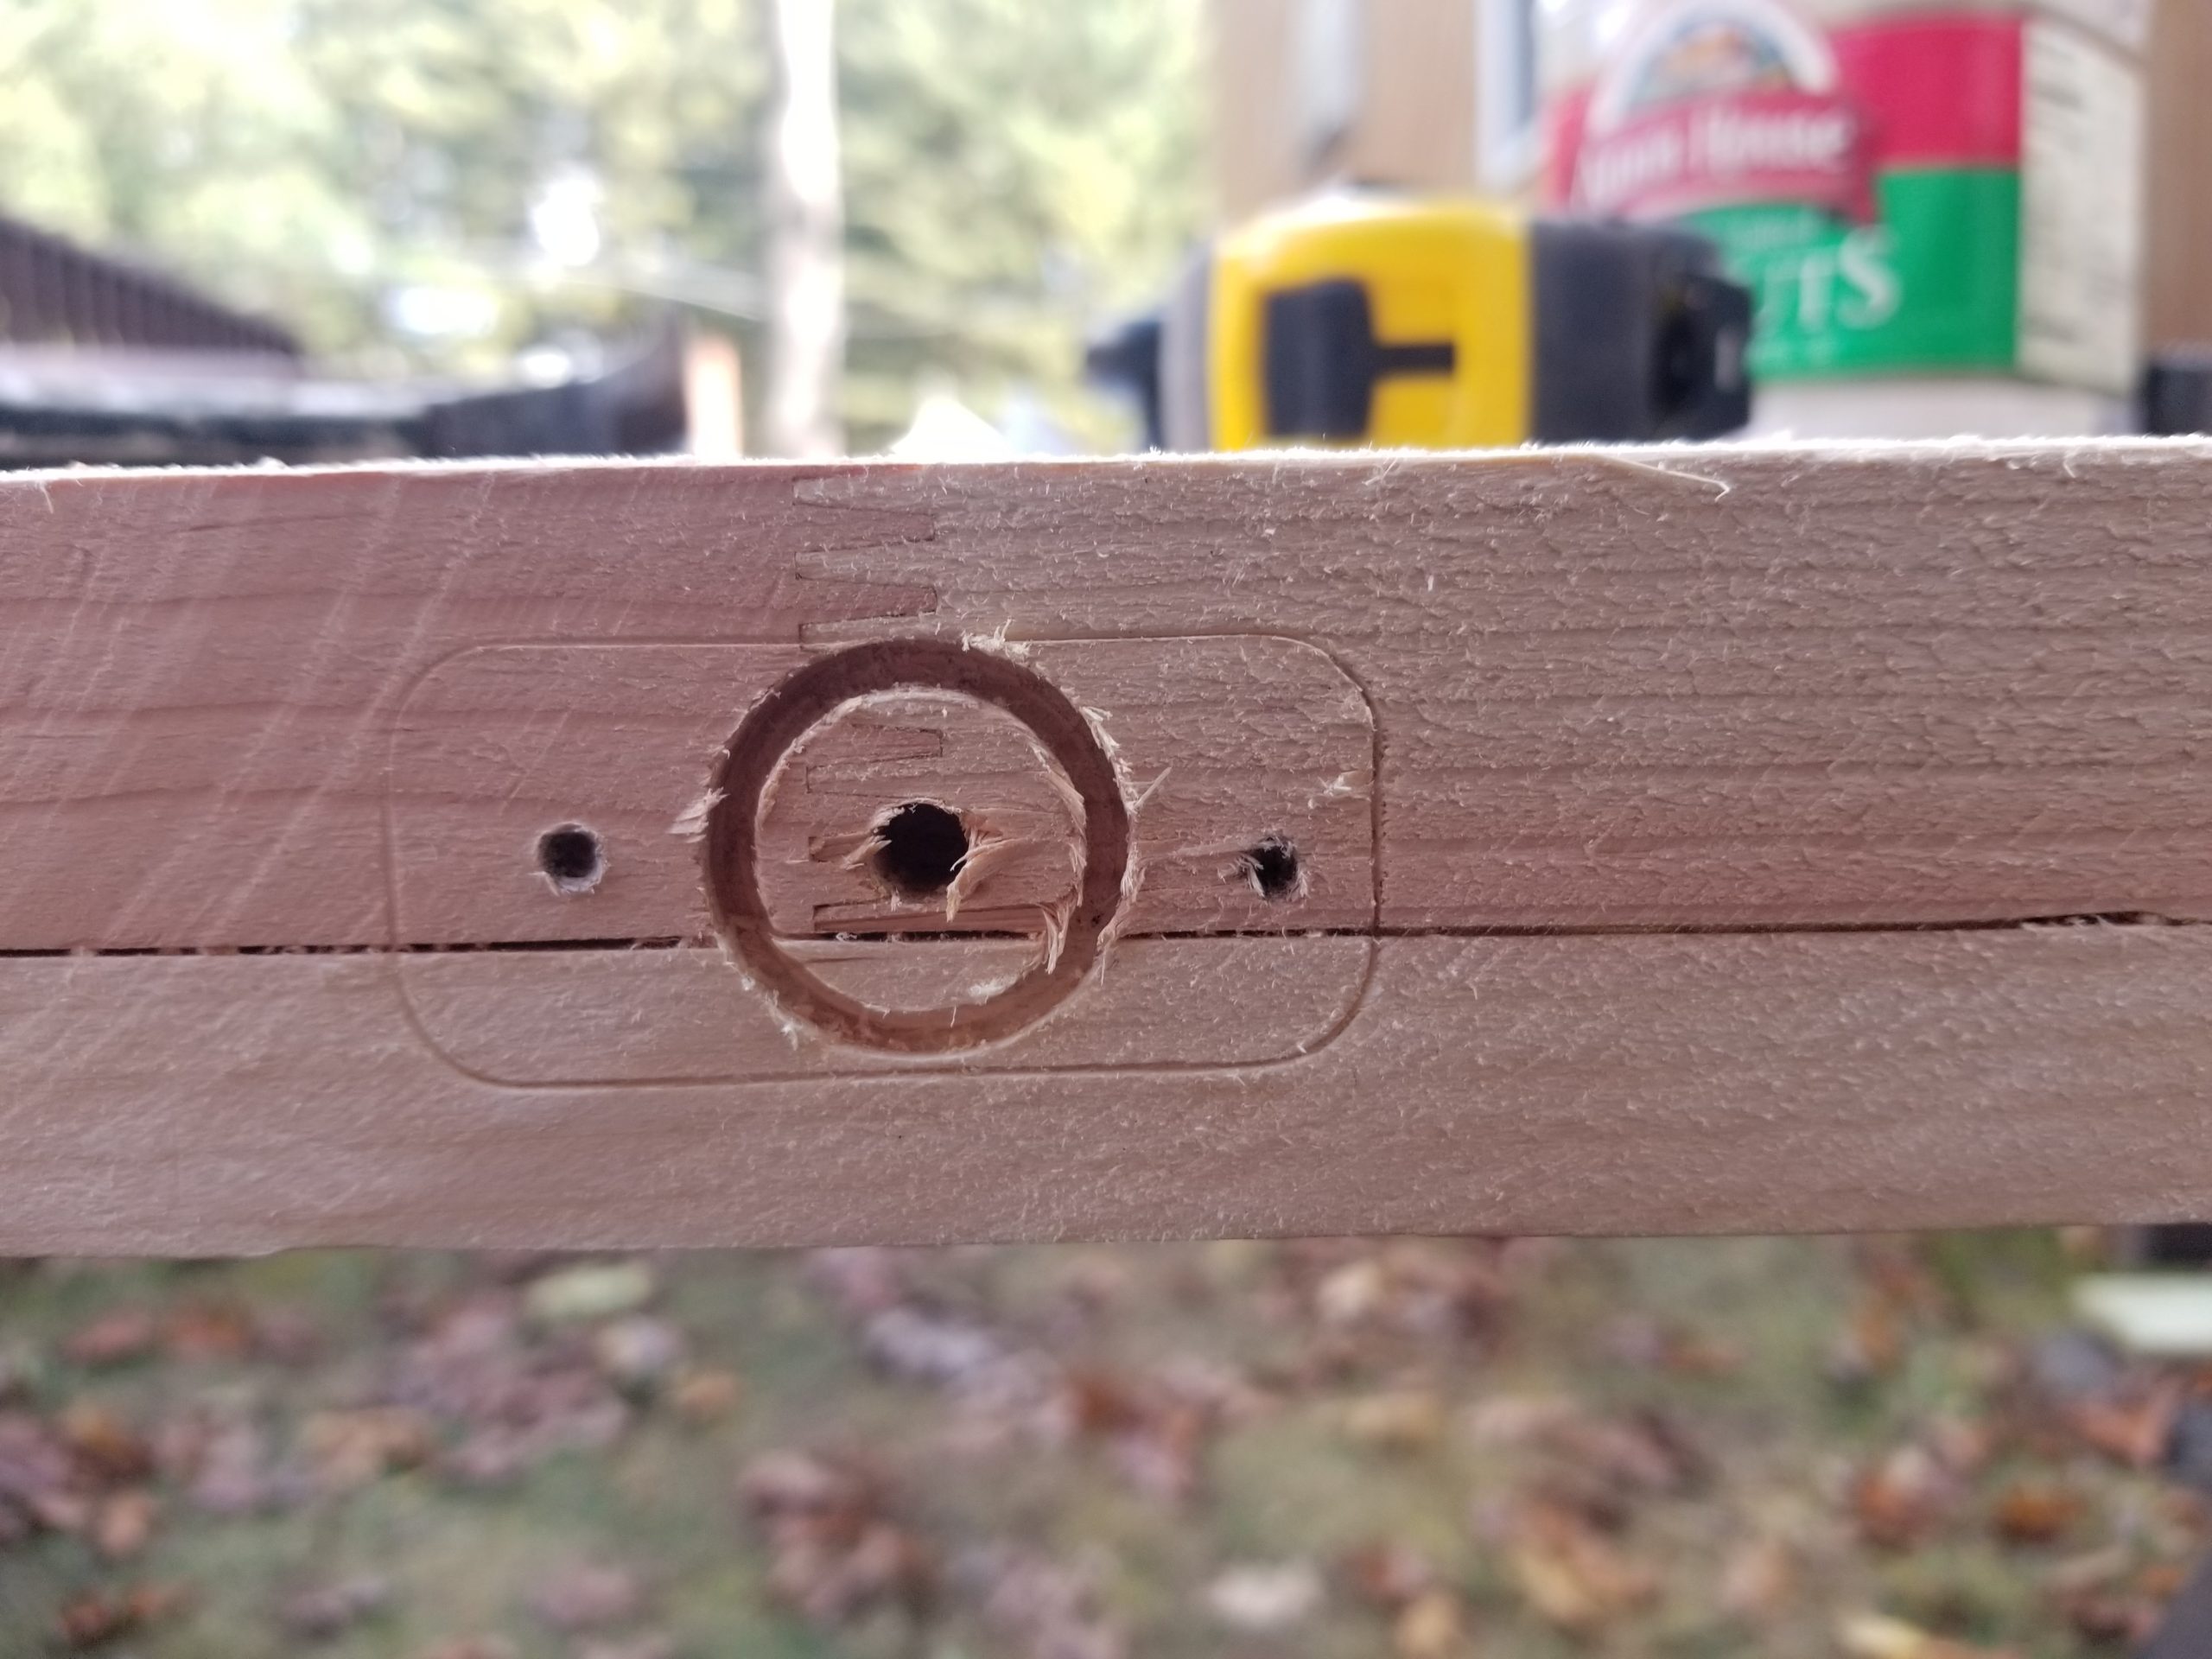
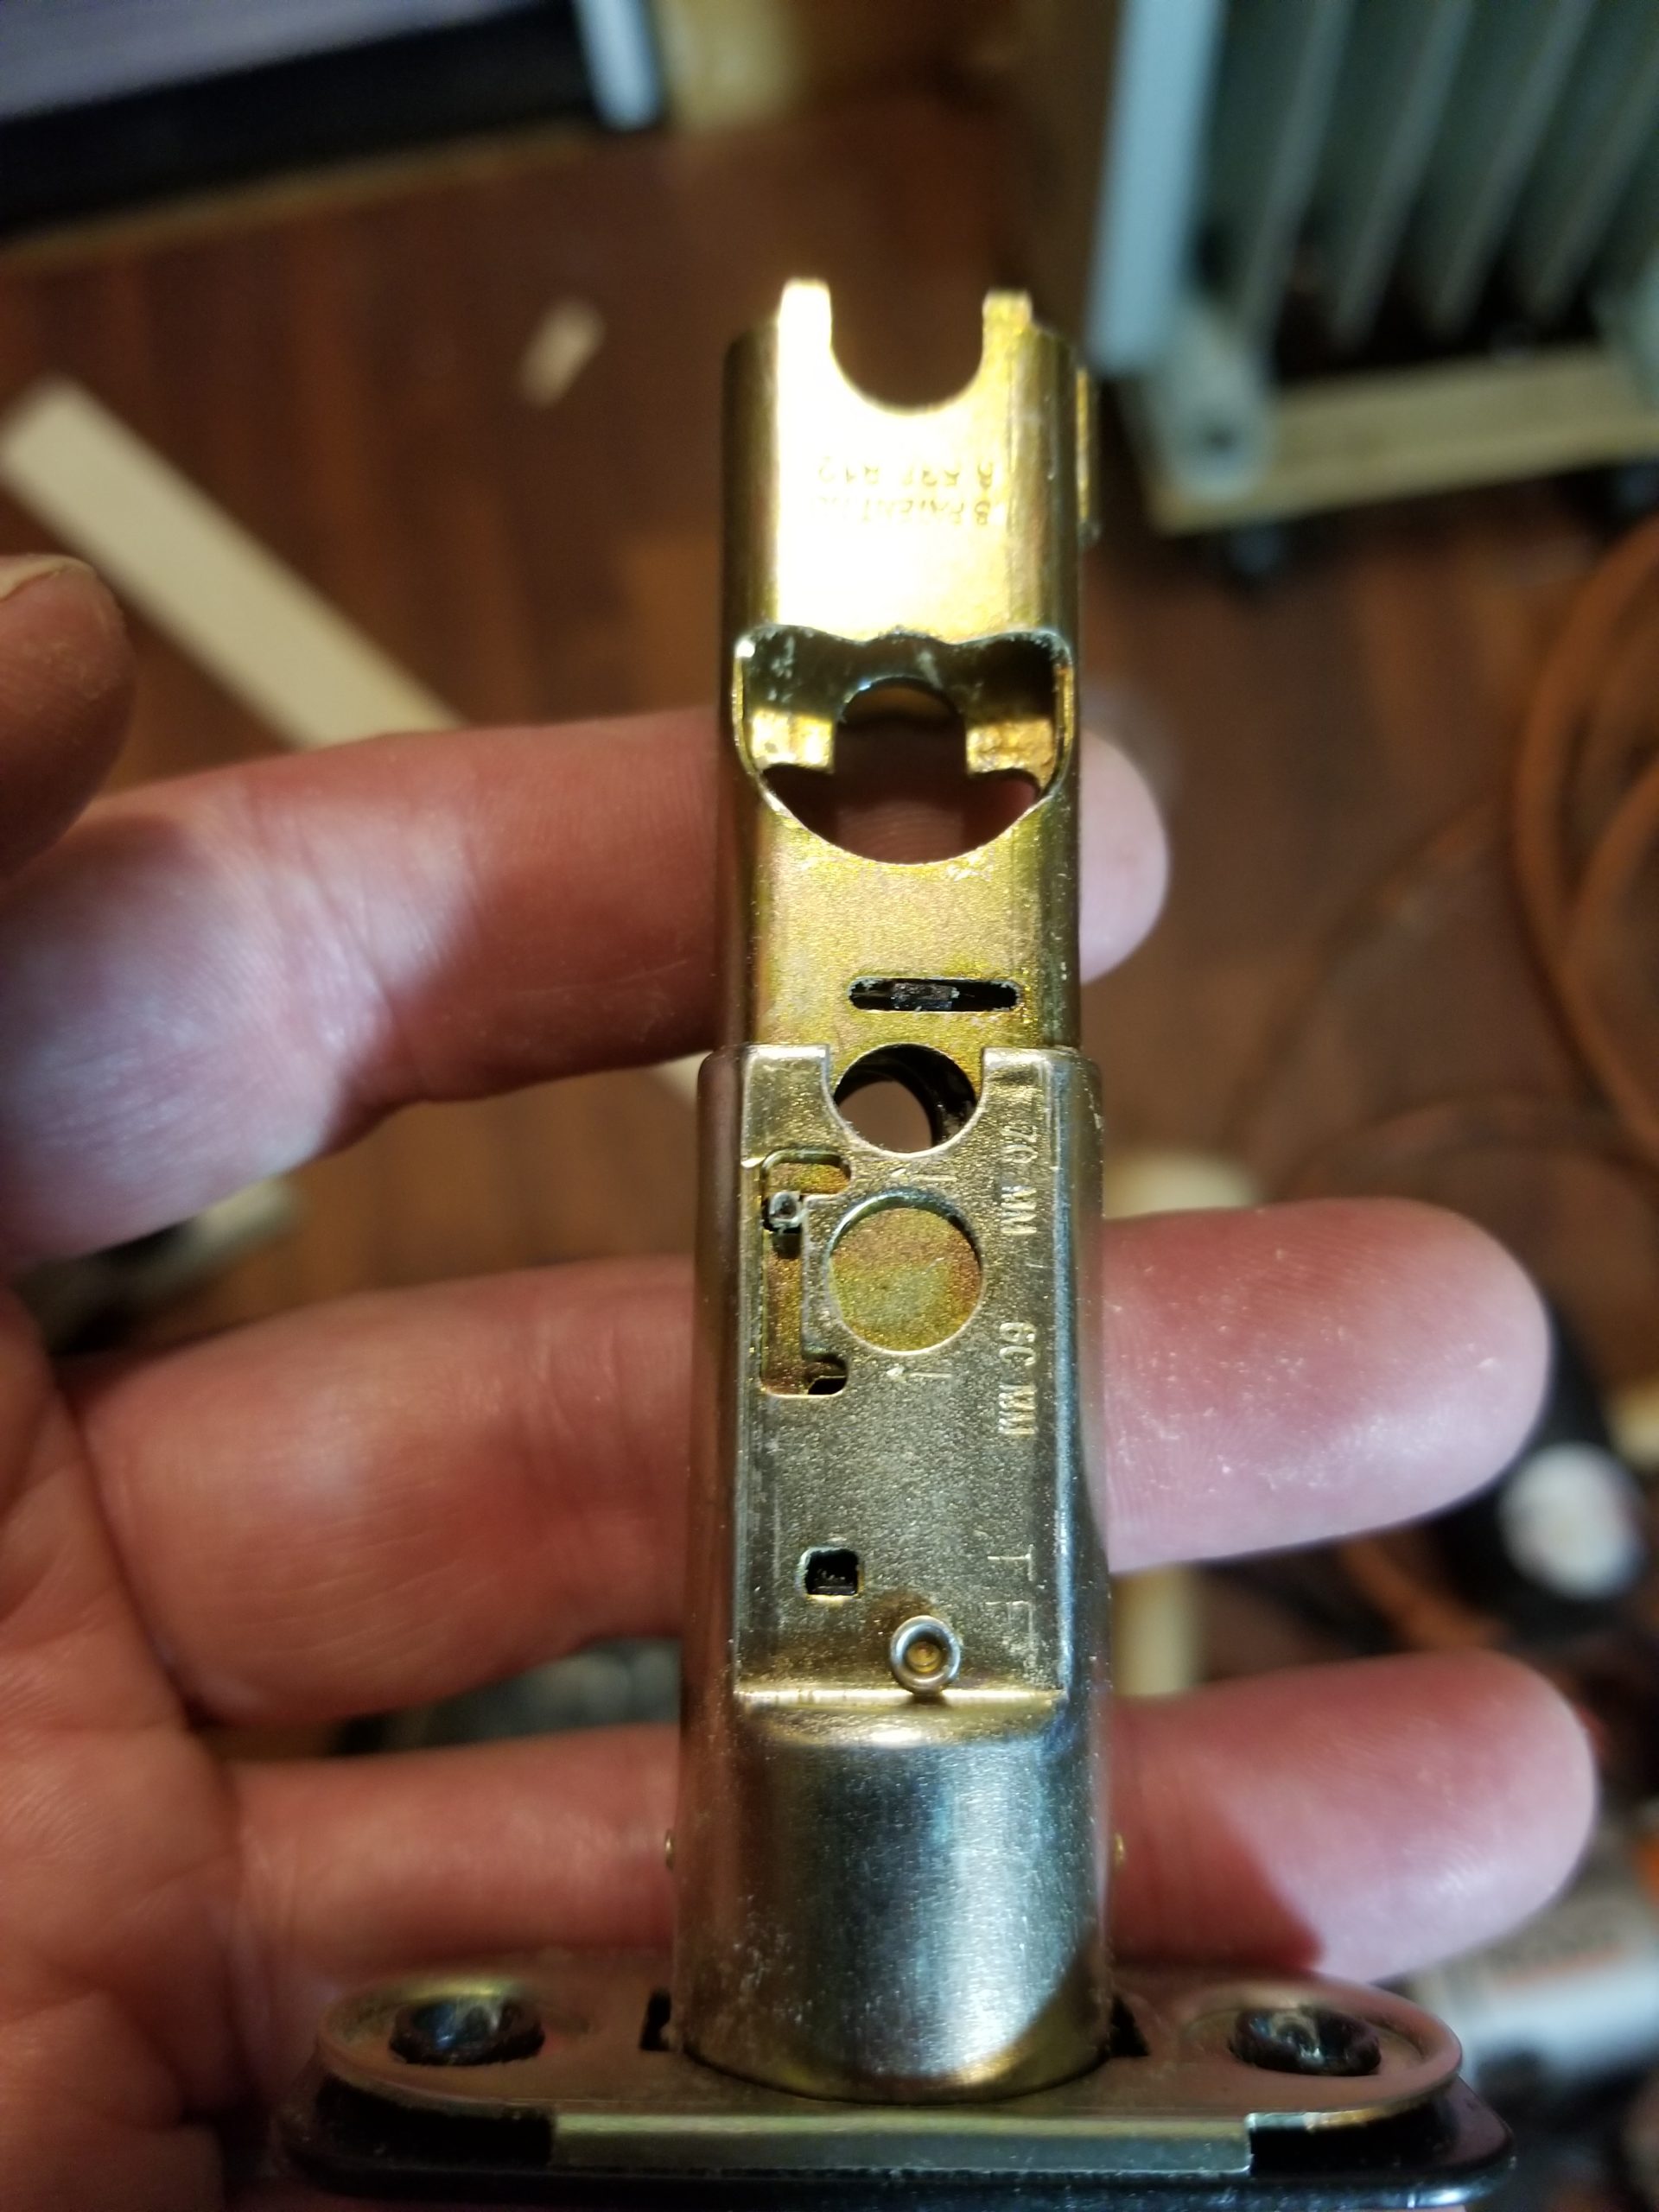
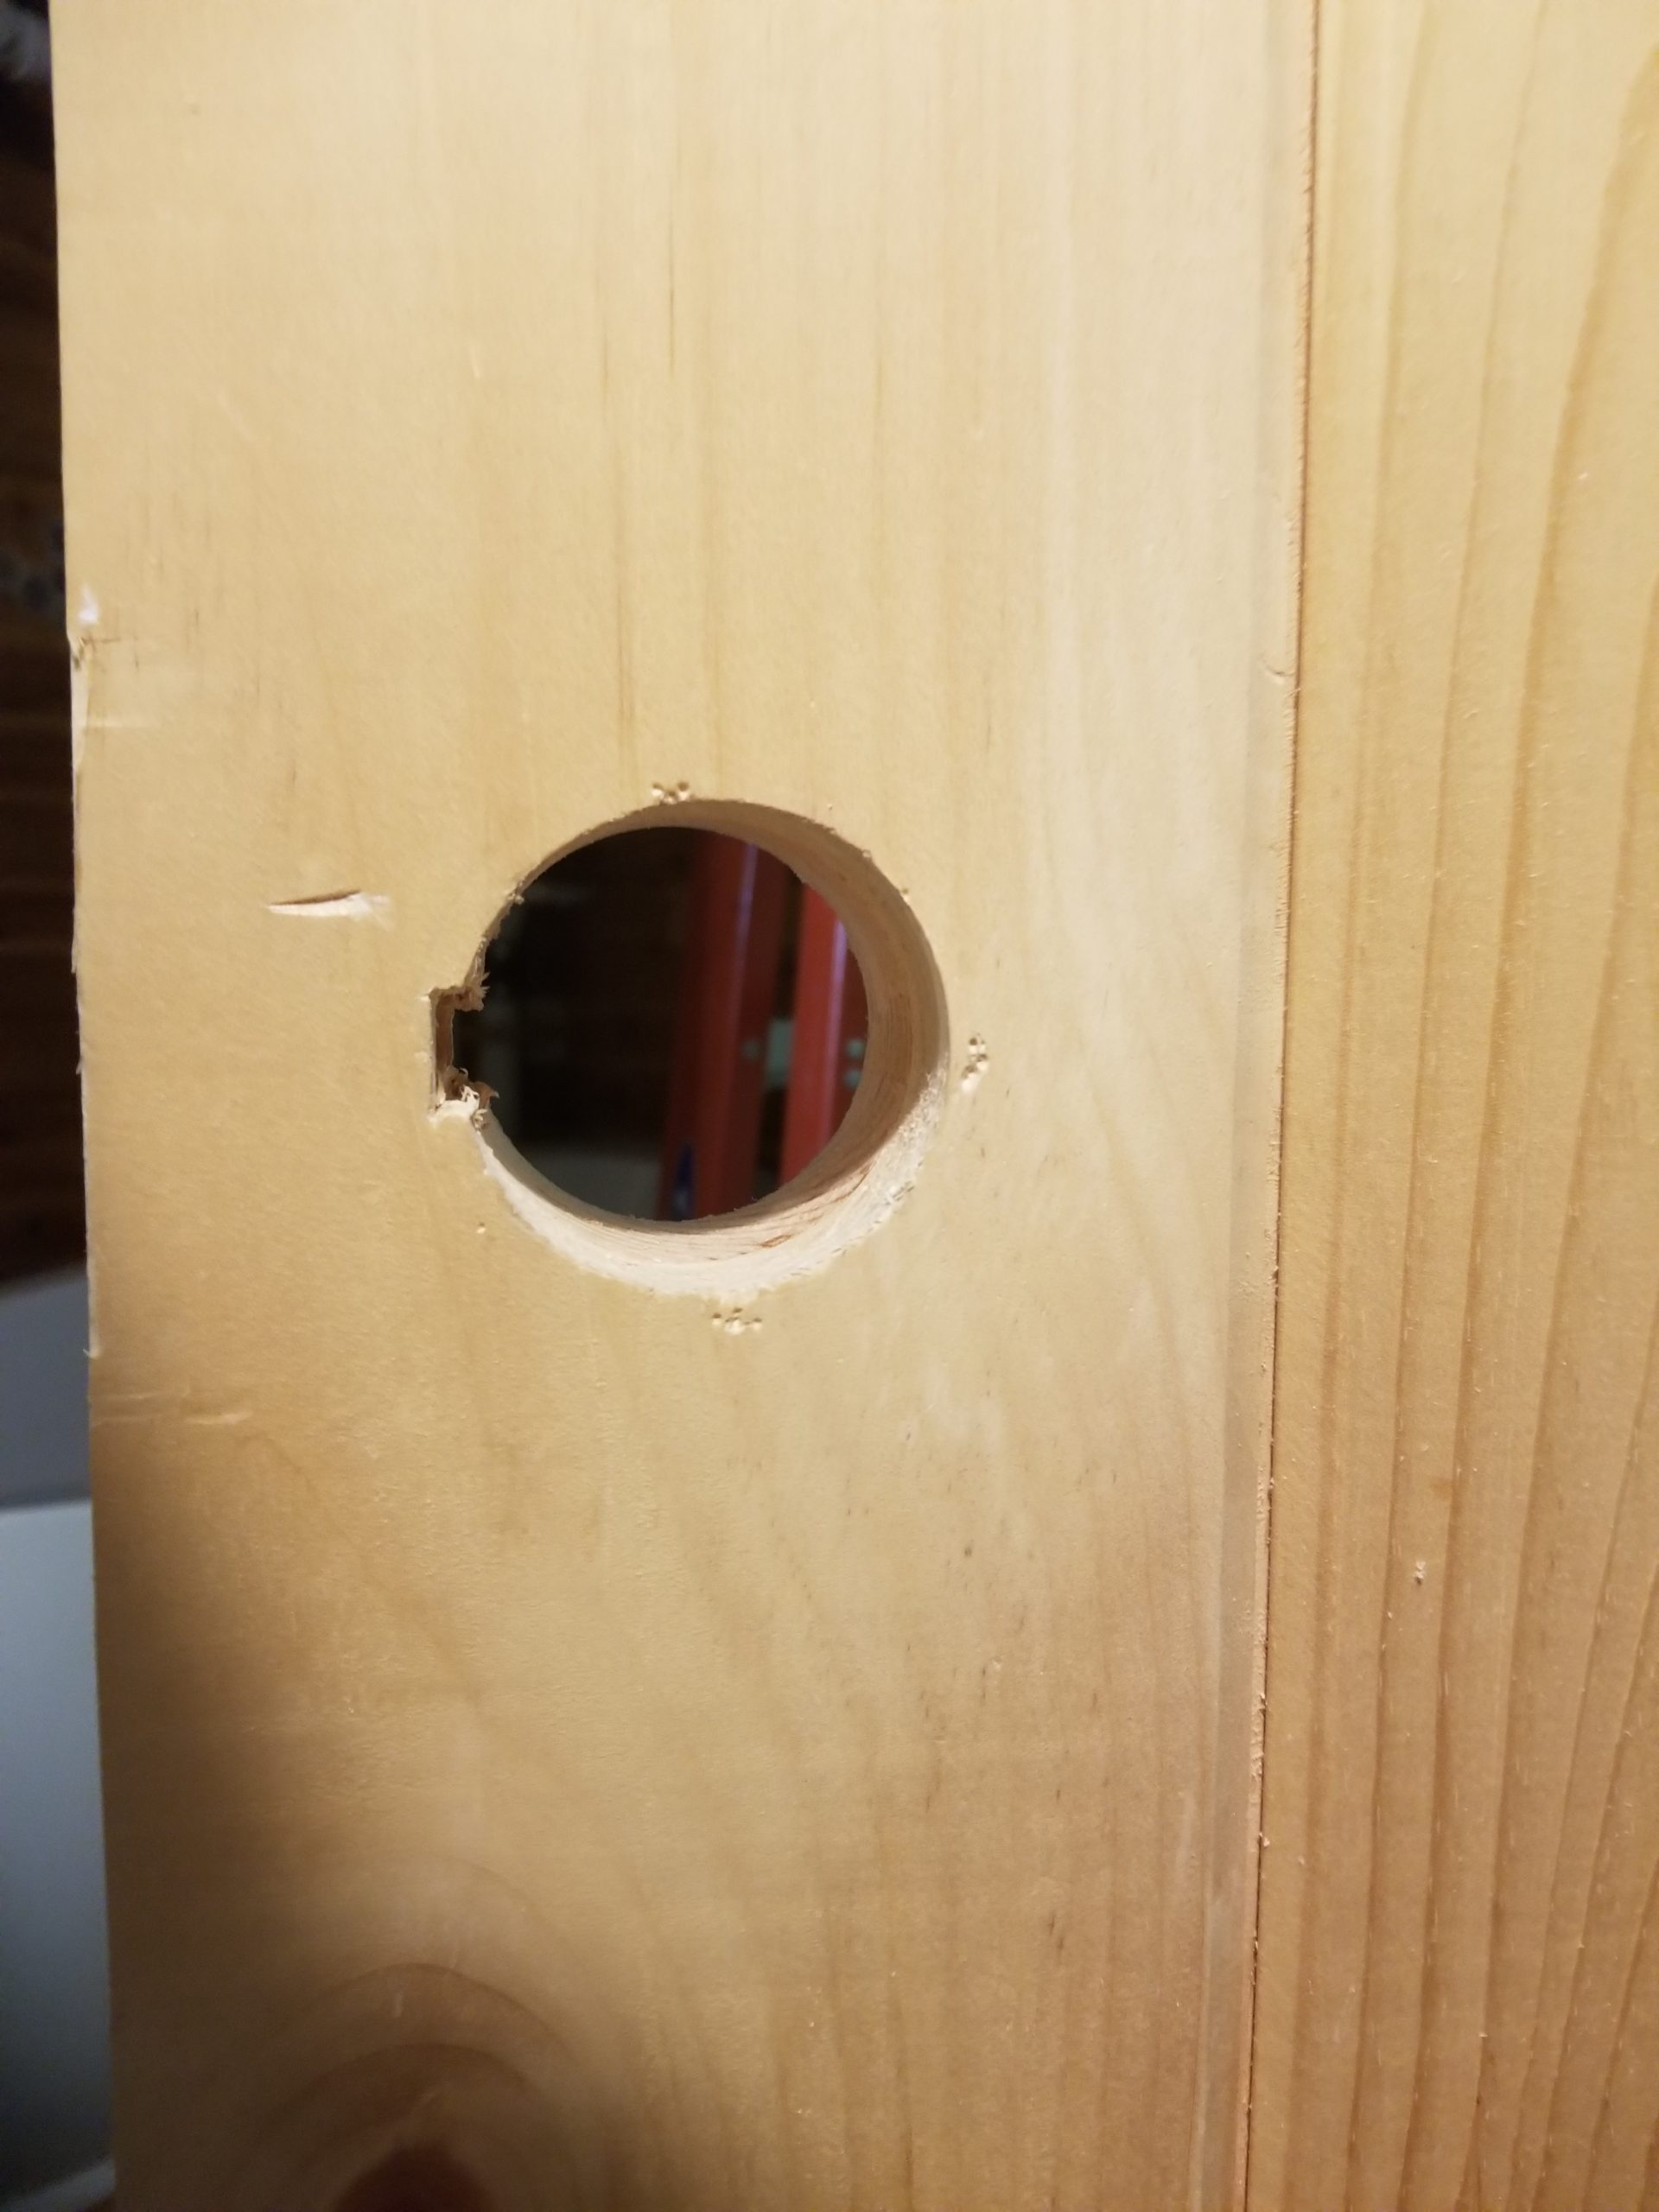
But nothing is without consequence! Since the hinges were in place and already mortised in, I trimmed the latch side to make the door fit. Okay, but that also meant the distance from the handle to the edge of the door was now about 1/8″ shorter. No big deal, right? WRONG. The lockset is designed for one of two standard distances for this and now my door isn’t either of them. See that little C-shaped channel next to the hole, with the pin on the left of the latch assembly? See how the pin is NOT engaged with either of the end features? Yeah, that’s approximately where the latch assembly needs to be to fit the door as-is. But it can’t actually be assembled this way because that through-hole just above the C channel is neither fully clear of the sleeve (as it would be if fully extended) nor is it aligned with the other hole (if fully retracted). An important bit of handle hardware goes through that hole, so the fact that it’s almond shaped instead of round is a problem. CRAP. Do I have to re drill the door handle holes? And then fill the first try? That would really suck, aesthetically. I attempted to assemble it and observed exactly where the problem was and came up with a solution.
Notching the handle bore was sufficient to get everything into position well enough to function. It meant the handle moved to the latch side just a little, but the escutcheon was big enough to still cover the hole, so it totally didn’t matter. Problem solved. Anyone who might replace this lockset in the future may get a laugh when they see what I did… but then, that’ll probably just be me 🙂
The door is now installed and swings freely. But not before I also had to move some of those cables on the green painted area of the ceiling.
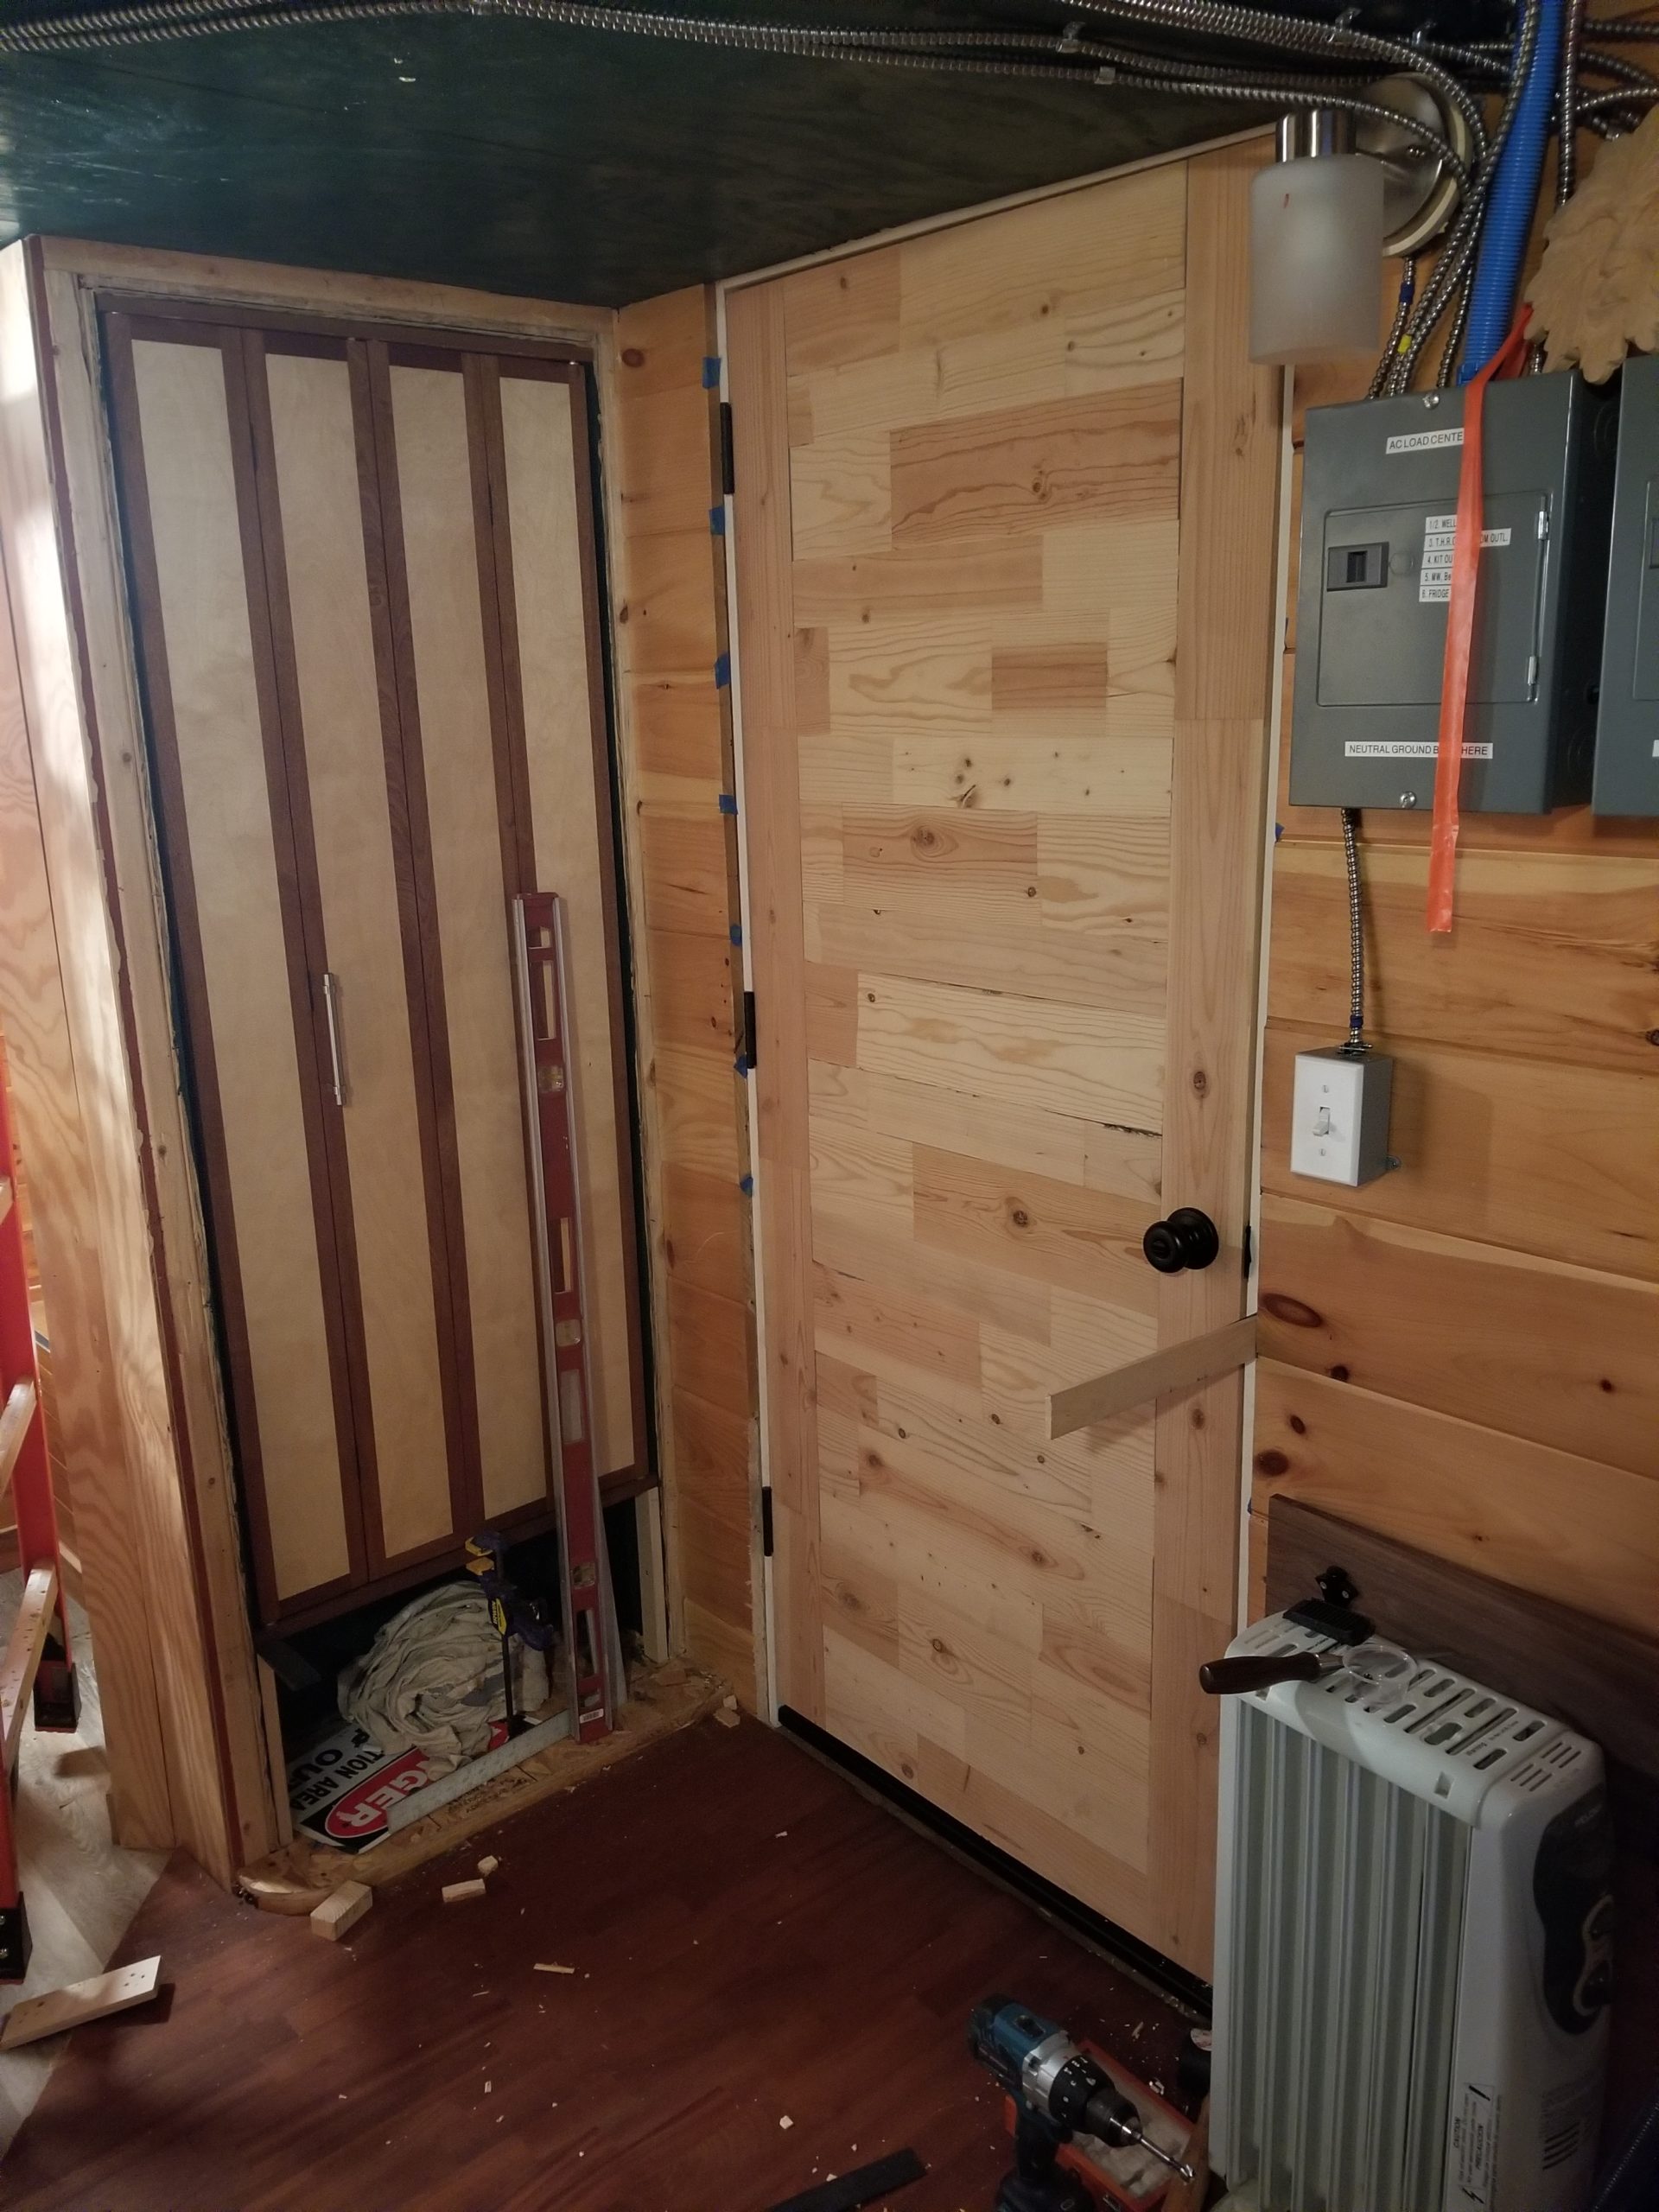
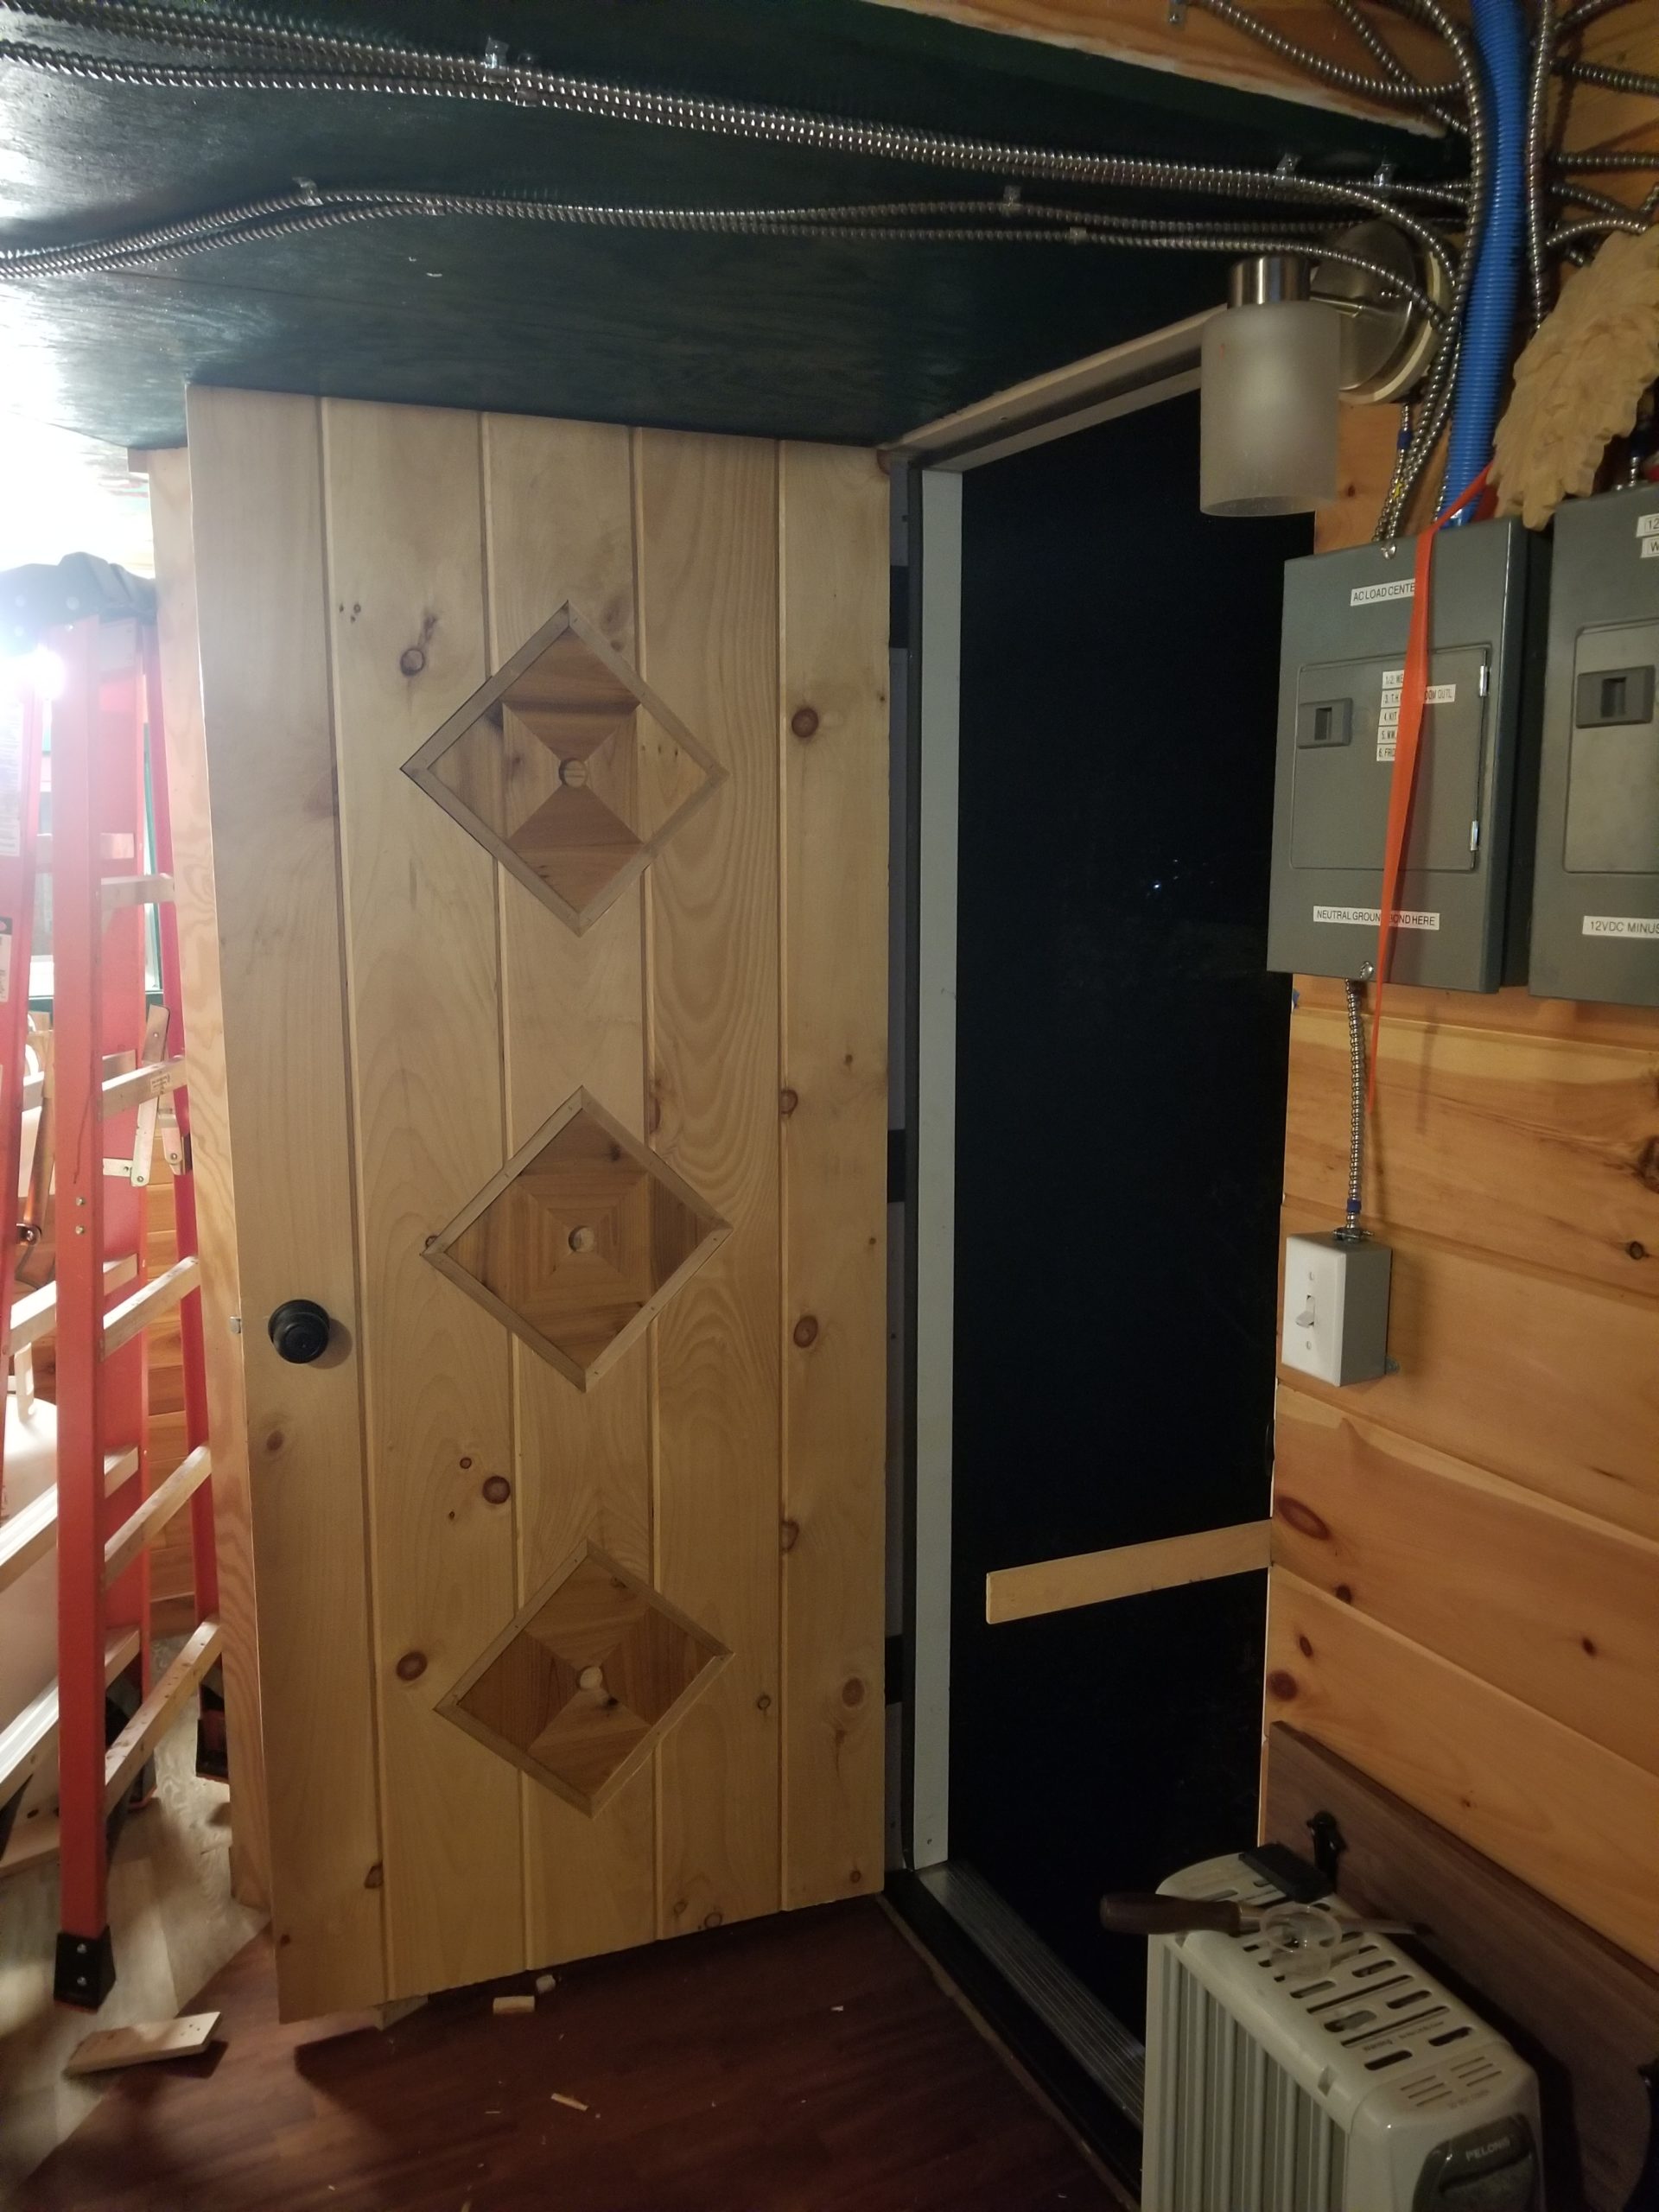
Happily, there was enough slack in them that I could just unscrew the clips and change their arc from this way to that and clear the door swing. Finally, something easy! 🙂 There’s still exterior work to do, some trim, decorative elements, and finish to apply, so it’s not done yet, but at least it can keep the world out for now.
It did occur to me that I’ll want a peep hole or door cam or something, though, to check for wildlife on the landing before opening the door! There’s no landing now, obviously, but there will be.