I’m pleased to report that The WOG has been built! Well, it’s been mostly built.
I did have the foreman’s consent to photograph the process. I have pixelated the faces for the privacy of the workers.
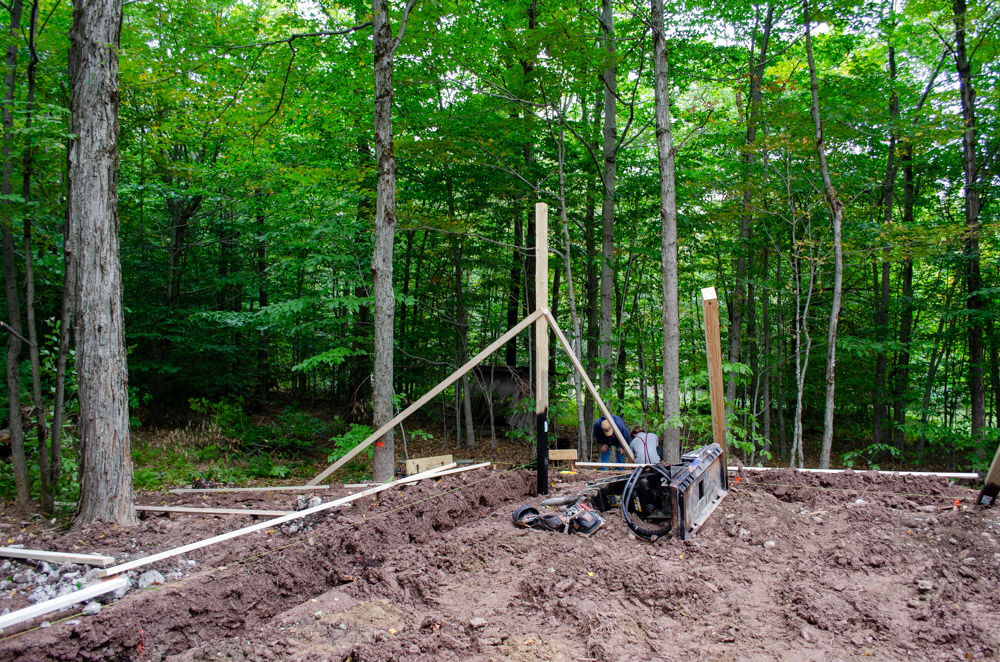
It starts with figuring out just exactly where the building will go.
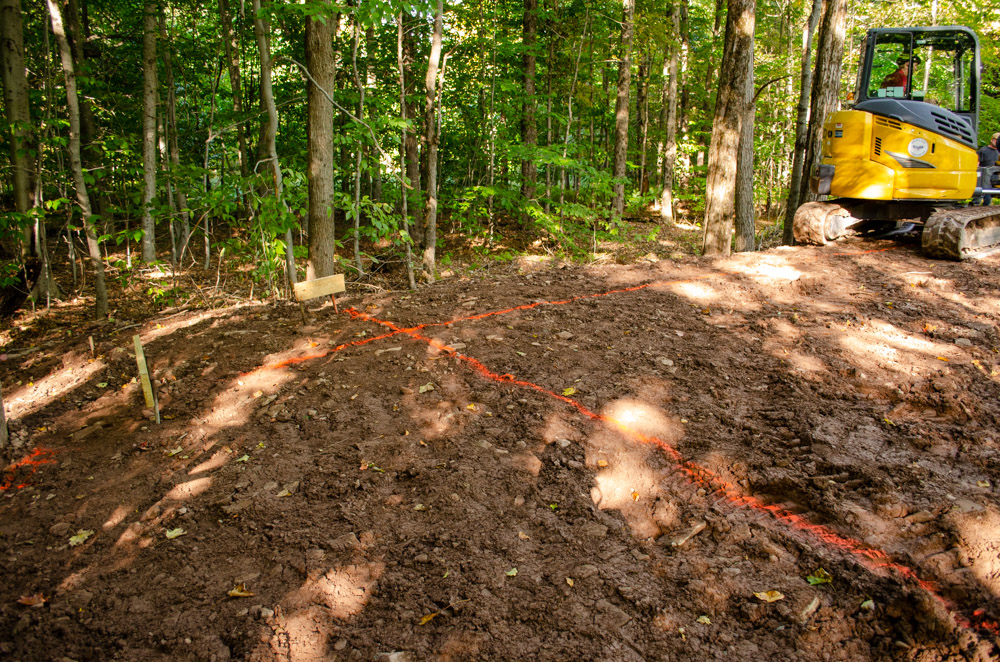
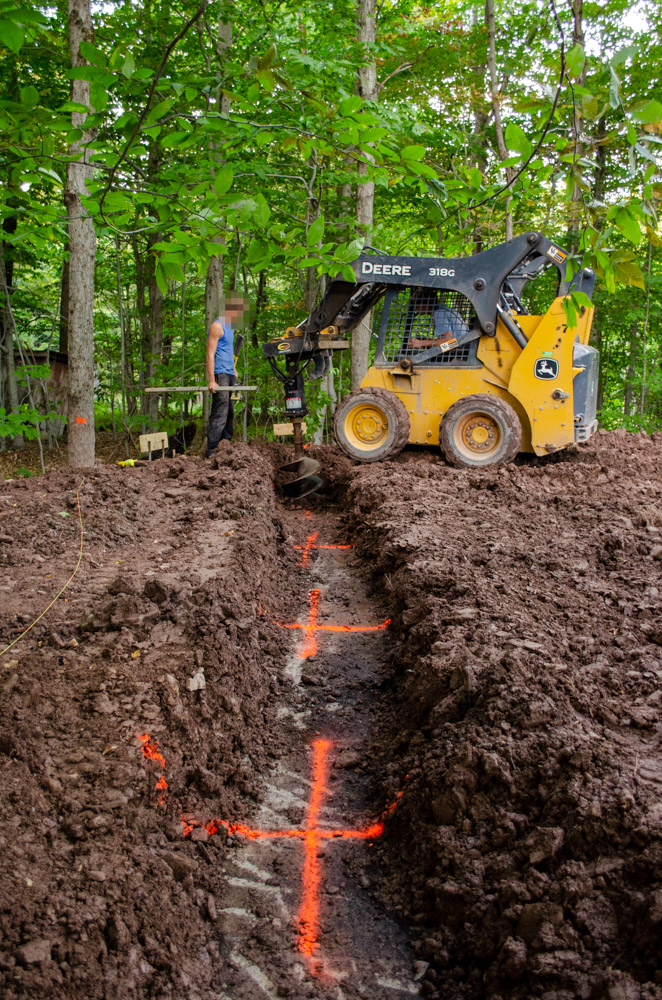
Then dig a trench and start boring post holes.
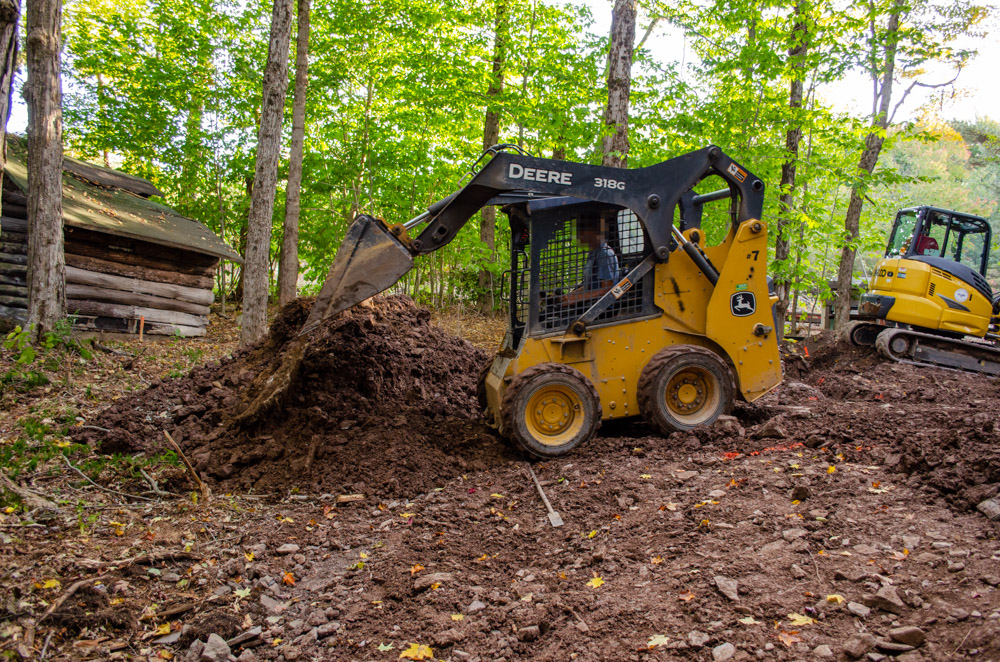
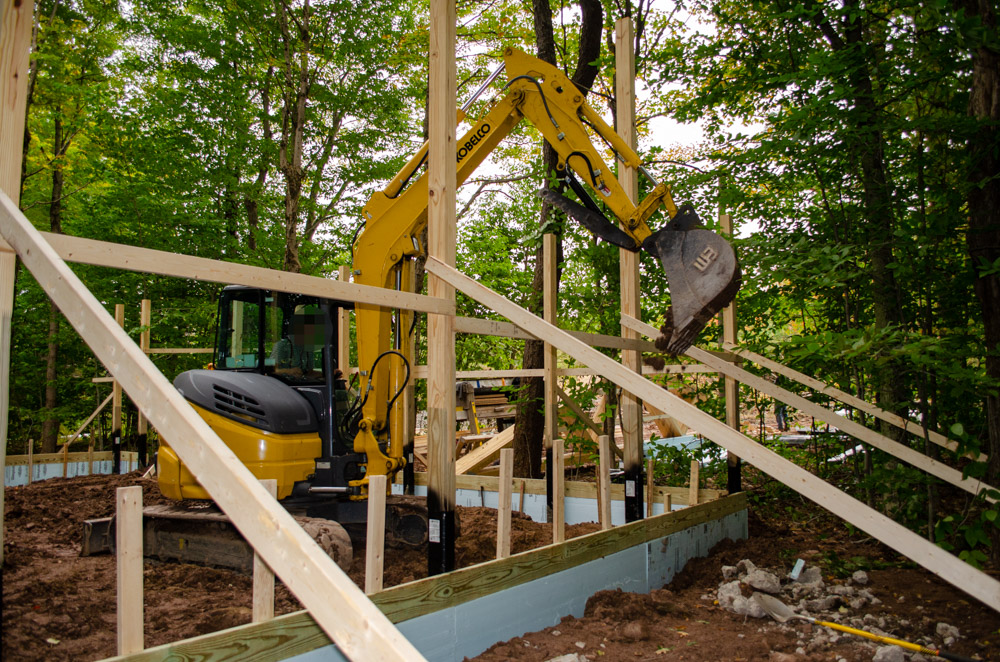
Sometimes, remnants of previous things get in the way. In this case, an old concrete slab from a long-ago use on this site. No problem… just get out the jackhammer attachment for the loader.
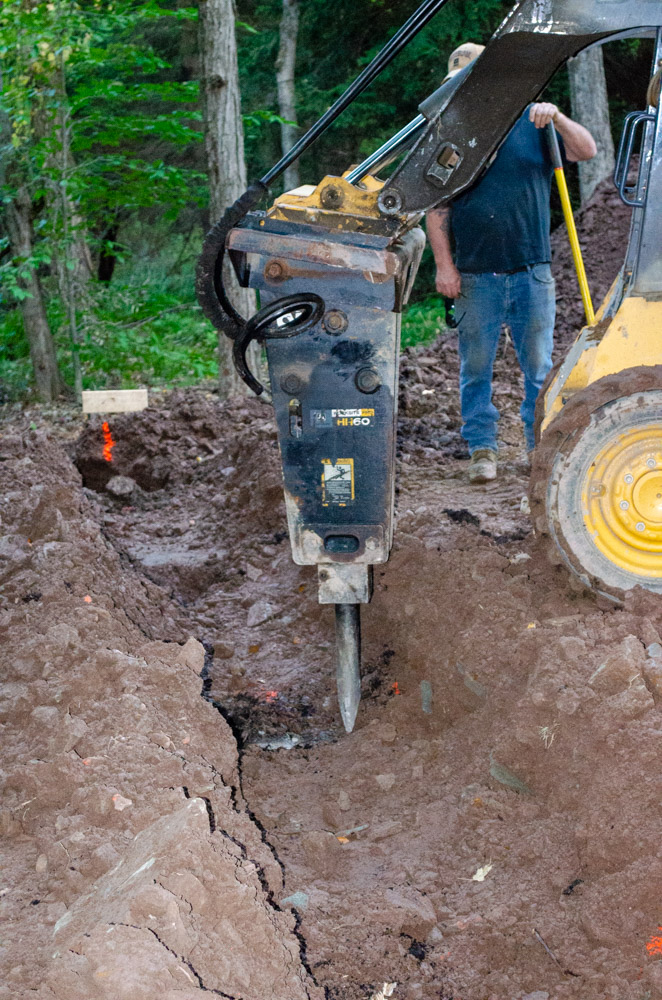
Pound away! 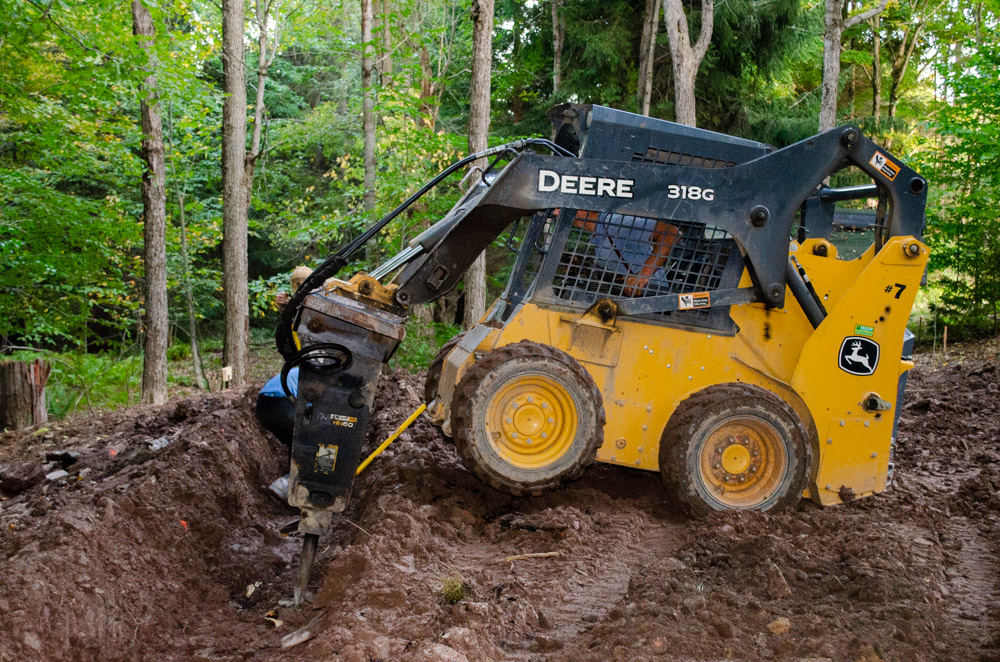
And if you gotta pound harder, up on the hind legs!
Actually, I was impressed with how many different widgets there were for the front of this little machine. Turns out quite a few! This crew had…
Telescoping Boom 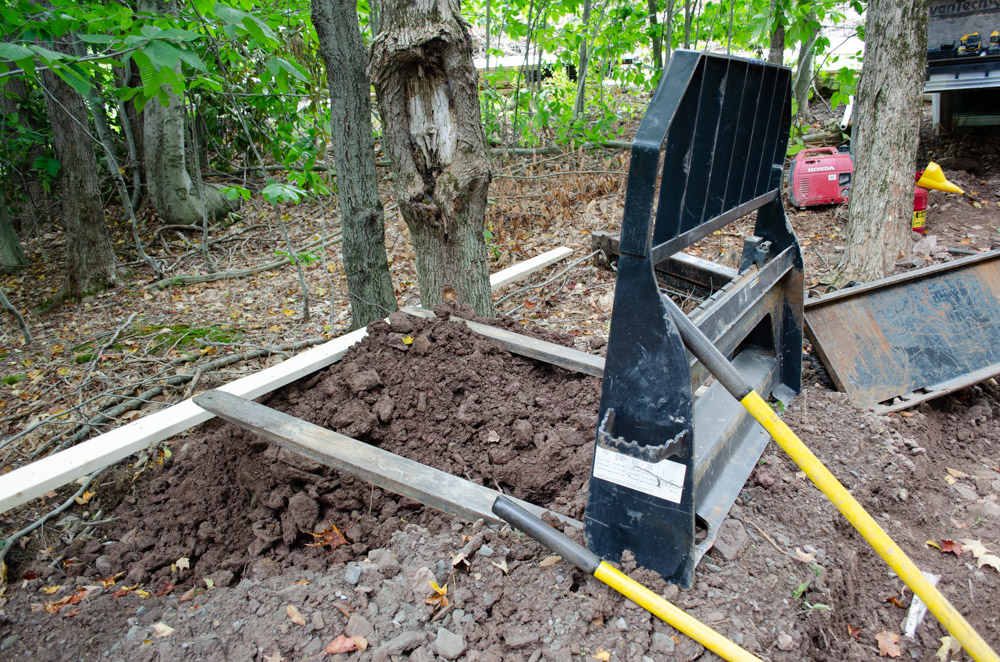
Pallet Fork 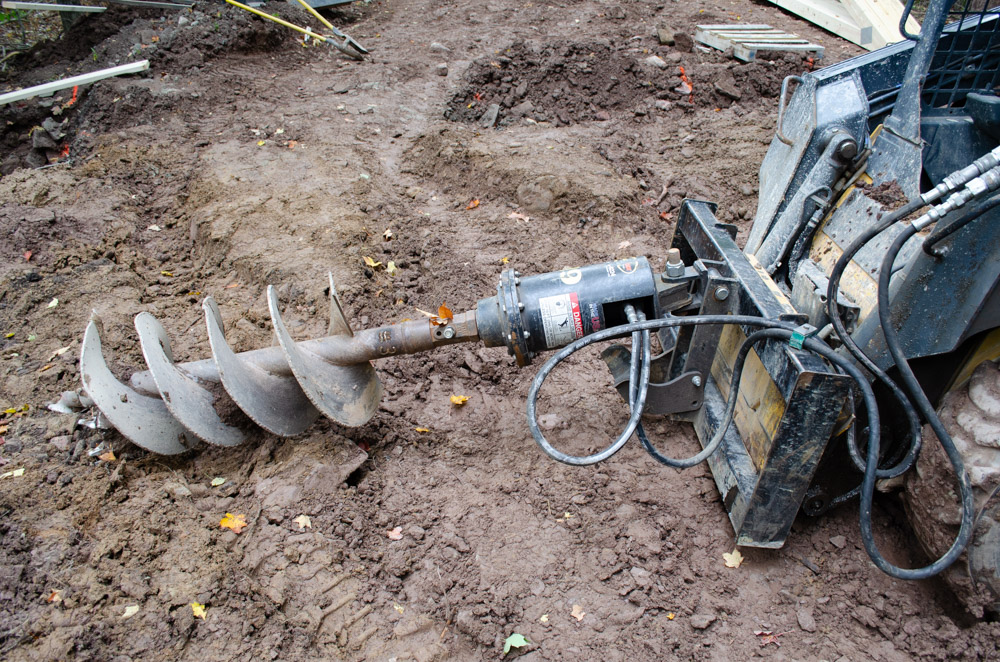
Post Hole Auger 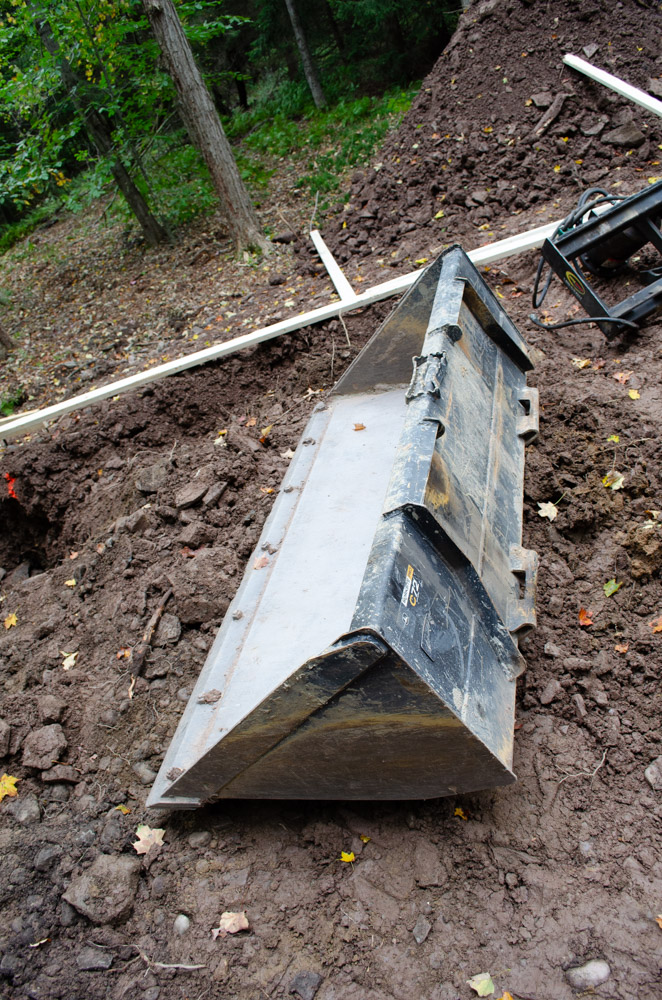
Loader Bucket 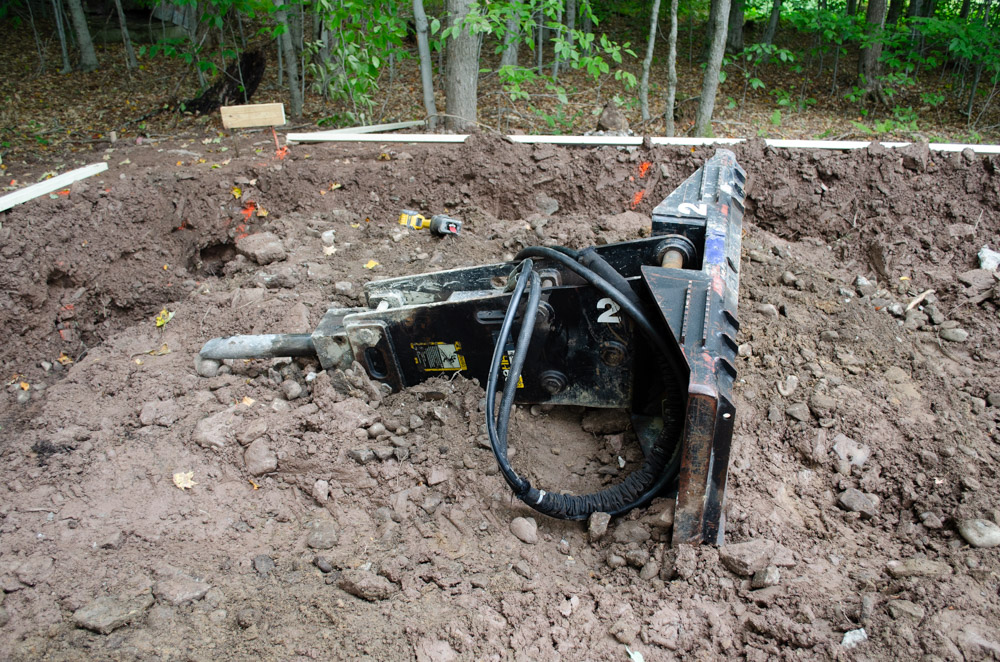
Jackhammer
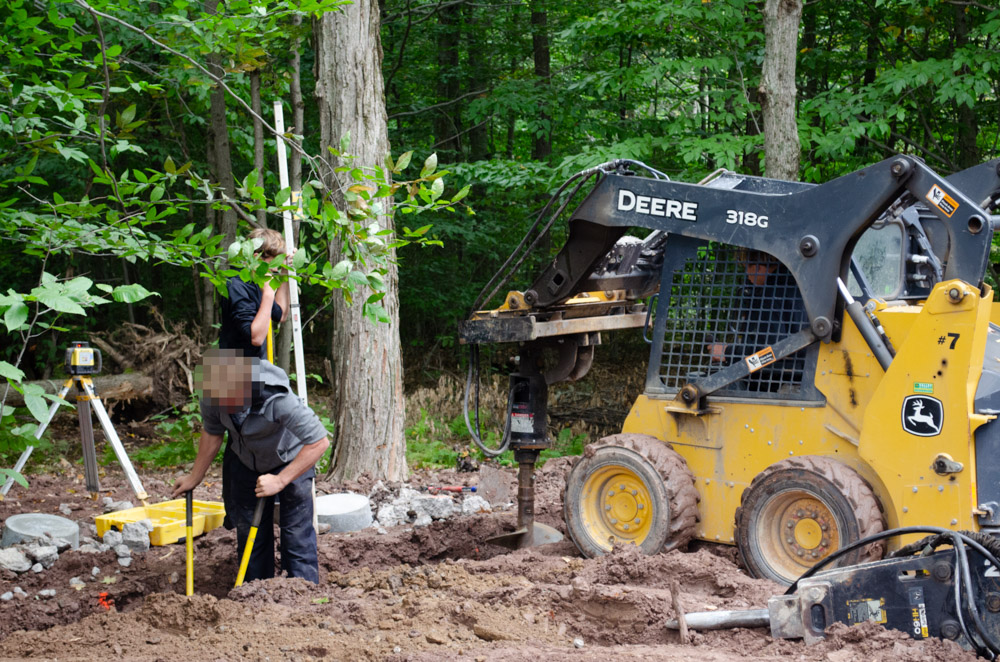
Once the obstacles were clear (if there were any), bring out the auger and bore the hole.

Drill down… 
And down… 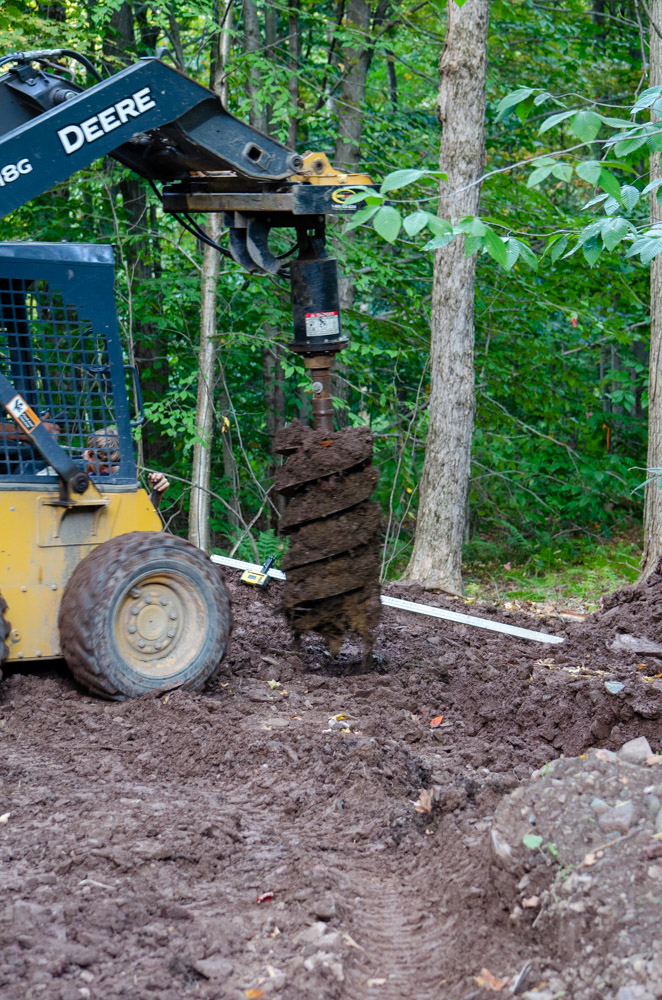
Pull out the dirt
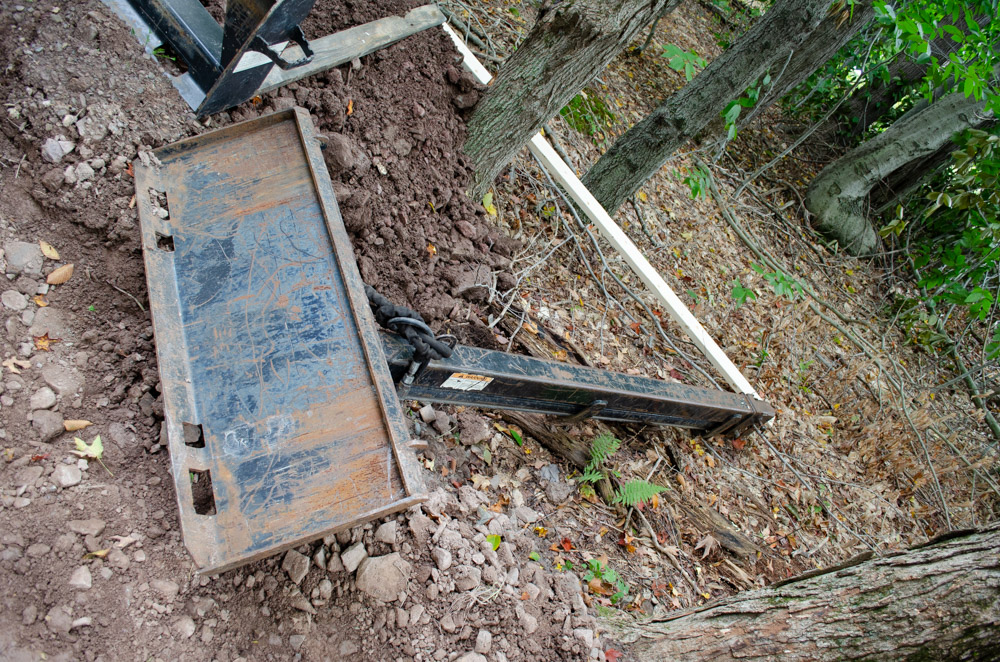
And so it went for kind of a while… until the mount for the auger broke!
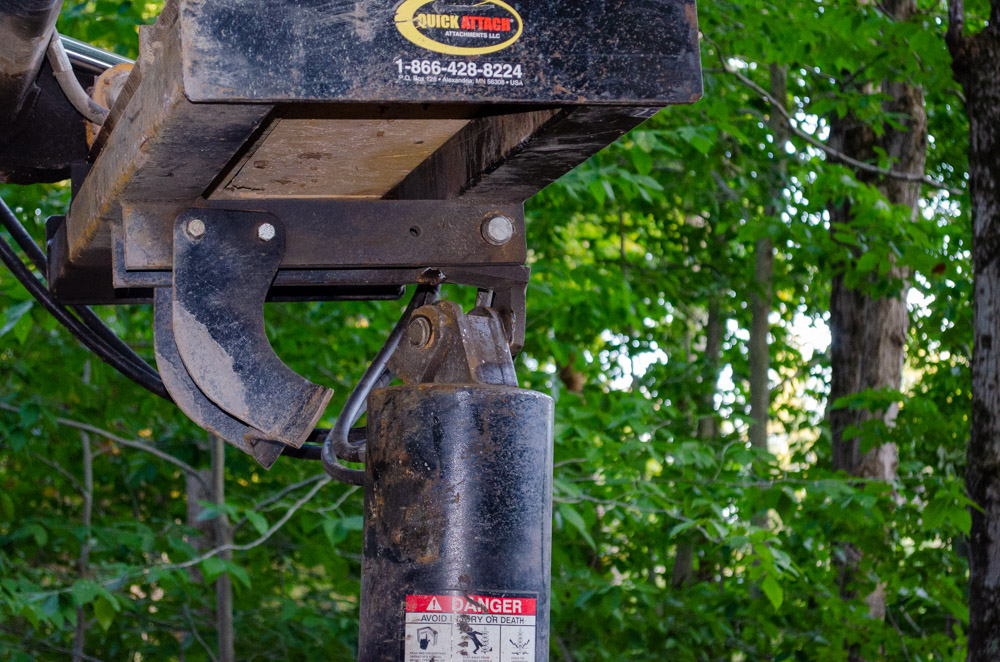
Hanging from one remaining bracket ear 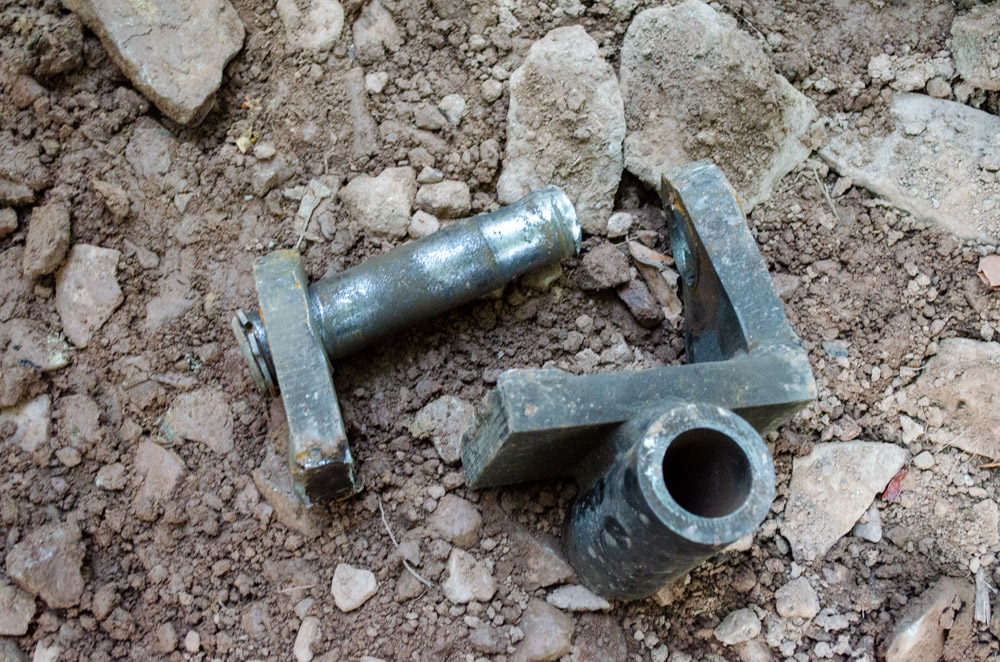
Bracket is supposed to be one thing and a pin, not two…
The “good” news was there was an auger on another job nearby that this crew could borrow to finish without having to get this one repaired first.
All that digging makes for a lot of liberated dirt. Gotta put it somewhere. Off to the side near this derelict cabin seems like a fine place. It turns out they used all that dirt later for filling in around the foot of the building once it was mostly up.
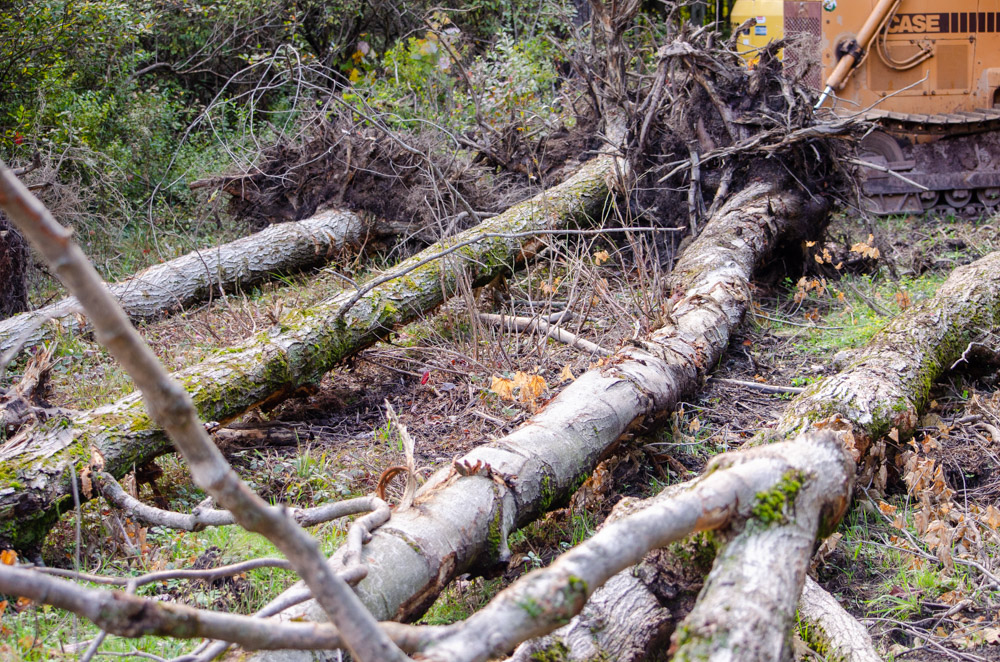
While it’s just about time to receive the materials off the truck, I did notice some photograph-worthy bits of nature on site.

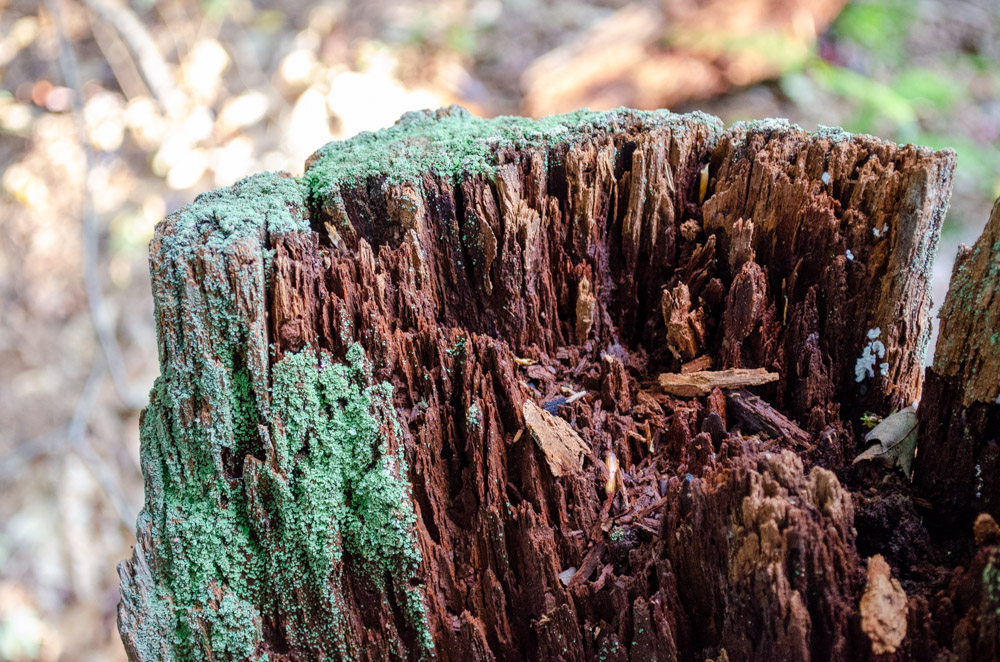
I am looking forward to returning to nature photography (and a bunch of other things) once this project is finally complete.
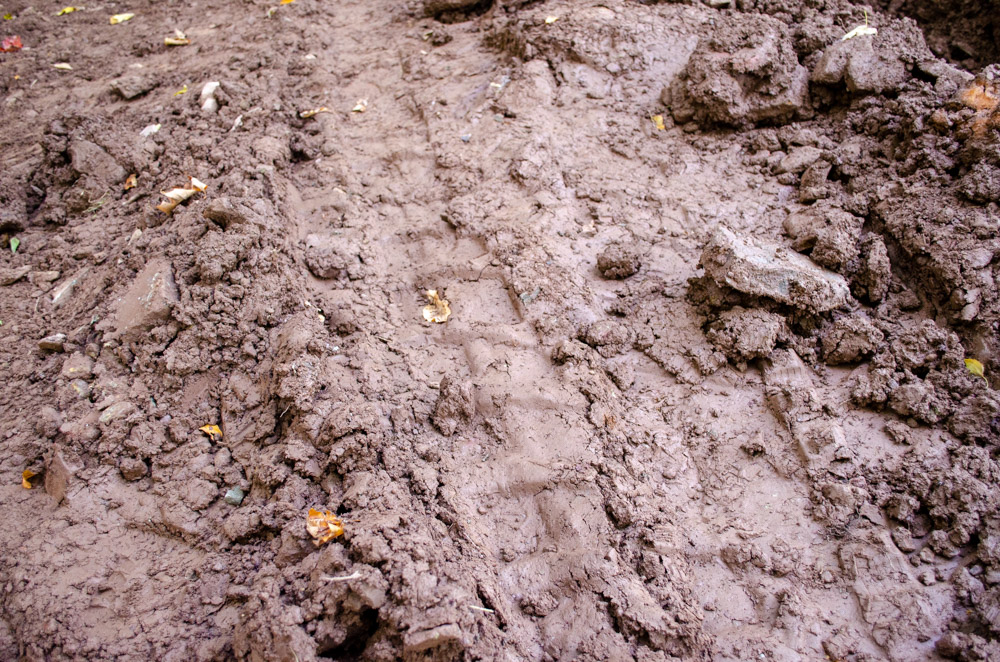
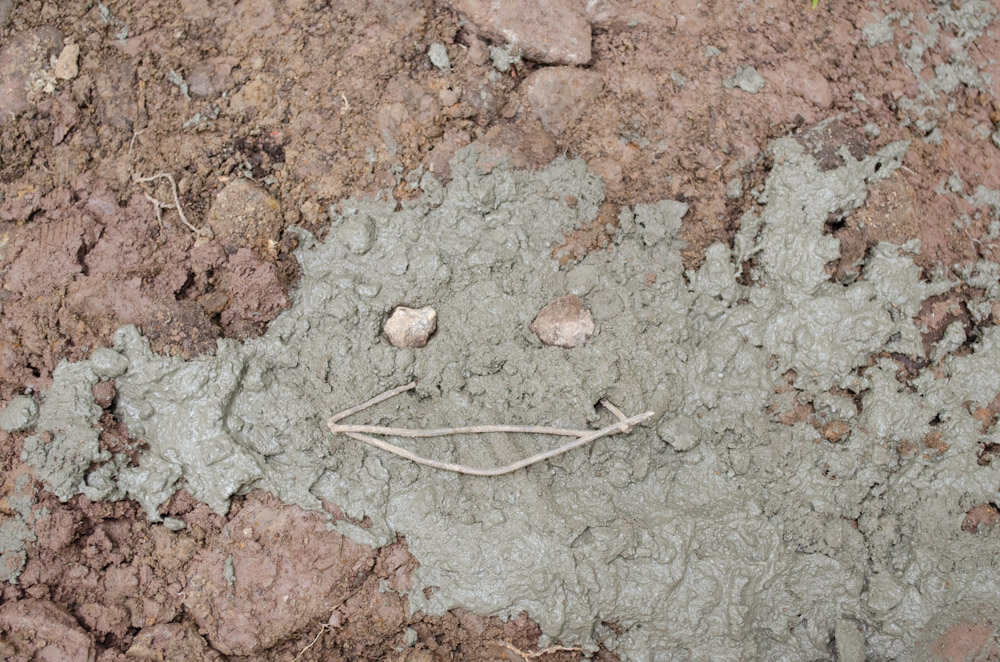
Speaking of nature and other pursuits, I did notice that this land had a very high clay content. This is what made an ordinary septic system impossible (can’t percolate through clay) and is why it stays wet for a while after a rain (ditto) and is pretty poor for farming (ditto, though people do it anyway). However, it also means… there’s clay! And where there’s clay, perhaps there is pottery? Sure. It’d be fun to build an earthen kiln for firing my native clay pots and such, wouldn’t it? One step at a time, I know, I know, but it’s entertaining to contemplate.
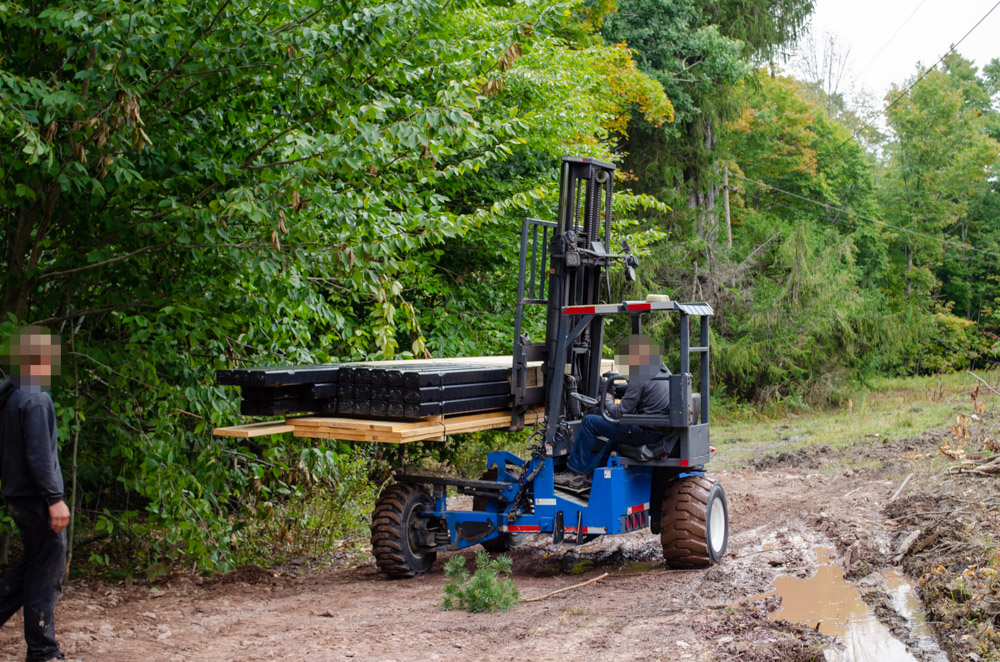
The materials truck arrives! What’s the coolest bit, though, is the delivery machine sitting on the end of the flatbed.
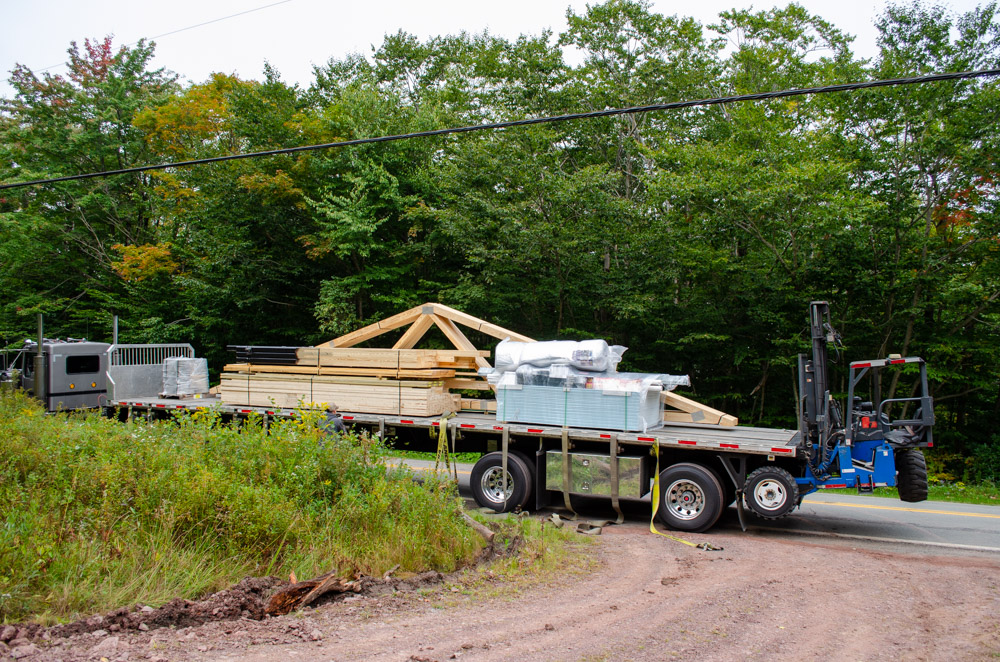
I mean, there’s no way this big truck is going to make it into the site without a lot of bother and then how would it get unloaded, anyhow? That little blue vehicle is the answer to all that. At first, it looks like a fancy pallet truck. But it’s so much more! The wheels can turn independently of the vehicle, allowing it to change direction without changing position. So cool! It can literally drive up to a wall, then fiddle its wheels and then drive along that wall, still up against it. This is supremely useful for delivering goods to a job site, where maneuverability may be limited.
Wheels sideways 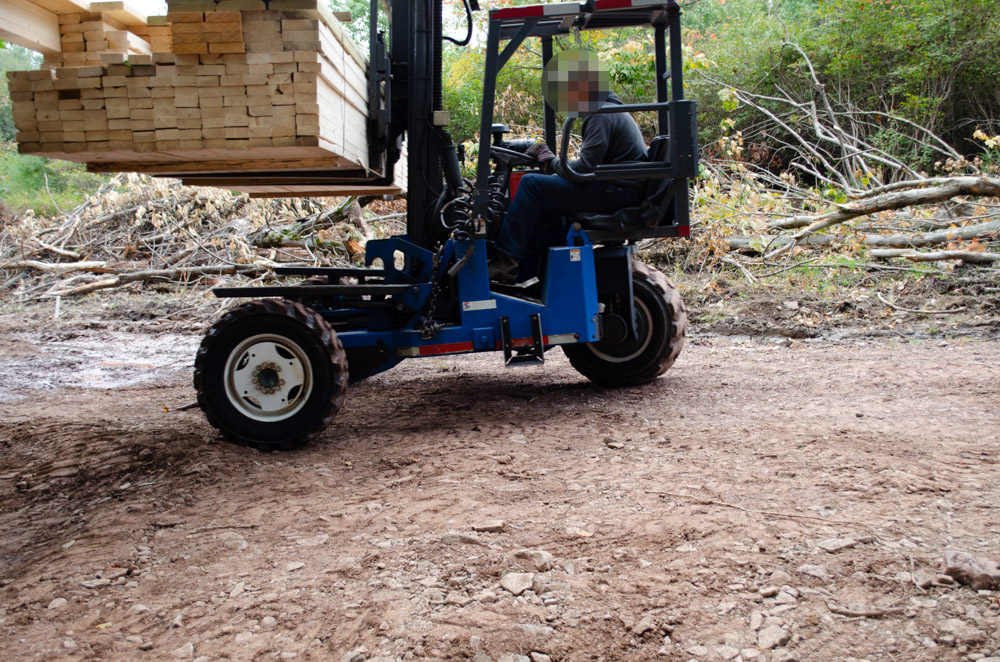
Wheels forward
Indeed, the wheels are totally independent, too, so it can pivot and spin in all kinds of ways.
One thing that really struck me was how fearless these guys were in general. Behold, the auger running right in front of the guy holding the depth stick and just behind the other guy clearing a hole. If anybody slipped, they’d get eaten by the auger. Nobody seemed to give it any mind at all. Hard hats? Nah. PPE? Almost never. And we haven’t gotten to the really dangerous stuff yet!
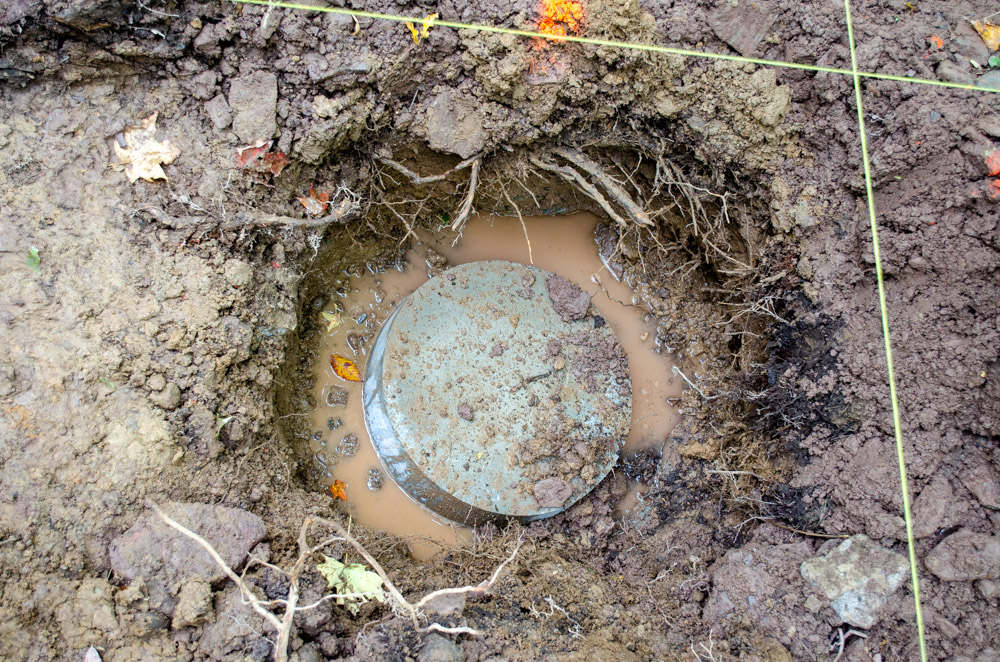
Now that we have the post holes, it’s time to… insert a post pill! These are concrete discs which serve nicely as post footings. Remember what I said about poor drainage? Yeah, there’s also seepage. Hence the water around the post pill.
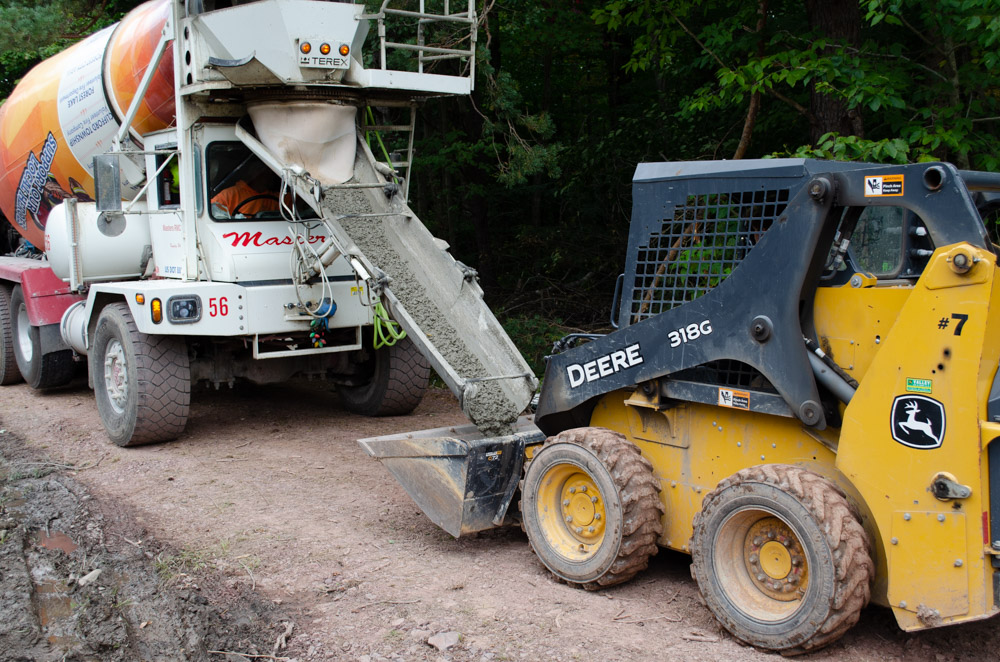
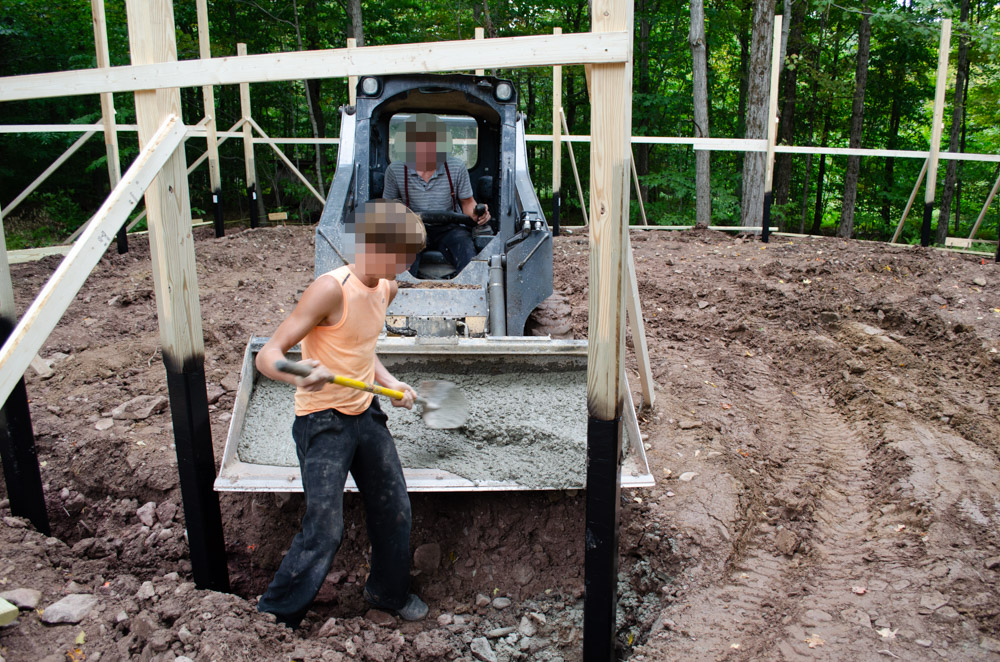
Next, set the post, fetch some concrete, shovel it into the hole…
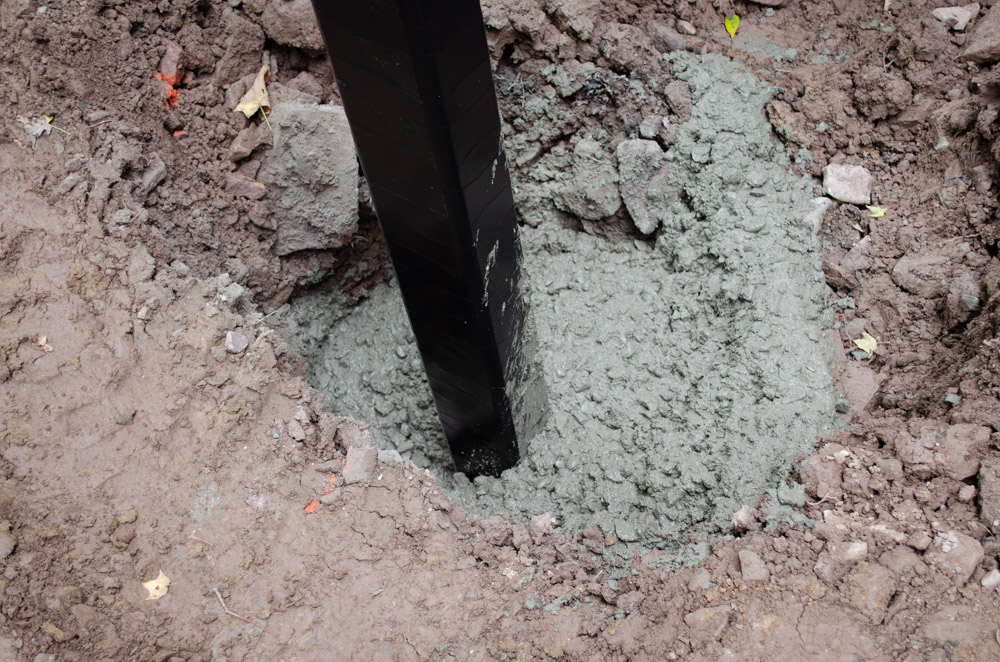
That black treatment on the bottom ends of the posts is a special wrap intended to further protect against rot and such. The bottoms of the posts are already pressure-treated lumber, but for extra goodness, considering the aggressively wet earth, it seemed prudent to go the extra step of getting the twice baked posts. Maybe that was overkill, but it did make me feel better.
With all this equipment running around, it’s pretty much inevitable that some oil would be lost to the environment. That made me sad, but it was kinda pretty.

What do you do with a little spill of concrete? Play, of course 🙂
Ok, posts in, now it’s time for the insulating skirt. This is meant to help stabilize the earth under the concrete floor so the temperature difference between the interior (heated) and exterior (not) doesn’t cause issues. I’m not absolutely certain how this works, to tell you the truth, but evidently it’s a thing.
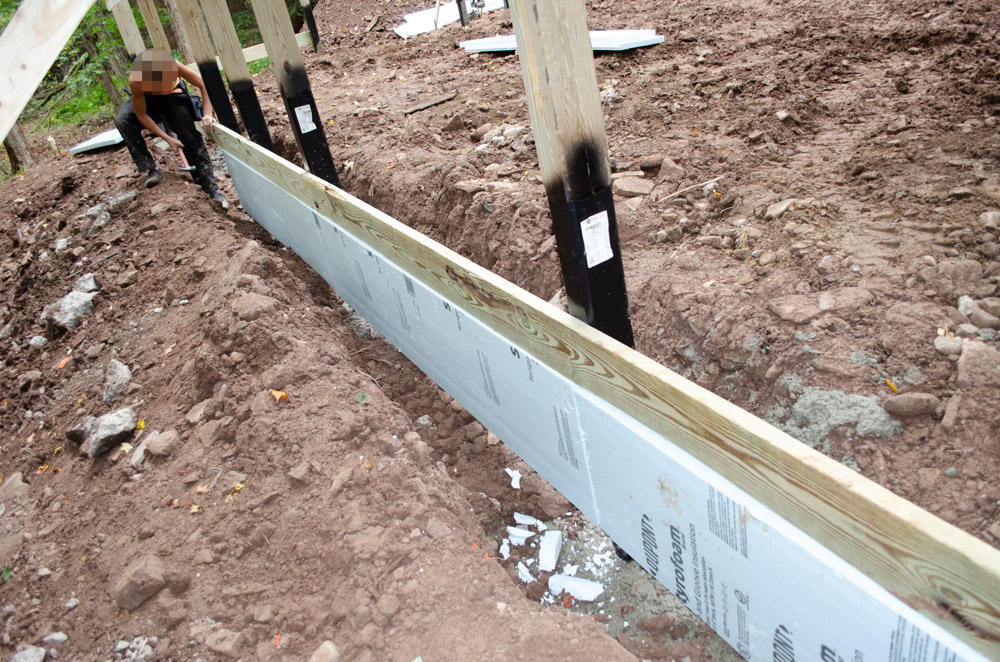
Now pack the outside with dirt and the inside with rocks. This skirting is why they dug a trench before digging the post holes.
Deliver some dirt to the exterior 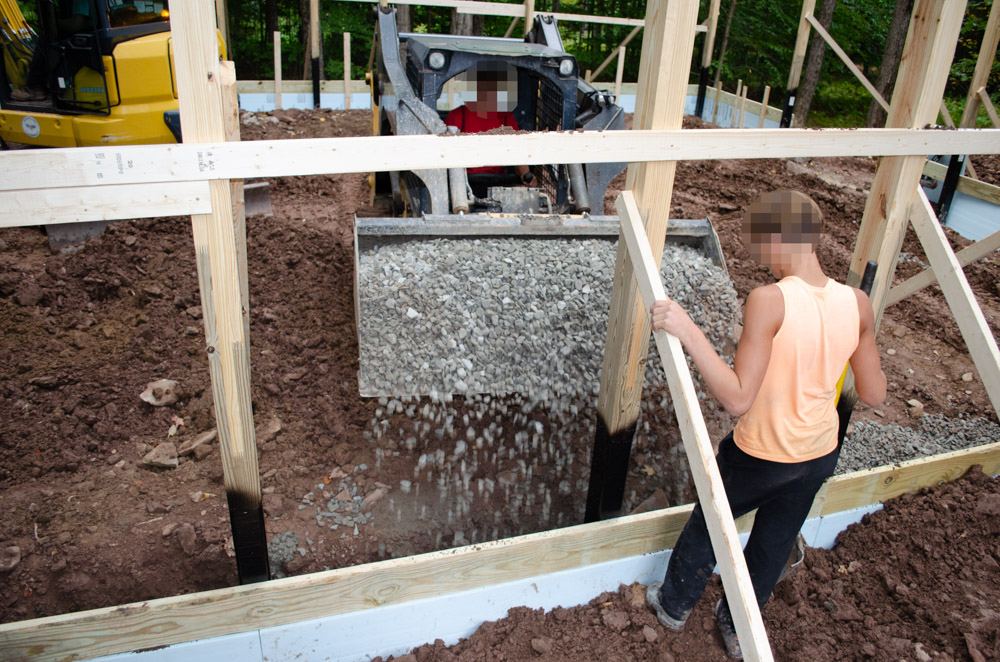
And some rocks to the interior
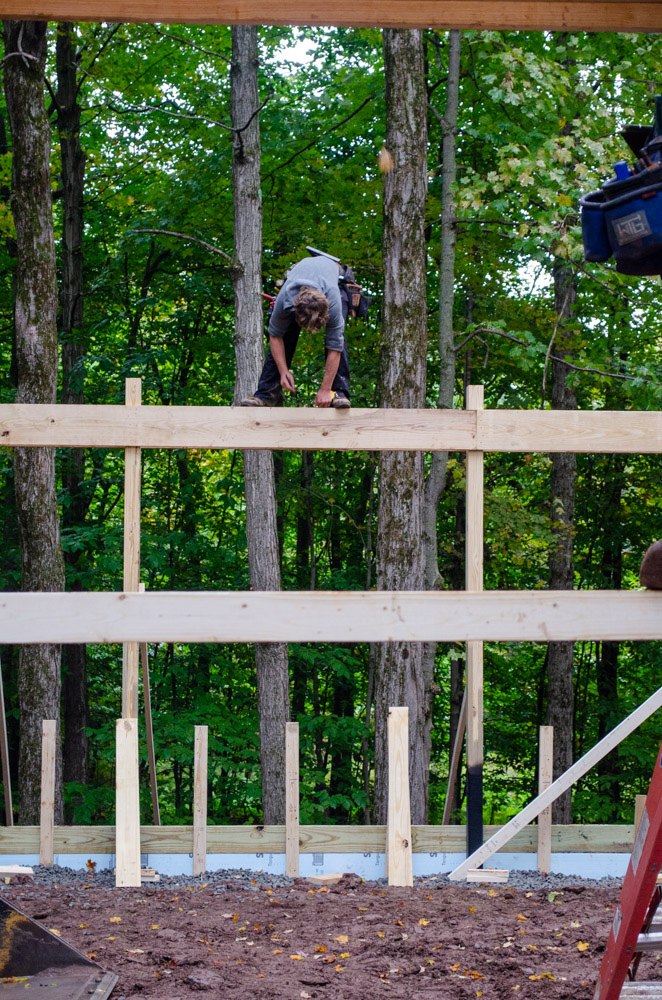
Now that the posts are in, time to make some marks for where the headers go. This was among the more safe bits of acrobatics they did up on the framing.
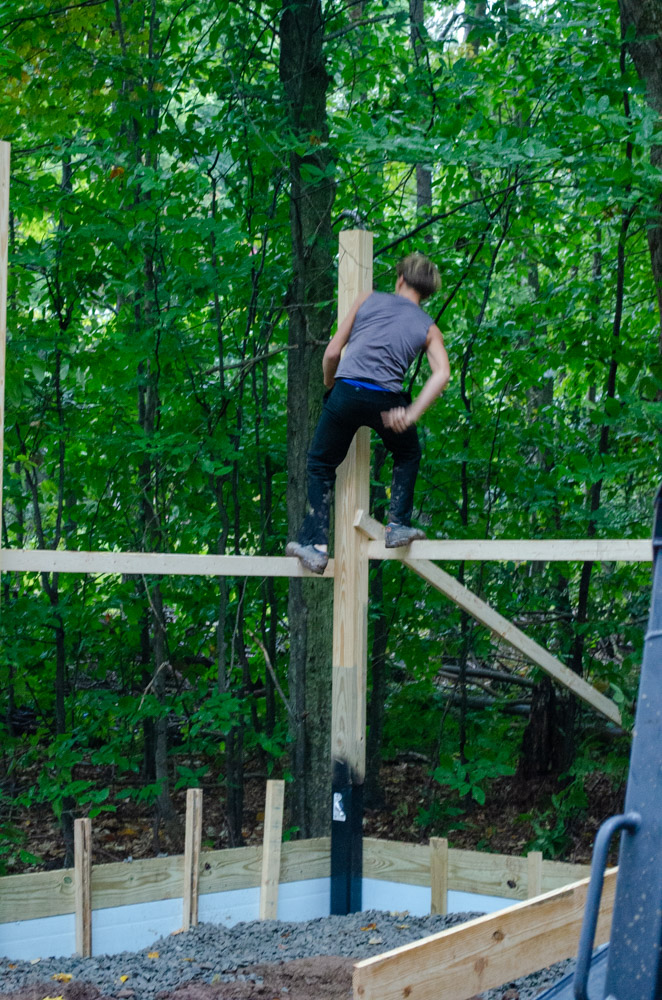
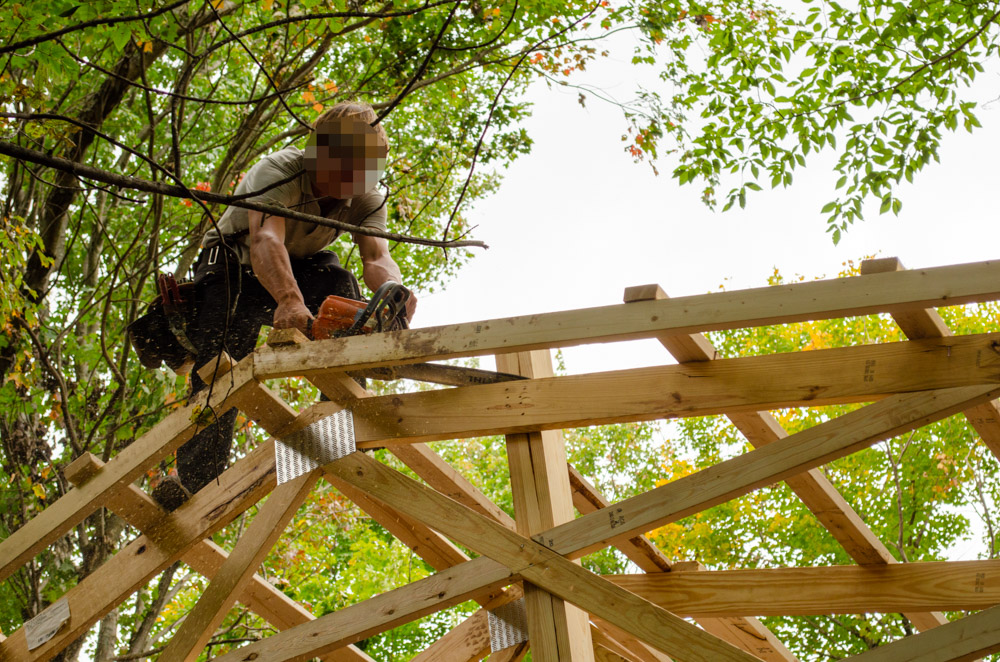
And this was among the most frightening. I don’t know that a chainsaw is the wrong tool to trim the top of the post after the headers are in (and they are twin headers, so there’s two 1.5″ rails to stand on, 6″ apart – hey it’s almost a platform!), but for sure balancing on a beam 12′ off the ground and pulling the chainsaw toward you takes… courage.
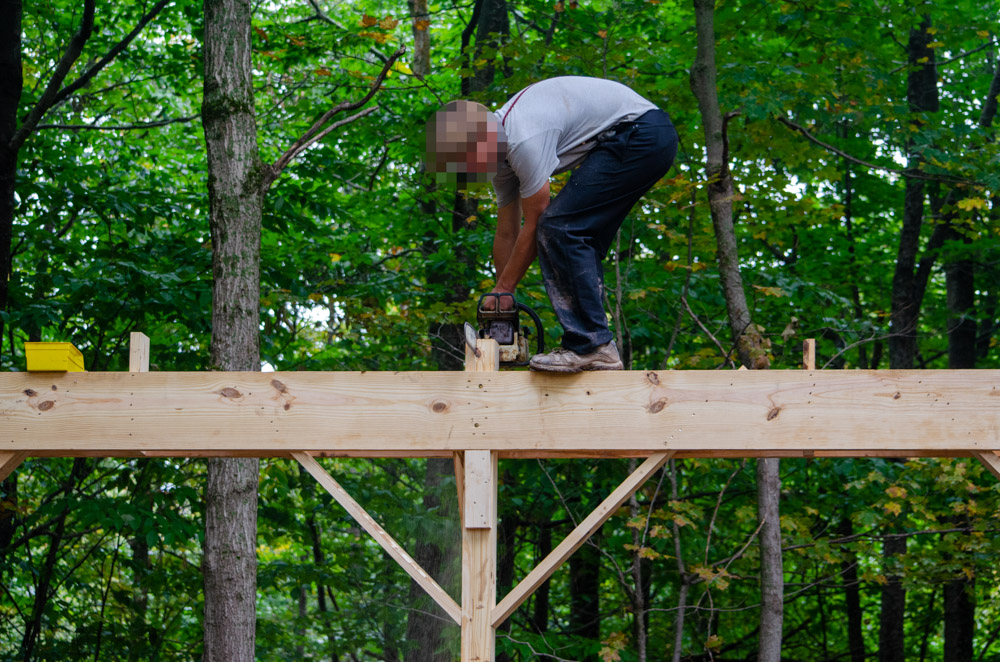
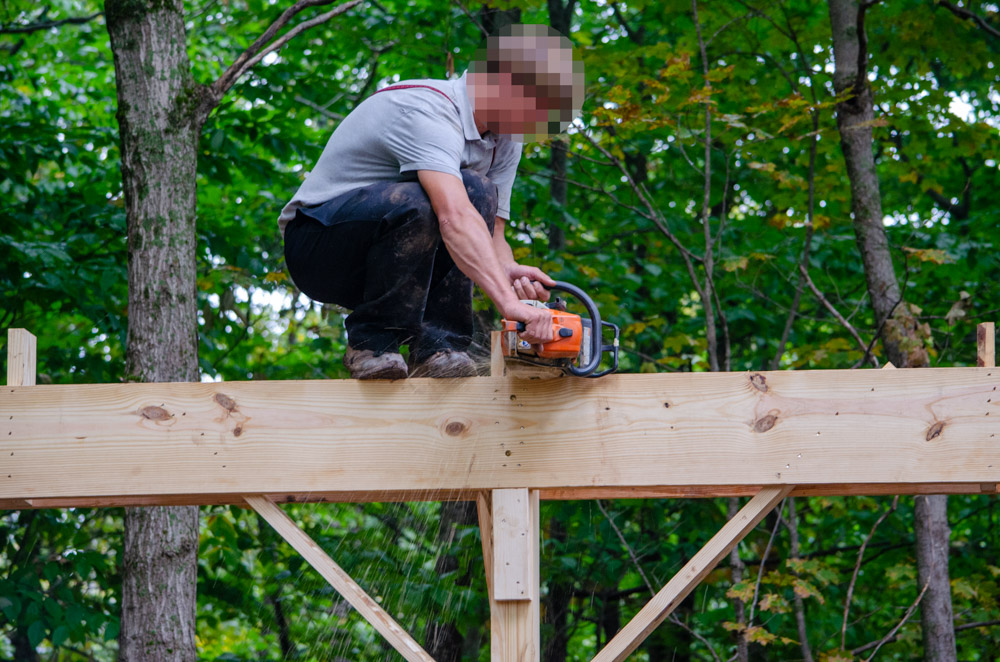
So does this.
Posts and headers set, time for roof trusses. These pre-fab trusses went in quickly, transforming the space immediately.

Raise with the boom attachment 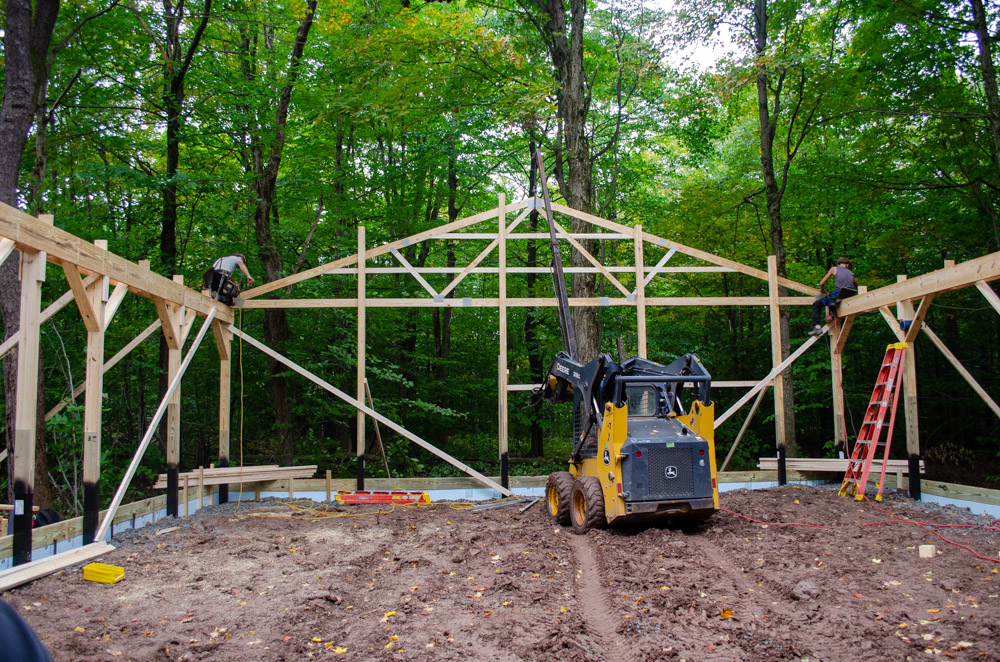
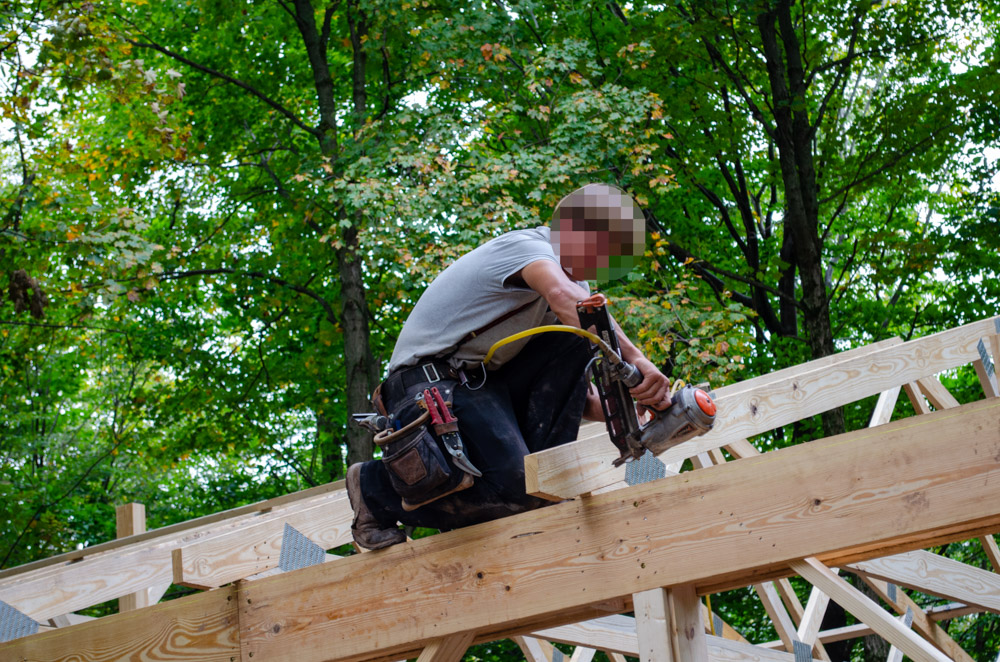
Then nail in place to the post heads
But aiming the nail gun towards the body? Not how I would do it.
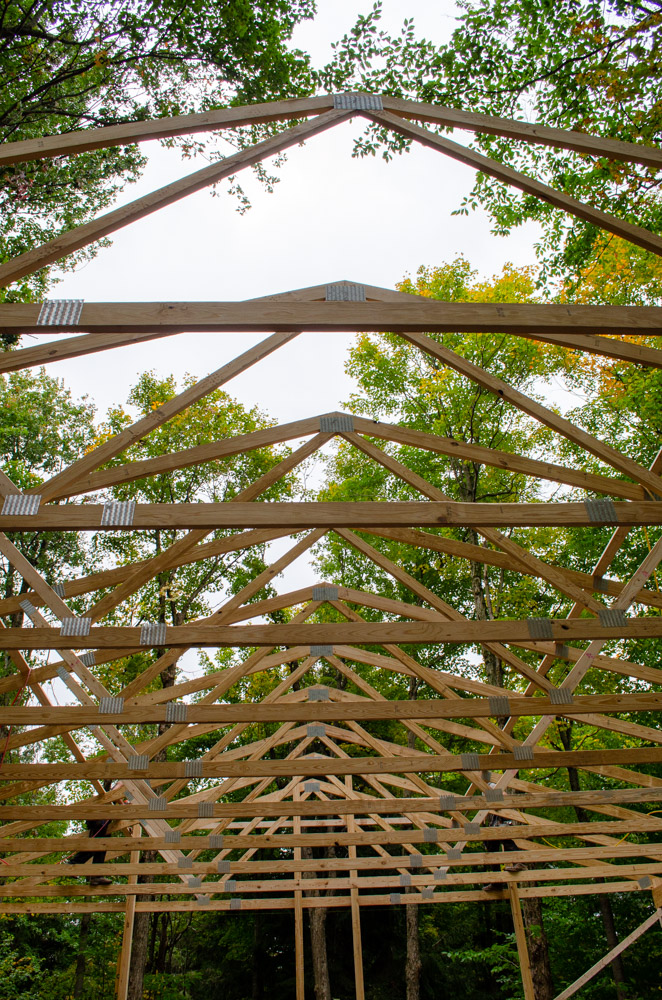
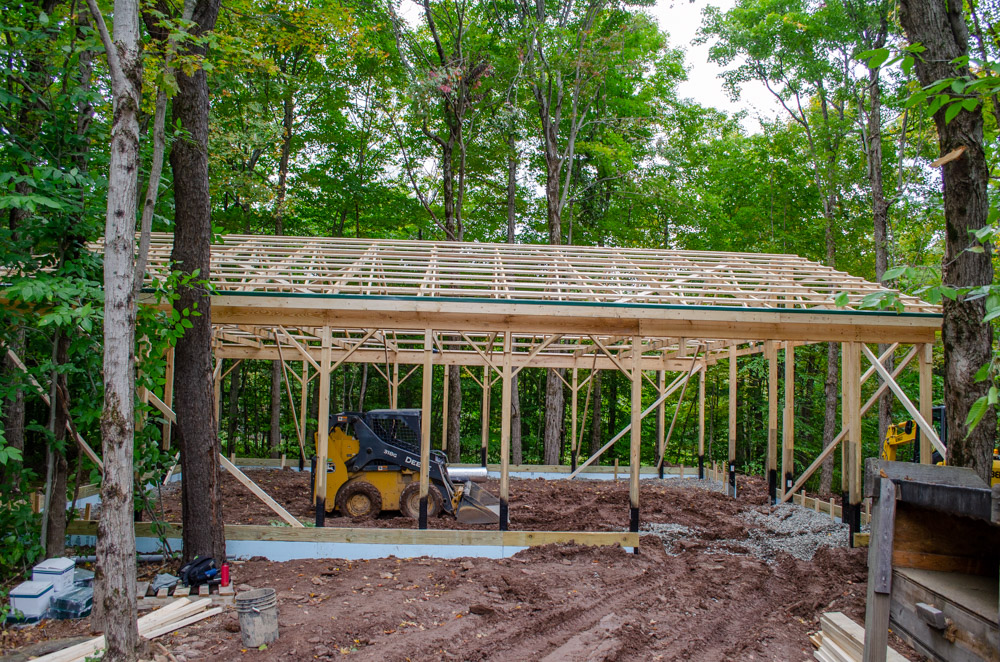
Before they can start putting on the roofing materials, though, it’s time for purlins.
Then the tops of the posts must be trimmed. Our wild man with the chain saw was at it again.
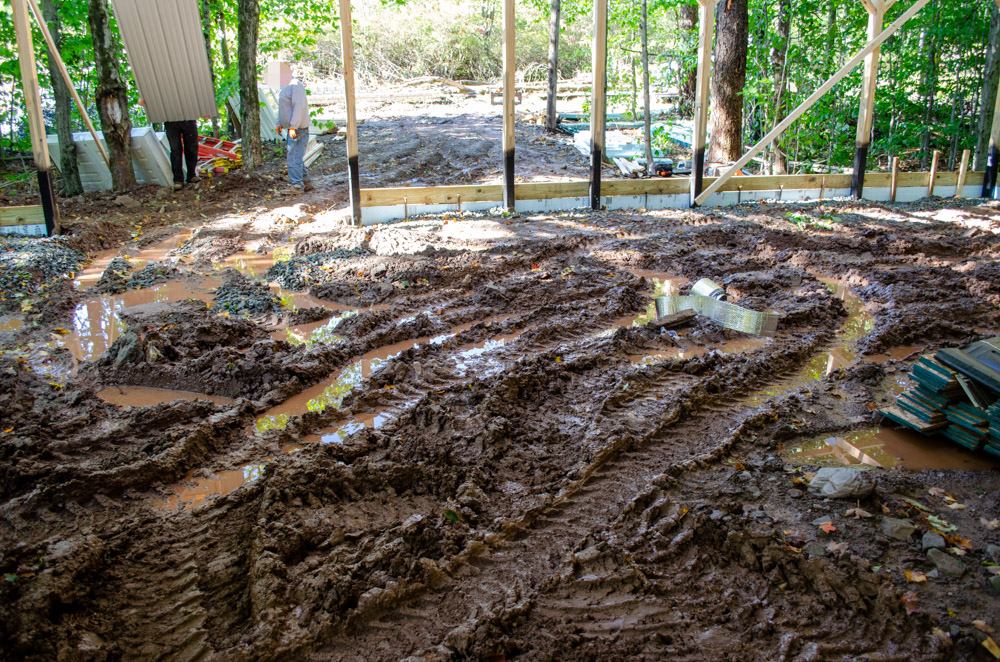
Now they are ready to start with roofing materials (the next day). Before that, though, it rained. Hard. Remember that soil that’s full of non-draining clay? Yeah. There’s a bunch of it under this not-yet-roof.
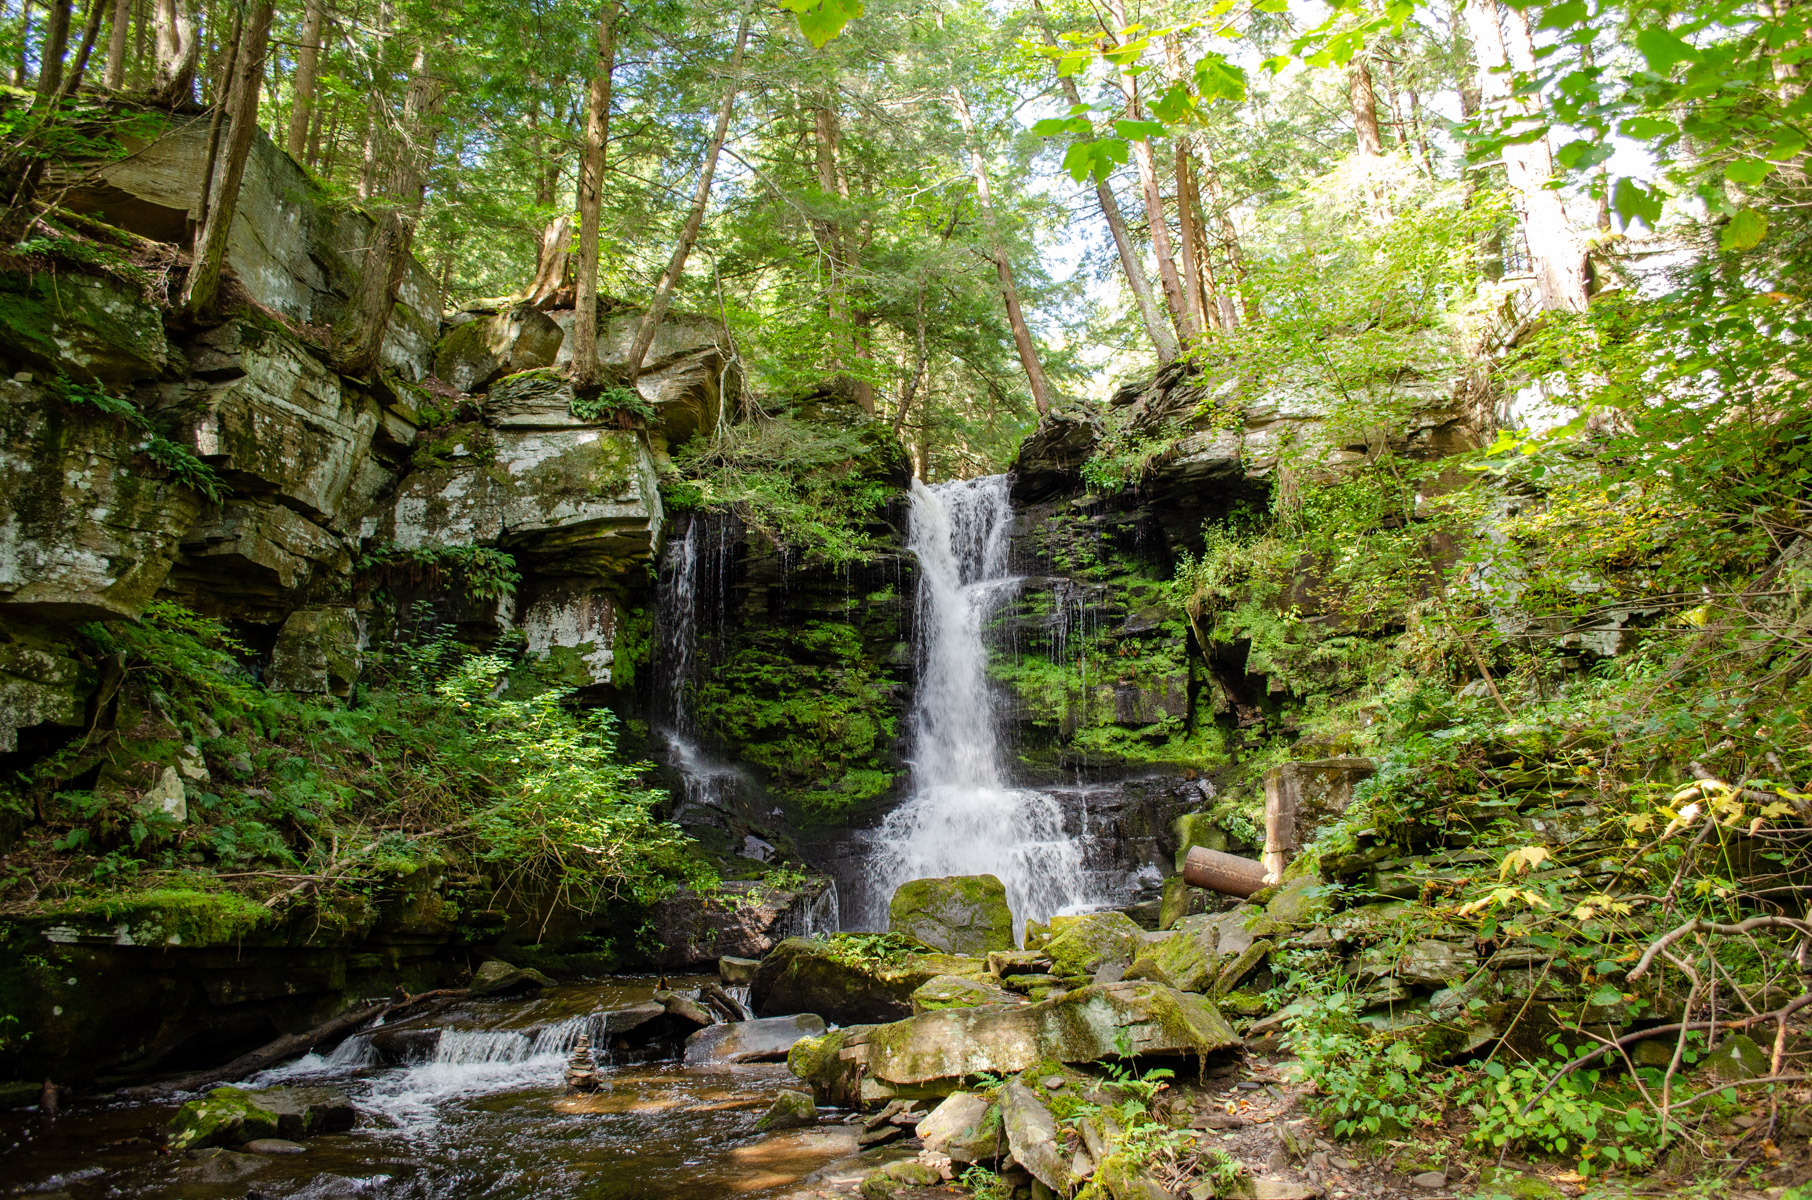
Speaking of forces of nature, there’s also beauty of nature! Autumn comes early in this part of the state (it’s cooler due to elevation). Here are some souvenirs.


And not too far away are some falls…

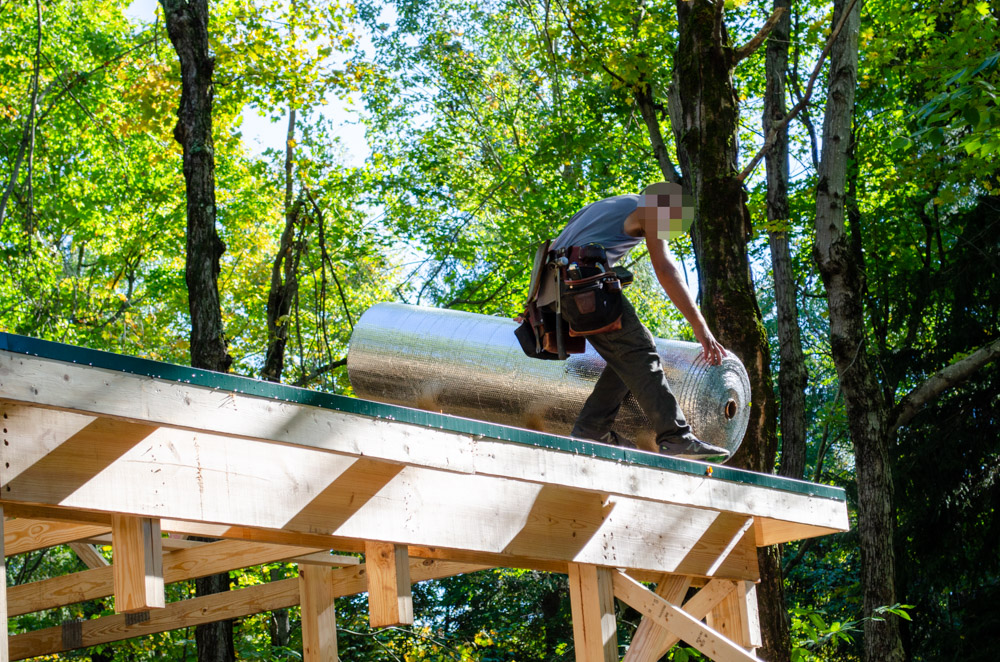
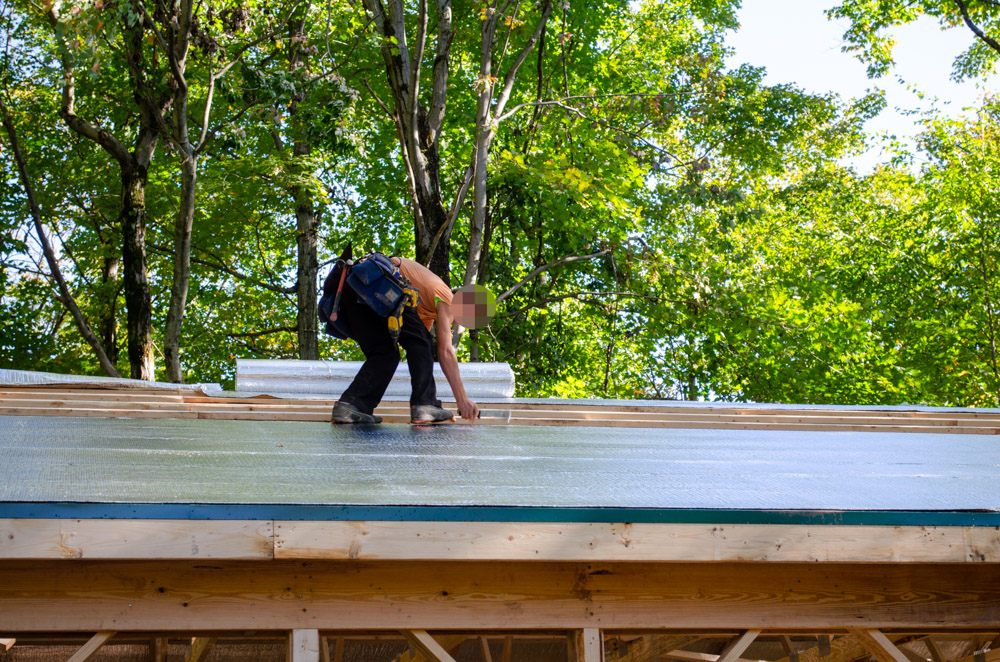
But I digress. There’s roofing to be done! Start with some vapor barrier/insulation, then fearlessly walk backwards, hoping to stay on those purlins, slamming the staple-hammer like a ginormous game of whack-a-mole.
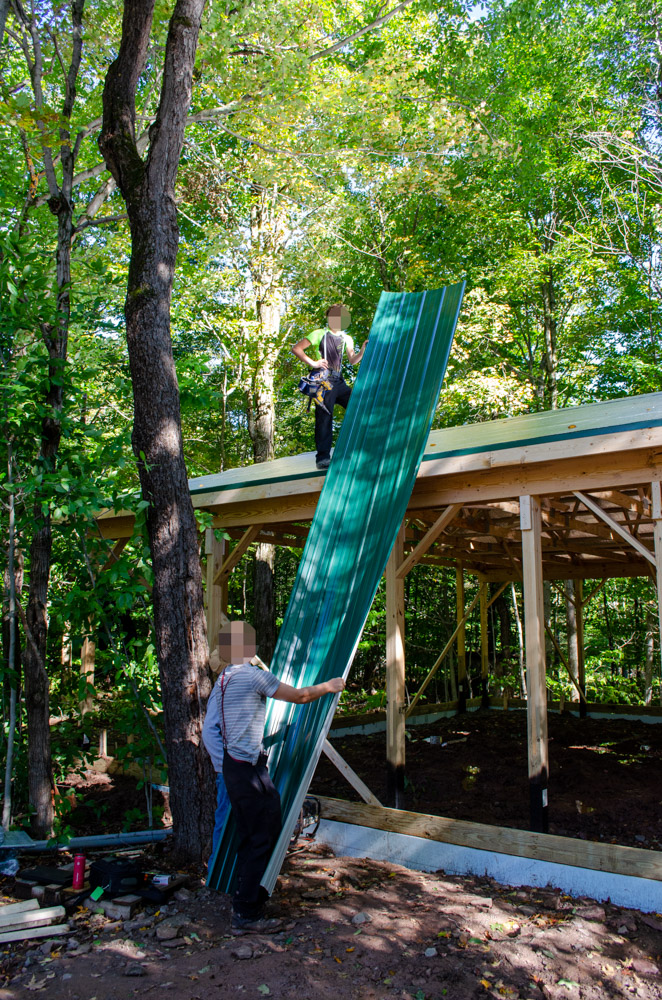
Pass up some roofing panels…
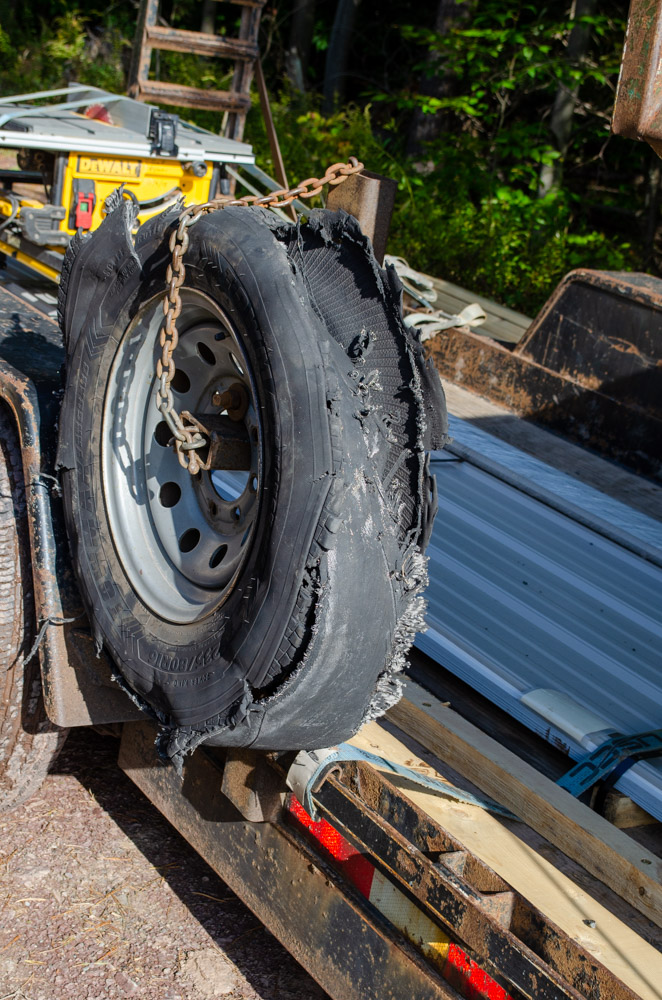
Remarkably, despite all the heroics, none of the crew fell from the roof or the framing. Their trailer, on the other hand, did have one very bad day. And this is why you carry spares.
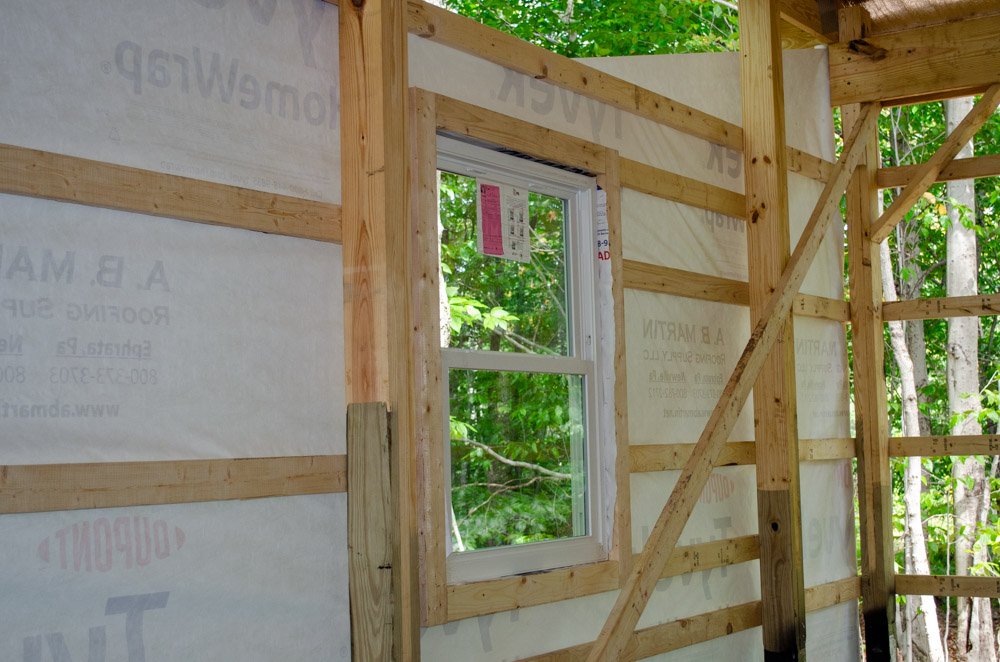
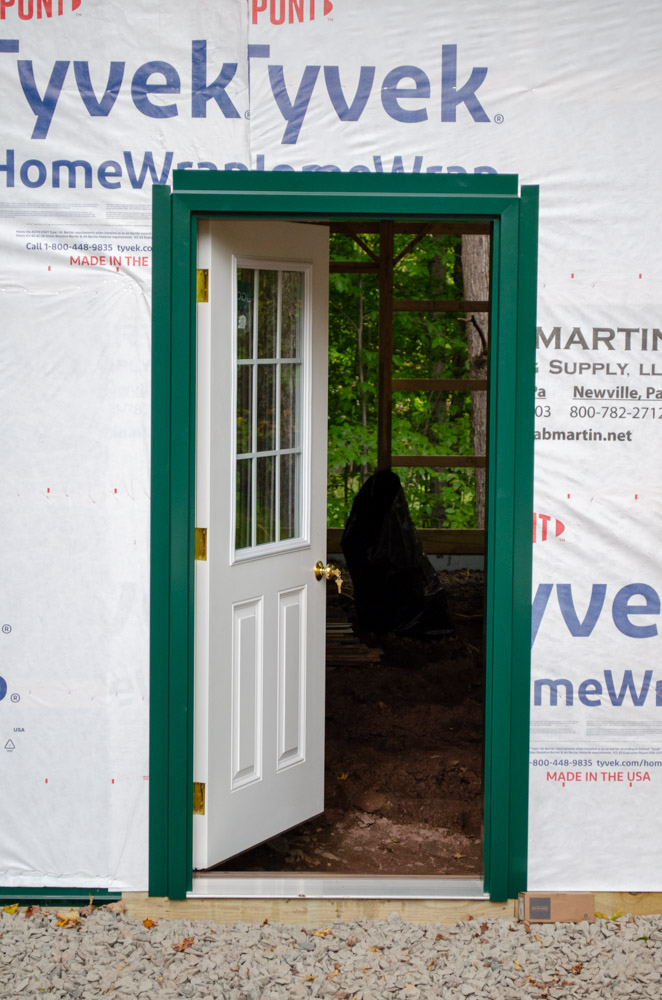
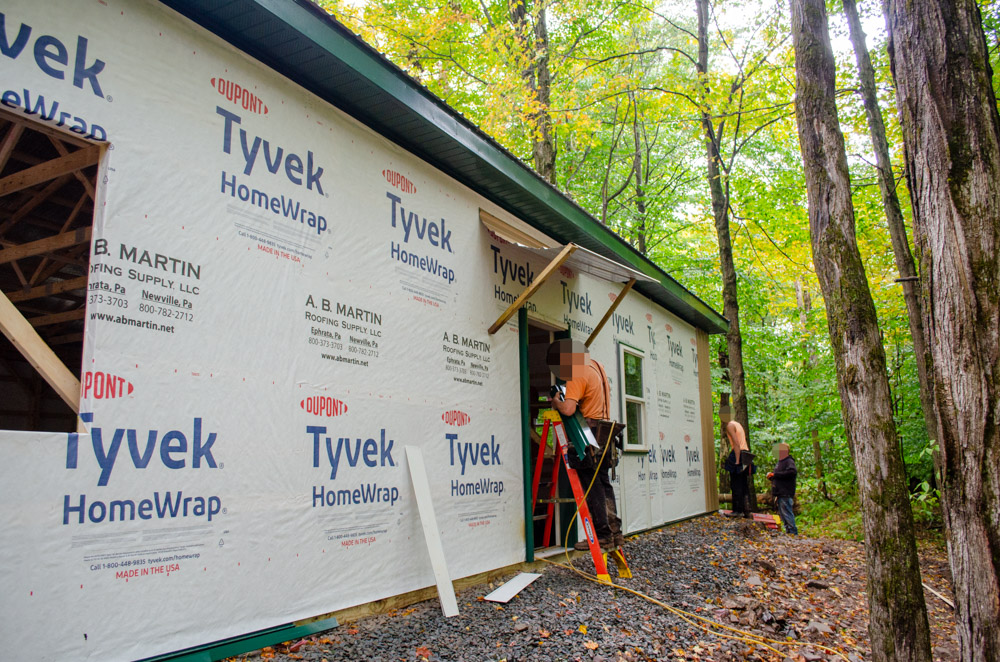
Framing of windows and doors done, it’s time for the Tyvek. Then the actual installation of the windows and doors (except the garage doors, which will be installed by a specialized crew later).
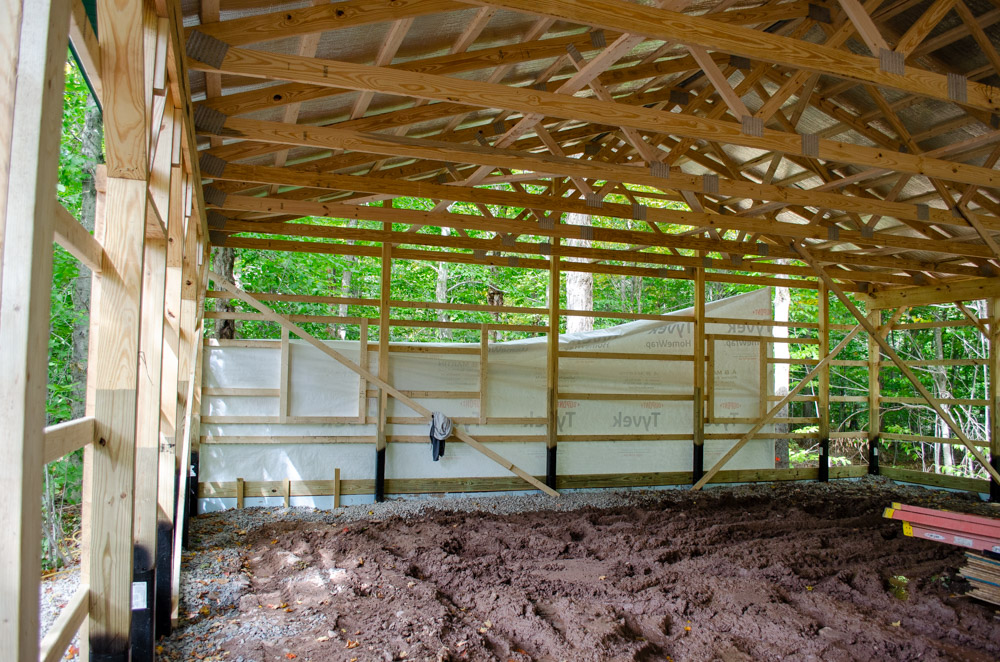
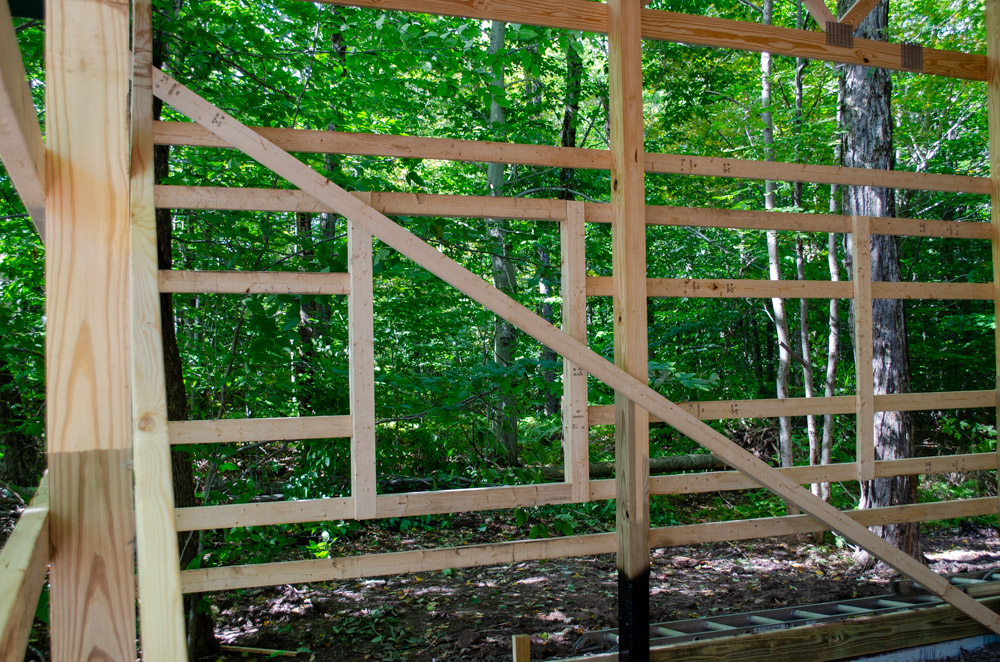
One really nice feature of this kind of construction is that the interior of the building is totally open – no columns. That makes for a highly versatile space. The workshop section will especially appreciate this, as I won’t have to worry about hitting anything as I swing 8′ stock around. Well, I could still hit something but I won’t hit any columns because there aren’t any.
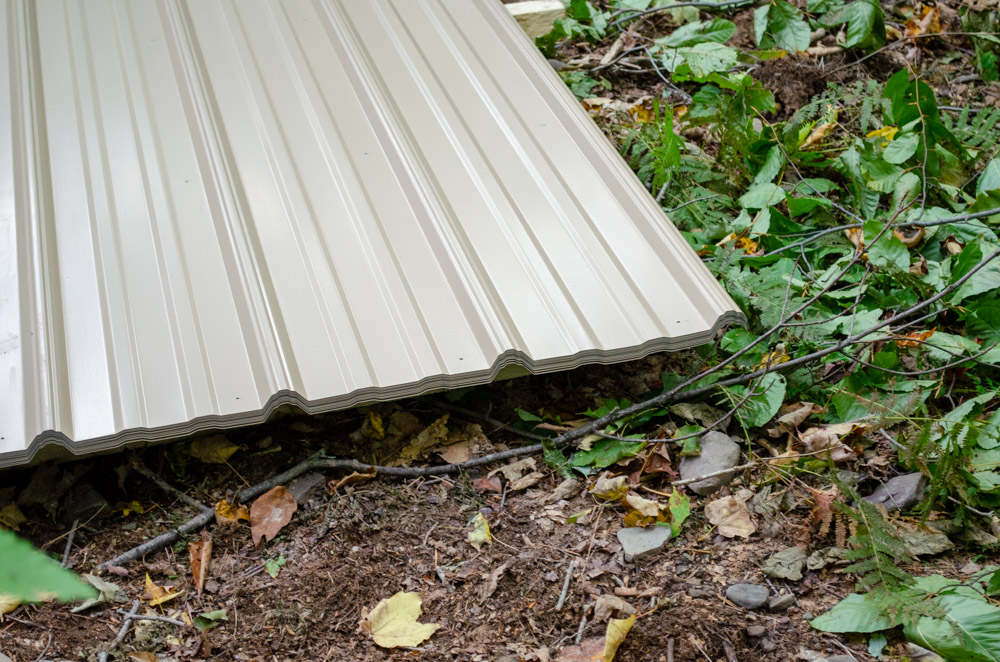
To save a lot of time and greatly increase accuracy, the crew pre-drilled the siding panels all at once in a stack. The holes were drilled exactly where the horizontal strapping was installed so when the panels are presented to the wall, the holes are exactly where the screws need to go. Brilliant. You can see a row of holes near the front edge, next to the larger ribs.
This is the first wall panel. It isn’t especially remarkable in any respect other than it was first and that was exciting 🙂
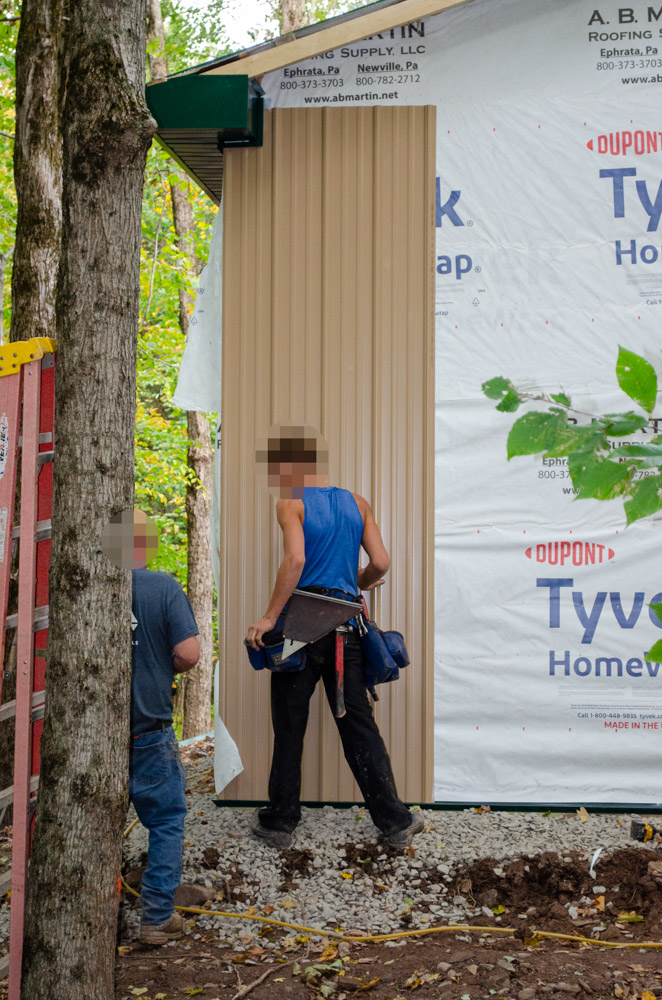
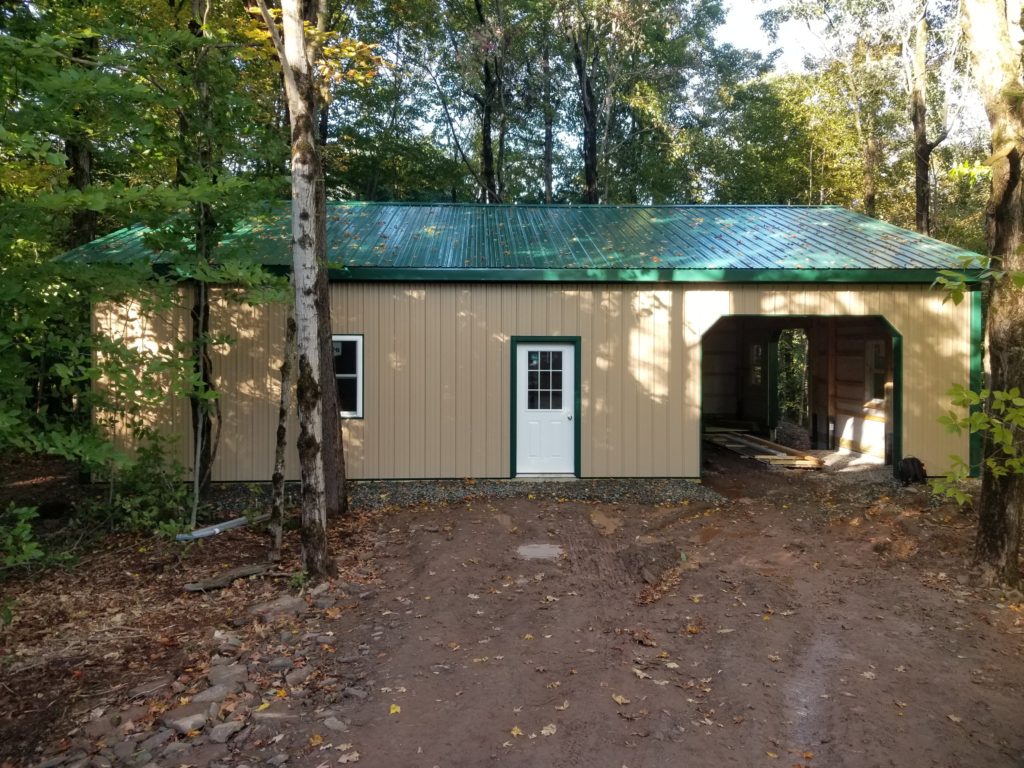
It didn’t take long to get all the panels installed. They also put metal casing around all the door openings. This is a nice touch. The windows are vinyl but the doors have wood moldings which would need to be painted and maintained. But not if they’re covered in sheet metal to protect them from the weather. It has the side effect of being a perfect color match to the rest of the metal work, too (since it’s precisely the same stuff).
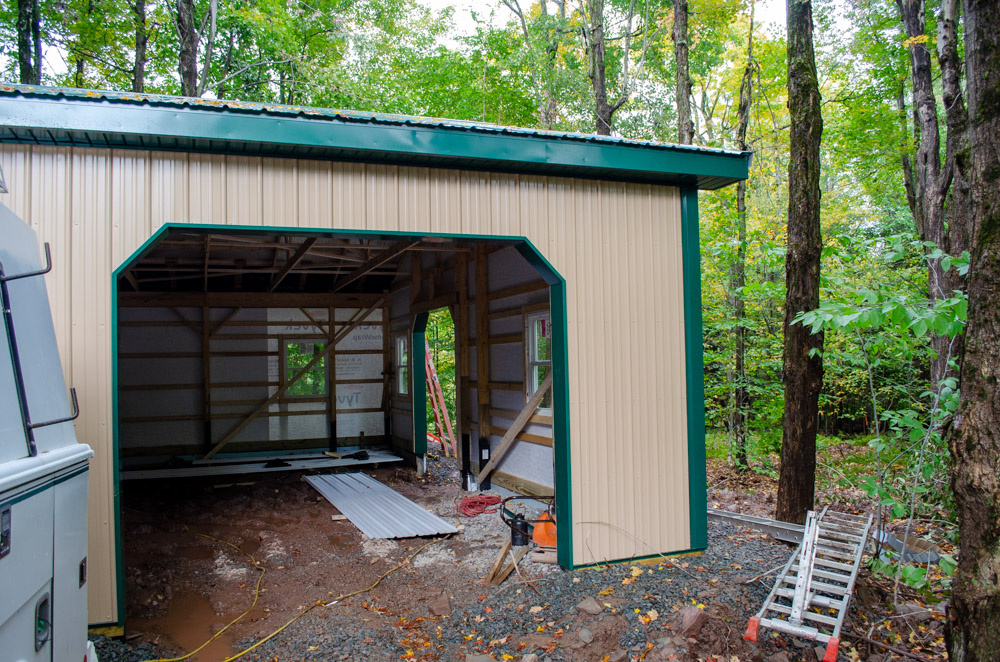
Instant awning!
After the first course of full rectangles, the gable ends needed angled pieces cut to fit.
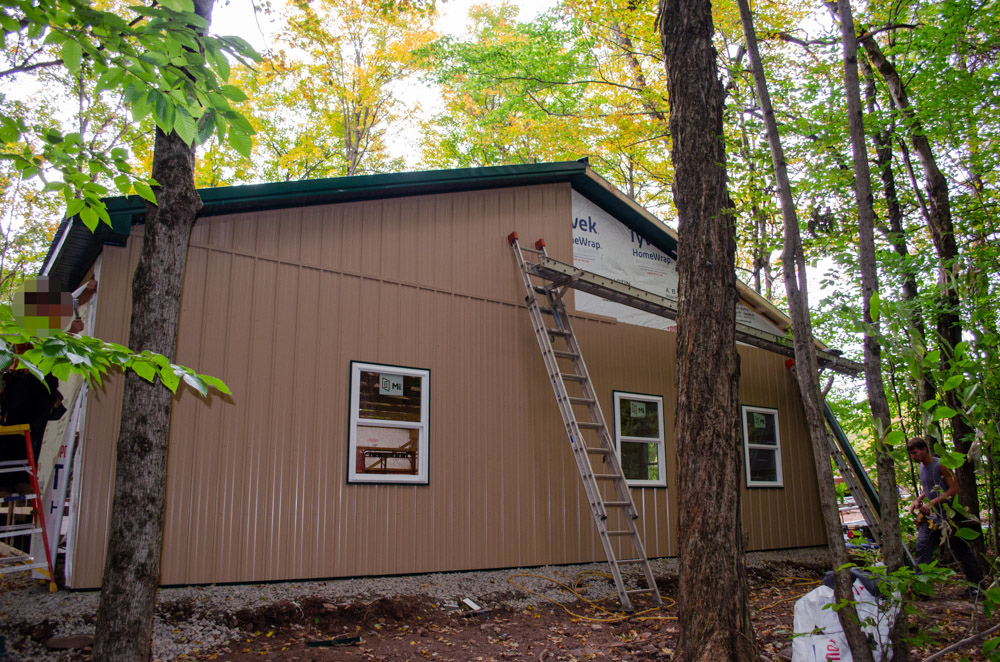
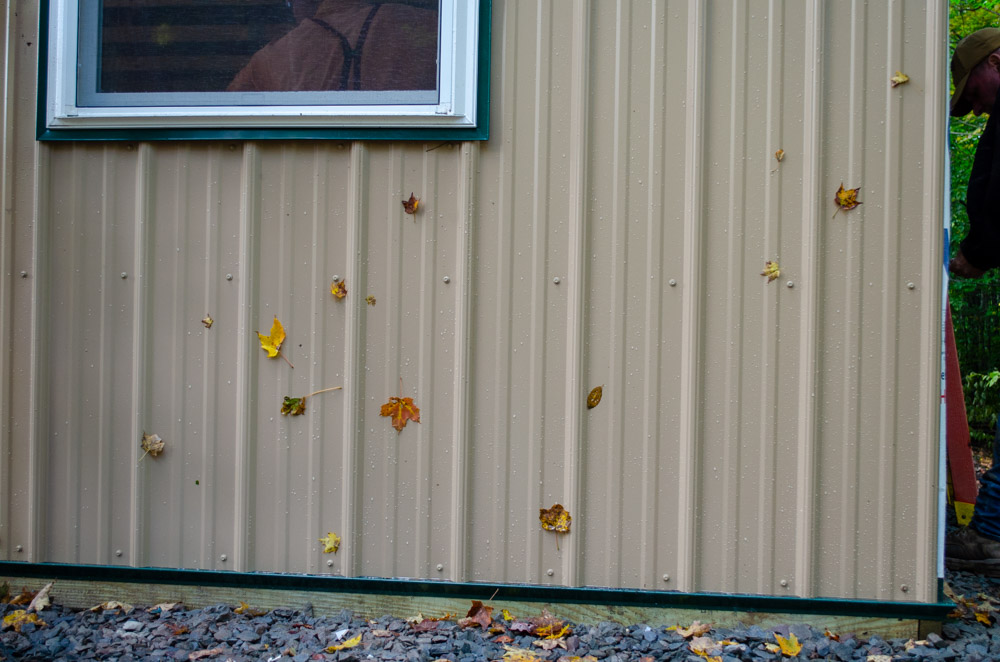
That horizontal trim isn’t just decorative. It also captures the top of the lower panels and the bottom of the upper panels, making a tidy joint. This picture is a little off, color-wise, making the siding look more like milk chocolate and less like the heavily creamed coffee color that it really is.
Before they were done for the day, Mother Nature saw fit to add some decor. I thought the tan color & the green roof would have the building blend in decently to the forest. Well, adding some leaves certainly helps 🙂
The last thing they had time for was starting the interior ceiling prep. This consisted of installing some baffles to protect the ventilation aspect of the soffit vents from the blown-in insulation that will be coming later.

When the crew left, it looked like this:
The ceiling and gutters came later, as fill-in work for other crews. I’ll take pictures of those next time I’m on site. The floor is scheduled to be poured in a couple of weeks. Sadly, the overhead door subcontractors are really busy and won’t get to my doors for another month or so! I may install some tarps and battens to keep out the weather (and wildlife) until then.
Here’s a walkthrough tour of it as it stood that day.
There were also a few trees that had to come down. These will not be wasted! They are nice maple trees which I fully intend to mill into lumber and turn into projects. The smaller limbs will make nice firewood, too (next year).
And that’s where things stand. There’s more news… but that will have to wait til I have time to write about it 🙂