The phoebes are back in their prior nest on the porchlet. This pleases me greatly.
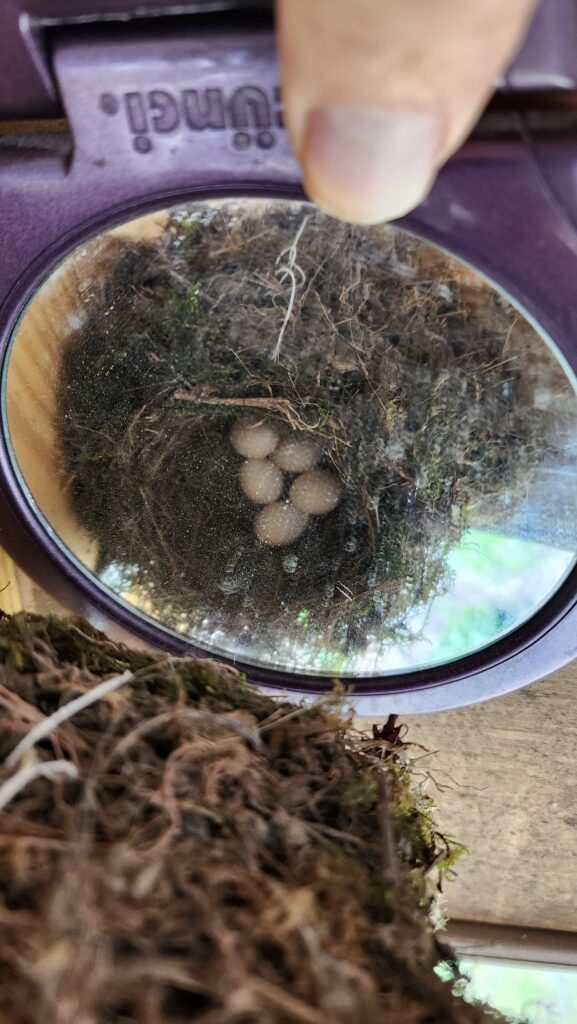
These wee eggs have since turned into balls of fluff & beak! Last year, Ma & Pa Phoebe had two sets of children here. We shall see how things go this year. In any event, I like having the baby birdies just outside my door.
And speaking of creatures just outside the door… while it is immensely difficult to focus on something so small that is also moving, tell me this sweet honey bee isn’t checking me out.

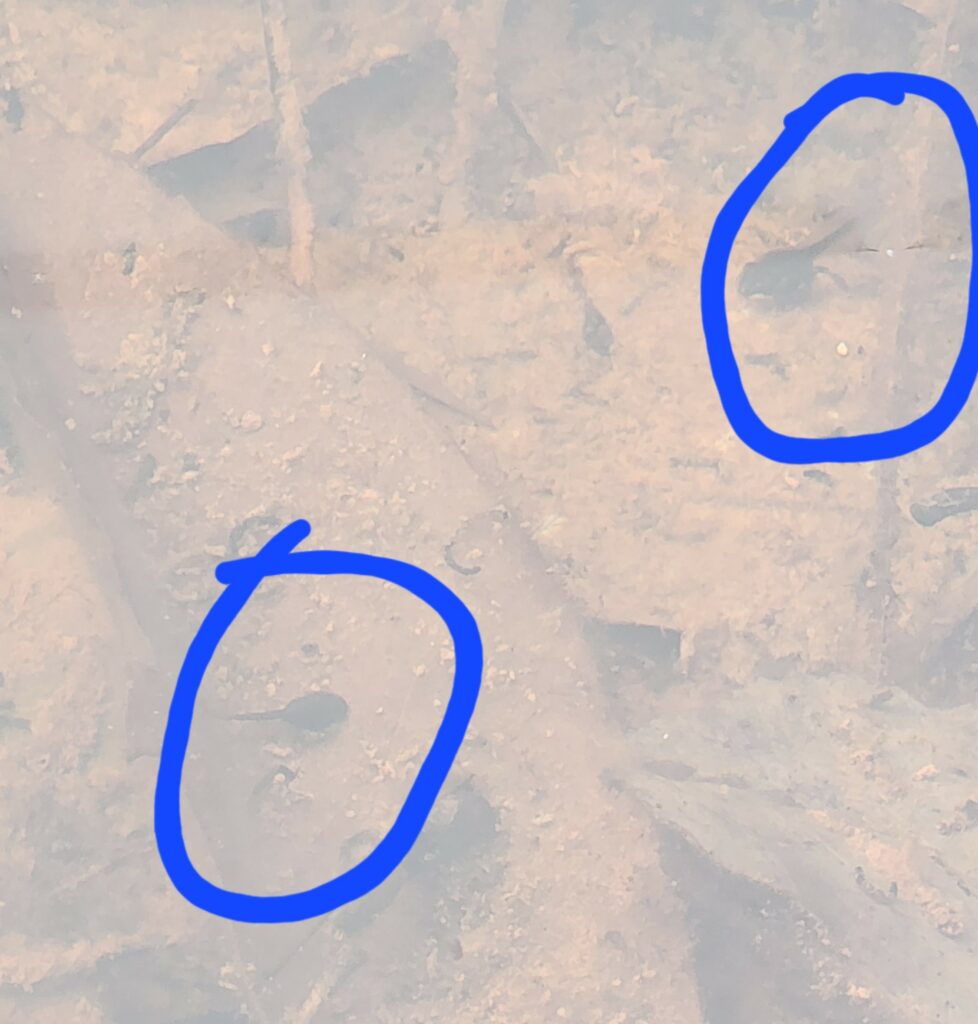
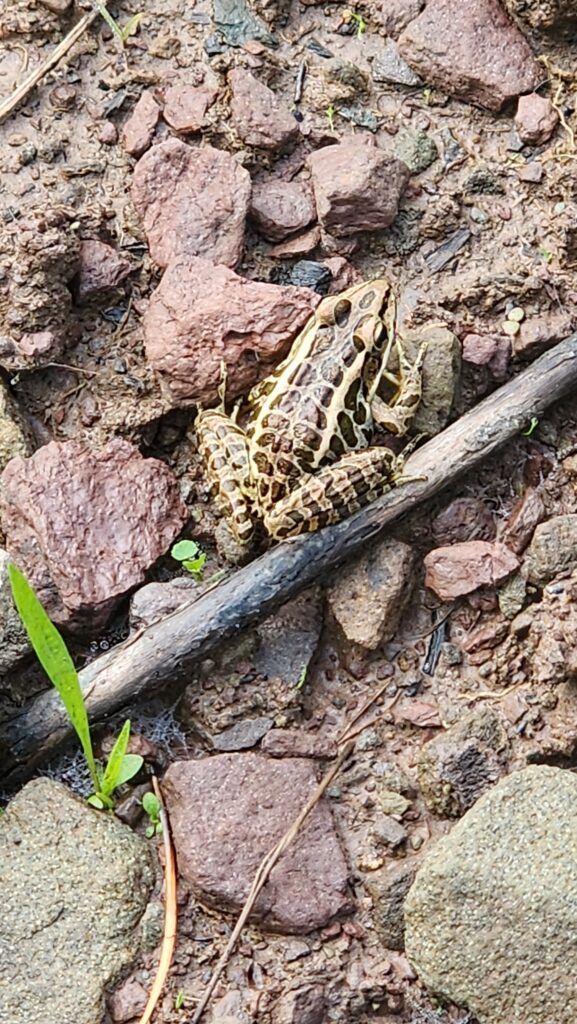
Also in the critters department, we have some froglet sightings!
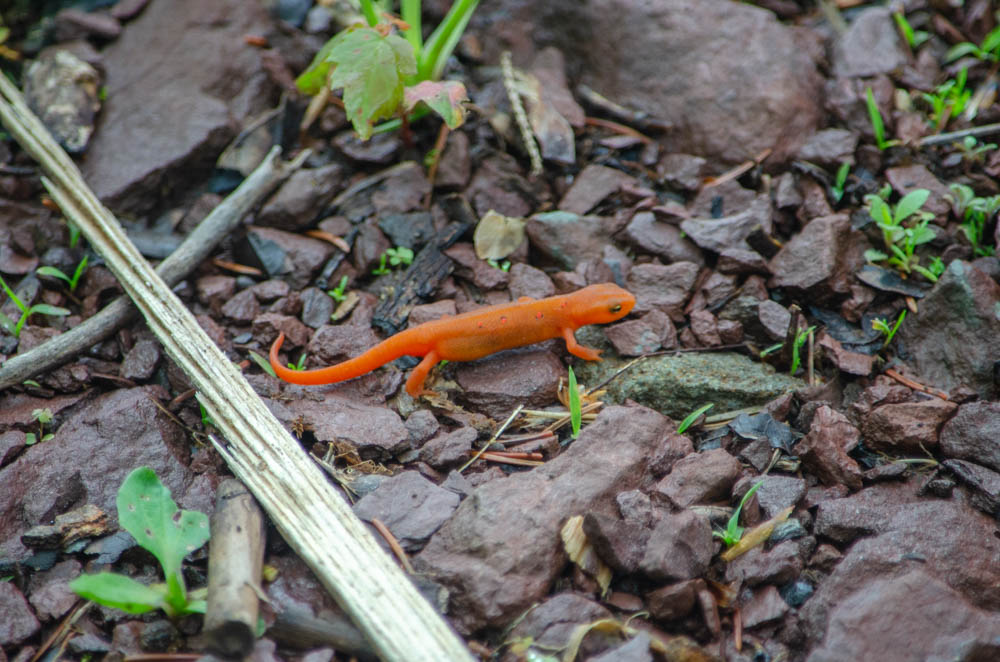
Other familiar denizens include the Red Eft, who are in abundance this year (and just as cute as ever).
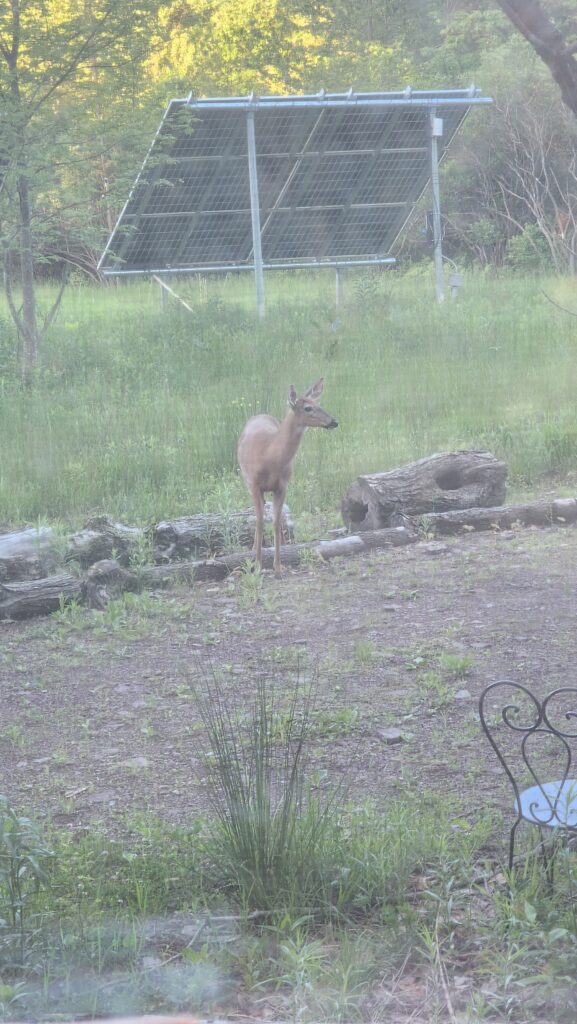
And of course the ubiquitous deer (seen here through a window screen)…
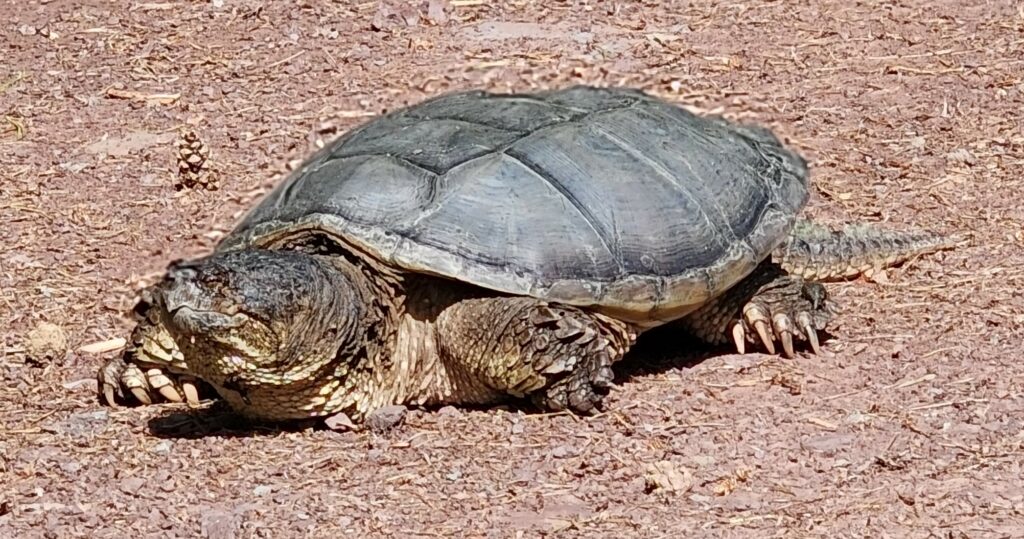
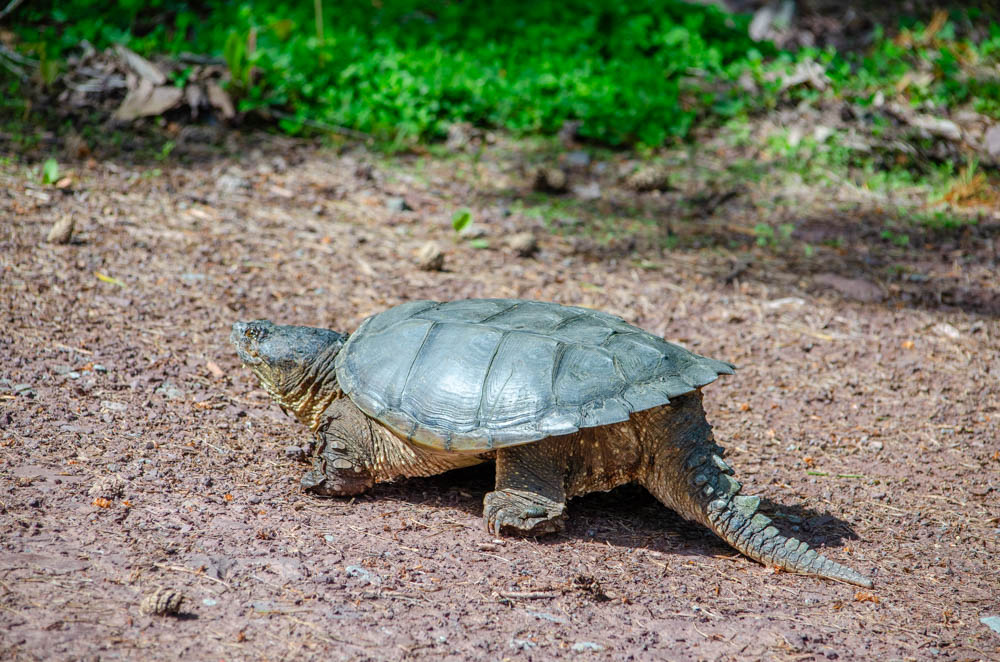
Two new critters this year. One nearly-invisible toad and a snapping turtle!
I’m sad to report that the two swamped trees I emergency-transplanted last year have shown no signs of life at all. The one that was weak didn’t make it, either. And two other ones got as far as budding out but then just… stopped. That’s five failed trees. The other three, however, are doing pretty well and were kind enough to show me some cherry blossoms this spring.
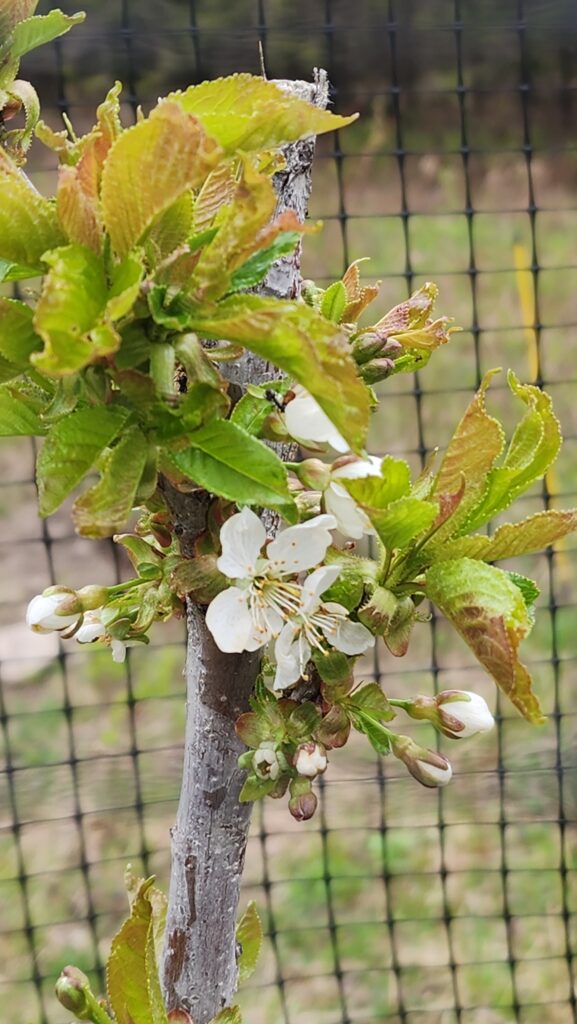
Those that are doing well are really doing well, having leafed and branched out considerably since this photo was taken a few weeks ago. So much for an 8-tree orchard. I have a stand of 3 cherry trees and zero live peach trees. Okay, then. Peaches don’t like it here. That much is obvious. Three of four cherries are doing okay, with two of those going strong and another holding its own. I think I’ll plant some more of the cherry next season.
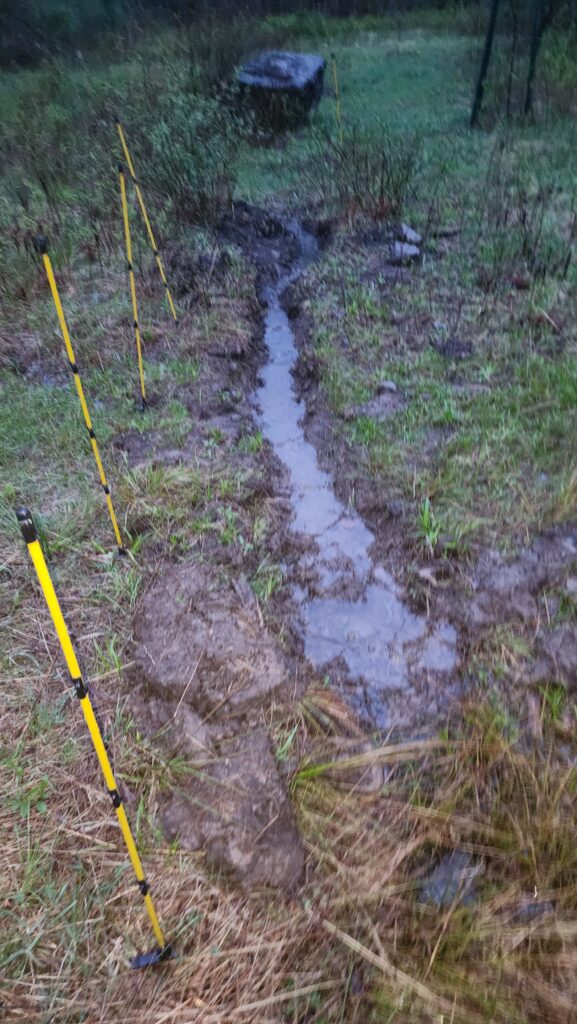
I’ve also taken some steps to improve drainage in the vicinity of the orchard, including cutting this channel from where existing water pools — too close to the trees — to somewhere else where the water is more welcome. The terrain slopes gently and is pretty much impossible to capture well in a photo. Suffice it to say when it rains, this fills and moves water away from where I don’t want it.
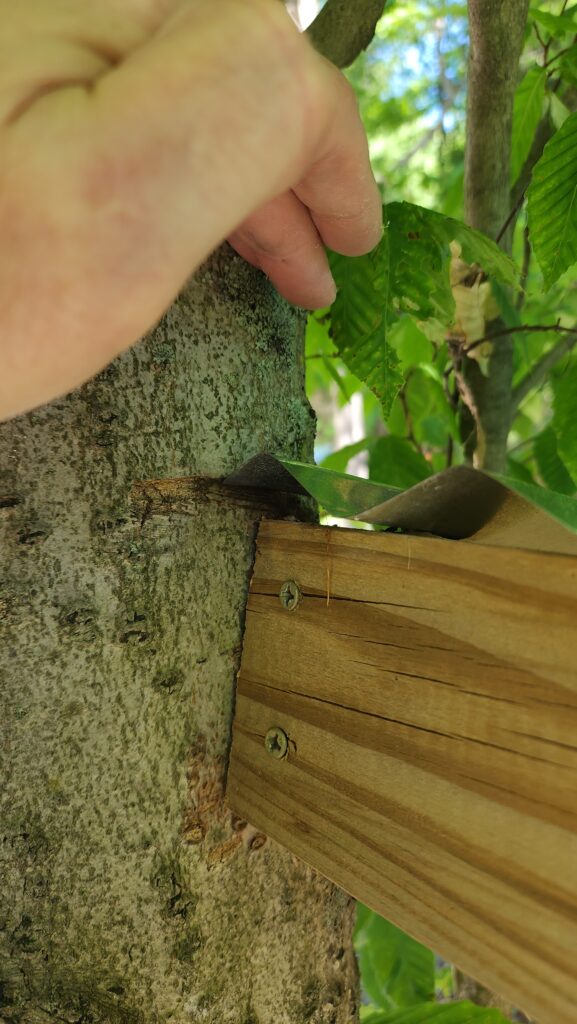
Speaking of trees, it turns out that although the wood shed roof had some clearance to this nearby tree when I built it, either the shed shifted or the tree grew or both and the metal roof was cutting in to the bark. Sorry, tree! I fix.
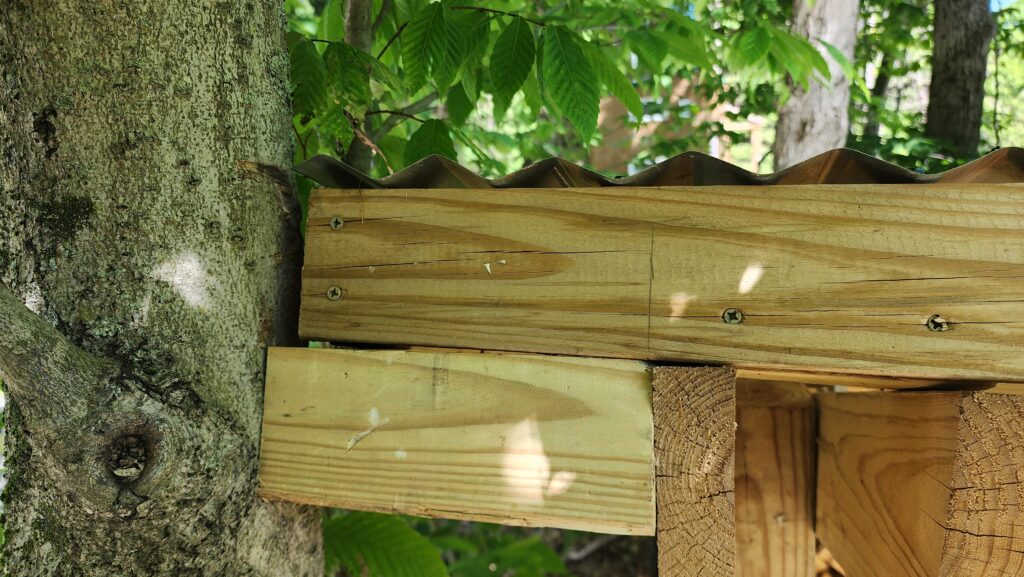
All I did was add a stand-off block to once again establish a gap between the tree and the shed roof. I don’t know that there’s anything I can really do to prevent rubbing when the wind sways the tree, but at least now it’s wood-on-wood and not metal-edge-on-wood. We’ll see how things go.
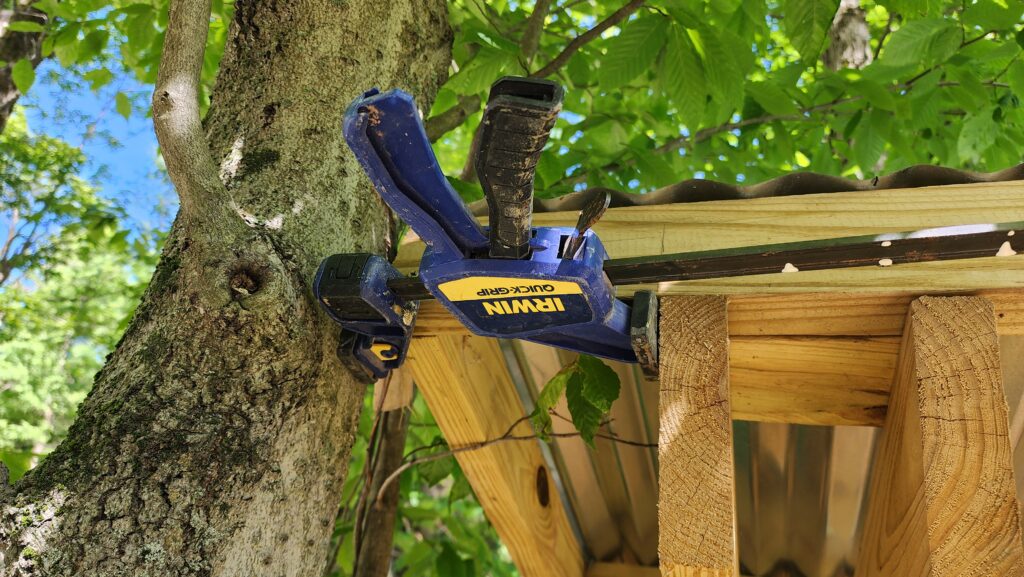
The one tricky bit here was actually opening up that space to put the block in there. Did you know that some quick-grip clamps can have one of their ends reversed and become a spreader instead of a clamp? I did!
And speaking again of trees, Bob helped me move a pile of old logs around a bit to create something new.
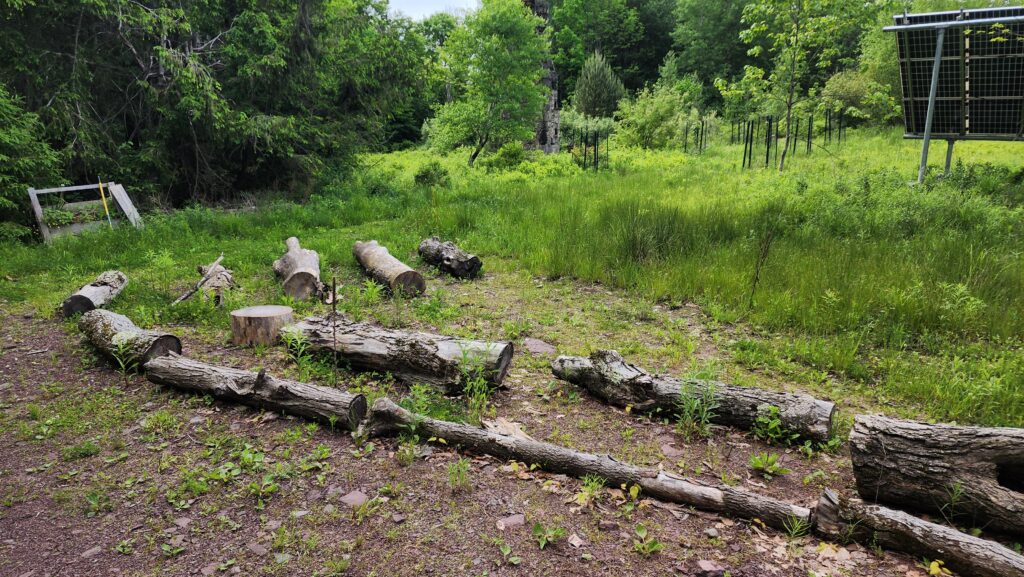
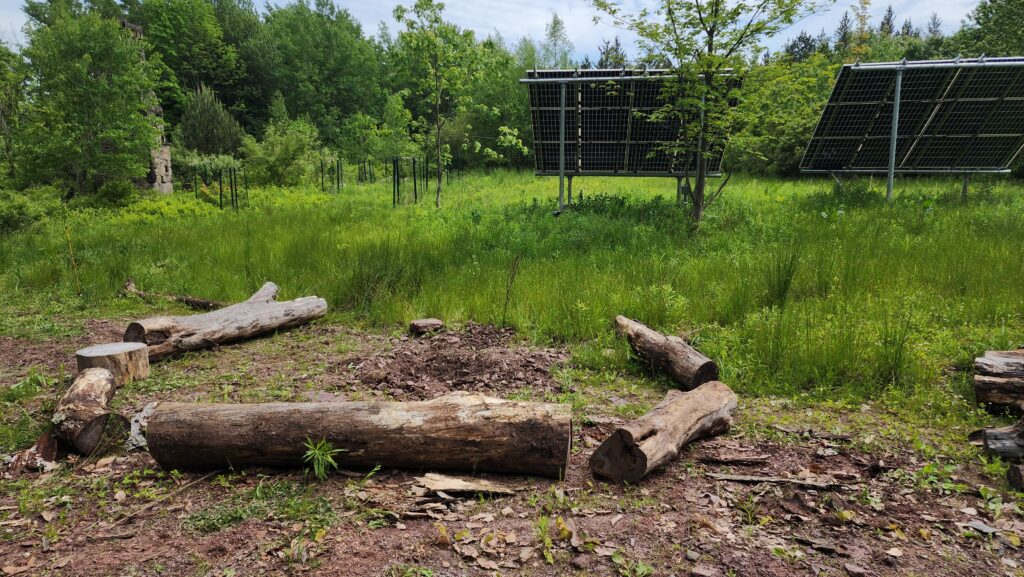
Just dig a pit and add some concrete blocks… and presto, fire pit with seating! Something this place has been missing for some time is an outdoor place to relax. I still intend to build a gazebo, but I also wanted this and it could be built in an afternoon (including considerable effort digging the pit through the shale).
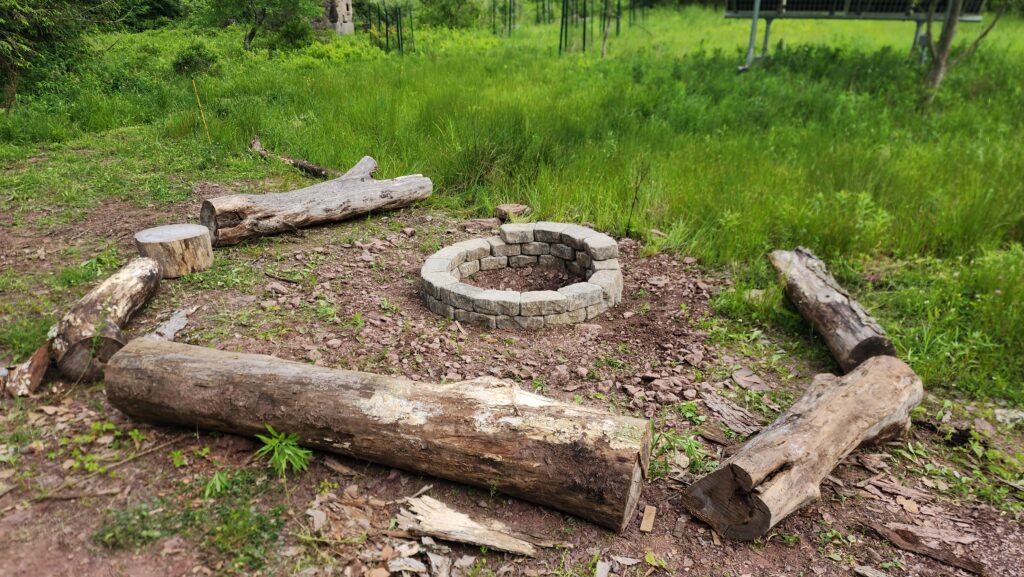
This is also a utility burn pit. I’ll burn the wood shop scraps in the stove in the winter, but too many of them accumulate during the summer to store, so having an outdoor place to burn them — and enjoy roasting some marshmallows in the process — keeps the indoor temperature nice and solves the problem all at once. Win-win!
On the subject of workshop, I had been looking to increase my tool storage space for some time and recently invested in a 4-part tool chest. What I didn’t realize was how insanely tall the set was once assembled. I mean, really, how can they think this is a stackable set that anyone less than 7ft tall could use? Remember, I’m 6’1″ tall as I’m standing in front of this behemoth.
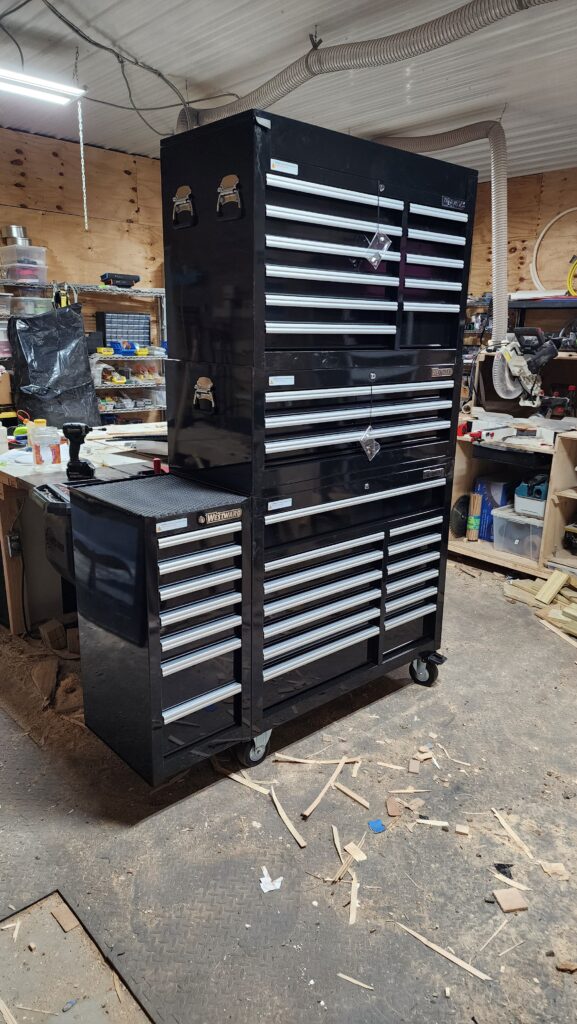

I did ultimately remove the middle 3-drawer module and just put it somewhere else independent of this set, which brought the top chest down to “very high” from “impossible to use”.

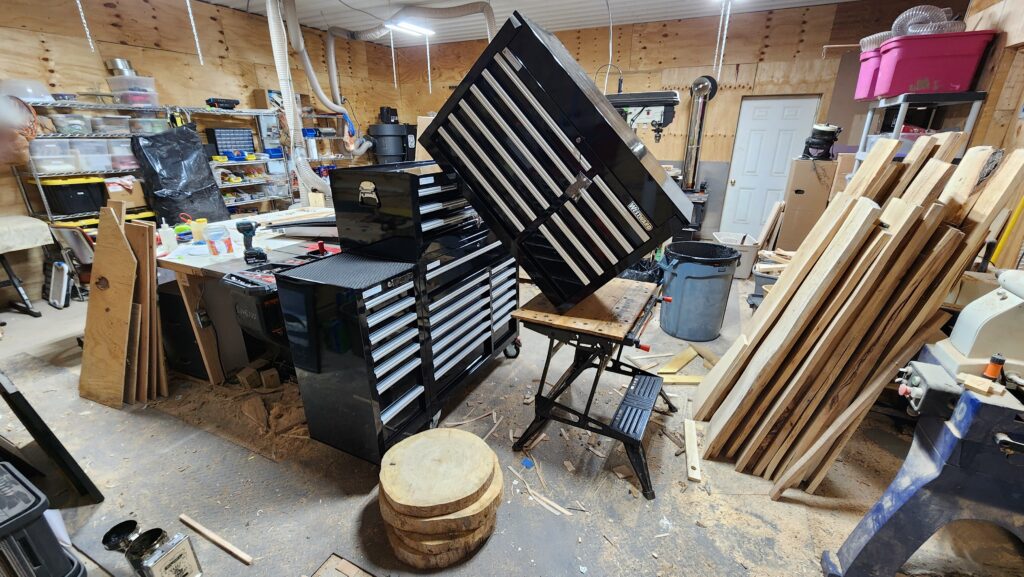
I would like to share a little bit of cleverness about this whole ordeal, though. That top chest weighs around 200# so the question is: how the heck did I get it up there, without any help? I mean, sure, I can lift 200# in place, but what I can’t do is lift 200# off the ground and place it on top of something that’s already 40 inches off the ground (nevermind that the handles for the top chest are high up, so holding it by its own handles becomes impossible at this altitude).
Here’s how it happened.
Step 1. Set the chest on end. Step 2, heft it up onto a small platform so its midpoint is approximately level with the work table.
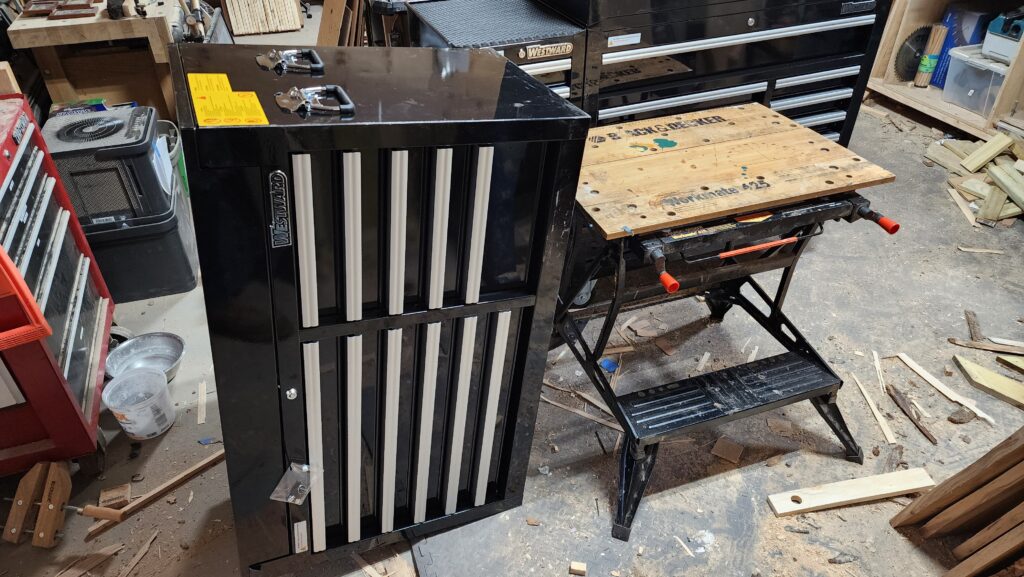
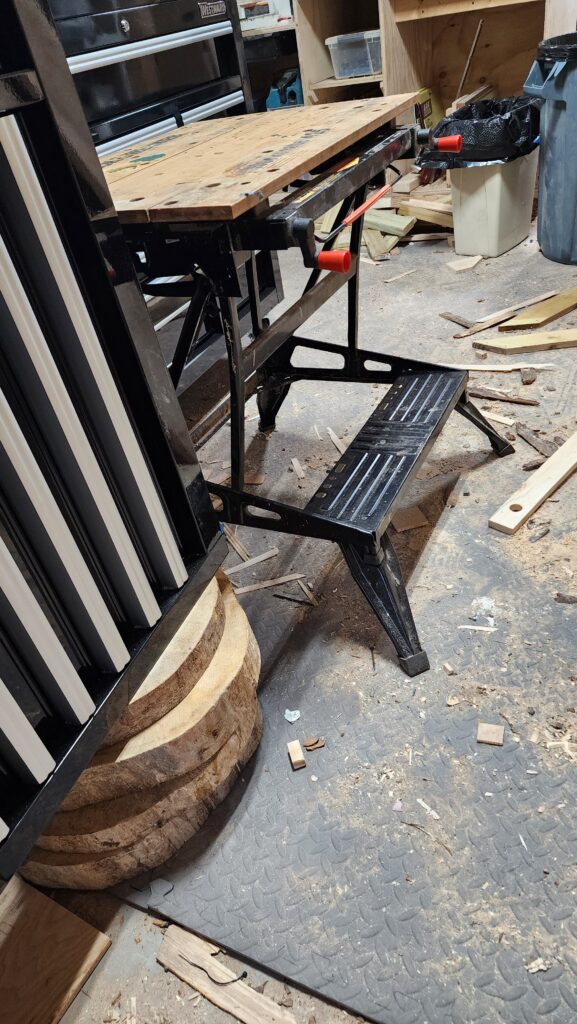
3. Tip it onto the work table. 4. Shove it the rest of the way onto the table.
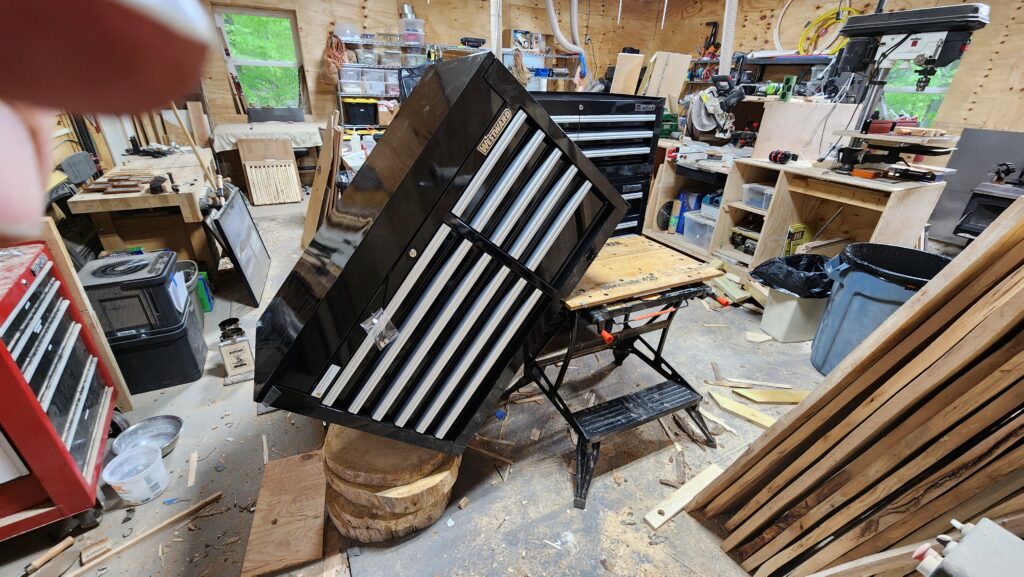
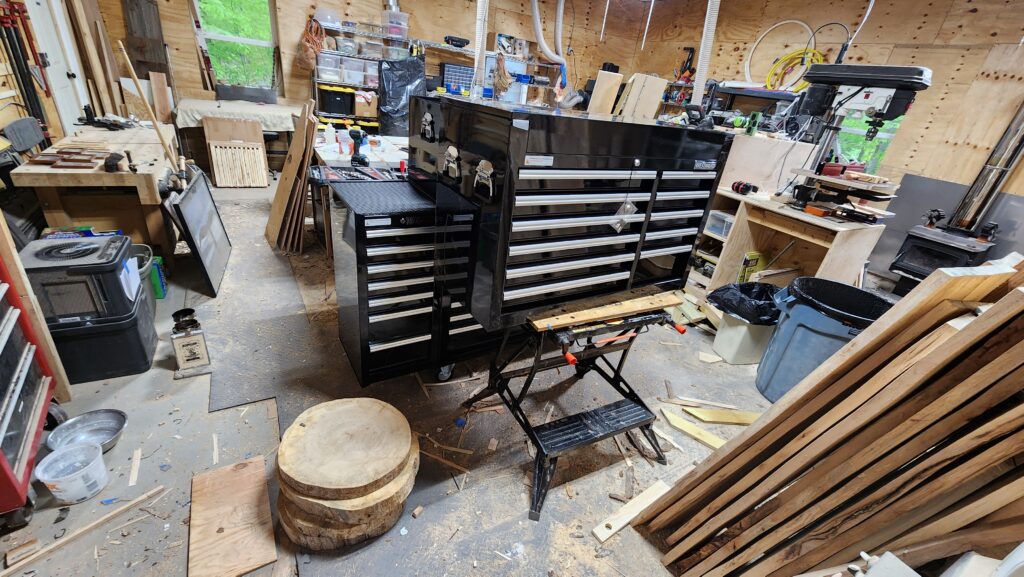
Note that once I had the thing on the platform in step 2, I never carried the full weight of the chest again. It was always at least half supported by something else. Still heavy, but I can much more easily maneuver 100# of something than 200# of something, never mind trying to get my arms around this monster. Holding it by one end was much easier.
Once on the work table, the same kind of tip and shove shenanigans got it on top of the rest of the stack.
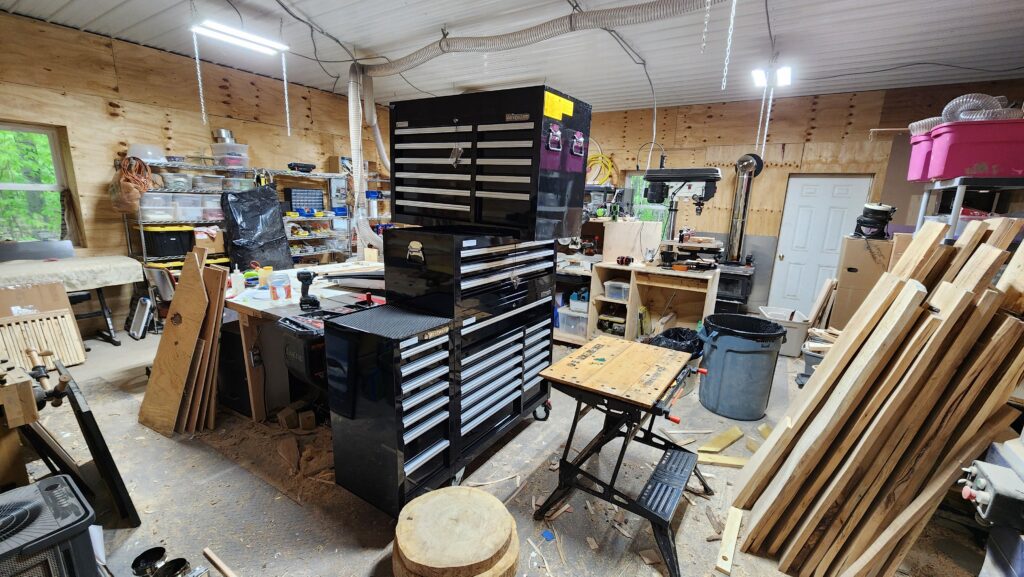
It was about then that I realized this was absolutely nuts, reversed the process to take the top chest down again, removed the middle module, and re-mounted the top chest to finally be a system that was quite tall but still actually usable.
I still want to know what were they thinking selling this as a stackable set.
Let’s talk about bees for a little bit now, shall we?
It’s been nearly 6 weeks since the bees were introduced to their new homes.
First, some good news. Recall I planted some grass in hopes of shoring up the mud pit/mire that is the bee yard? Recall the first seeds got devoured by local avians? Well, round two, with the peat moss cover, seems to have taken well. The bee yard is greening up nicely. More importantly, when it rains, though the yard gets soggy, it does not turn into a shoe-stealing mud pit any more. Progress.
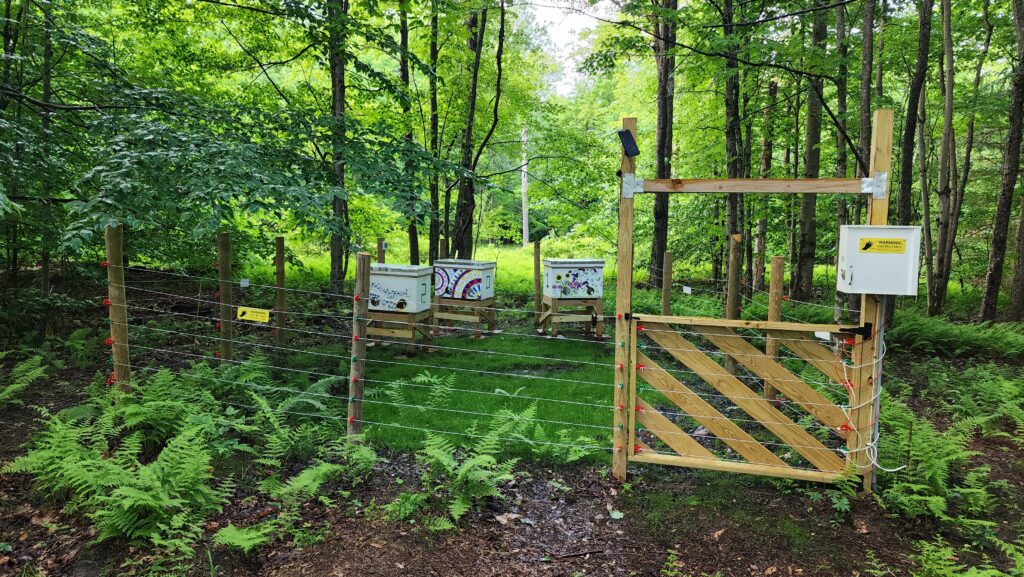
The very worst of it — the middle dark spot you can see here — was probably too wet and rotted the seeds I planted there. I’m hoping the surrounding grass will just work its way over in due time, as it also helps to absorb the rain water, drying out that middle spot. In any case, when I visit the hives, I get to keep my shoes and don’t slip in the mud, so I’m calling it a win, even if it’s not yet 100% of what I wanted it to be.
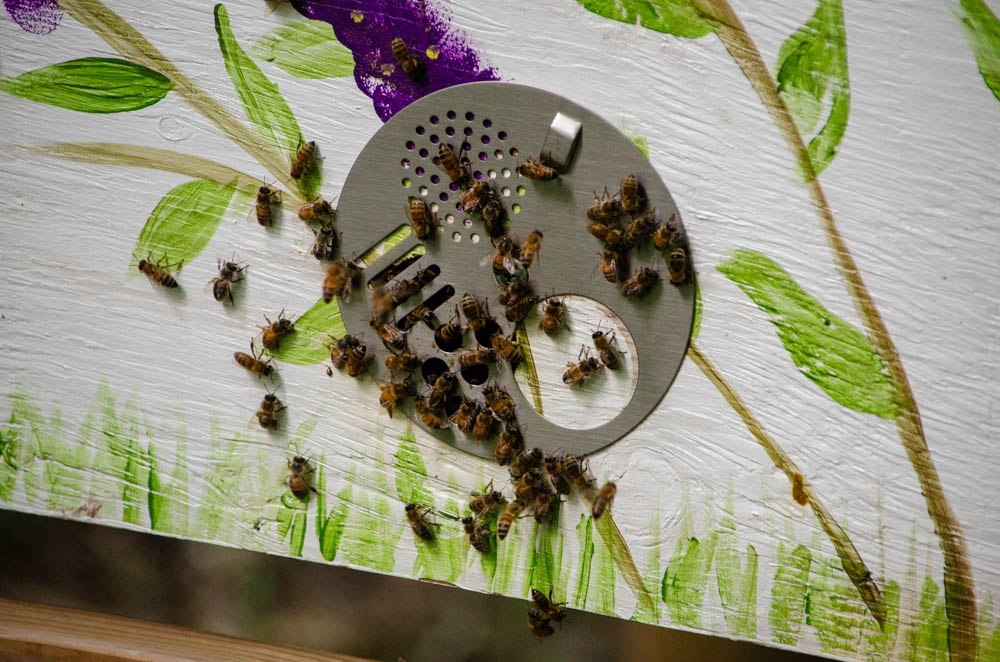
Here’s a zoom shot of some industrious ladies taking their turn going through the gate, bringing in nectar. If they were bringing in pollen, you’d see the pollen on their legs, which is not in evidence this time.
Overall, the bees seem to be pretty happy here and for the most part they don’t even get agitated when I open the hives for service/inspection. One time this week, though, one hive got on a very aggressive footing when I was moving a temperature sensor around in there. I did the very same maneuver on two other hives without incident, so I can only imagine the queen must have been near the sensor on this one and her royal guard was very upset with the incursion. For real, these bees who have been pretty chill for weeks — and just a few days prior — were attacking my bee suit quite vigorously! The suit did its job beautifully (thanks, BJ Sherriff! — mine is plain white, not any of the fashion colors they also offer) and I was untouched, but for sure this is the first time since installation that they got all up in my business. They seem to have forgiven me, since later visits to the apiary did not find them coming back at me. Sorry, ladies, for whatever it was!
For the curious, this metal disc is the entrance gate control. The actual entrance to the hive is a hole slightly smaller than the big circular opening in the disc. The smaller round holes are big enough for workers, drones, and even the queen (who would only venture out if she were newly born and looking to mate, or is leaving with a swarm) to traverse comfortably. It keeps out mice and most predators. It also slows down traffic enough so if foreign bees try to enter and steal resources (this is a thing that really happens), the native bees have a decent chance of defending themselves. I actually had the gate set for wide-open and found some robbing going on, which promptly ended when I switched to the position you see here.
The slots are big enough just for the workers to pass through, no queens and possibly no drones. The smallest holes are for ventilation only, no bee traffic. This position is used for secondary entrances that are not in service, or for moving the hive, when keeping all the bees inside is desired.
Even restricted like this, one of my hives brought in over 9# of nectar in one day, not too long ago. When you realize how much a single bee can carry at once, the math works out to about 80,000 deliveries! Now, when you also realize that at this time of year it wouldn’t be unreasonable to have 10,000 bees in the colony, now it seems quite feasible that they could each make 8 trips out into the world and bring back a tiny ration of nectar each.
Aside from internal temperature & humidity sensors, I also have a scale under each hive. These all transmit data to the cloud every hour, for my review by browser or phone app. This gives me insight into how things are going and lets me marvel at just how productive these little ladies are!
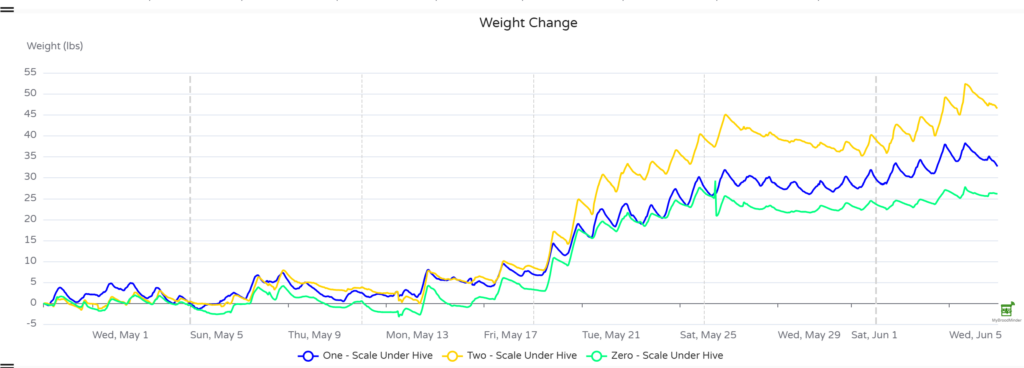
This plot shows cumulative weight change since installation for the three hives. You’ll notice that things start picking up dramatically around May 18, when the weather started cooperating. You can also see that the three colonies have significantly different productivity. Green is lowest, but they have the smallest population, as well. . . so while they’re making less honey, they also need less for the winter due to having a smaller household. Yellow is going like crazy.
What are those jagged shapes about? Well, honey is flower nectar, reduced about 12:1. Think of it as “flower syrup” — but unlike maple syrup (which is a 40:1 reduction), instead of boiling it down, the bees just fan the daylights out of it to evaporate out the water and concentrate the sugar. The jagged forms in the plot show nectar coming in (rise) followed by evaporation (fall). The trend is up for most days, as material is constantly brought in. When the weather doesn’t favor nectar collection, they’ll spend more time reducing and less (or no) time collecting. This will manifest as a downward trend, such as around May 26.
There are lots of other factors at play, including how much honeycomb is needed for incubating new bees, how much for storing pollen, how much for honey work. . . and of course because this is their first year in these hives, they have to build all the honeycomb they want to use, which takes time and resources, too. Next year, they’ll have all the comb from this year to re-use, so they’ll have plenty of room for everything. This year, it’s a balancing act between building and collecting and reducing and incubating. It’s entirely possible that existing comb gets full and they need to shift focus on reducing so there’s room to bring in more nectar. . . and building more comb! Altogether, it’s quite impressive how they manage the workforce.
This need to build comb in the middle of needing to use it is the limiting factor on honey production in the first year and is why conventional wisdom says there is usually no extra honey (beyond what the bees will need for winter) to harvest in the first year. That said, one of the important purposes of the scales is to tell me how much honey they’ve made. Sure, the honeycomb itself weighs something, but all the beeswax in the hive may be collectively just a few pounds. The bees themselves, 2-3 pounds. At the end of the season, the vast majority of the weight can be expected to be honey. If the hive weighs 60# more than it did at the start of the season, probably 50-55# of that is honey.
My #2 colony is already 45# up from the start of the season and there are months to go. They have by far the most population, too. I am expecting this hive to produce enough to harvest this year. By my calculations, I should be able to safely harvest anything in excess of 50# they make. #1 seems on track to meet that 50# mark (remember, not all of what’s in there today is honey; there’s reduction ongoing) by season’s end, but I am not expecting much, if any, excess. Hive #0 is behind the others, but has a much smaller population and is nevertheless doing remarkably well considering their size. I’m not worried about them, though I’m nearly certain there will be nothing to harvest from #0 this year. That said, I have my suspicions about possible queen loss/replacement in #0 explaining the low population. If my interpretation of the data is correct, a new queen may have a few weeks ago begun laying eggs and her children are just now starting to emerge. If this is the case, I expect to see their population rise over the next few weeks. I’ll be keeping watch.
In completely unrelated news, I am working on building a dresser from 100% locally harvested wood. There’s not much to see about that just yet, but you can expect some posts featuring progress in the future.