After all that mud, wiring, and other prep, it was time to go get the bees this weekend. And so it was.
The bee farm promised to close up the nucleus hives for safe transport but offered, for a small additional charge, a mesh bag to go over the hives for added security. I opted for the bags.
And I’m really glad I did. Take a look closely below.
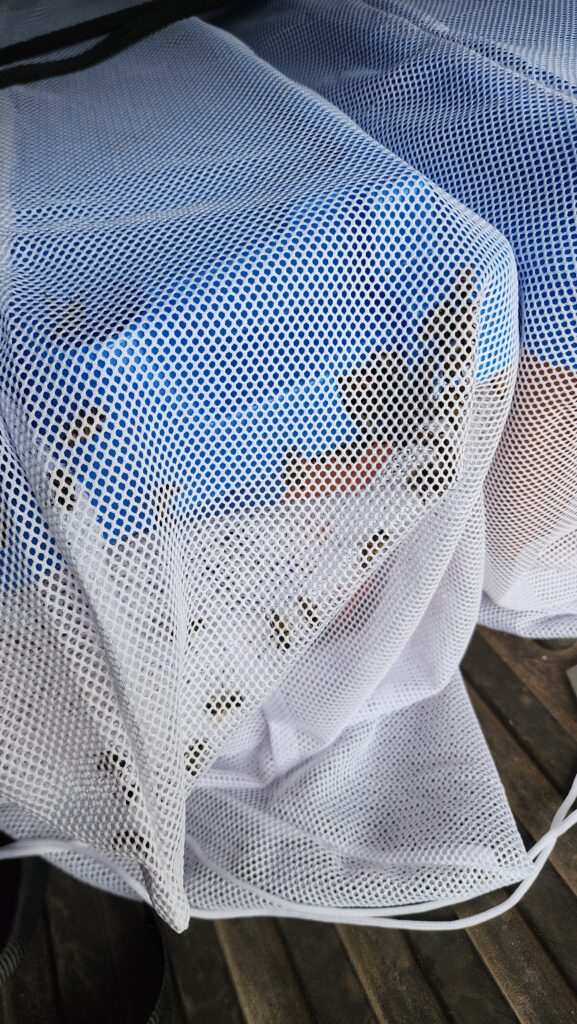
This is a photo of one of the hives, after a four hour drive home from the bee farm. Notice anything?
Yeah, those little ladies would have been flying around the car if not for the mesh bag! Worth every penny of the $3 each I spent on them.
Time to don the bee suit, carry the hives to the yard, open them back up, to let the bees be free once again and begin to orient themselves to their new environment.
As soon as I opened the door, out the came to have a look around.
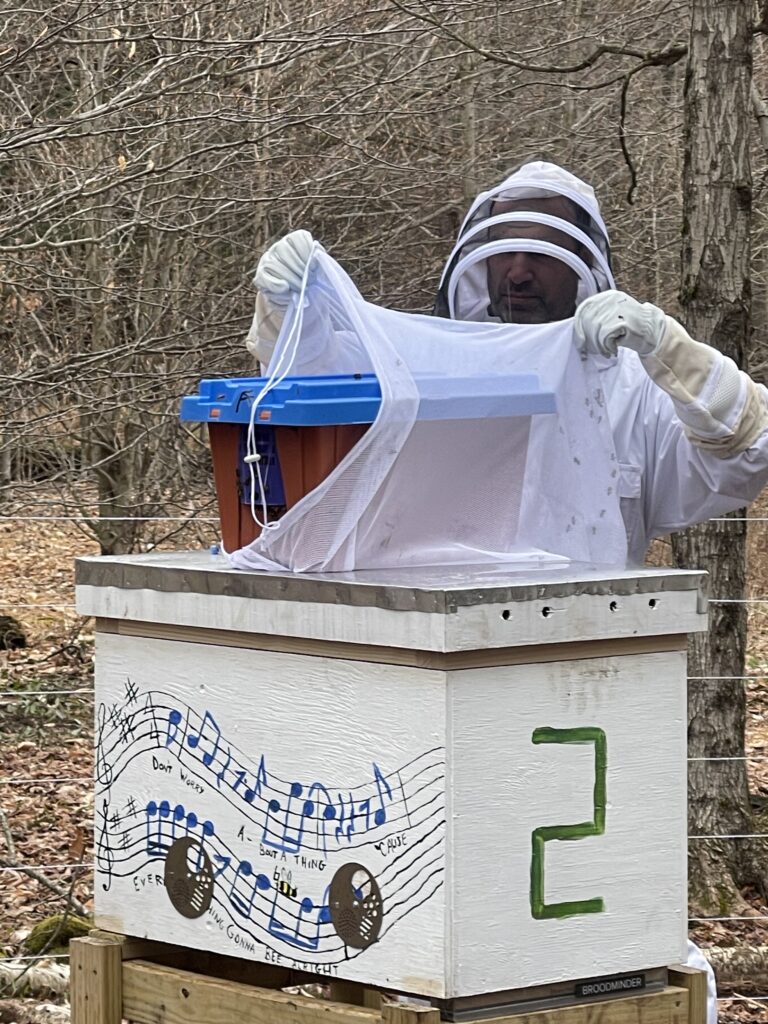
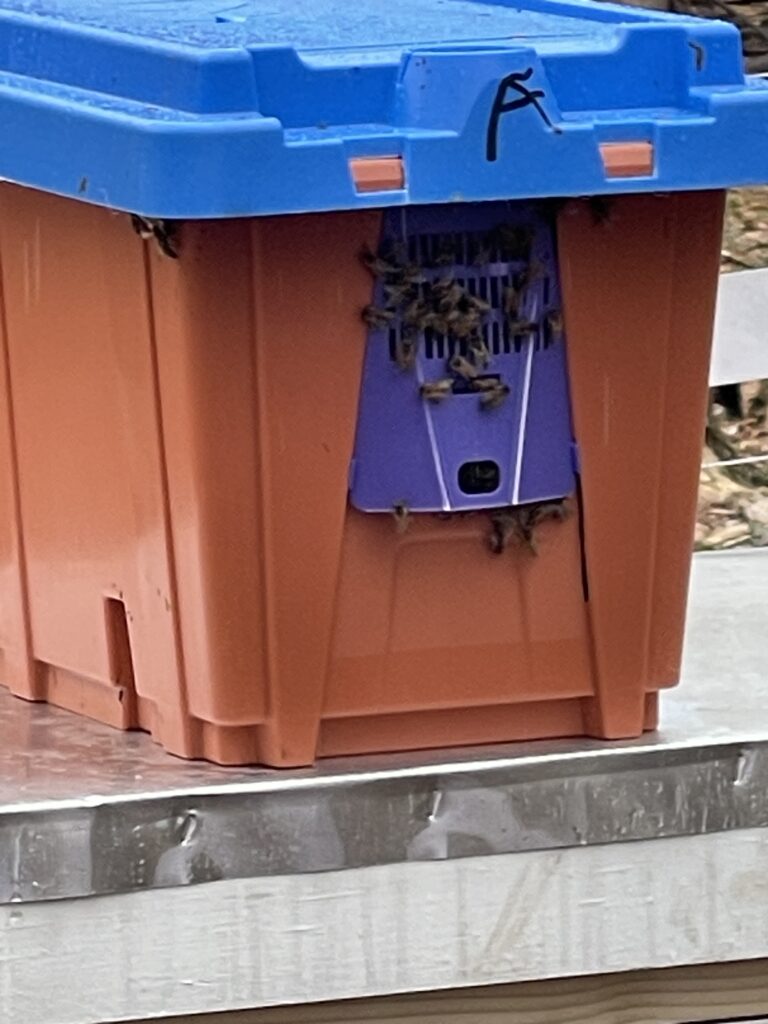
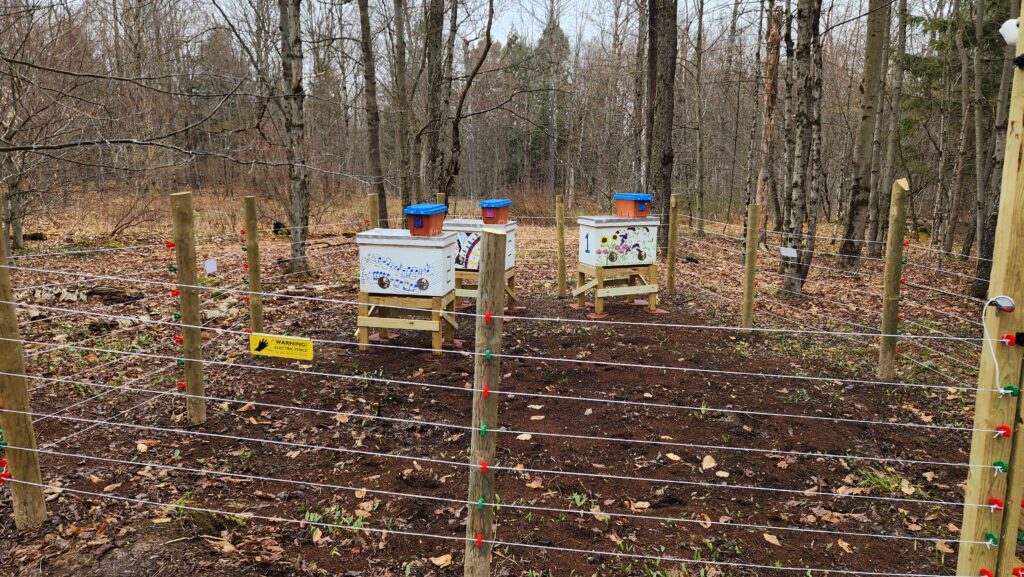
And this is how I left it for the night. The nucleus hives strategically placed and aligned with the entrances of the new hives, so when the time comes to install the frames, the bees will already know the approximate location of home.
Before we go any further though, there’s something important you need to know. Did you notice these hives are much bigger than the kind you’re probably accustomed to seeing? Did you notice they are only one level, not a tower of stacked boxes? The stacked boxes kind are called Langstroth hives, named for the person who popularized them. These here are called Layens hives and they are single-level hives that are just correspondingly bigger. I read up on various hive styles and decided I liked these better than the Langstroth ones for a handful of reasons, not least of which is there’s no heavy lifting of boxes and because the individual frames are considerably bigger, they are thought to be easier for the bees to manage their winter survival activity on them. Okay, great, I have these nifty horizontal hives. So what?
So because the Langstroth hive format is so much more widely used, most bee equipment and nucleus hives are formatted that way. And indeed, the nucleus colonies I bought from the farm arrived on Langstroth frames. But I need to put them in my Layens hives. This required some adaptation…
It turns out the the biggest Langs frames (known as “deeps” to those who use them) nearly fit in a Layens hive if the frames are turned on their ends. A little bit of a booster seat (green) added at the top of a Layens hive plus a simple wooden adaptor (red) gets it done as shown in the left cutaway view of the hive.
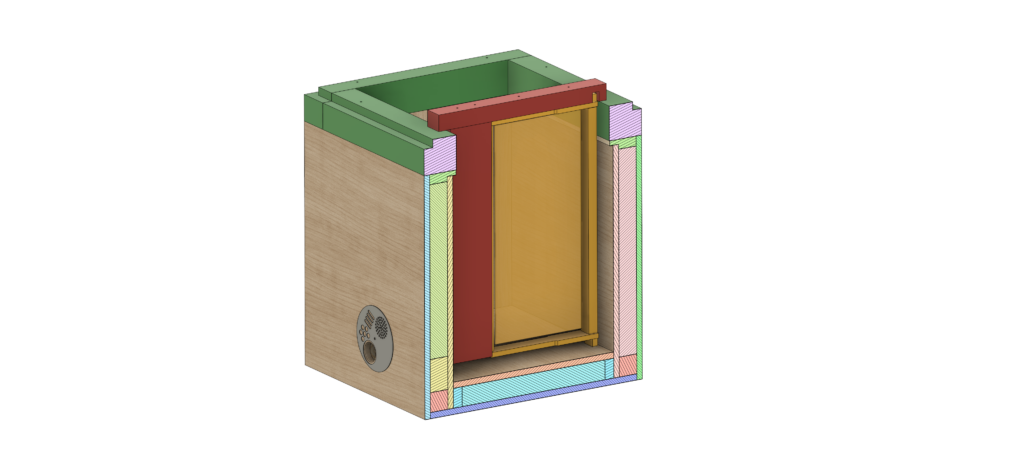
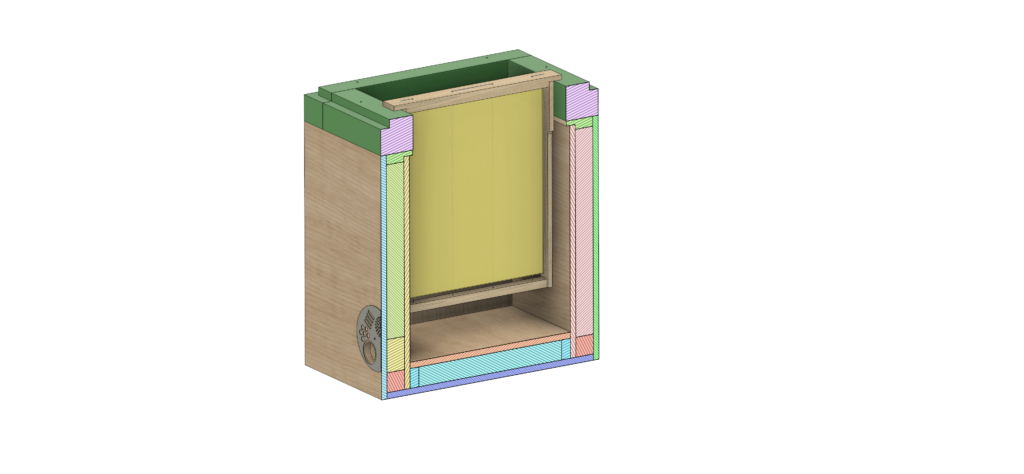
On the right, a properly sized Layens frame, shown a little far from the floor of the hive because of the booster ring (green) making the hive 2 inches extra tall. The protocol here is to wait until whatever brood (eggs and larvae) is on the adapted frames matures and the colony re-uses those cells for food storage. As soon as there’s no brood on the adapted frames, removing them poses no threat to the life cycle of the hive so that’s what is done, replacing them with a native Layens frame. The introduced frames have a thin sheet of wax already on them, called “foundation”, which encourages the bees to build the comb in alignment with the frames, for easy maintenance by humans. When all the adapted frames have been cycled out this way, the booster ring may be removed and the hive returned to its proper dimensions.
What becomes of the food stores extracted on the adapted, non-brood-having frames? They do not go to waste! These frames are left out nearby the hive, where since they are in daylight, the queens won’t lay eggs in them and no bees will store new food in them, but the workers will find the food and will diligently clean it all out and take it home into their hives. So it does introduce some work for them, having to move the food back home, but at least they don’t have to go far to get it. All these shenanigans only have to happen once, when introducing Langs frames to a Layens hive. Once the colony is all on Layens frames, it will continue happily that way. If I want to start new colonies from here, what I’ll do is split a strong Layens colony into another Layens hive box, so there won’t be any Langstroth frames involved at all. What’s happening here is just the startup process because the nucleus colonies I bought came on Langs frames. I hope to not have to buy more of these again, but rather propagate my own colonies.
What this means for me now, though, is that all these Langstroth frames need to be adapted to Layens dimensions before installing them in my awaiting hives. These Langs frames full already of bees and stuff. Bees who are a bit agitated from travel and are now located in an unknown place.
The protocol here is to leave them in their nucleus hive for a day so they can get oriented to their new surroundings, then move them as quickly as possible to their destination hives, adapting the frames enroute. Naturally, then, I wanted to have as much of this done ahead of time as possible so I could minimize the open time of the hives and the stress to the bees. Here’s my garden wagon with the adaptors (same features as shown in red in the model, above), with screws pre-mounted in them, ready to attach to the Langs frames.
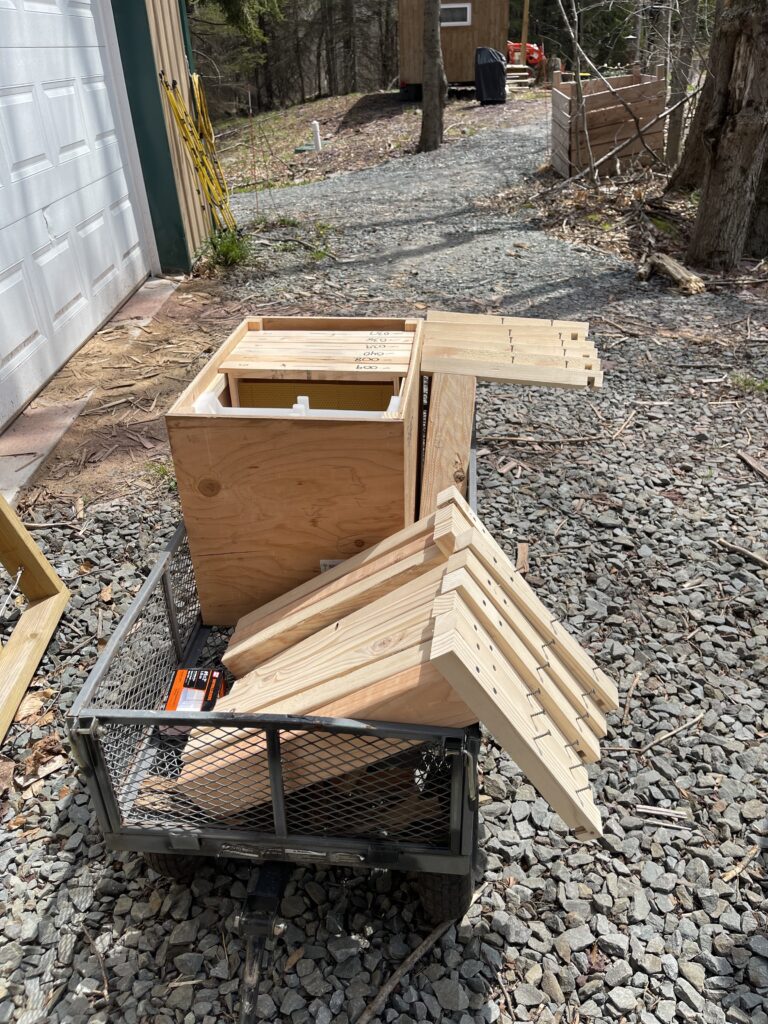
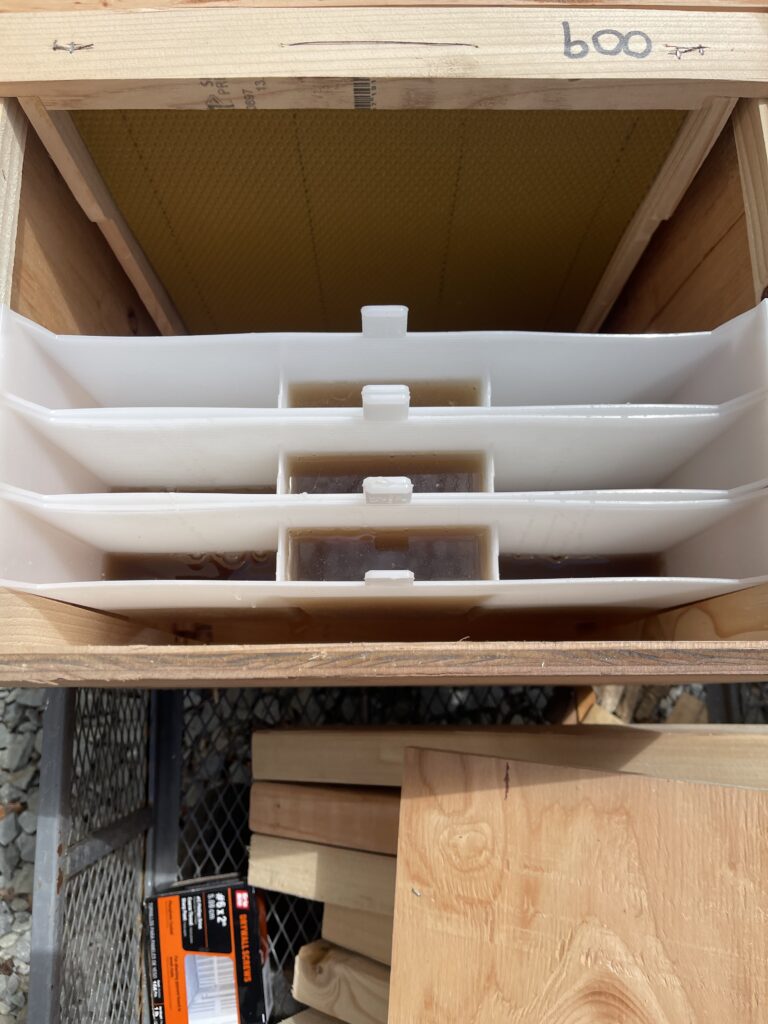
In the background is a box of foundation frames, one of which (#009, upside down) can be clearly seen in the right side photo. The white things are feeder troughs. They are partially filled with a 1:1 sugar/water syrup and will be placed in the hives as a supplemental food source if they need it. Bees prefer food from Nature when they can get it, but to help them along with the major build-out they need to do now, and to let them be productive even during rainy days to strengthen their colony, I’ll feed them sugar water for a little while. The troughs have a textured interior so the bees can get a footing on them. Otherwise, the’d just fall in and drown. Sadly, I did see some drown anyway shortly after I installed them – I think the sides may have gotten wet when I carted them down to the apiary, making it difficult to get in there safely. I’m hoping they will dry out a little or the bees will figure out how to walk down and get a drink if the need one. These troughs are purpose built and recommended by people who know about bees, so I trust that they are the right things for this.
Time for the main event! I take my cart of supplies (foudation frames, adaptors, power screw driver, filled featers) down to the bee yard to get started.
After setting up a temporary work table and bringing the cart into the yard, I put the first nucleus (bee people just call them “nucs” (pronounced “newks”)) on the table and open the target hive. The foundation frames and feeder go in first, off to the side to give me some room to work.
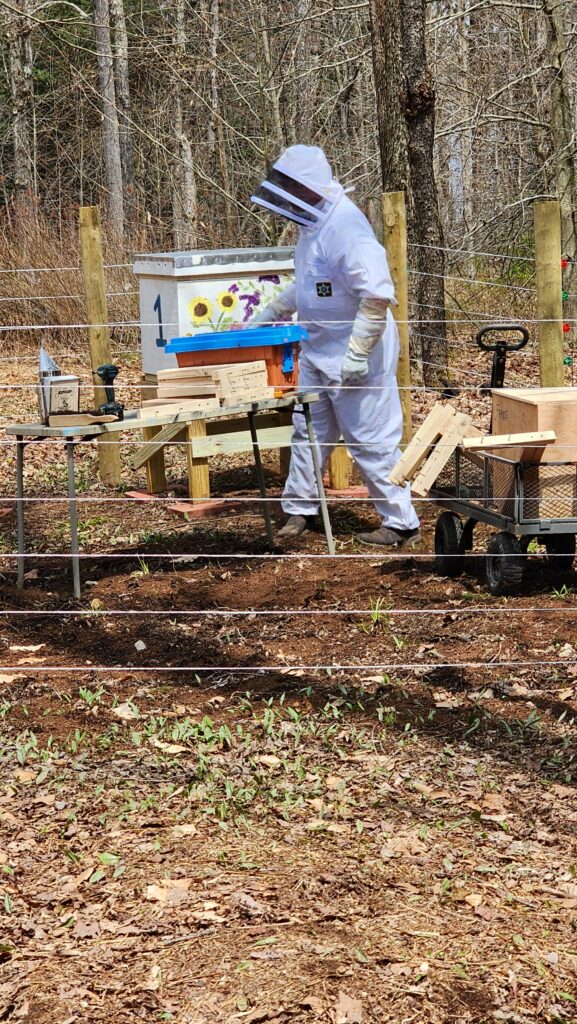
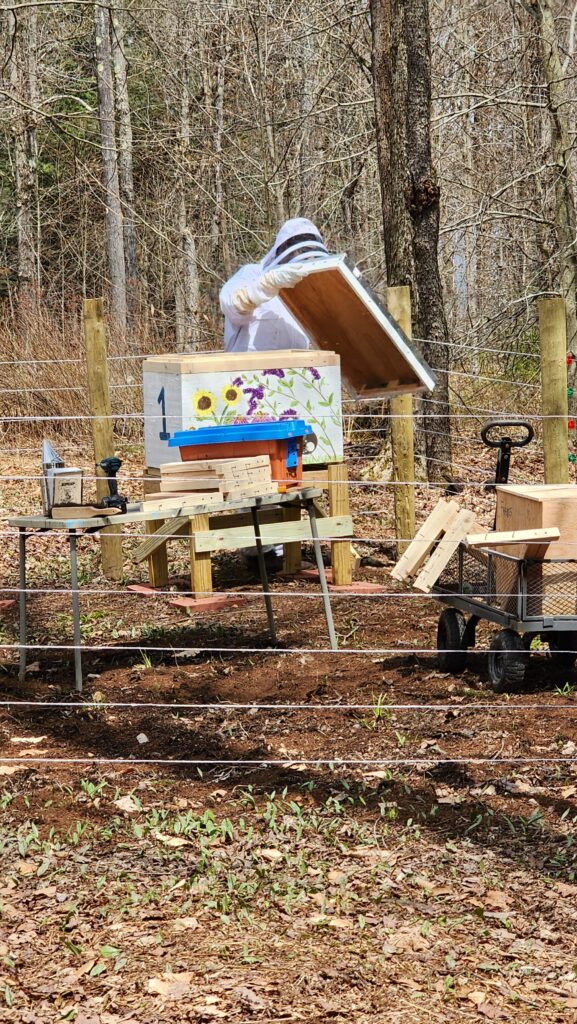
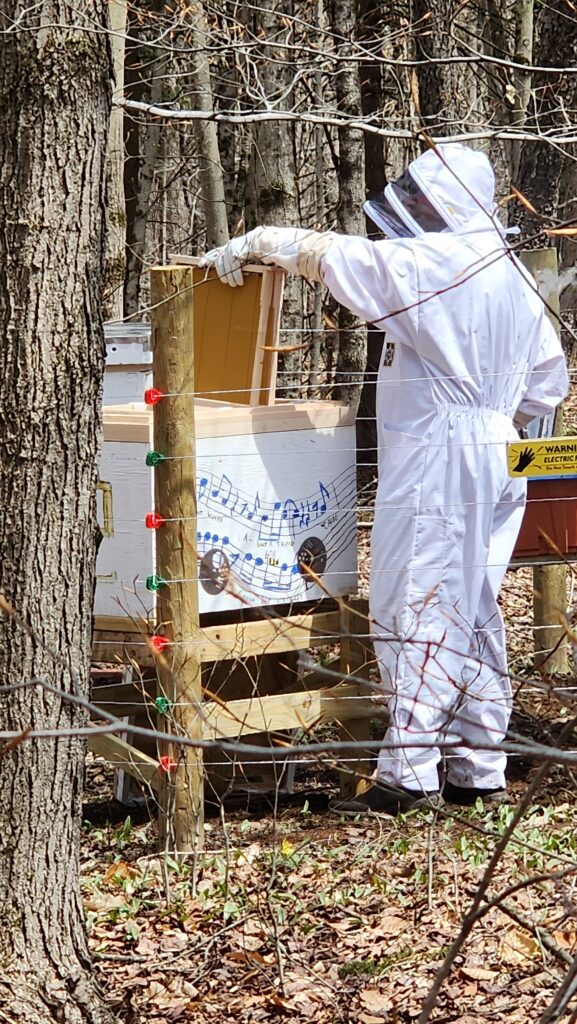
Now open the nuc and remove the first frame. I brush the bees off that frame as best I can, back into the nuc box because that’s what still smells like home to them. As fast as I can, I position the Langstroth frame in the adaptor and drive the screws through to secure it.
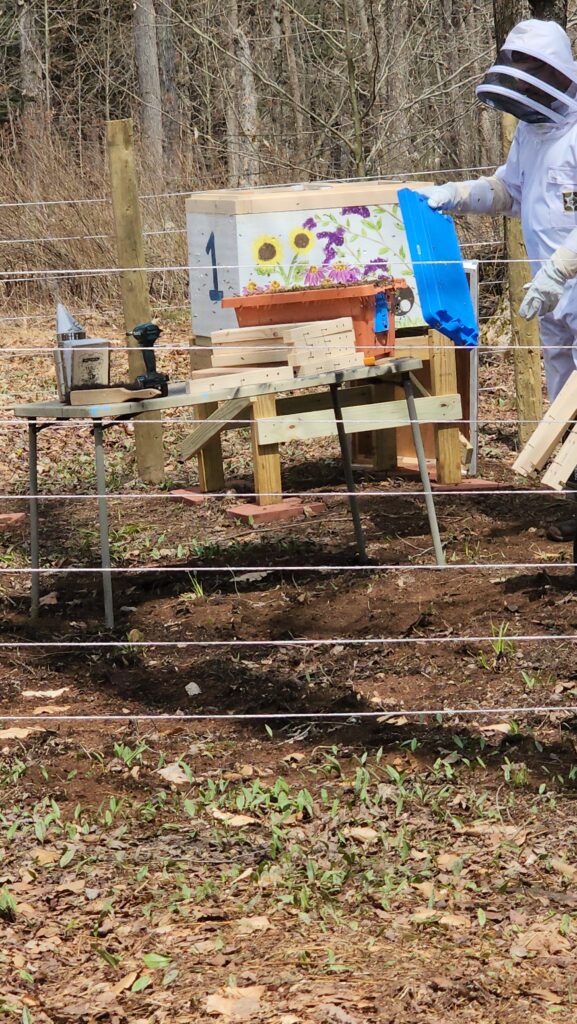
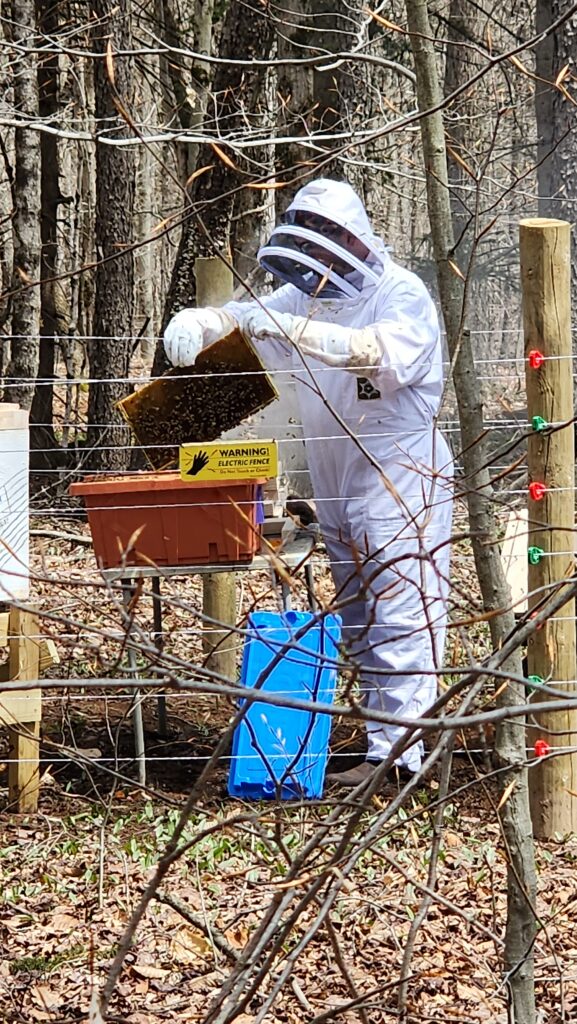
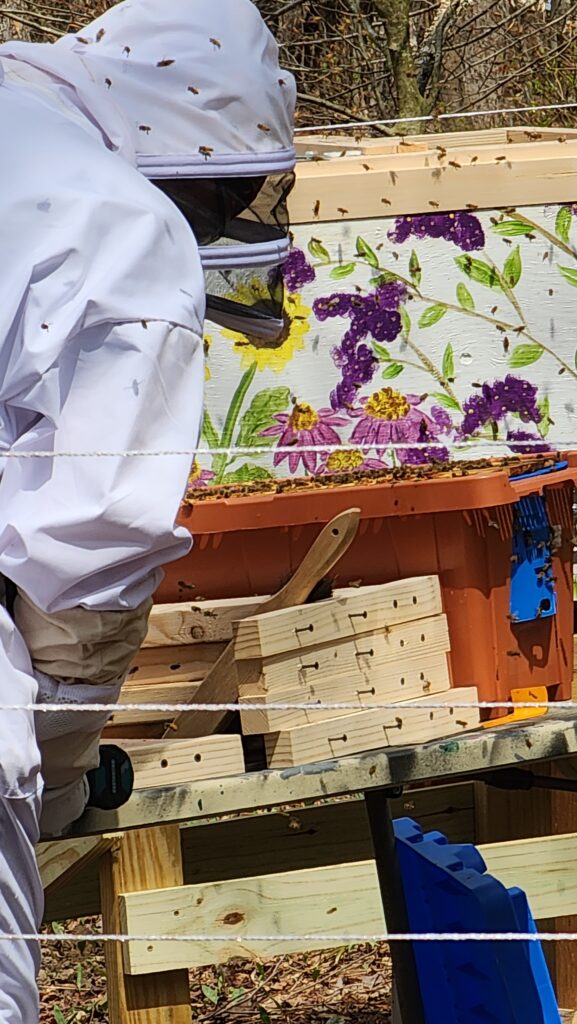
The adapted frame goes into the new hive box.
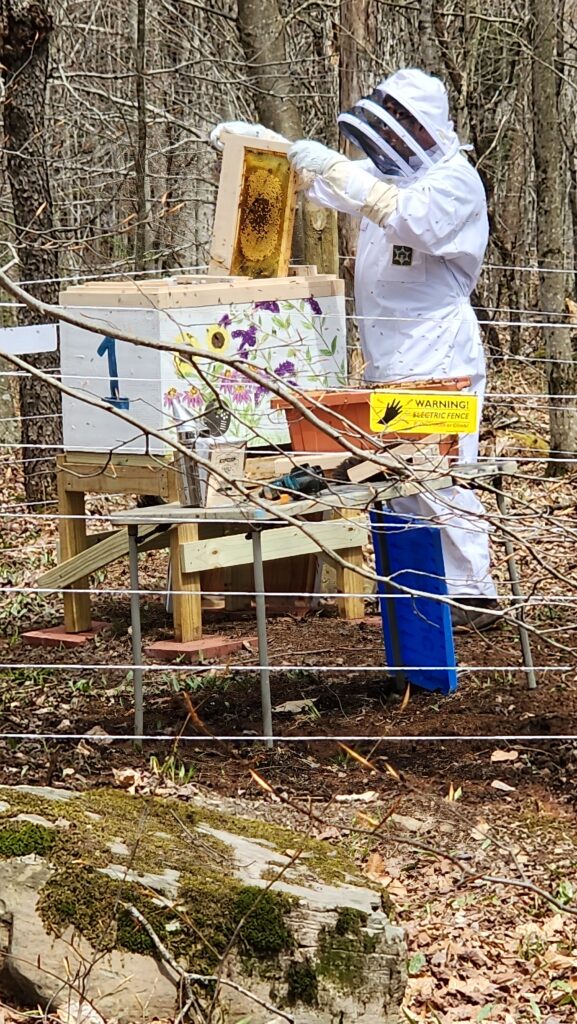
And no, not all these photos are from exactly the same frame being processed. Pics were taken opportunisitically and I’m putting the story in sequence with the photos I have, without regard to whether these exact photos were actually taken in that exact sequence. So never mind the frame removed from the nuc was kind of black and this one is golden. As my friend says, “the story is true, but some of the facts have been changed!”
A few puffs of smoke from the smoker helps to reduce the activity of the bees while I’m working, but there are still a lot of bees all over the place, including my bee suit.
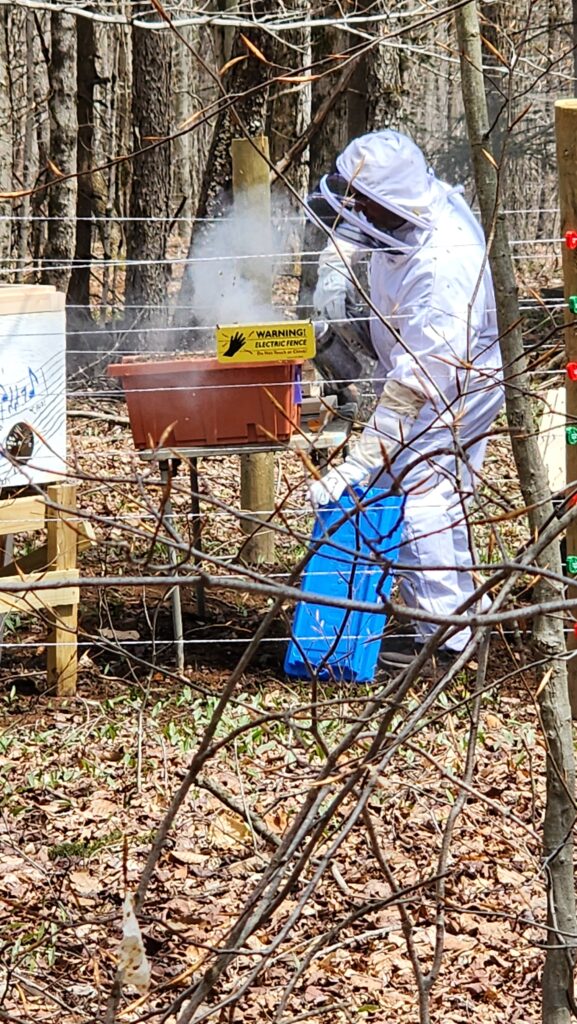
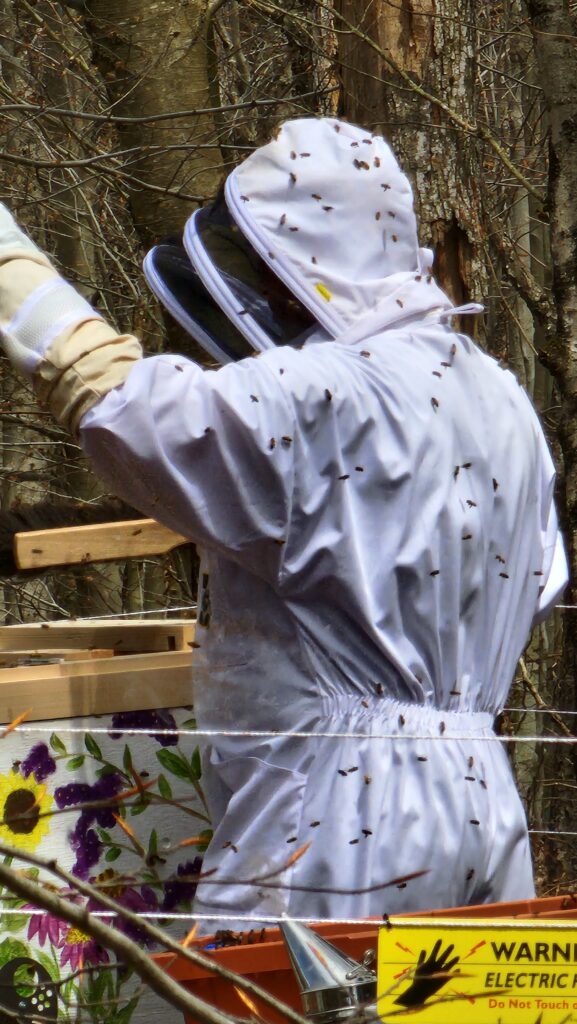
Some of the bees didn’t just fall back into the box when I brushed them. Some flew off, in many cases to other nuc boxes or hives that were not involved in the current process.
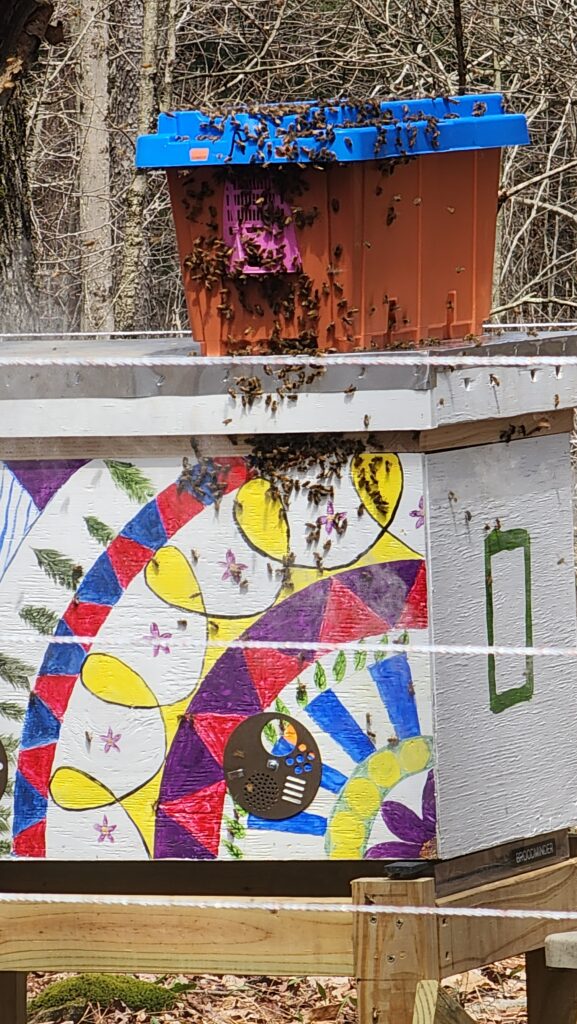
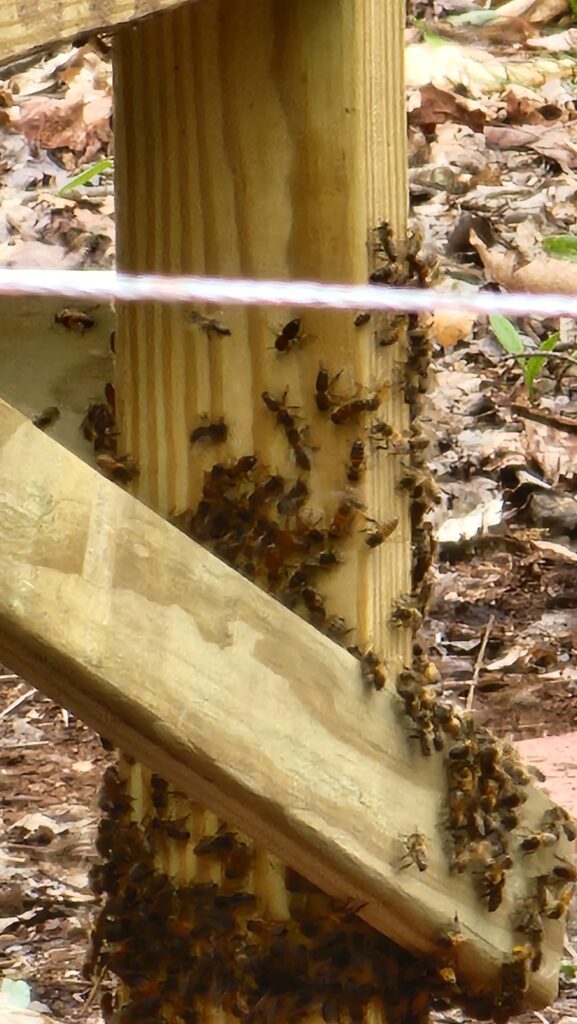
Once I had a frame in the new hive, subsequent frames got brushed off into that hive instead of the nuc box, since I wanted them to smell their sisters and their queen, as soon as they arrived, so it was as homey as possible as quickly as possible. This did mean that by the time I was done, there were still a number of bees in the otherwise empty nuc box that needed to be moved into the new hive.
This is how that’s done.
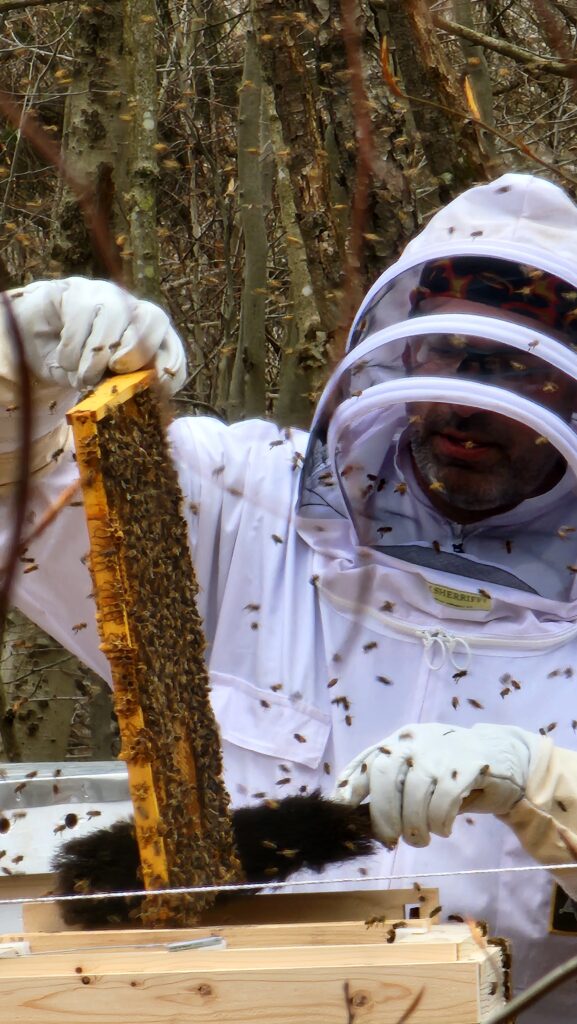
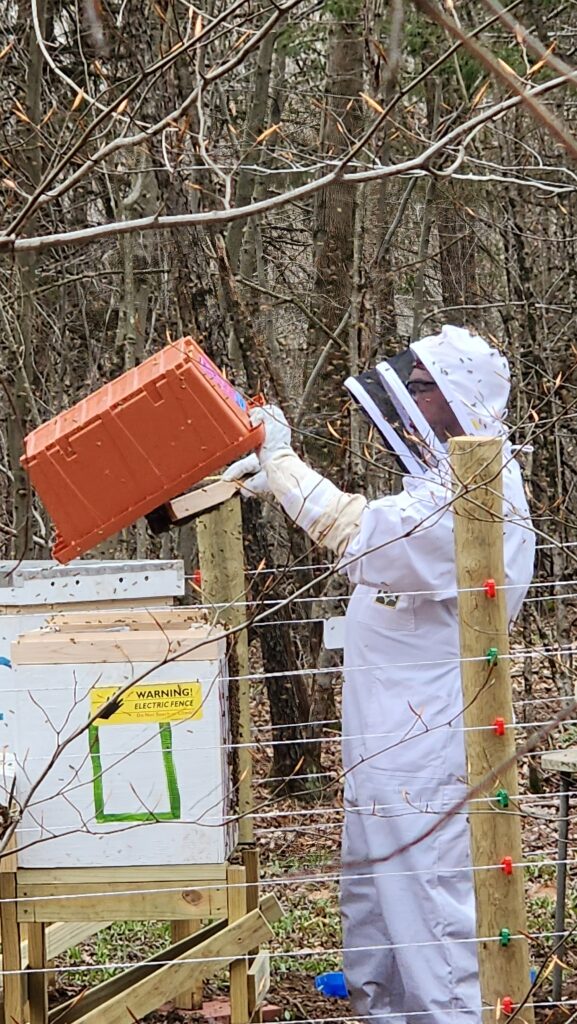
Once all the frames were adapted and transferred over, the colonies were still quite obviously disrupted…
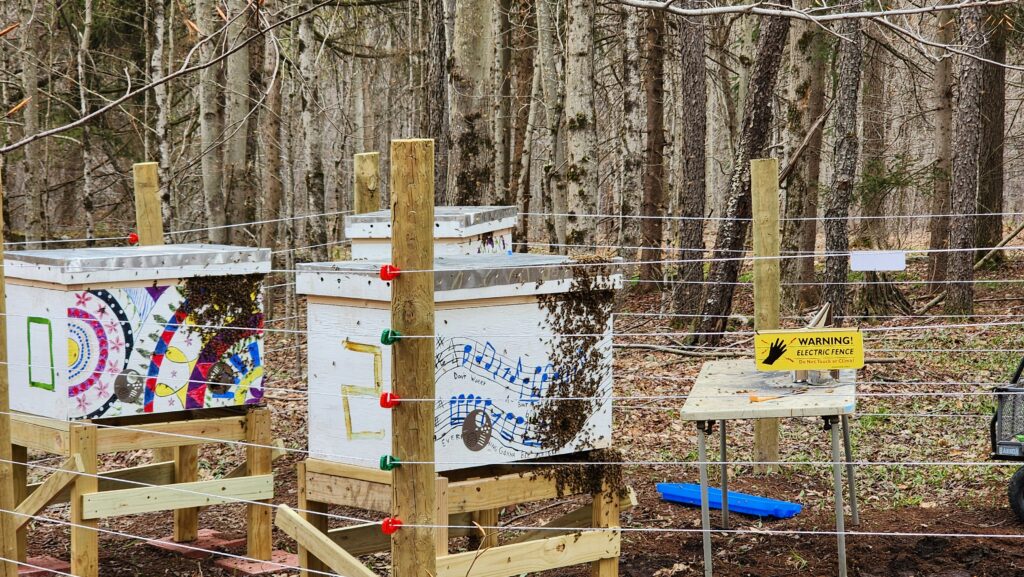
They did, however, settle down in an hour or so, with all the bees going inside except for the ones actively coming and going for forage. I did observe some arrivals with pollen even while I was in the middle of all this, which was quite encouraging.
They seemed to like to ride on my bee suit, too…
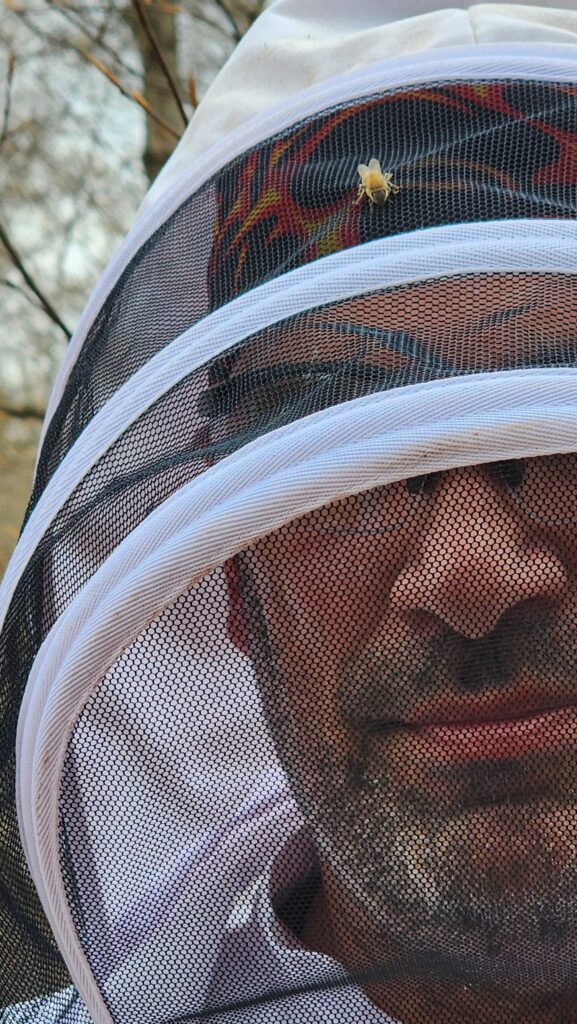
I went back a few hours later to retrieve some trash I had accidentally left just outside the fence… and one bee got very interested in my head. I think she thought my sweat cap, with the red and yellow flame design, was some kind of flower because she just wouldn’t leave me alone. I think I did get slightly stung, since I wasn’t wearing my suit (didn’t think I needed to — the bees were calm and I wasn’t close) and I simply didn’t have the patience to just stand still and let her peacefully discover there was no nectar nor pollen available here. I would have liked to just let that play out quietly, but I was over-stimulated by all the activity prior and just couldn’t quite relax in the moment.
Bees don’t like to waste… a little bit of syrup spilled on the table and somebody quite promptly came to clean it up.
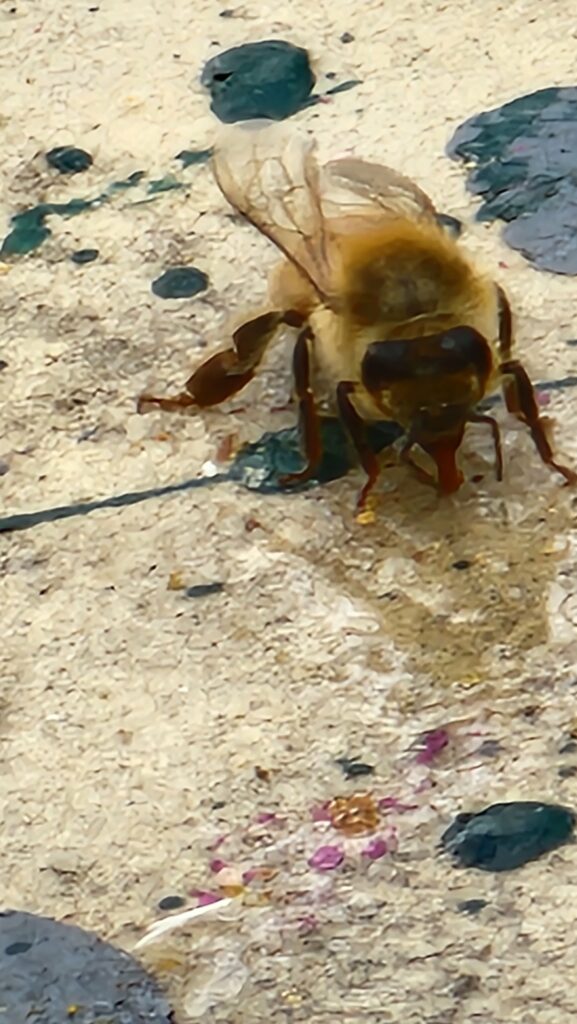
Now the bees are nicely installed and appear to be going about their regular business. I am going to leave them alone for a few days, then check on those feeders and refill them if needed. I’ll also see if they’re begining to draw out (build on) the foundation frames I gave them. I’m expecting them to – the nuc frames were definitely full.
I also have my telemetry set up, so I’ll be able to monitor colony building by watching weight change as well, though because there’s syrup in there now, the daily stats will be masked by the weight of the fluid going down as it is consumed. Still, there will be a shift in the baseline/centerline as resources are brought in and eventually I will remove the feeder, too. It will be interesting to watch the numbers.
Even just an hour after they’d settled down after the transfer/installation, I observed that the hive temperature had risen 10F above ambient. This is expected – they’ll want it warm for the nursuery. It’s good to see they’re on it.
A basic view of hive telemetry may be seen here. This is a simplified public view. My service provider computes insights, warnings, and shows my management notes to subscribers, none of which are available on this view.