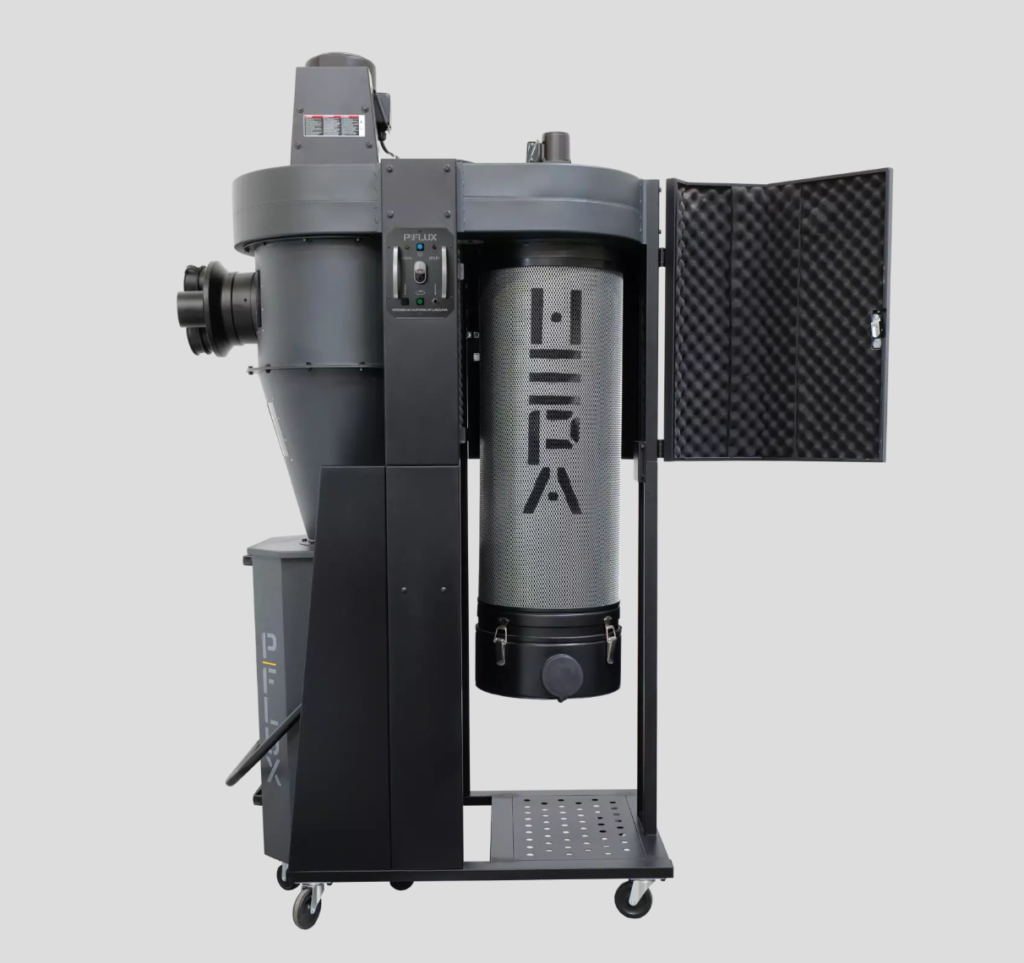
So I had this idea that I wan\ted to upgrade the dust collector in my wood shop. I did some research and found a model that I really wanted, the Laguna P|Flux:2. This was going to be considerably more powerful than its predecessor and has two especially appealing features: much better air filtration (less dust blown into the shop — and my lungs) and the dust itself is collected in a metal barrel rather than being delivered to a plastic or felt bag. Why does that even matter, you might reasonably ask? Well, it’s a real bother to mount the floppy bag to the collector after emptying it. The second thing is that pouring the dust from the bag to a trash barrel where I store it until the T.H.R.O.N.E.s need it is also a real hassle with the floppy bags. Controlling the dust flow is very difficult and it’s easy to get a lot of it on the floor. Having a rigid collection vessel that mounts/dismounts with the actuation of a single lever and won’t flop about as I try to pour collected dust from it had great appeal. So, too, the better filtration and more vacuum power, but the barrel was the real selling point for me. Anyhow, so I bought this new machine.
Except the new machine has the exact same part number as a prior model from the same manufacturer. They updated the design a bit a year ago, adding some nice features, but didn’t bother to change the model number so the information stamped on the outside of the shipping crate is pretty much identical between the new one (that I bought) and the old one (that the distributor had in stock). So I was sent the old one. That was the beginning of much ado with this thing, including a failed attempt to get me an upgrade kit and some of the most inadequate assembly instructions I have ever met. And some missing hardware. And the assembly itself was actually quite involved and time consuming.
There was one step that required some creativity that I thought I’d share. This tall HEPA filter canister is meant to mount to a flange under the cowling of the air handler. For a sense of scale, the whole machine is a little over 7ft tall.
The thing was, the top of the canister was slightly out of round, as was the cowling, so there was no way I could fit the canister in place, especially trying to keep this heavy thing aligned vertically and somehow push it up to dock it on the flange.
Then I had an idea. What if I could somehow jack it up so I didn’t have to bear its weight and instead could just focus on dealing with getting the filter onto the flange. I didn’t have any suitable jack and I didn’t fancy building anything to occupy that bottom space so I could just shim it. I noticed there were some holes in the mounting area of the filter canister and had a better idea: what if I could pull it from above? That way I could control the position and the force while I tried to work the canister onto the flange — not unlike mounting a tire to a wheel.
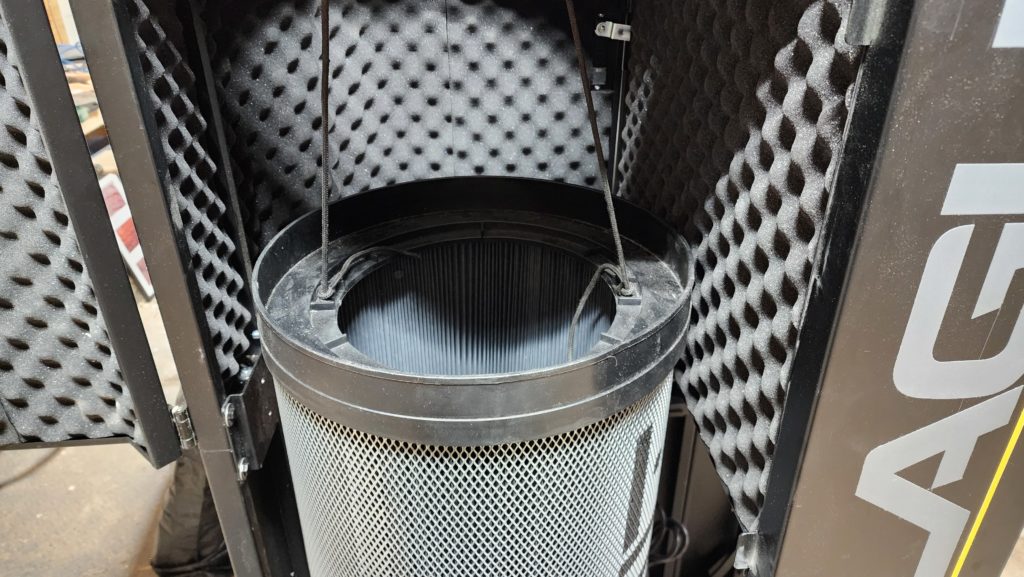
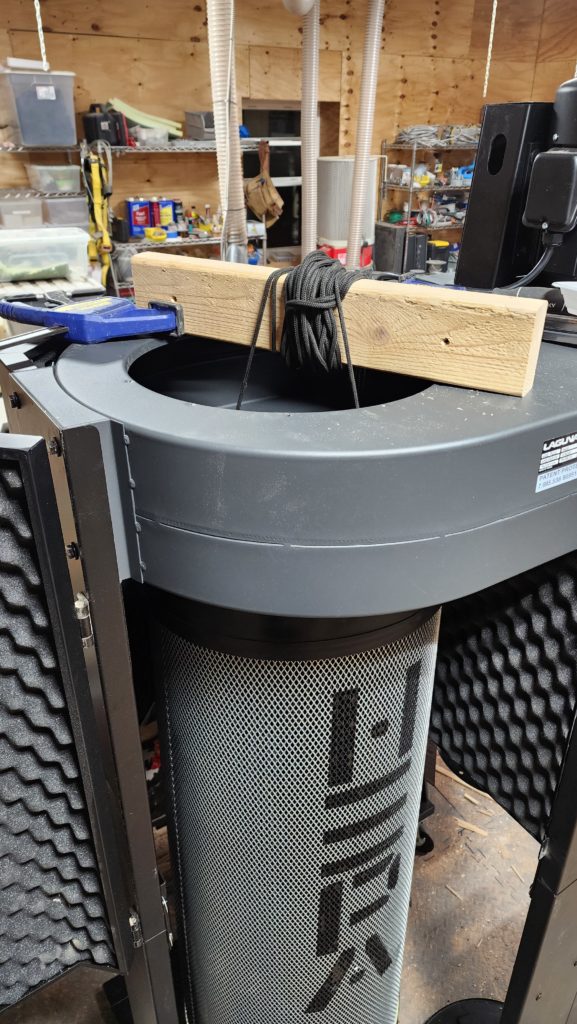
This worked pretty well. To give you a sense of how far out-of-round they were, take a look at the lower-right of this image.
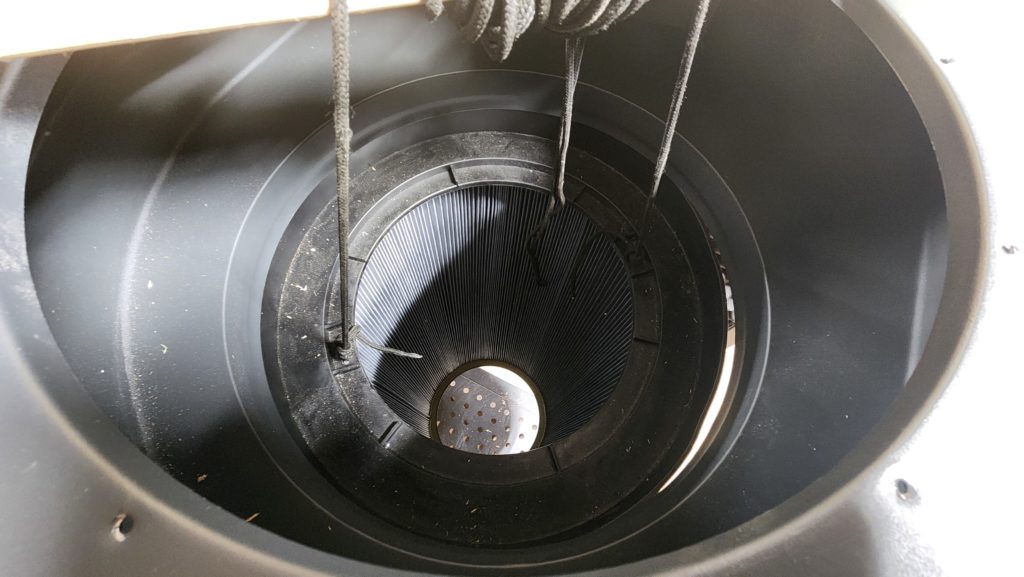
See that crescent of light? Yeah, that’s what was wrong. But with the canister 2/3 in place and held aloft by the ropes, I could slowly work the mounting ring, which was a little flexible, onto the flange on the cowling (the big gray housing in the foreground, also a little flexible) from inside, controlling the docking force by adjusting the position of the 2×4 I was using as a winch. I put a bar clamp on the end (blue) so it wouldn’t just unwind — and I could use the bar as a lever to control the tension, too. This ultimately worked and didn’t take too long once I figured out how to do it. But really, this was not supposed to be this hard to do. The instructions just said “mount filter to flange”. Not “and you’re going to have to apply some thrust to it, bear its weight, keep it aligned, and deal with manufacturing variations — best to have four to six hands for this”. I am reminded of something my sister said so very long ago when she was frustrated trying to build something: “alright instructions, if you’re so smart, you do it!“. Indeed.
I got it done. As with the rest of assembly, including the two parts that needed to be installed for which there was absolutely no mention in the instructions. There were, however, two bags of screws that had names like “junction box” and “pressure switch” (even though it was a pressure sensor, but never mind that) that hinted at specific work to be done. I found a thing at the end of some tubing which I recognized as a pressure sampling inlet — not a sensor, not a switch, but never mind — and there were a pattern of holes on the cowling that matched, so clearly that’s where it goes and those screws are for doing it. Done. The one tagged “junction box” was a little more tricky, since there were a couple of places that might reasonably been construed as “junction box” but one of them was flopping around and near a bracket that happened to have two threaded holes. Okay, those screws attach the box to the bracket… probably? Yes. That. Done.
Finally, the machine all assembled, I turn it on.
And 2 seconds later it turns off on its own.
Why?
I know why.
Same reason the table saw wouldn’t start. The big motor on it draws too much current when it starts, sagging out the AC power system to the point that it shuts itself down to prevent overload. There was a solution for the table saw — a soft starter module for the motor — and another one should do the trick nicely for the dust machine. It has a motor 2/3 as powerful as the table saw, so the same unit should have no trouble doing the thing. I bought one – another $300 added to this project – and went about installing it. Obviously, the dust machine doesn’t just have a spot designated for such a thing, but it turns out a stabilizer tower for the motor was the perfect place to put it. This thing right here.
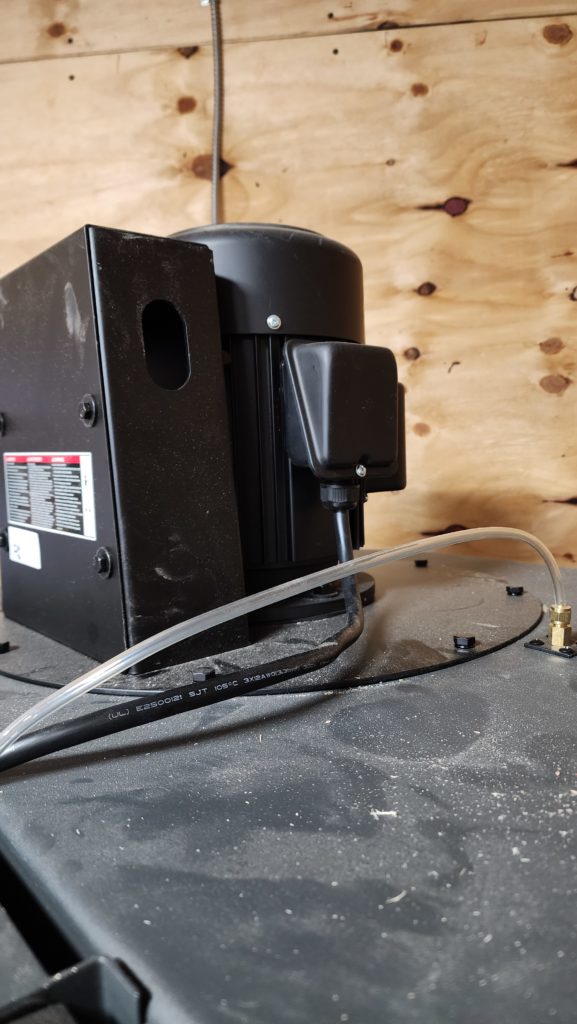
Drill some holes for cables and mounting screws, wire it up.
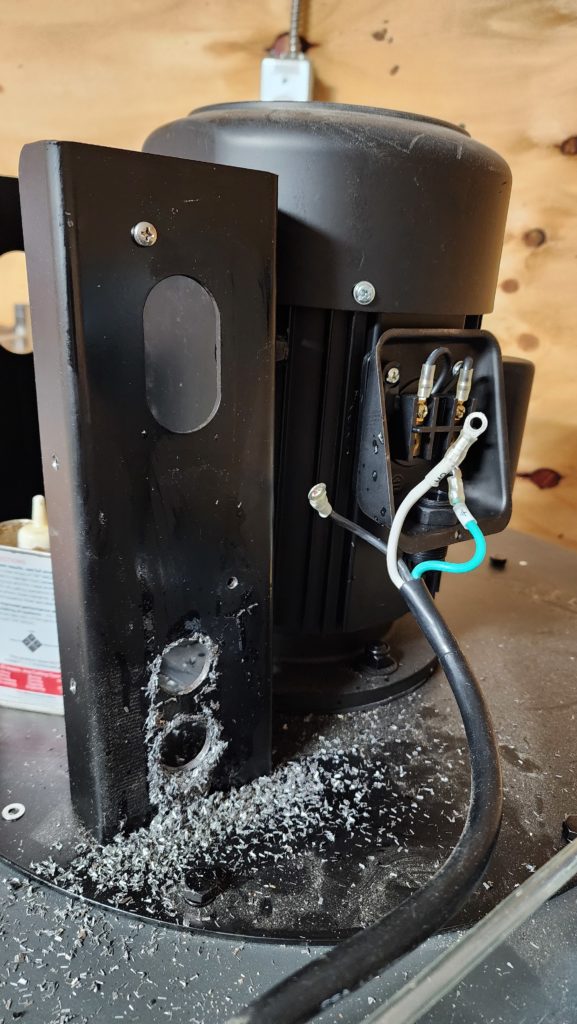
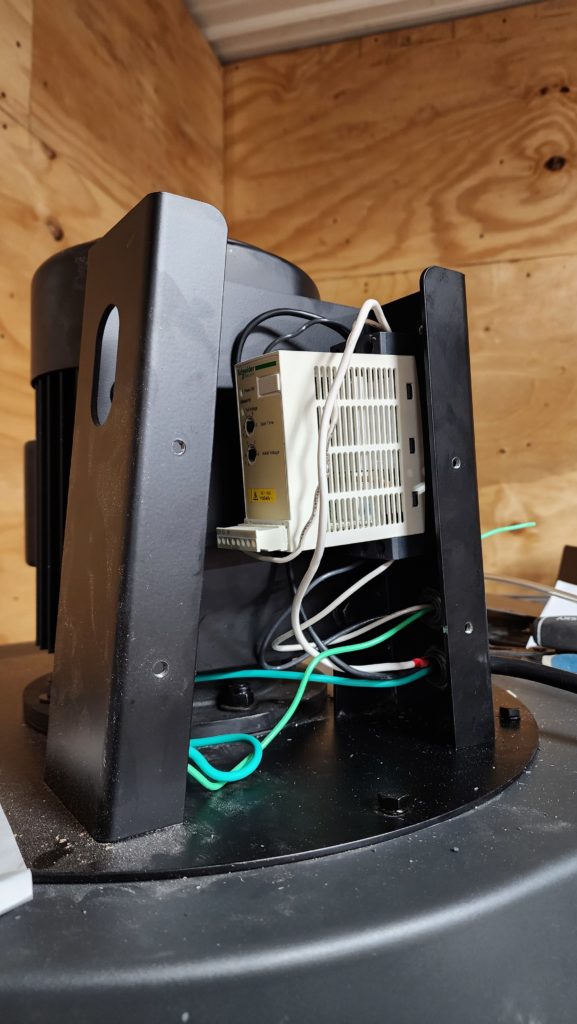
Nice and tidy when done. You’d hardly know it wasn’t designed this way.
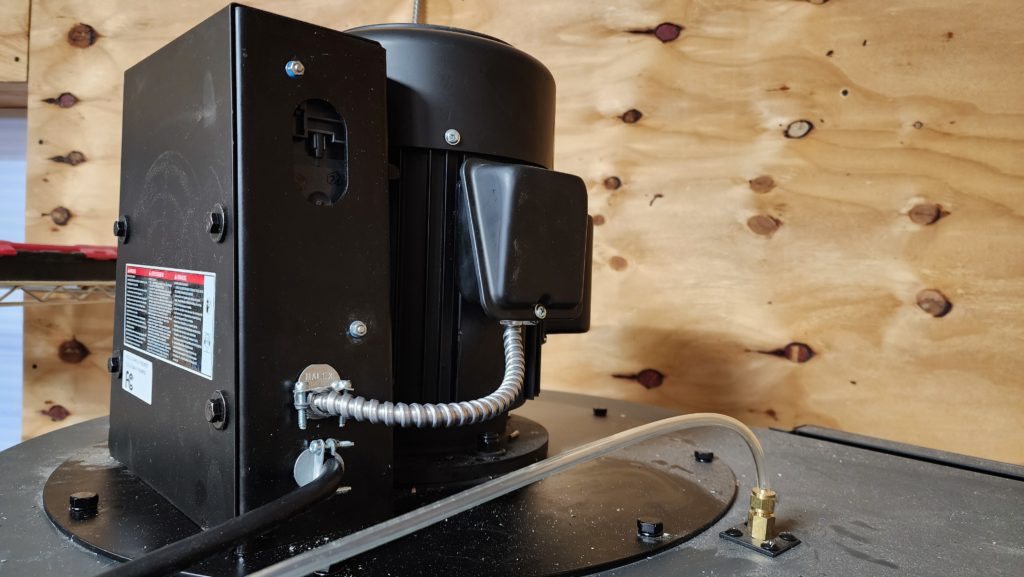
The tower already had some large oval holes in it — for reasons unknown; perhaps this same fixture is used in some other machine that utilizes those holes — but in any case, I made sure to align the soft starter module with the opposite hole so it could be adjusted without having to open anything.
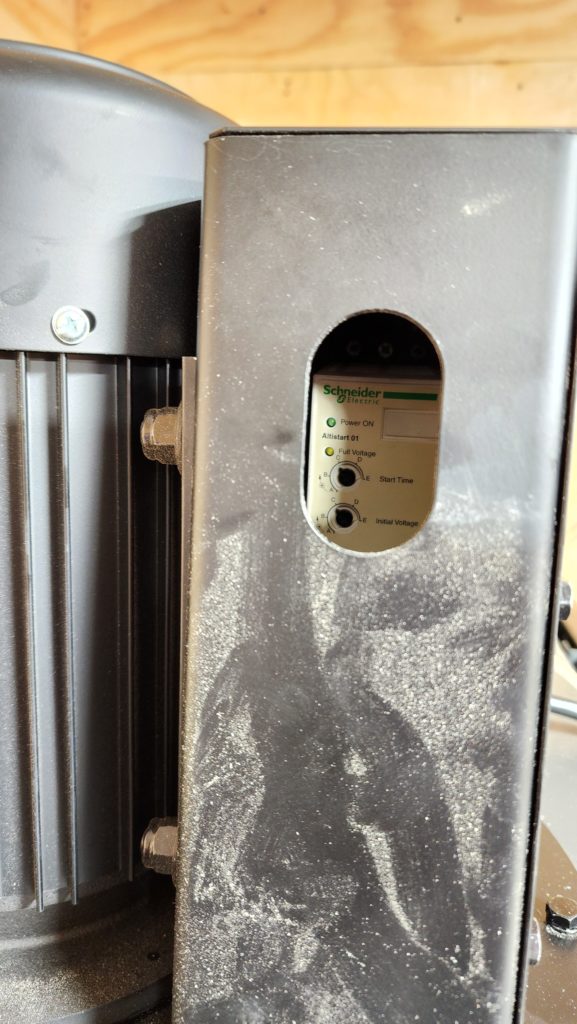
For the curious, this is a Schneider Electric AT01N125FT. They’re a bit pricey at around $300 retail but they’re super easy to use/install and they work great for 1-3HP single phase motors. They’re theoretically good for 3-phase motors, too, but mine are single phase, so I can’t comment on that. One thing that a lot of soft-starters I found required was a 24V control signal or some external timing circuits. This one can use a 24V signal but can also just as easily use the 220V motor power itself as the signal to start, so no external components are required at all. Just wire it inline with the motor supply and tap those to be the control signal. I’ve had one of these on my table saw for at least a year and it’s been a champ.
So now, finally, I have the new dust machine operational. And it does not disappoint! It is quite powerful. It’ll be a bit before I have a barrel full of dust to see if that’s really as easy as I hoped it would be, but even if not, it can’t possibly be worse than the felt bags. For sure getting the barrel mounted/dismounted is super easy, which is dreamy.
At long last, I have begun to build the house’s water control computer. This will monitor the fresh and gray water tank levels as well as drive digital dials where I can see them so there’s no guessing about the water levels. It will have a few indicator lights on it, too, telling me important things like when the fresh water is empty, the gray water is full, and so forth. Lastly, it will have a little program that refills the fresh water tank. Right now, I manually close the circuit breaker for the well pump, watch the tank level until it looks full (the tank is slightly translucent), then open the breaker. The program will take a button press to tell it to please fill the fresh water tank, drive the well pump itself, and monitor both the main level sensor and the overfill sensor.
If the level sensor doesn’t show continuous progress, it will automatically shut down — the well is dry, the pump is sick, the line is blocked/airlocked, something is wrong. Don’t keep doing what you’re doing. It will also simply track time – it usually takes about 4m to fill the tank. If it takes longer, assume a sensor isn’t working and abort the refill. Lastly, the overfill sensor will electrically interrupt the power to the well pump, so even if the software fails entirely, if the tank gets too full, power to the pump will be cut. This seems pretty solid to me. And no, there will be no access for remote control at all. That’s just asking for trouble. I might use the web server feature of the Arduino controller I’m using and make the sensed water levels available to view remotely. That might possibly be useful.
I’ve got an Arduino, a relay board, and a break-out board with a little bit of passive circuitry on it to which all the sensors, indicators, relays, and buttons will connect. It turns out that’s quite a number of connections. Observe:
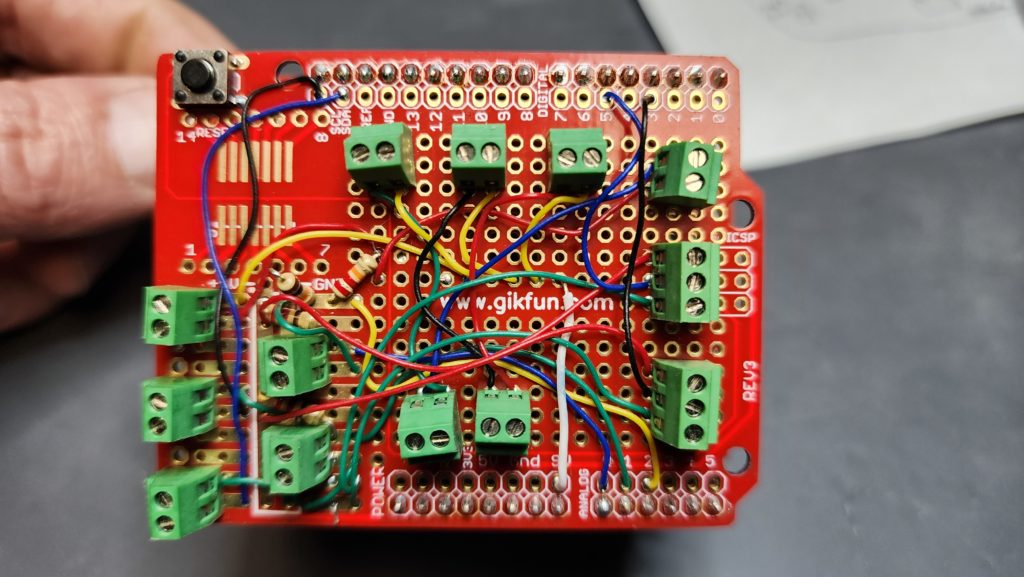
The company that made the (blank) break-out board, “gikfun”, seems to be another one of those Chinese companies that is trying to sound American… “geek fun”, I’m guessing. But as it turns out, the geek fun domain is already taken, so okay, next best? I don’t know – I have some alcohol wipes by “caresour” brand — I can only imagine they were thinking “we care” or “our care” but didn’t really understand the language and that they really wrote “care sour” on their wipes. Would it be better with a meaningful to them but obscure to me Chinese name? Do they think they’re fooling anyone that it’s an American brand? I may never know, but it does often amuse me to see what strange contrived “brand names” appear on stuff. Day Better LED strips? What does that even mean?
I will continue building the water computer (and programming it) in a week or two as time permits. I’m waiting for some low-voltage hookup wire at present. At some point soon, I’ll design the enclosure for the whole stack and 3D print it. More on that as it happens.
What is a Storridor, you ask? It’s a corridor where stuff is stored, of course. Like this!
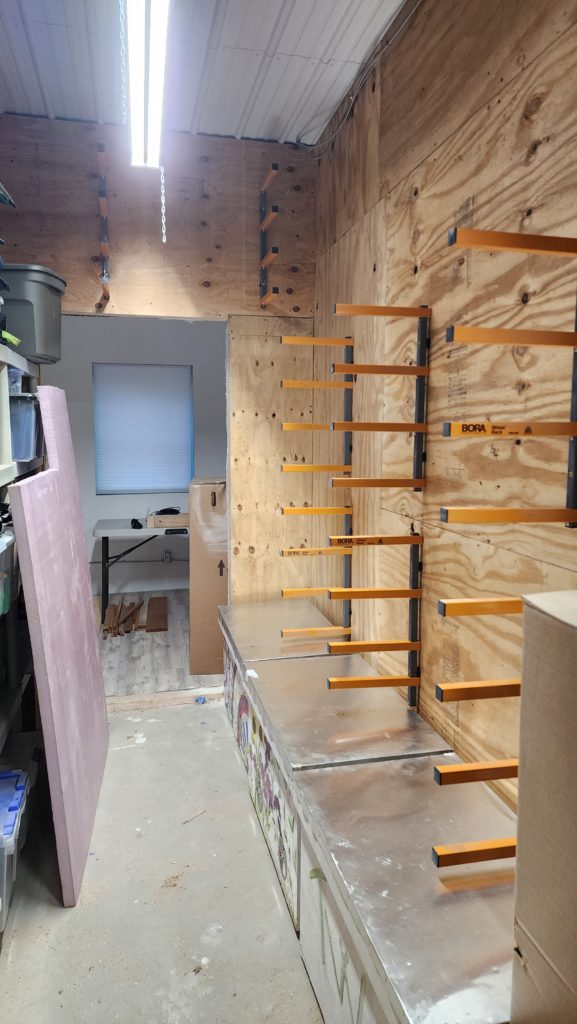
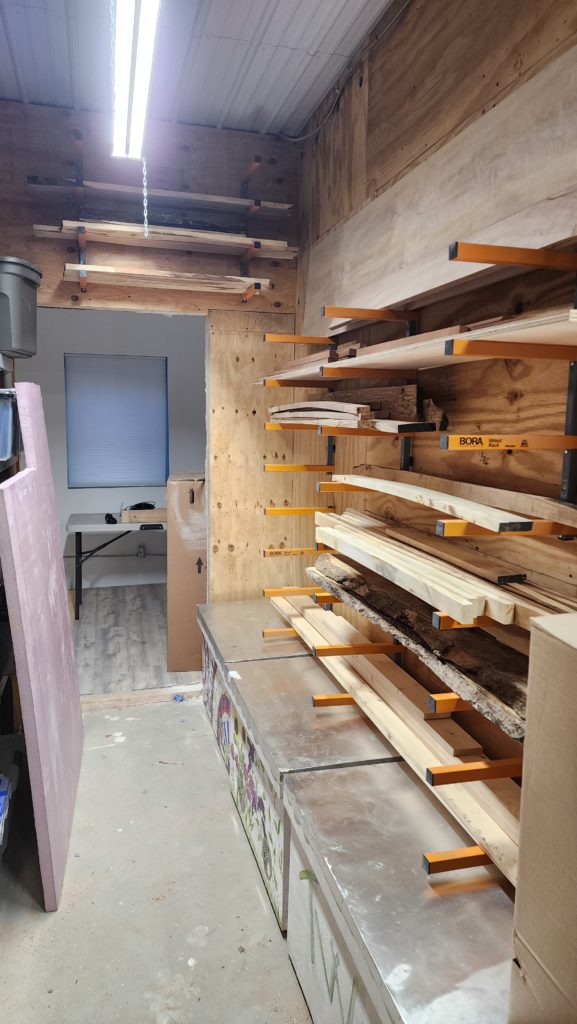
This is the back hall of the workshop, with the tidy/finishing room through the doorway there. Those are actually my beehives on the floor, with the metal clad lids, waiting for next season (and a better electric fence).
It had always been part of my master plan to have wood storage here. Until recently, there were shelving units holding disorganized things. Those have now become organized things and fewer shelving units were needed (some were given away), making room for these wood racks. When the hives are out in the yard, that space will accommodate storage tubs.
And now for the random pictures part of the program.
First, a few things that made me chuckle…
A happy bell pepper.

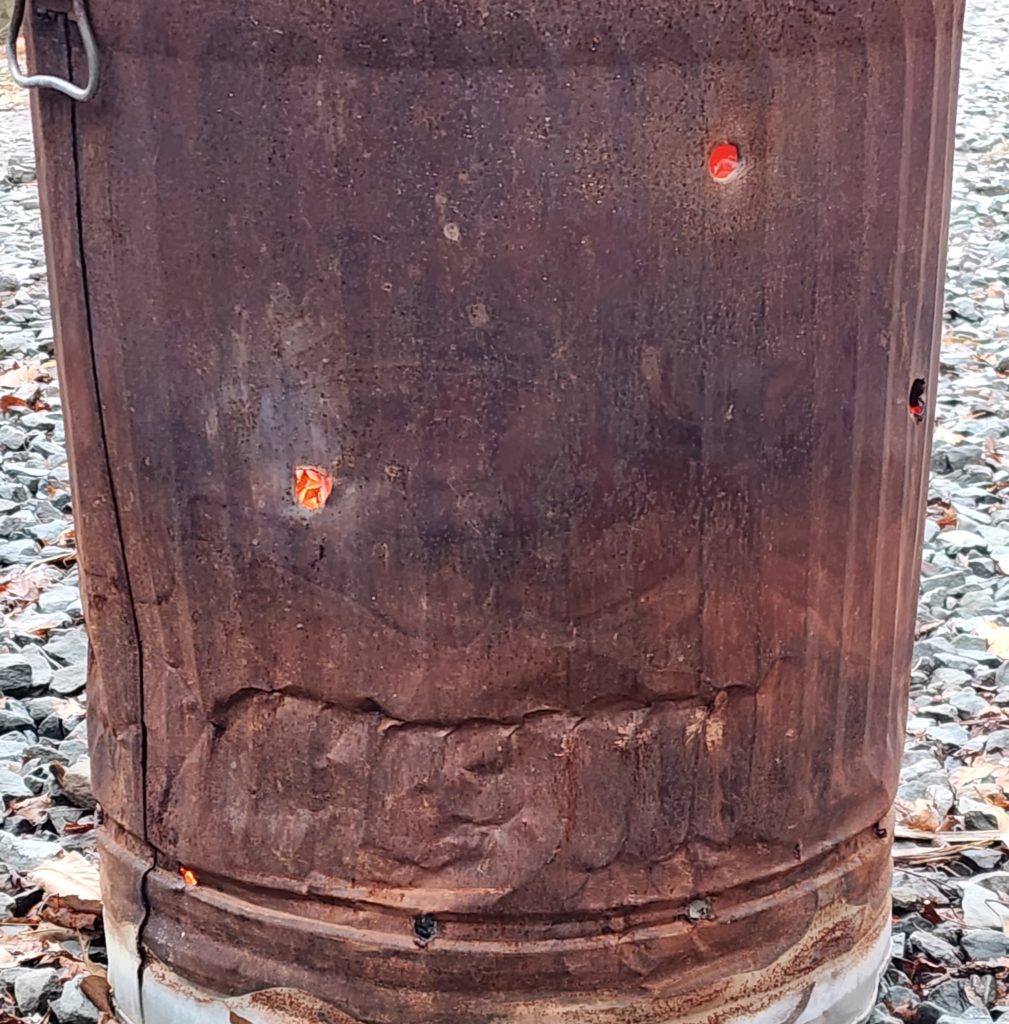
A slightly grumpy burn barrel
A fun sign for a bathroom

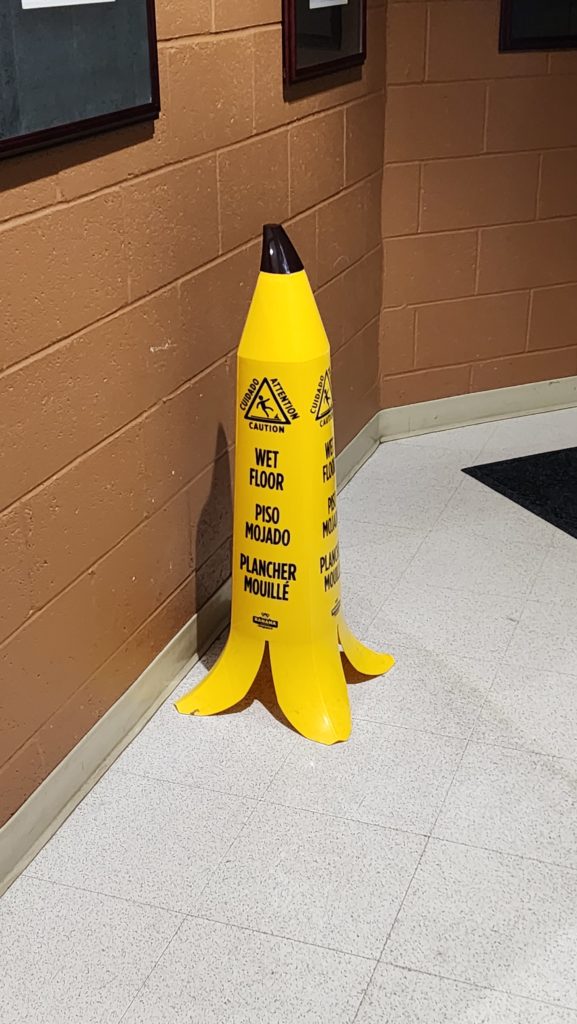
And a banana-peel-shaped slippery-floor pylon.
And a few inspiring shots from the candy kitchen…
Some chocolate that’s lost its temper

And some cake… made even better by a visit to the chocolate machine.
