Lots going on, per usual. Today we start in the workshop at the lathe. The second-to-last bit of installation is shown here, a dust scoop. I have no delusions of being able to catch the dust from the lathe as it flies everywhere. What’s the next best thing?
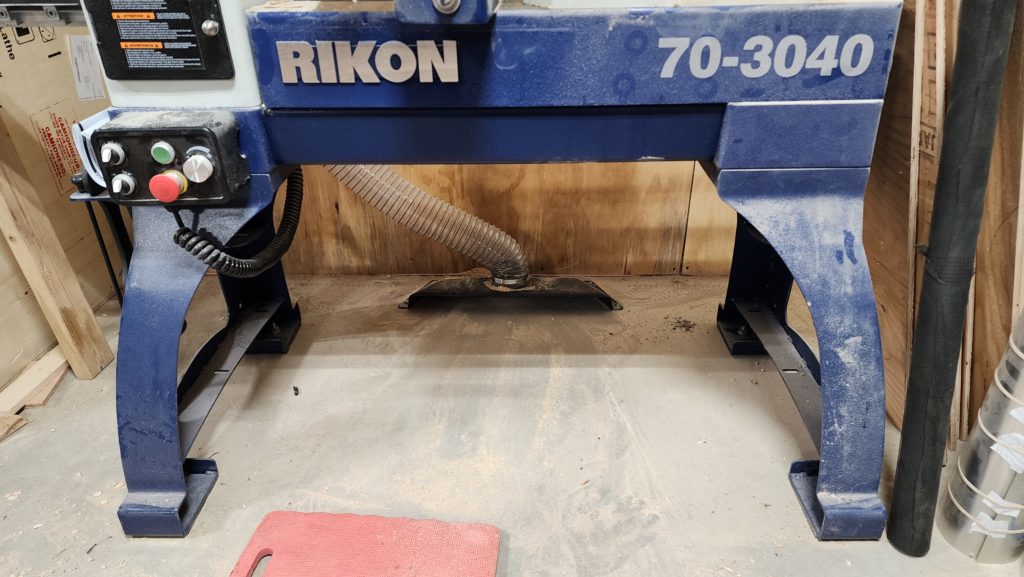
Letting the dust hit the floor, then sweeping it into this scoop with the dust collector turned on, that’s what. Is my collector strong enough to pull this dust 10ft straight up in a 4″ hose, then over 20ft across the shop ceiling, before gravity helps it into the collection unit proper? Yes, indeed it is. But if the dust is chunky, I need to close all the other ports. That’s okay.
Now that there’s a way to tidy up after, it’s time to actually use this thing! The good news is that it’s variable speed controller has a very soft start, so it’s kind to my battery-driven electrical system even though its maximum power draw is 3HP.
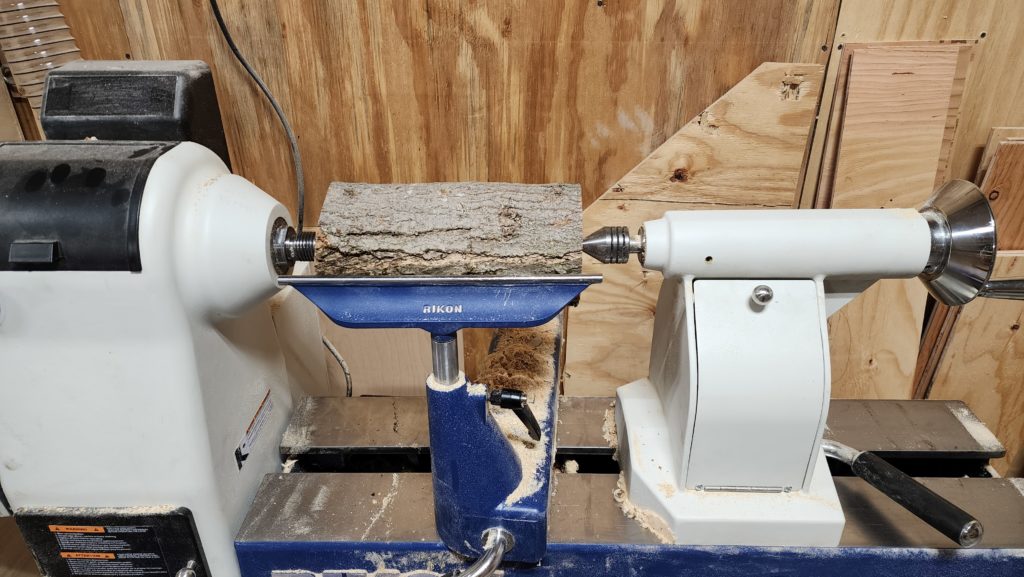
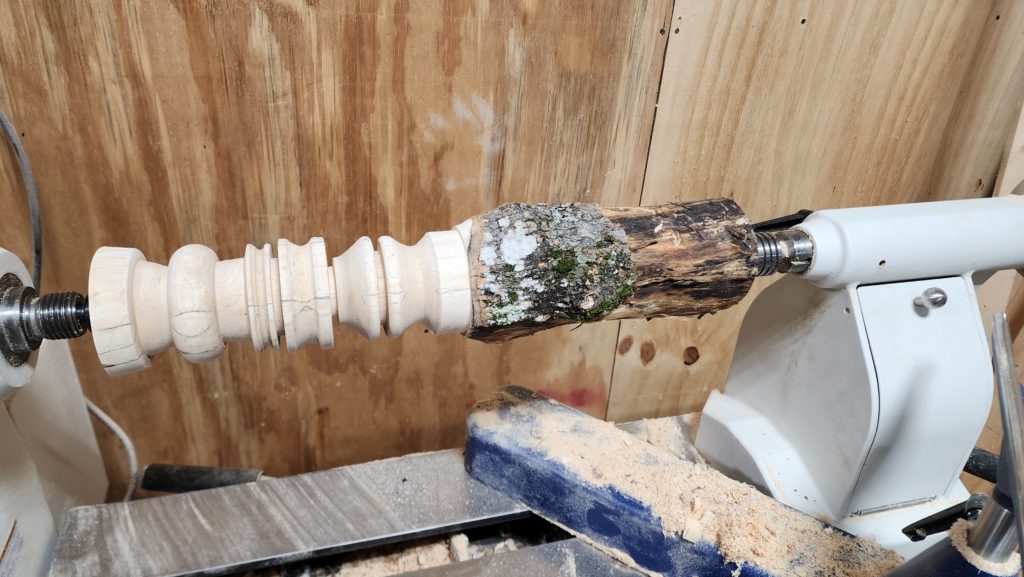
One of many nice things about living in the forest is that there’s always wood around. Indeed, this one maple tree had to come down for stewardship reasons and while much of it isn’t suitable to mill into boards and/or is too small to use for firewood, arm- and leg-sized limbs are perfect for practicing woodturning!
It’s so satisfying to turn a log into a thing…

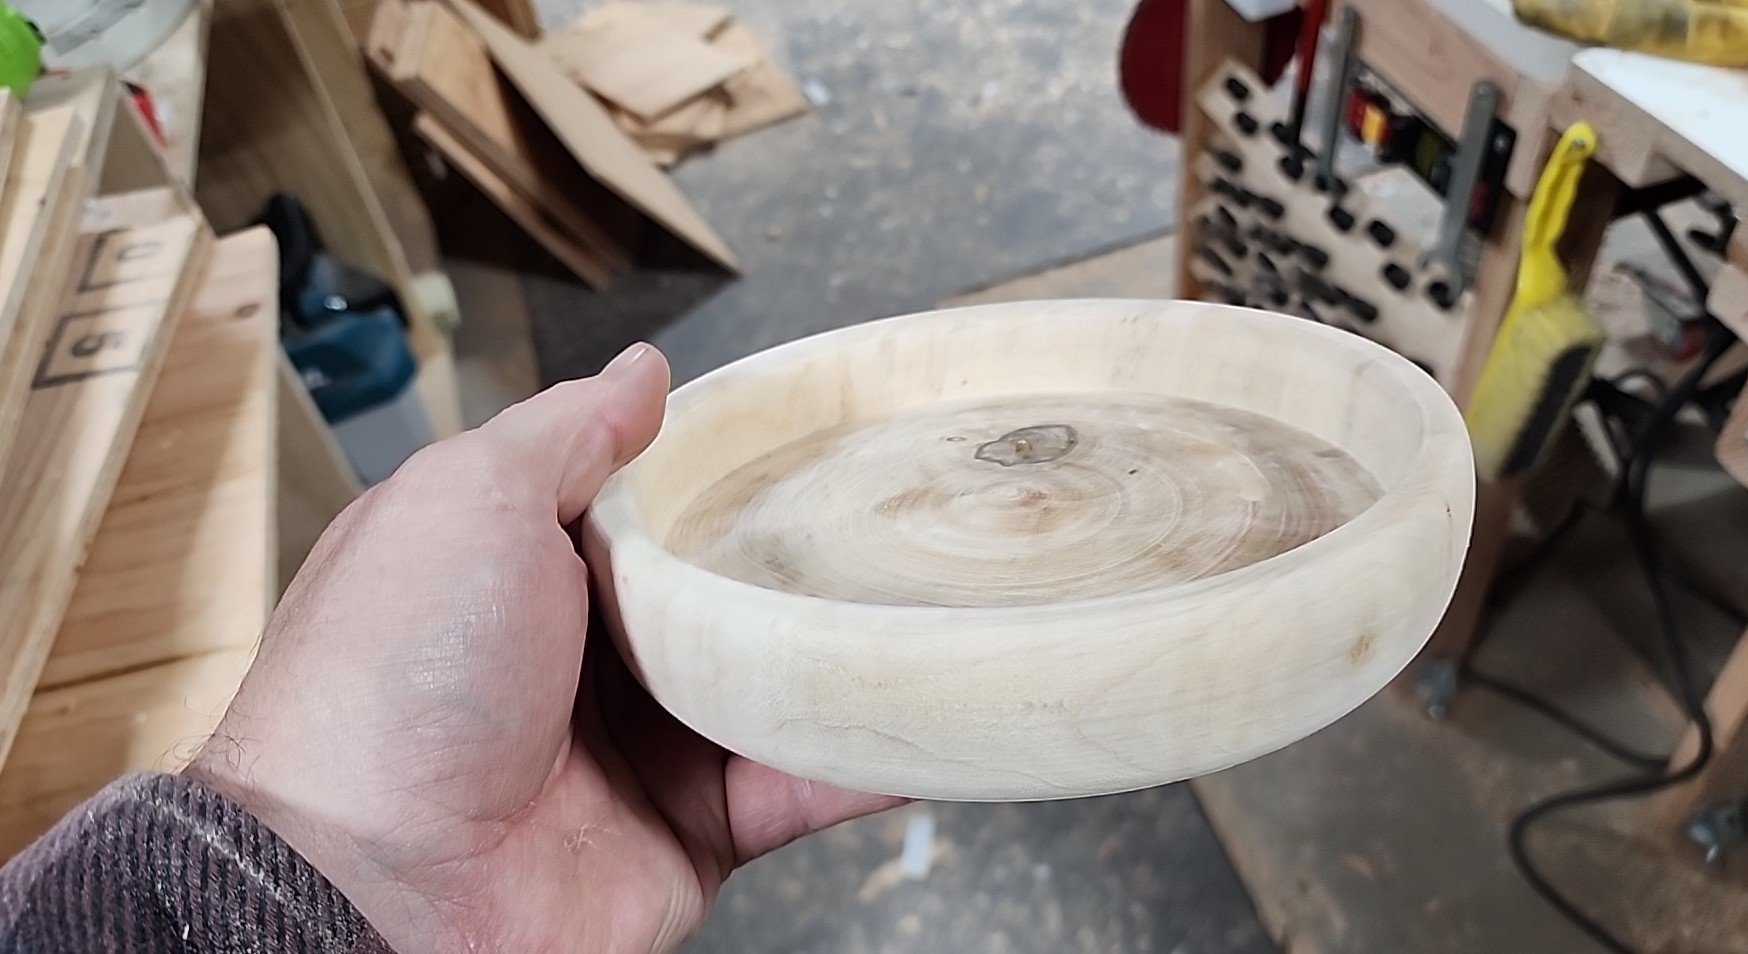
And a fairly pretty thing, at that.
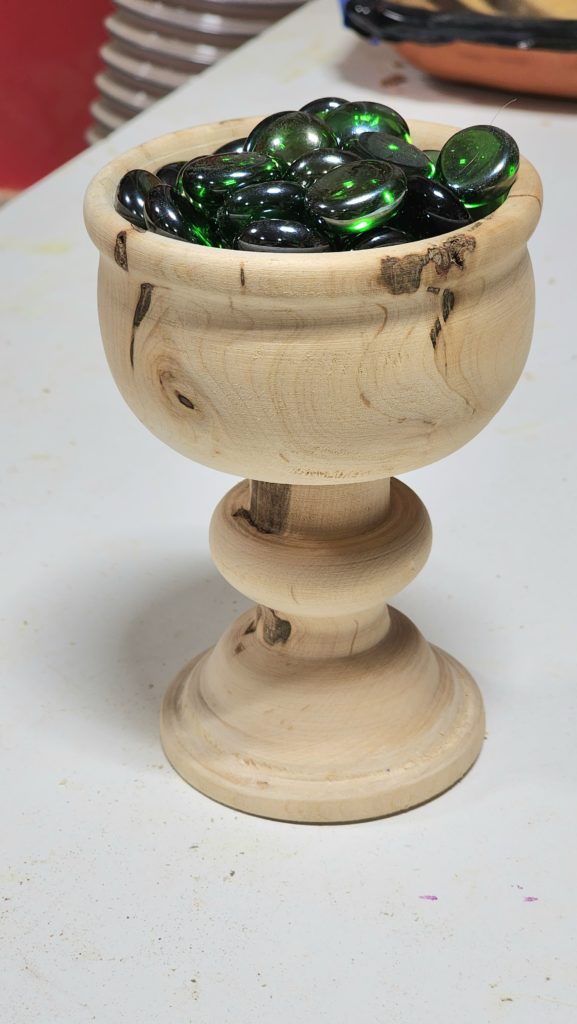
Now, this was wet wood when I turned it so it’s not going to dry nicely (i.e., it will crack) if I just leave it out. However, that’s actually okay. There were many technical errors in this piece, no matter how good you think it looks in this picture (of course I did my best to hide its imperfections for the glamor shot), so I’m totally fine with it self-destructing as it dries. It was just practice.
Still, it *is* a lot of fun, even as I realize how much more I have to learn before I can produce really nice pieces that stand up to being looked at up close.
Speaking of wood from the forest, remember that big dead ash tree that I had taken down a couple of months ago? It turns out it had dried out a bit as it stood there, making the timber largely unsuitable for woodworking because it was profuse with cracks, like this:
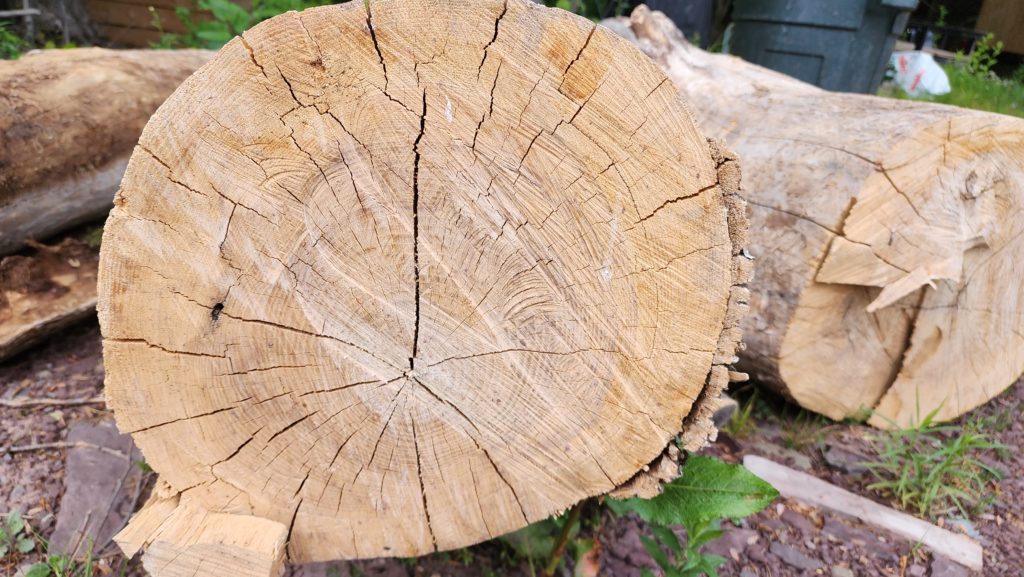
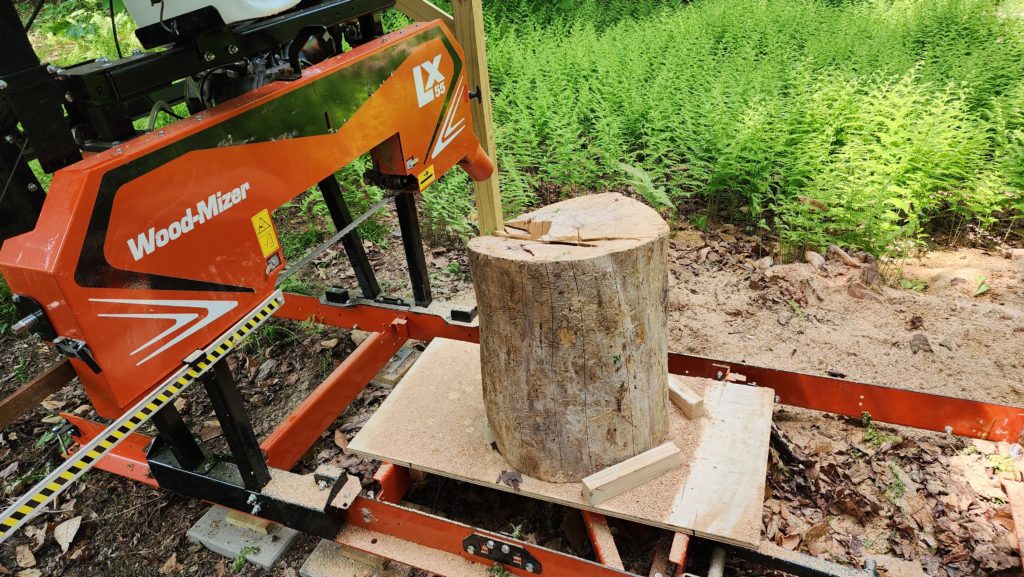
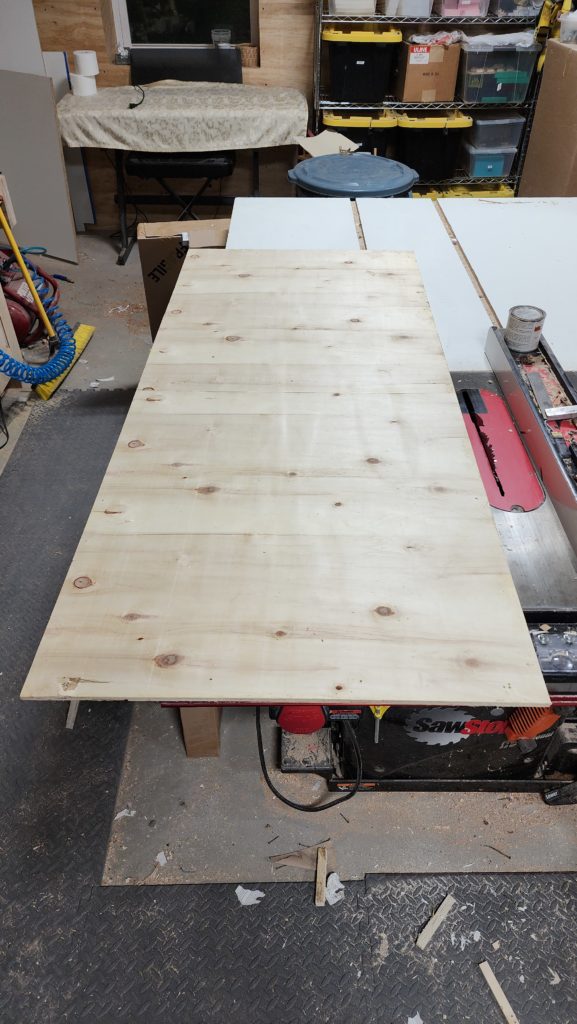
But then I had an idea. What if I sliced these logs into pizzas, let them dry fully, cracks and all, then use a vacuum press to force tinted epoxy into all the cracks? This should stabilize the wood as well as accentuate its crackled appearance. Then, I should be able to mount it on the lathe and safely turn them into a set of visually striking plates/platters. But how to slice them neatly? Ah, yes, the sawmill! But this time the logs had to stand upright, a position the mill had no interest in supporting. That just meant I needed to get slightly creative to figure out how to hold the log securely for slicing. A little platform, some stop-cleats, and a clamp or two got it done.
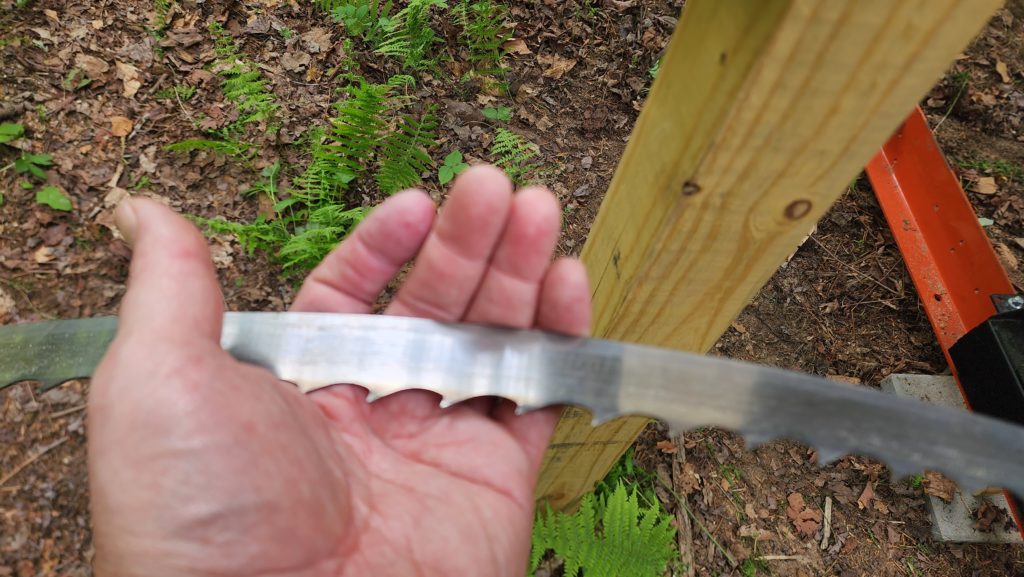
Hey, did I ever show you that mill blade? It’s kinda scary.
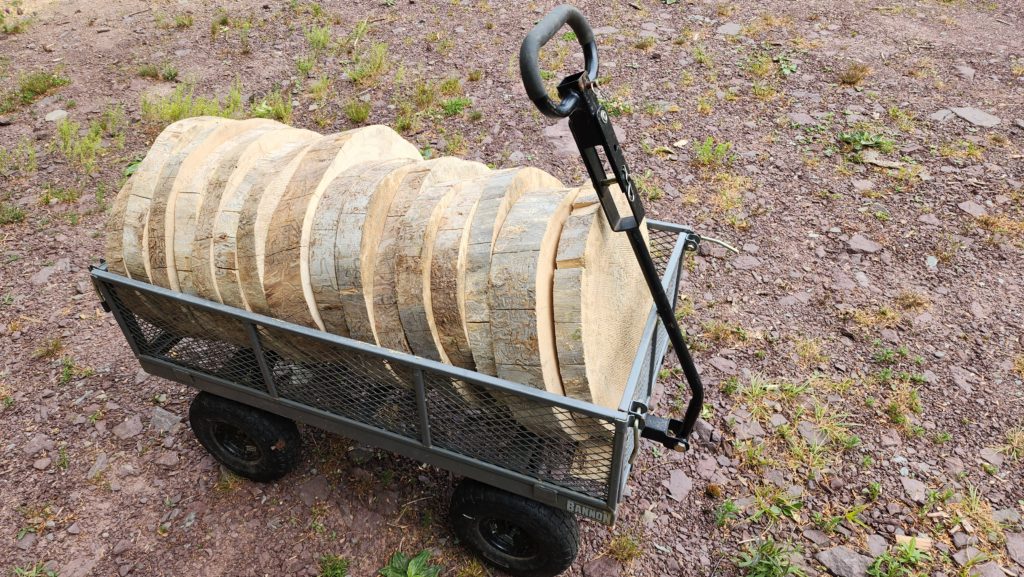
And now I have a minor mountain of these “pizza blanks” — the yield was ultimately three or four cart’s-worth — sitting out and drying out, cracking as they will. This project will resume many months from now, when the wood has reached equilibrium.
Remember the Phoebe eggs? They surely hatched. Please forgive the poor quality of the photo – it’s a very awkward shot in a badly lit area. It’s especially difficult to focus without another hand or two.
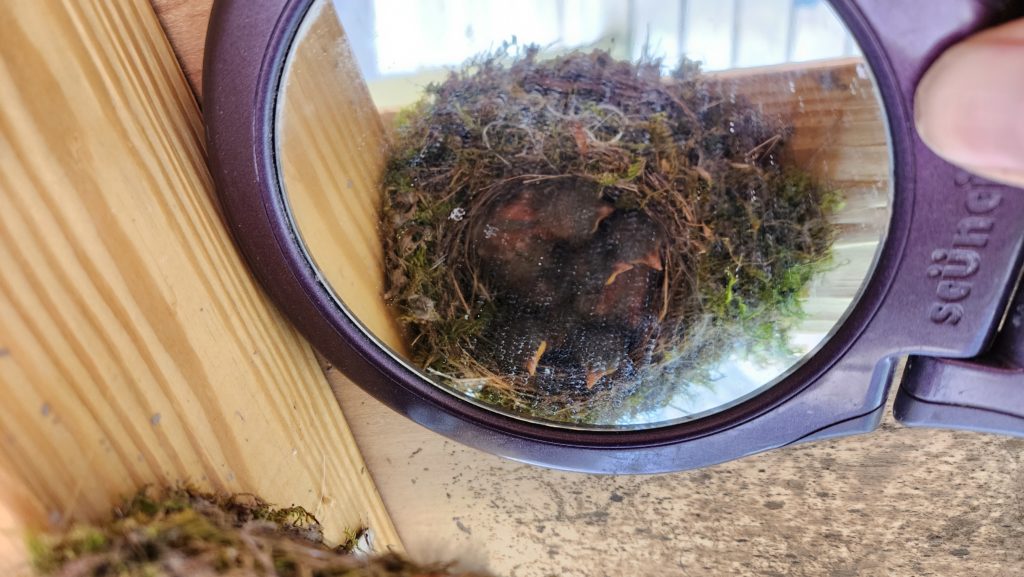
It didn’t take long at all for them to grow into adults. They didn’t seem to mind the cramped quarters.

The very day I took this pic, they fledged. The nest is empty now.
I’ve had a bit of time on my hands recently, so I ran out of excuses not to follow up on some less-than-fun completion projects in the workshop. Among these, finishing the fractional drop ceiling tiles in the Executive Washroom and the Mudroom.
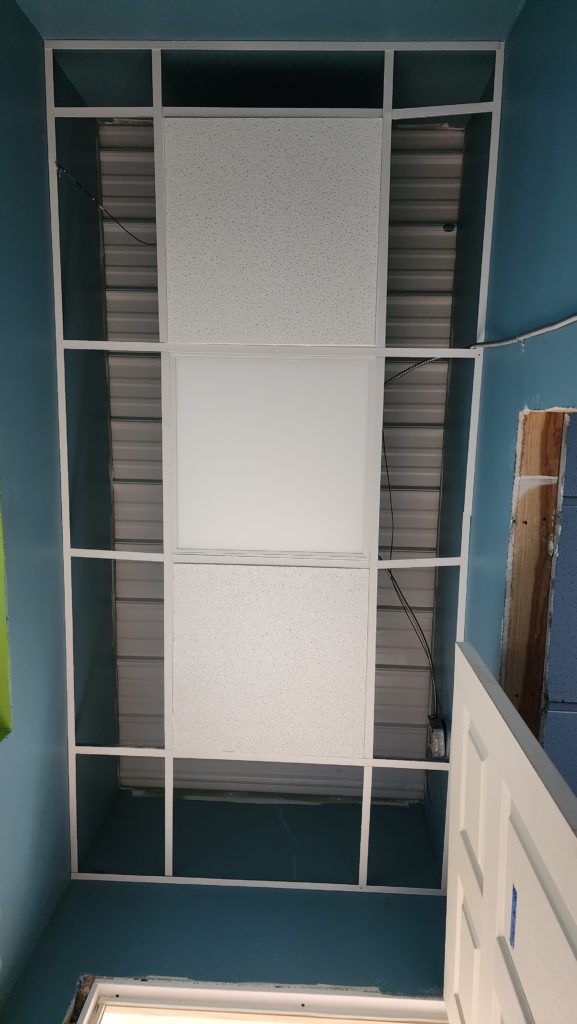
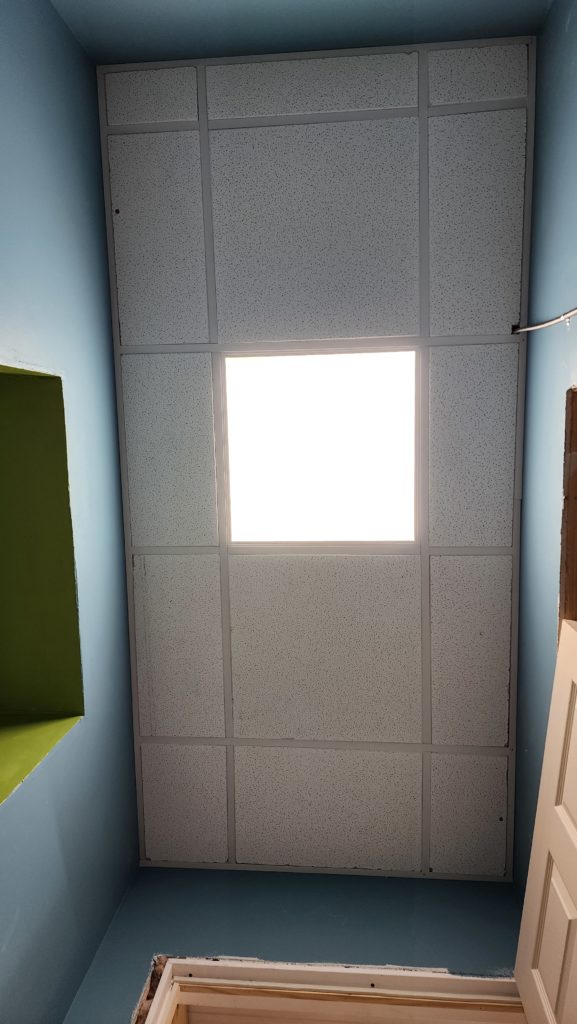
Mud room doesn’t have a before pic, but what’s new are the corners, two of which are visible here.
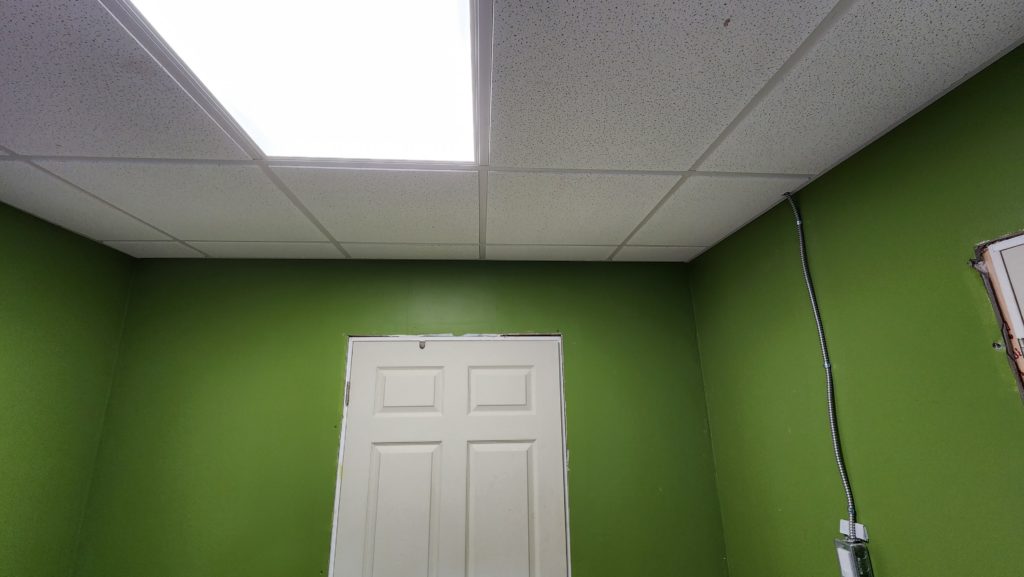
And much as I really dislike trimming ceiling tiles — they just crumble, making it very difficult to get a tidy edge — I gotta say both spaces look and feel much better now that their respective ceilings are complete. There is still trim yet to install and I’m seriously considering changing the doors (three in the mud room and one between the EWR and the workshop floor are all the same and all pretty terrible, despite my having paid about $300 each for them). I don’t really want to make these doors, though at this point I’m thinking I may well be able to do a better job than these manufactured ones.
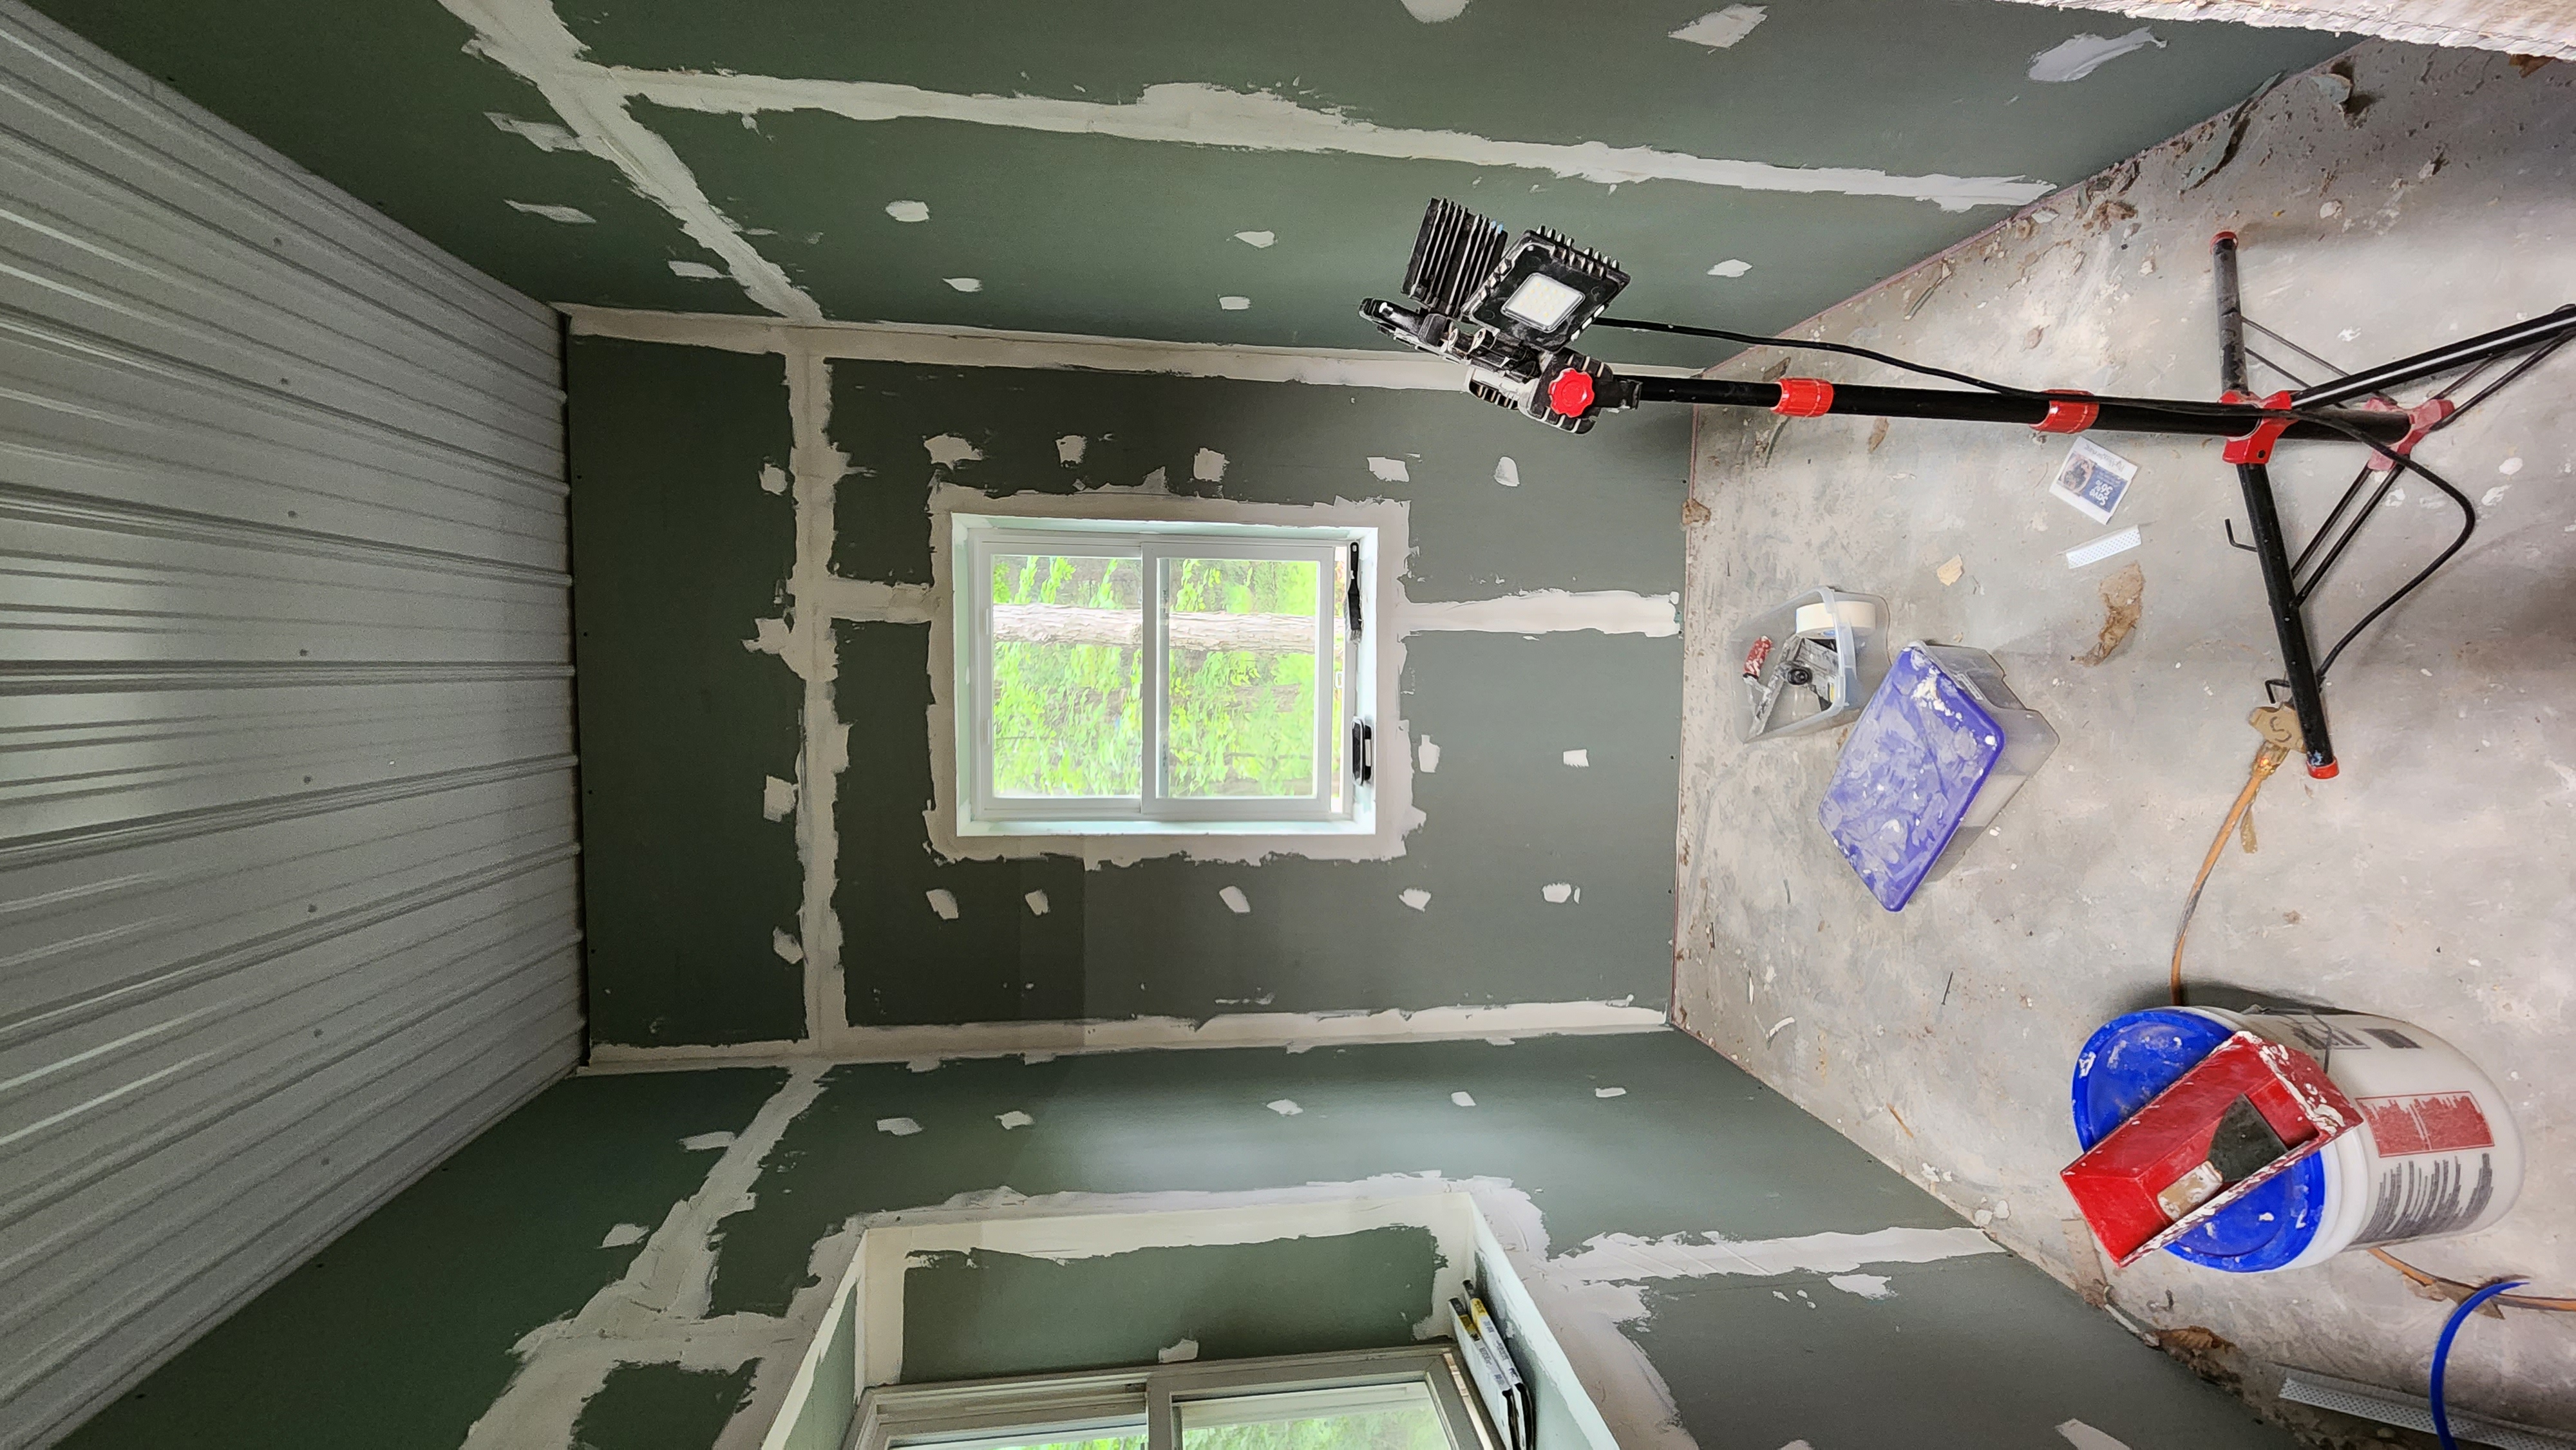
Also in the workshop completion department, I’m finally back to work on the Tidy Room, shown here after “tape and mud” have been applied. It’s been so humid that it takes days for the joint compound to dry, so it’s slow going.
The storage hallway between the main shop floor and the Tidy Room finally has its own light, too.

Lots of little details, but each one makes the space better.
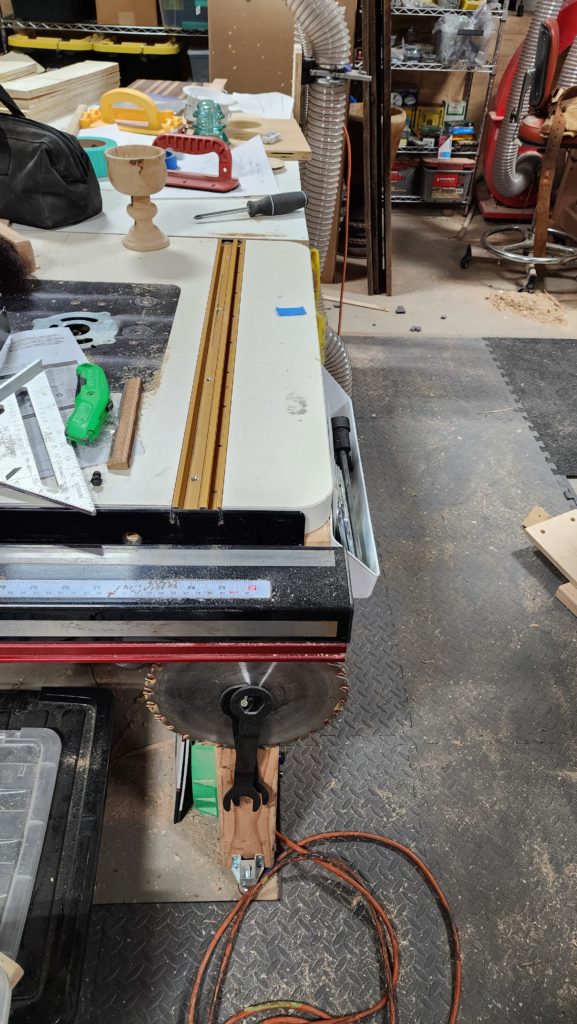
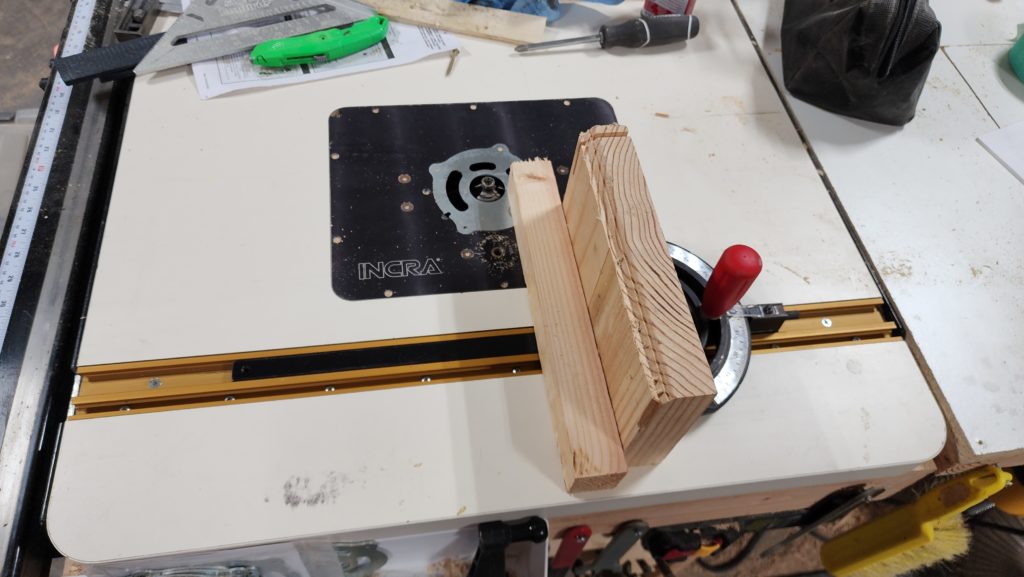
Just like this little bit of rework on the router table. You see, I combined my router table with my table saw, which for the most part made a lot of sense, but the track on the router table part became blocked by a thick metal bracket that was part of the table saw. This meant that those fixtures which were meant to anchor in this track couldn’t, because there was no way to slide them in — no open end. And for those fixtures that simply drop in to the track and slide, their motion was severely limited, as was the length of the slider bar. The gold extrusion is the track in question. My good friend MultiMax knew just how to make that tricky horizontal cut.
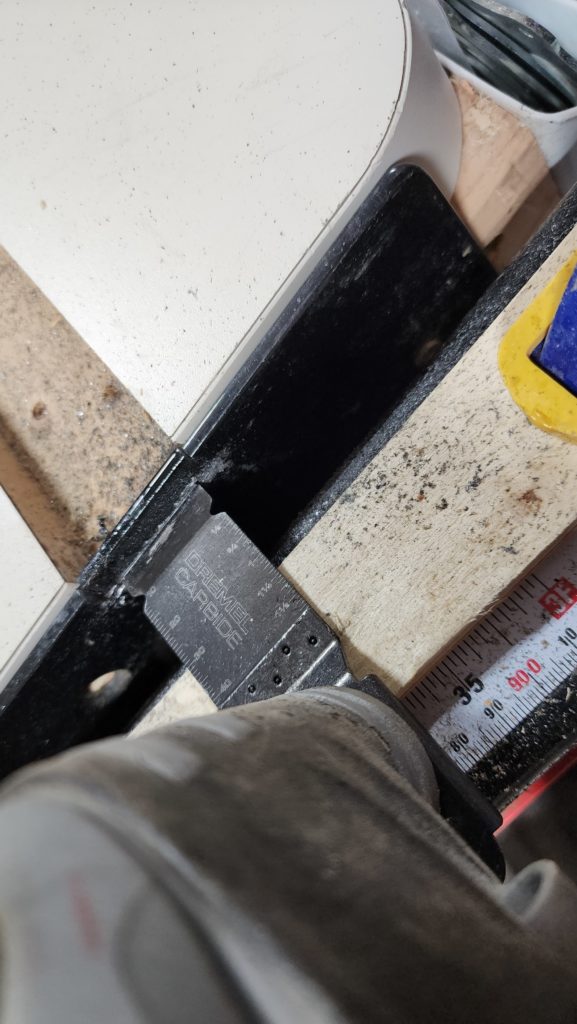
And now, clearance! Note the black slider bar is now free to exit to the left, unimpeded. This particular device doesn’t actually need that clearance, but you can imagine that some other fixture might need to travel further or have a longer bar that simply needs room to move. Also, these tracks can be used to anchor stuff (hold downs, stops, etc) but those things need an open end to slide into the track, which then captures them. That wasn’t possible until the notch in the bracket was cut, gaining access to the end of the track.
When I was using the lathe, it occurred to me that I needed a caddy for the turning tools. A place to keep them close at hand, but out of the way. I needed a little tool cart! I also needed to get rid of the shipping crate, now that I was sure the lathe was going to stay.
Hey, wait! I can harvest the plywood from the shipping crate and make the tool cart from that!
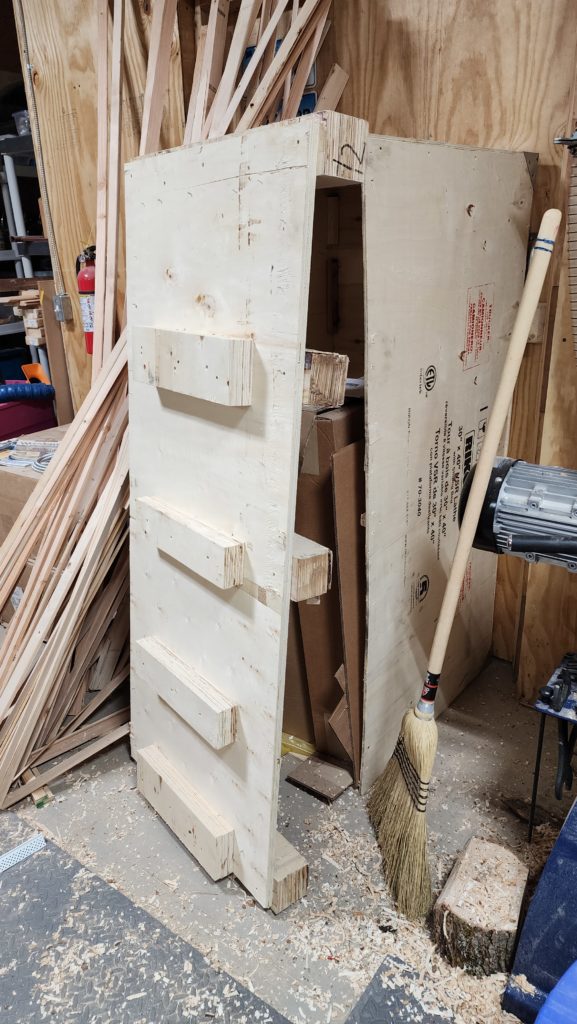

This seemed like a good idea, but was in fact quite difficult. For starters, the plywood is exceptionally brittle and of generally poor quality. It doesn’t need to be high quality to be a shipping crate, but it is not suitable for direct use in furniture. What to do? Well, break down the plywood sheet and as needed and laminate the pieces together into thicker, stronger parts that can be used for drawer sides.

The cheap plywood could be used directly for the sides of the tool cart. I chose to feature the factory printing so it would look intentional, rather than having it occur at random places variously.
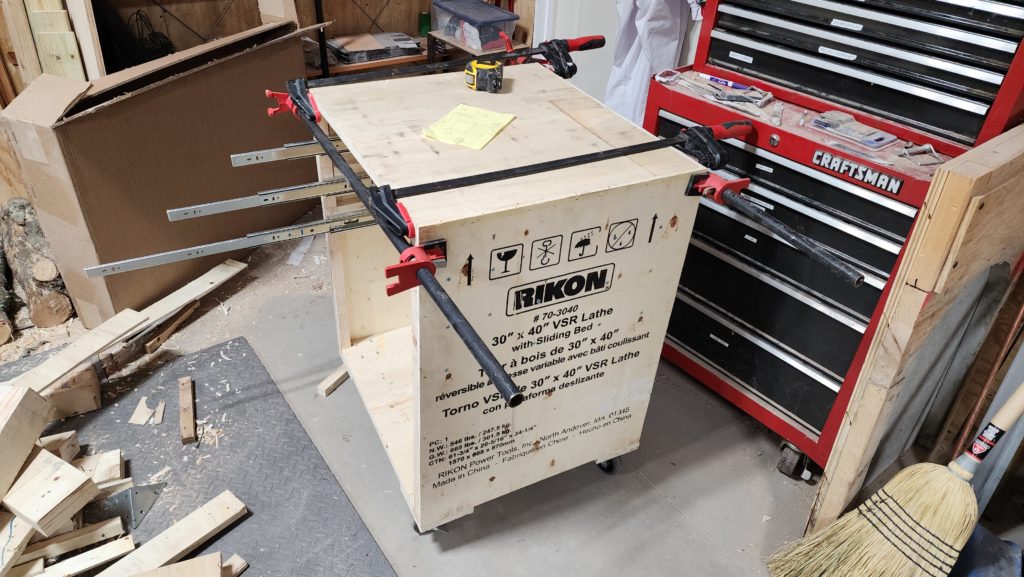
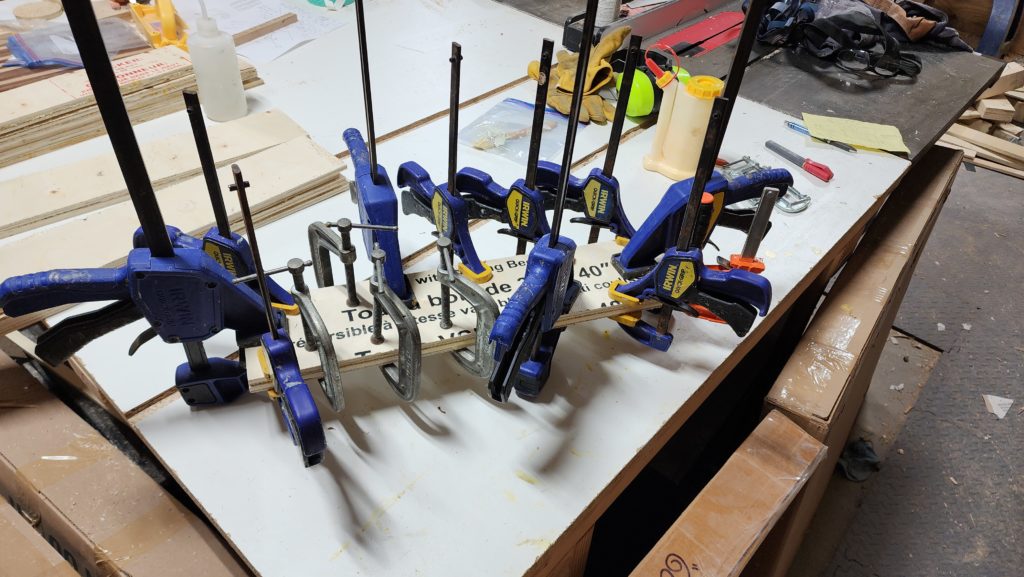
Almost looks like a factory-sanctioned crate, doesn’t it? See those drawer slides? Once I’ve laminated all the short pieces into blanks thick and strong enough to be drawer parts, I’ll build the drawers. I wanted to re-use some old casters, keeping with the re-use theme here, but it turns out those casters must have been abused (I think they were formerly employed under my workshop battery bank — since replaced with super duty rated ones) and thus they don’t perform well. New ones are on order. I’ll make and mount a tool caddy on the side so a selection of active tools are right there to grab, without having to open drawers. The top drawer will hold the rest of my turning tools. The second drawer is for future tools. The third will hold chucks and such. The open space at the bottom is TBD as needs may arise. I plan to mount my grinder on top, since it turns out that turning tools need very frequent sharpening when used on the kinds of wood I have in abundance (ash, hard maple).
Speaking of those drawer slides, here’s something amusing. See that thing that says “security tag” on the drawer slide packaging, purporting to be some RFID anti-theft widget? Well, it turns out to be a 100% paper decoy!
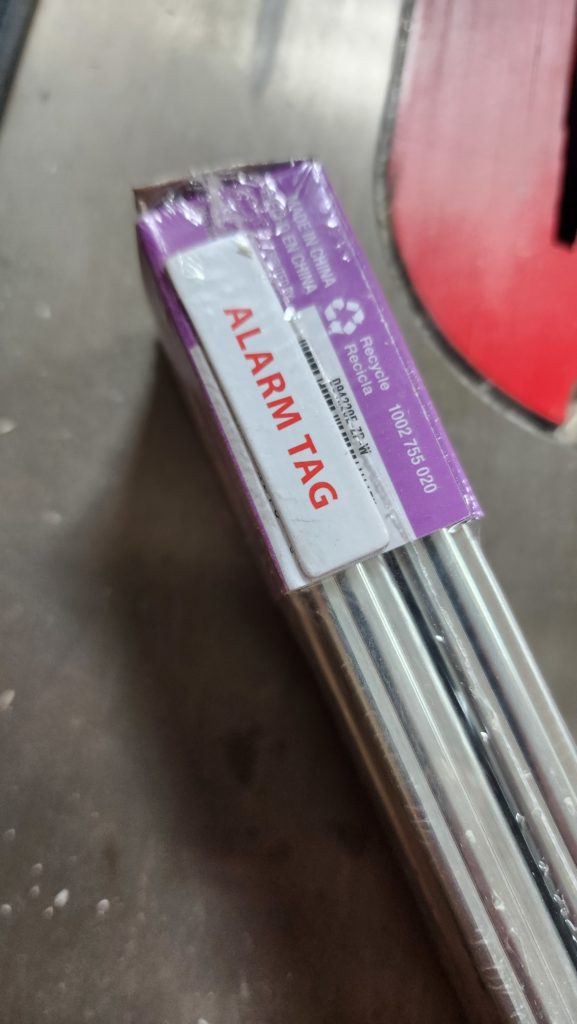
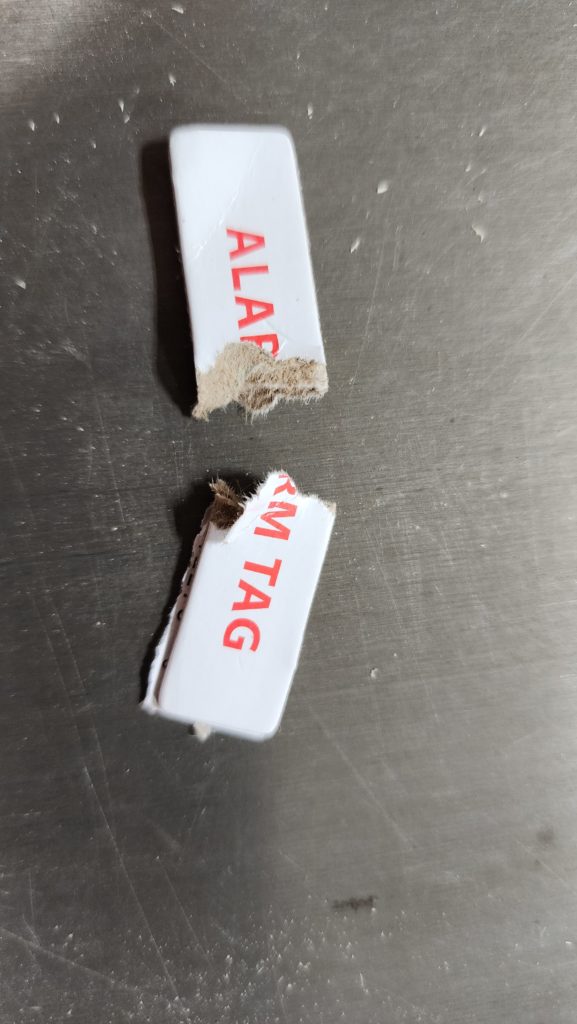
I’m not saying you should steal drawer slides from Home Depot.
I am saying these “security tags” are nothing more than low density fiberboard and ink.
Some random bits:

Untempered chocolate on the edge of a scraper

Scallion and black sesame seeds.
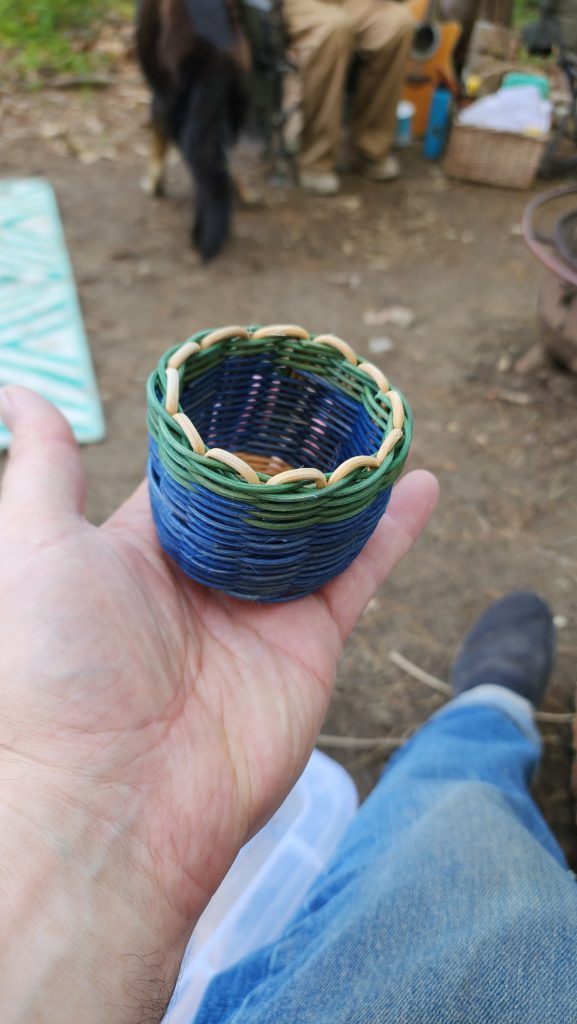
A wee basket.