The very last idea for getting a wire out to the solar array for the outdoor wifi mesh device was to use the existing wires in the conduit to pull the fish tape through (by pulling the wires out), then tie the network cable to the bundle of wires and pull it all back through, solar DC feed and network cable both. This isn’t that complicated, but if the reason I couldn’t get the fish through the conduit with the DC feed in place (it’s 2″ conduit and the DC wires should have occupied considerably less than half the available space) was that the conduit was damaged in some way, there’s a chance that pulling the DC feed out would either (a) be impossible or (b) allow the conduit to collapse underground, making it impossible to pull the bundle back through. If I couldn’t pull the bundle back through, then the DC feed to the workshop would be missing and thus the shop without power as soon as the batteries went empty. This was a seeming easy job with possibly serious consequences if it went badly. That’s why it was my last option. All the prior approaches failed, however, so here I was at the last option. I took it.
Getting ready to pull it back to the solar array, the DC feed wires in the office tied to the fish line (orange) and some mason’s line (green) to use as a pilot in the future to pull something through without all this nonsense.
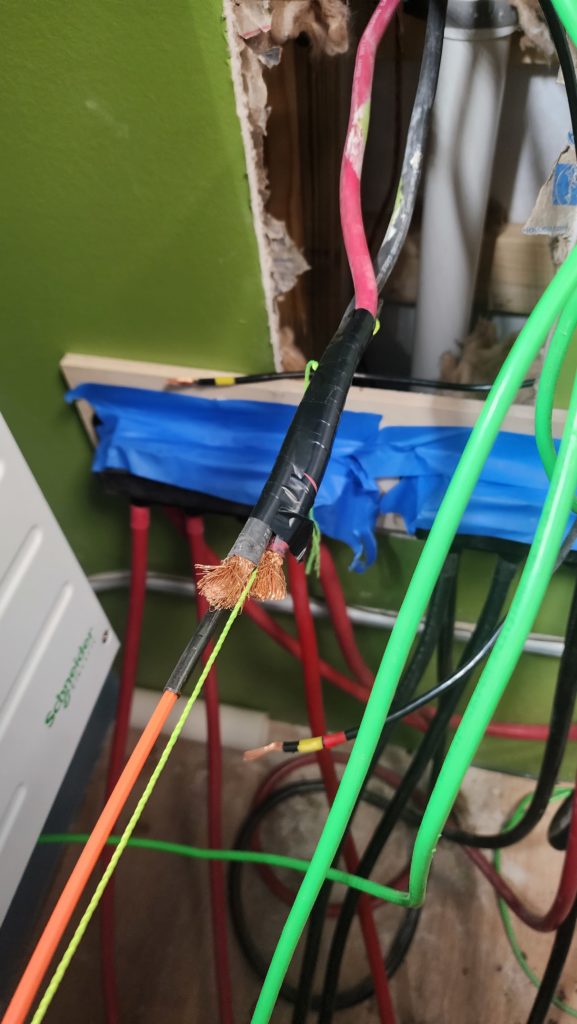
Pulling the wire out was heavy work (150ft of AWG2 copper wire is heavy enough but add to that the lubrication in the conduit had largely dried out so there was friction, too) but I got it done with the help of a friend. Okay! Bind the network cable to it, tie off the pilot line around the conduit standpipe so there was no chance of losing it into the abyss while pulling the DC lines + network bundle back through. There’s a little bit of string hanging off the end of the bundle, but it’s nothing. No need to cut it close/cleanly.
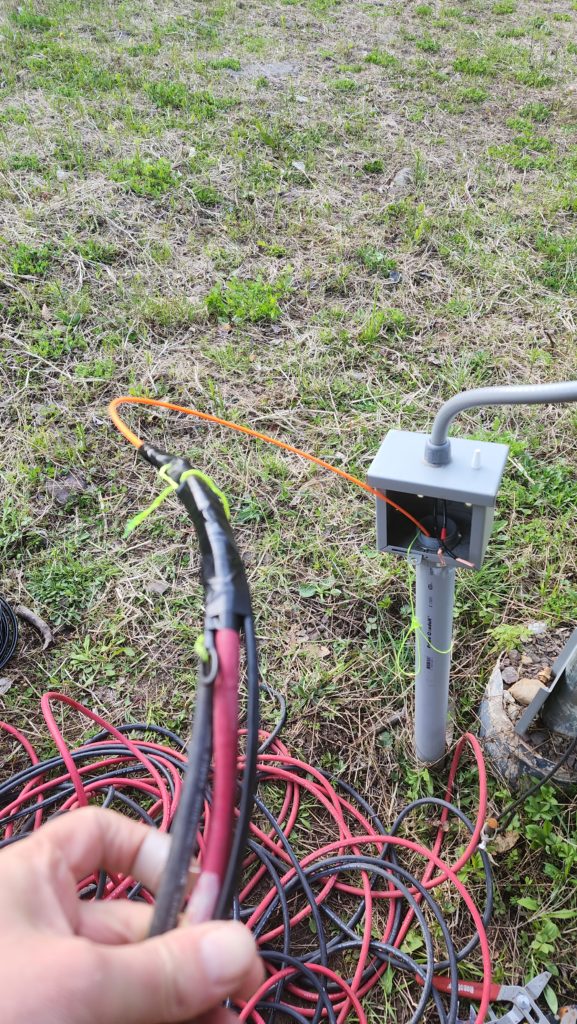
Even with fresh conduit lube, this was heavy work to pull this bundle 150ft back to the office. My friend had a brilliant idea to use body mechanics to make this easier.
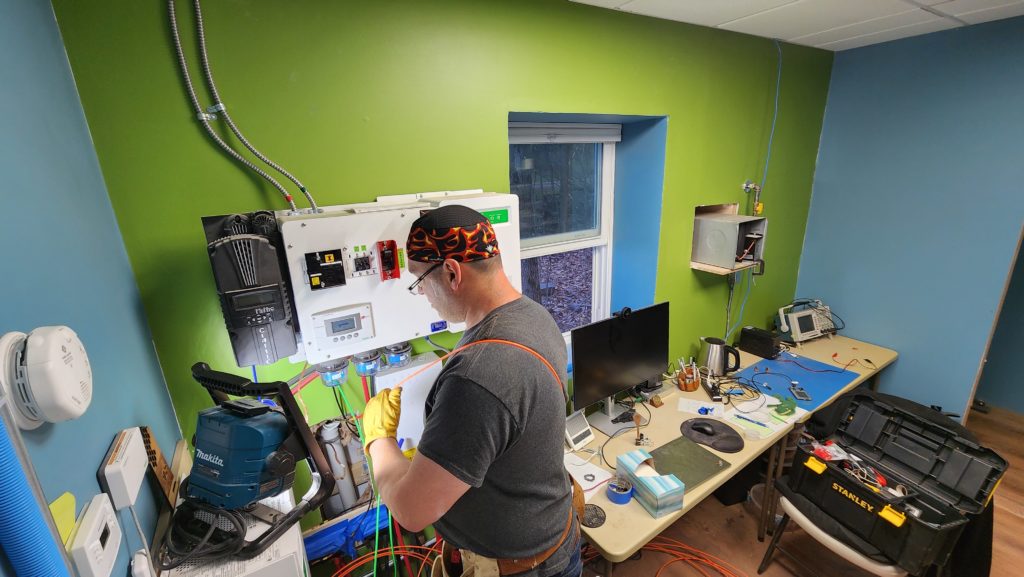
Here I am in the office, pulling the bundle using the fish table (orange). It emerges from the white pipe in the wall. Note that I have it come from the pipe, over my shoulder, and round my body. Instead of pulling with my arms, I am actually pulling the line by moving my whole body, with power coming from my core and legs. My arms are decently strong but my legs and back are stronger. This worked very well and was far less fatiguing than just pulling on the line. Also, because the line is simply a filament with a small cross-section, it required a lot of grip strength as well as pull strength to do the job with hands. This way, over the back, the grip was easy because there was plenty of purchase across my body to hold the filament securely.
Pull, pull, pull, pull.
And then… the fish tape came free before I had the bundle pulled all the way into the office. Really? REALLY?! Really.
Shit.
How close?
This close:
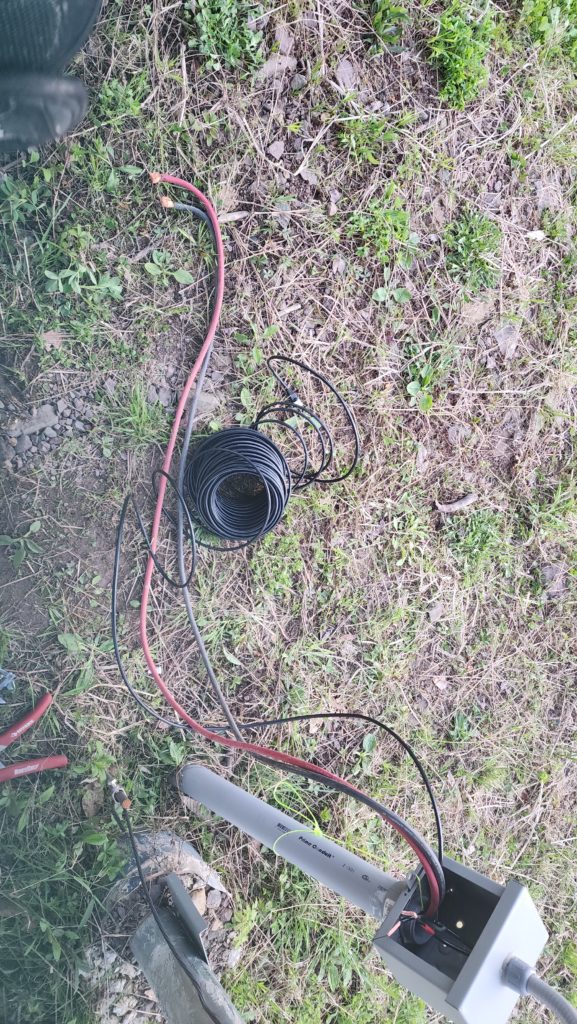
Yep, there was maybe 6′ of cable that hadn’t been pulled through when the thing gave way. Chances are it broke free at the final turn where the long haul horizontal run comes up through the slab in the office. So close. The only way to fix this, though, is to pull it all back out and do it again, better. It’s getting late, there’s no power supply to the office if I leave it this way, and my helper won’t be available again for a while. Gotta get it done today.
Okay, then. Pull it all back out. Gah.
This also tangles the crap out of the green string. The DC wires pile pretty neatly because they’re so big, but the fine string is a disaster. It’s also hard to manage feeding the string in with the whole bundle (was much easier from the other side when it was just the fish and the string), so for the second try, I decide to forego the string because I’m running out of time to get this finished while my helper is available. Adding the string to the second try will make it take a lot longer and it’s going to be dark soon.
Got it done. Got the DC lines re-connected. The actual data connection for the network will wait for another day, but at least the cable is run and power is restored. It’s dark and time to be done for the day.
A few days later, I finish the job.
Firs thing is to put new connectors on the network cable. The cable actually came with connectors on it, but no way was I going to pull the wire through the difficult conduit with a connector on it. The connectors aren’t that big but they catch easily and any additional bulk just makes things harder, so no. Of course I have tools for this. I’m my own plumber, carpenter, gasfitter, groundskeeper, electrician, and IT guy.
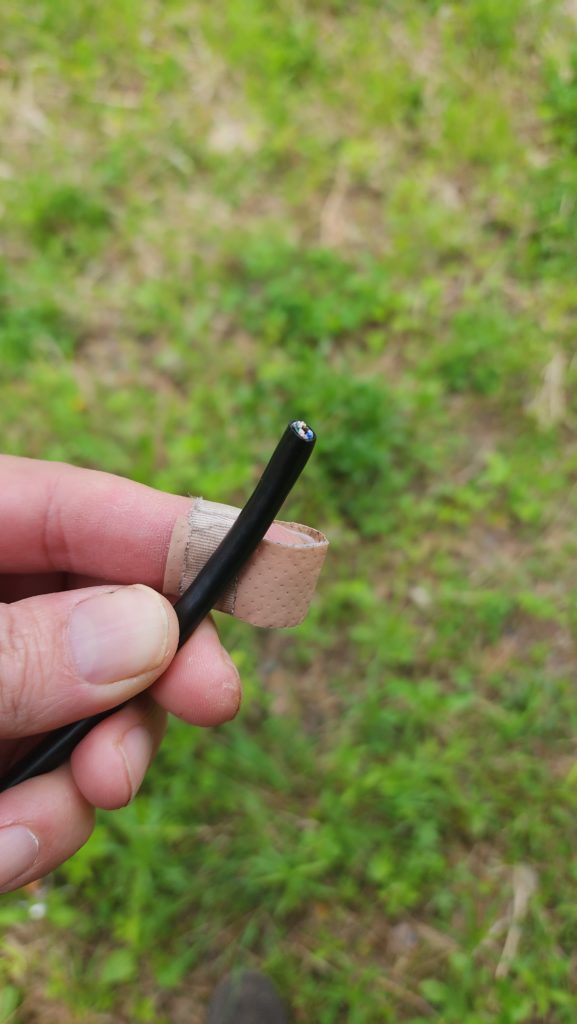
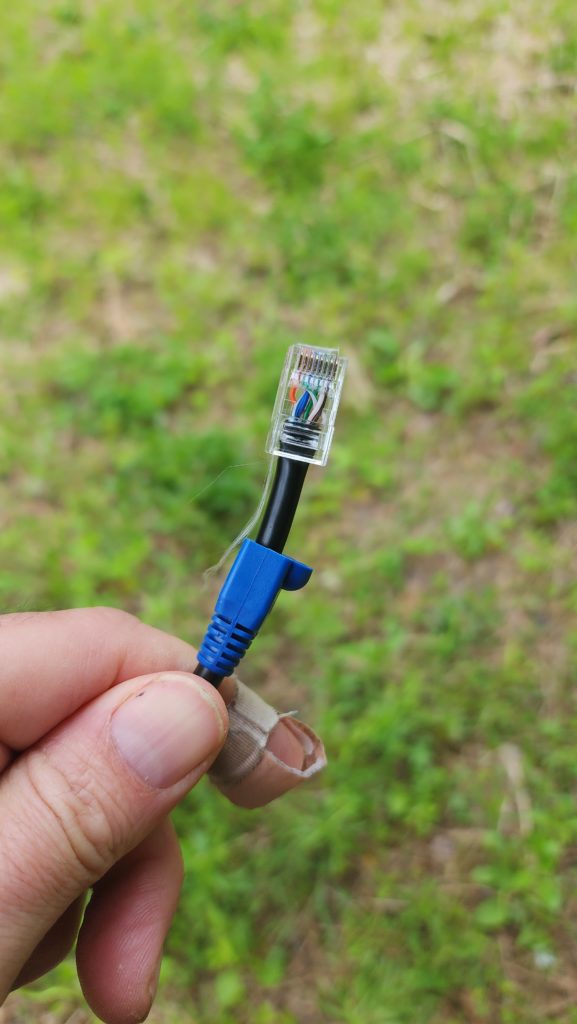
I have a widget that cycles through all the wires in the cable to verify they’re connected right, end-to-end. 1-2-3-4-5-6-7-8.
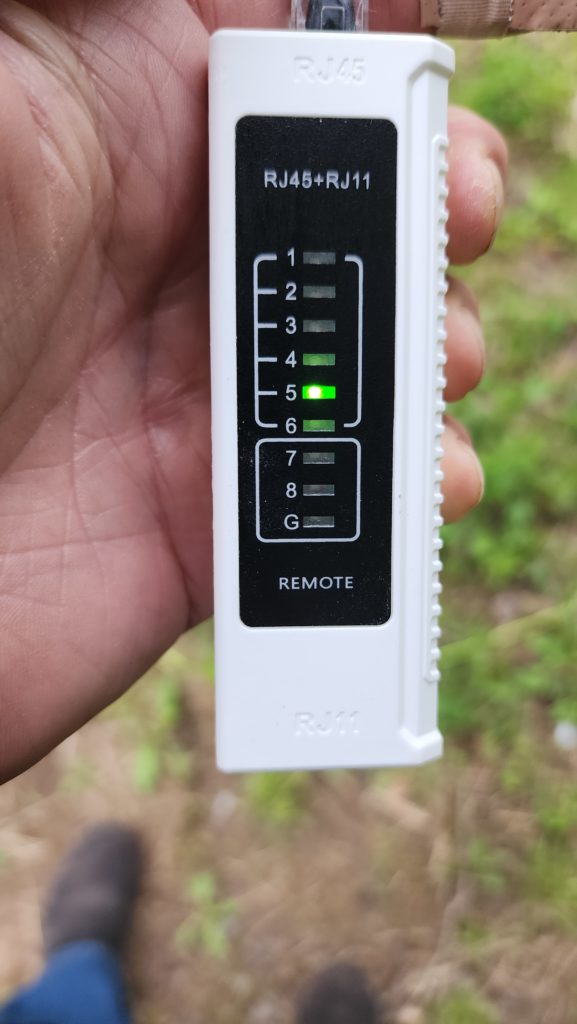
Happily, it’s right the first time. At least something goes well without having to be re-done.
Two more steps. Mount the WiFi mesh widget on the pole – includes routing the network wire from the long haul junction box at the end of the conduit through the 1″ conduit to the breaker box (unseen, mounted to black plywood), through a cable gland, and up the pole to the widget.
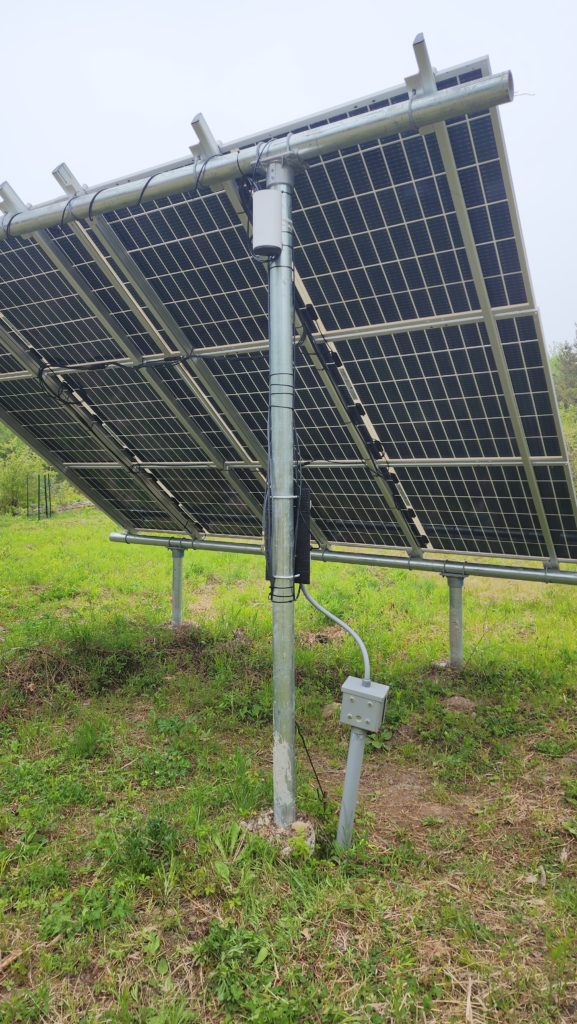
Maybe it doesn’t look like much, but the presence of this white cylinder up on the pole represents rather a lot of time and effort. And a mighty gash on my head, as you may recall. It’s healing nicely but I’m going to have a jaunty scar to remember it by.
The last step is to hook in the end of the cable (black with blue boot) through a spiffy widget that supplies power over the network wire and complete the route back to the network switch (blue jacketed cable). That’s how the new device gets power and data.
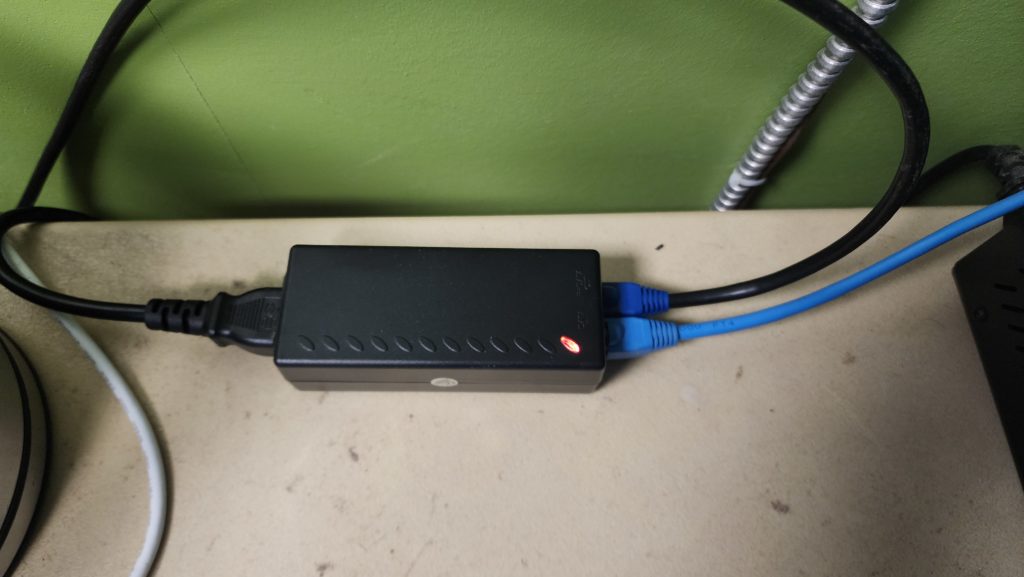
When I finish the tidy room, I’ll be doing wallboard work and thus have some scraps at hand, as well as tools and joint compound, etc. That’s when I’ll fix the hole in the office where the conduit ends and at that time I’ll move this power injection widget from the table up to the network nexus in the office. But doing that means routing cables through the ceiling and I’d just need to undo it to fix the wall (and thread the cable through a small hole in the new wallboard) so for now, this will be fine.
THAT was a lot harder than it should have been.
Remember that nest-in-progress? It’s now a complete nest, with eggs!
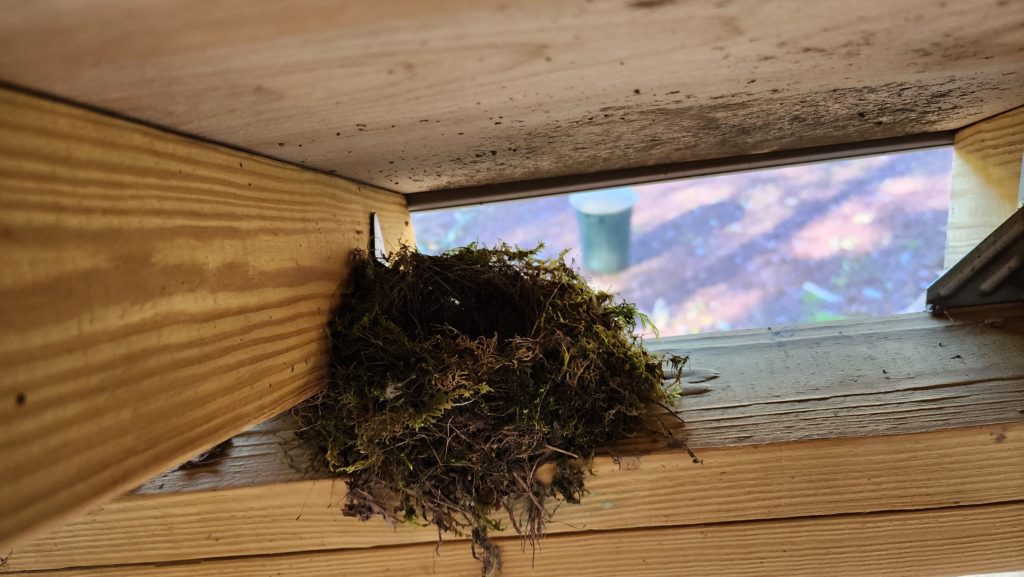
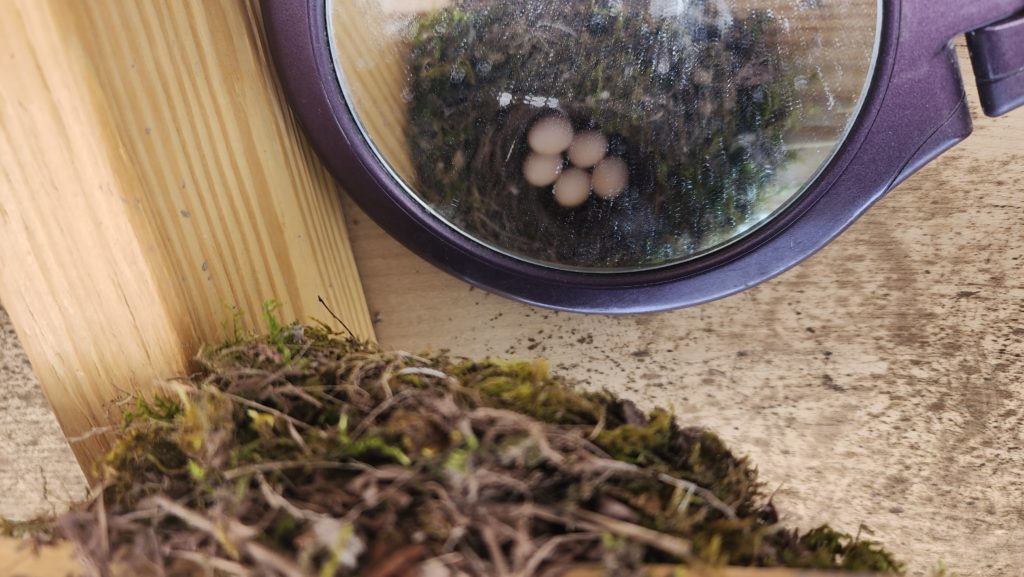
The owner appears to be an Eastern Phoebe, which are known to nest in human-made structures.
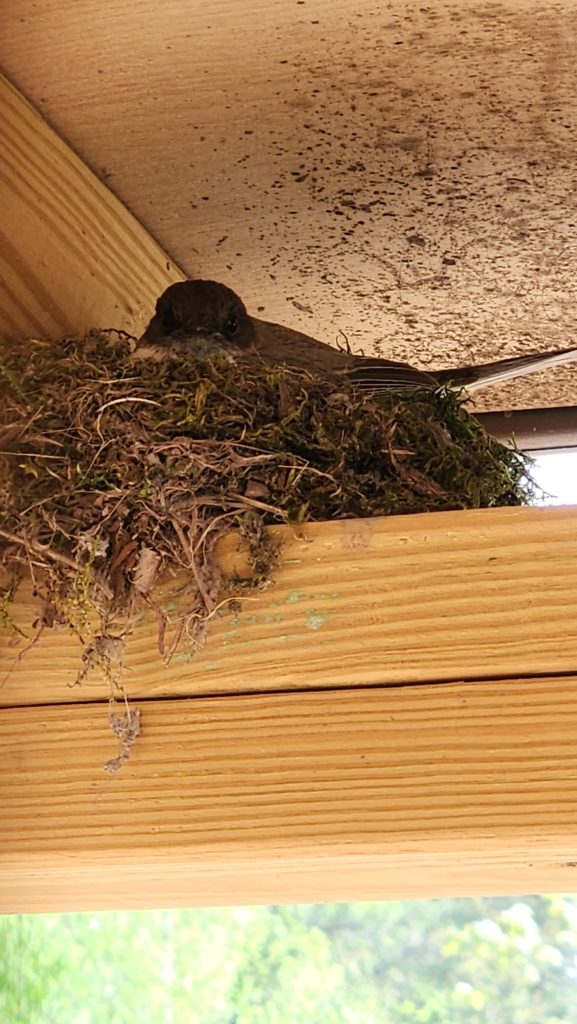
I noticed the eggs on May 15. Incubation time for these birds is about two weeks, so it being June 3 today, they’re due! I just checked the nest – it’s too dark to see clearly, but it does appear at least some of the eggs are broken open and I thought I saw a wet ball of fluff or two in there. It’s high up, I’m using a mirror, and don’t have a separate light source except the flash on my camera, which makes it hard to get a good look in there unless it’s a bright day (which it’s not), but it sure looks like I’ve got at least a couple of baby birdies!
Now to get the apiary ready. Finishing touches on the hives included adding sheet metal to their lids and painting their sides so they weren’t just plain white. The variations in decor are helpful to the bees for navigation as well as being useful for the apiarist for identifying his hives in his notebook.
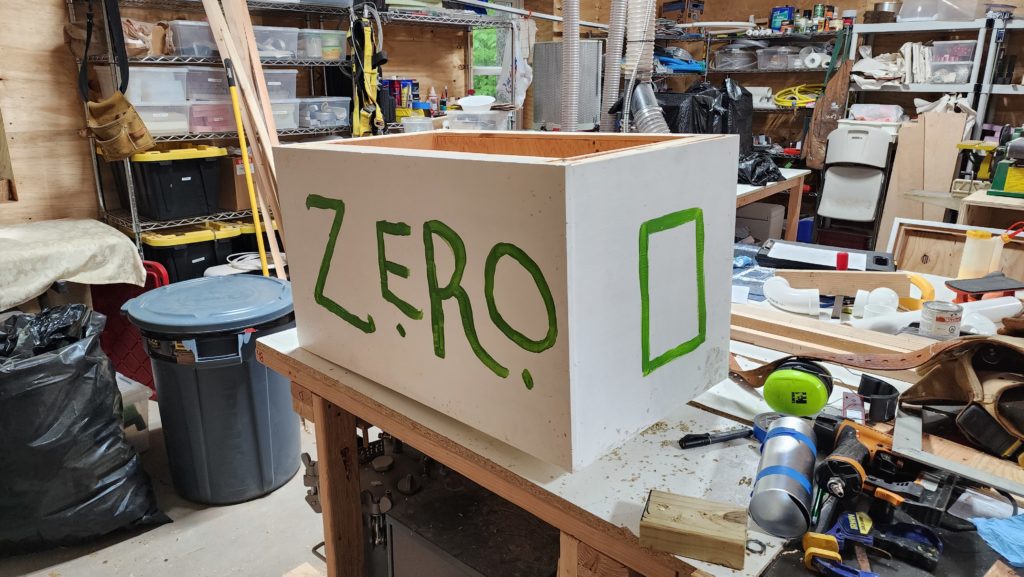
Why is this hive called zero? If you don’t know, then you don’t know me.
Before the hives may be put in the bee yard, they’ll need some stands to get them off the ground. And those stands will need to be level to DOBA standards.
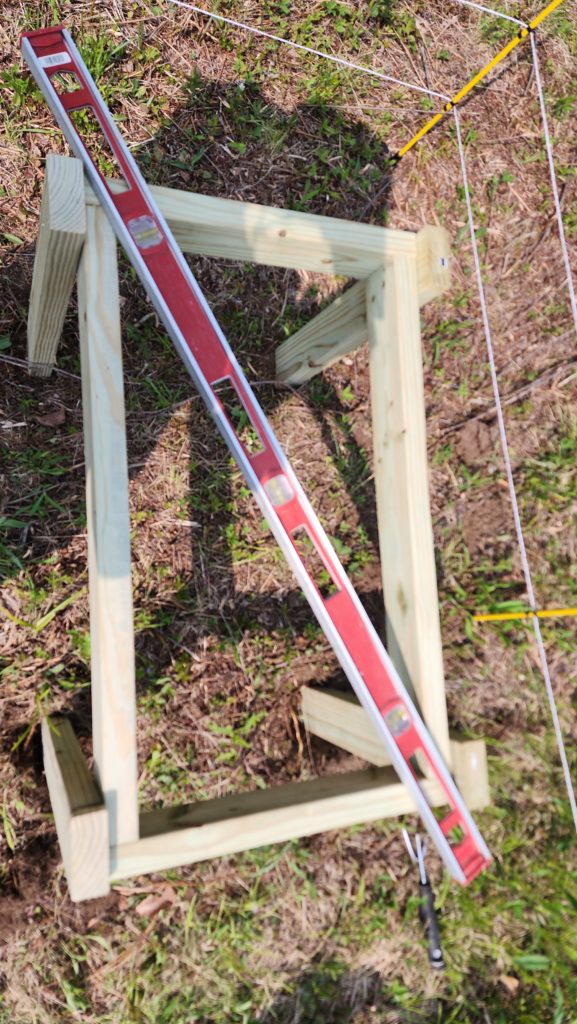
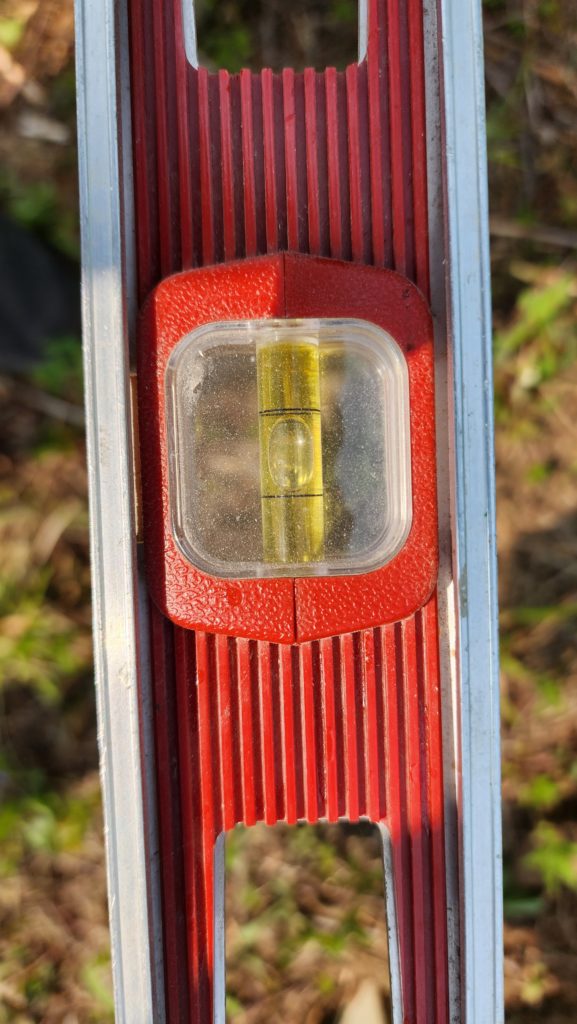
Why does it matter? Bees will build their honeycomb vertically, referenced to gravity. If the hives aren’t level, the comb will be build at an angle, making it impossible to remove the frames for inspection and honey harvest. The land, of course, isn’t level, so some amount of digging out around the stand legs was necessary until they could be made level.
Also needed: the zapperizer for the electric fence. That’s this, in a little protective “birdhouse”.
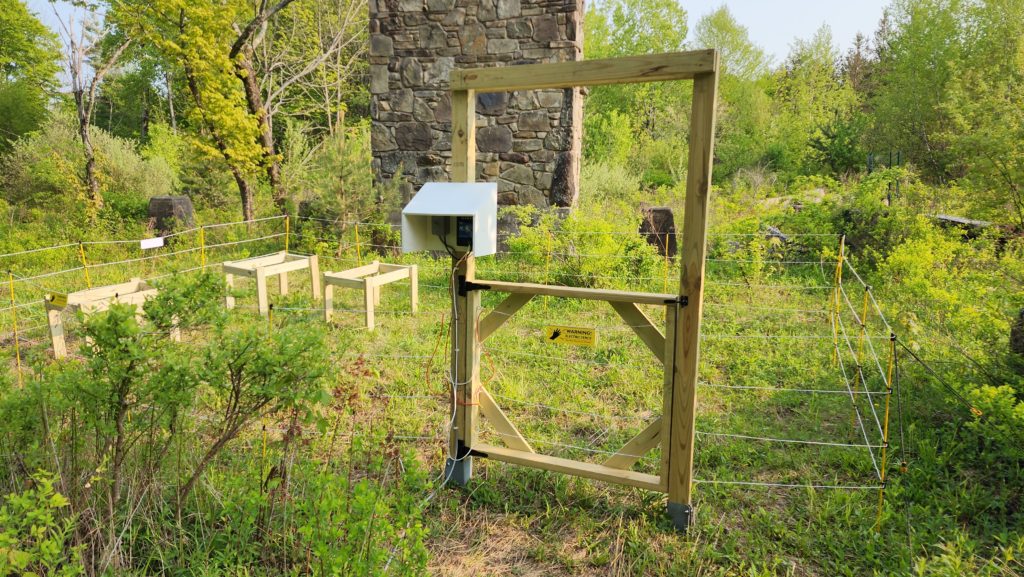
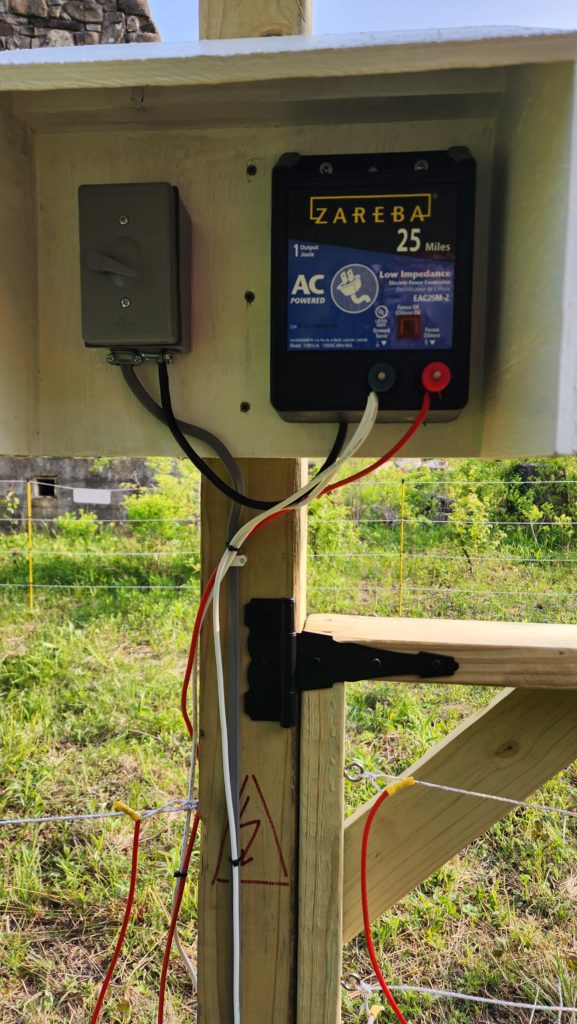
There are a few ways to do an electric fence. You can energize all the wires and use the ground as ground, or you can energize half the wires and use the other half the wires for ground. I went for option 2, since the soil and ground cover here can be dry, reducing conductivity. With option 2, the more intense shock comes when a creature pokes its body between two wires, as it investigates the scene. Just touching a hot wire will probably get some shock, too, but depending on ground conditions, that may not be much/enough. Hence the two-wire approach. It does mean that an animal touching just one of the ground wires won’t feel anything, but there’s no way it could start to enter the area without touching two, so that should work out ok. My chief interest is deterring bears, who are surely big enough to contact more than one wire as they approach.
But the electric fence doesn’t work without the electric! There are stand-alone solar systems for such things, but why do that when I have this big solar system for the house already done and working? I just need to get power from the house out to the bee yard. How hard could that be(e)?
Well, we start in the bathroom, which is closest too the apiary, and find a circuit to tap into. This one behind the tub looks like a good candidate.
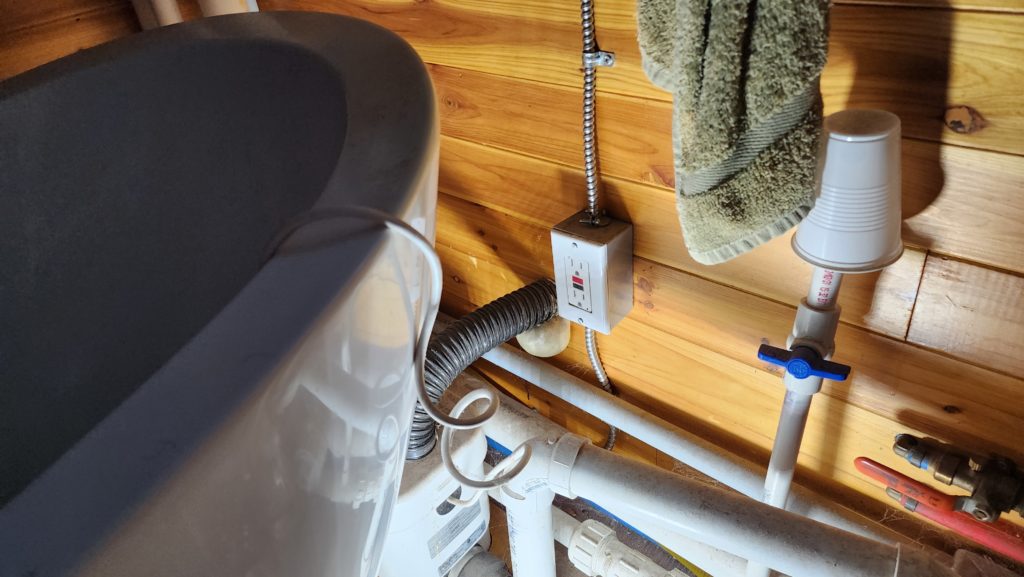
Right behind it is the propane porch, which is where all the other external connections go, so this makes a lot of sense to use as a tapping point.
So I open it up in anticipation of drilling a hole in the wall for a rear exit.
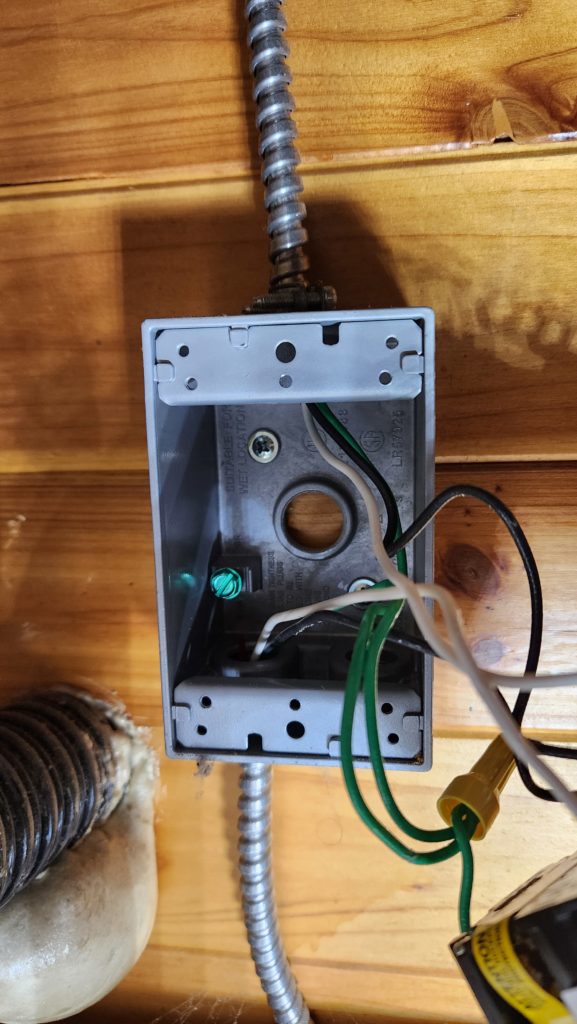
What’s wrong with this picture?
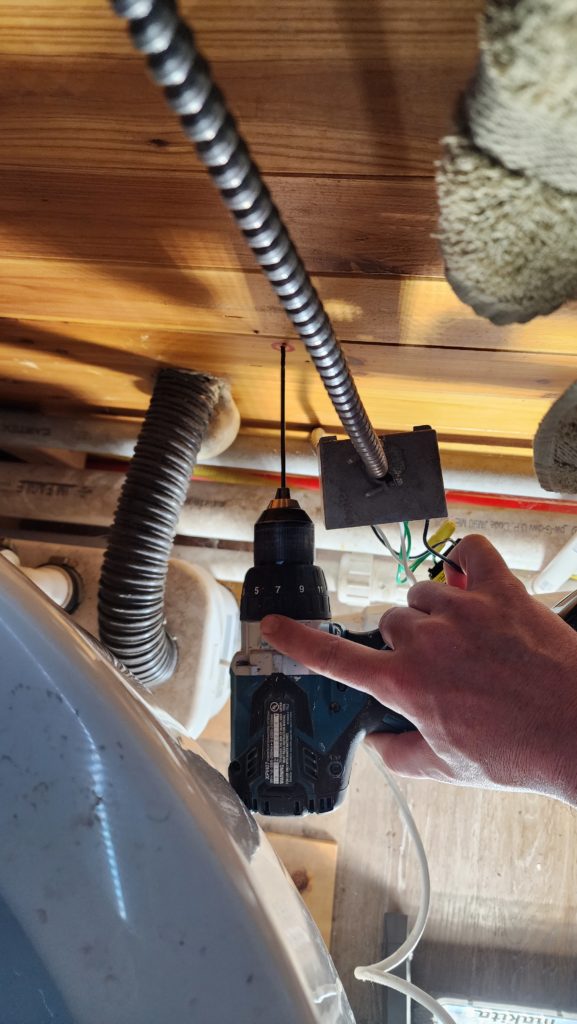
See that the back of the drill is against the tub? I actually need a much longer drill bit to get through the entirety of the wall and even this “short” long bit is too long to fit well here and I don’t want too much of an oblique angle. Also, what’s up with the narrow bit when I need to get some electrical cables through? Well, the answer to that is the only long bit that stands a chance of fitting in this space is the narrow one. I can use that hole to pilot larger bits from the other side (propane porch) where there’s more access. But it’s essential to start the hole from this side, so it’s position is exact where it matters (behind the outlet).
I start with the 6″ skinny bit until I’ve gotten a ways into the wall, then swap out for a longer skinny bit, which I can insert into the hole first to consume some of its length, then chuck it into the drill, to finish the through hole.
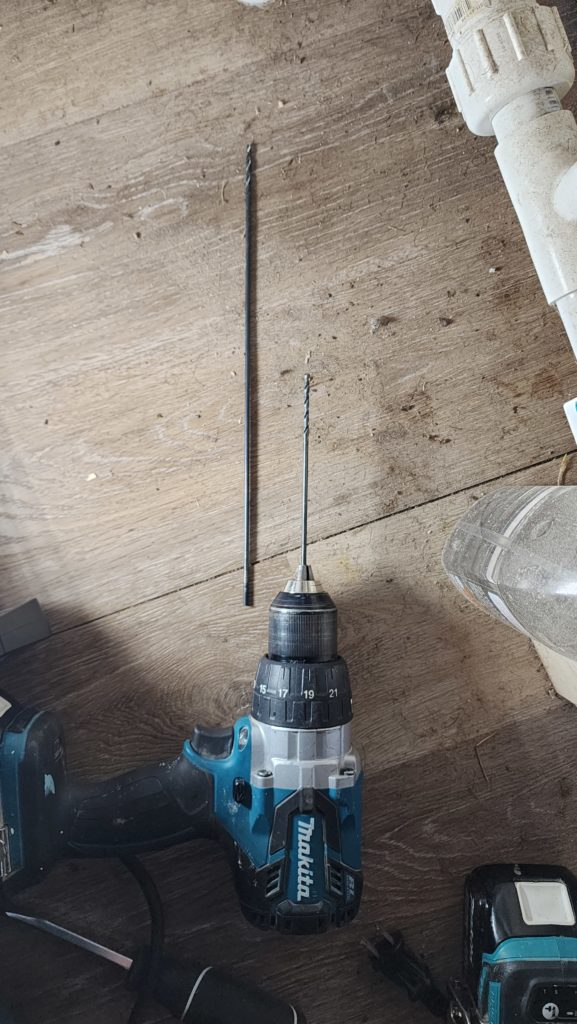
Then it’s a matter of making clearance for the cable clamp on this side and enough of a hole for the cable after that (drilled from the other side, using the little hole from the long bit as a pilot).
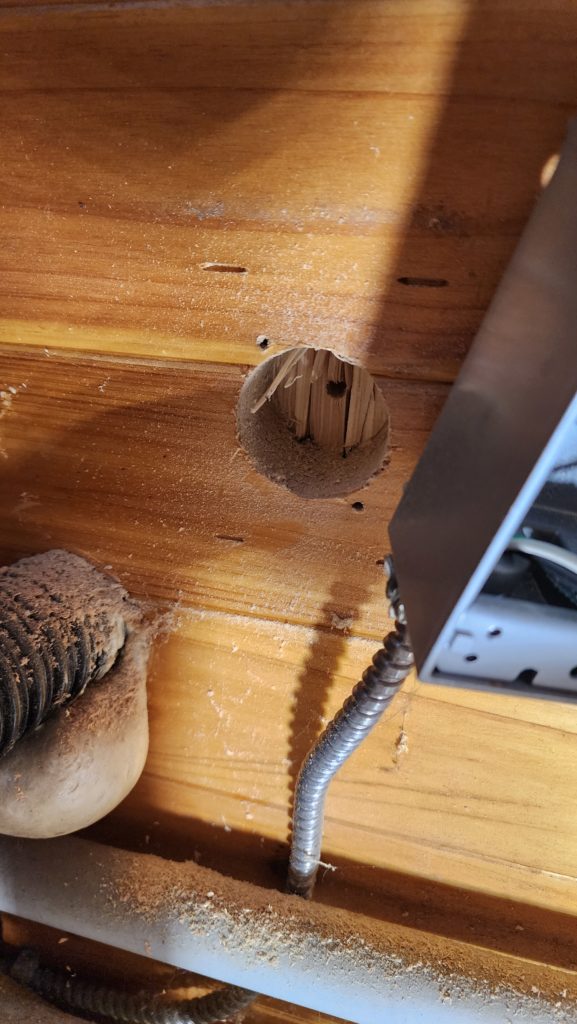
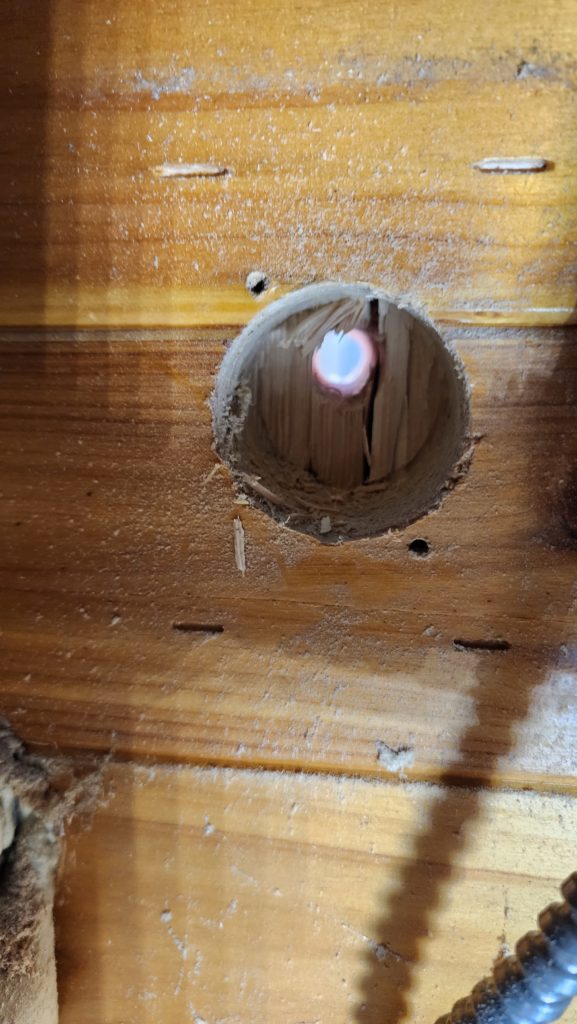
Feed some armored cable through the hole to the outlet (behind red and blue pipes), then to a new junction box on the exterior (shown with cover off).
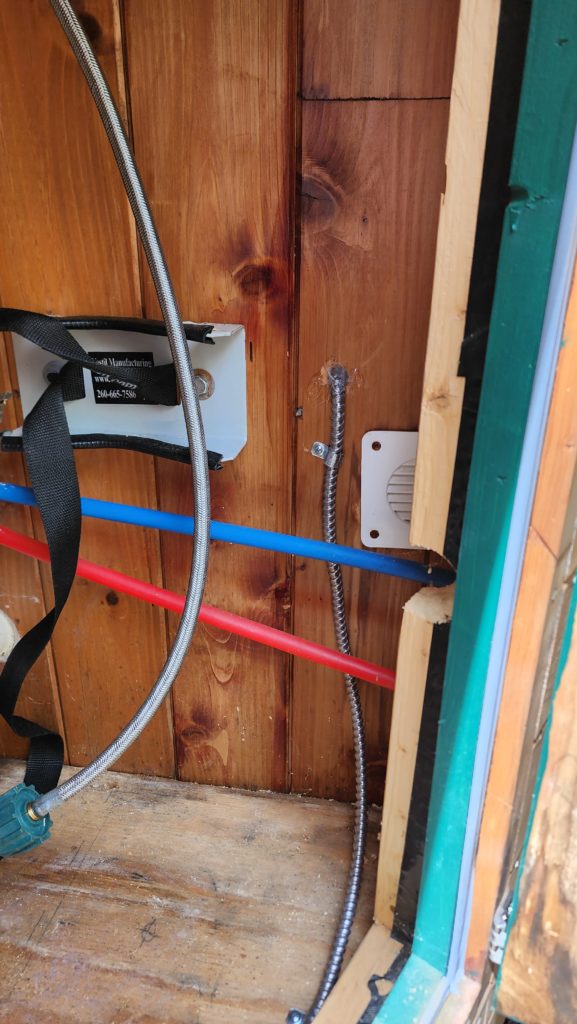
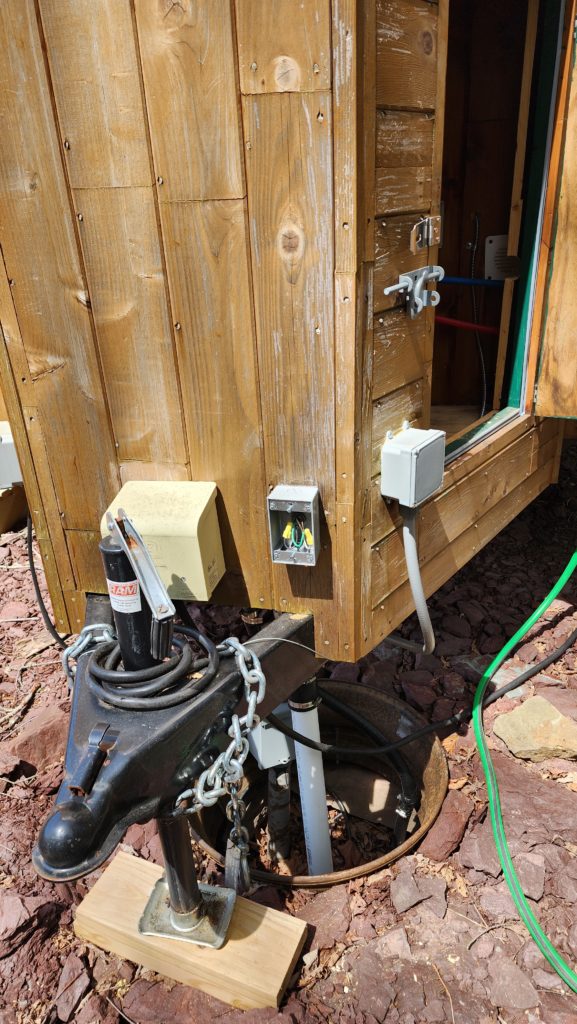
A long run of weather-resistant wire from the junction box out to the apiary’s zapperizer is next (not shown). All done, but does it work?
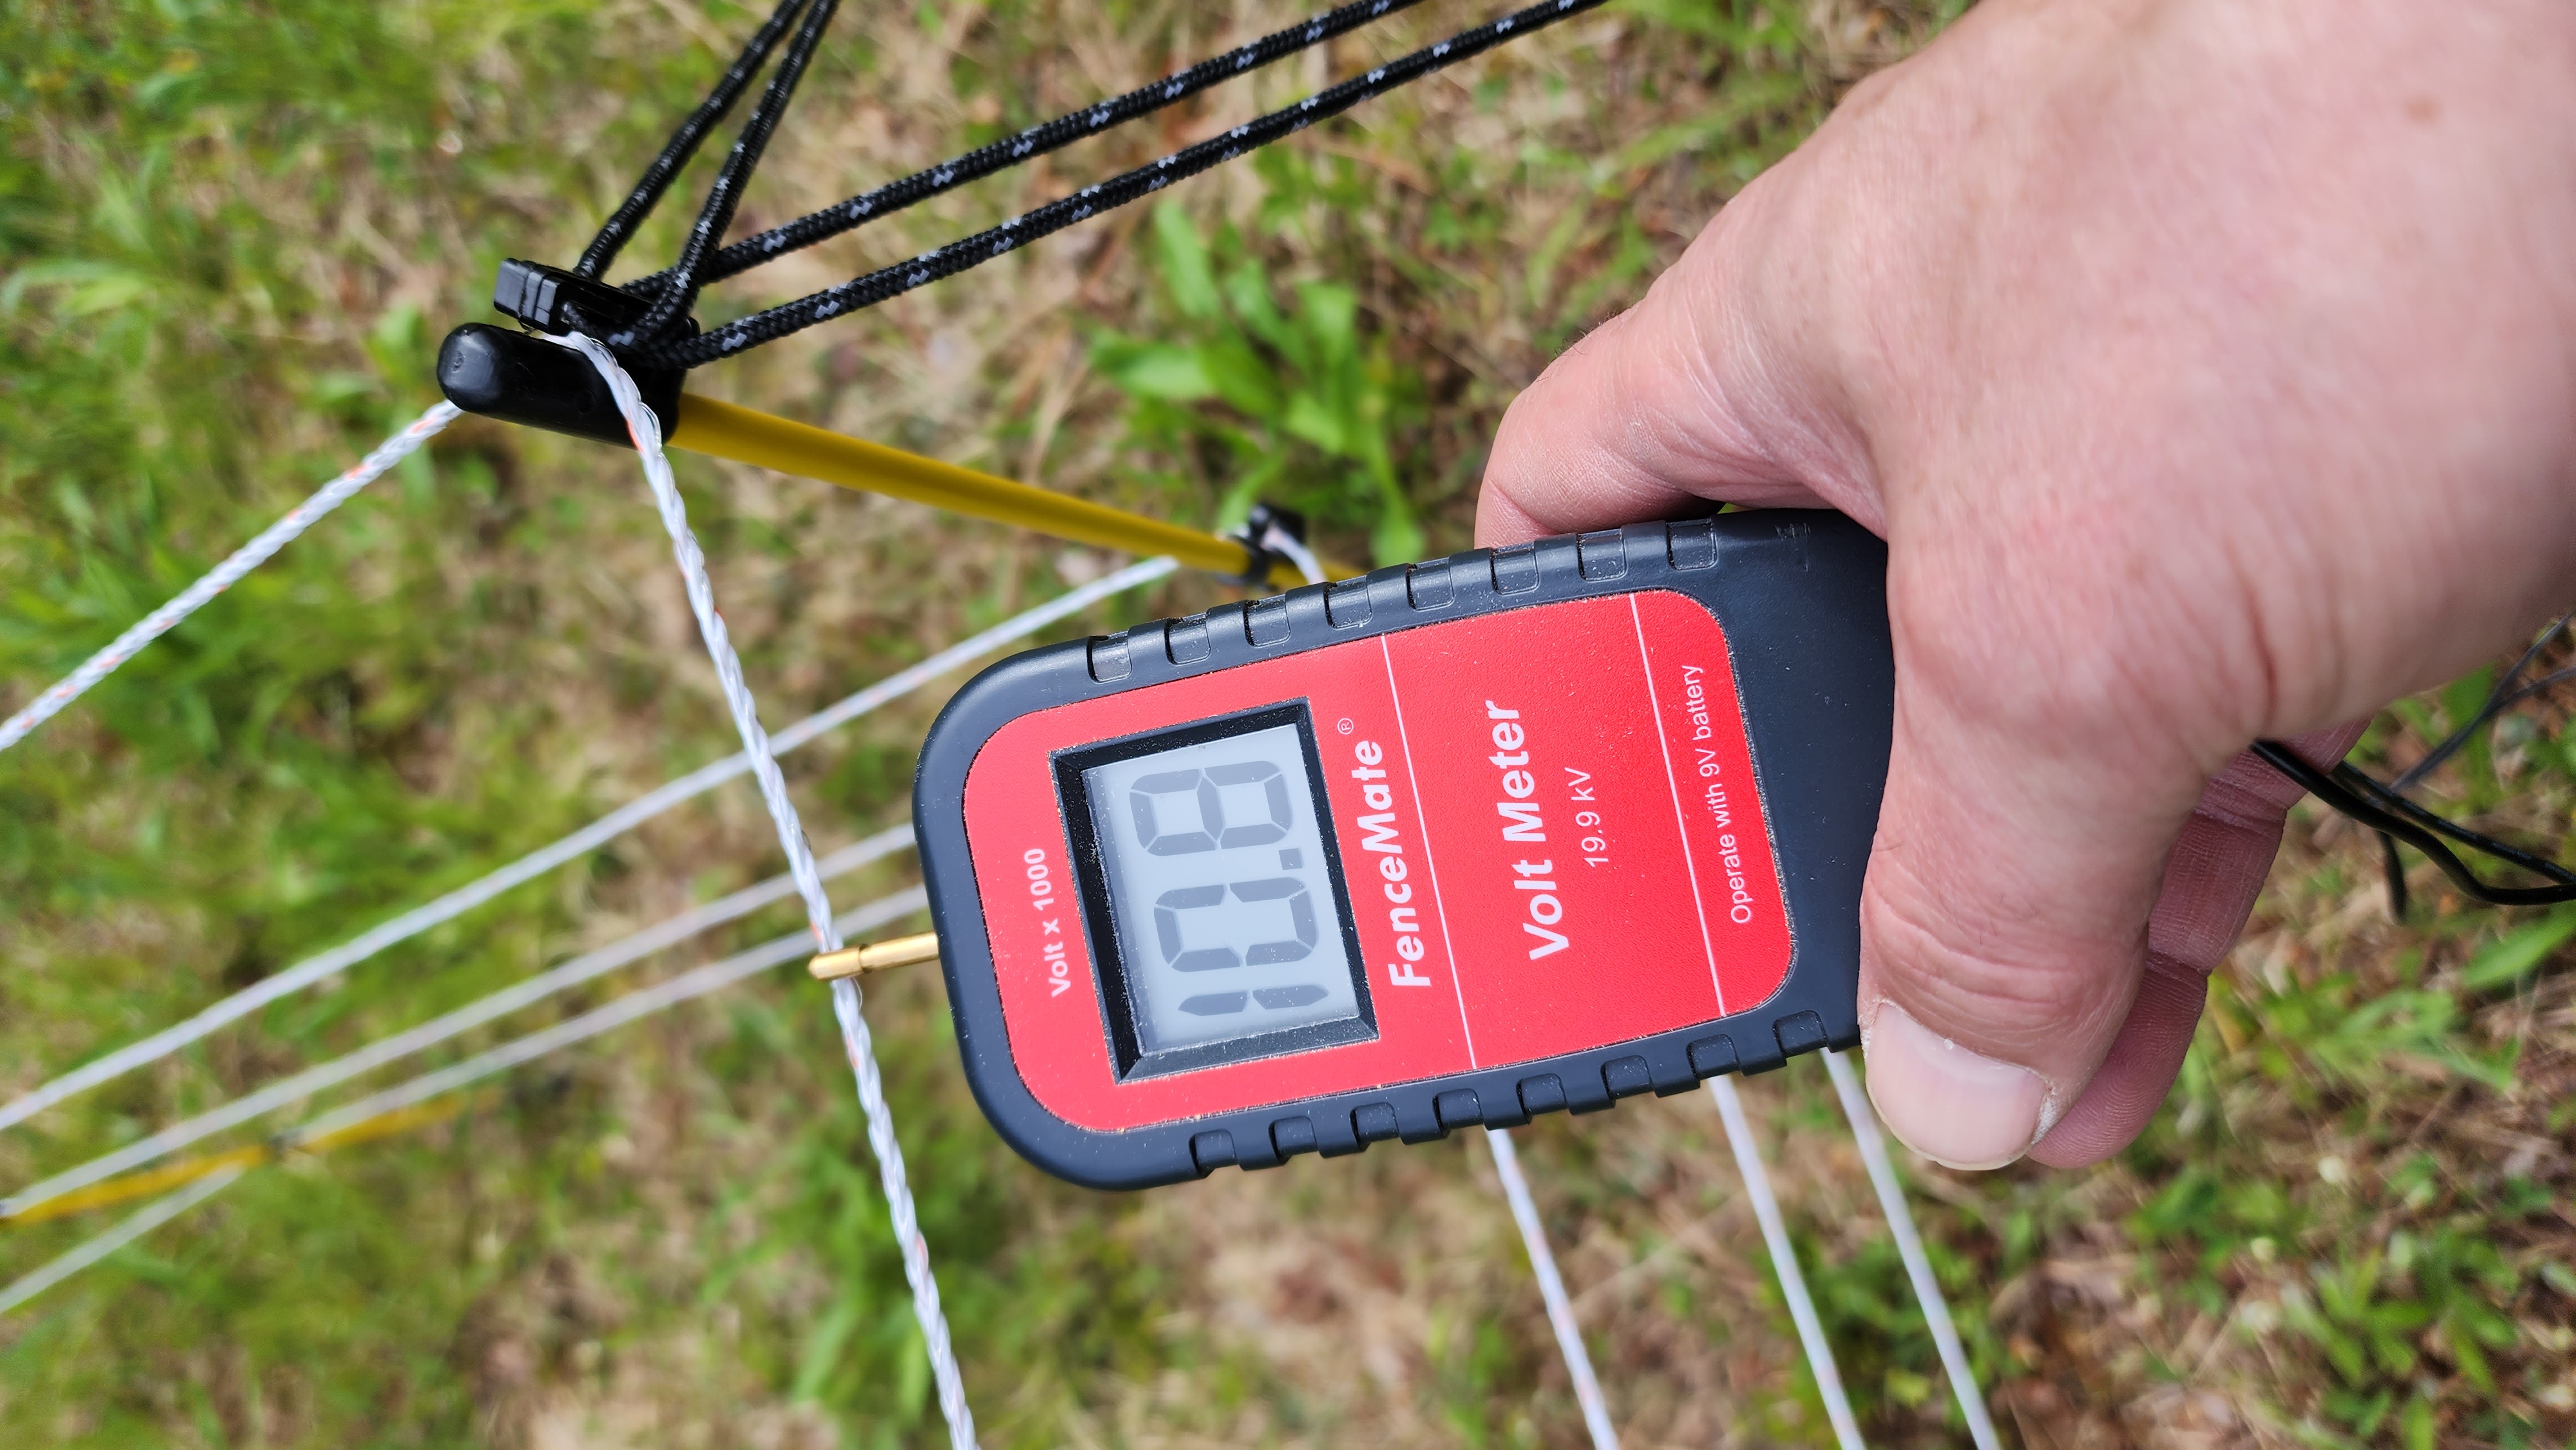
I’d say so. 10,800 volts at a point furthest from the energizer.
Okay then, I’ve got the e-fence energized, the hive stands level. Ready to install the hives? Right?
Not quite.
Soon.
But not quite.
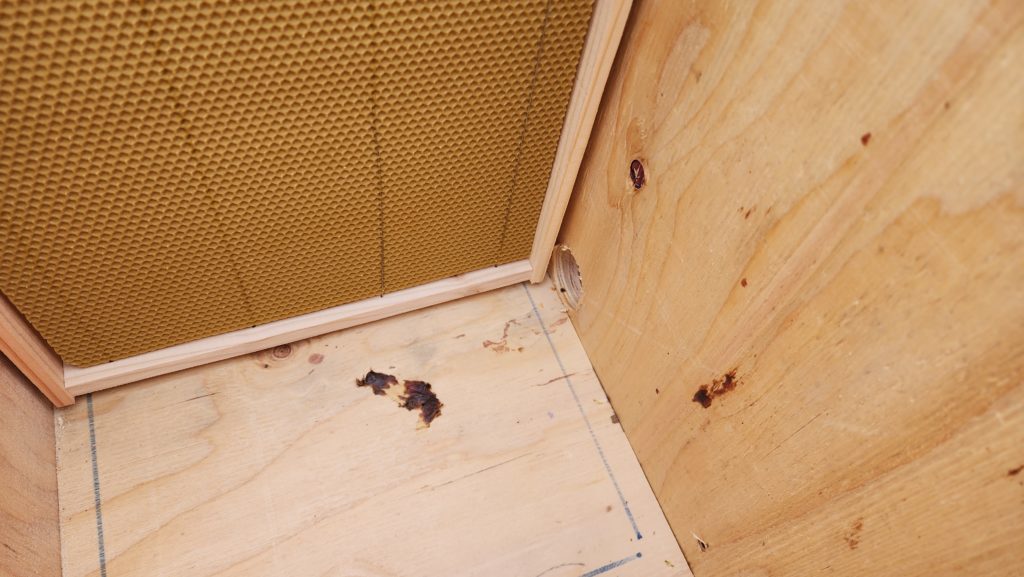
What’s missing? Scent lures for the bees! That’s this. The smear on the floor is propolis — bee stuff that makes it smell like home (as does the beeswax foundation sheets in the frames). Note its proximity to the entrance hole (right side of left image).
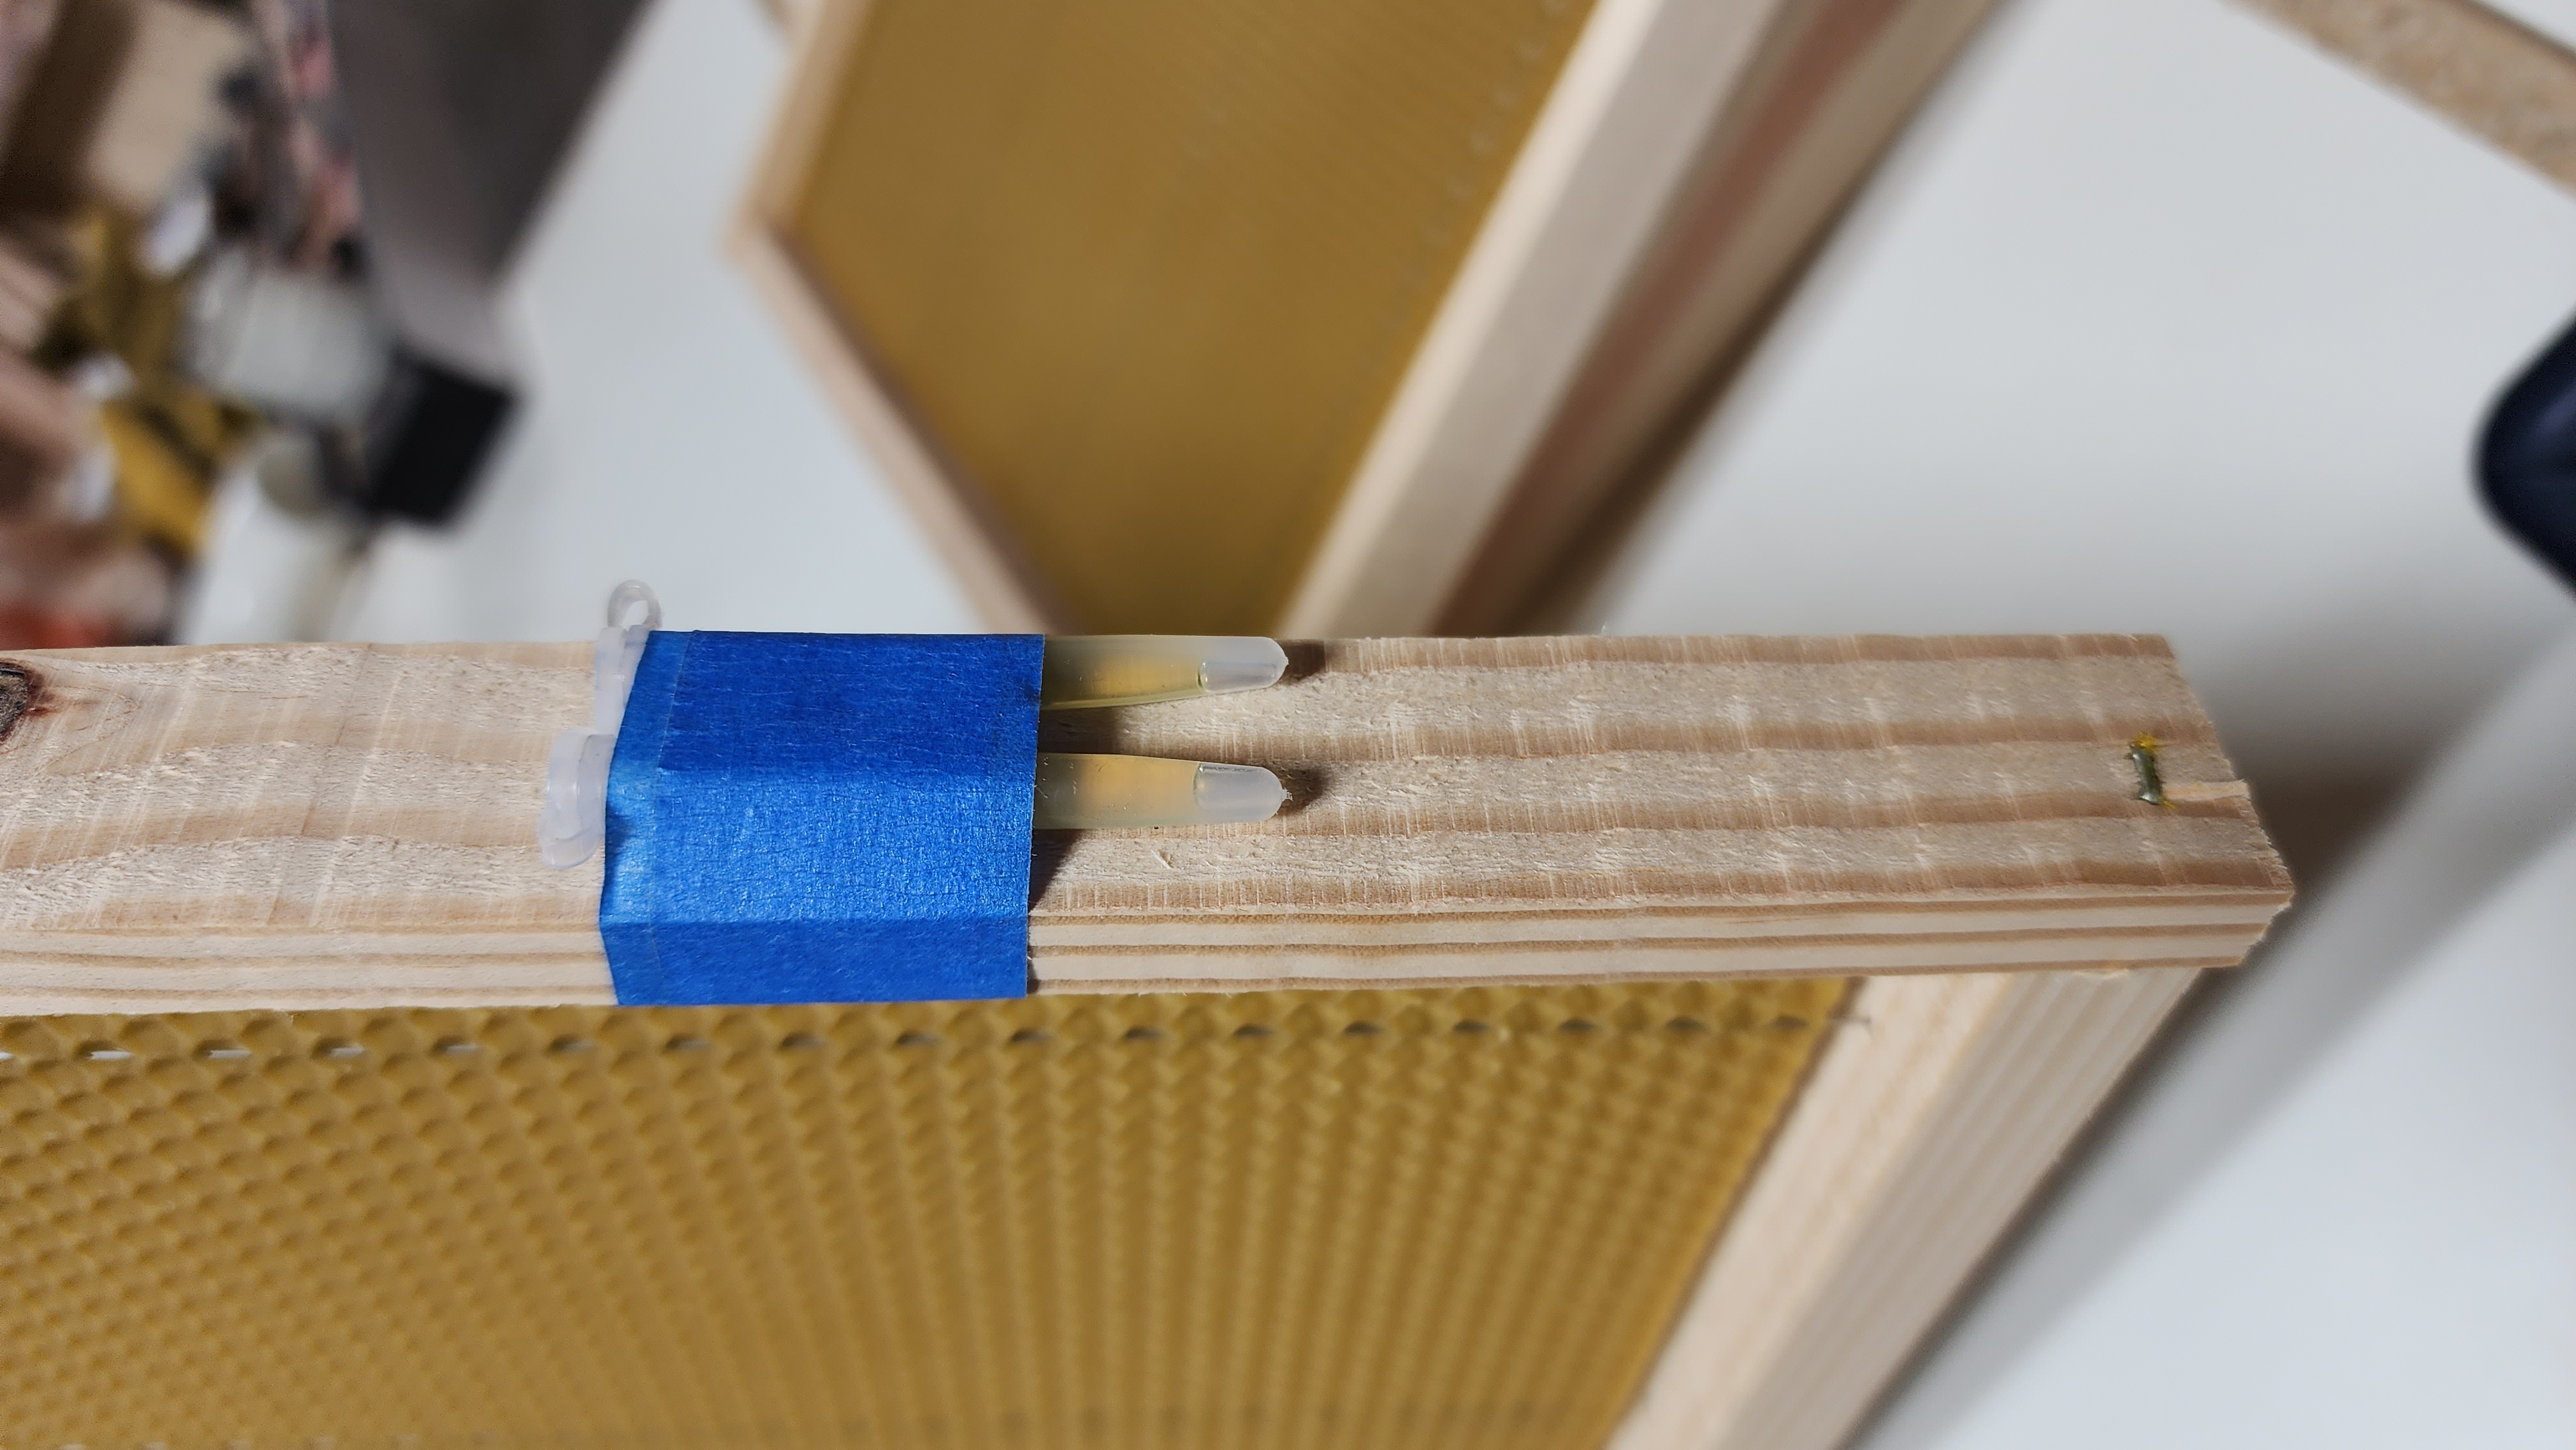

The other scent lure are these vials of lemongrass oil. Evidently, this stuff attracts the bees, too. These have been taped to the edge of a frame right above the entrance hole.
NOW they’re ready, right? Almost. One last thing: a plywood board to cap off the end of the frames. Why? The wide open space of the hive would encourage the bees to build wild in empty space. I want them limited to the frames. Why not fill the hive with frames? If I did, that would diffuse their work and they might not get the honecomb built in a timely fashion. Limiting the perceived space to a few frames gives them just what they need to get started and encourages them to stick with my program. Also, the gap below the division board assures them there’s room to expand later, so it’s the best of both. Once the colony is established, I’ll add frames and move the board.
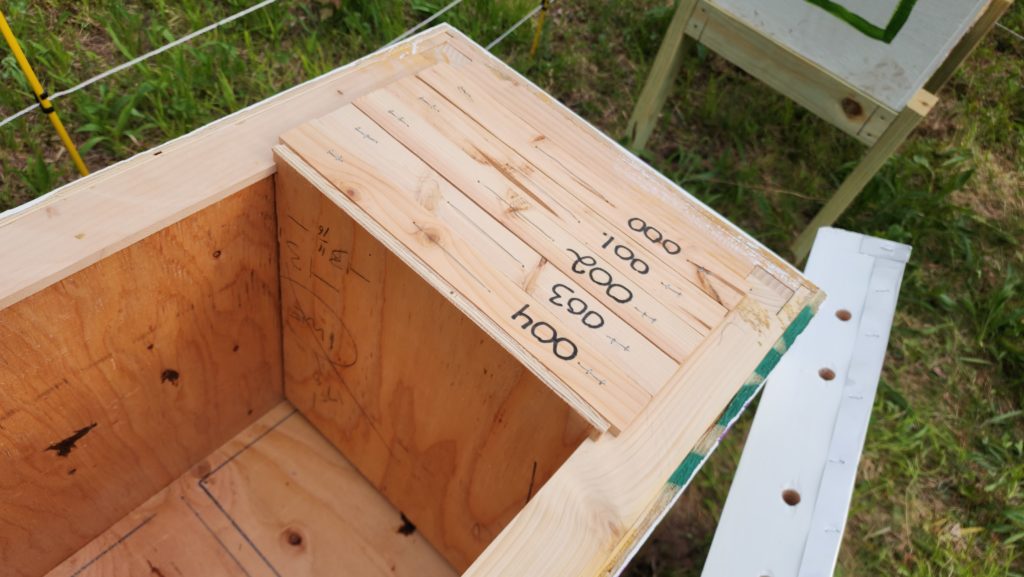
NOW they’re ready!
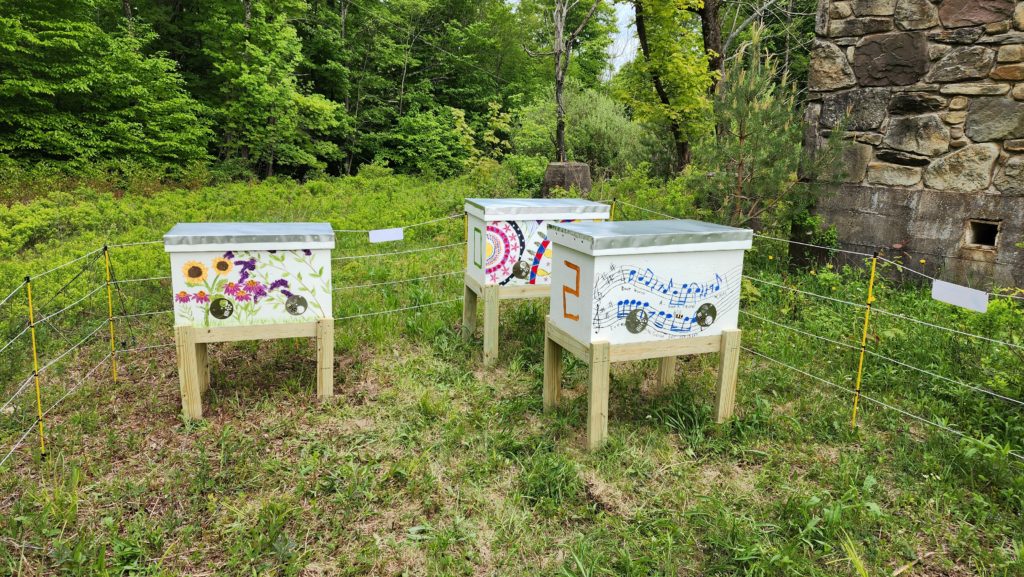
All I need now are for late spring/early summer swarms to smell the scent lures, see these beautiful move-in-condition homes I’ve built for them, and take up residence!
I don’t really expect more than 1 colony to move in this season, but more is possible. Zero is also possible and fairly likely. We shall see how it goes. If nobody comes, I’ll buy bees to start next spring. If I do get a colony, if it’s strong enough, I’ll do a split so there are at least two going into the winter.