It’s back to the workshop to continue the long, slow task of framing and dressing the walls. Almost done! Here we are were we left off last time, in the back hall by what will become the Tidy Room.
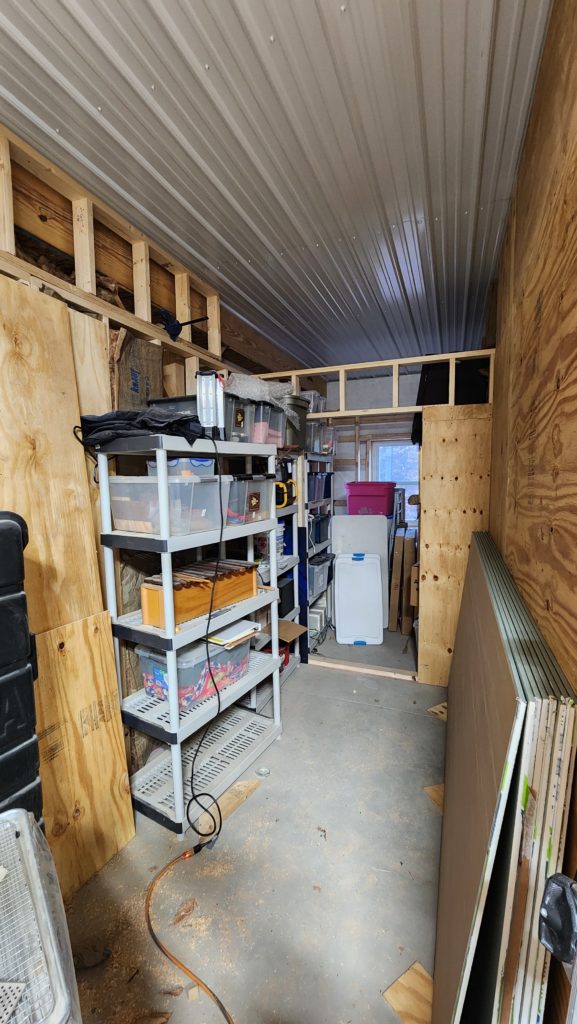
What’s missing here? Well, the upper course of framing is incomplete here (the hallway) and behind (the Tidy Room). Some insulation and facing boards are missing from th and of the hall and the doorway. Let’s get on it. The first thing, of course, is to move all the stuff on the left over to the right, so there’s room to work… then board up the bottom course so it’s safe and solid, before working on the upper parts.
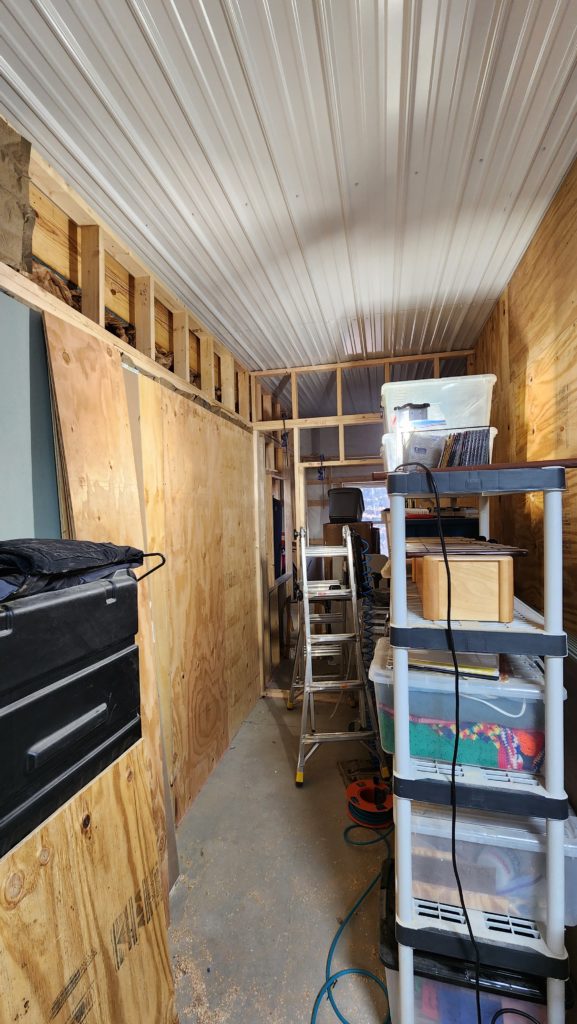
Upper parts done, board ’em up, too!
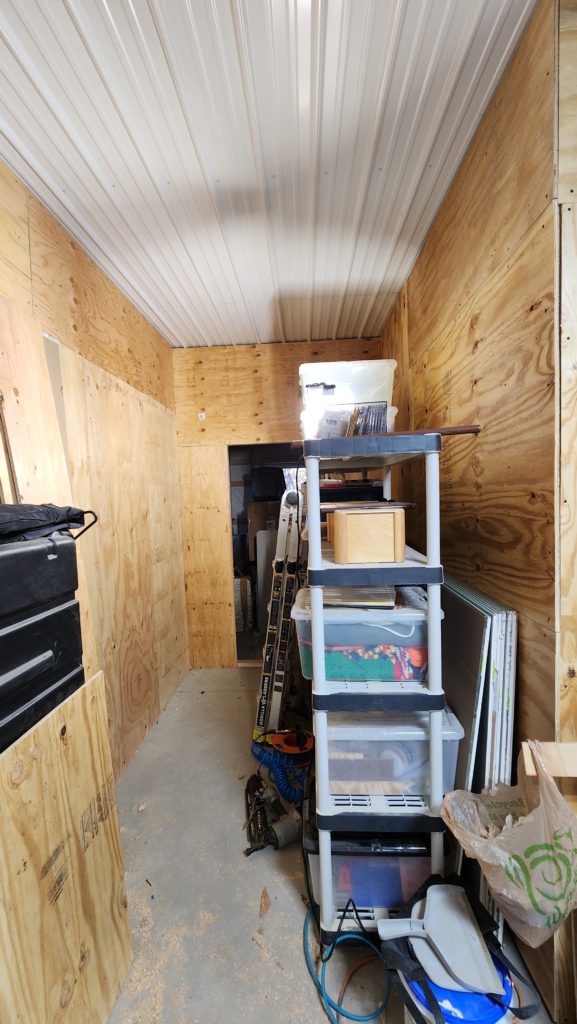
There we go. Now that the hallway is done, I can move most of the stuff stored in the Tidy Room out into the hallway to make room for working in there. Heard this story before? Yeah, it happens a lot.
Let’s take a look in the Tidy Room to see what needs done. This space hasn’t changed at all for a year, since the movers loaded all my stuff into it (and elsewhere). Well, what’s changed is some of the things that were piled in there have found homes, but it’s always been too full to do any construction in there.
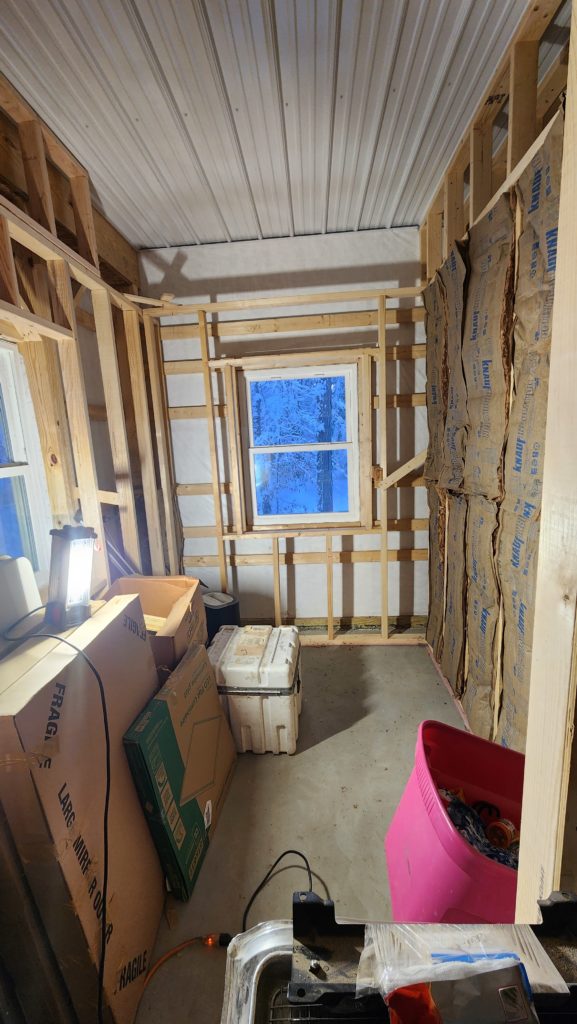
Let’s see here… gotta finish the top course of framing, add plywood facing to the window recesses, get rid of those temporary braces (small lengths of wood at odd angles such as in the upper left of the scene, tying the lower sections of wall together), finish insulating, and add wallboard.
Wallboard? Not plywood? Wallboard, not plywood. The tidy room will be finished nicely and painted a neutral color. This is where things will get stained, varnished, painted, etc., so having a bright space with ample light is important. No dark plywood surfaces and anyhow, drywall is 1/3 the price of plywood (though easily 9x more trouble to install).
The last little bit of the upper course I thought was going to be easy – pre-build the section then just slide it into place.
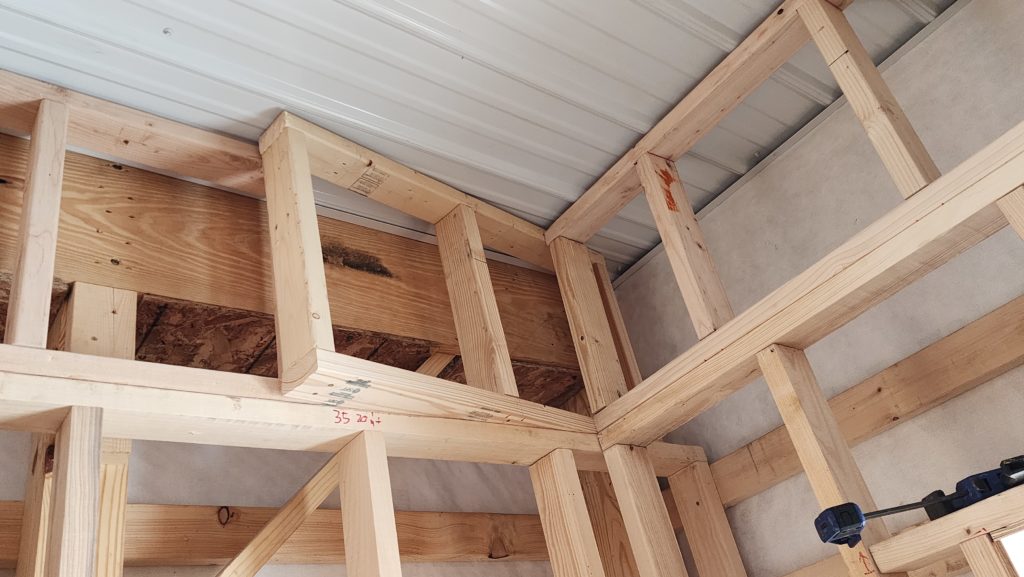
The thing is, the other stuff that was already there, including structural members of the building, behind the wall, made this maneuver impossible. I got exactly this far before it just wouldn’t budge any more, having jammed itself between all the things.
Time to apply some… persuasion. Here are my persuasive tools of choice for this job, the 4# hammer and the pull bar.
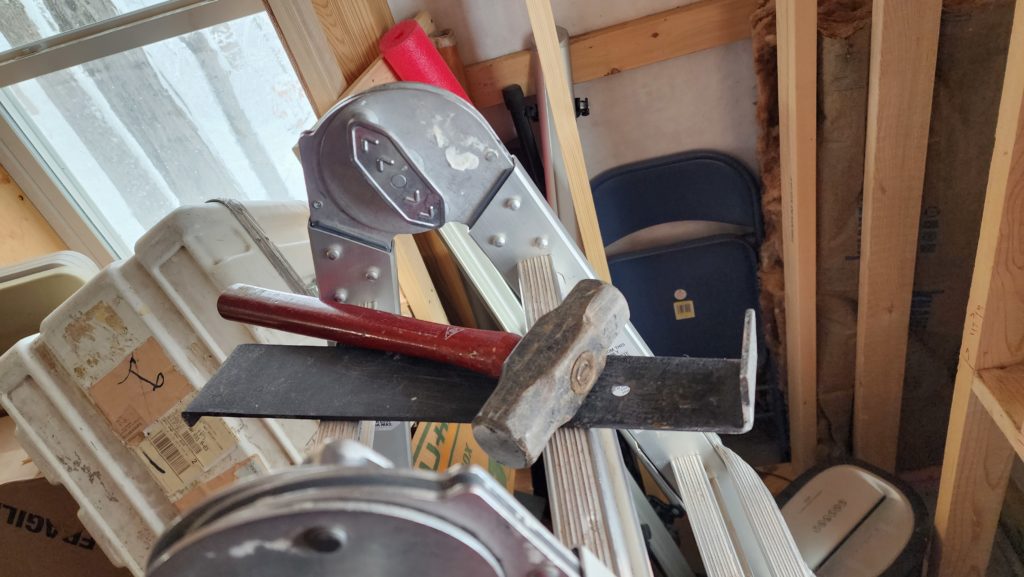
They were sufficient to persuade the new section into place, but not without also displacing the perpendicular section considerably. That’s what the pull bar was for: grabbing behind the other wall part and using the hammer to effectively whack it back in place, but from in front instead of behind (which is not possible).
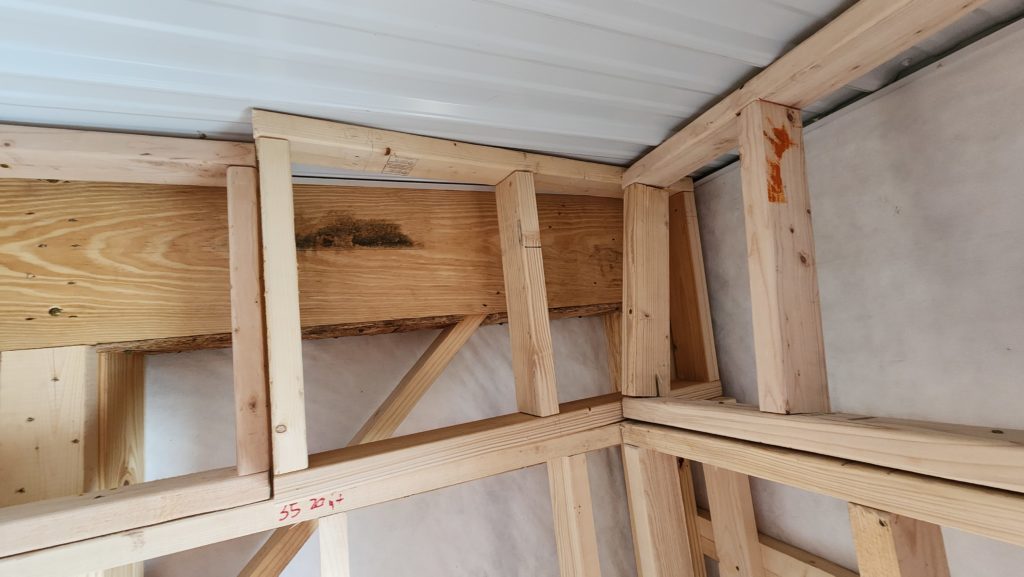
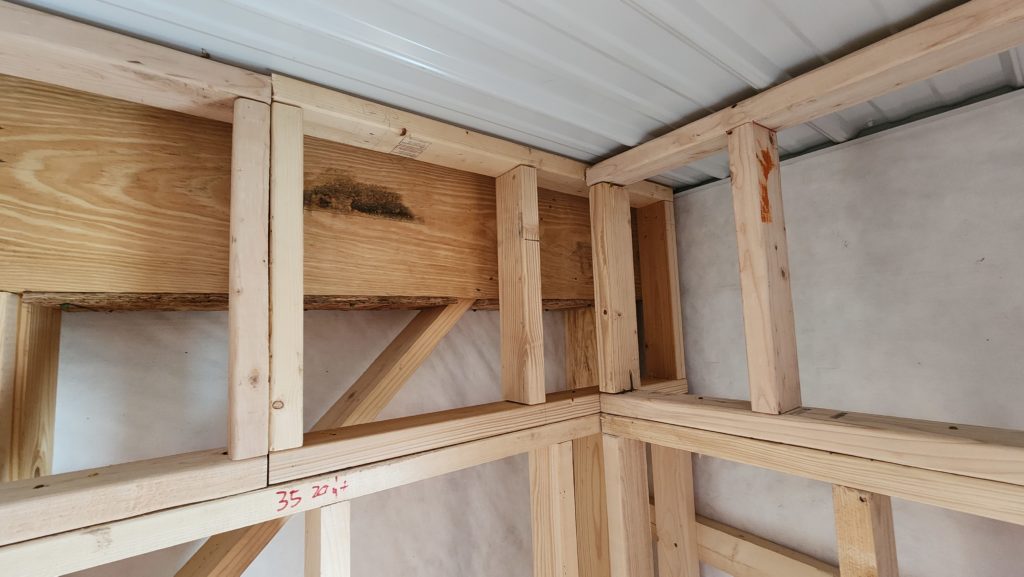
All framed out and the window recesses faced with plywood. This is SO MUCH easier having my table saw in service. You may recall that at the start of this effort, and for the first 2/3 or so, there was no room and no power for the table saw! This meant every section of plywood that needed to be cut had to be done using a handheld circular saw. Much slower, much less accurate, much more work. It’s nice to have the right tools to do things.
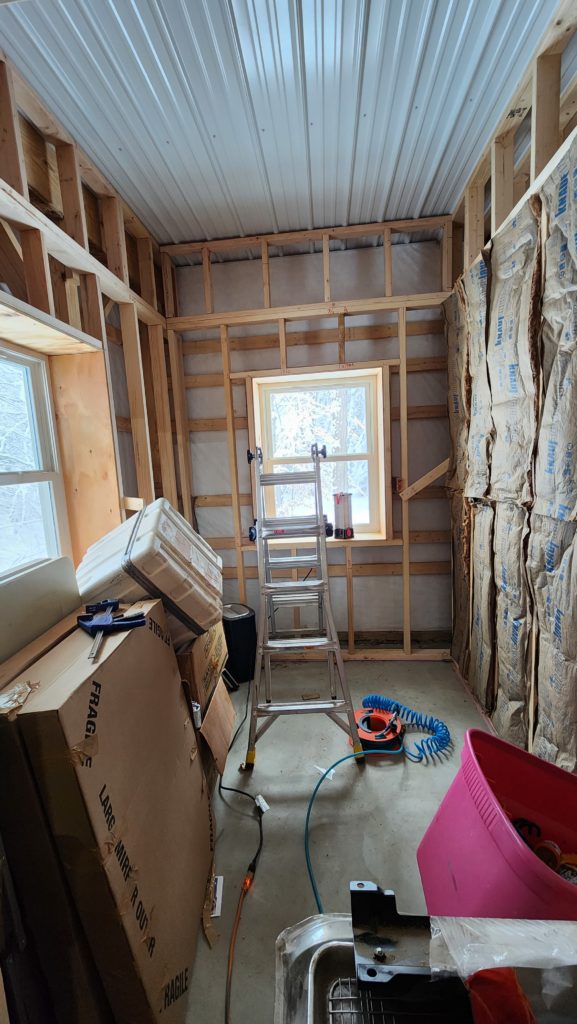
I did notice some framing errors, though. In particular, there were corners where walls came together that did not provide anchorage for the wallboard on both faces. This is easy to fix – just screw in a ledger board to catch the end of the drywall and provide something into which to fasten it. Here’s a scrap of plywood being exactly that.
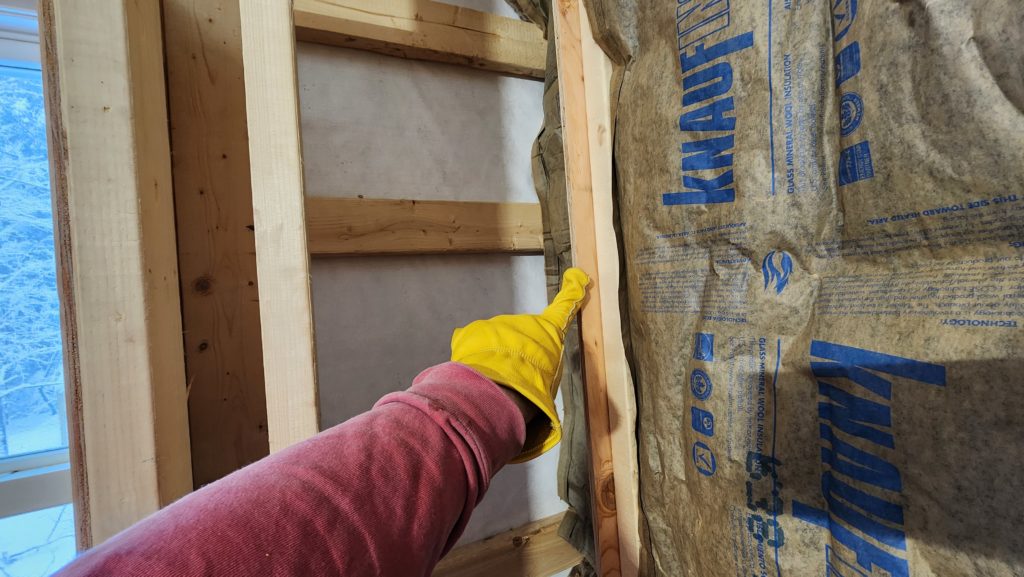
Finish up the insulation all around, then on with the drywall!
Except there was one board that just wouldn’t sit flat.
Then I found out why.
This was why.
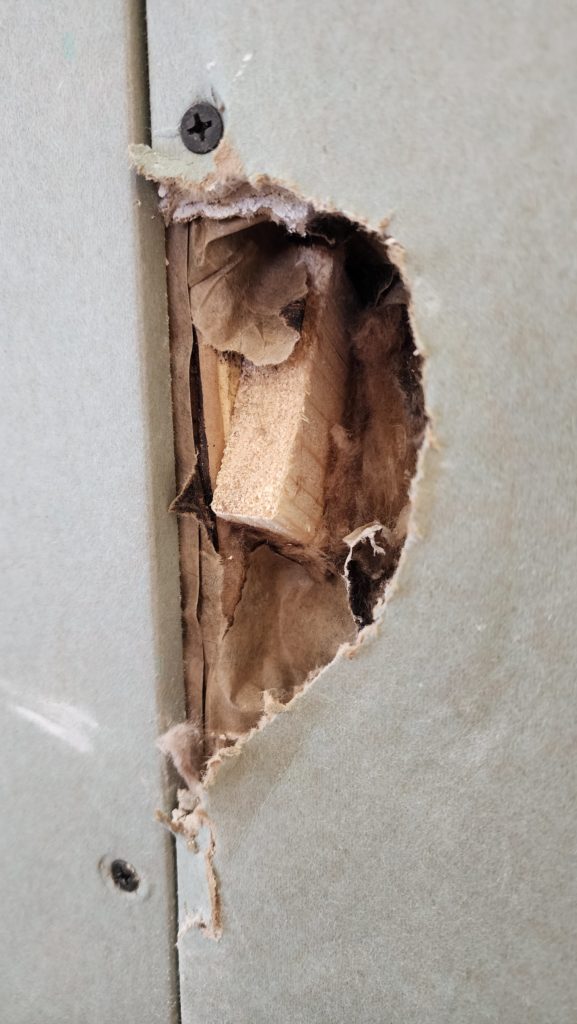
What’s this? It’s the end of a cross brace that escaped my notice while I was removing the cross braces. It also happens to stick out about a half inch from the plane of the wall. It was quite effective at preventing the wallboard from being installed nicely.
The only “good” thing about this, if anything about this can be considered good, is that the damage to the wallboard was sufficiently large that I could get in behind it with a small piece of plywood. Why would I do that? So I can screw down the patch securely to it, that’s why. Like this:
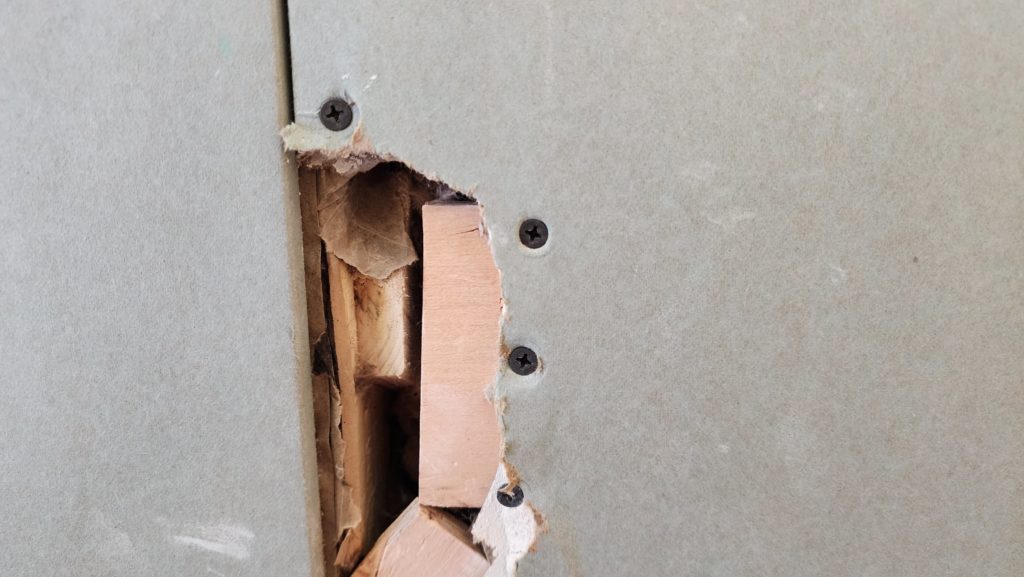
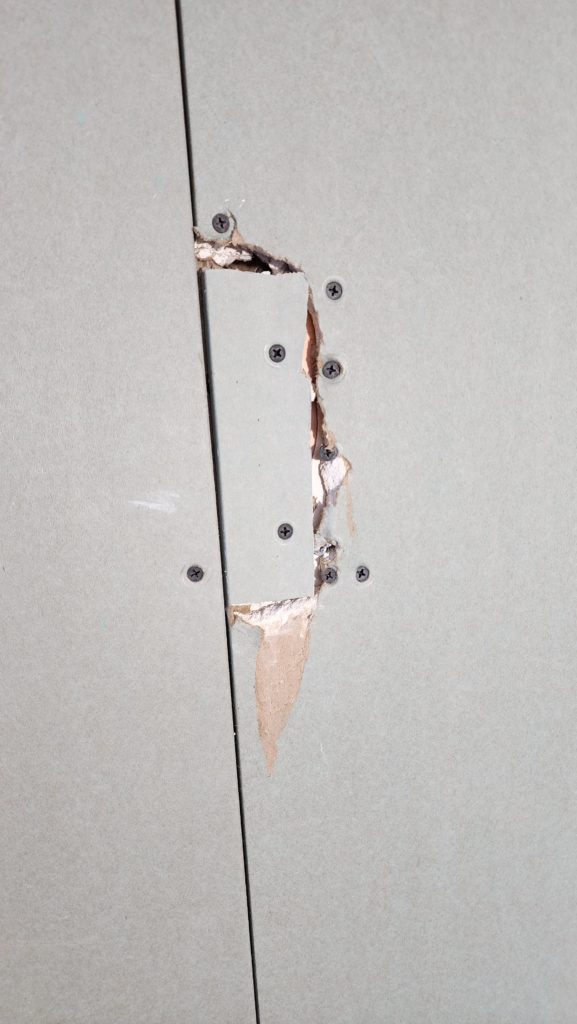
The gaps that remain will be easily filled with joint compound. It looks like hell now, but it’ll be just about invisible by the time the job is done with everything smoothed and painted.
This is where it ended – fully boarded, but before tape and joint compound, etc.
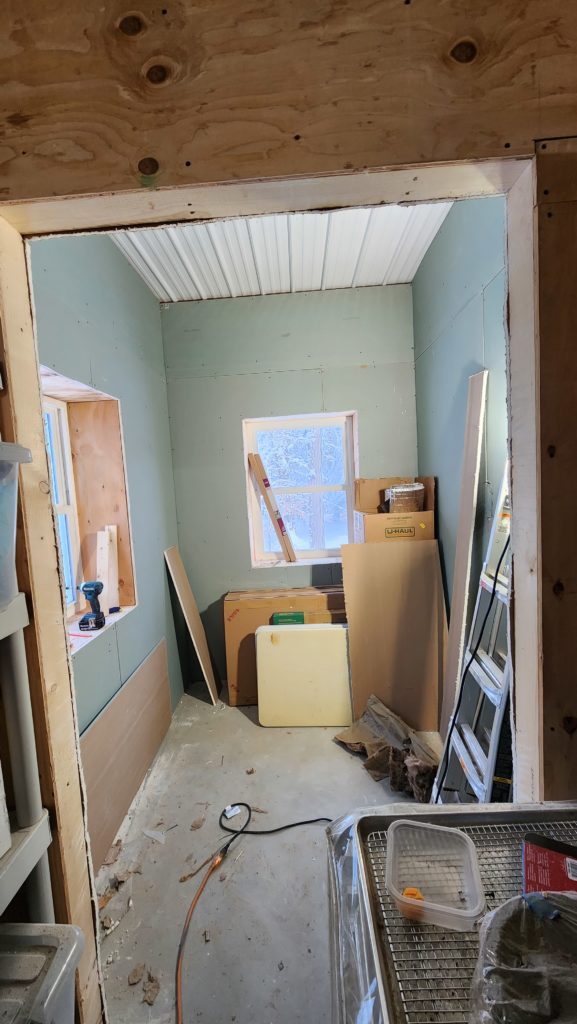
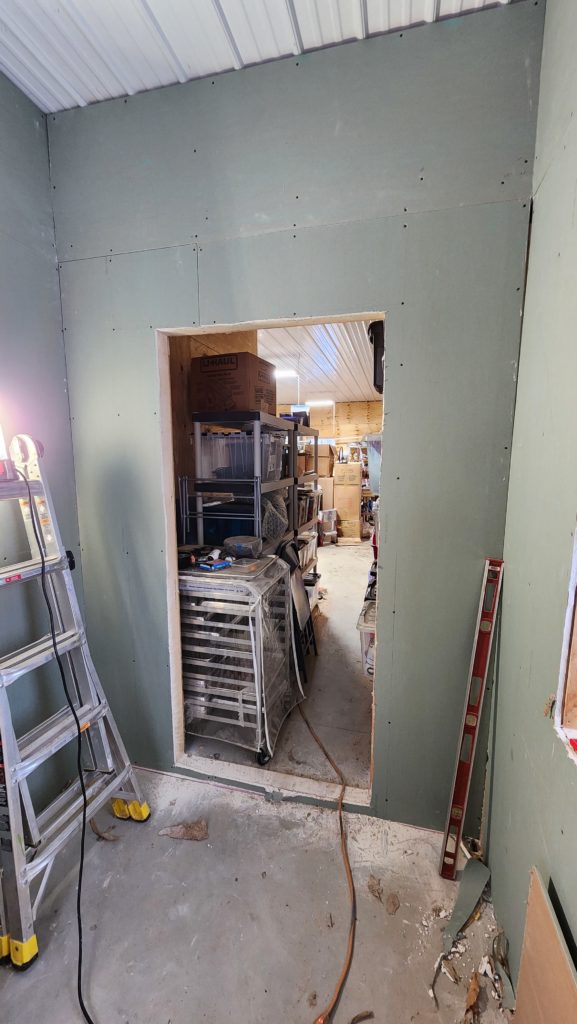
At this point, the whole building, at long last, is insulated and all the walls are dressed. I will get back to the Tidy Room in a while, but the priority was to get the insulation job 100% done (it is winter here) and covering the insulation with plywood and drywall prevents damage to the insulation. Now that’s done. It also lets me stack stuff up high against the wall without worry.
Finishing the insulation and walls consumed my stash of fiberglass (quite bulky) and drywall and plywood and 2×4 studs, which freed up a considerable amount of space where they were all stored variously around the workshop. The next priority is to build the tool island, which will combine several machine tools into one shared space, saving a bit of area as well as improving the ease of use for the tools included.
What is the tool island? This is the tool island. Machine tools are modeled just to the extent needed to understand what their needs are regarding workpiece presentation, clearance of moving parts, etc. No attempt was made at realism.
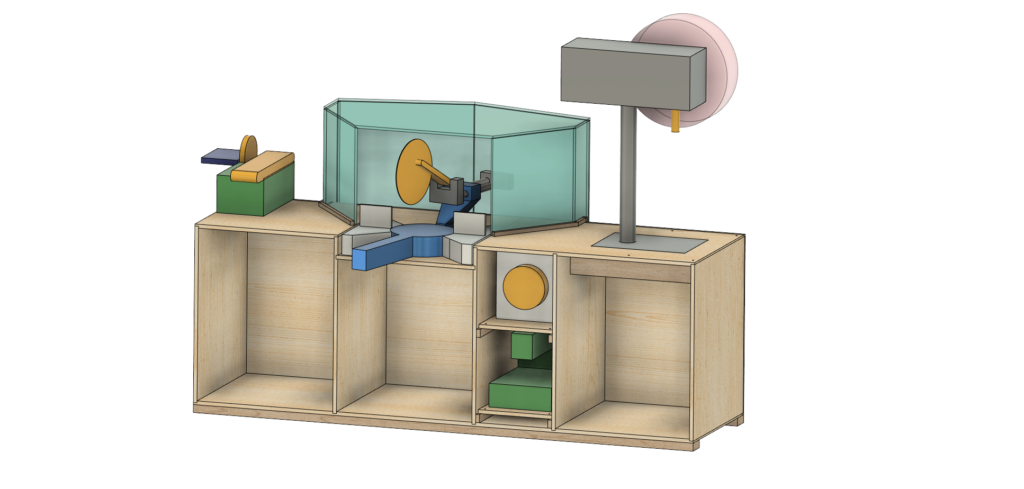
The central feature is that it provides a place for the chop saw such that 8ft stock may be cut anywhere along its length and it will still be supported by the deck of the island so it won’t fall when cut. You’ll also notice the dust hood behind the chop saw, big enough to catch the dust no matter the miter position of the saw.
On the left is a simple place for my belt/disc sander. On the right, a station for the drill press, which previously lived on its own cart. Those two things in cubbies are my grinder (top) and scroll saw (bottom). These are affixed to plywood baseboards so they can slide in and out of these docks easily. To use one, slide it out and set it on the end of the island under the drill press. There are holes in the baseboards and a matching pattern on the island deck so the tools may be pinned securely in place by just dropping in a couple of bolts when in use. The scroll saw and the grinder don’t get used often, so it being a little inconvenient to access them is okay. The other open spaces of the island cabinet are for future use by drawers or cubbies or cabinetry. This is still very much TBD — I’ll see what I need then build thin-walled, free-standing cabinets and just slide them in when they’re ready.
In other random news about the homestead, we got just over a foot of heavy, wet snow recently. This is not in and of itself remarkable – it snows here and it’s winter. What was remarkable, though, is what the snow did.
It did this.
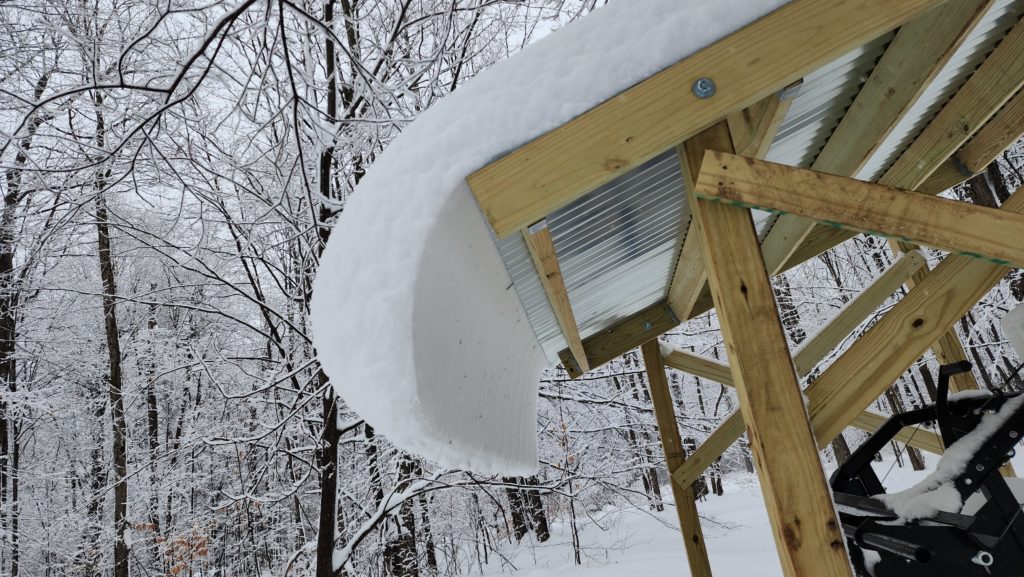
And this.
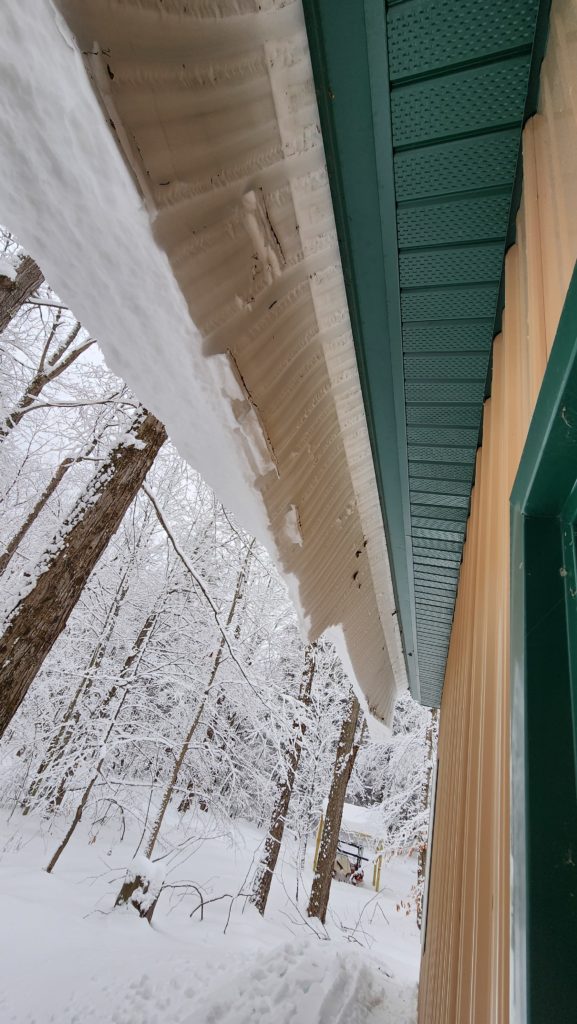
Notice how the snow is so stiff it took a crease where it had been hanging off the edge of the eave for a day or two, before it slid down a few inches more… and still hangs there.
Remember all that work to put in the flue? That whole system was designed with care to handle this exact case:
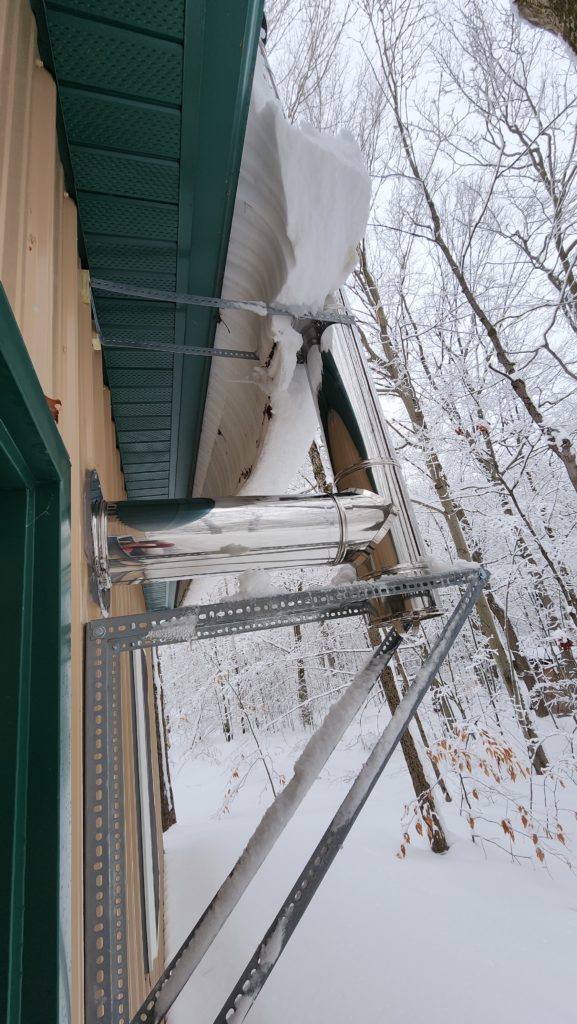
The diagonal struts at the bottom take the weight. The horizontal struts and the tension straps just under the eave resist the thrust of the snow. There are arms attached to the roof and the top of the flue to stabilize it topside, as well. Those arms have the advantage of rather a lot of leverage from where they are (3 ft above the eave) down to where the snow meets the flue. They also resist the thrust of the snow, but with so much leverage, they don’t have much work to do as they keep the upper part of the flue vertical.
It’s been like this for days and no obvious distress. There’s quite a lot of snow behind what you see — roughly 19 feet of roof up to the peak from here.
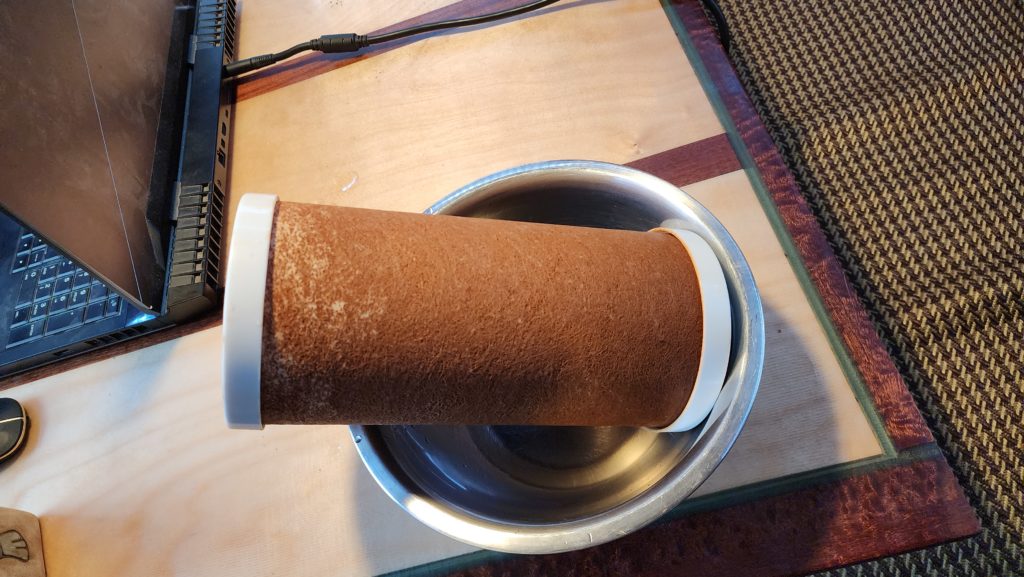
Oh – remember that sediment filter? I changed it out recently. Looks like it had plenty of work to do!
It was white when it was installed.
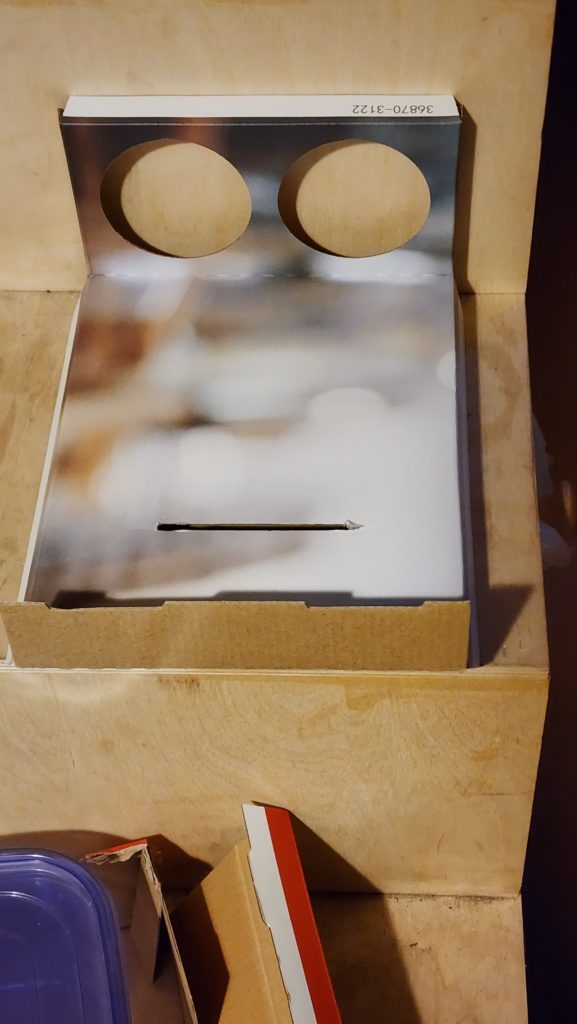
And lastly, I leave you with this bit of packaging, oddly evocative of the Moai from Easter Island.
