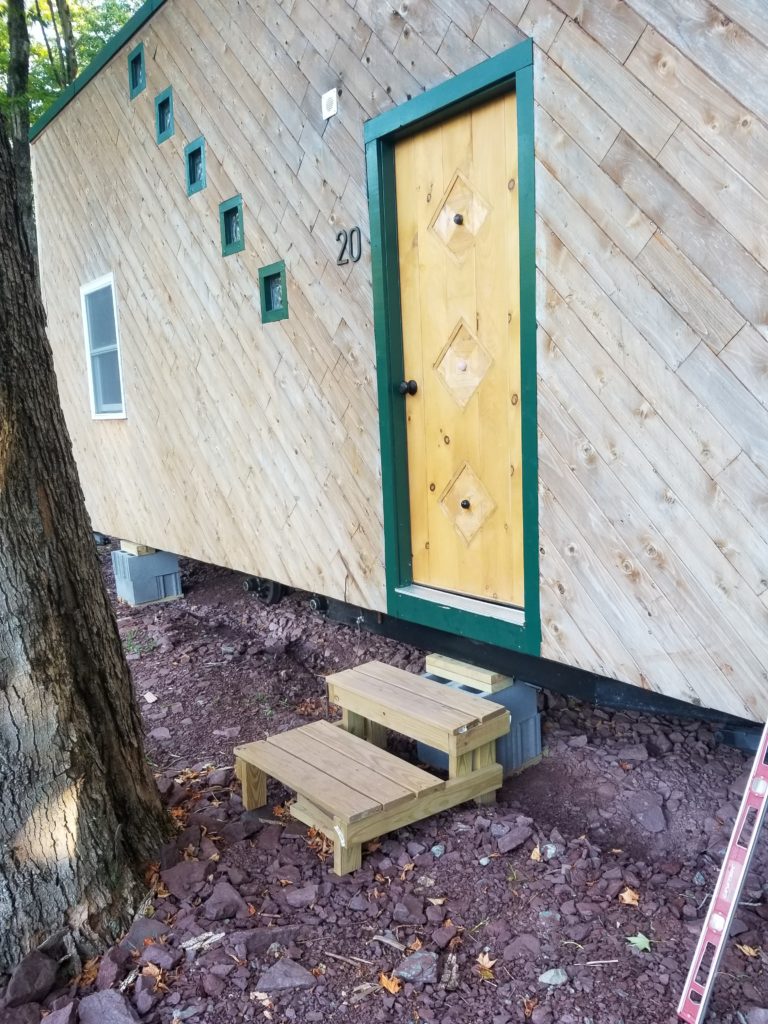
After raising the HomeBox off the timbers and onto concrete blocks, it became several inches higher from the ground and the prior entry steps were no longer adequate to the task of providing convenient entry and exit. Time for some carpentry! In this case, what I built was a done with some haste and for sure I underestimated the challenge of setting four free-standing 10′ posts perfectly vertical. They aren’t. They’re not distressingly akimbo, but they’re not as close to plumb as I’d like, either. This, therefore, will not be the final entry system for the house, though it is definitely a vast improvement over what was there before. Even so, both aesthetically and functionally, there are some things I don’t like about this entry so there’s a strong chance I will build it one more time to get it right. . . after other, more pressing things are completed.
I knew this wasn’t going to be a permanent installation from the start, so I didn’t want to either sink the posts into the ground nor anchor them to concrete pilings which were themselves sunk into the ground. The posts had to be free-standing. To make this more difficult, notice the location – there’s a tree right in front of the door, so not a lot of maneuvering room in there, either. I could build the whole thing off to the side, with plenty of room to do all the things, but then I’d have a massive structure that was too heavy for me to move into position on my own. I suppose I could have waited until I had some help available, but I wasn’t feeling particularly patient so I decided to just go for it and build it in place.
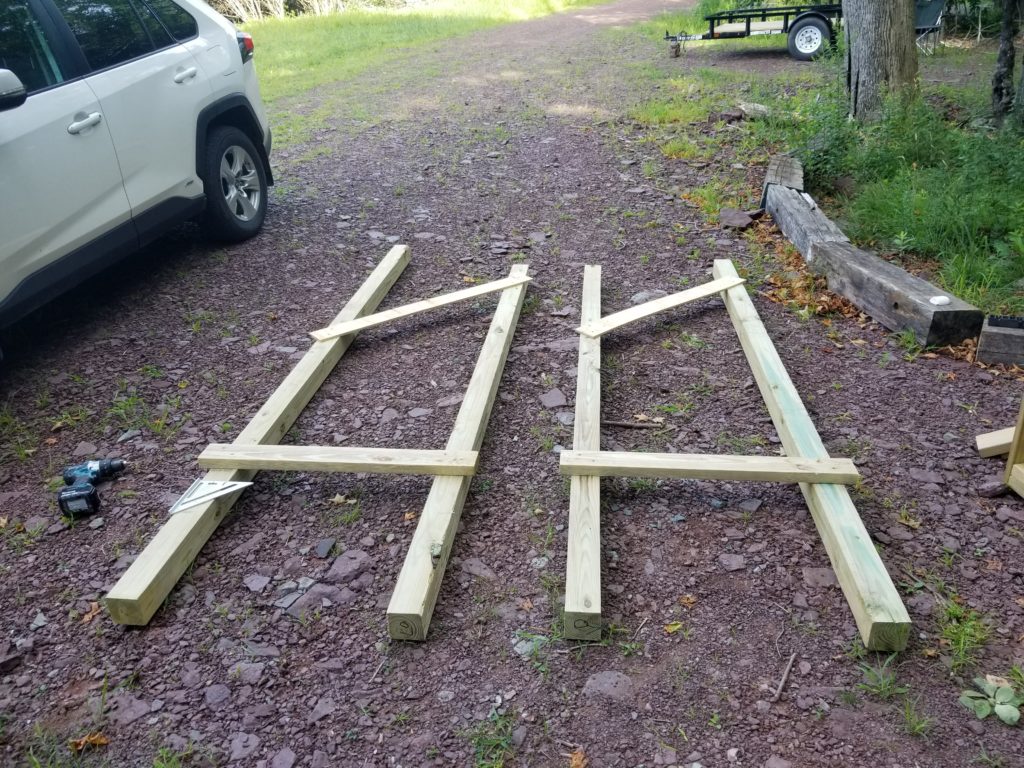
So I’d stand a chance of being able to manage these posts, I joined them with their part of the deck skirt and added a second brace to keep them mostly parallel to each other. This won’t keep them upright, but will keep them together as I attempt to make them upright.
With the help of some old 1×2 strapping, I could brace one pair in position, approximately vertical.
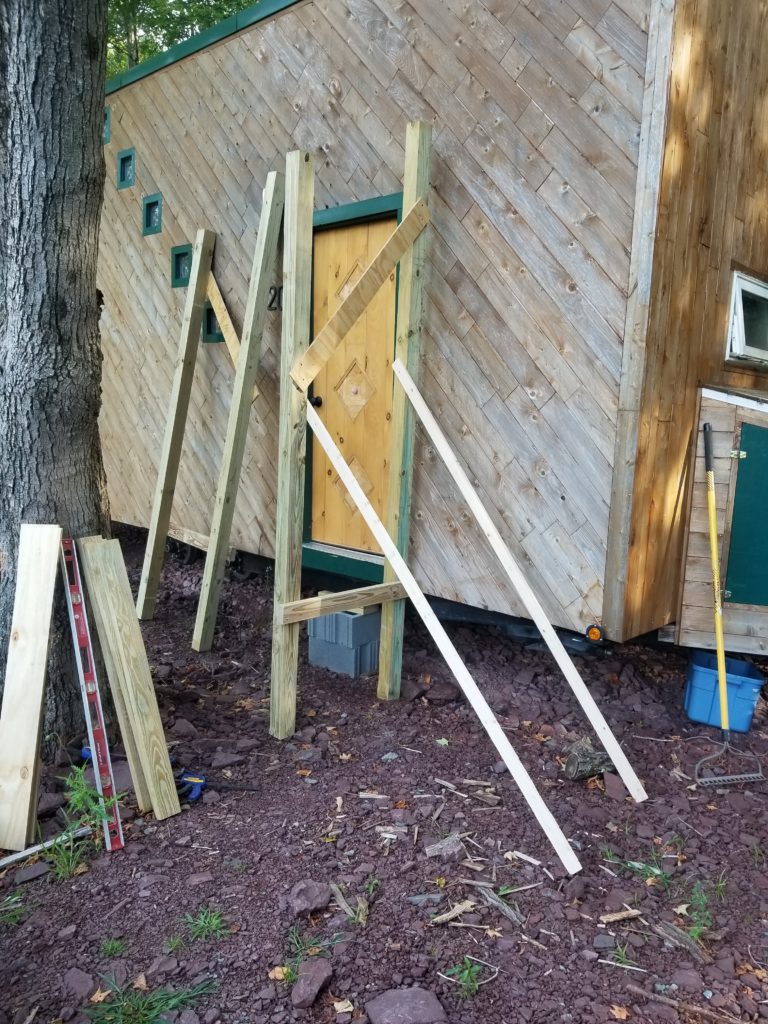
I then prepared the cross pieces of the skirt so I could use them to link the second pair of verticals to the first. It wouldn’t be especially stable, but it should hold long enough to install some additional bracing.
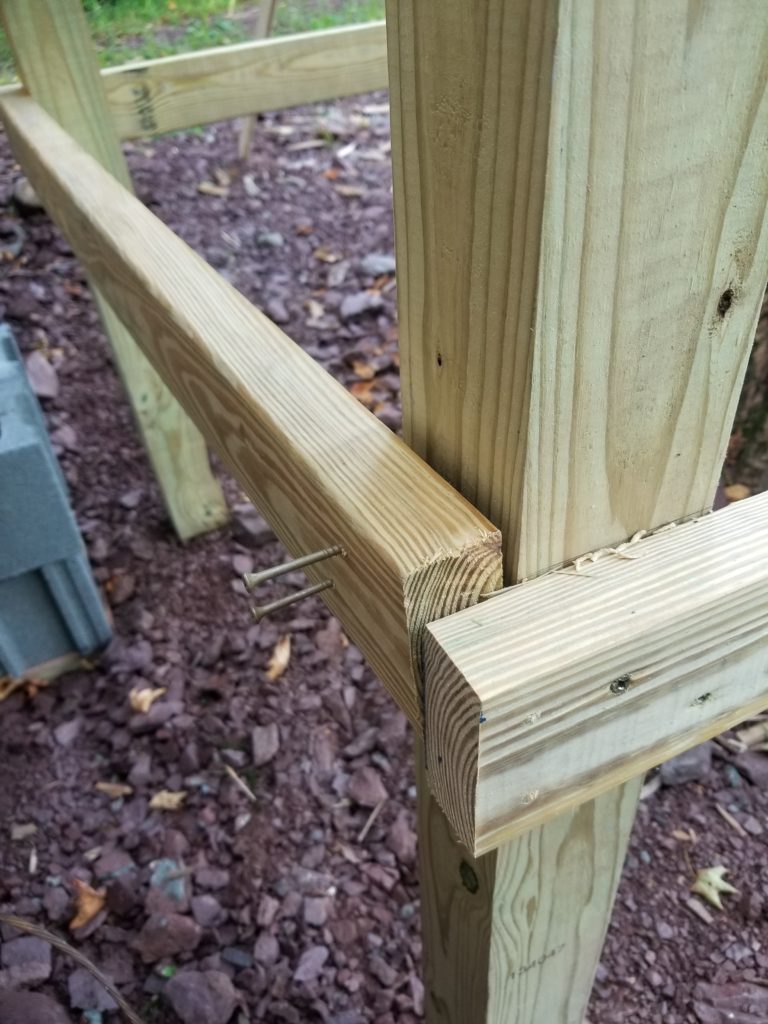
Screw holes pre-drilled and screws pre-loaded so as soon as the second set of uprights was in place, I could clamp the skirt and drive the screws home. That worked pretty well. Then it was some time with the level trying to coax the verticals into being vertical prior to adding the plywood braces.
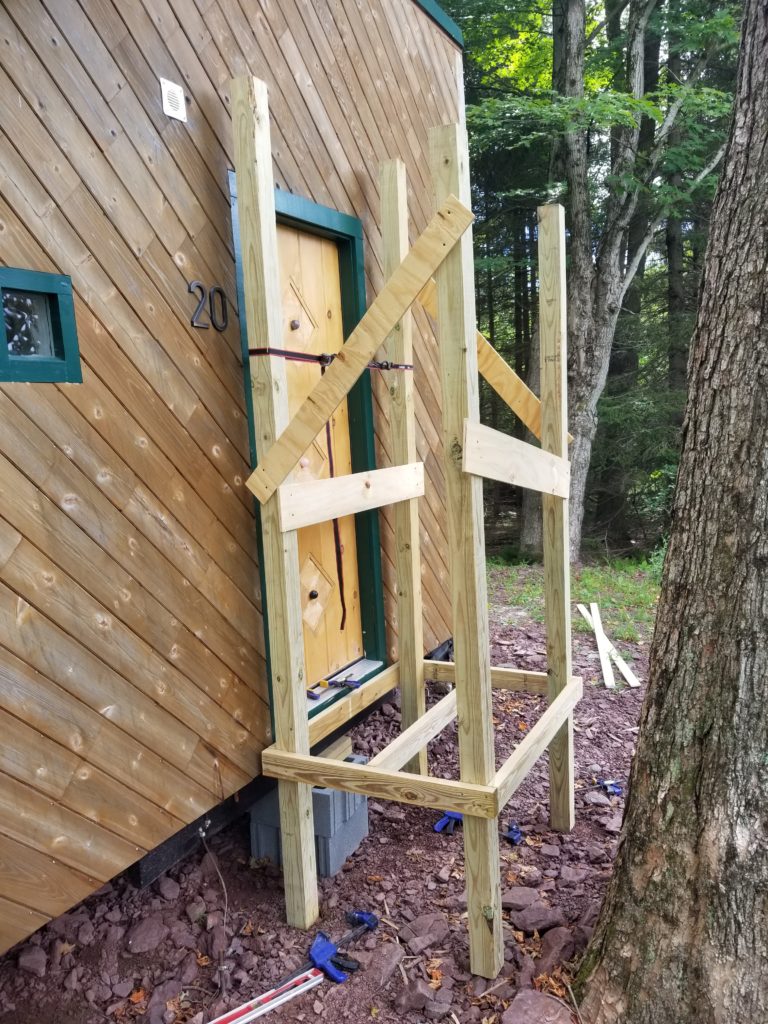
This worked pretty well, too, though it turns out the posts weren’t perfectly straight so I had to use a ratchet strap (black & red) to persuade them into being parallel.
At this point, I put the level on the skirt joists and adjusted the shale under the posts until the whole thing was close enough to level.
Next up, join the tops and install the roof rafters. For such a small span, I didn’t bother notching the rafters and fitting them the old fashioned way. Hurricane ties would do the job just fine and wouldn’t require machining the rafters at all. Of course, it would be seriously inconvenient to install them at height, given all the constraints, so I pre-installed them on the top plates before attaching the plates to the posts.
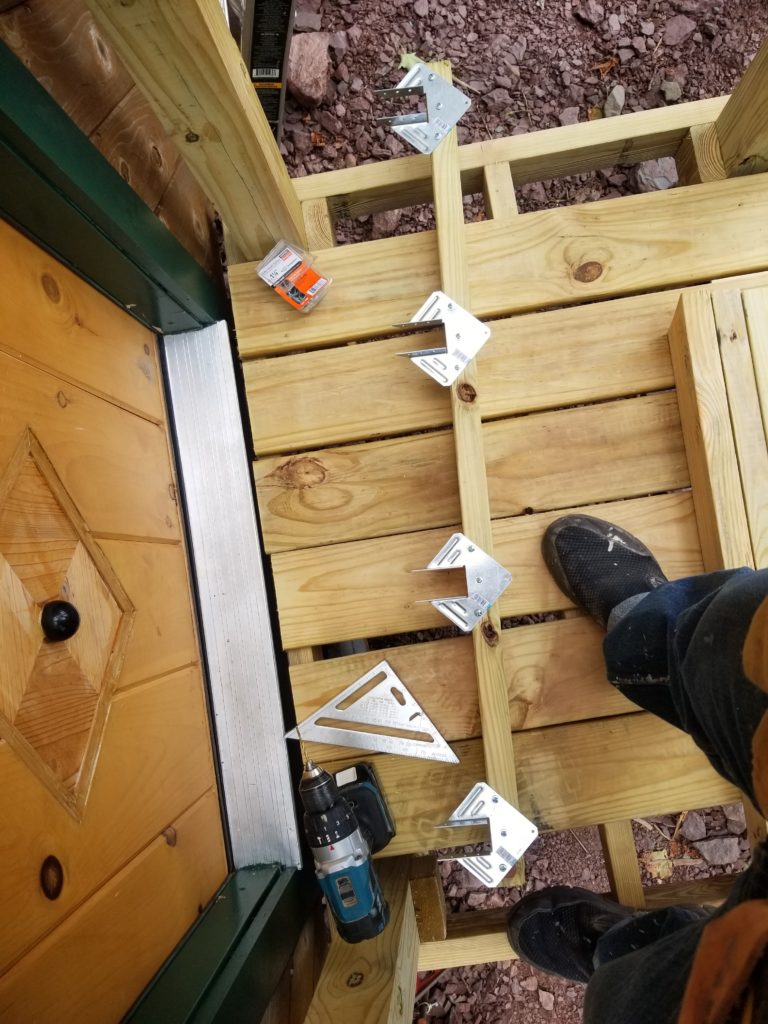
And it worked great.
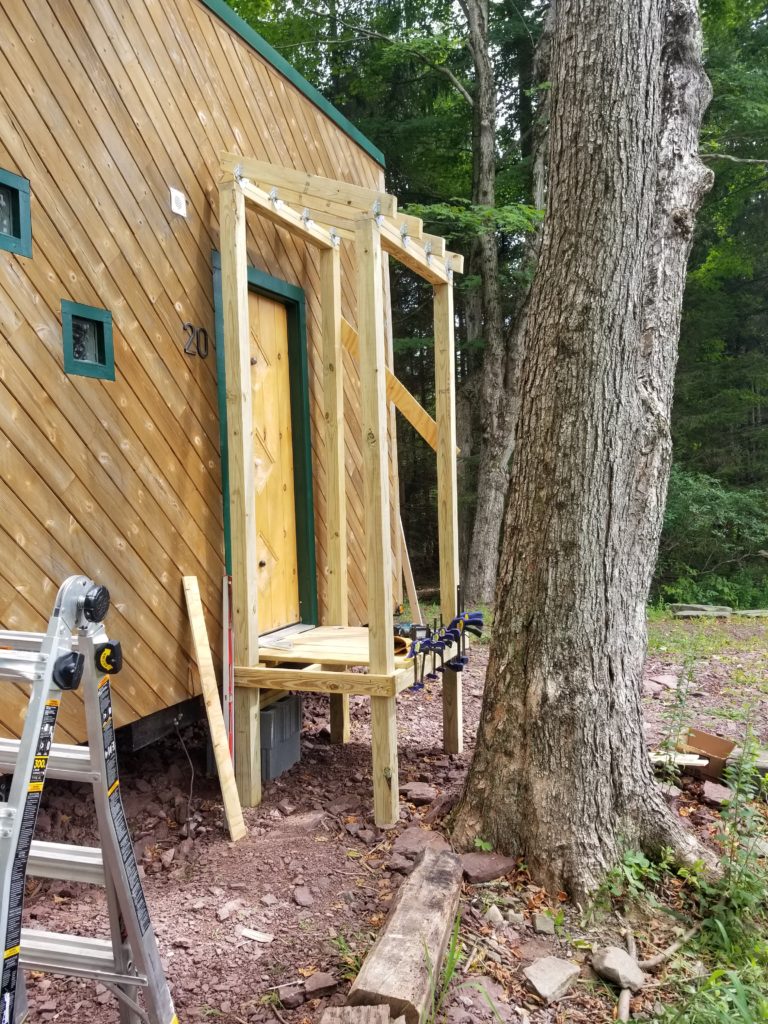
Why didn’t I just attach this thing to the house proper? Wouldn’t that have made all this much easier? Well, yes, it would have. I didn’t attach it because I knew it wasn’t going to be the end of the story, for one. For two, there wasn’t a tidy way to attach it that would also allow for easy removal in case I actually wanted to relocate the house. The house is already 100% maximum street legal width and I don’t want to damage the siding with bolt holes and such left by removal of the entry system. Further, should the house settle a bit, I can’t exactly jack it back up to level it if there’s an attached porchlet. There were good reasons to leave it free-standing.
My Gorilla ladder came to the rescue for fastening the rafters to the ties. I love that the different sections can be extended independently. That means I can do this with it:
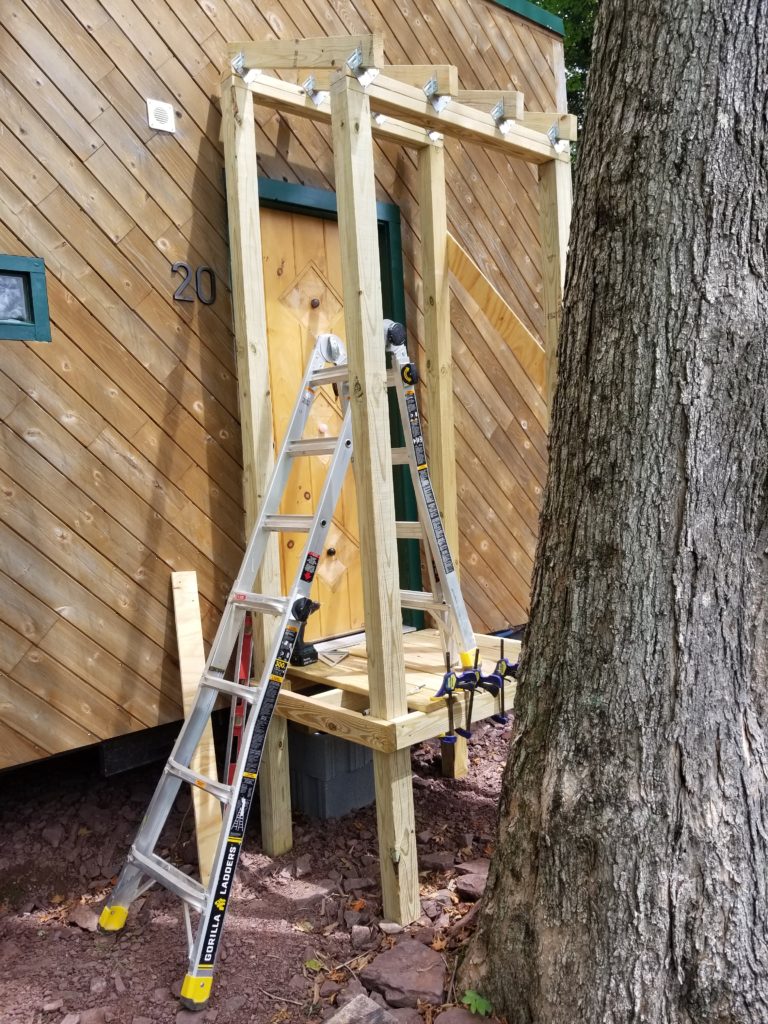
While it didn’t seem like a big deal at the time, in retrospect, the fact that the way the hurricane ties are laid out means the edge rafters are going to be about 2″ from the ends of the actual span created a bit of an aesthetic problem. I can definitely have the roof cantilevered a couple of inches over, but it doesn’t have a nice finished look to it. Same goes with the front of the rafters, which really want a fascia board to dress them into a single flat presentation.
With the roof deck on, you can see what I mean.
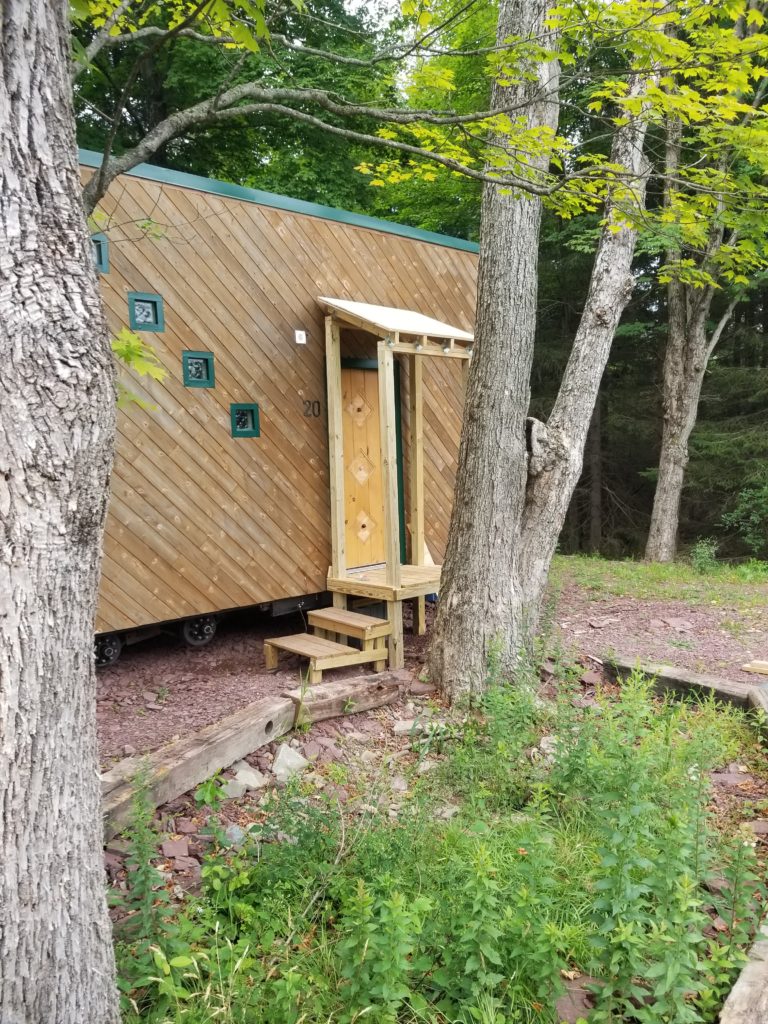
It just doesn’t look finished with the gaps in front and the overhang on the side. I’m going to leave it be since rework is a big bother and it functions just fine. Still, when I get back to this, I’m going to spend more time on details like these because it turns out it does matter.
Another decision I would do differently next time is the width of the deck. It’s 36″. That was a good number for minimizing board waste on the decking but when you factor in the 3.5″ posts (narrows by 7″ in total) and the 1.5″ inset for each of them (narrows by 3″ in total), suddenly my 36″ wide deck results in a pinch point only 26″ wide at the entry side. I can get through that without fuss, but it’s much tighter than it needs to be. The tree keeps it from being much wider, but another 5″ or so was doable and would have made a much easier entry.
Remaining work to do is to install the built-in stairs (shown here is the old stair system which doesn’t have the right height, but is an ok stand-in for a few days), shingle the roof (my friend had just enough left over shingles from another job), and add a few cross braces to the porchlet to help stiffen it against racking.
Meanwhile, the wildflower meadow in the solar field continues to show new blooms and fill in nicely. It’s really quite lovely now. I’m eager to see how it fills out over the next few years.







And I’d just like to share this picture I took because I liked how the light was dancing off the water.

Sadly, that maple leaf, while pretty, is also very much the wrong color for this time of year (summer). That’s from the tree right in front of the house, which has been dropping leaves like this for a while. It’s still got some that are nicely green, maybe 15% or so, but I worry that the tree may not survive. Maybe it will recover. Ask me next spring if I have more lumber or a standing tree.