The big bag of wildflower seeds clearly directed that after sowing the seeds, I should water them regularly for several weeks until they get established. The thing is, my fresh water system was not up to this task. Not nearly enough pressure to throw water over the whole field and anyhow, my 50 gallon tank (40 gallon working volume) wasn’t really enough to cover the field even if I had the pressure to do it. This isn’t unreasonable – the fresh water system was never intended for gardening. It was designed first to serve the kitchen and bath and secondly an outdoor shower but definitely not landscaping/gardening.
At the time I planted the seeds, I didn’t have my rainwater catchment system in place, either, so it couldn’t be of any use to me yet.
So I decided to let Nature run her course – whatever seeds survived the conditions at hand would be the ones that grew. It’s been very slow going out there in the solar field, especially as the new wildflower seedlings compete with grass and native plants emerging from below the mud. So while not a huge field of color and variety, there are indeed some new flowers showing here and there, at long last. I suspect more will reveal themselves later in the season, since it’s been a bit dry here and they have to get established on what rain does fall. I suspect next year will feature more flowers, since they will have rooted this year. Here are a few specimens of what’s showing now.
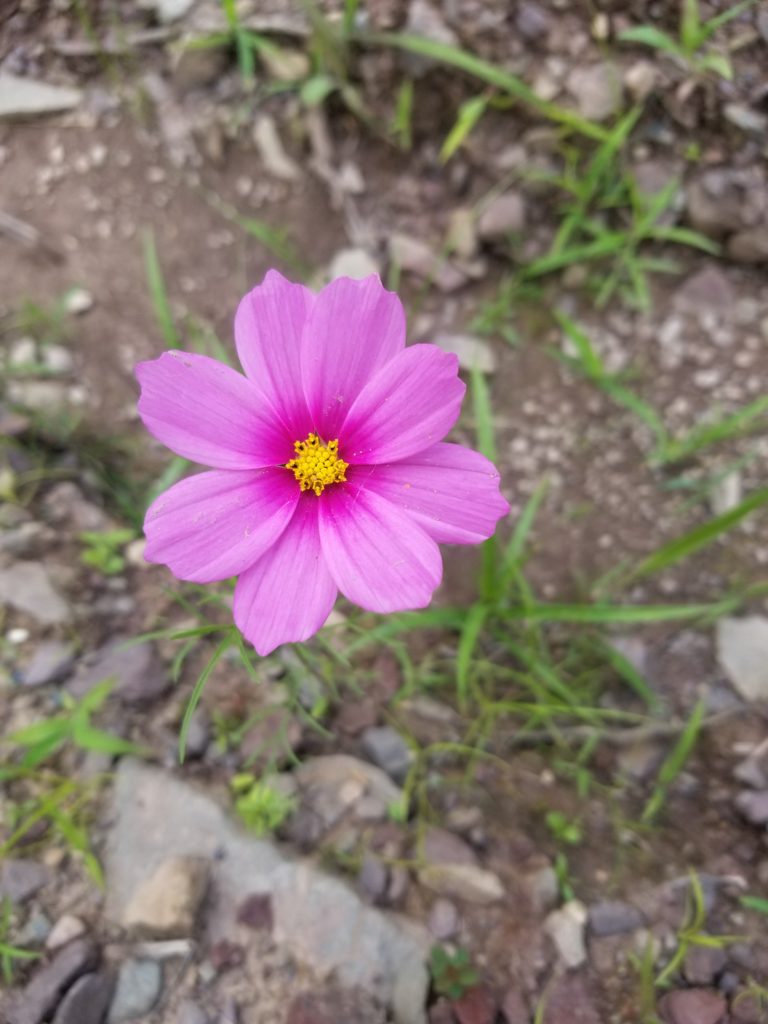

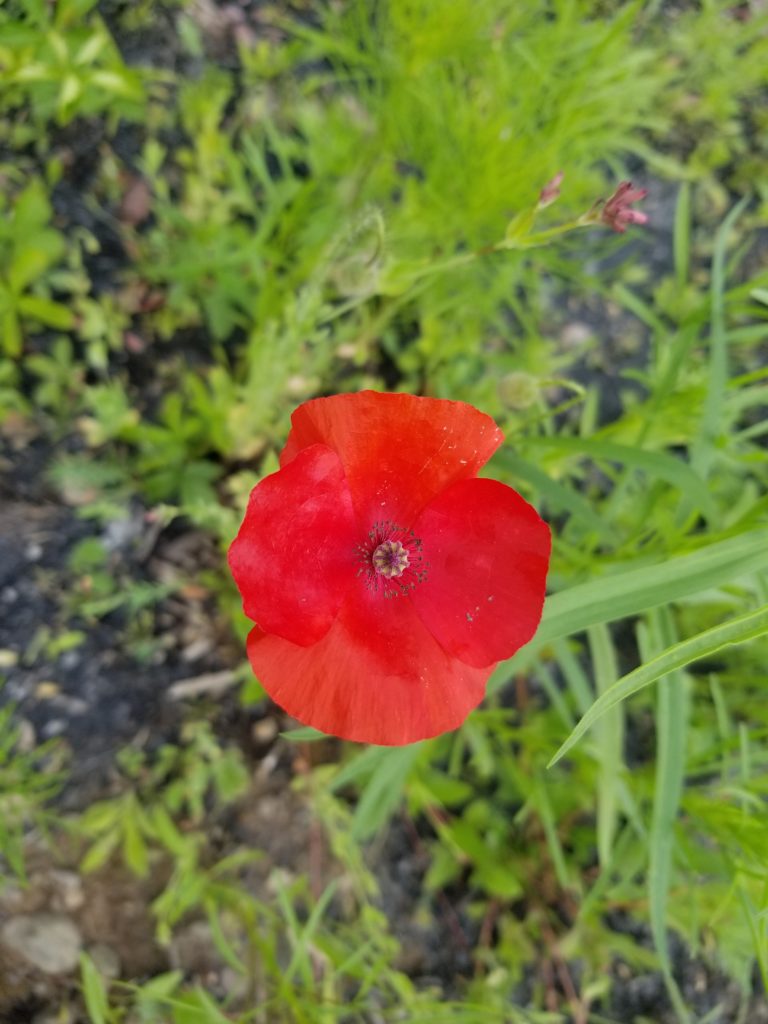
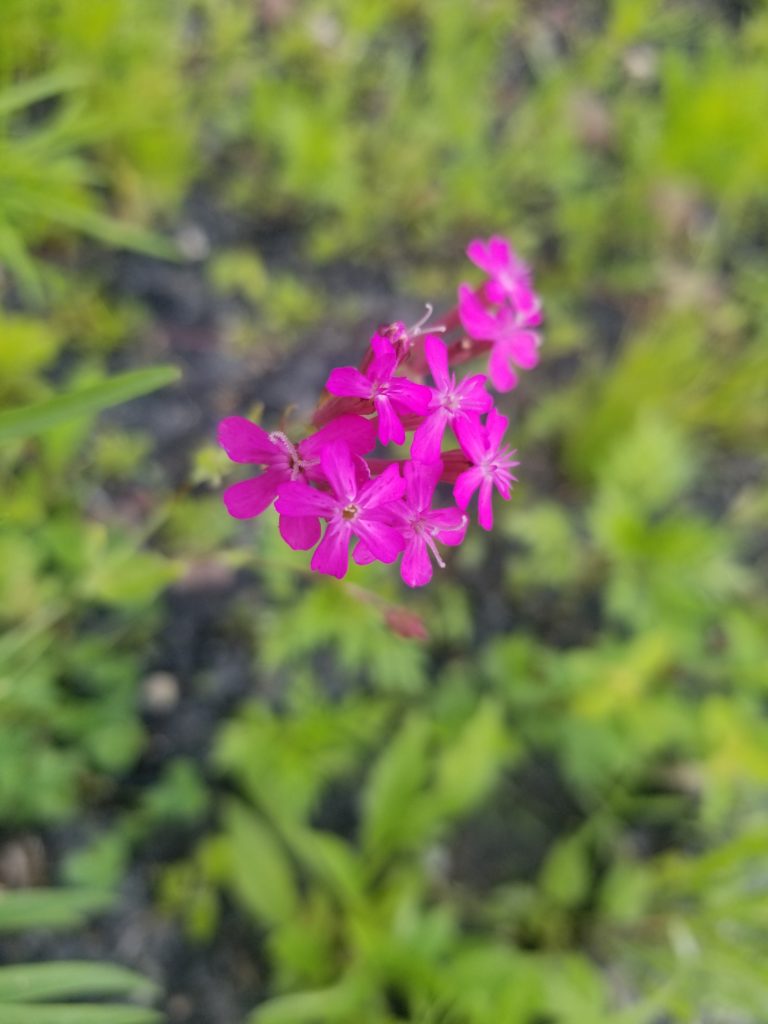
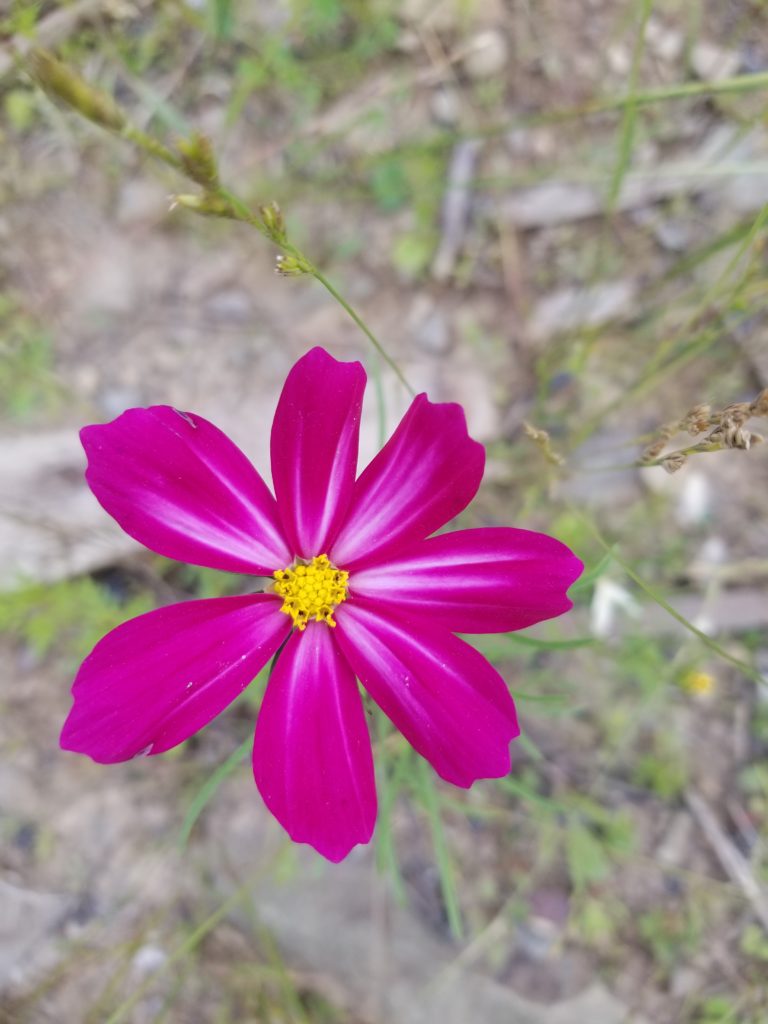
It rained! The frog habitat has been refilled naturally, though it is drying with alarming speed given the hot days. The rain also refilled my 275 gallon rainwater catchment tank, so I will be able to try that more strategic re-hydration scheme when the time comes… which will likely be soon.
I’m pleased to report that my period of involuntary leisure will be ending very soon: I am re-employed! This also means I am comfortable spending money on project materials since I have confidence that money will come in and I don’t need to be such a tightwad against the prospect of needing every last cent for essentials due to an extended jobless period. Shortly after accepting the offer, I bought some wallboard and joint compound so I could finish up the mud room in the W.O.G., as well as move the executive wash room forward a bit. The EWR had been boarded up, but needed a second pass of joint compound and both it and the mud room needed paint.
The rooms are so small that it’s impossible to get a decent photo of either without a hugely distorting lens, but these glimpses give a sense of them.
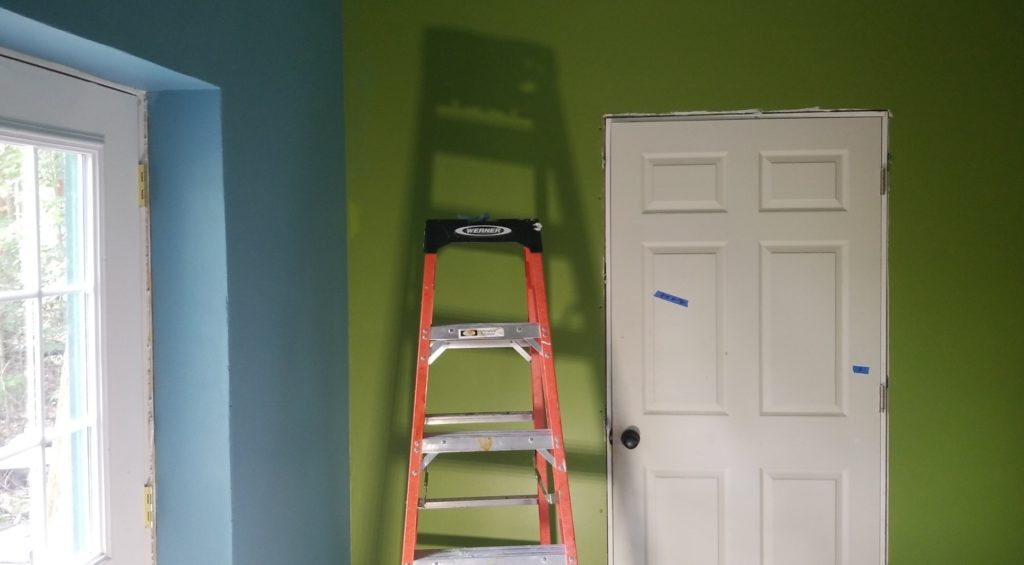
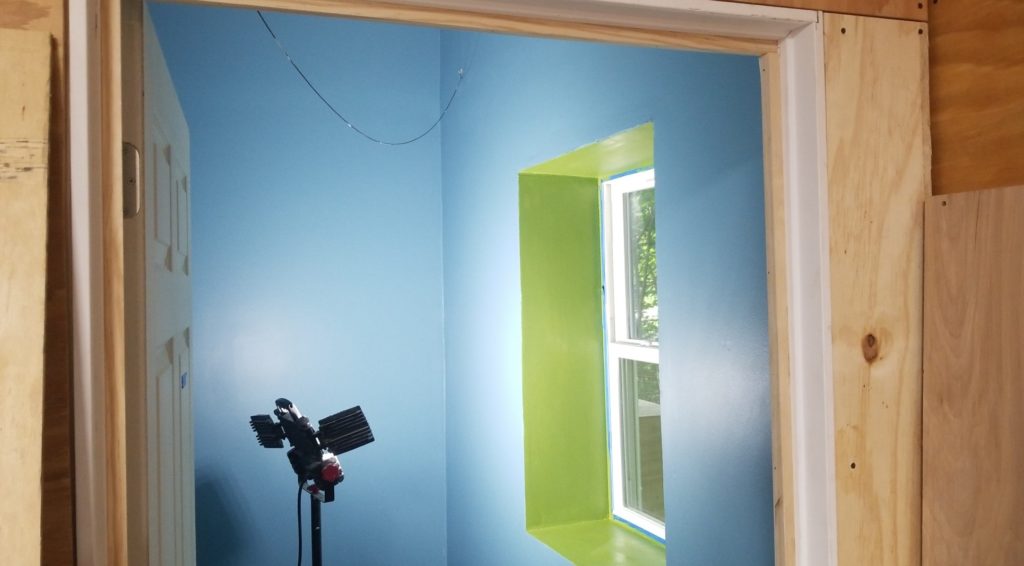
The mud room is painted 3 sides with Frog (green) and the wall with the entry door has the color called Voyage (blue). The last of the Frog paint became the accent for the window recess in the wash room, the rest of which is painted Voyage. I still have a moderate amount of Voyage paint left over – that will probably make its way to the Tidy Room, which is still very much under construction. Well, I’m not actually constructing it right now, so it would be more correct to simply say it is incomplete. The Tidy Room will likely be last, given its location and for logistical reasons, since things are stored there that will ultimately live in the workshop proper, but those places in the shop are currently occupied by building materials such as ceiling tiles and insulation yet to be deployed. The whole thing continues to be a big game of Parking Lot, though it’s not as crowded as it was before. It will be even less crowded after my next dumpster, into which a great deal of bagged construction debris and other detritus will be put. No sense getting the dumpster til I have generated a full load of construction trash, though, which won’t be until after the ceilings and floors are installed in both rooms. I’m not going to wait until I do the Tidy Room simply because I need to reclaim the space occupied by the accumulated trash before I resume work in the TR.
I already have the flooring and enough ceiling tiles and hardware for the mud room. I consumed more of the ceiling stuff than anticipated in the office, since I made some errors there given it was my first suspended ceiling, so there won’t be enough left on hand for the wash room, too. I hope to do a better job (with less waste) on the other two rooms. One key aspect I learned on ceiling #1 was that even if a span is an exact even multiple of the tile size, using whole tiles is not the right answer! When the cross struts meet the wall bracket, if they are full length, the ends have features which expect to mate with mid-span hardware, not wall brackets, which are different. The ends of the cross struts must be cut flush and riveted to the wall brackets. This reduces their span by about an inch. A very critical inch. So it’s better to do a half tile at each end of the span rather than use whole tiles throughout. Indeed, using partial tiles along the walls has definite structural advantages, though it’s more trouble to assemble. I know that now.
I’m still pretty poor at jointing wallboard, though I’m getting a little better at it each time. That mesh tape recommended for the mold-resistant board, though, that stuff’s a stone cold bitch to conceal under joint compound. And what was I thinking, not using corner bead and instead deluding myself that the tape could make an adequate corner? Nope. It doesn’t. I’m not going to re-do it, but I am going to be sorry about it. Ideally, I will remember this for the Tidy Room when I get to it.
The paint had been sitting for a solid 6 months or so, and thus the color additives had separated out a bit.

I don’t have a paint shaker and didn’t care to schlep out to some paint store and have them do it. I do, however, have this fun little turbine that fits in my drill, the purpose of which is to solve this exact problem.
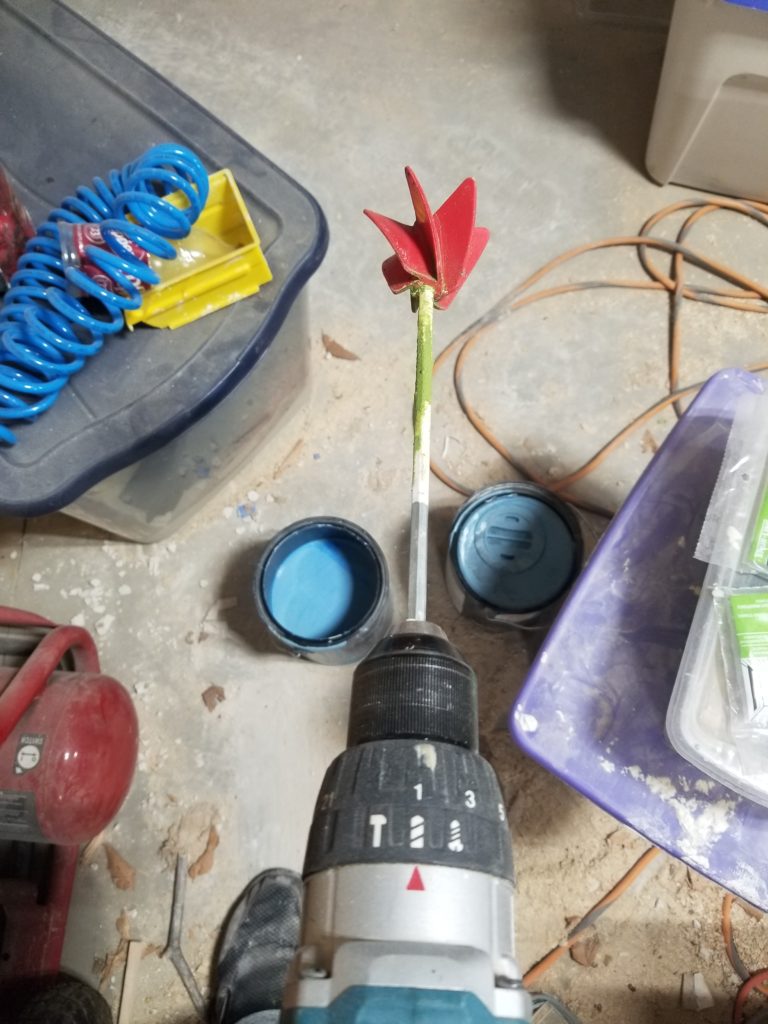
Just don’t lift it up too high while it spins, or you’ll be doing a Jackson Pollock all over everywhere.
I’ve got a bigger one for 5 gallon paint pails.
Speaking of process improvement, it occurred to me that when I painted the office with two tones, I definitely did that the hard way and wound up with some gaps where the colors met in the corner. This time I was smarter about it and purposefully let the paint from one wall flow onto the adjacent wall that was going to be another color. When this paint dried, THEN I taped off the edge and painted the second wall, up to the tape. If there was any variation in the tape position, any defects in its masking ability, or the straightness of the corner itself, no problem! There would never be any white showing, only a little wobble to the green/blue edge. That wobble is imperceptible except at very close inspection. This is unlike the gaps introduced by attempting to mask the corner exactly, hoping to paint up to the edge, which never works perfectly.
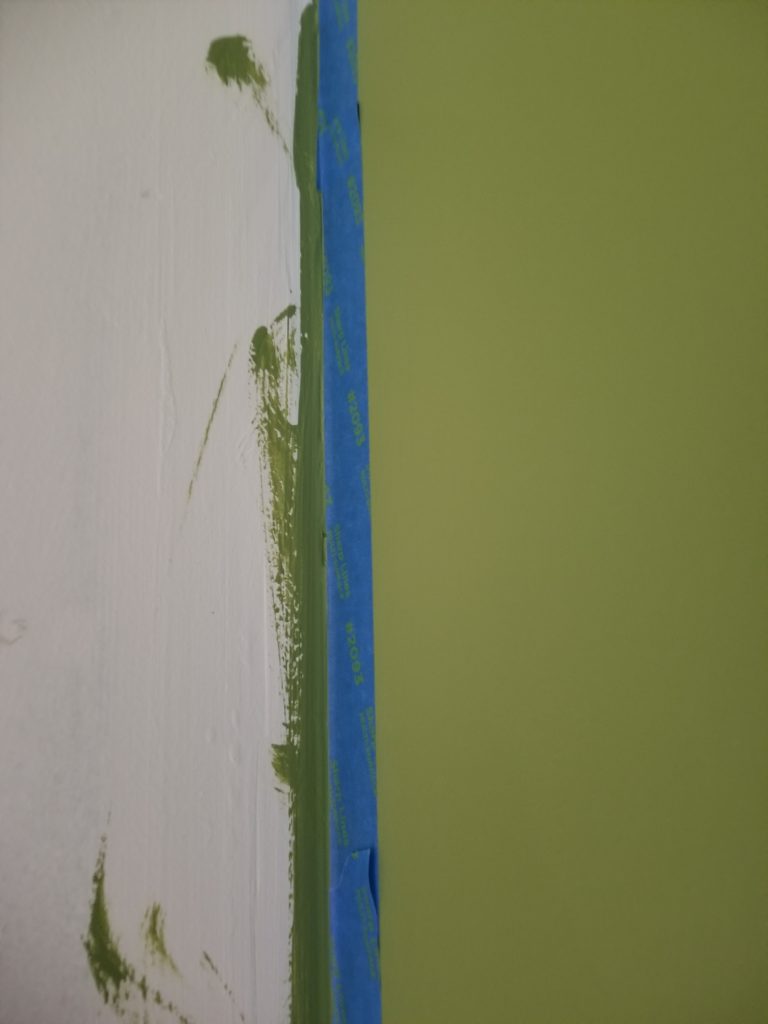
How is it that I didn’t know this technique already? In my defense, I have done very little painting like this, where there are different colors meeting in a corner. So on my second or third such case, it dawned on me the better way to do it. Not so bad.
As long as I had the green paint out, there was a repair to do in the office, as well – a casualty of having to re-do the power system to accommodate the second inverter. How do you deal with sanding dust in close quarters? Make a dust hammock!
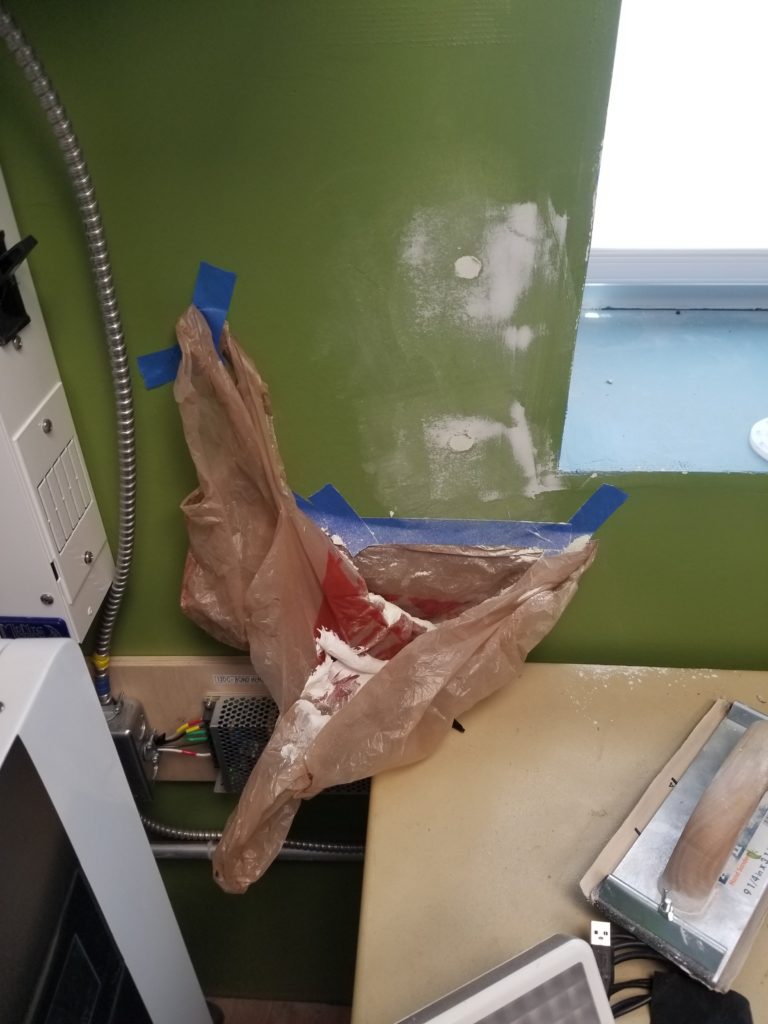
It feels good to be moving these two rooms toward completion, not to mention doing so consumes construction materials stacked in the workshop, creating more room in the shop as I go. I’ll be putting a bunch of wall-art in the mud room, too, so that’ll free up space, too (where the art was stored). The mud room is the first thing I see when I enter and the last thing I see when I leave the W.O.G., so having that look finished instead of like a construction zone will definitely add to my overall sense of peace. I don’t mind construction zones — I’m usually building something — but they (and any unfinished projects) have a sense of flux to them that runs contrary to peacefulness. Ideally, I’d have my projects behind closed doors so I see them when I’m working on them but when I’m not, all I see are completed spaces. This is a lovely goal but if the construction project is your living space, then obviously that isn’t always possible.
There’s a meditative practice that strives to accept what is here now, even while one works towards creating a different future. On the surface, “acceptance” seems so simple: let it be. Words of wisdom, for sure. Thinking about it more deeply, I believe “Let it be” isn’t so much a directive to disregard something, but rather an encouragement to regard it fully for what it is and allow it to be that. There’s a dichotomy here that’s some tricky business. Let it be at the same time we work to change it? What does that look like? How is that even possible?
I suppose the answer lies in a refined understanding of “acceptance”. This kind of acceptance doesn’t mean we are ok with or want the situation to stay the way it is. We let it be in the sense that we spend no energy dwelling on any dissatisfaction we may feel about the current condition. We may well spend energy on manifesting change in the situation. The important bit here being that this is present action in support of a forward-looking goal. This is expressly not attention spent on being displeased with the status quo. It is attention spent on creating a new condition that we hope to enjoy more. There is far more peace to be had this way. The focus is on the process of change and the creation of more joy while we “let be” what is, in that we don’t fuss over it. That’s how acceptance coexists with manifesting change.
Piece of cake, right?
No, of course not.
Still worth striving toward, though. Having clear concepts for all the moving parts and how they relate is a good start. As a renown managerial expert once said: “you can’t manage what you can’t measure”. To this I would add, “and you can’t measure what you can’t name”. Which is to say, you have to be able to recognize the entirety of the thing before you can observe (measure) it as you make changes to (manage) it.