The froglets are developing their legs! Not all of them have any I can see, some clearly have hind legs in development, and a few, such as this one right here, may well have front legs getting started as well! It’s exciting to watch their magical transformation.
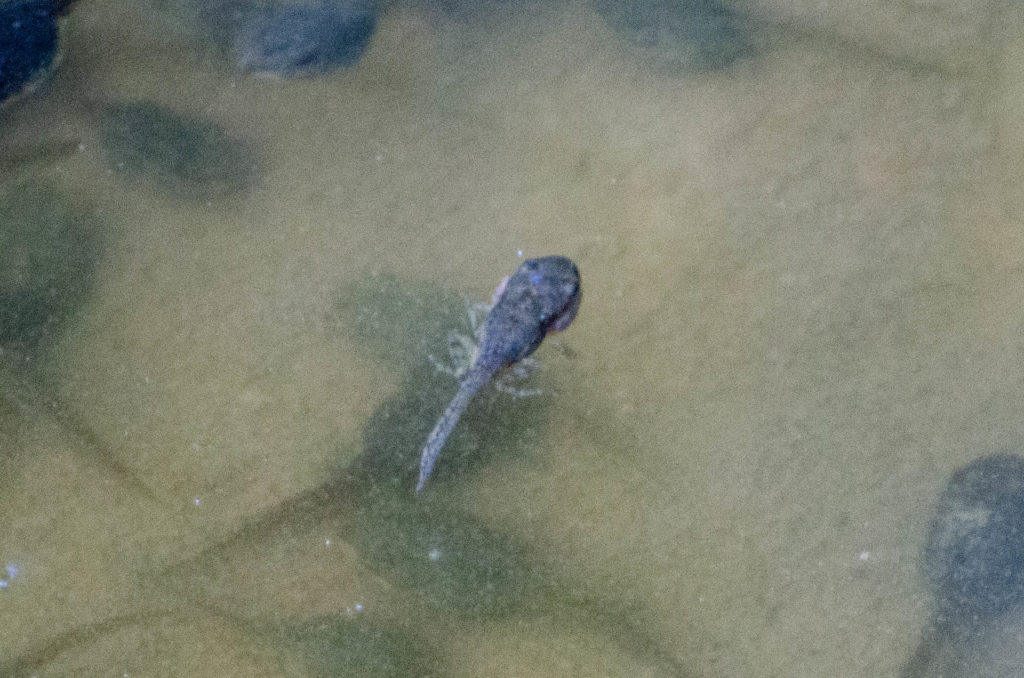
They are being challenged by the hot summer days, though. The frog habitat (drainage channel) has dried out considerably.
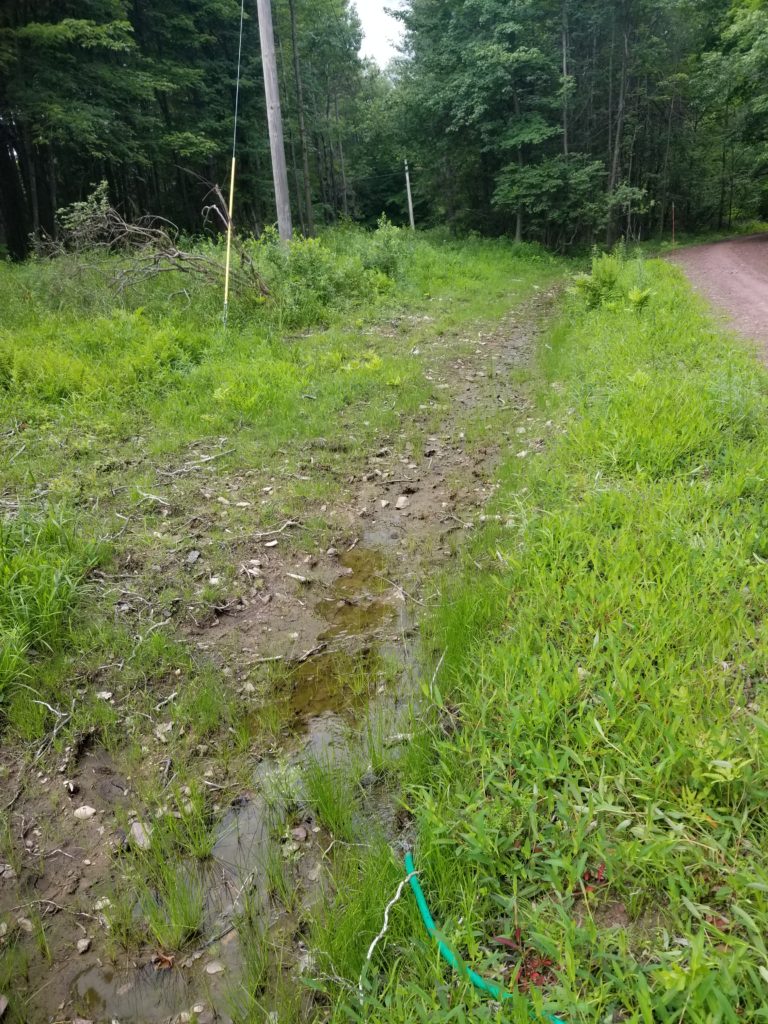
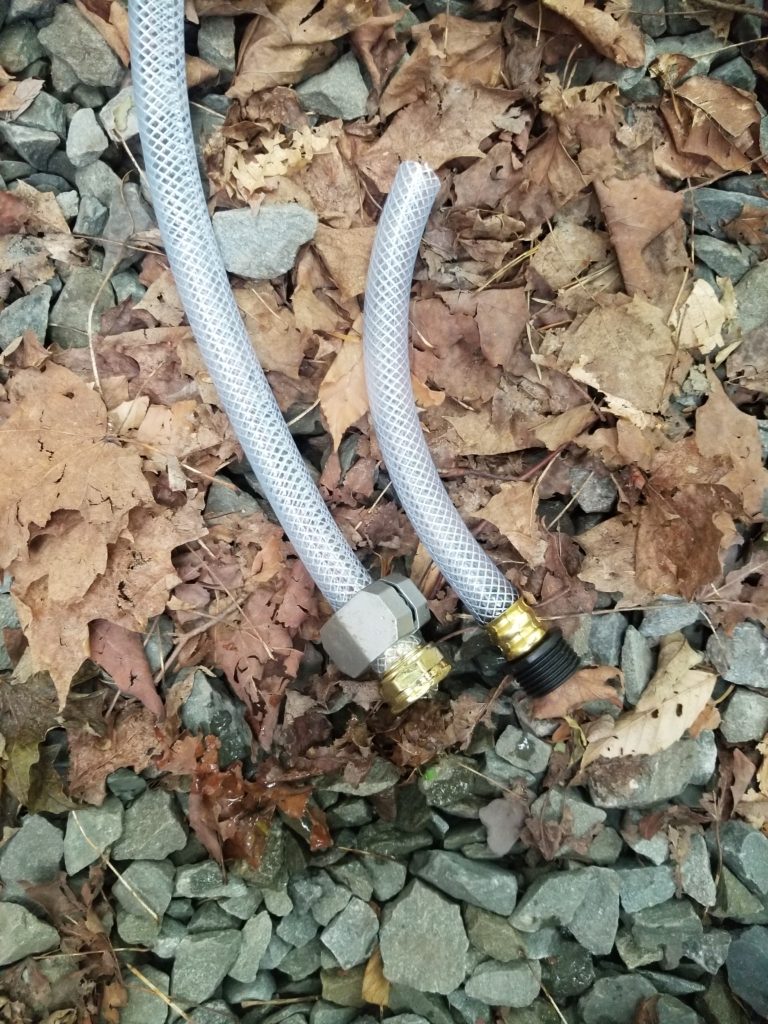
I am prepared! Remember that rainwater catchment system and holding tank? Right. This is one of the two things that whole system was built to address. Of course the little intake hose that came with the pump had an incompatible fitting on the end. No problem, I happened to have the right one in stock because I have one or two of almost everything 🙂
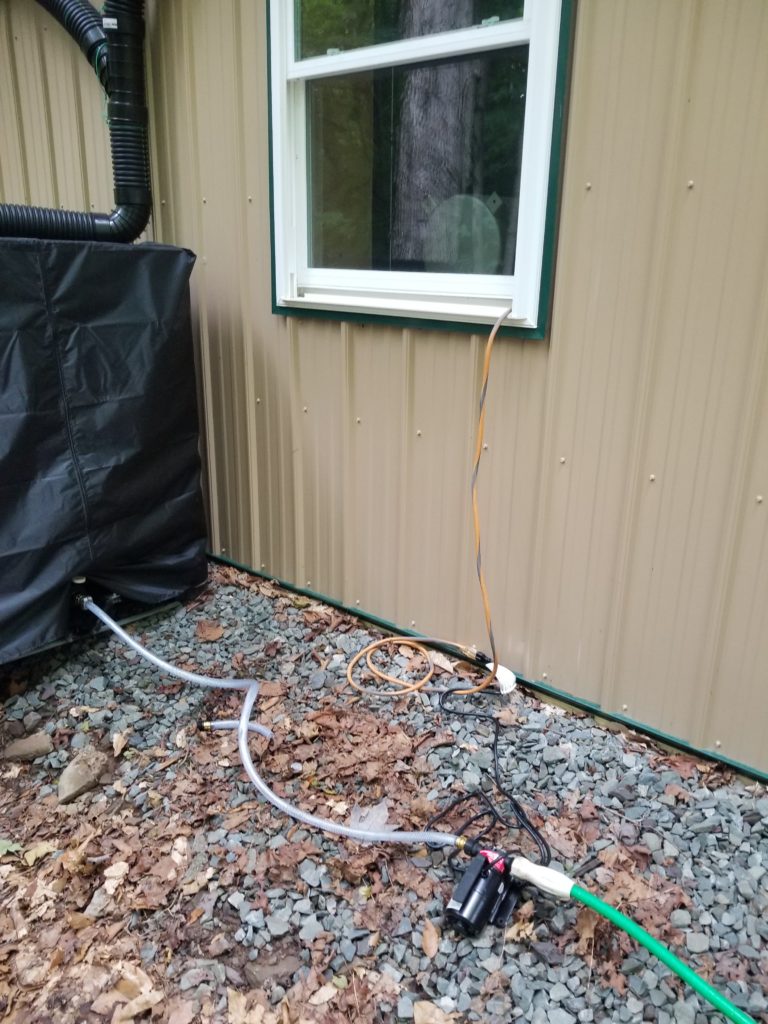
After pumping the whole tank dry, the channel was re-hydrated to a reasonable level.
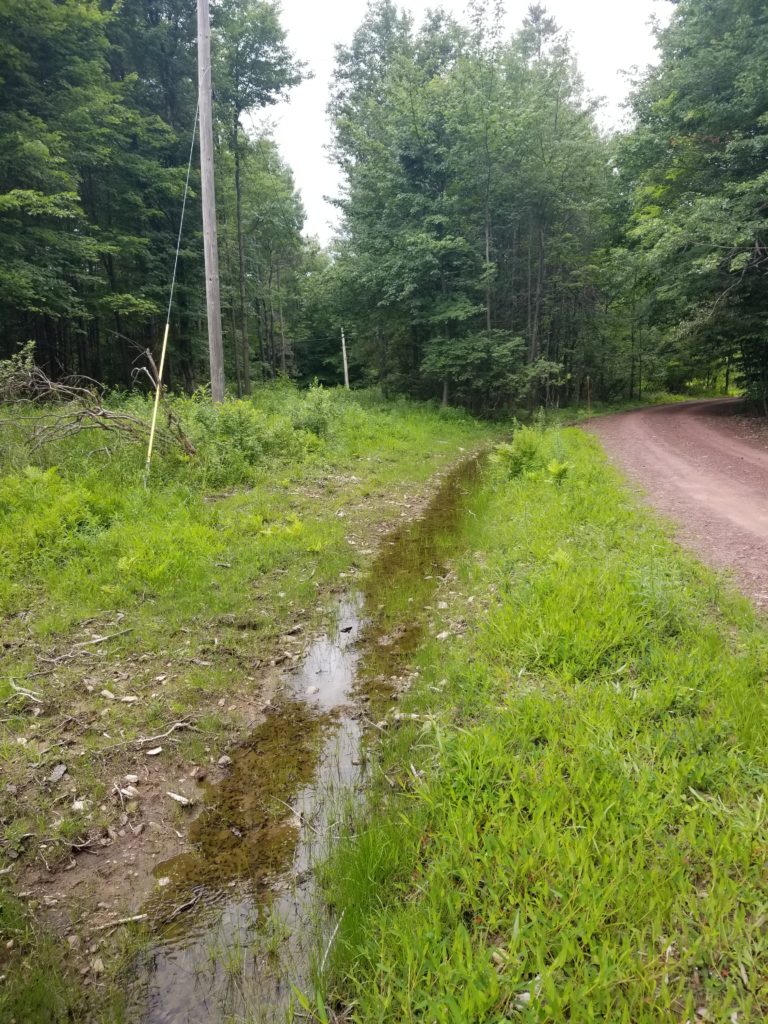
Though it looked like this would be adequate for kind of a while, it was only a couple of days until it was dry again, because it’s been hot here. . . . and ~250 gallons of water is a lot of water, but it isn’t even 1/3 the capacity of this channel. It seems if I want to be able to re-hydrate the channel with stored rainwater, I’m going to need at least one more tank, if not two! Hm. Still, even with just the one tank of water, I bought the frogs and froglets some more time. It’s supposed to be dry and hot for the next two weeks, with only a chance of only a little rainfall. The chances of this habitat drying out entirely are very high. I will keep it supplemented with well water as best I can, though getting well water to the channel is inconvenient given the distance. I have to fill a tote with water and cart it over… and of course I don’t want to strain the well because I need that water, too! I will do my best to keep my froglets swimming, but they may need to get very cozy for a while.
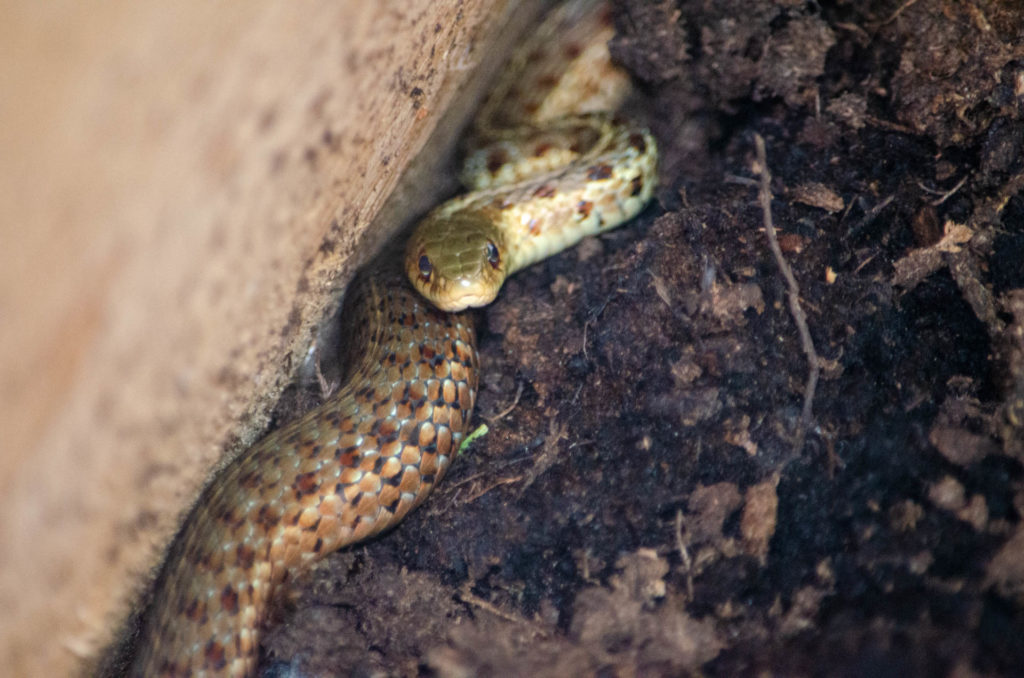
Meanwhile, may I introduce you to the Compost Snek? Just your ordinary garter snake, checking out my compost. I don’t think snek thought much of it, since I’ve not seen them there since.
Speaking of well water, I never mentioned this before, but my water supply has a fair bit of silt in it. What do I mean by “a fair bit”? I mean…
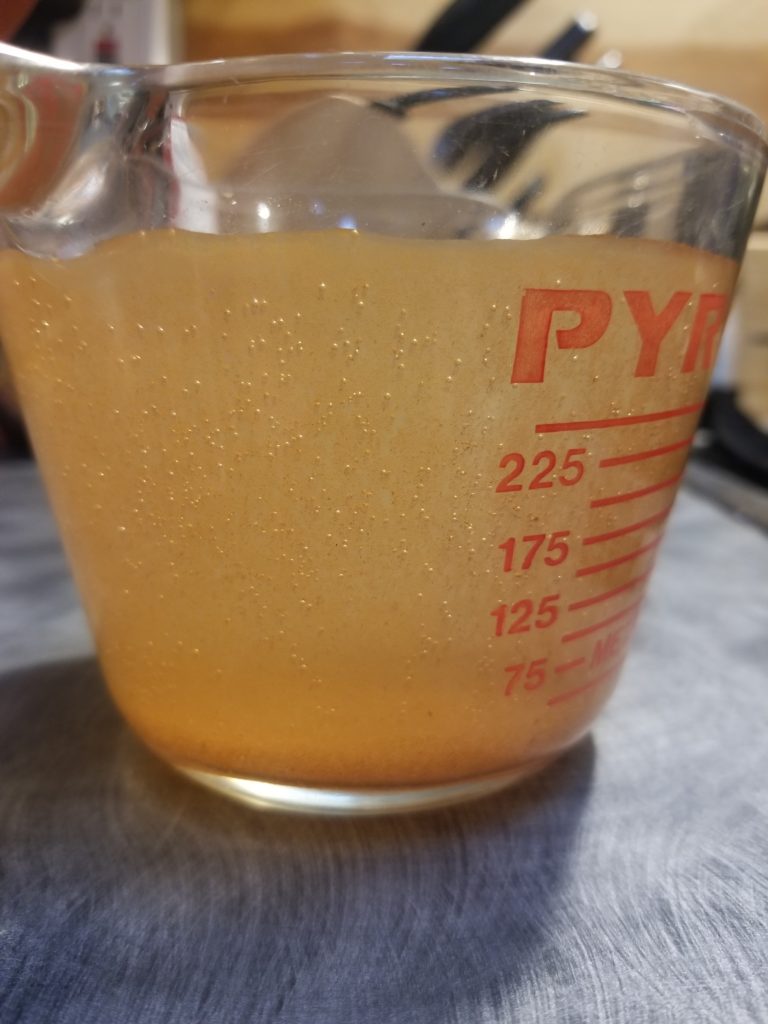
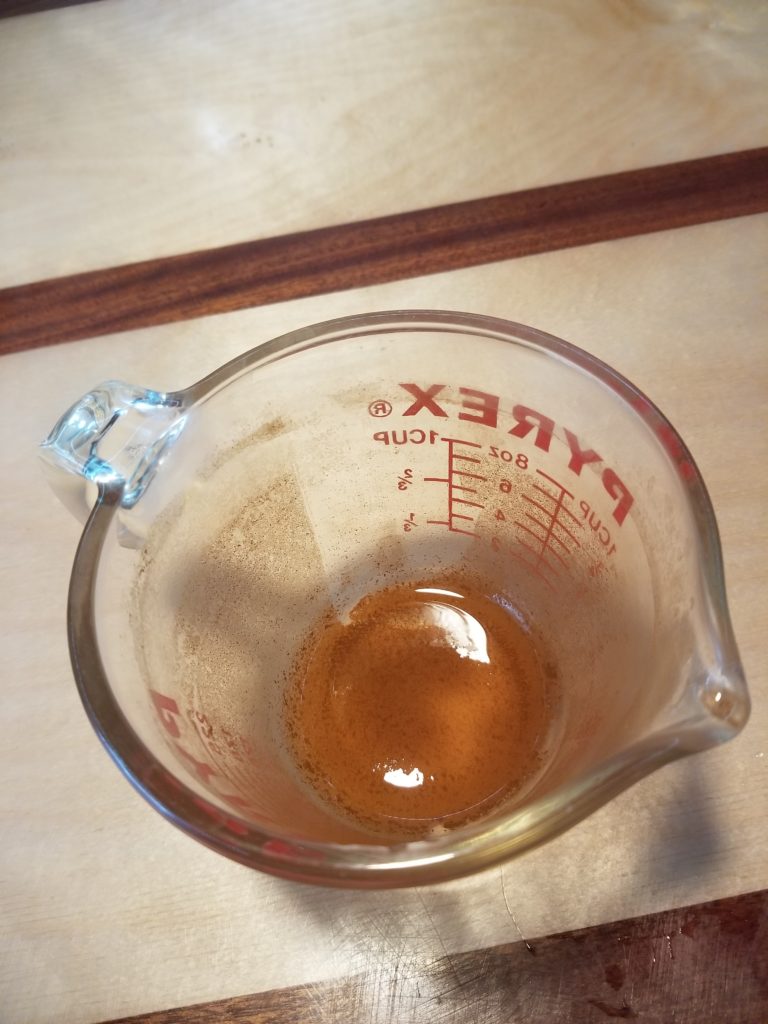
When left for a few days, it settles nicely and fairly clean water comes out of my holding tank, but every time it gets disturbed, such as when filling the tank, I get silt in my otherwise fresh water supply. It doesn’t seem to be toxic but at the same time, I’d rather not drink it, ya know? And it clings to the side of the bathtub, too, making it harder to clean. Time for a filter. Of course, like so many after-thoughts, I had to find a way to install the filter in limited space that was never meant to accommodate it.
The filter bracket definitely wanted to be installed as shown in the first image, so all the screws were readily accessible. However, given the space constraints, there was no way to actually open the filter body to replace the cartridge in this configuration, not to mention the plumbing wasn’t going to route well, either. Okay, invert the bracket (second picture). No problem. Well, not that simple… but before we get to that, I need to trim the hose and route it to the filter while it’s still loose in the bracket, so I can fuss with it more easily.
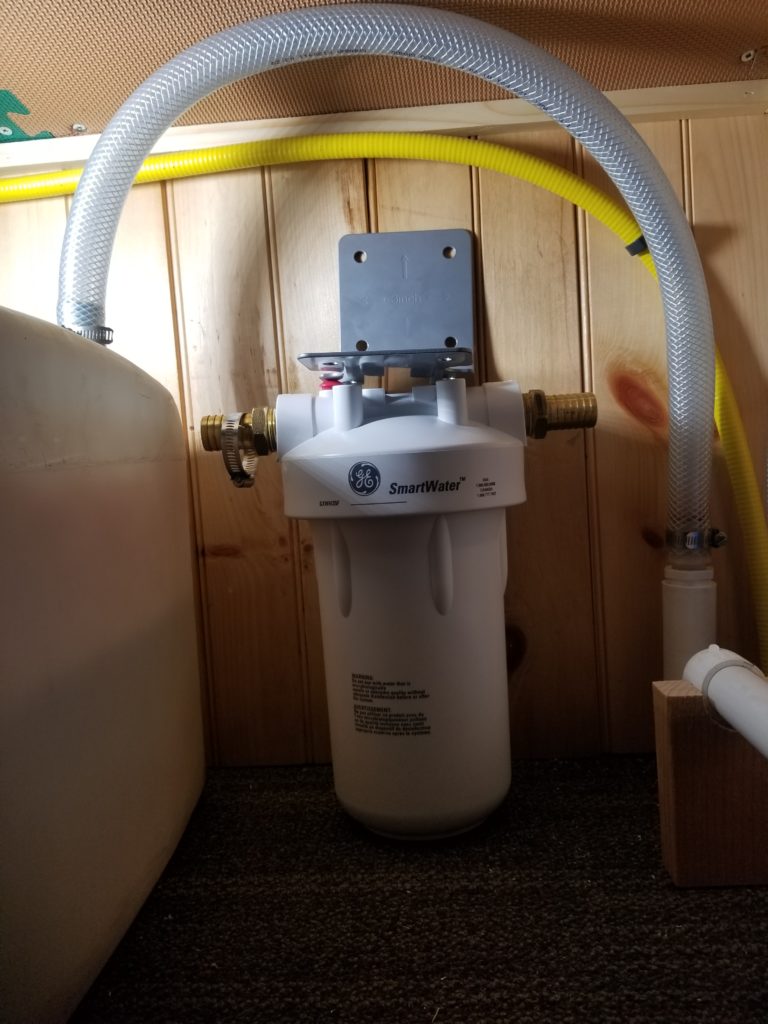
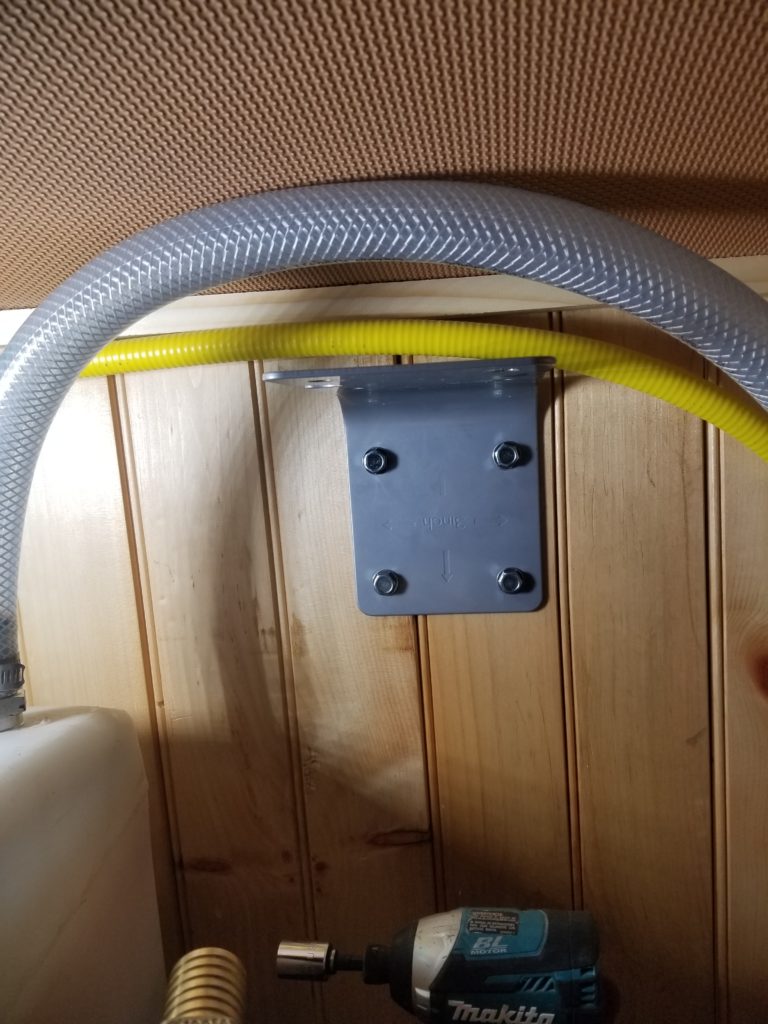
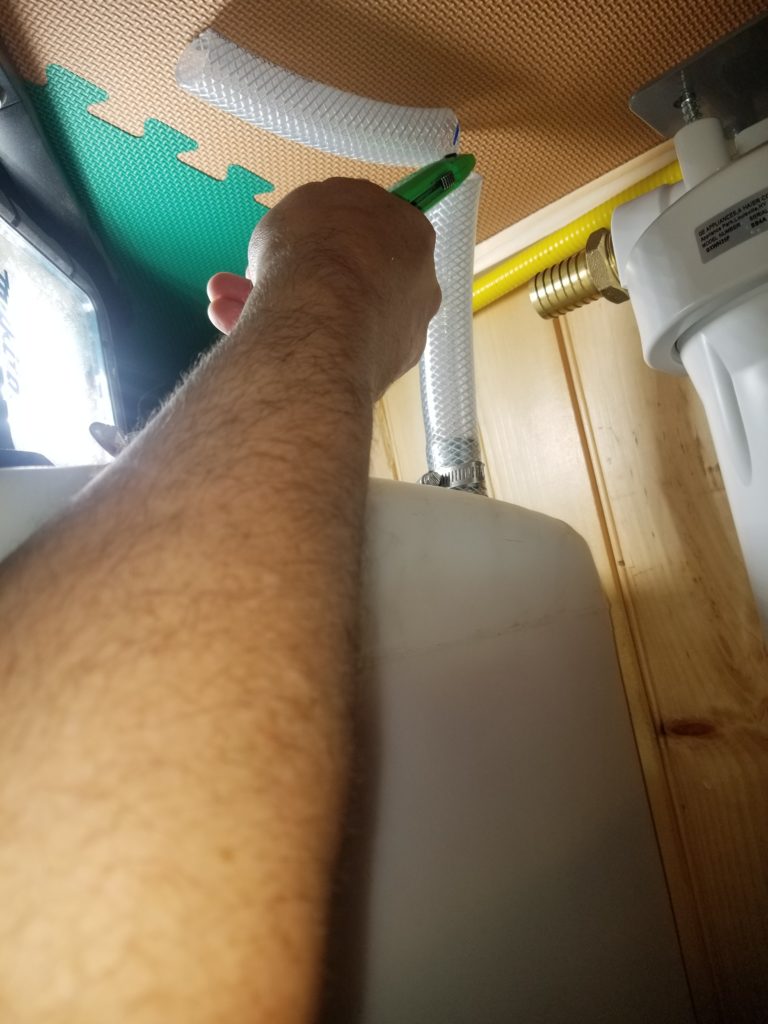
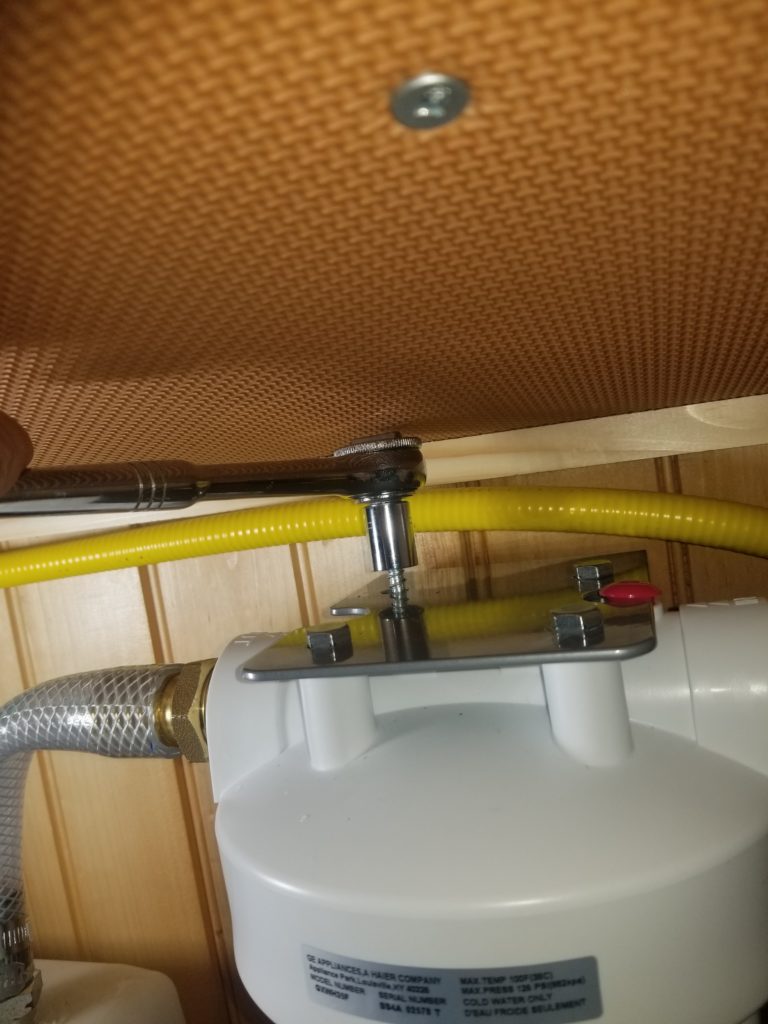
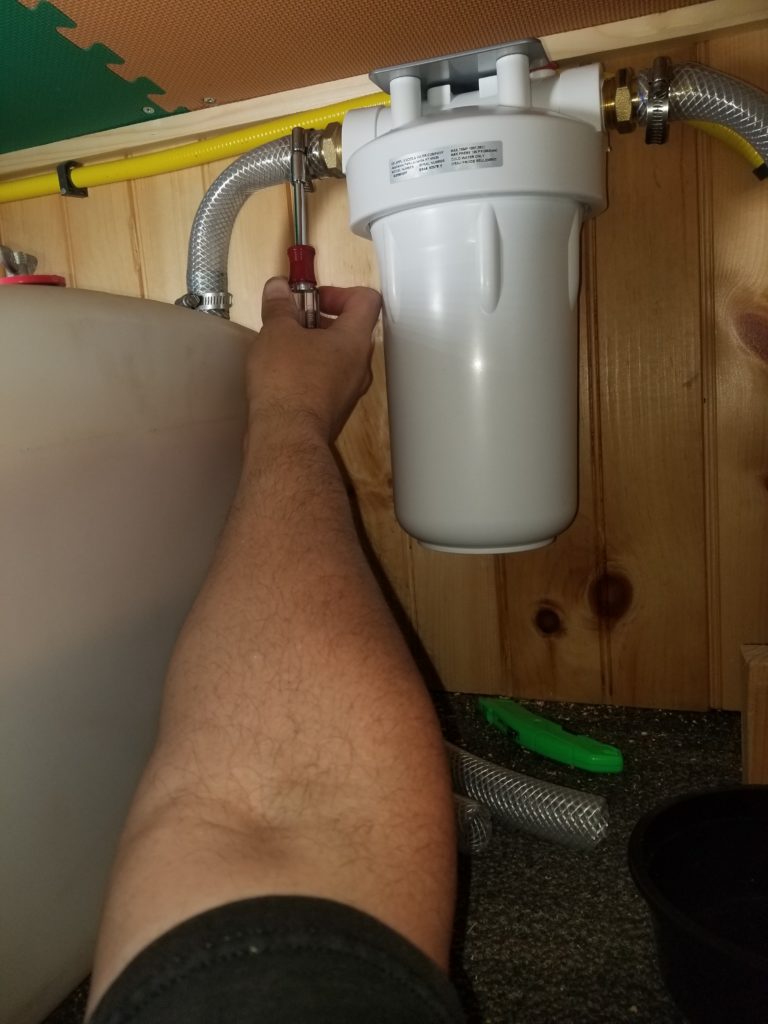
This is the low part of the loft, not even 2 ft of headroom and of course there’s the 50 gallon fresh water tank immediately to my left and the wall immediately to my right. This is not exactly ideal ergonomic working conditions! It would have been far easier to install this filter before there was a floor here and just use a ladder from the main level. But that would have meant knowing I wanted a filter five years ago, which I didn’t. And so it goes.
Filter is installed with enough clearance to actually remove the filter cartridge, silt is now arrested and my water is far clearer.
It has been my intention from the start to replace the wooden cribbing below the house with concrete blocks, but it has never been more important than something else, so those something elses have been getting my attention. That changed recently when, after much ado, I was finally able to secure home owner’s insurance for my house (most carriers don’t know what to do with a self-built TH and simply refuse to insure it), but a condition of issuing the policy was that the wheels had to be off the house to prove it was installed as a residence. Okay, I can do that. Indeed, I can do that while I raise the house off the wood in preparation for replacing them with concrete piers.
It was a bit more bother to do this than it was last time I raised the house because the water, sewer, and electric are all connected and not all of them can tolerate a change in position of the house. Not a big deal to disconnect them, just more work.
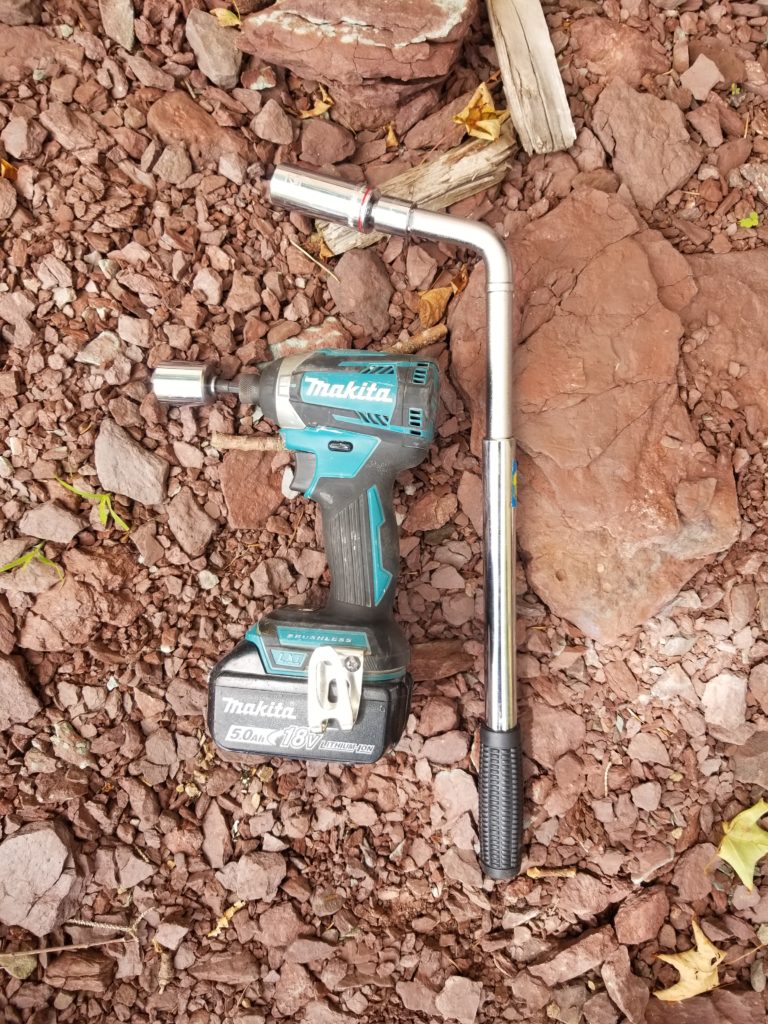
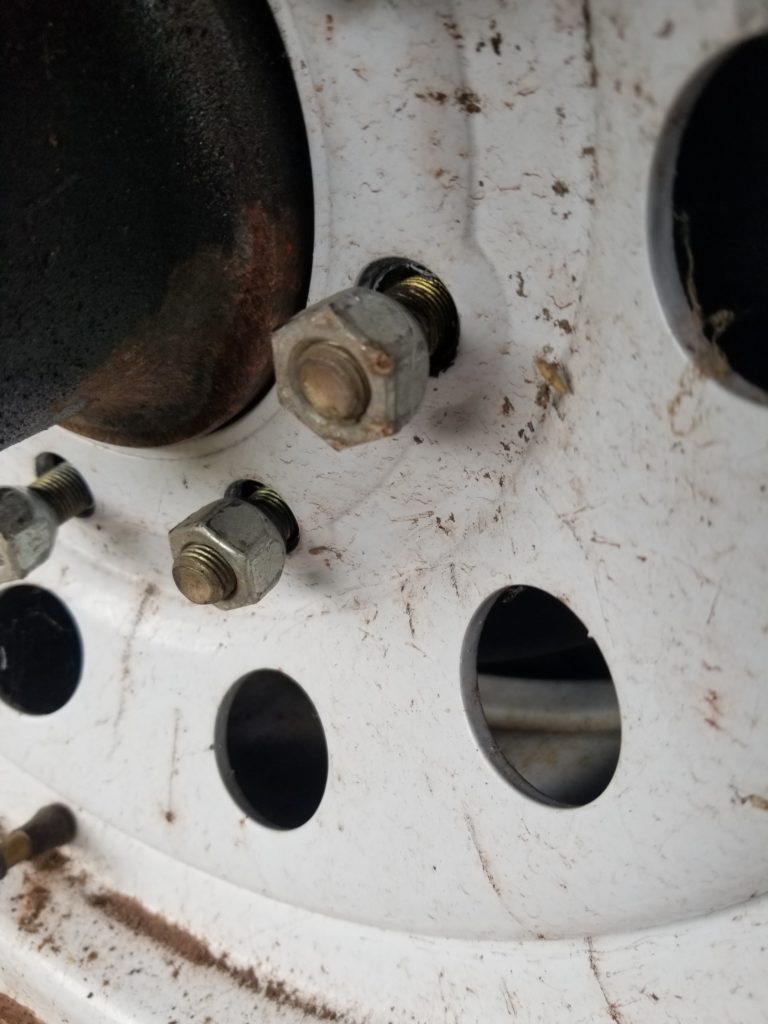
Step 1, loosen the lug nuts while the house is still very securely at ground level. I was hoping my trusty power driver could do it, but alas, no, it didn’t have the power. I resorted to a rather long-armed socket wrench for which I still needed to use two hands and my considerable body weight to actuate.
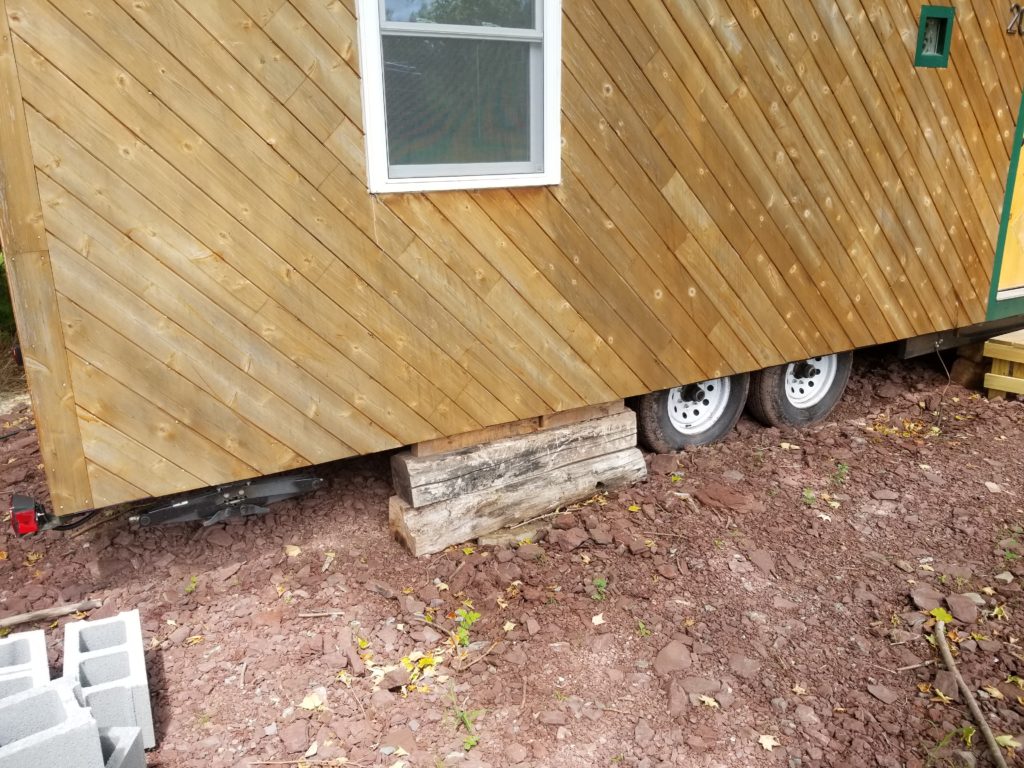
How is this done? Like this. Set the 12 Ton jack on some wood to take up the bulk of the distance, then pump the jack to raise the house, then slip another set of concrete blocks underneath, with a thin piece of wood at the top to protect the paint on the chassis (black).
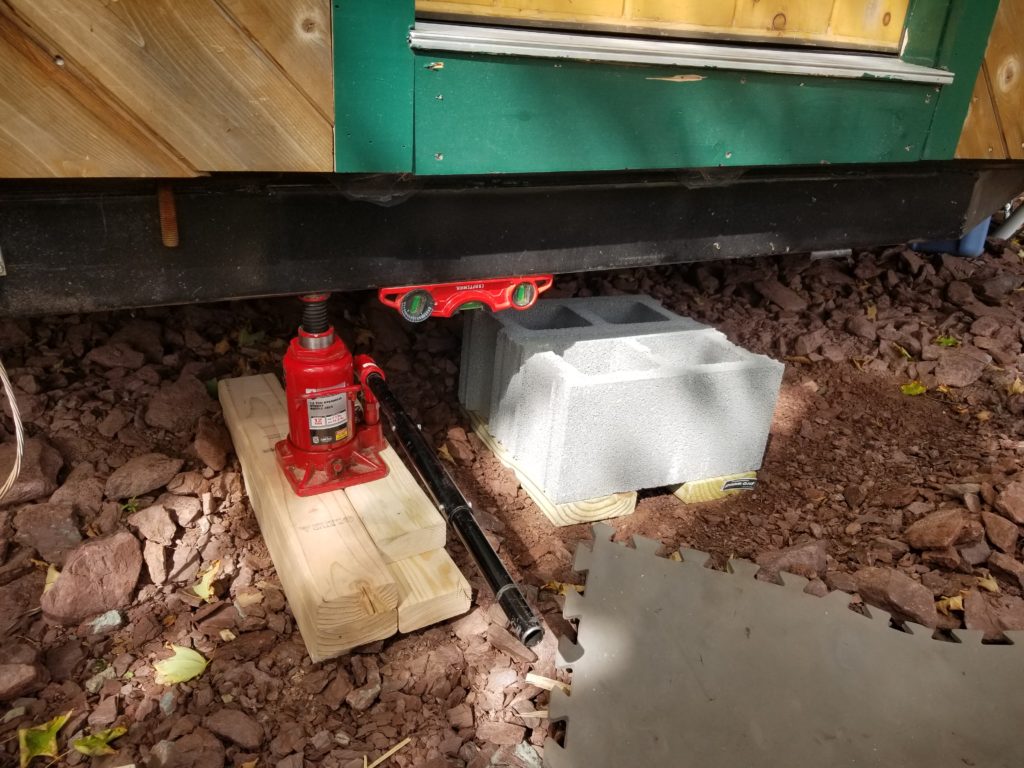
Note the pressure treated wood below the concrete blocks. They will conform a little bit to the terrain, relieving point stresses on the concrete blocks which might cause them to shear (crack). It also provides a mechanism for drainage. The foam mat is for me, to spare my knees from the shale rocks all around the house. I will raise each corner a few inches at a time, then shim it and work on the next corner, bringing the house up incrementally, without tipping it too much at once. It turned out that the level of the existing timbers was close to 2 concrete blocks worth of height and that was nearly enough to get the wheels off, so I didn’t have to fuss with this too much at all. Even so, jacking up what is easily more than 10,000# of house is not to be taken … ahem … lightly. Safety glasses, keep body parts clear of pinch points, and keep ears keen for any sounds of failure or shifting.
Before I jacked the house the first time, I installed some features which would help secure the head of the jack itself to limit the chances of it slipping at a critical moment. They basically captured the end of the jack piston so it couldn’t move laterally. See where I’m pointing in the photo below? That’s one of those.
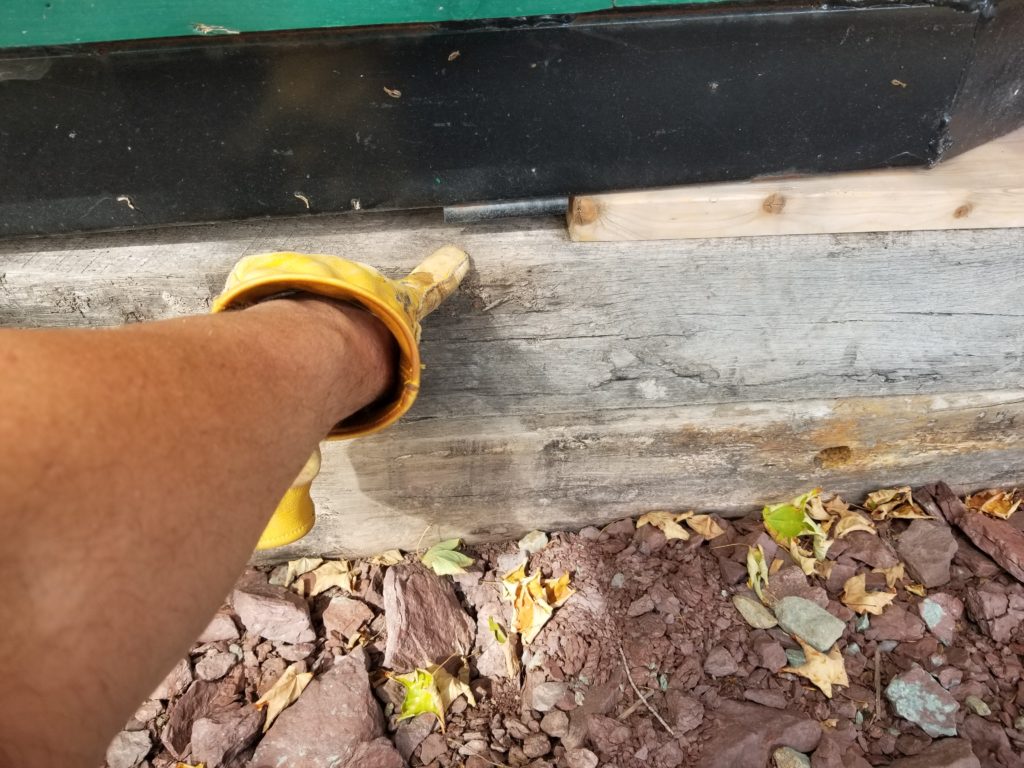
See how the timbers are exactly where I’d need to put the jack itself in order to use the jack point? Yeah. That. Oops. Today was the day I find out whether the jack will slip off the chassis if it *doesn’t* have the benefit of being captured by one of my jack points.
I made extra certain the jack was perfectly vertical so there was no tendency to slip. I’m happy to report that this went without incident. You can also bet that as soon as I had the house clear of the timbers, I removed the timbers, installed the concrete blocks so there was clearance for the jack point, and lowered the house down again. Subsequent jacking was able to use the now-accessible jack point. I’m brave when I have to be, but I’m not usually reckless…
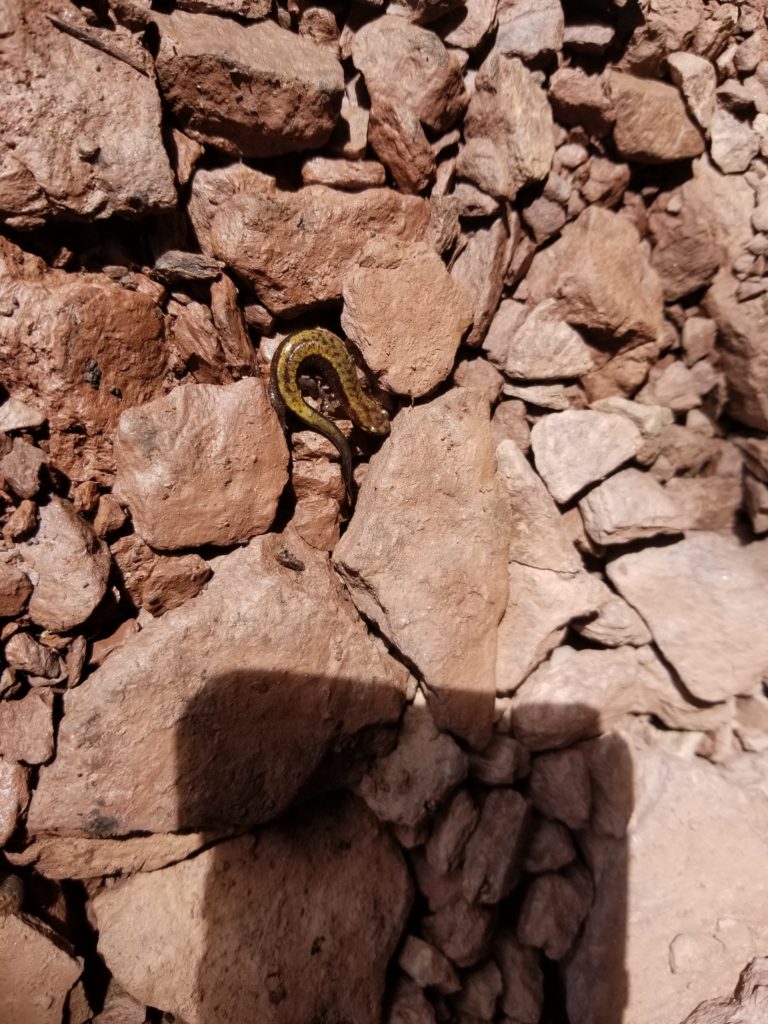
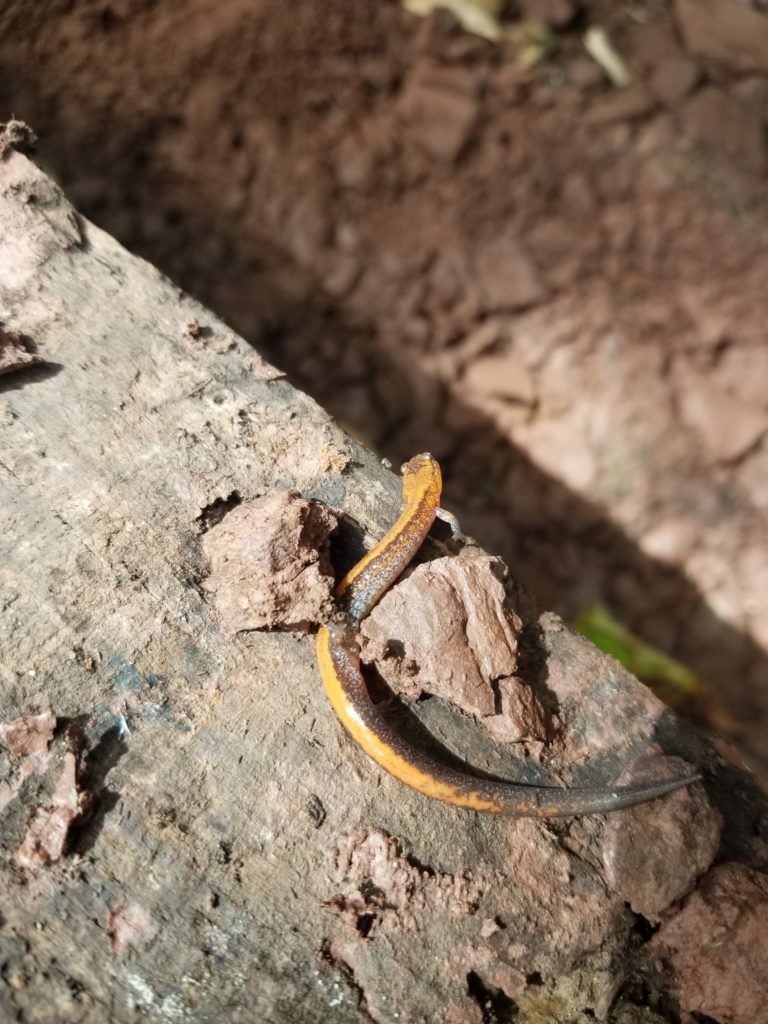
While moving the timbers, I met a couple of new salamander friends.
And then it was done.
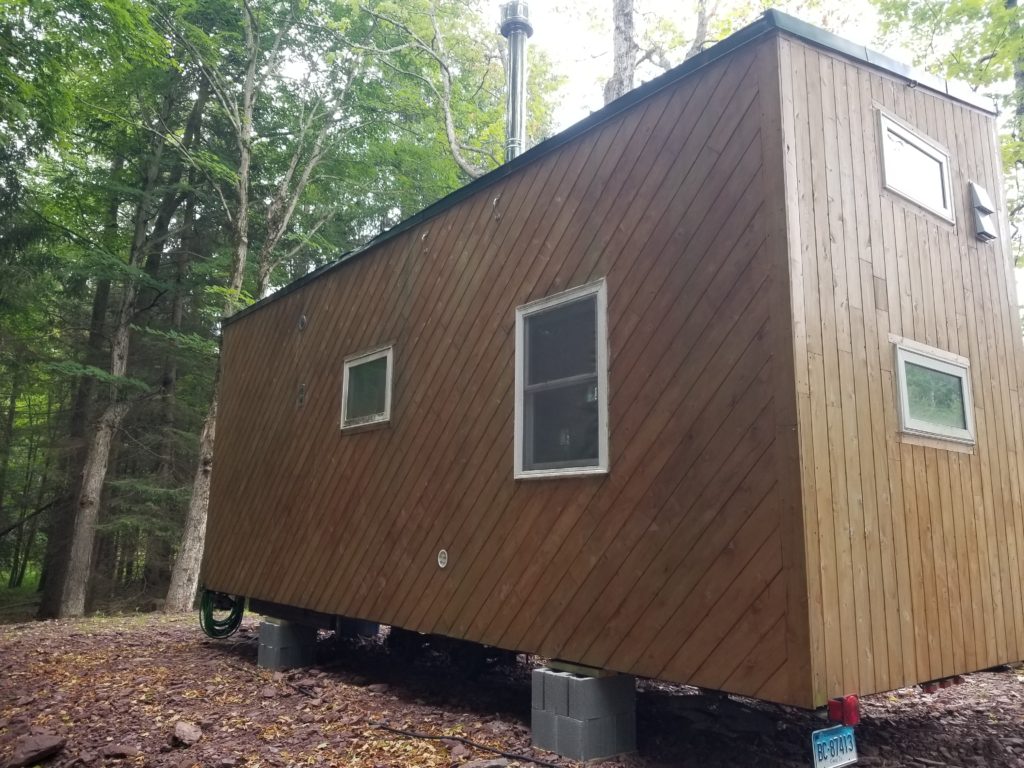
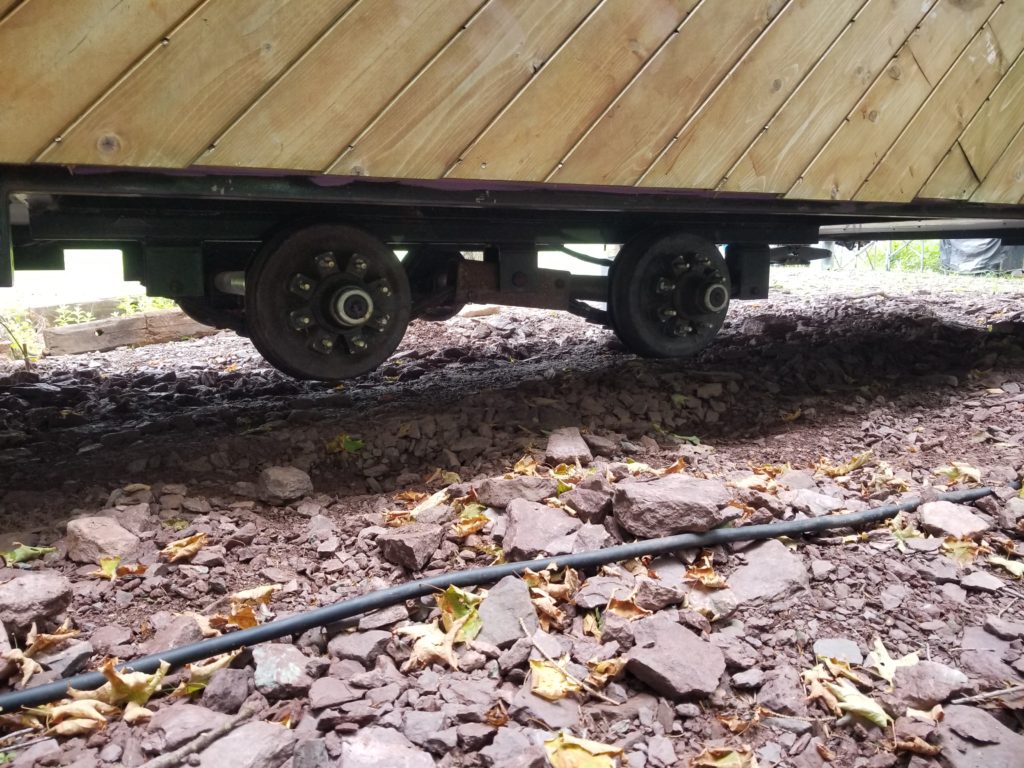
As it turned out, the new height of the house wasn’t so different than the prior height that I had much utility work to do. The sewer line needed a few inches of extension but there was plenty of slack in the electric, fresh water, and the wire to the well pump that they didn’t need any work.
My front steps, on the other hand, now have an exceptionally big rise from the house to the upper step. I’ve been meaning to re-do these to have a proper landing and some cover. Now this has become a little more urgent 🙂 Good thing I have a mostly operational and moderately organized workshop!
Speaking of workshop, while I have temporarily been a man of involuntary leisure, I’ve also been following up on the unfinished mud room in the W.O.G. When I went to install plywood to dress the area by the entry door, I noticed a critical error had been made.
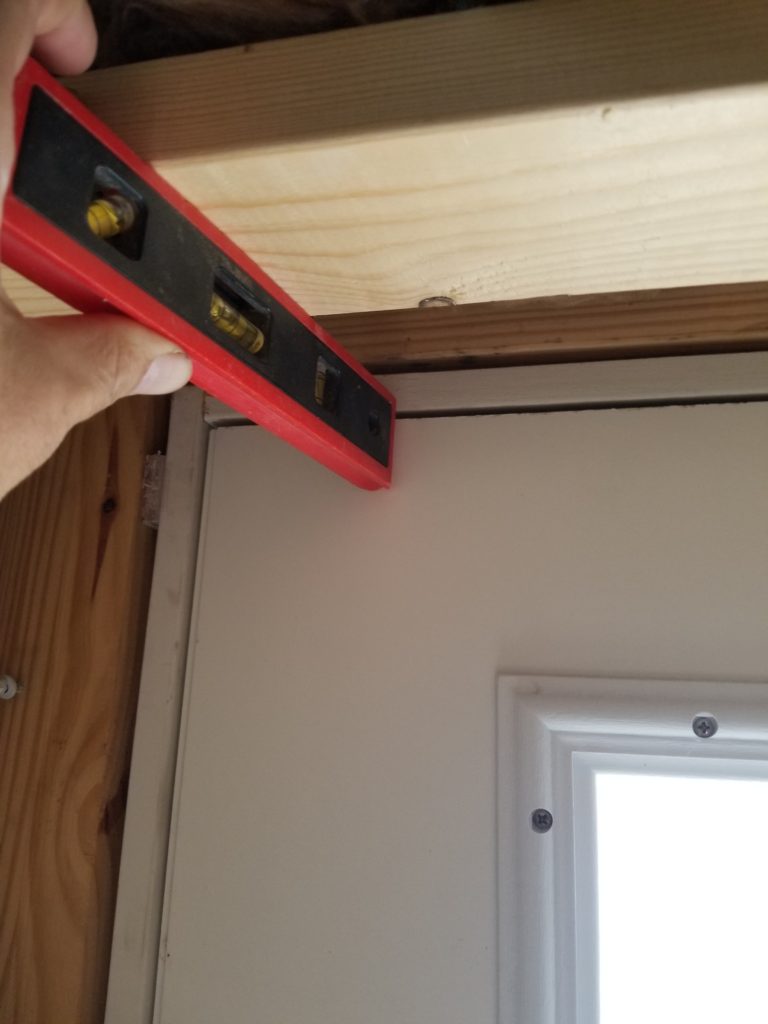
Observe the top edge of the level. This shows that the bottom surface of the header stud is actually very close to the top of the door. Add 1/2 of plywood and 1/2″ of drywall and presto, the door won’t actually clear it! Oops. I had to uninstall some already placed drywall to the right of the door and do some editing on the framing to fix this. I’m glad I noticed before the tape-and-mud stage of the process. All I had to do was remove a handful of screws to get the existing wall boards off and out of the way while I worked on the framing.
I’d show you a photo of the mud room progress but the space is so small it’s too close to the camera to get a decent picture showing more than a fraction of any given wall at a time. You’re not that interested to see half a wall of drywall, right? I thought not.
Two bits of randomness.
Random 1 – I recently purchased a tool which sharpens saw chains so when I accidentally chainsaw some dirt or rocks or have just gone through too many logs, instead of spending another $20 or so to get a new chain, I can sharpen it myself. A chain can be sharpened several times before it’s worn out, so the $90 (or so) price of the sharpening tool is quickly realized in savings of both the cash and time varieties.
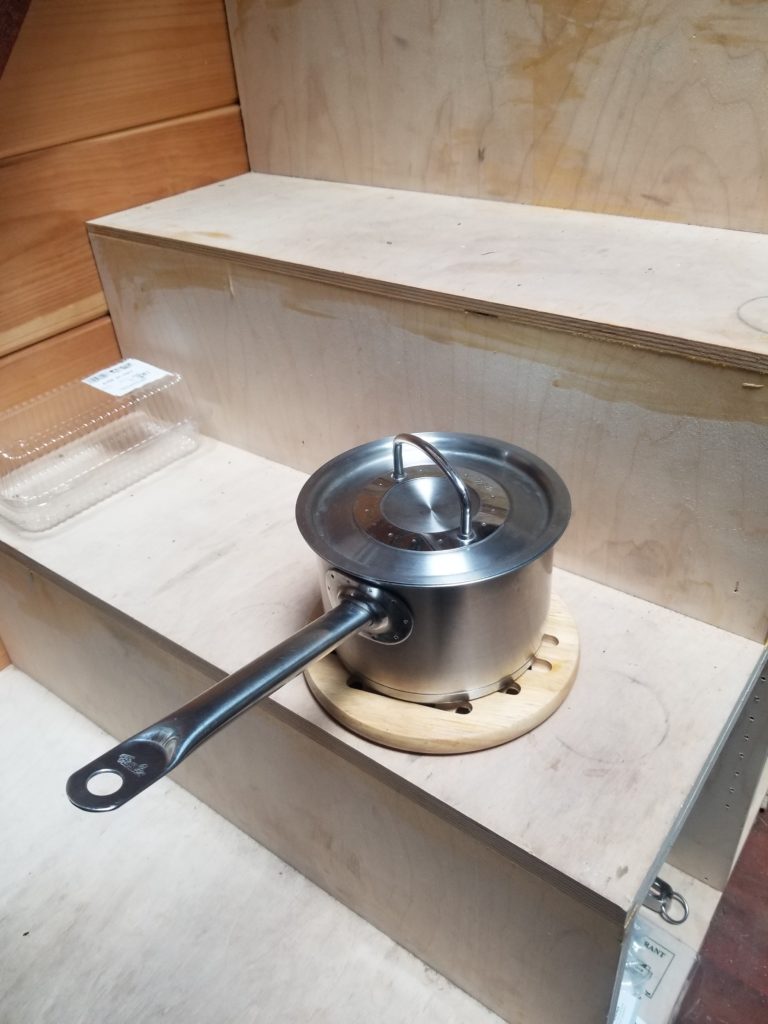
Random 2 – One downside of having like 3 square feet of counterspace is sometimes there’s just not a place to put a thing that needs a place to be put while in the middle of cooking. I can use the Bednette table, but that can get crowded and anyhow I like to leave that space open for prep work. I realized recently that I had more options than I had previously thought! All I had to do was turn around.
It’s not all homestead work for me, though. A new friend recently became enamored of my hand-made rattles and asked if I would make her a set. Yes 🙂
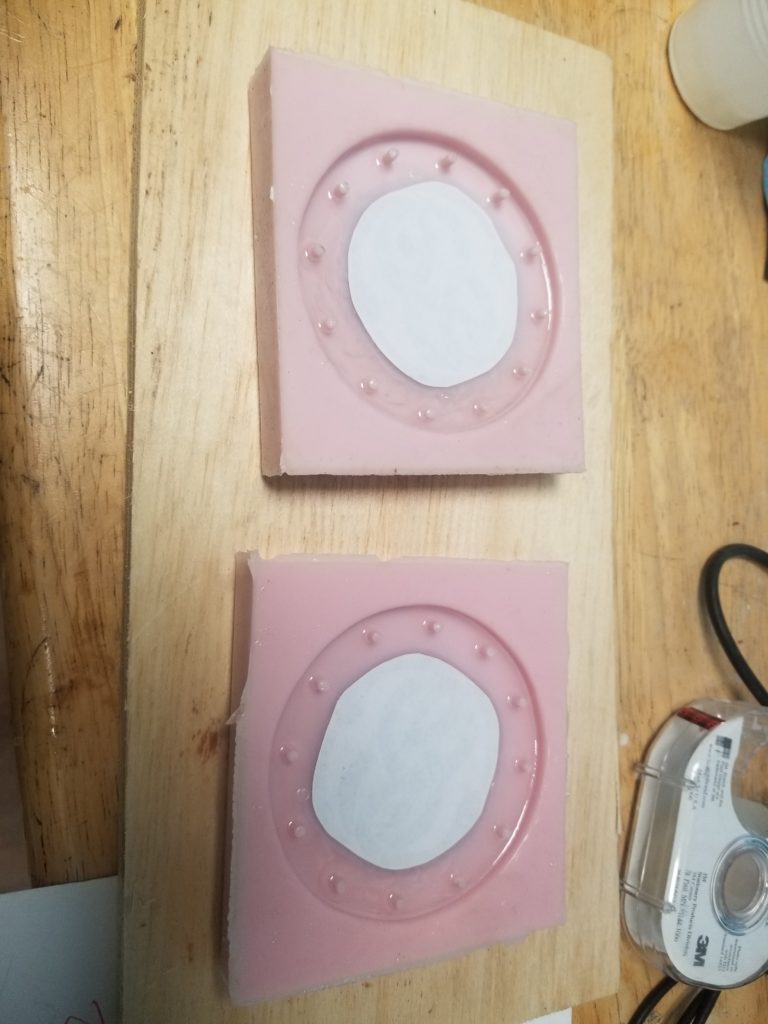
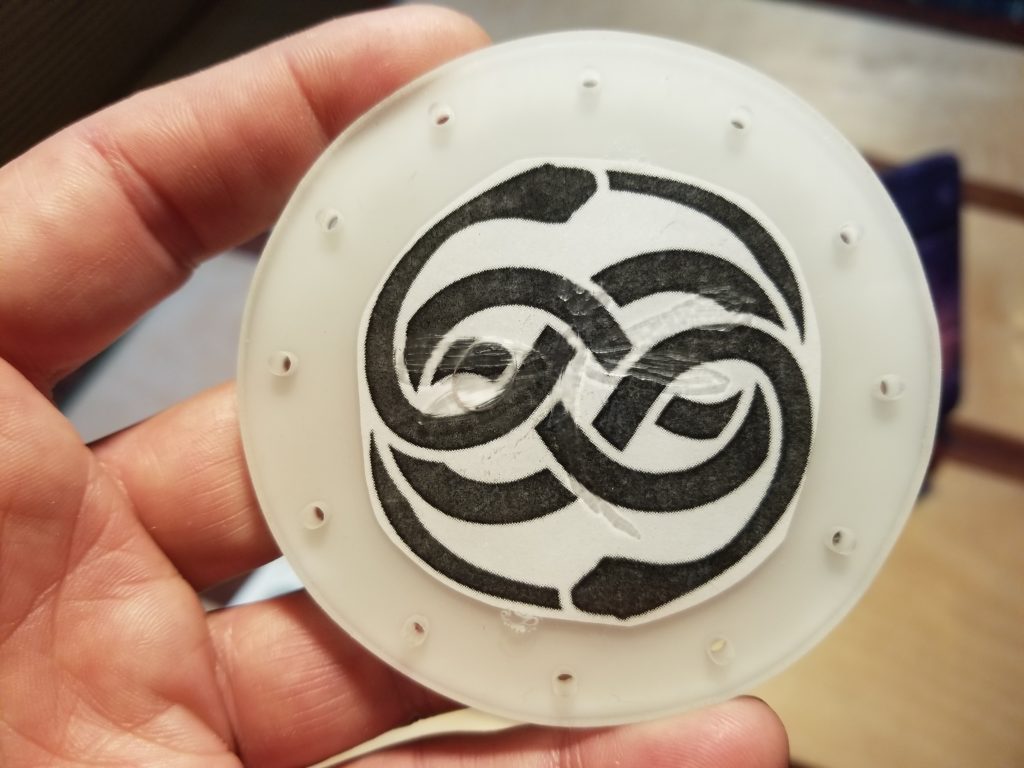
The process starts by pouring a thin layer of clear urethane plastic into my hand-made silicone molds. Once layer 1 is set, I insert the graphics (laminated to protect them from the wet process) and back fill with another thin layer of clear plastic. Once that’s set. a final layer of white-tinted plastic makes the back of the base opaque, concealing the interior of the rattle. The embossed dragonfly is my maker’s mark and is part of the mold.
Once the base is made, thread some #3 reeds to become the “stakes” (verticals). This particular weave had four separate interleaved courses, which made starting the whole thing kinda tricky. Little green clips to the rescue! Once all four courses were started and secure, I used the clips to hold their strands together, so I wouldn’t accidentally weave the wrong strand into the wrong course. It happened anyway once or twice, but only because I got lazy about using the clips!
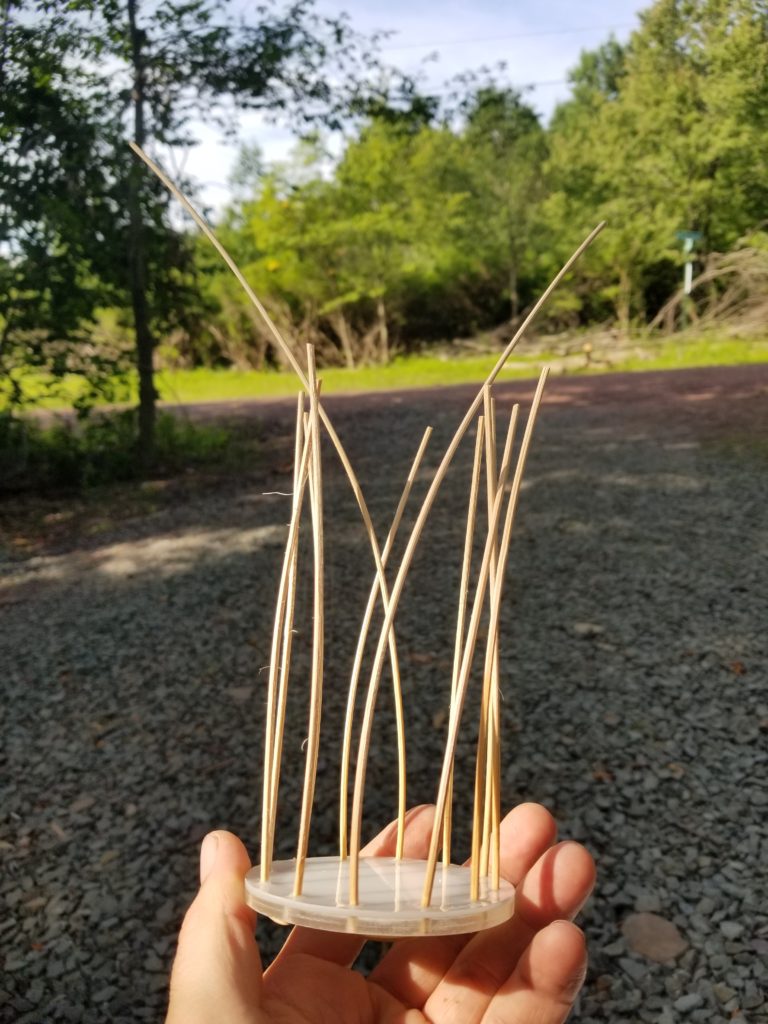
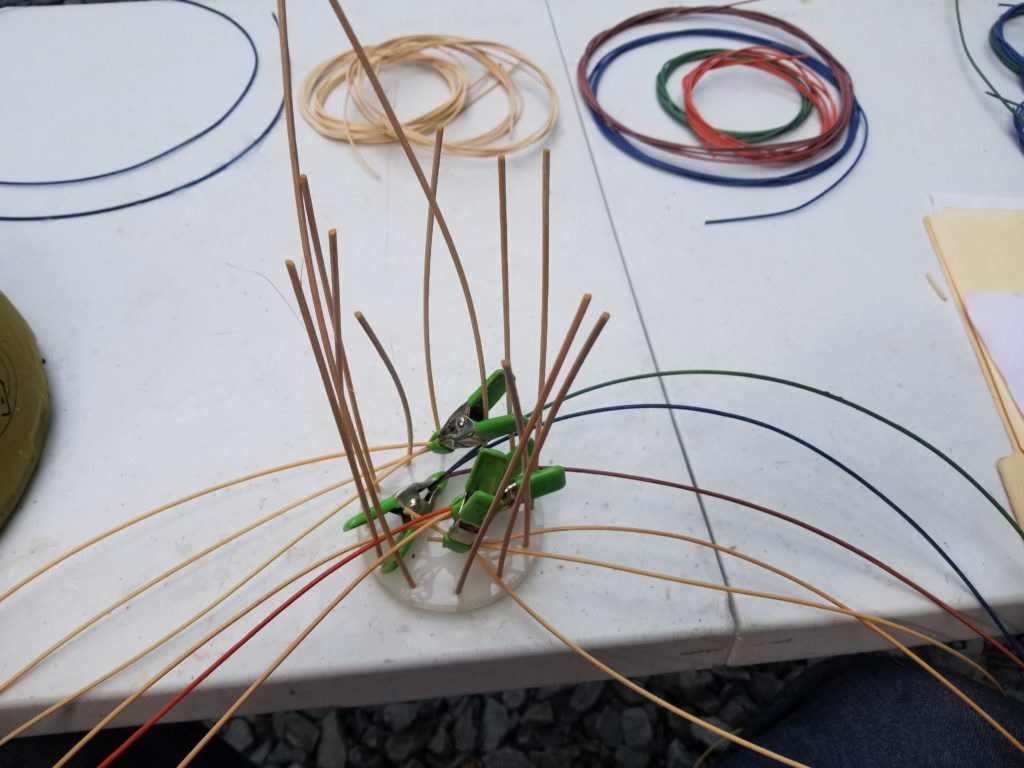
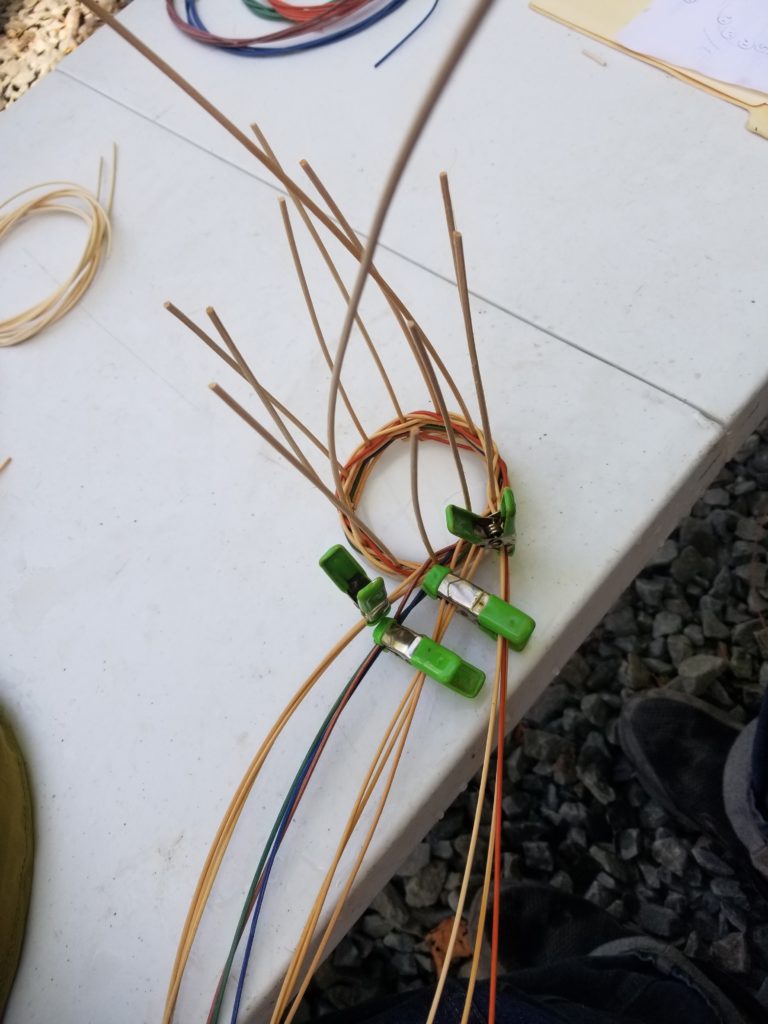
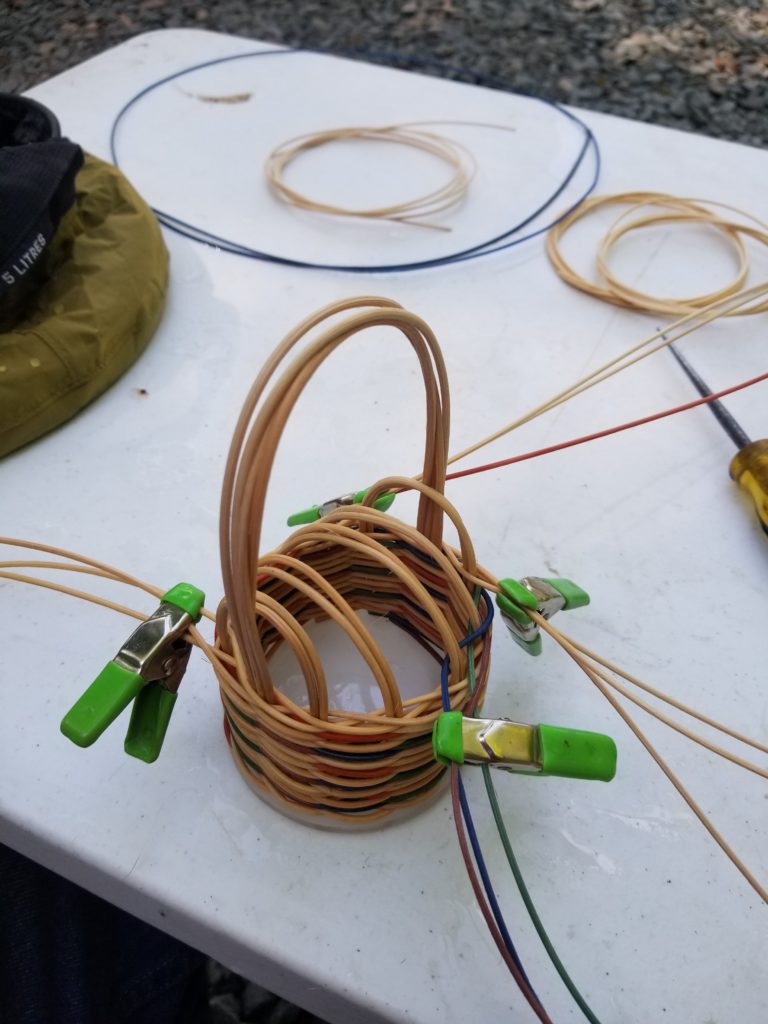
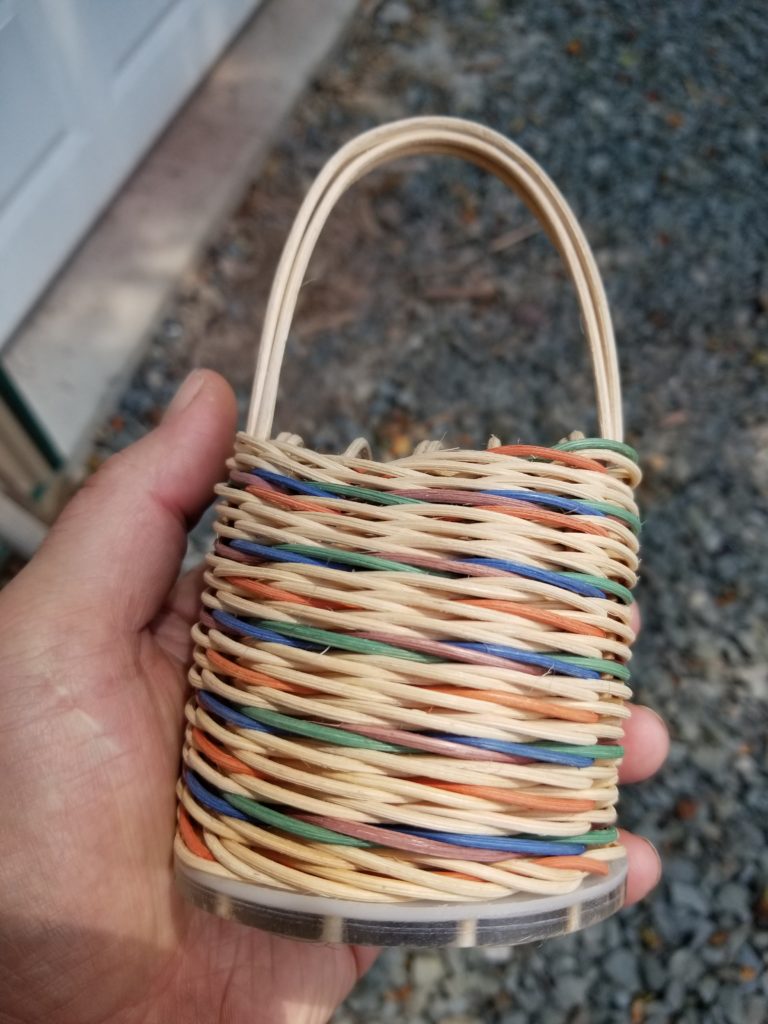
Before wrapping the handle and final closure, here’s what it looks like. You can actually see the 3 strata of the base if you look closely. The four courses were: (a) brown/green/blue, (b) natural/orange/natural, (c) and (d) all natural.
These four-course weaves are tricky. The only weave more complex than this that I know how to do is when two of the courses are in opposing directions, which instead of making this in-and-out pattern, makes horizontal chevrons.
And now you ask, does this guy do ordinary basket weaving, too? Not really. I’ve tried it and I can do it, but it’s not something I spend time on. I don’t need baskets and have no interest in going through the trouble of selling them, so there’s really no point. I will occasionally make these basket rattles by request, but that’s as far as my weaving goes.