First, a few more frog portraits, just because frogs are cute! In this case, I my amphibian friends sat nicely still for the portraiture. Usually, they leapfrog under leaf debris in the channel when I approach. This time, I happened to have my DSLR camera, not just my phone’s, so I could get even better pics, thanks to good glass and remembering to use my polarizing filter to mitigate reflections on the water.
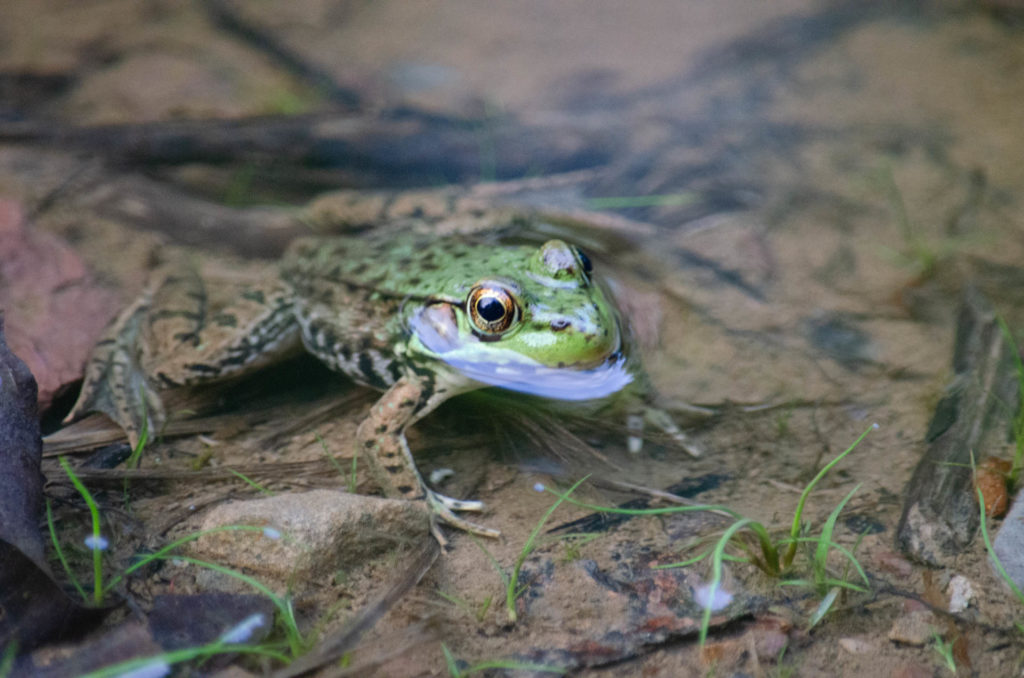
Is froggy smiling? Sure looks like it to me.
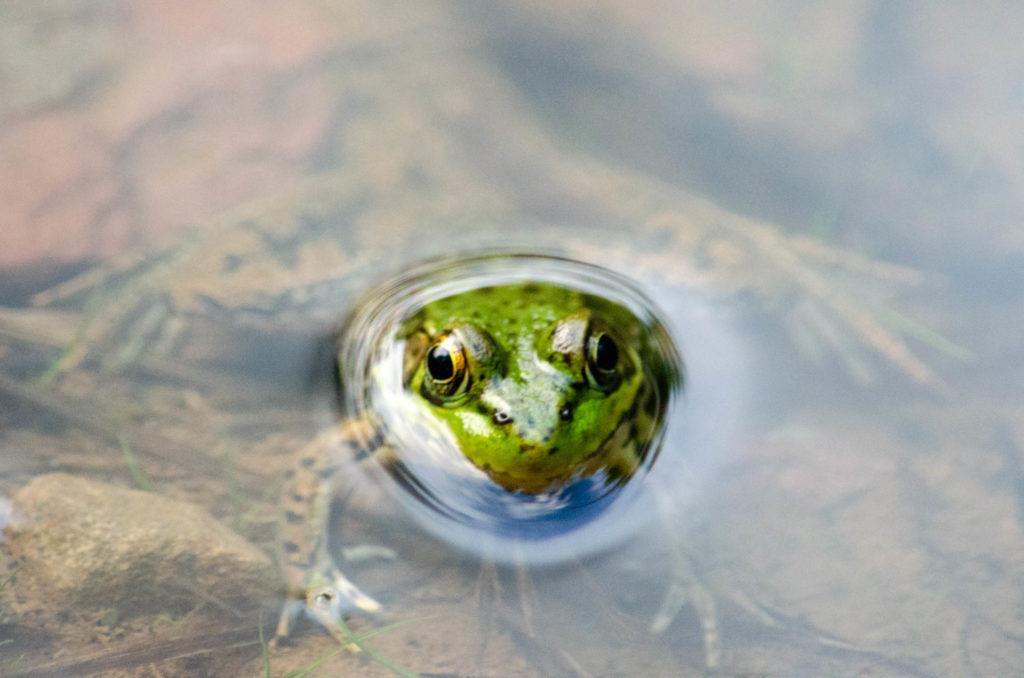
And this cutie who really was this vivid color!
Meanwhile, I have been spending a lot of effort inside the W.O.G. trying to tame what I’ve been calling my “well-lit disaster area”. While I am not yet in a position to build out my individual workstations, it has become clear that making the shop decently tidy ahead of that is important. This does mean that things will be moved multiple times into multiple places, overall an increase in the total amount of work performed, but it also means that I’ll be able to actually use the shop in each of its future stages of development, rather than having it be just barely functional until I can get to finishing everything.
This means unpacking all the rest of the boxes, finishing all the walls, and organizing all the things, even if the homes established for the things aren’t their final places.
It’s a slow process, since I have to scour the entire space for bits and pieces that belong together as I establish thematic storage locations, but it’s worth doing to have just one place for electrical supplies, another for plumbing, another for fasteners, etc. It starts to look like this as I go:
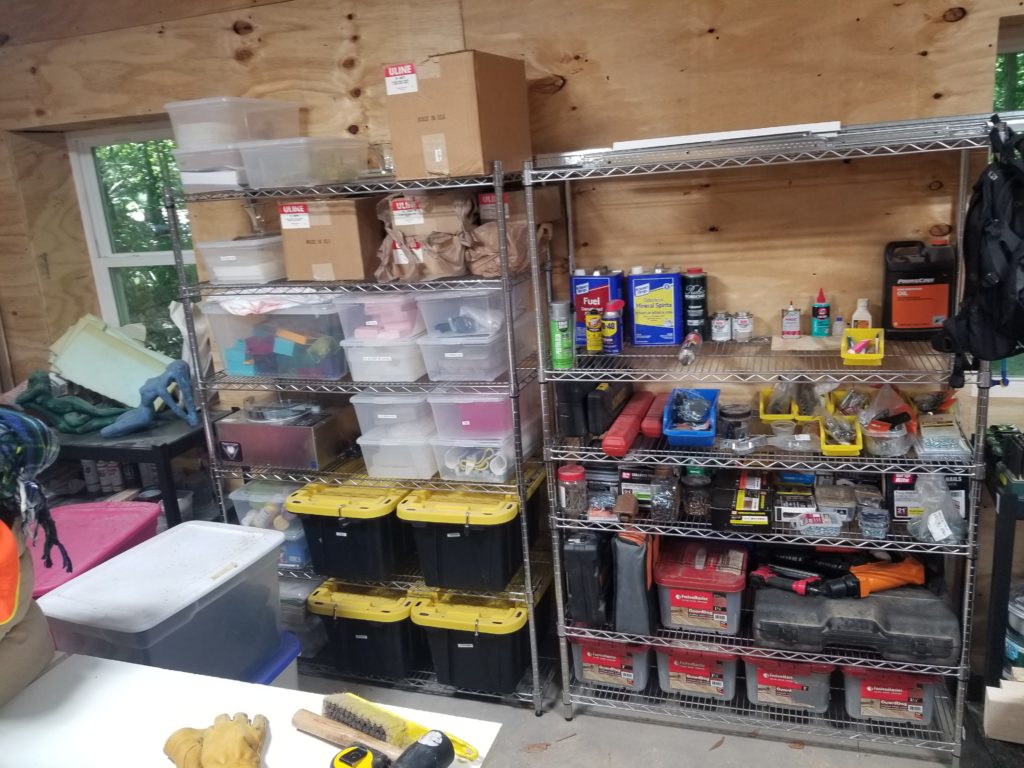
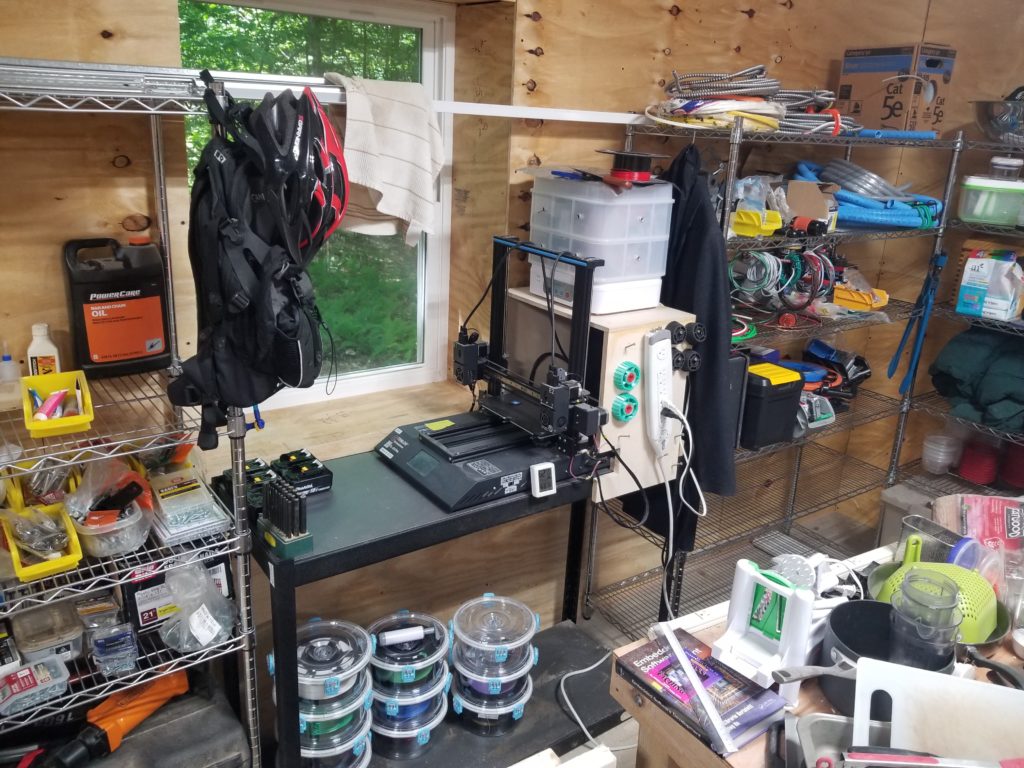
That for sure isn’t the final place for the 3D printer or the candy-making supplies (tubs in left photo), but at least they have a place to live now so they’re out of the way as I continue to work on the interior. And so it goes. The garage is also getting a serious make-over. No photos of that yet, but it looks a lot like the ones above — but instead of construction supplies, they are home goods and yard things.
When I was about to move to the forest, I thought to myself: I’m going to live in nature! I certainly have no use for the archetypal symbol of suburbia, the lawn mower! I won’t have a lawn, after all. So I gave my gas-powered mower away to the daughter of a friend of mine, who is just starting her own family. Perfect.
Then I realized something, after the underbrush filled in out here on my homestead. The profusion of ticks is pretty thick out here, especially in the tall wild grass, so if I want to be able to move around without taking on blood-sucking and potentially disease-bearing stowaways, I’m going to need to clear some paths. A string trimmer is clumsy and spits micro-plastics into the environment anyway. Swapping out a metal blade for the string eliminates the plastic but doesn’t do anything about the imprecision of that kind of trimmer. What do I need? I kinda need a lawn mower…
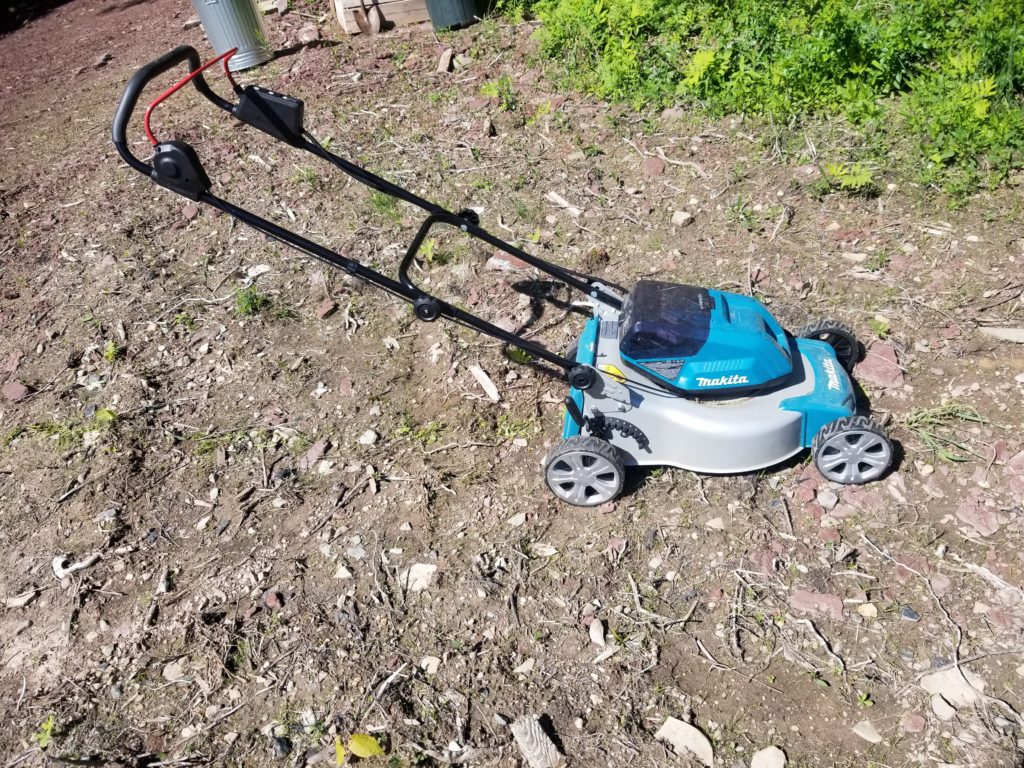
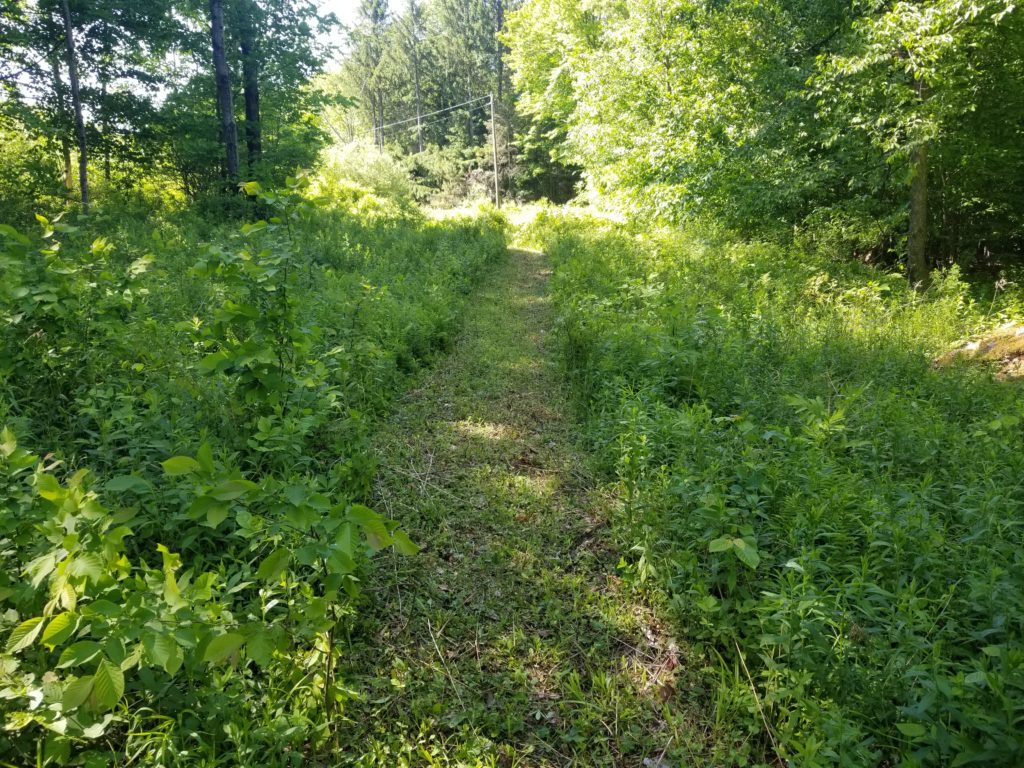
Okay, then. I notice that my favorite tool brand (Makita) has an electric mower that runs off the same battery system as a pile of other tools I already own (including my chainsaw). Perfect. I charge those batteries from my off-grid power system, so presto, suddenly what I have here is a solar powered lawn mower! With it, low-cut trails as needed so I can walk freely and minimize the accretion of ticks.
Speaking of ticks, I can’t over-state the convenience and efficacy of this widget called a Tick Key. Unlike a tweezer, it lifts and removes the tick without squeezing, reducing the chance of pushing pathogen-contaminated tick juice back into the skin. They work great. I keep one in the car for when I discover ticks after leaving the homestead, as well as one in the house for nightly tick checks. I have taken to putting one on my belt, too, both as a reminder to stay vigilant and of course as a tool to use should I discover one of the little monsters on me while out and about.
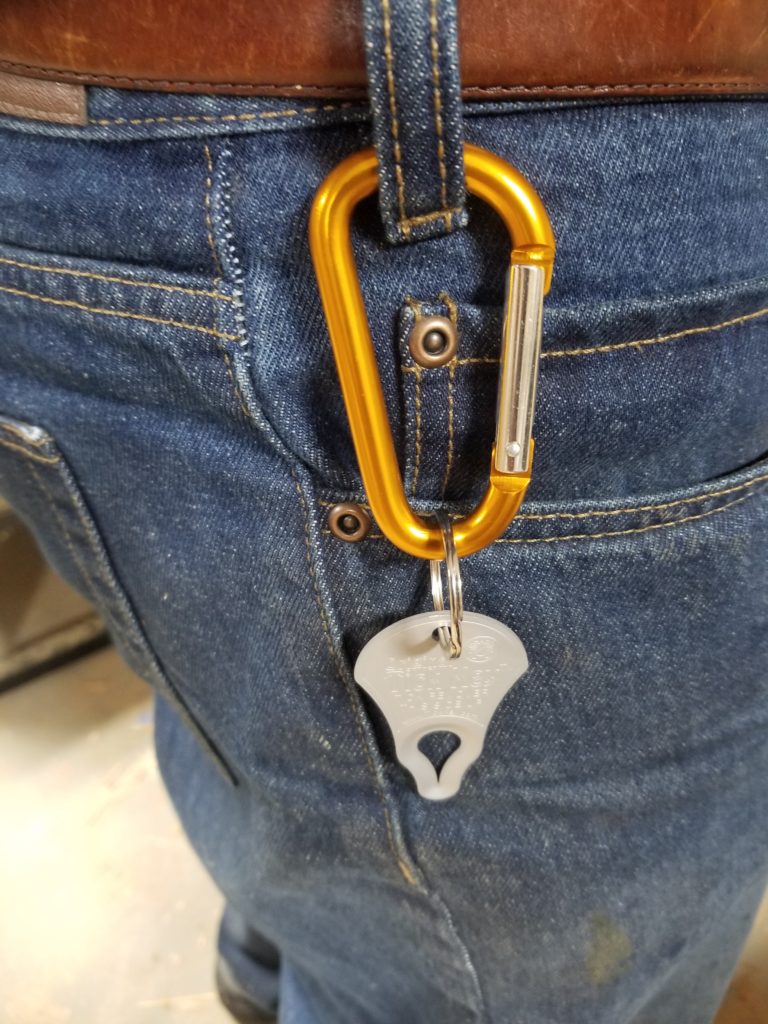
I highly recommend these. Their price seems high for a little piece of stamped aluminum, but their makers gotta eat, and the widgets work great.
I noticed that my in-house water system was just not up to the task of running a garden hose for the purposes of watering my wildflower garden — not enough flow or pressure. It is perfect for the house, but not for outdoors, except perhaps for an outdoor shower. And anyway, given the 40 gallon working volume of my freshwater tank, it doesn’t take long to drain it to empty when doing outdoor work. Not so great. It occurred to me that the big roof of the W.O.G. should be great at capturing rain water. Indeed, doing the math, I find that the roof should see over 900 US gallons per inch of rainfall. Thinking ahead, I had gutters with leaf-guards installed when it was built and had both gutters terminate on the side of the building most conducive to collection. Now is the time!
At first, I was thinking to just run lines from the bottoms of the downspouts to a nice big tank. There’s enough of a slope that the bottom of the spout was at the level of the top of the tank, if I placed the tank downhill enough. Ignore the derelict outhouse in the background.
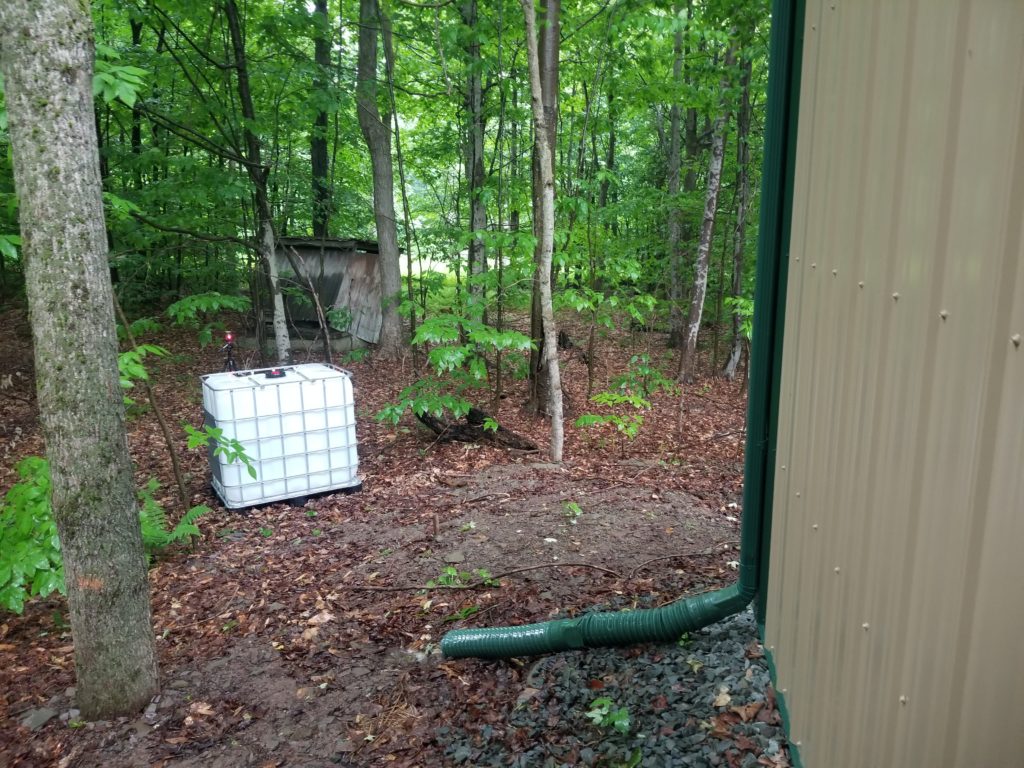
See that red spot of light? That’s my laser level, aligned with the top of the tank, so I could see where that projected to the downspout. Answer: right here, nicely below the downspout outlet level, so for sure there’s a gravity drain path that works here. See red line on the square-edge rock.
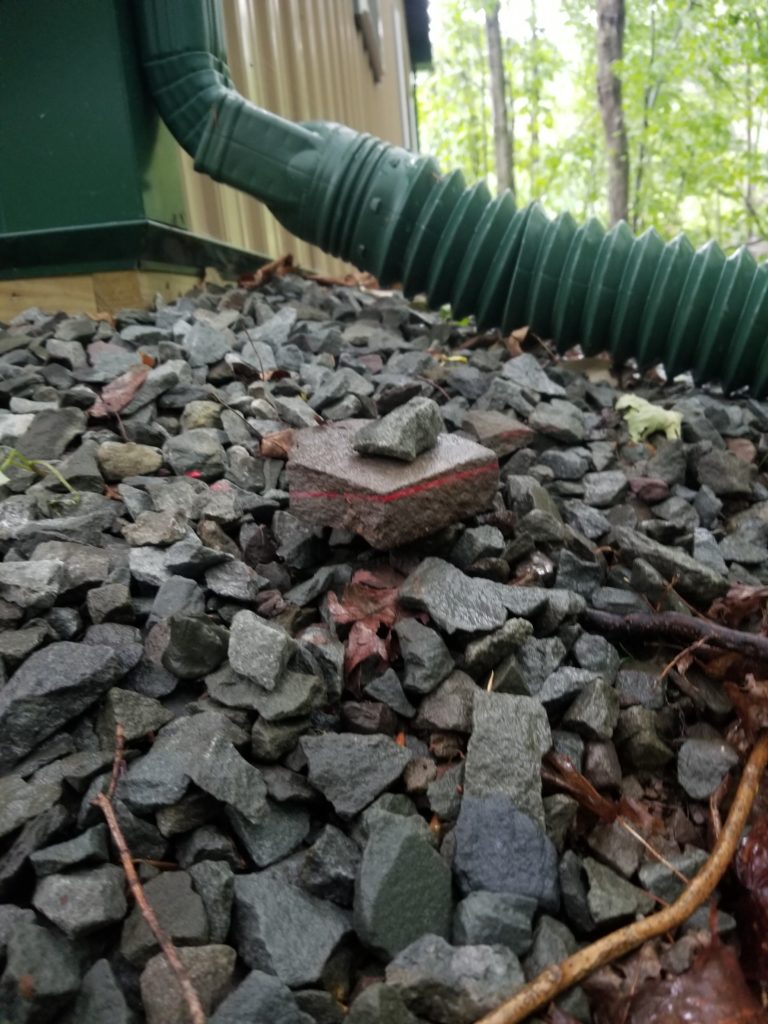
The thing is, running a pipe to the tank at that location means it’s going to span a fair bit of open space, making it a hazard as well as inelegant. Further, it means I’d have to find a way to support the run, which is well upwards of 10ft of span. Not so great.
I later realized I could actually put the tank close to the building as long as I accommodated the slope of rock fill that’s there (seen in the photo above). That became the plan.
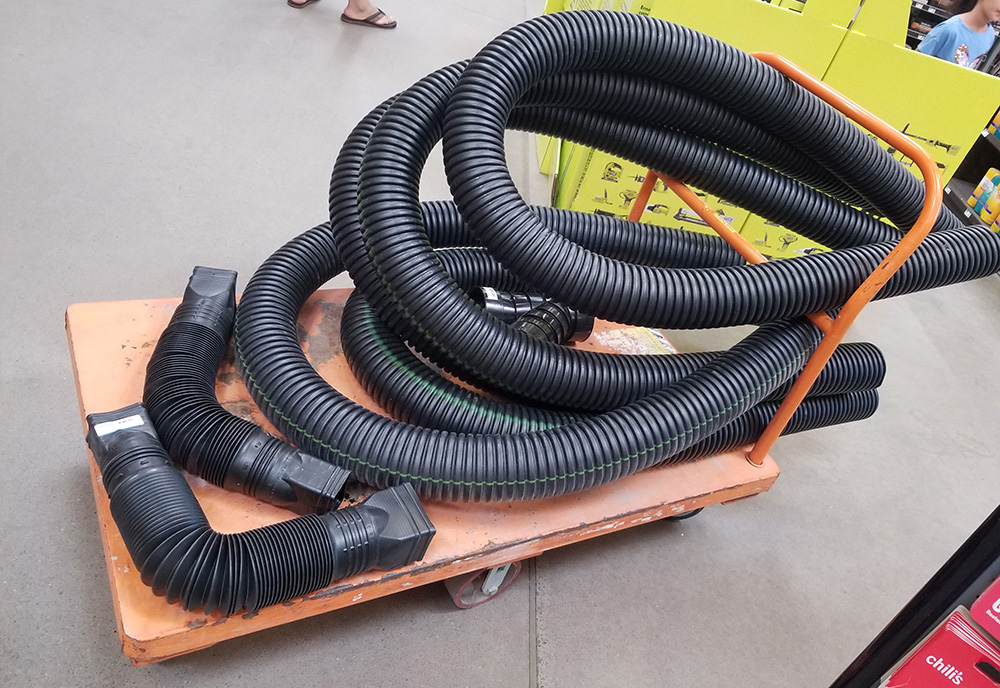
It turns out there’s no tidy way to buy 10ft floppy drain pipes… a lumber cart would have been best, but evidently they were all in use when I was shopping. This was the best I could do, which worked, but was ready to spring out like a novelty can of spring-snakes at the slightest disturbance!
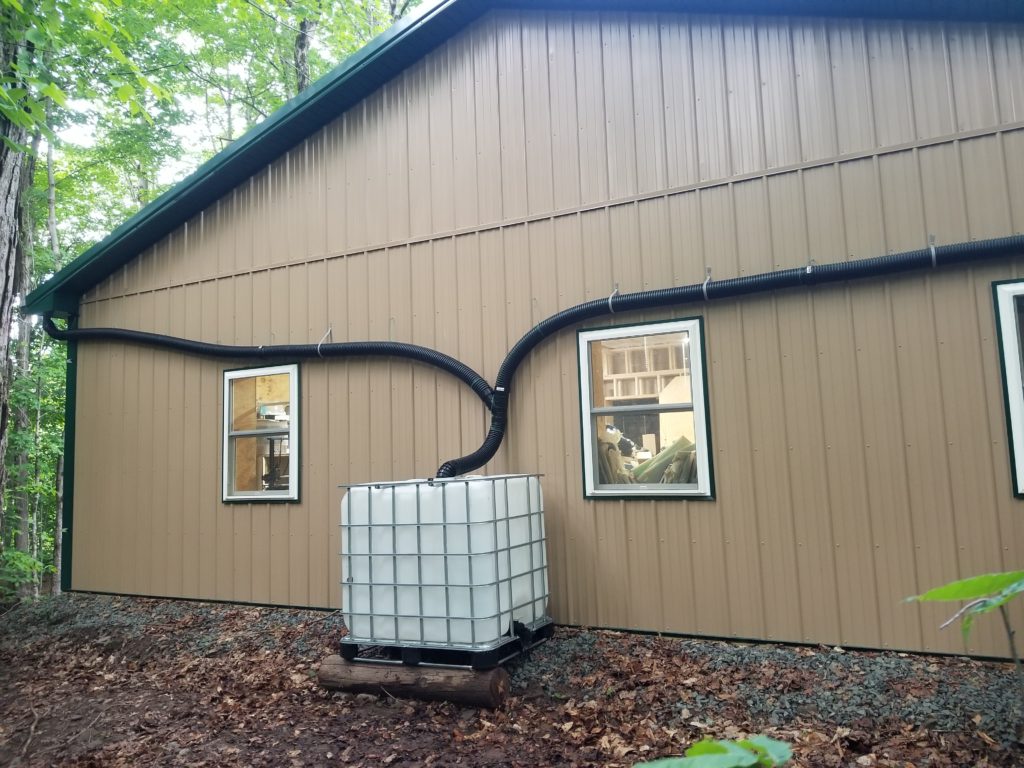
Got it done and now my building has eyebrows! Turns out that old telephone pole I cut up a few weeks ago was just the perfect size to shim up the tank and make it close enough to level. This is a 275 US Gallon IBC Tote. So, how much rain does it take to fill it? Well, I set this up and the very next morning I found that it was full after one night’s rain! Wow! I did a little math…
The building is just over 1500 square feet. The roof is a little bigger than that because it overhangs, but let’s just say 1500. Convert to square inches (x 144) -> 216,000sq inch. Put one inch of rain on that to get 216,000 cubic inches. How many gallons is that? 935 US Gallons! No wonder my 275 gallon tank filled so easily in one night’s moderately heavy rainfall. Just 0.29 inches would do it!
So, do I get another tank (or two)? I don’t know what my usage needs are yet. The idea is to water gardens (and future raised beds) and refill the channel for the frogs if it runs dry. I don’t know what I’ll need for that but 275 seems like plenty already. And those tanks are nearly $400 each, so it’s not a small matter to buy them. Drops in the bucket for my overall investment in being here, but still, $400 is $400. No sense to spend it unless I know it to be necessary/useful.
Last week I became a Man Of Involuntary Leisure — got laid off — so no unnecessary expenses for now, until I become re-employed and have good cash flow again.
Installing those drain pipes wasn’t as straight-forward as you might expect. They’re flexible, so they need to be supported in multiple points along the way. The side of the building is mostly just sheet metal, so there’s not a lot of solid anchorage available. There are wooden girts, however, to which fasteners may be securely attached. Just using ordinary pipe straps, though good enough for some mid-span support, is not good enough for the whole run.
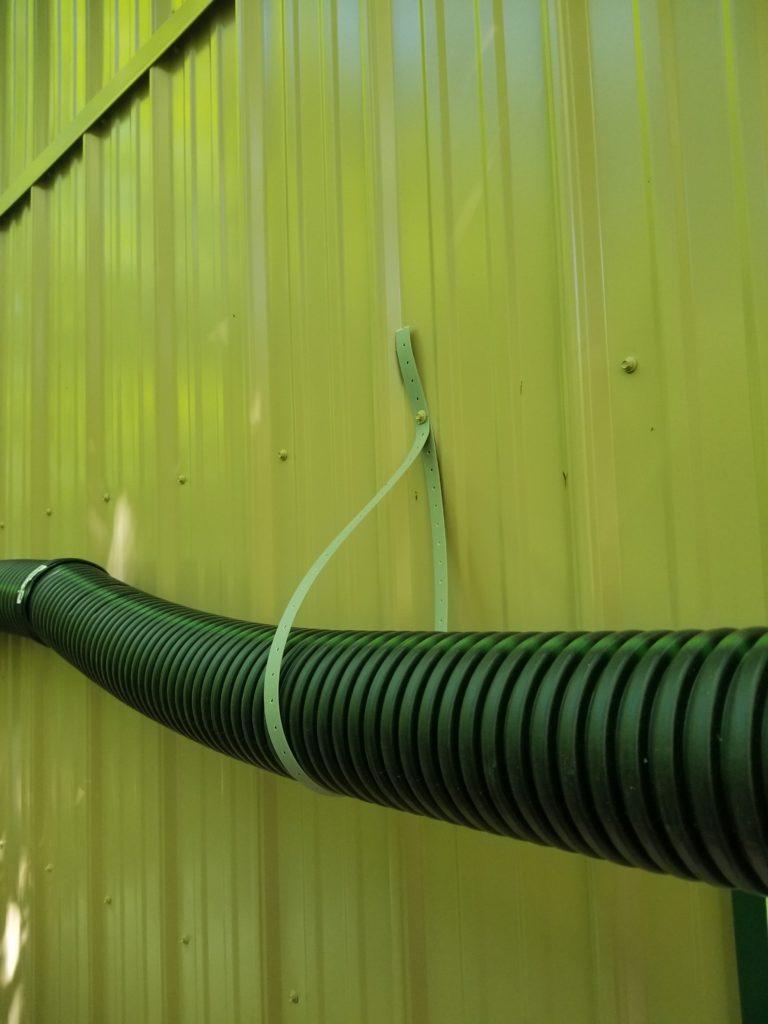
Why? For starters, the distance from the girts (revealed by the locations of the siding screws) can get pretty large and in so being, the strap loop gets pretty sloppy. Or I’d have to find a way to pinch a tight loop around the pipe and then hang a single end of the strap. Doable, but a bunch more work. More importantly, though, the pipe easily sides through the loop, so something to arrest its desire to just slide out entirely is necessary.
I had an idea for that. I have these hanger eyes that I bought for the suspended ceiling in the office. They have a lag bolt on one side and a square eyebolt on the other, making them easy to drive with a slotted chuck (which I also own). Using wire, I can grab the corrugated pipe tightly and capture it, preventing it from sliding away. I can even apply a little tension as needed, like here, where I relieve the stress on the initial feed from the gutter tap by pulling on the pipe directly, leaving the tail end (up to the right, en route to the gutter) slack.
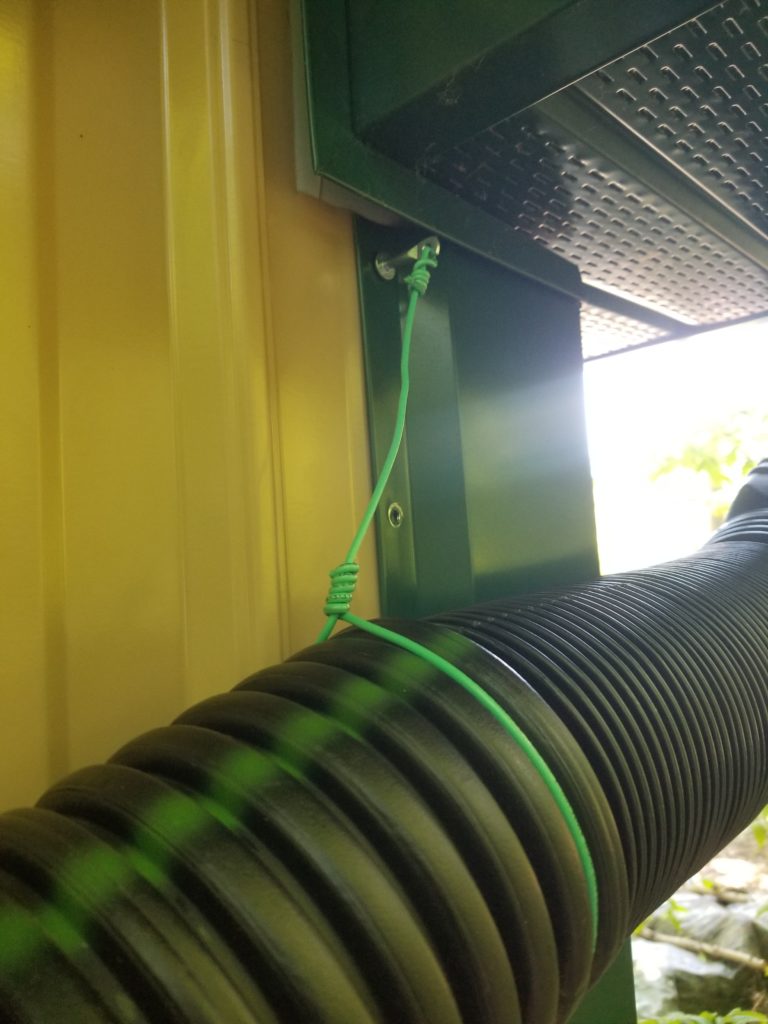
This worked very well and also allowed for some longer drops of wire as needed to accommodate the drain slope and girt placement variously. It wasn’t perfectly elegant in all the ways, but it works fine and I didn’t have to buy anything new to do it. Indeed, that spool of green wire I bought decades ago to make an armature for a papier mache costume head! Go figure.
I will eventually purchase a pressure pump and install some distribution plumbing so I can actually use this water. I’ll also need to fashion an overflow drain, since 1/3″ of an inch of rain is enough to fill this tank to capacity! These things in due time. The drain I can probably do with parts on hand. The pump will wait until re-employment.