I’ve made some new animal friends!
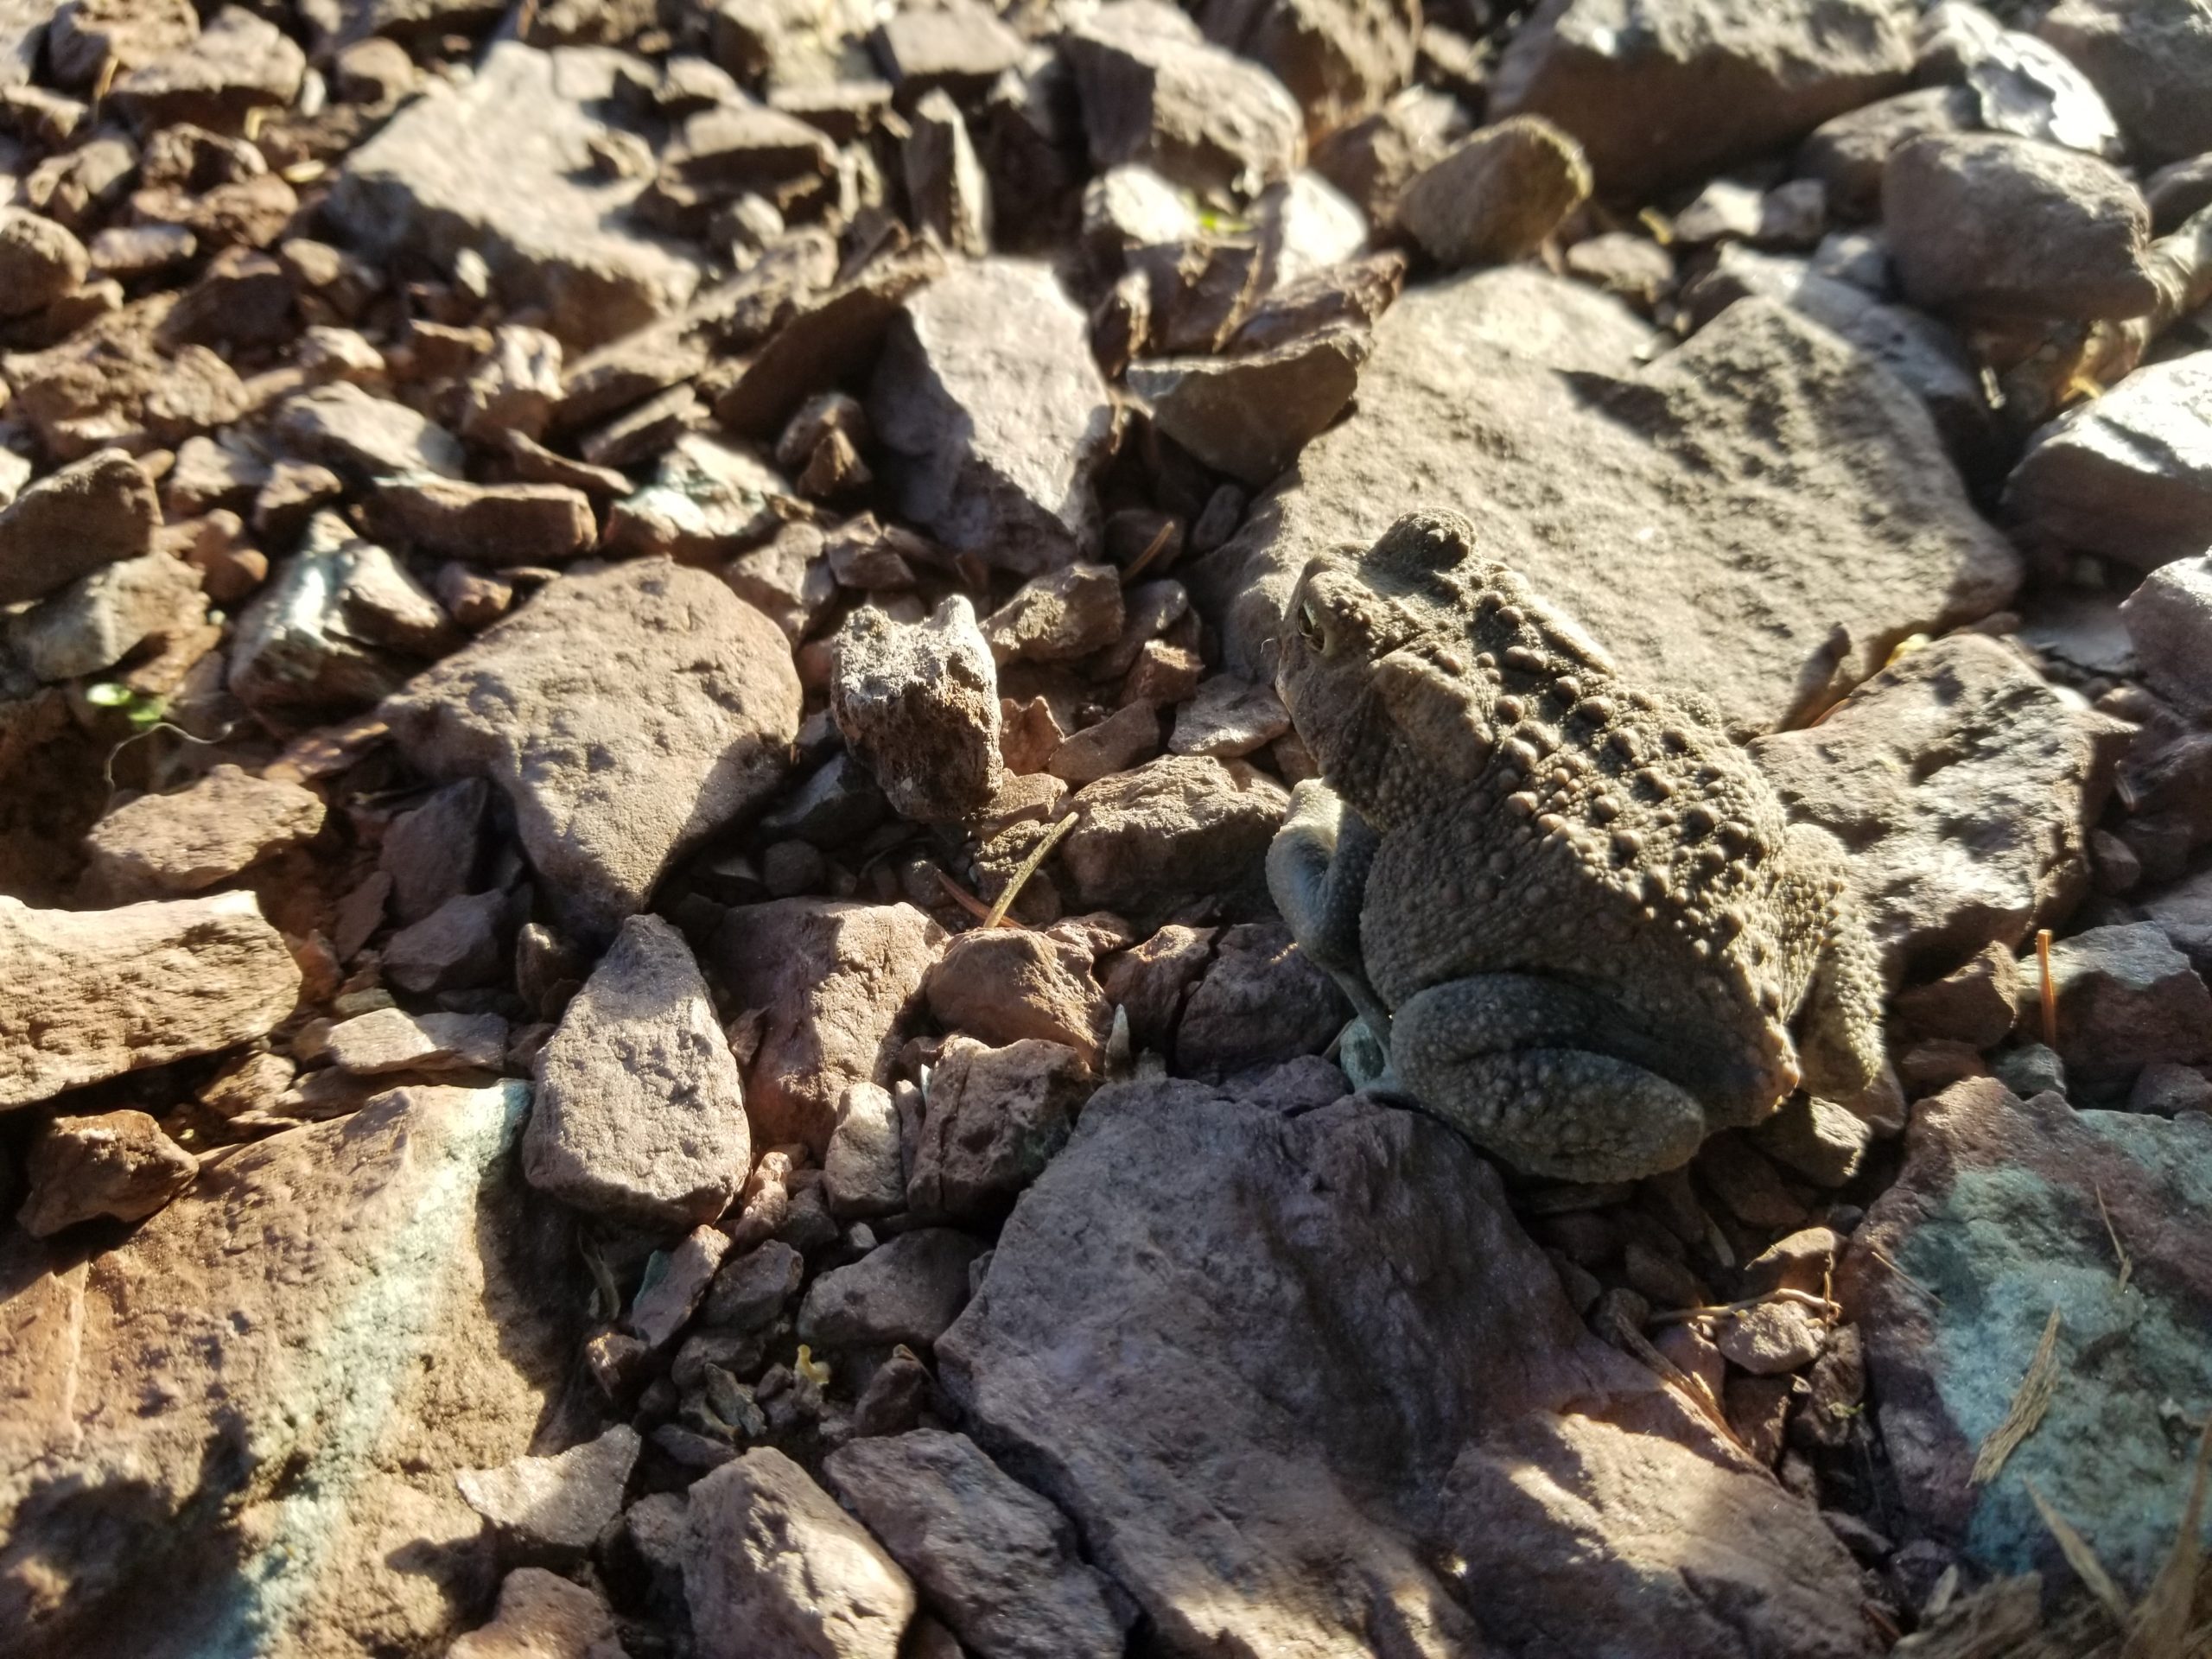
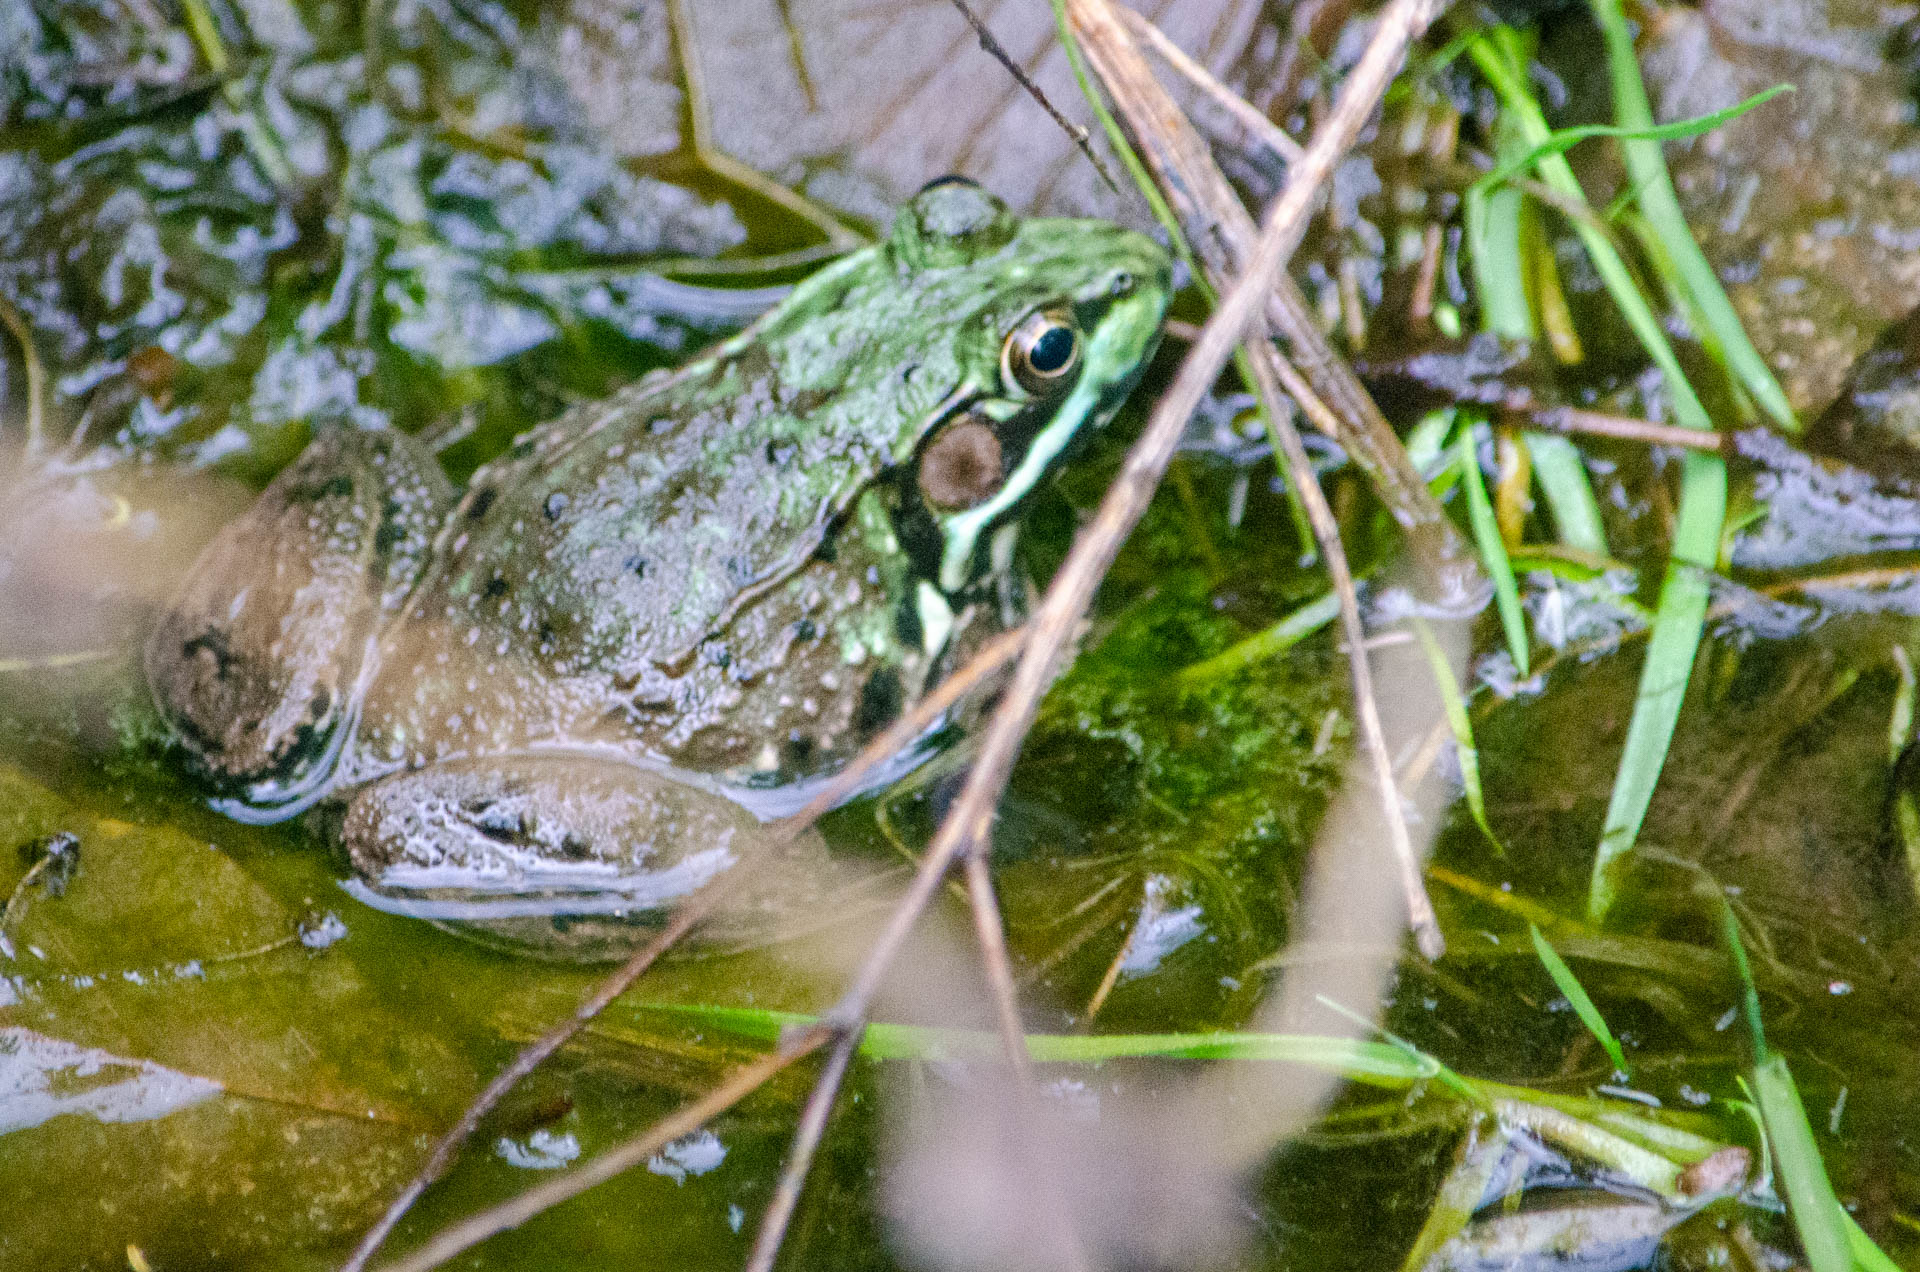
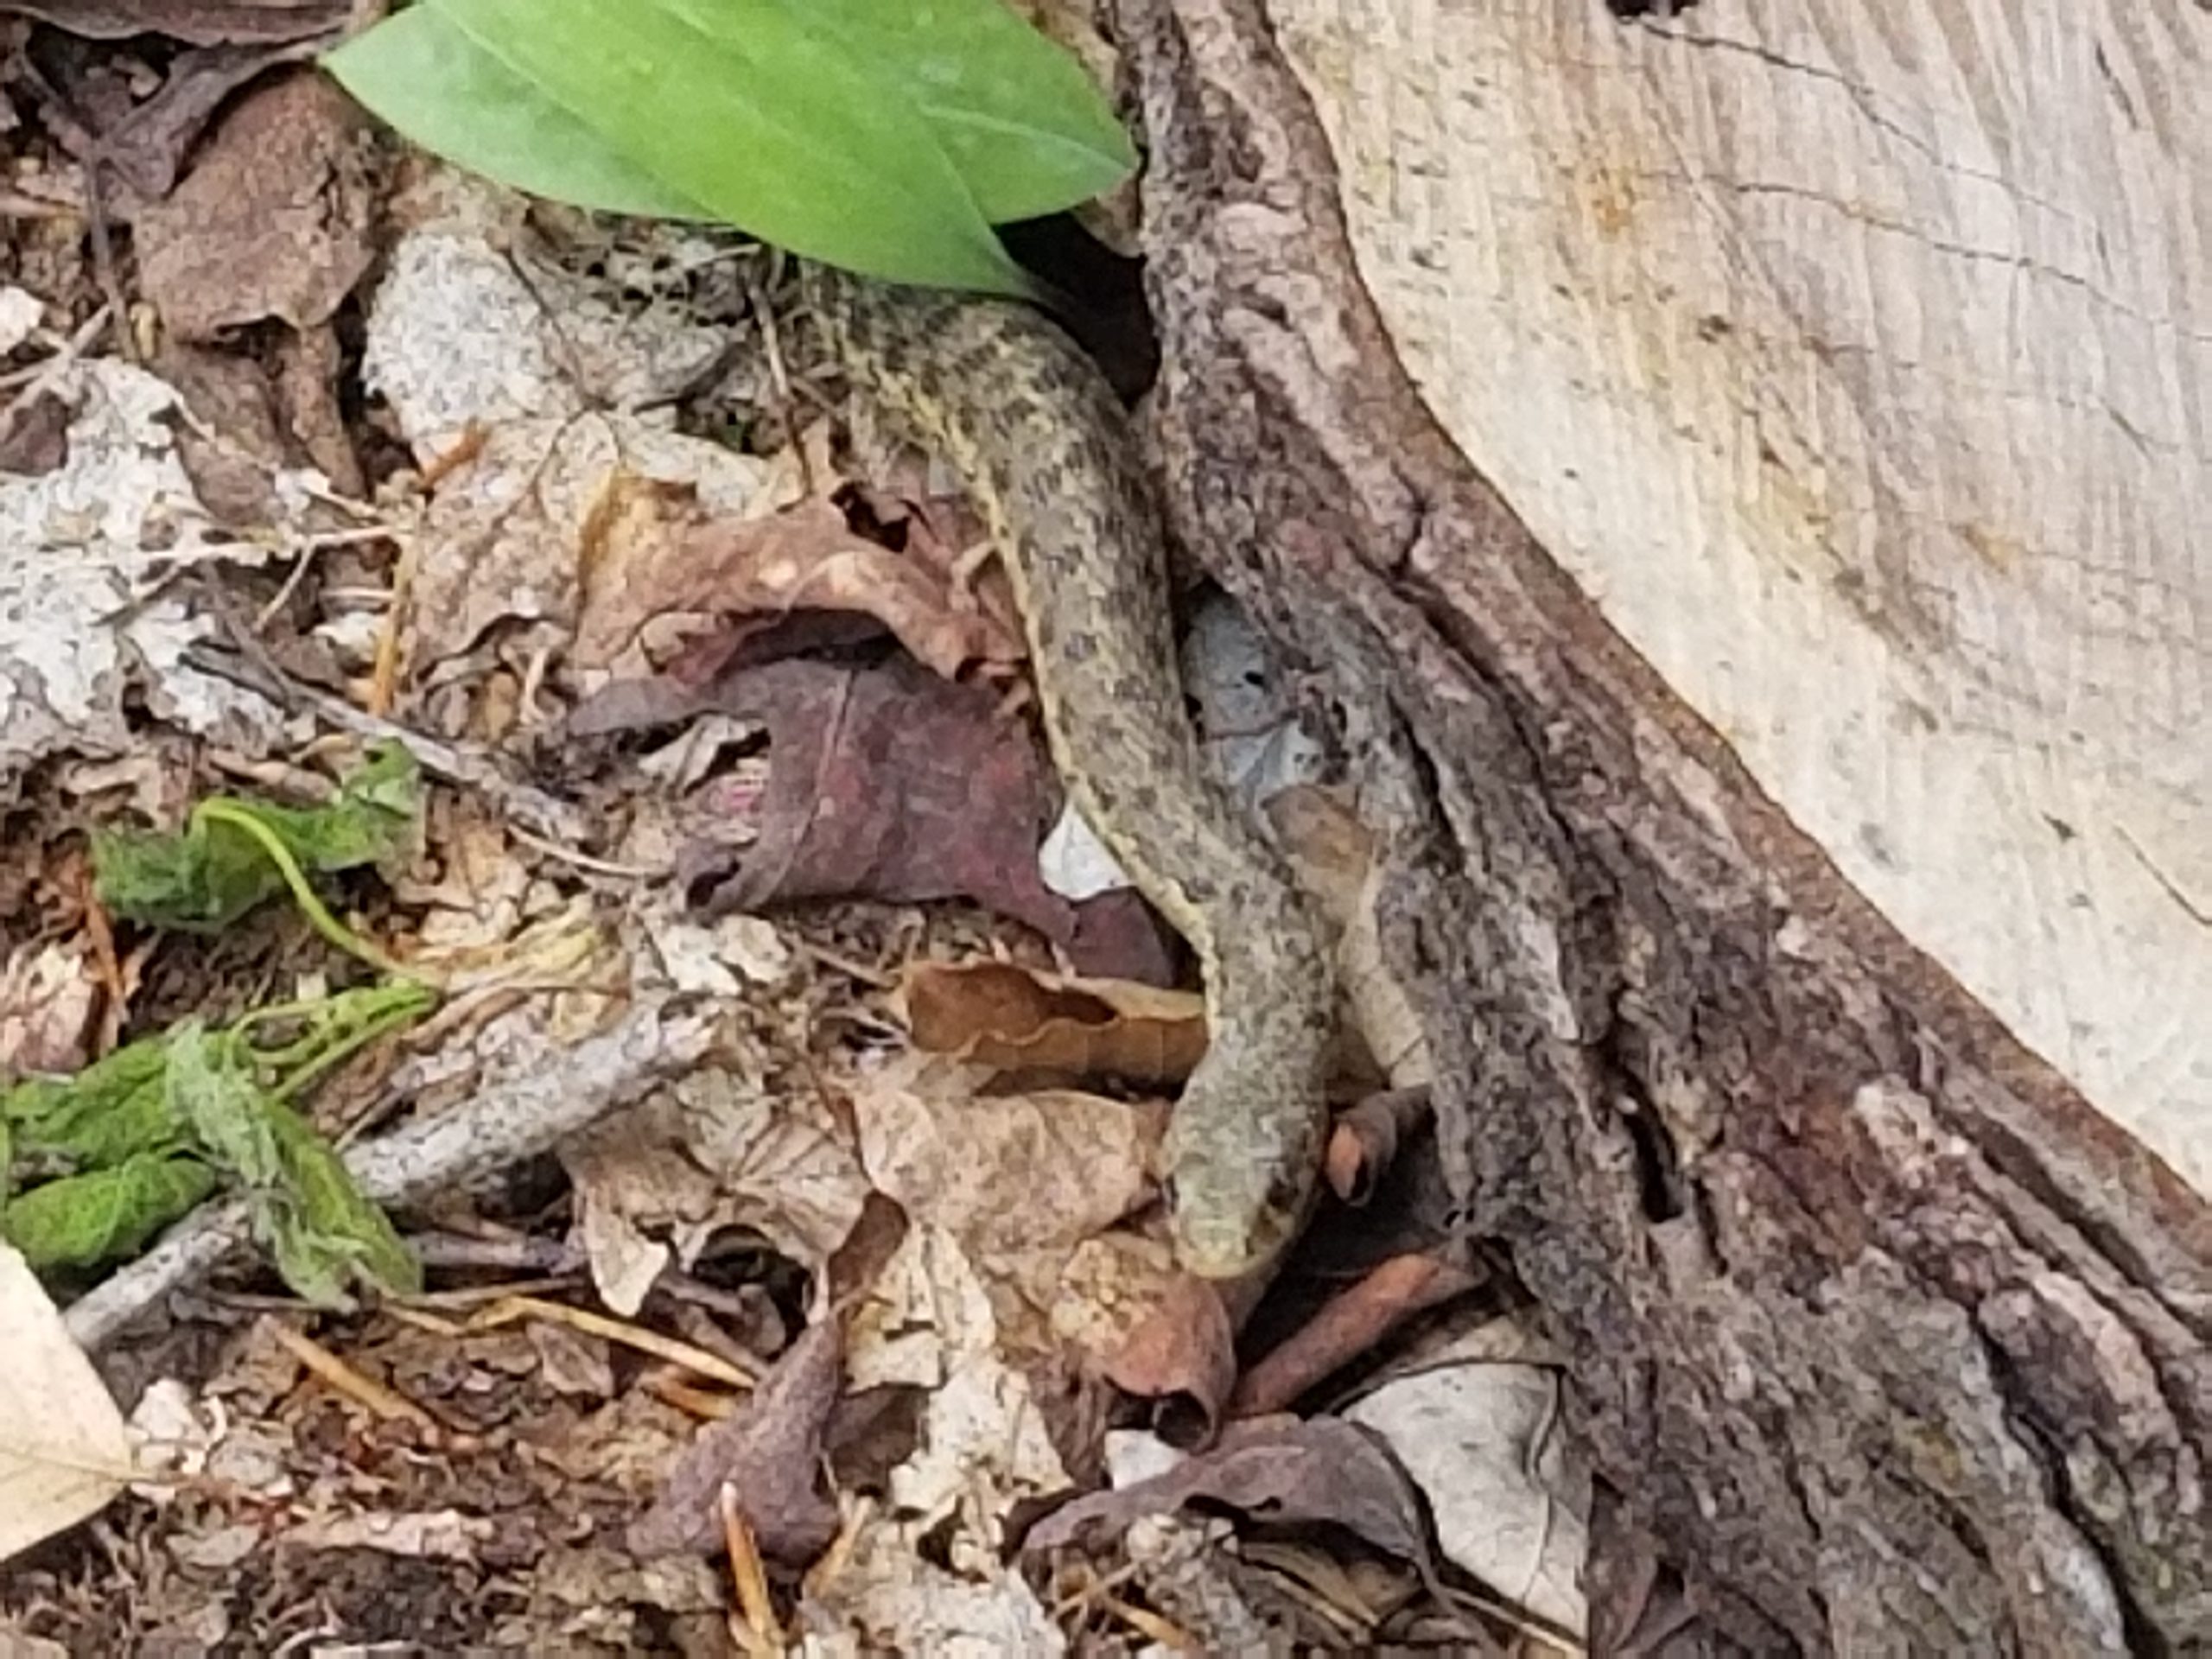
And in the channel where the frogs live, formerly I had seen just one or two adults. Recently, I have seen as many as ten there all at once, along with the tadpoles, who continue to grow.
The tadpoles in the upper part of the channel were definitely not doing so well, though. That part is higher and more exposed to sun, so it drains better and evaporates much faster. On a few occasions, I found the tadpoles in a nearly-dry clump. I re-hydrated the puddle each time, but it rarely lasted the day. I finally decided to intervene more drastically.
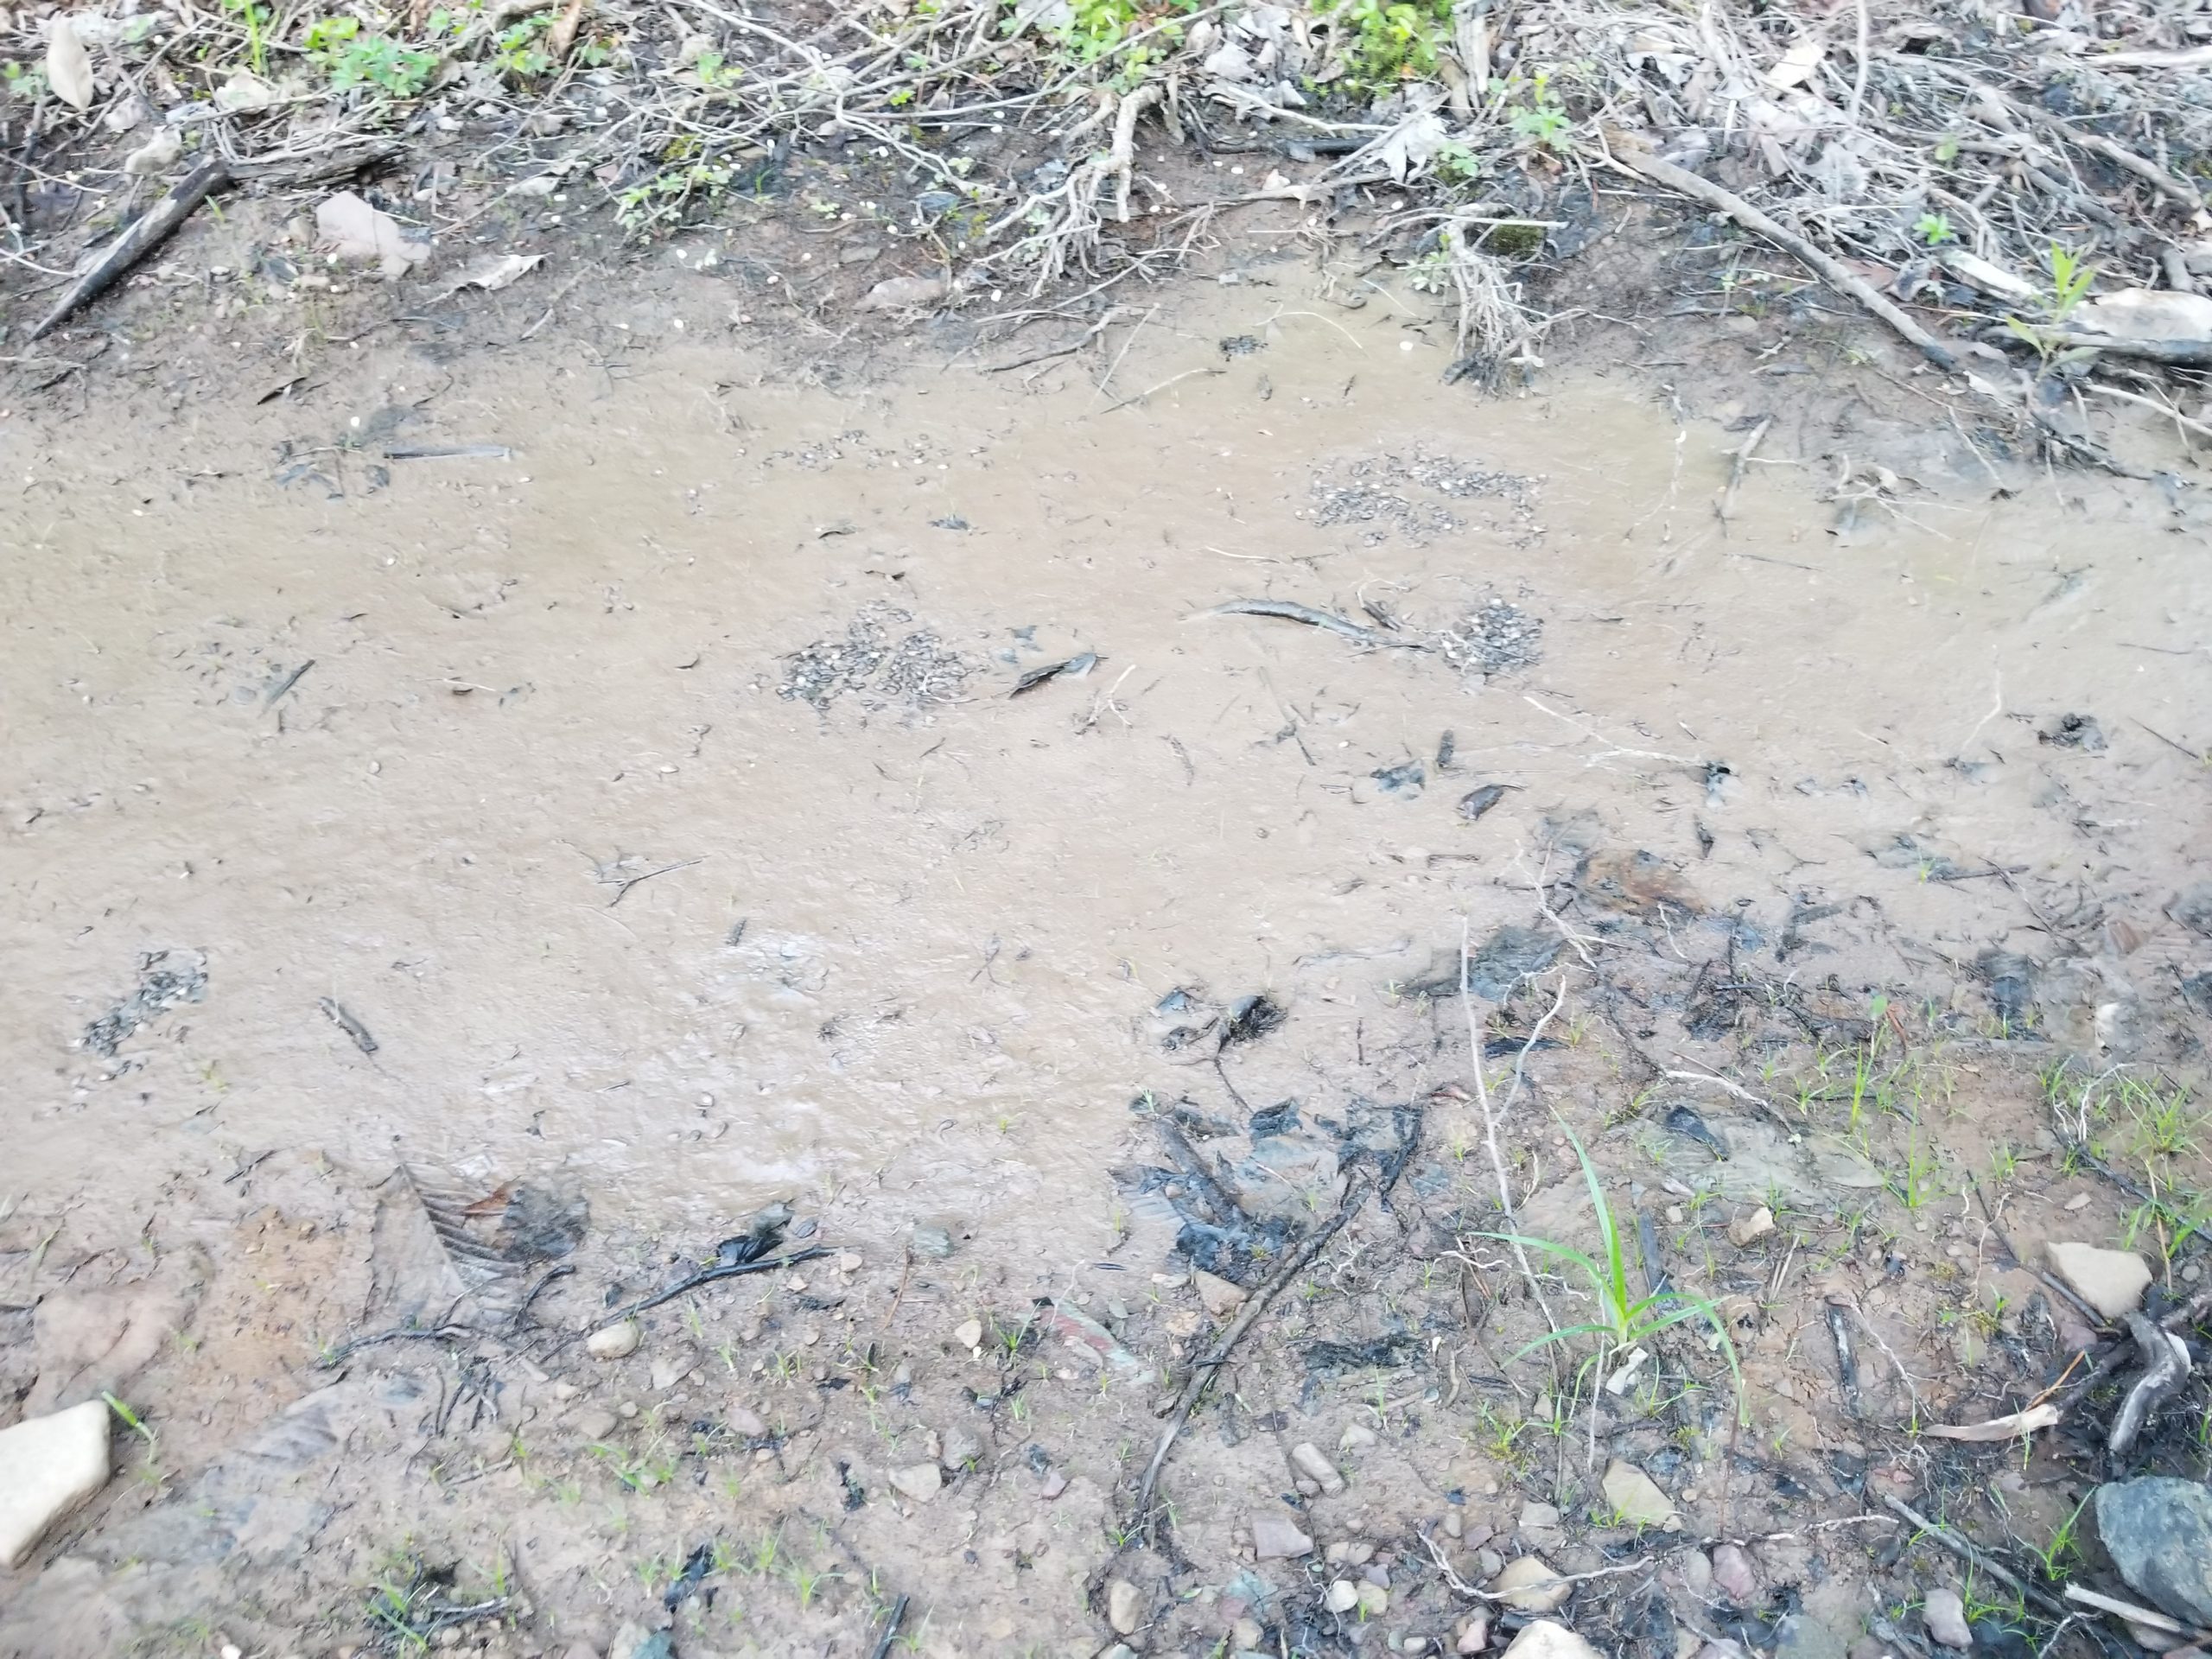
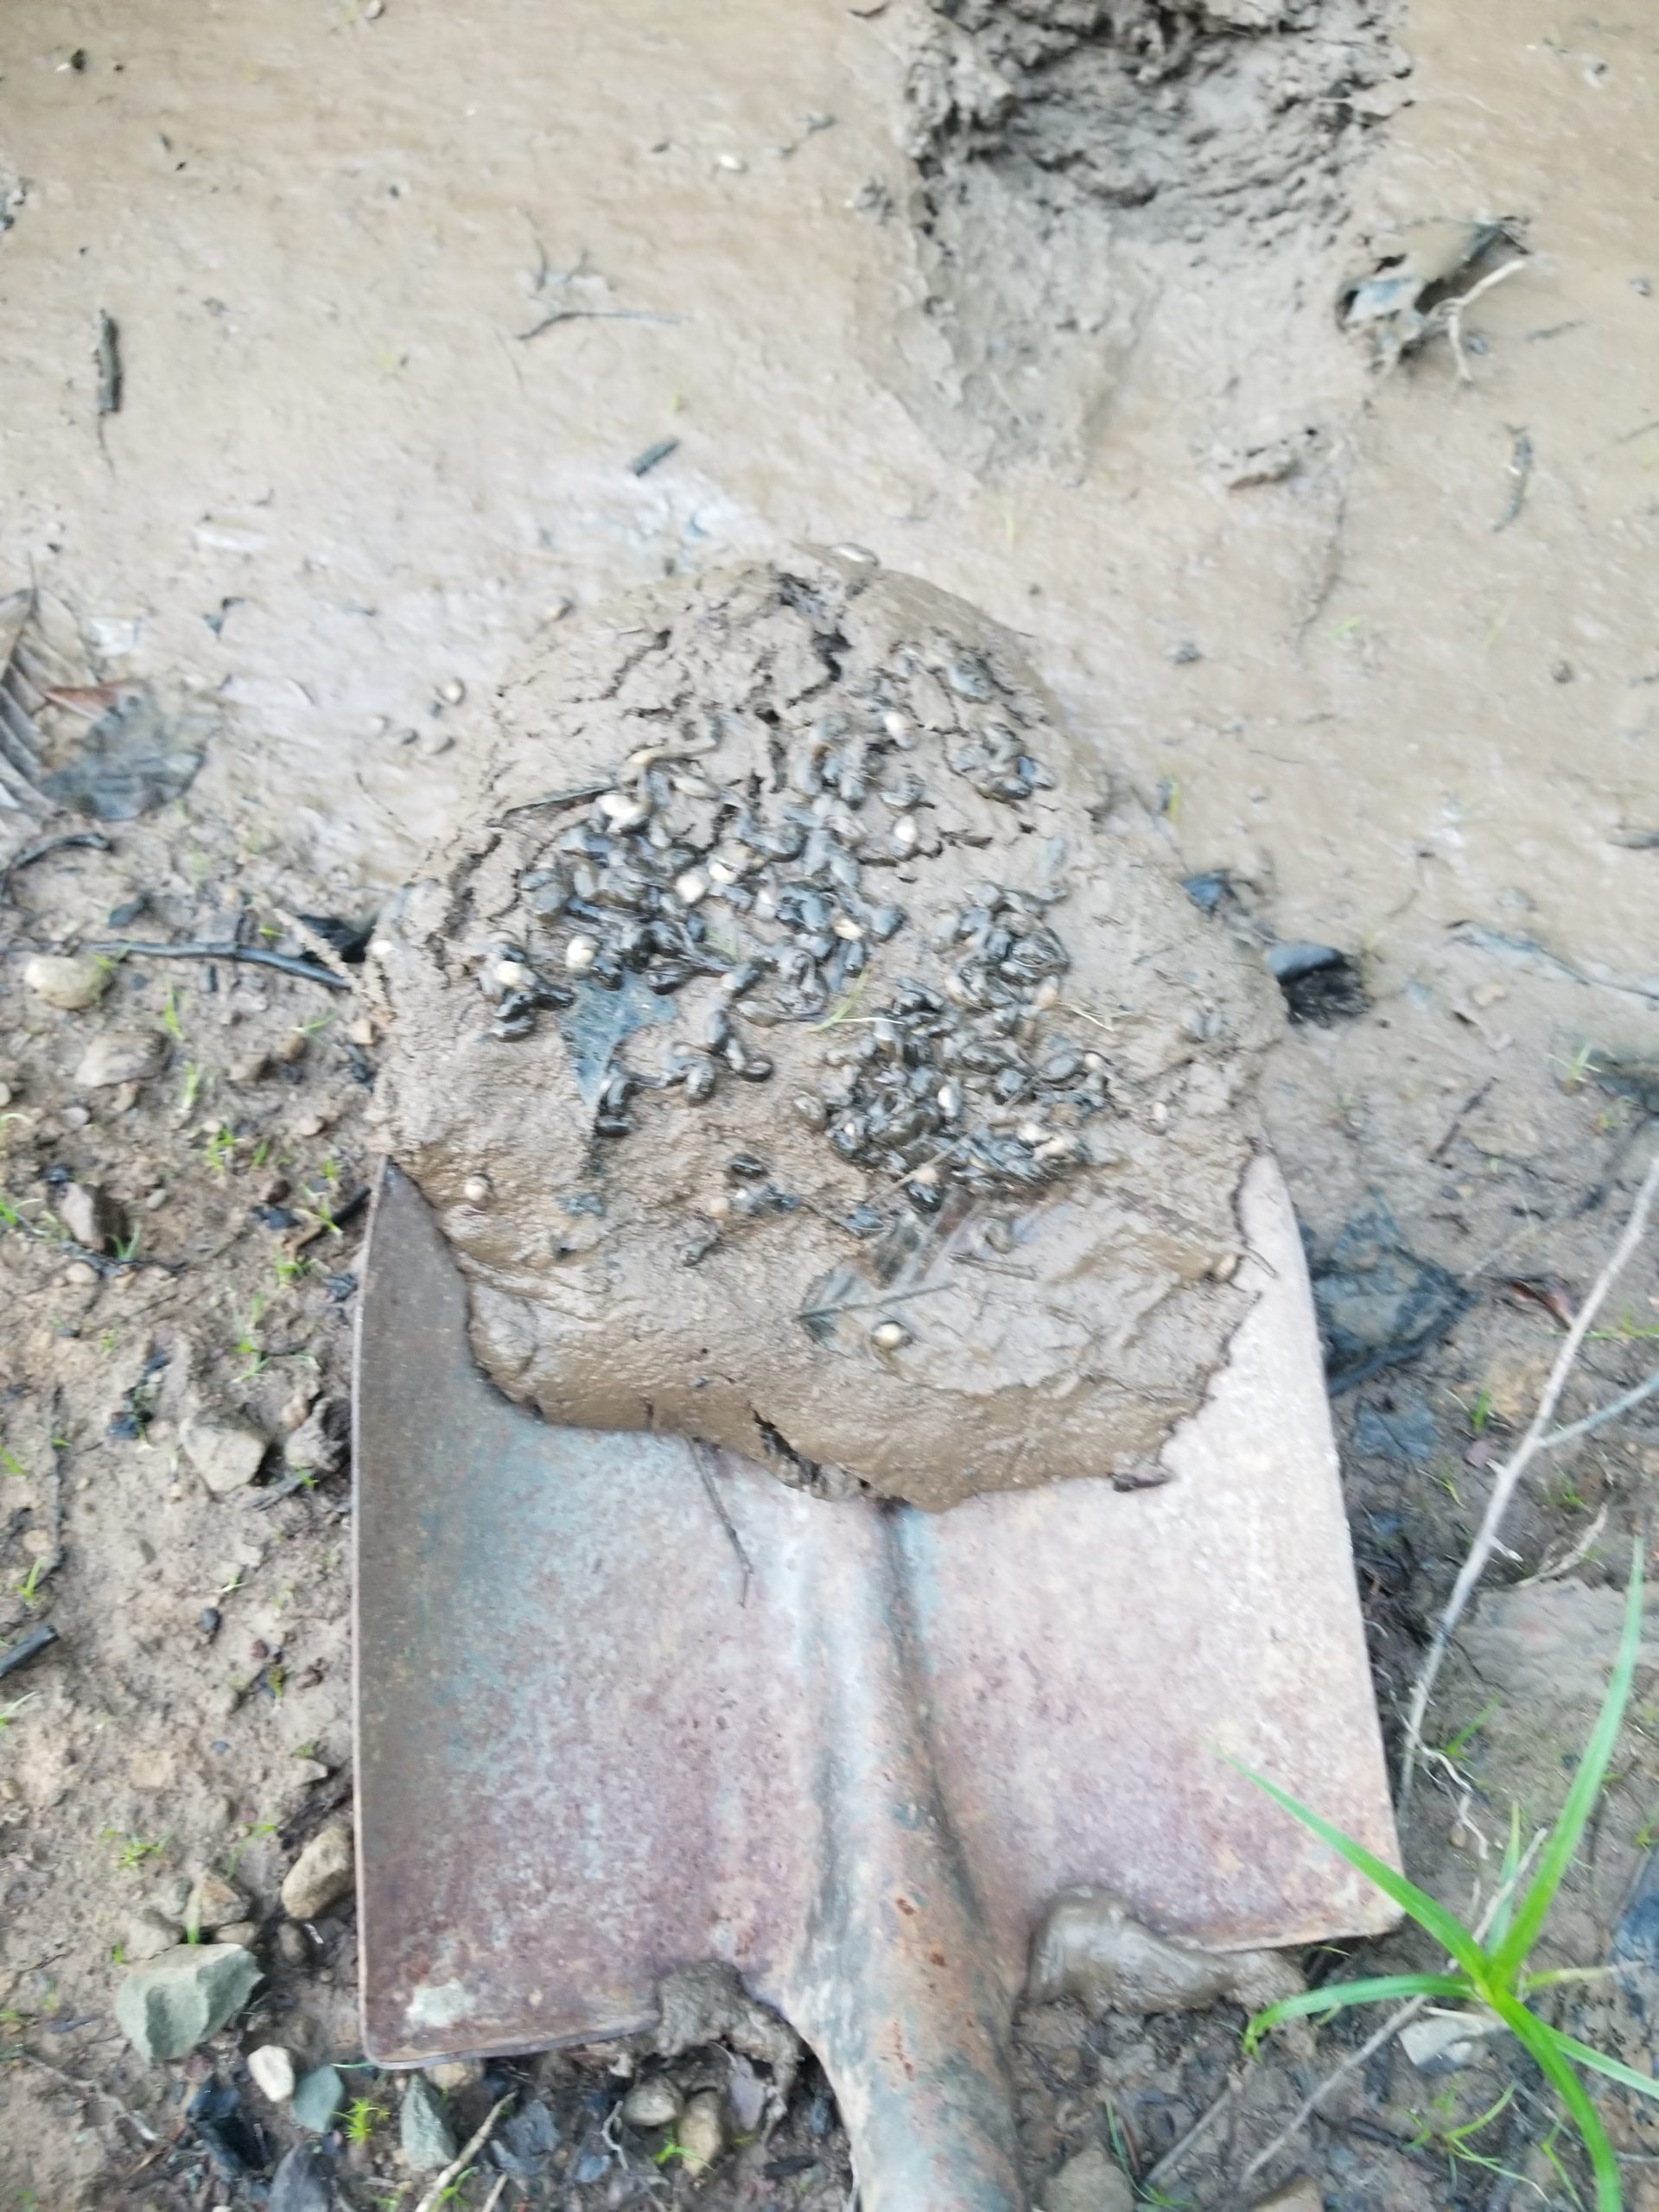
I relocated the survivors to the lower part of the channel, in hopes they could thrive there. I had mixed feelings about intervening with Nature’s plan, but at the end of it, my affection for the froglets won out and I did my best to save them.
The lower area is pretty shallow right now, too, but rain is expected. And at least if it does stay dry, that’s just one, poorly-draining, well-shaded area for me to hydrate. Inconveniently, it is out of range of my 150ft of garden hose, though. I’ll just bring them a bucket of water if needs be.
Speaking of the outdoors, I was quite surprised to learn that there are public springs just out there in the world! I had no idea! And at least the one I visited is rather innocuous unless you know where to look for it.
I mean, if you were driving past this, would you think to stop and investigate?
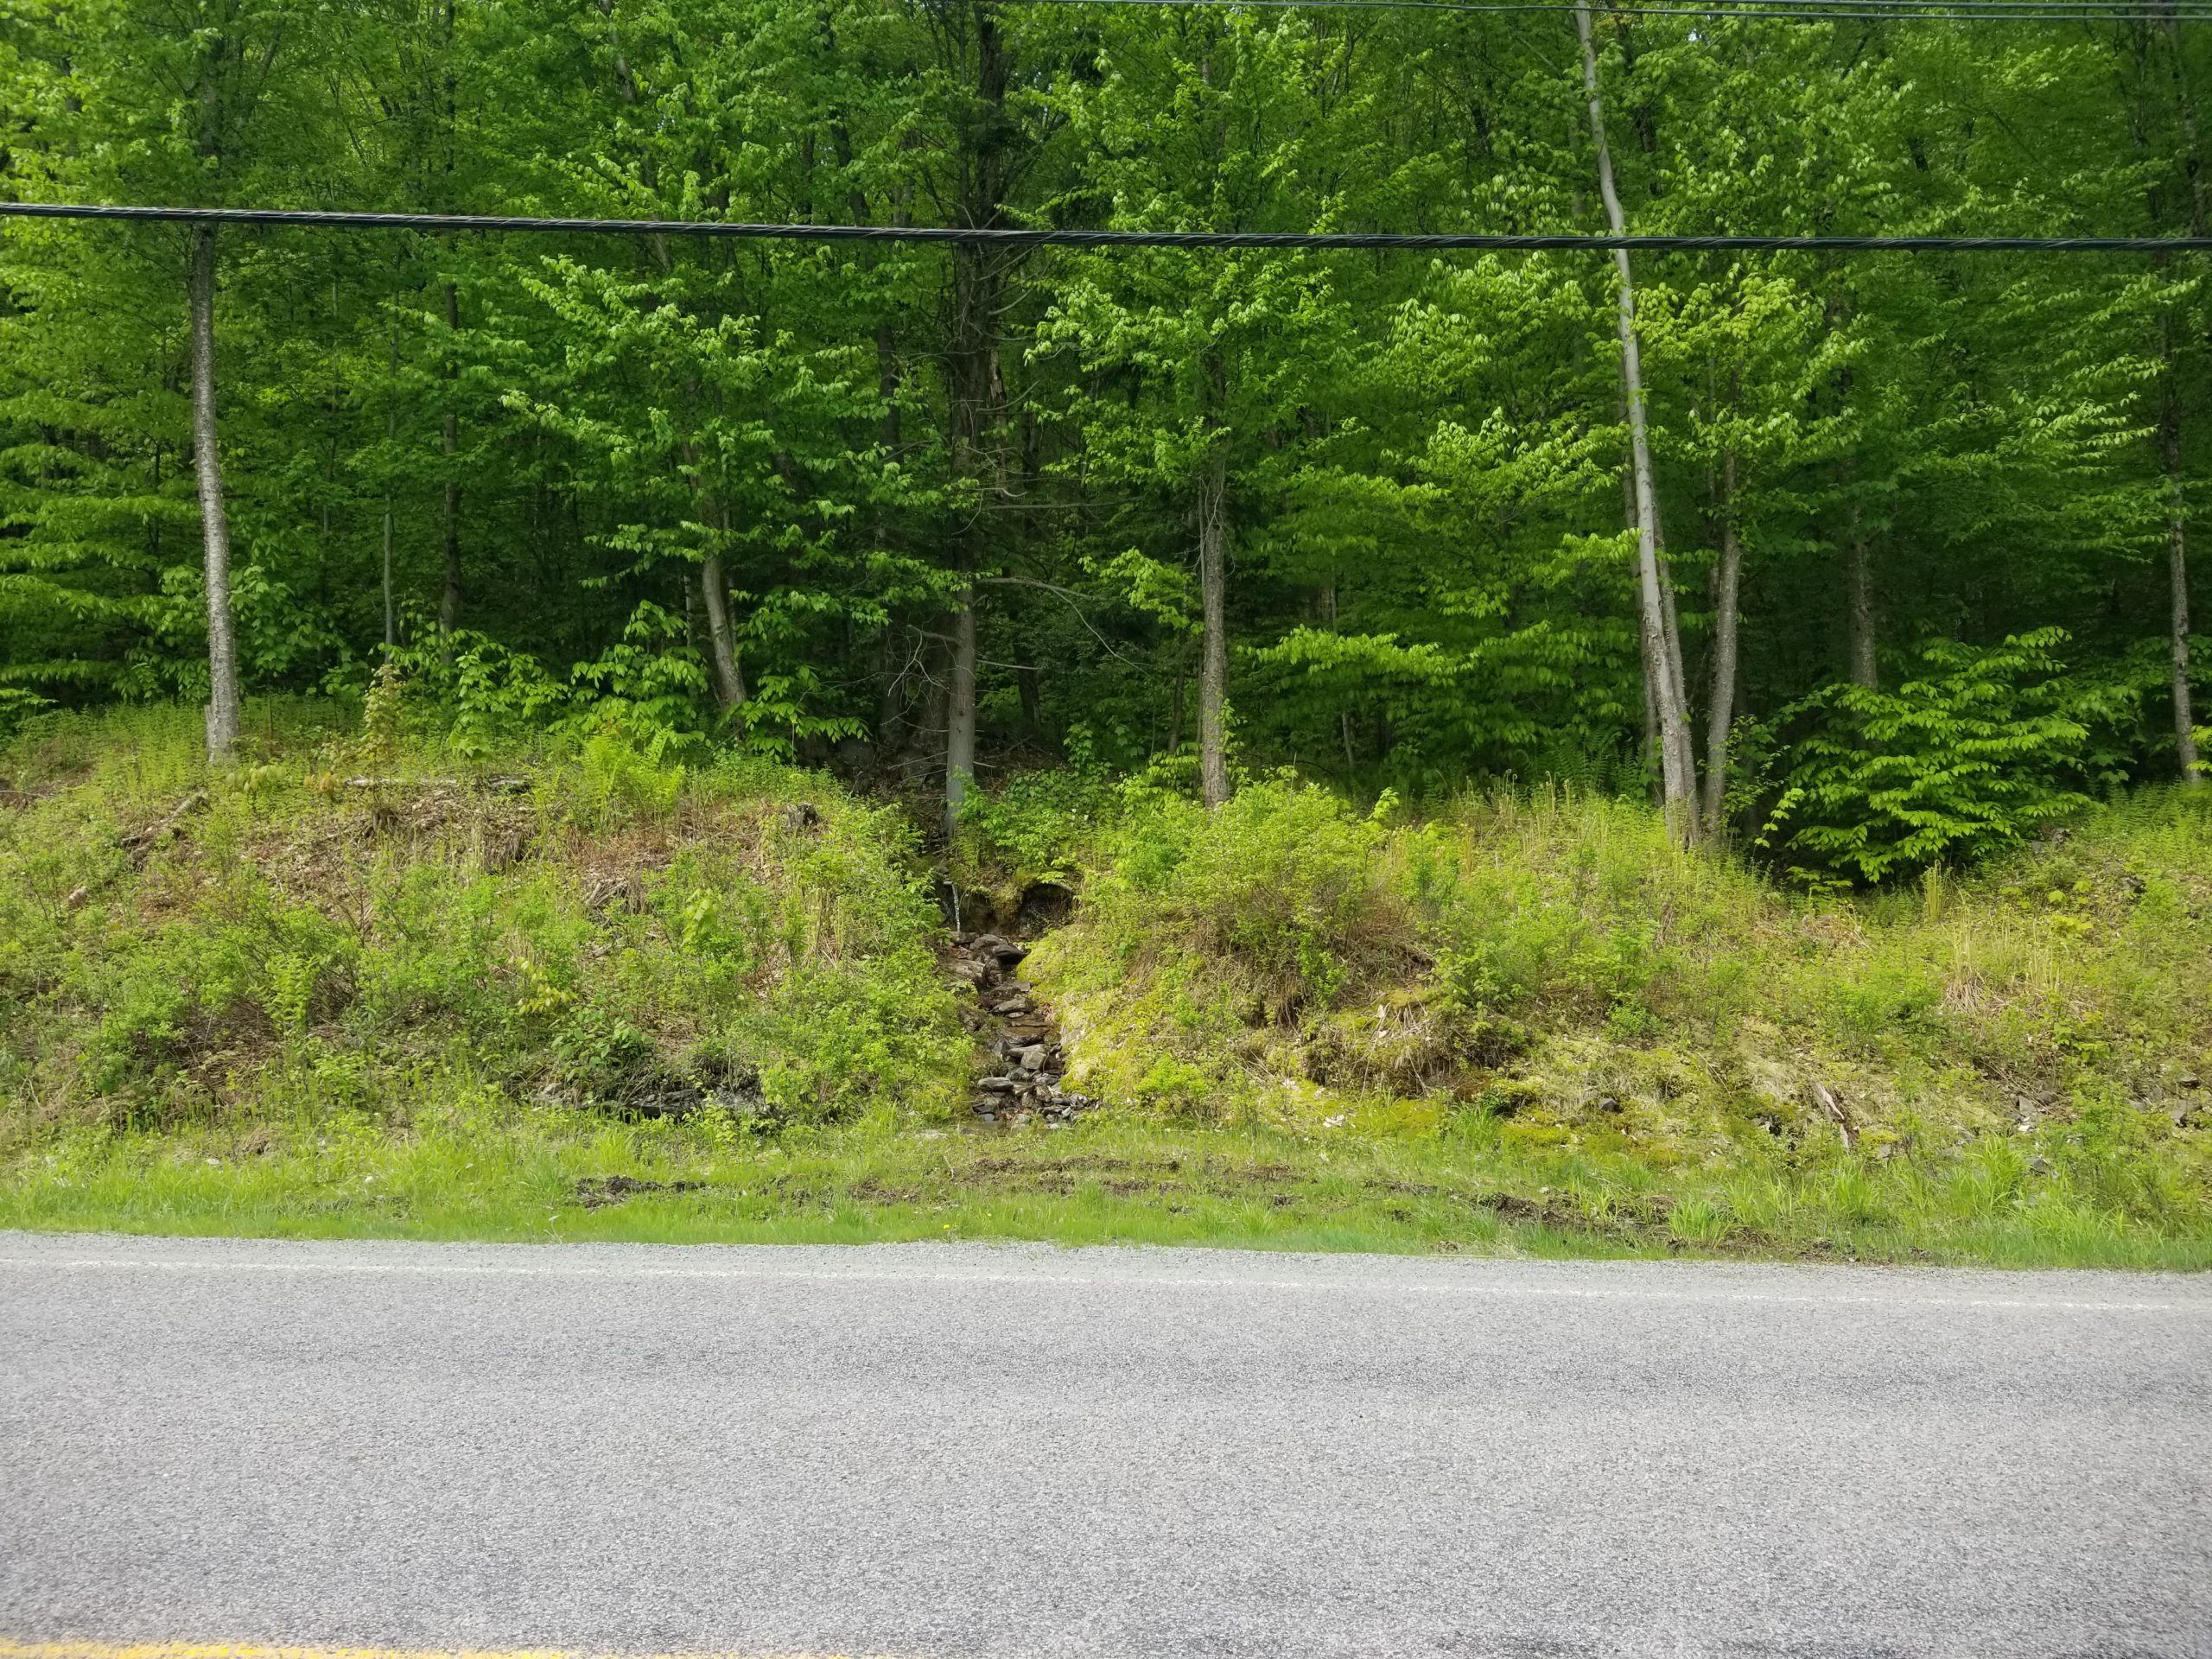
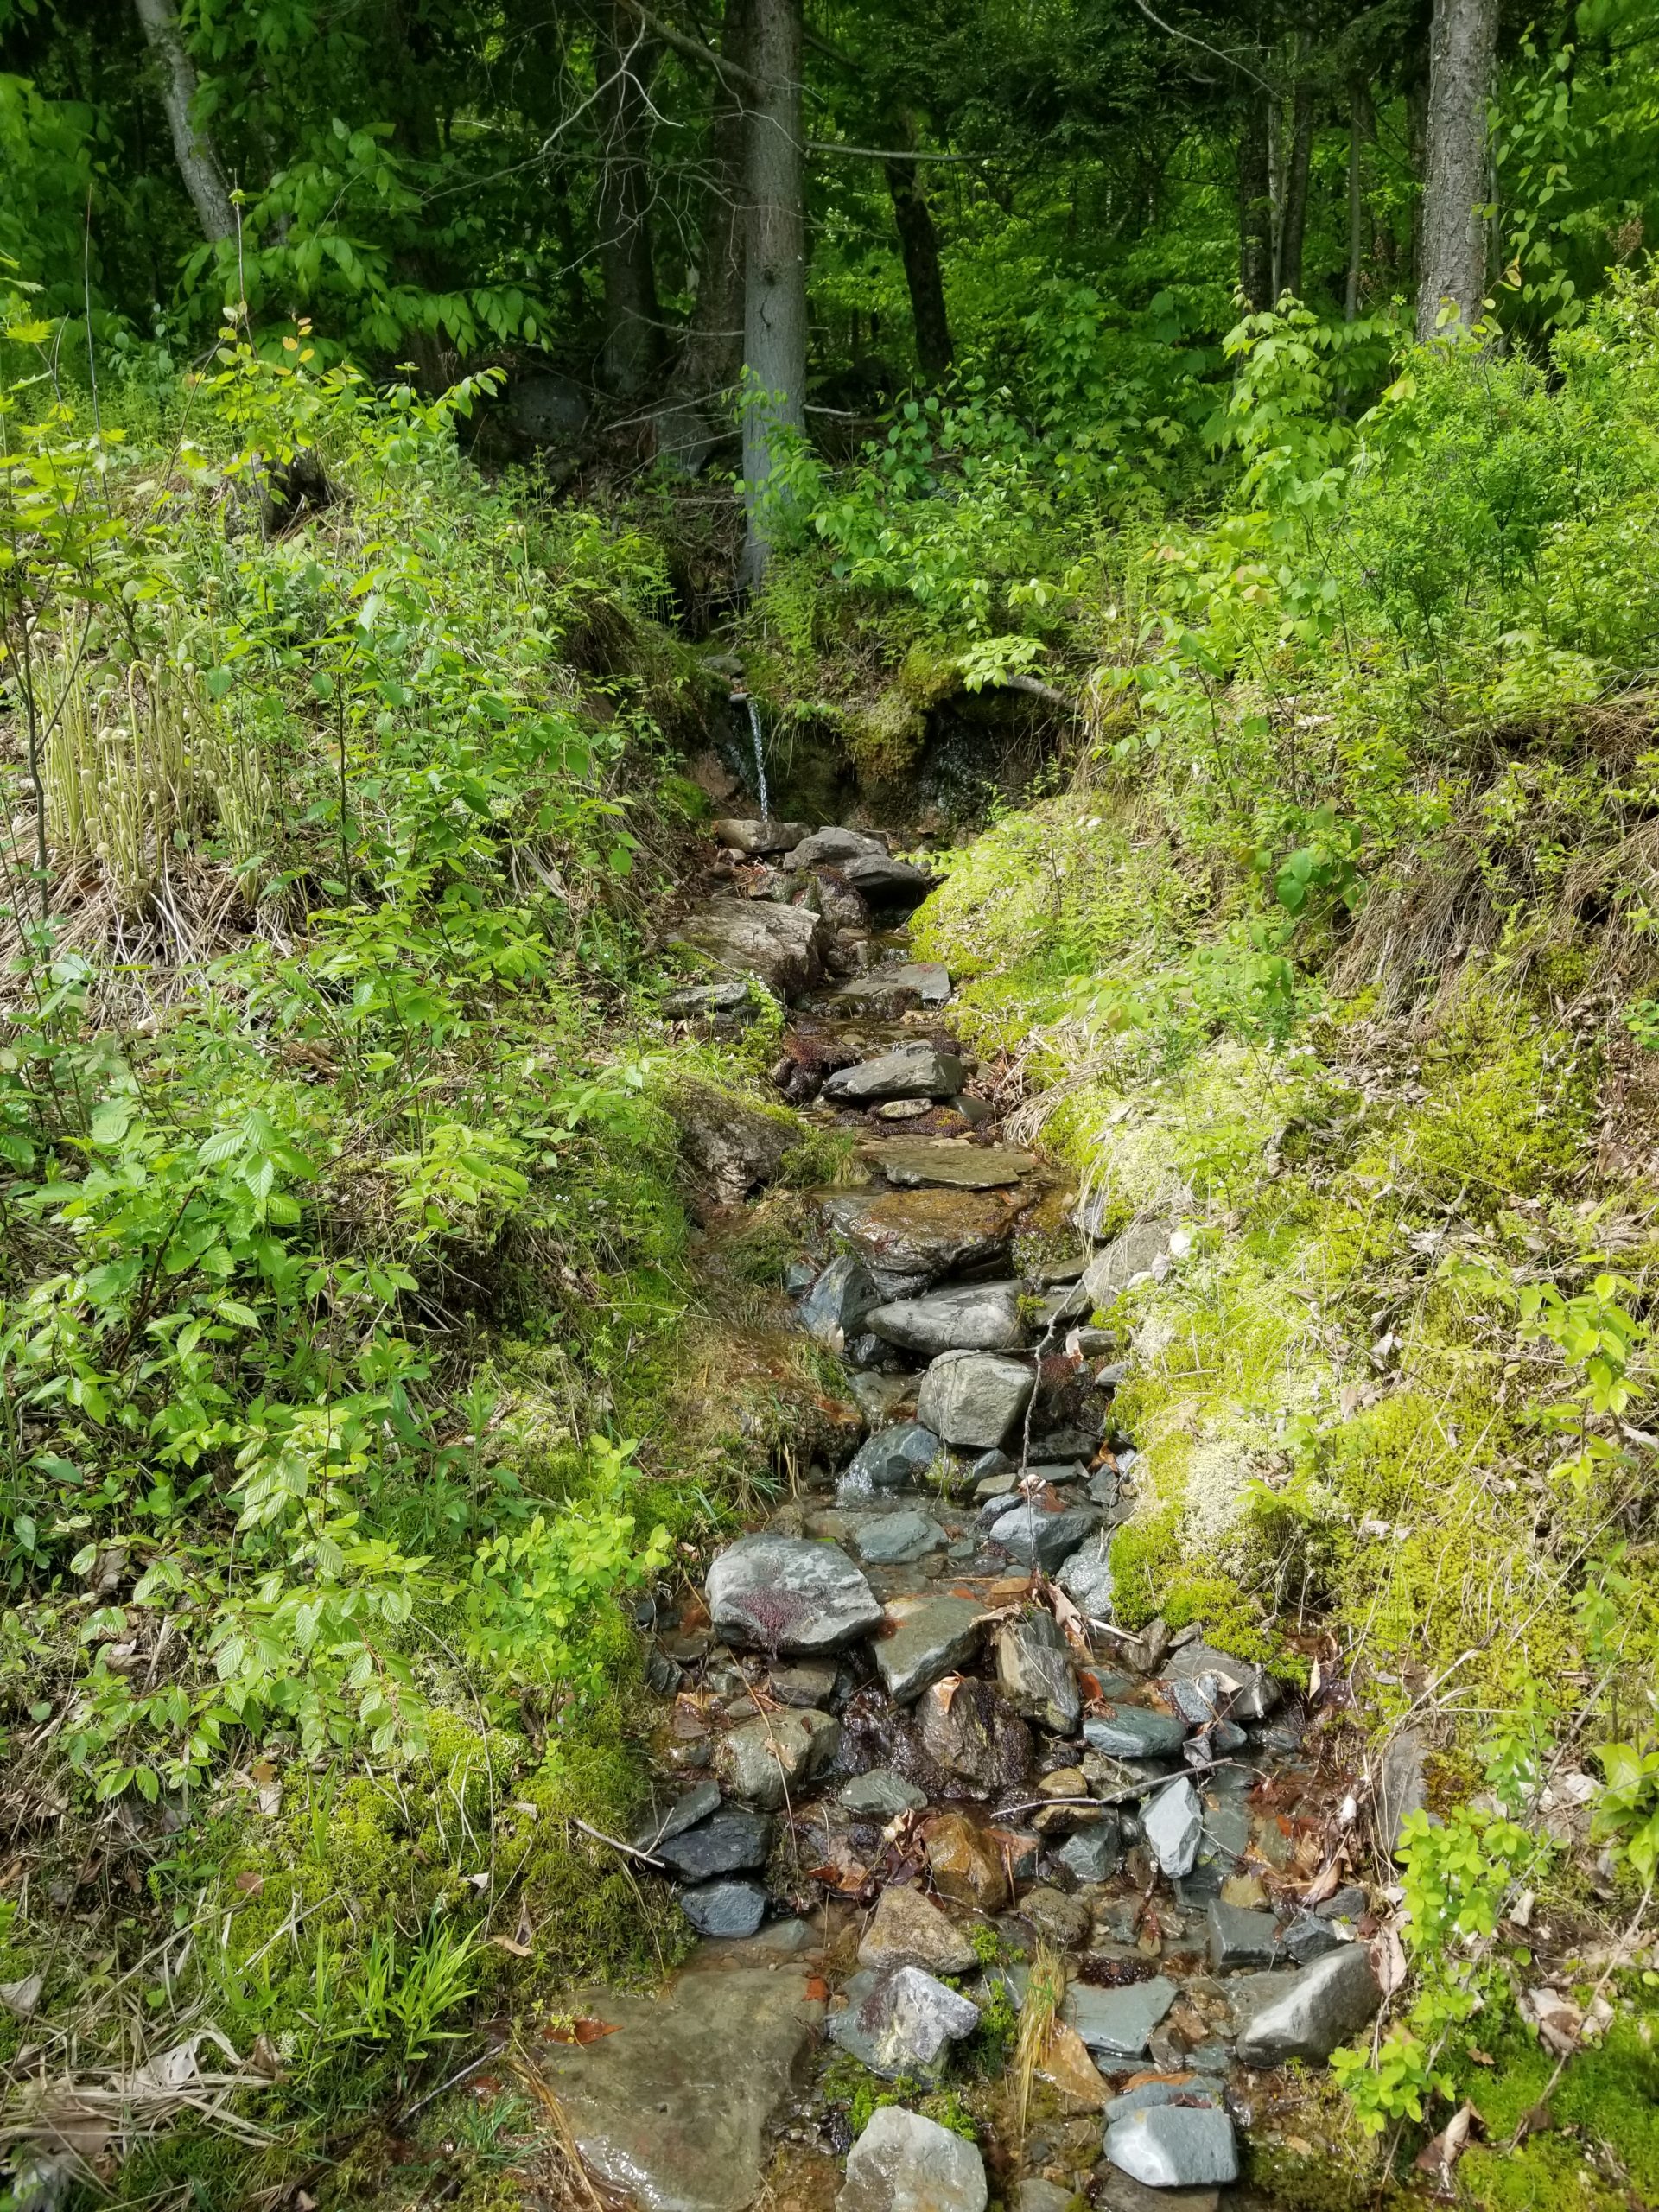

Somebody had the courtesy to install an outflow pipe so the water pours over an open area, rather than just down the slope, making it easy to put your vessel below for a refill. Of course, you then have to make your way back down the slippery slope with your harvest of spring water, which is not an entirely trivial thing to do.
Lumberjacking continues, slowly, as I make headway moving those felled trees down to the future mill area. It’s heavy work. One think that makes it better is the big lever tool I have called a Cant Hook. The thing is, the hook keeps losing its cotter pins. Any time I bring it out to do some work, invariably a pin or two is lost as the tool gets tossed about or is dragged through underbrush, etc. I’m surprised that for what it otherwise so well-built, they didn’t solve this problem better.
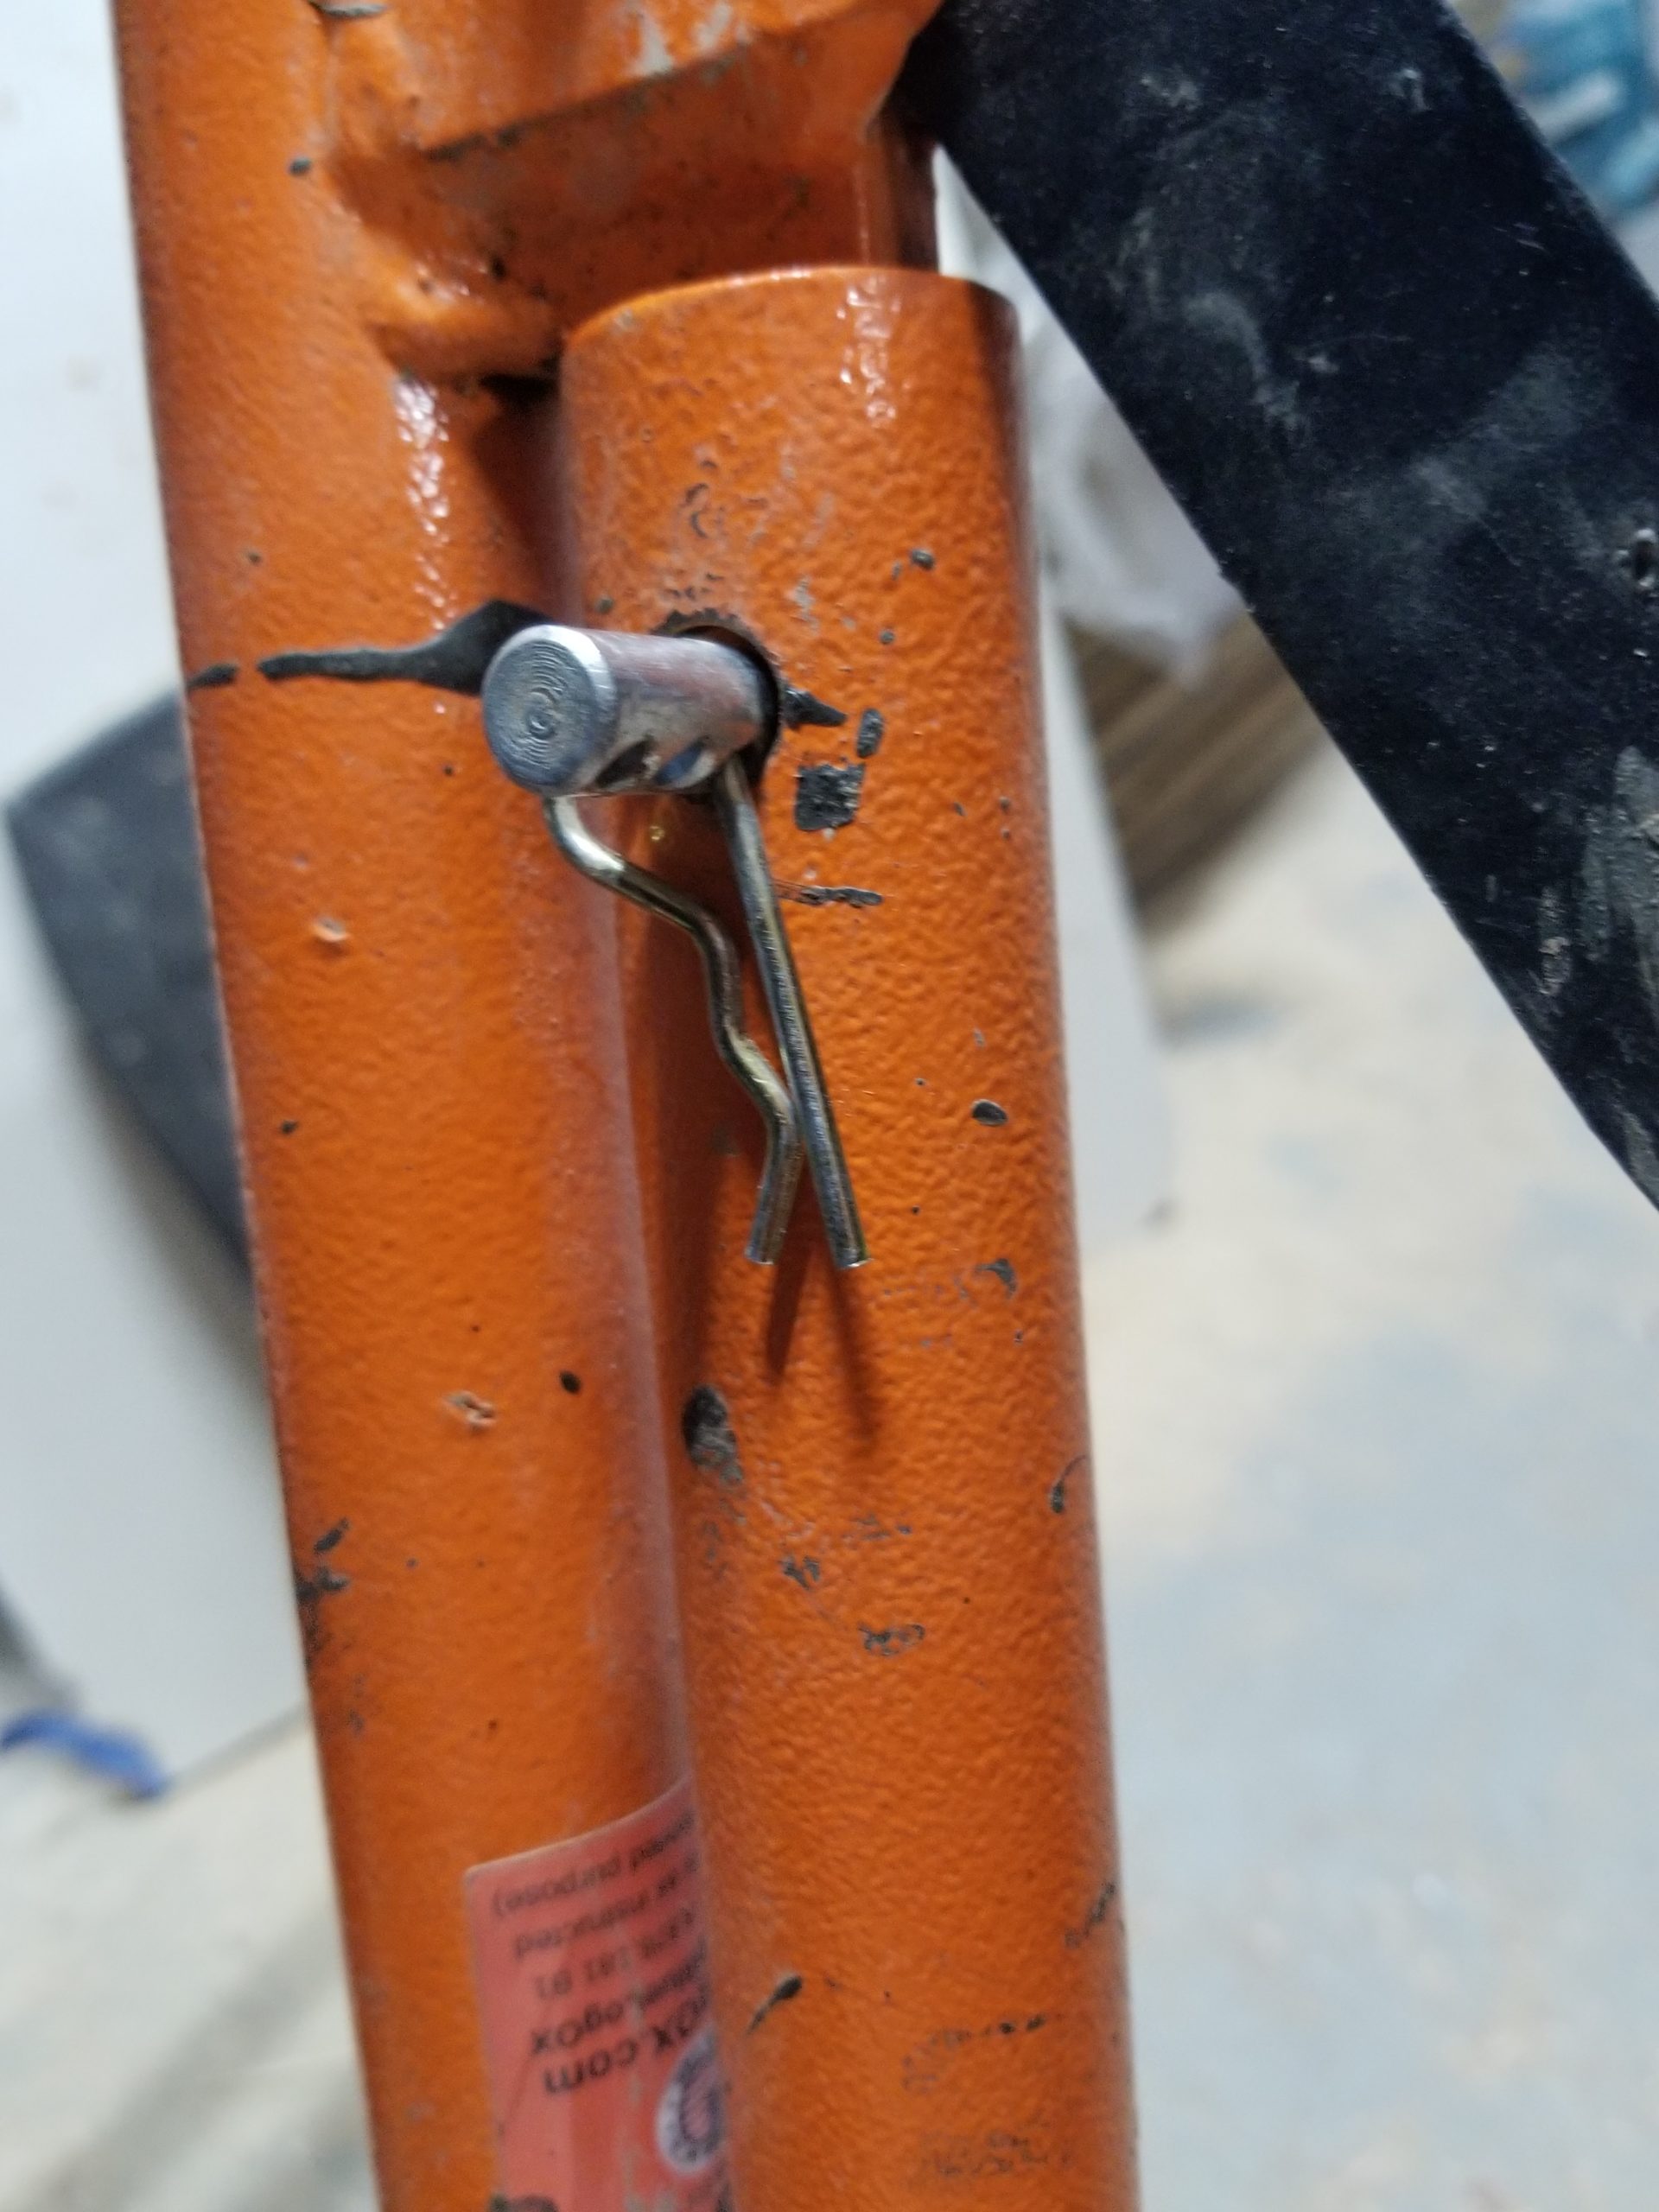
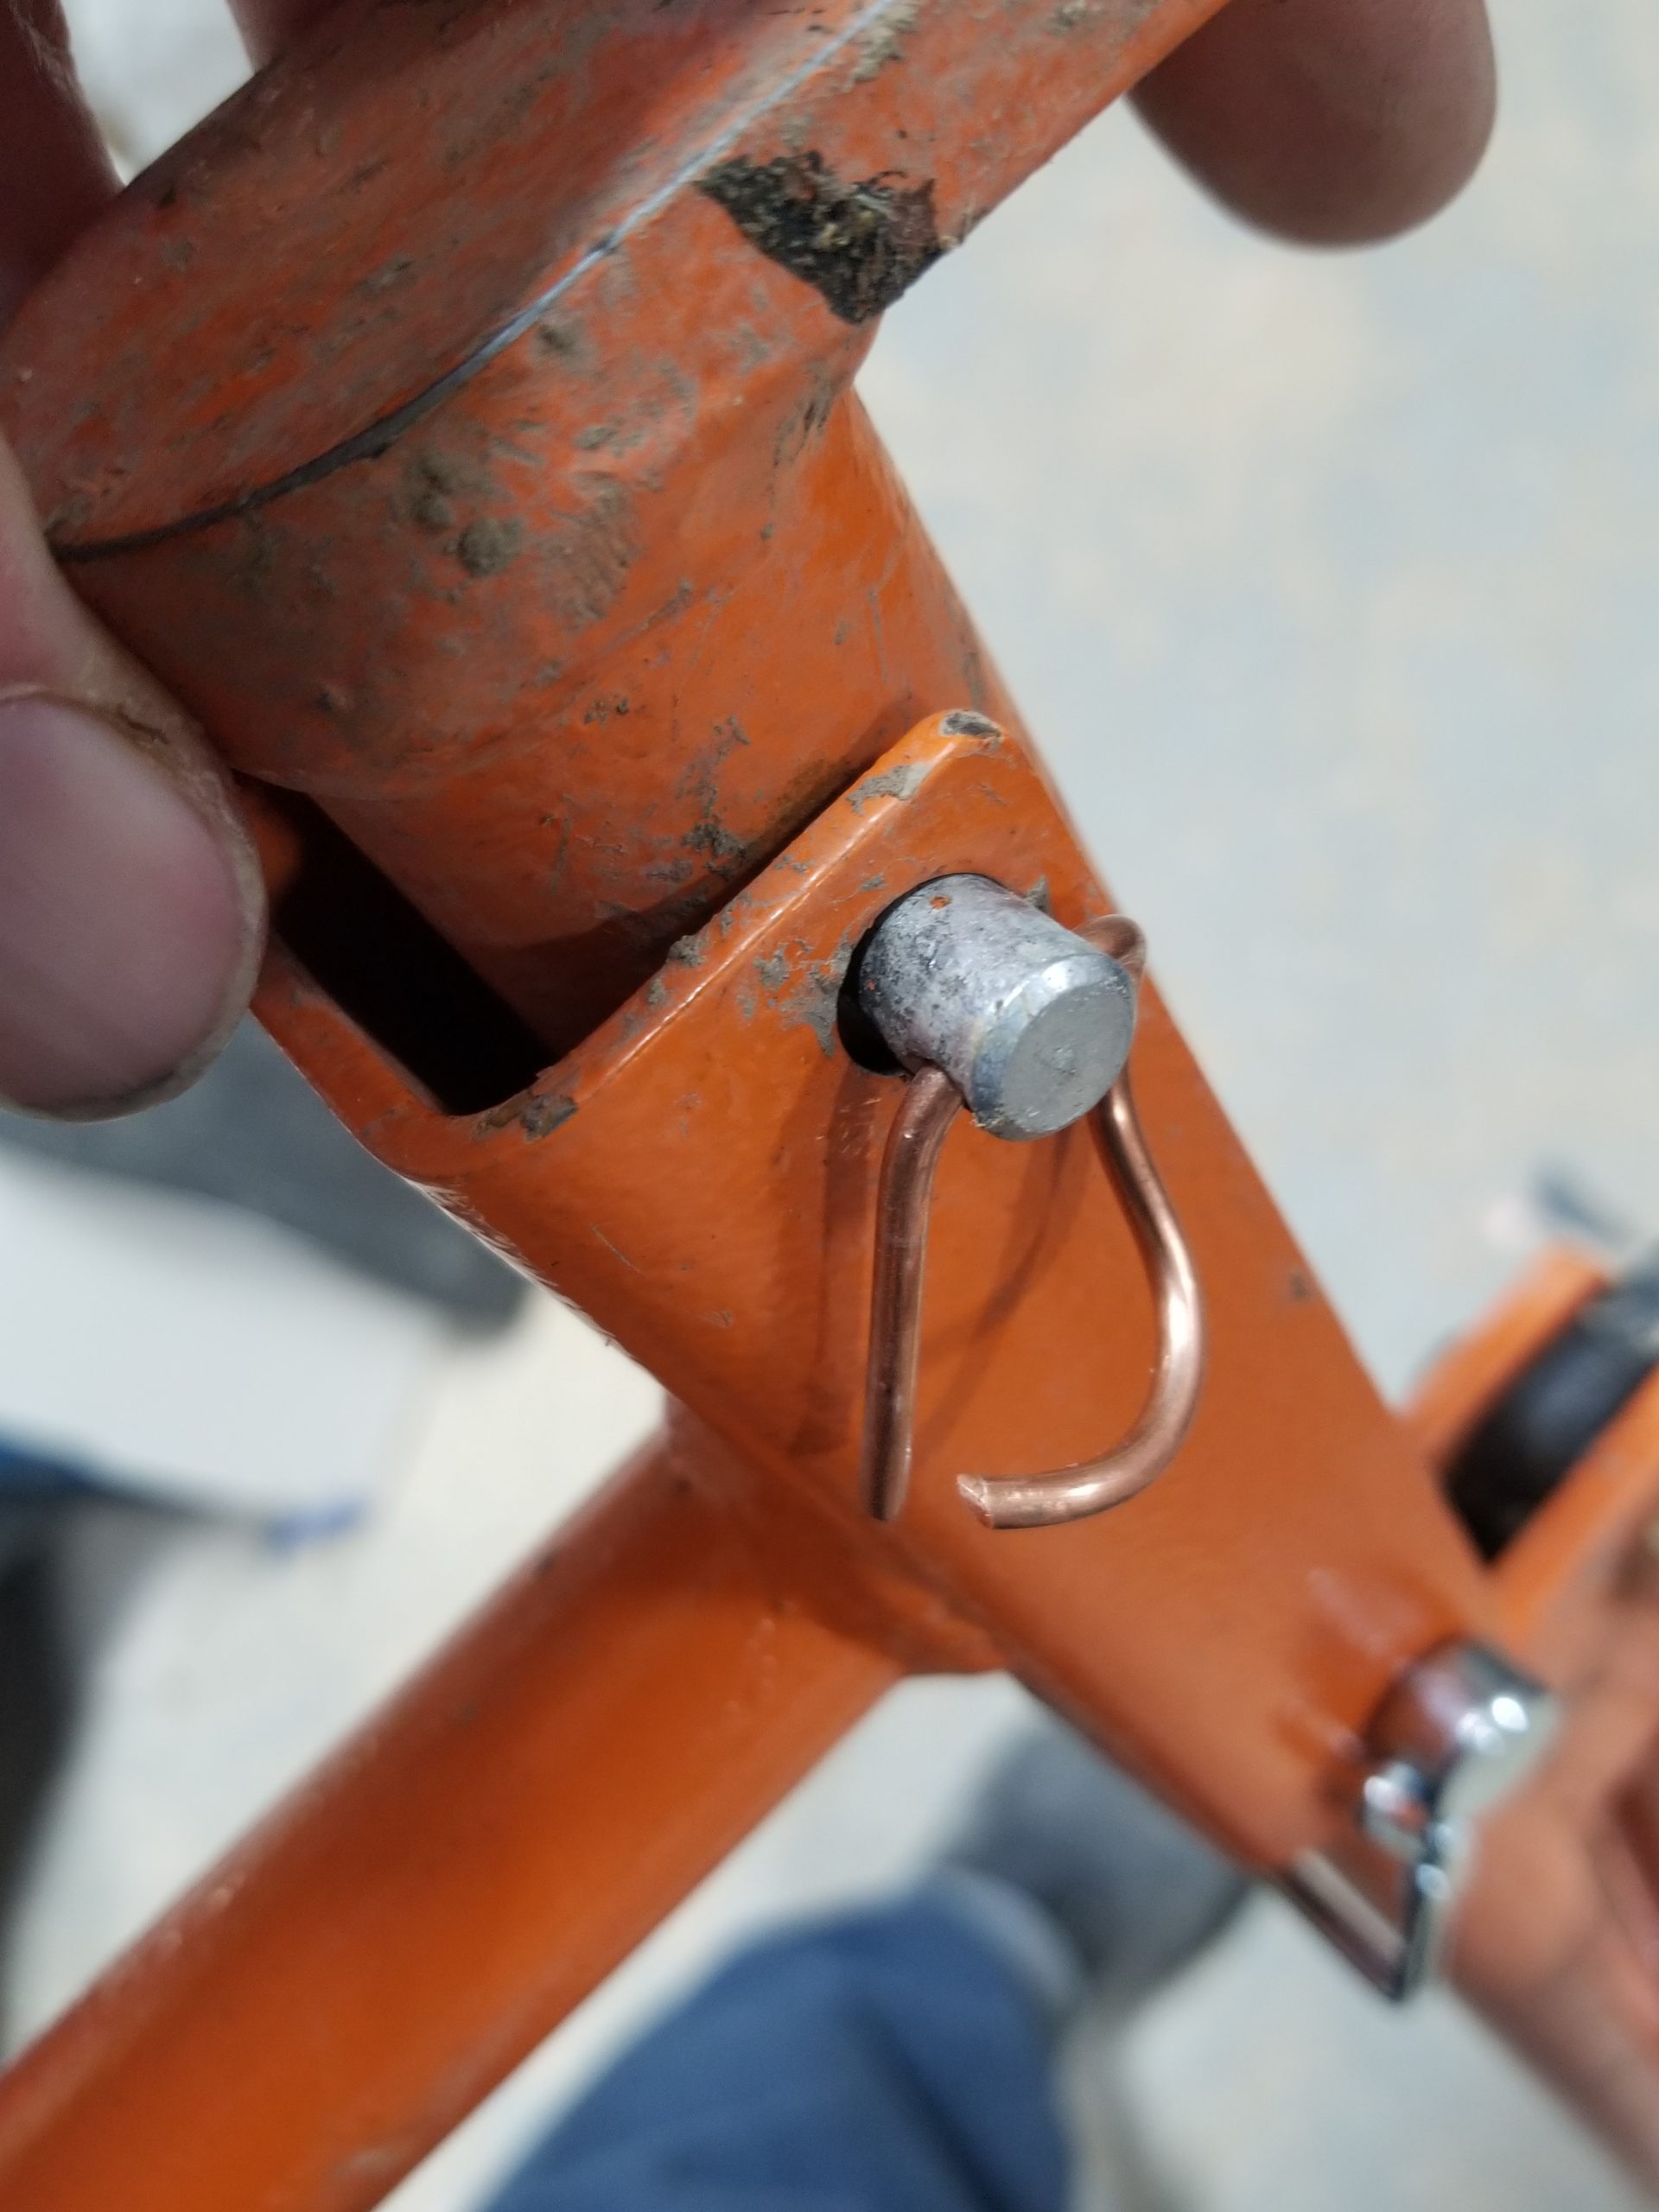
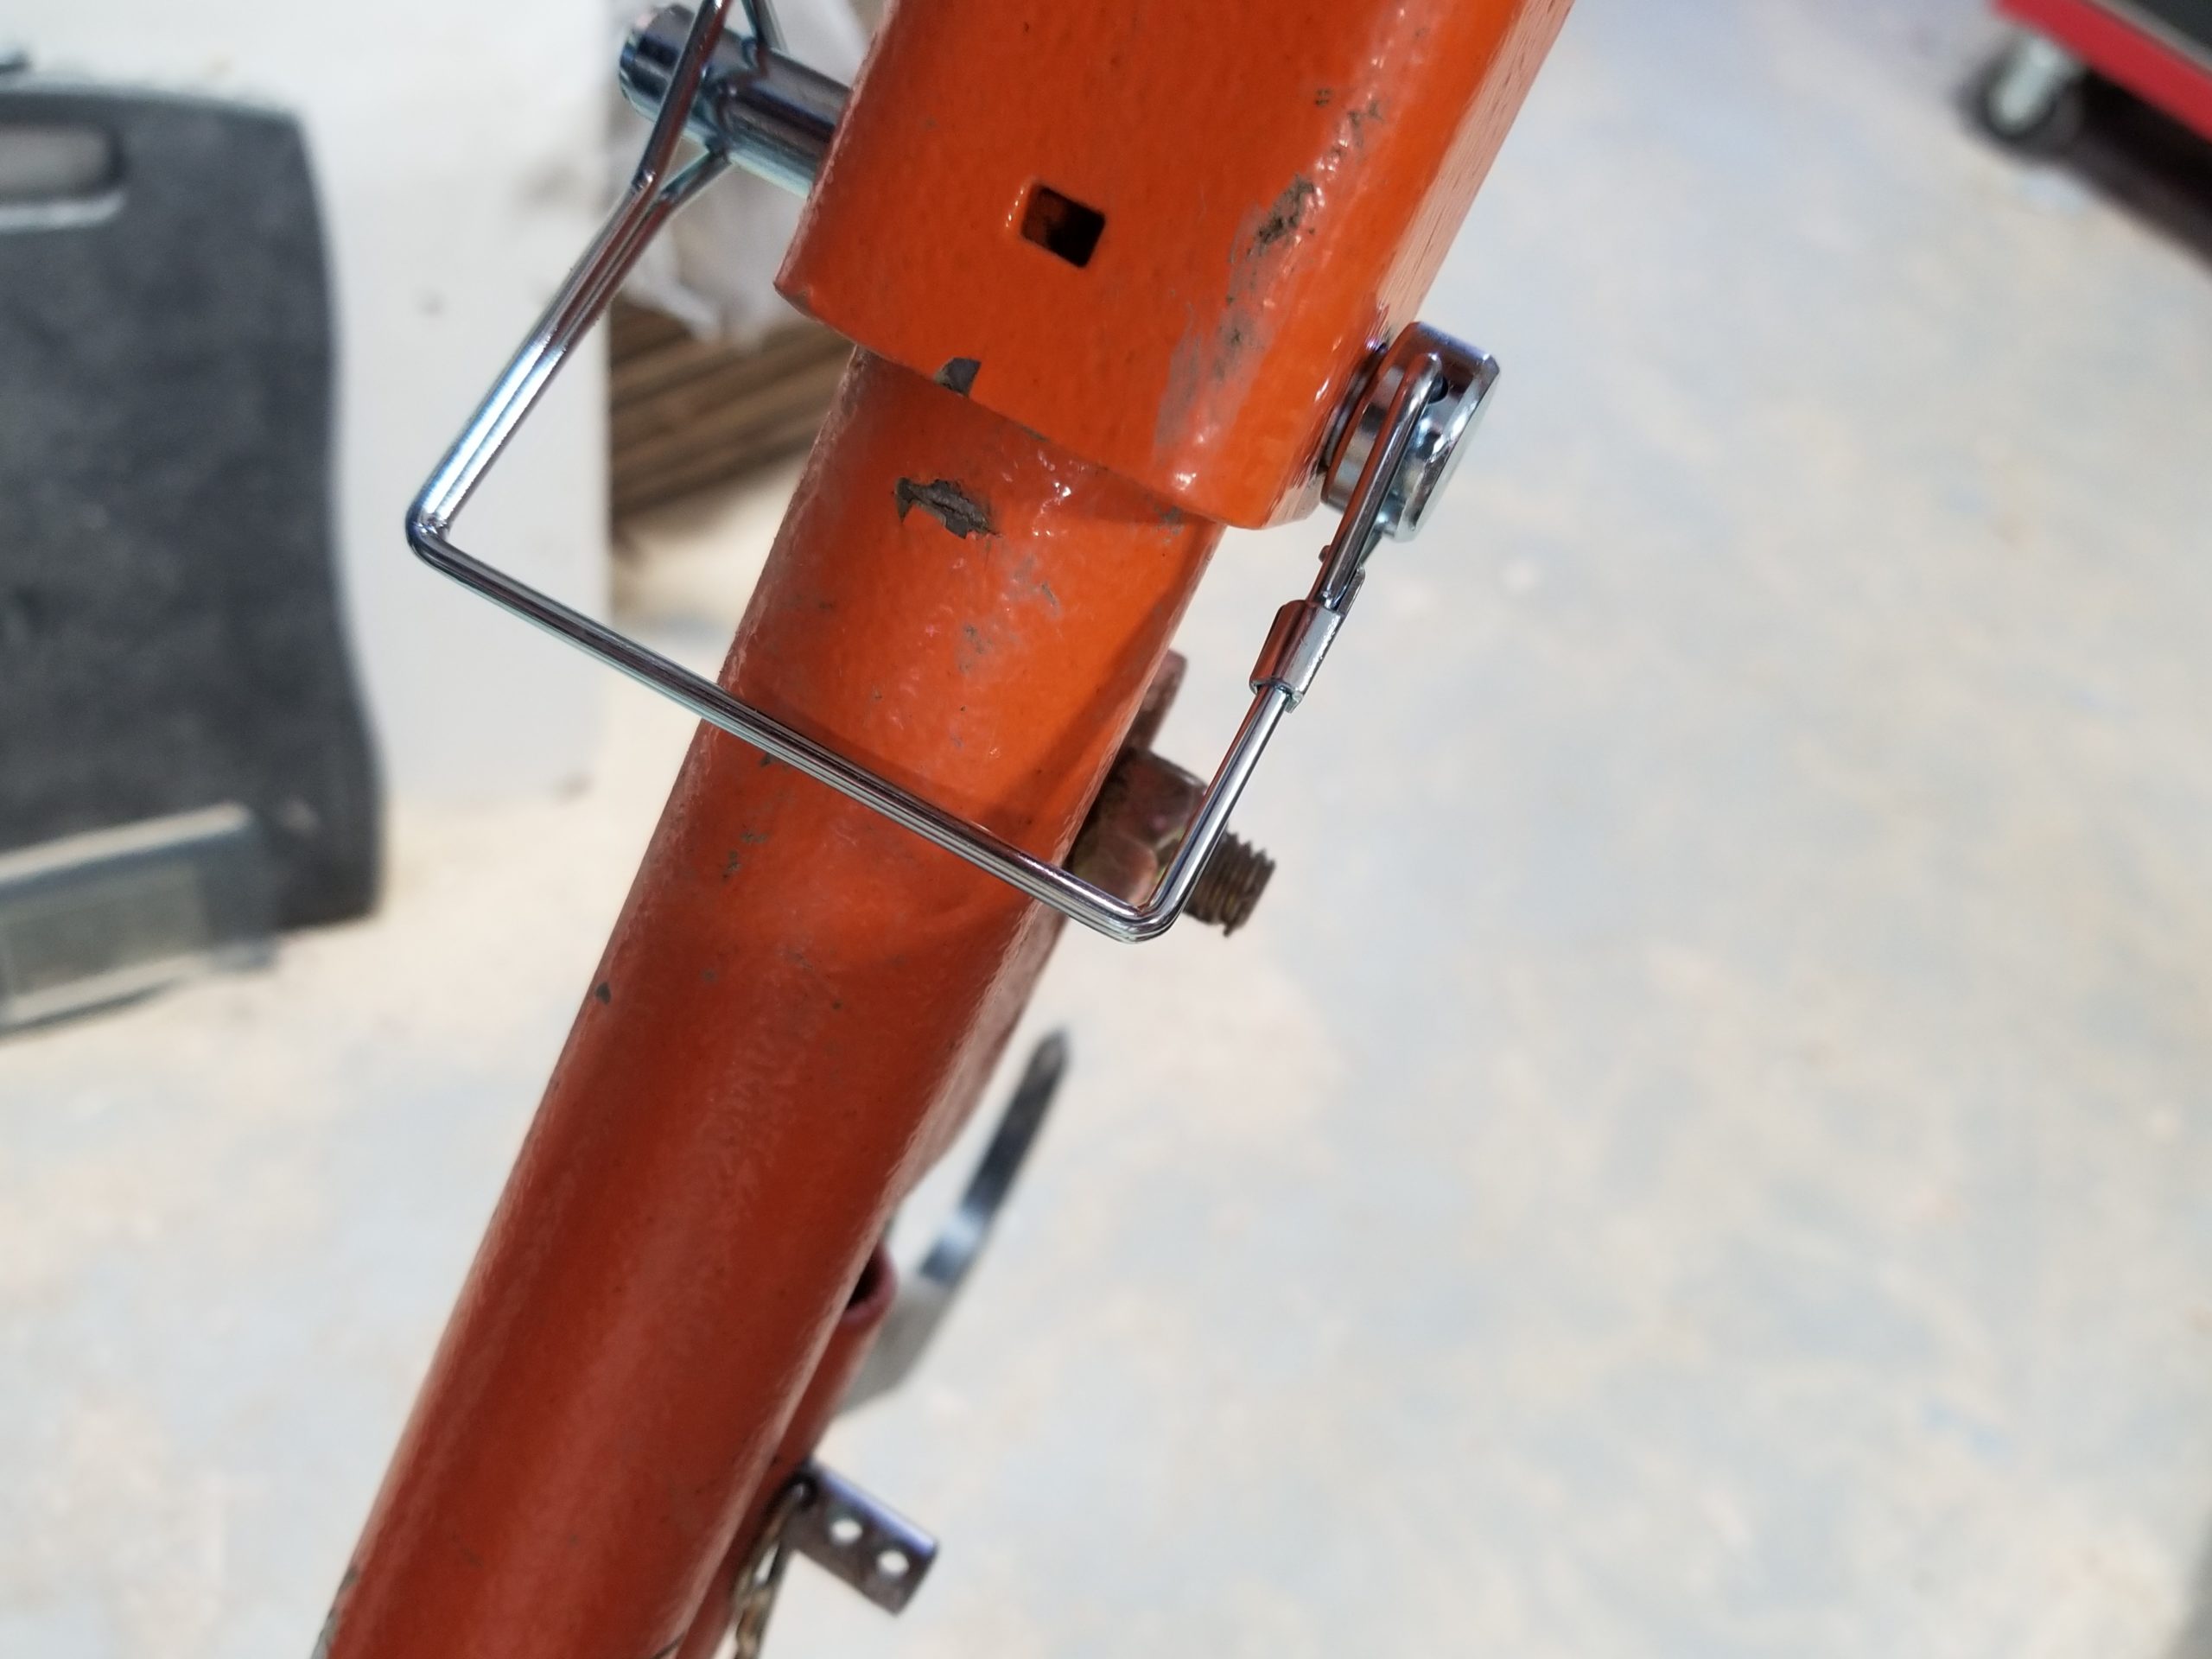
If the pins are shoved all the way down (as at left), they stay better, but likewise are remarkably difficult to undo, which is something that needs to happen with some frequency since the tool can be reconfigured a few different ways. A captive pin is the best of both: very secure and easy to remove.
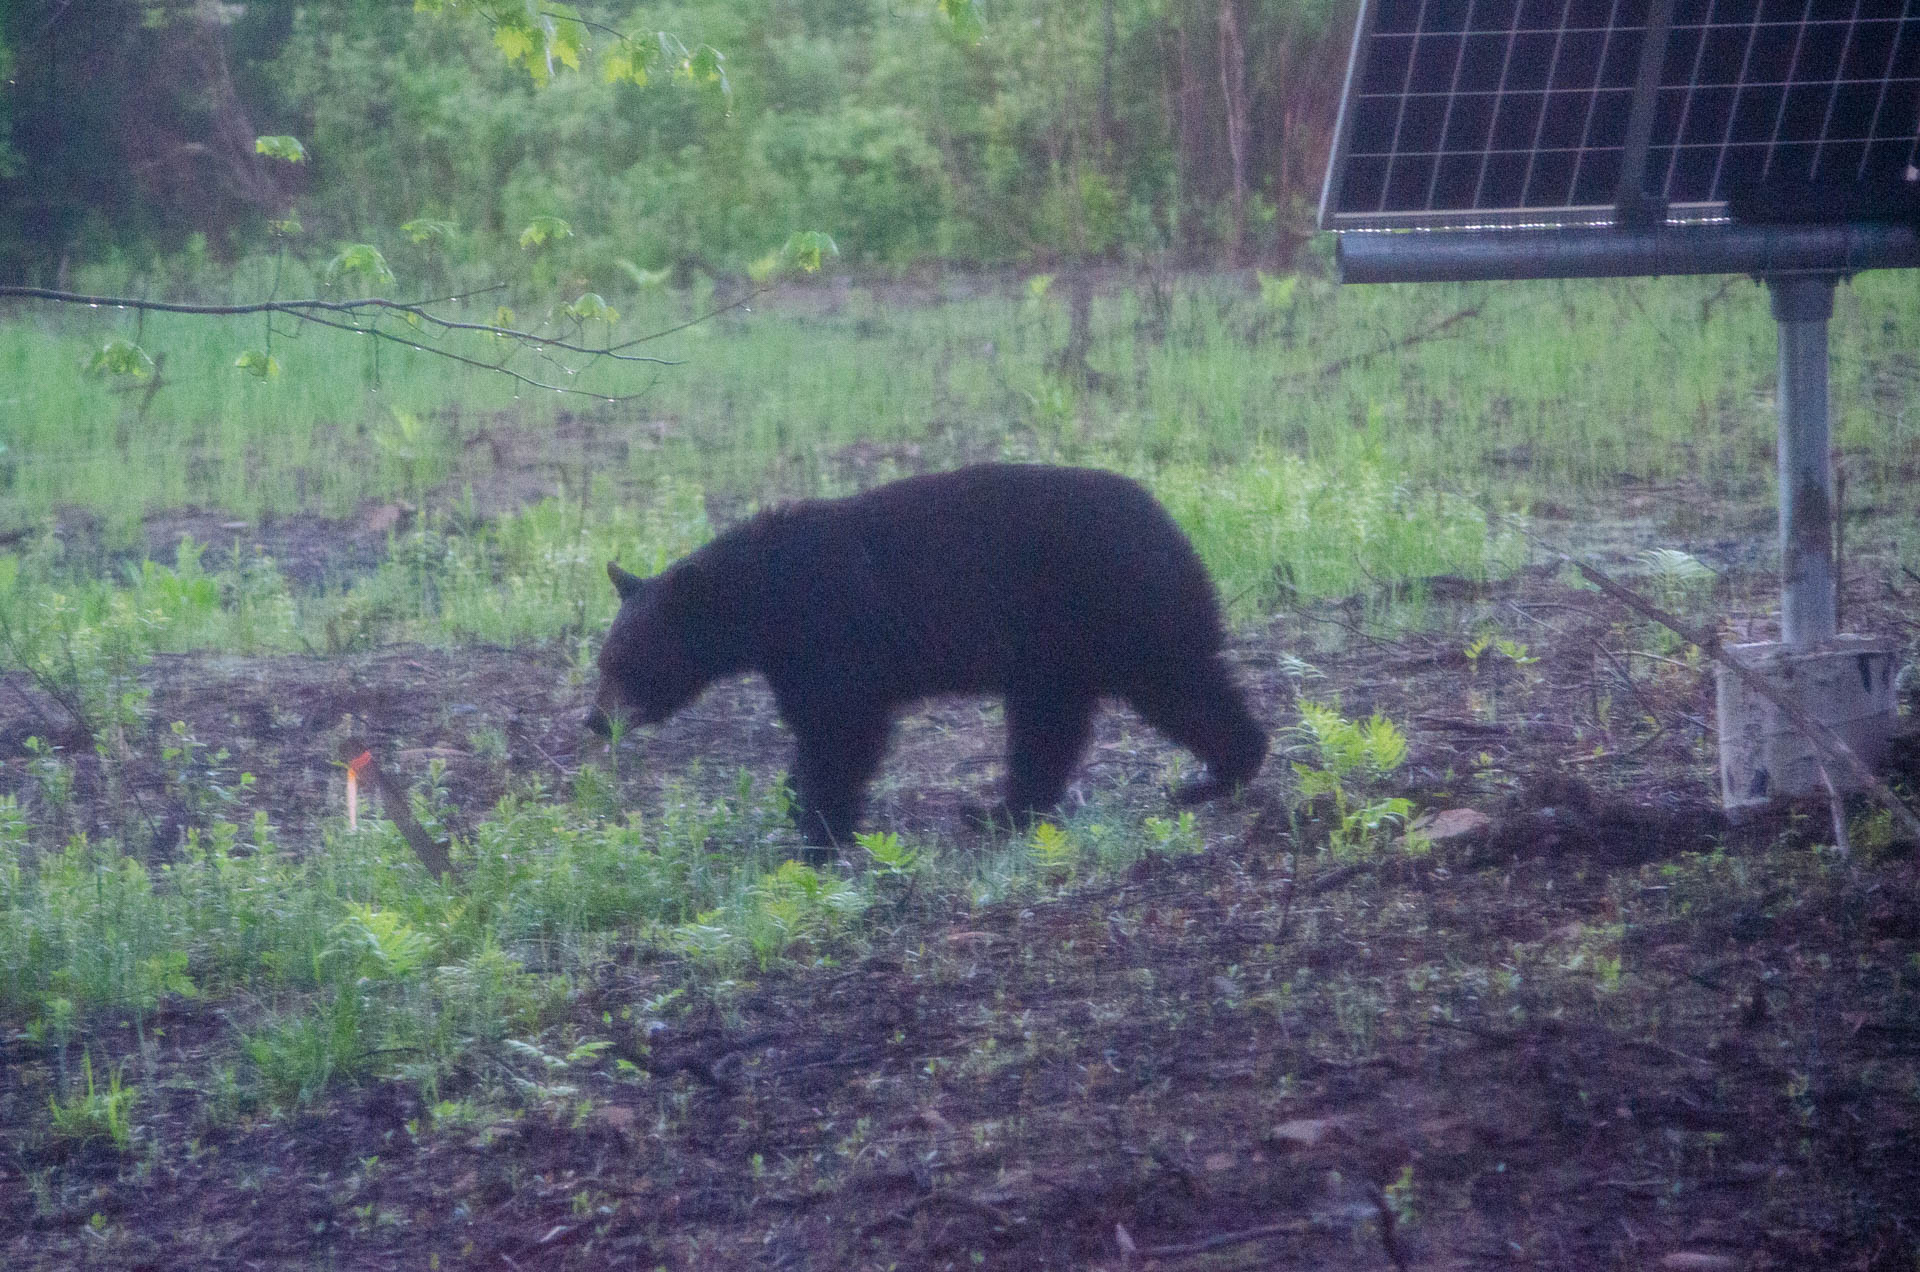
Life in the hinterlands! Lumberjacking. Tadpole rescue. Bear sightings. Never a dull moment. Except when it is. And then, it’s just quiet and nice 🙂
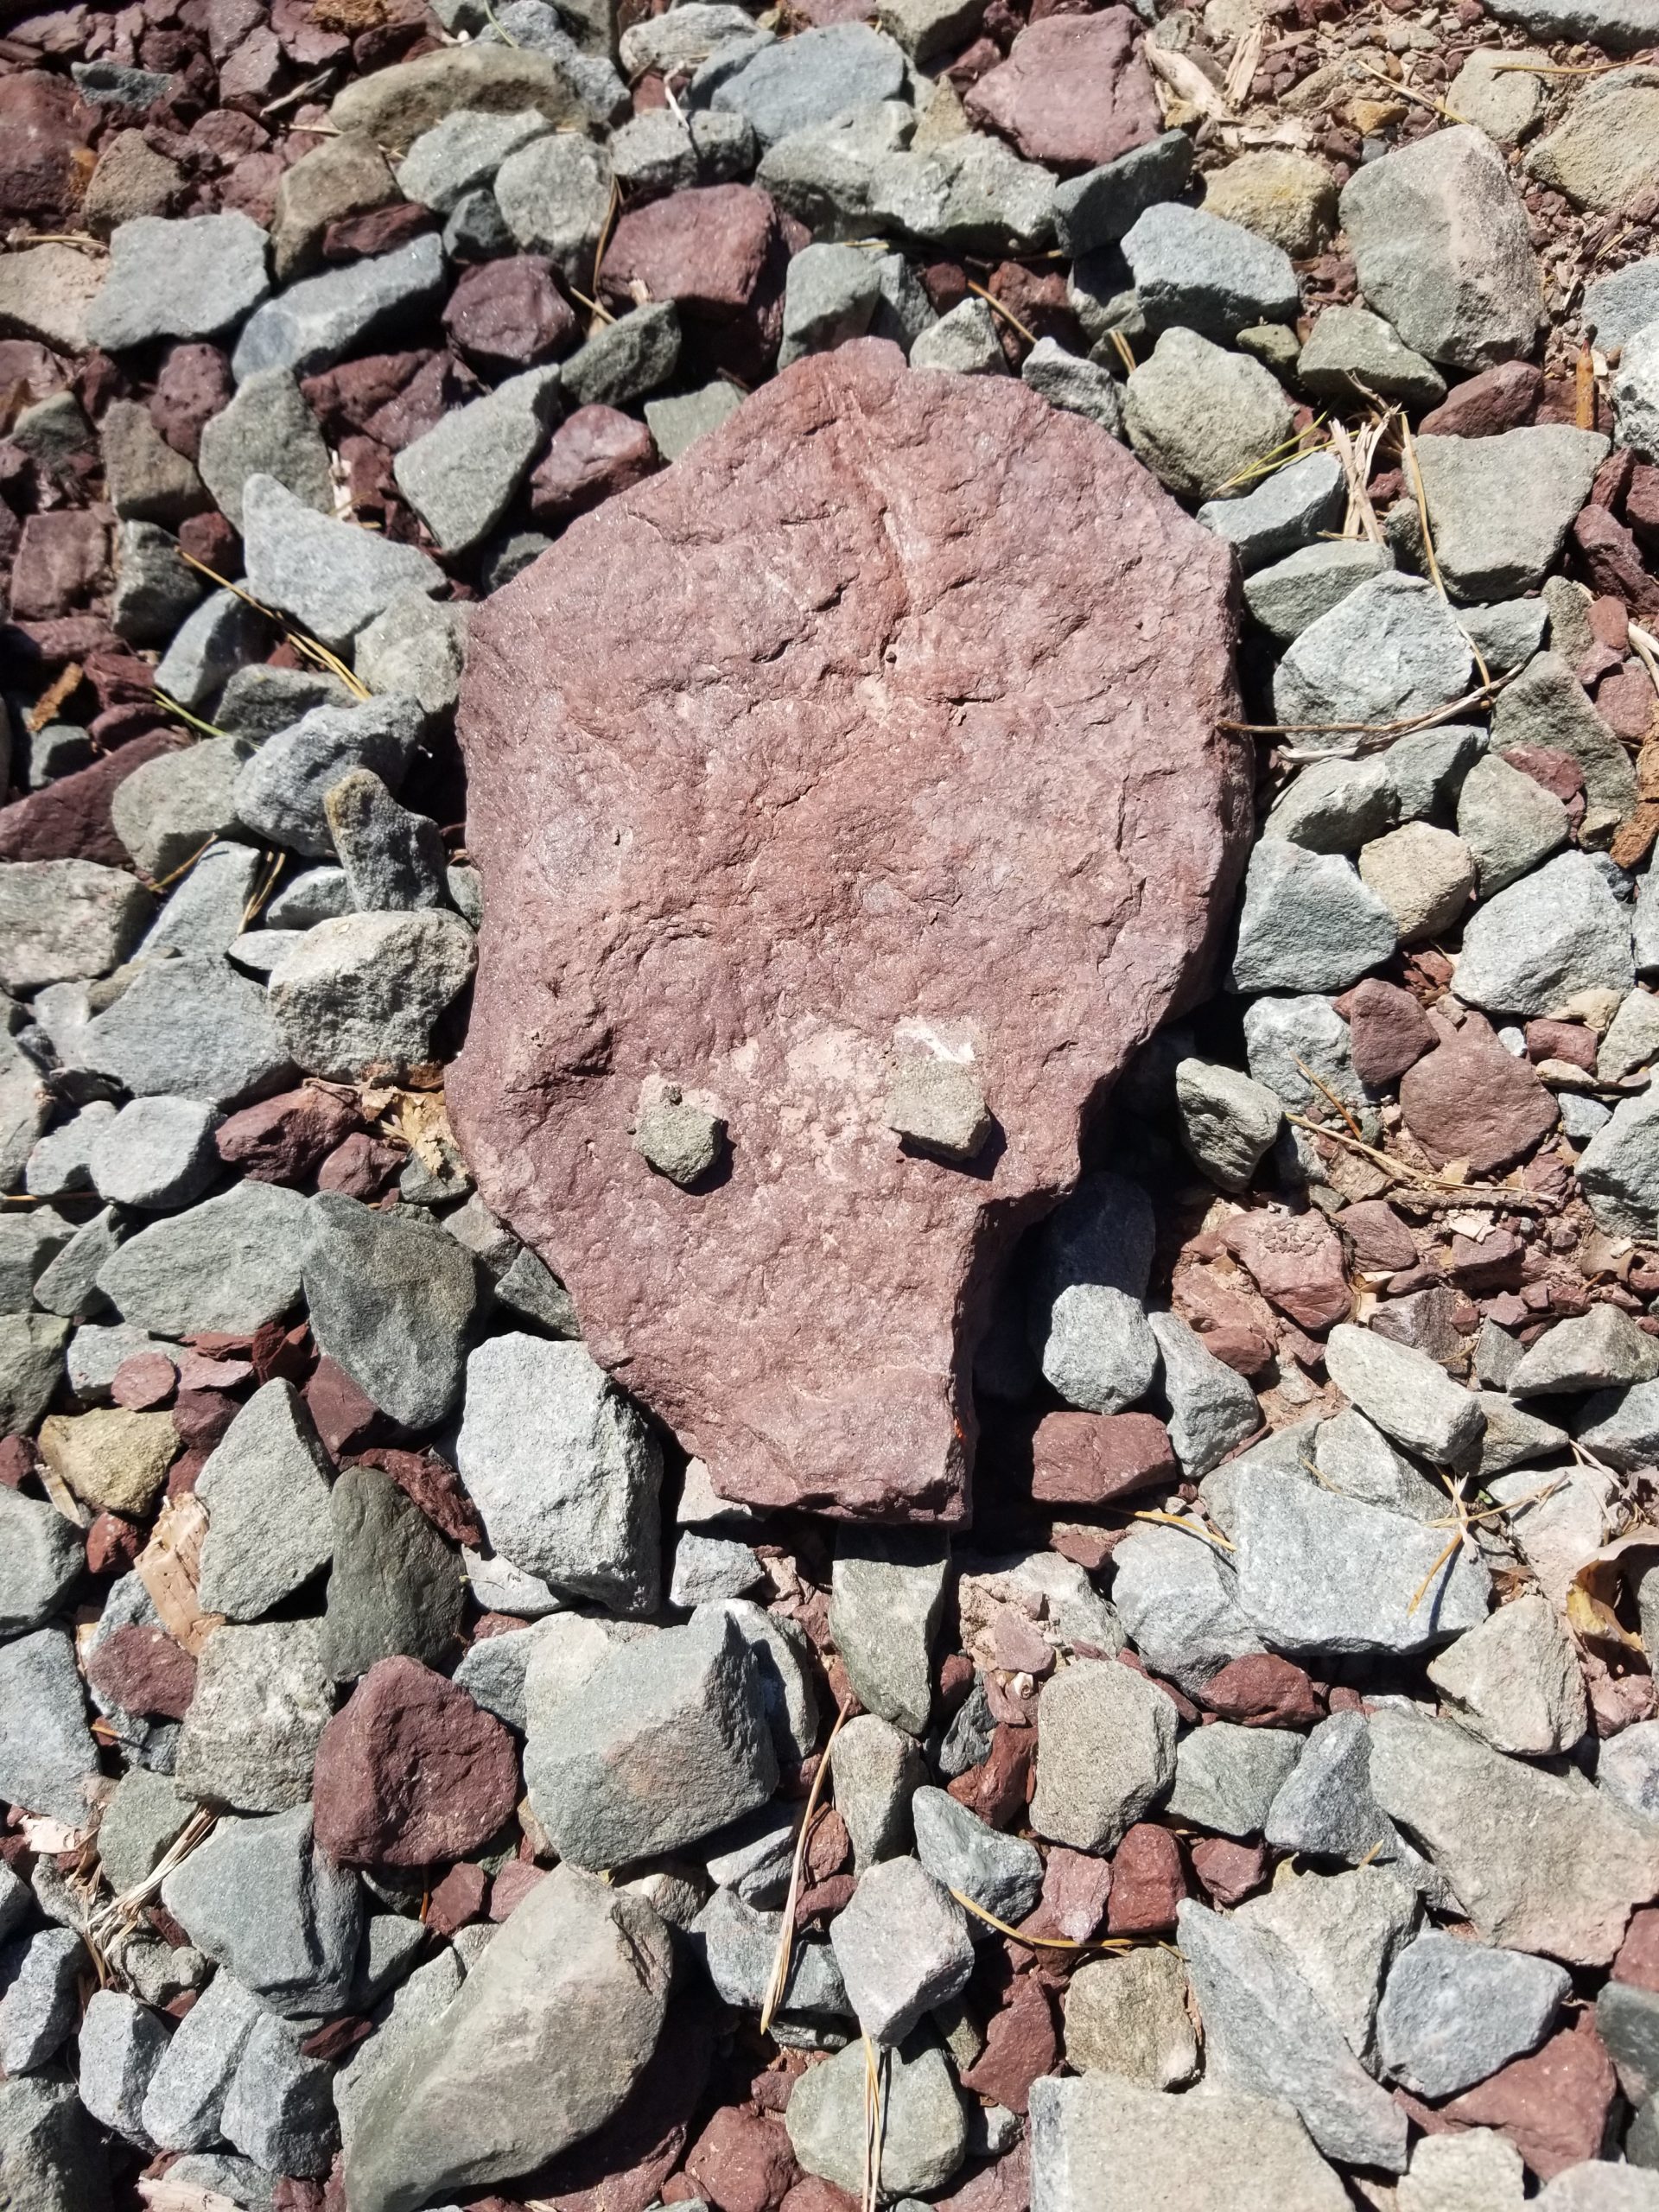
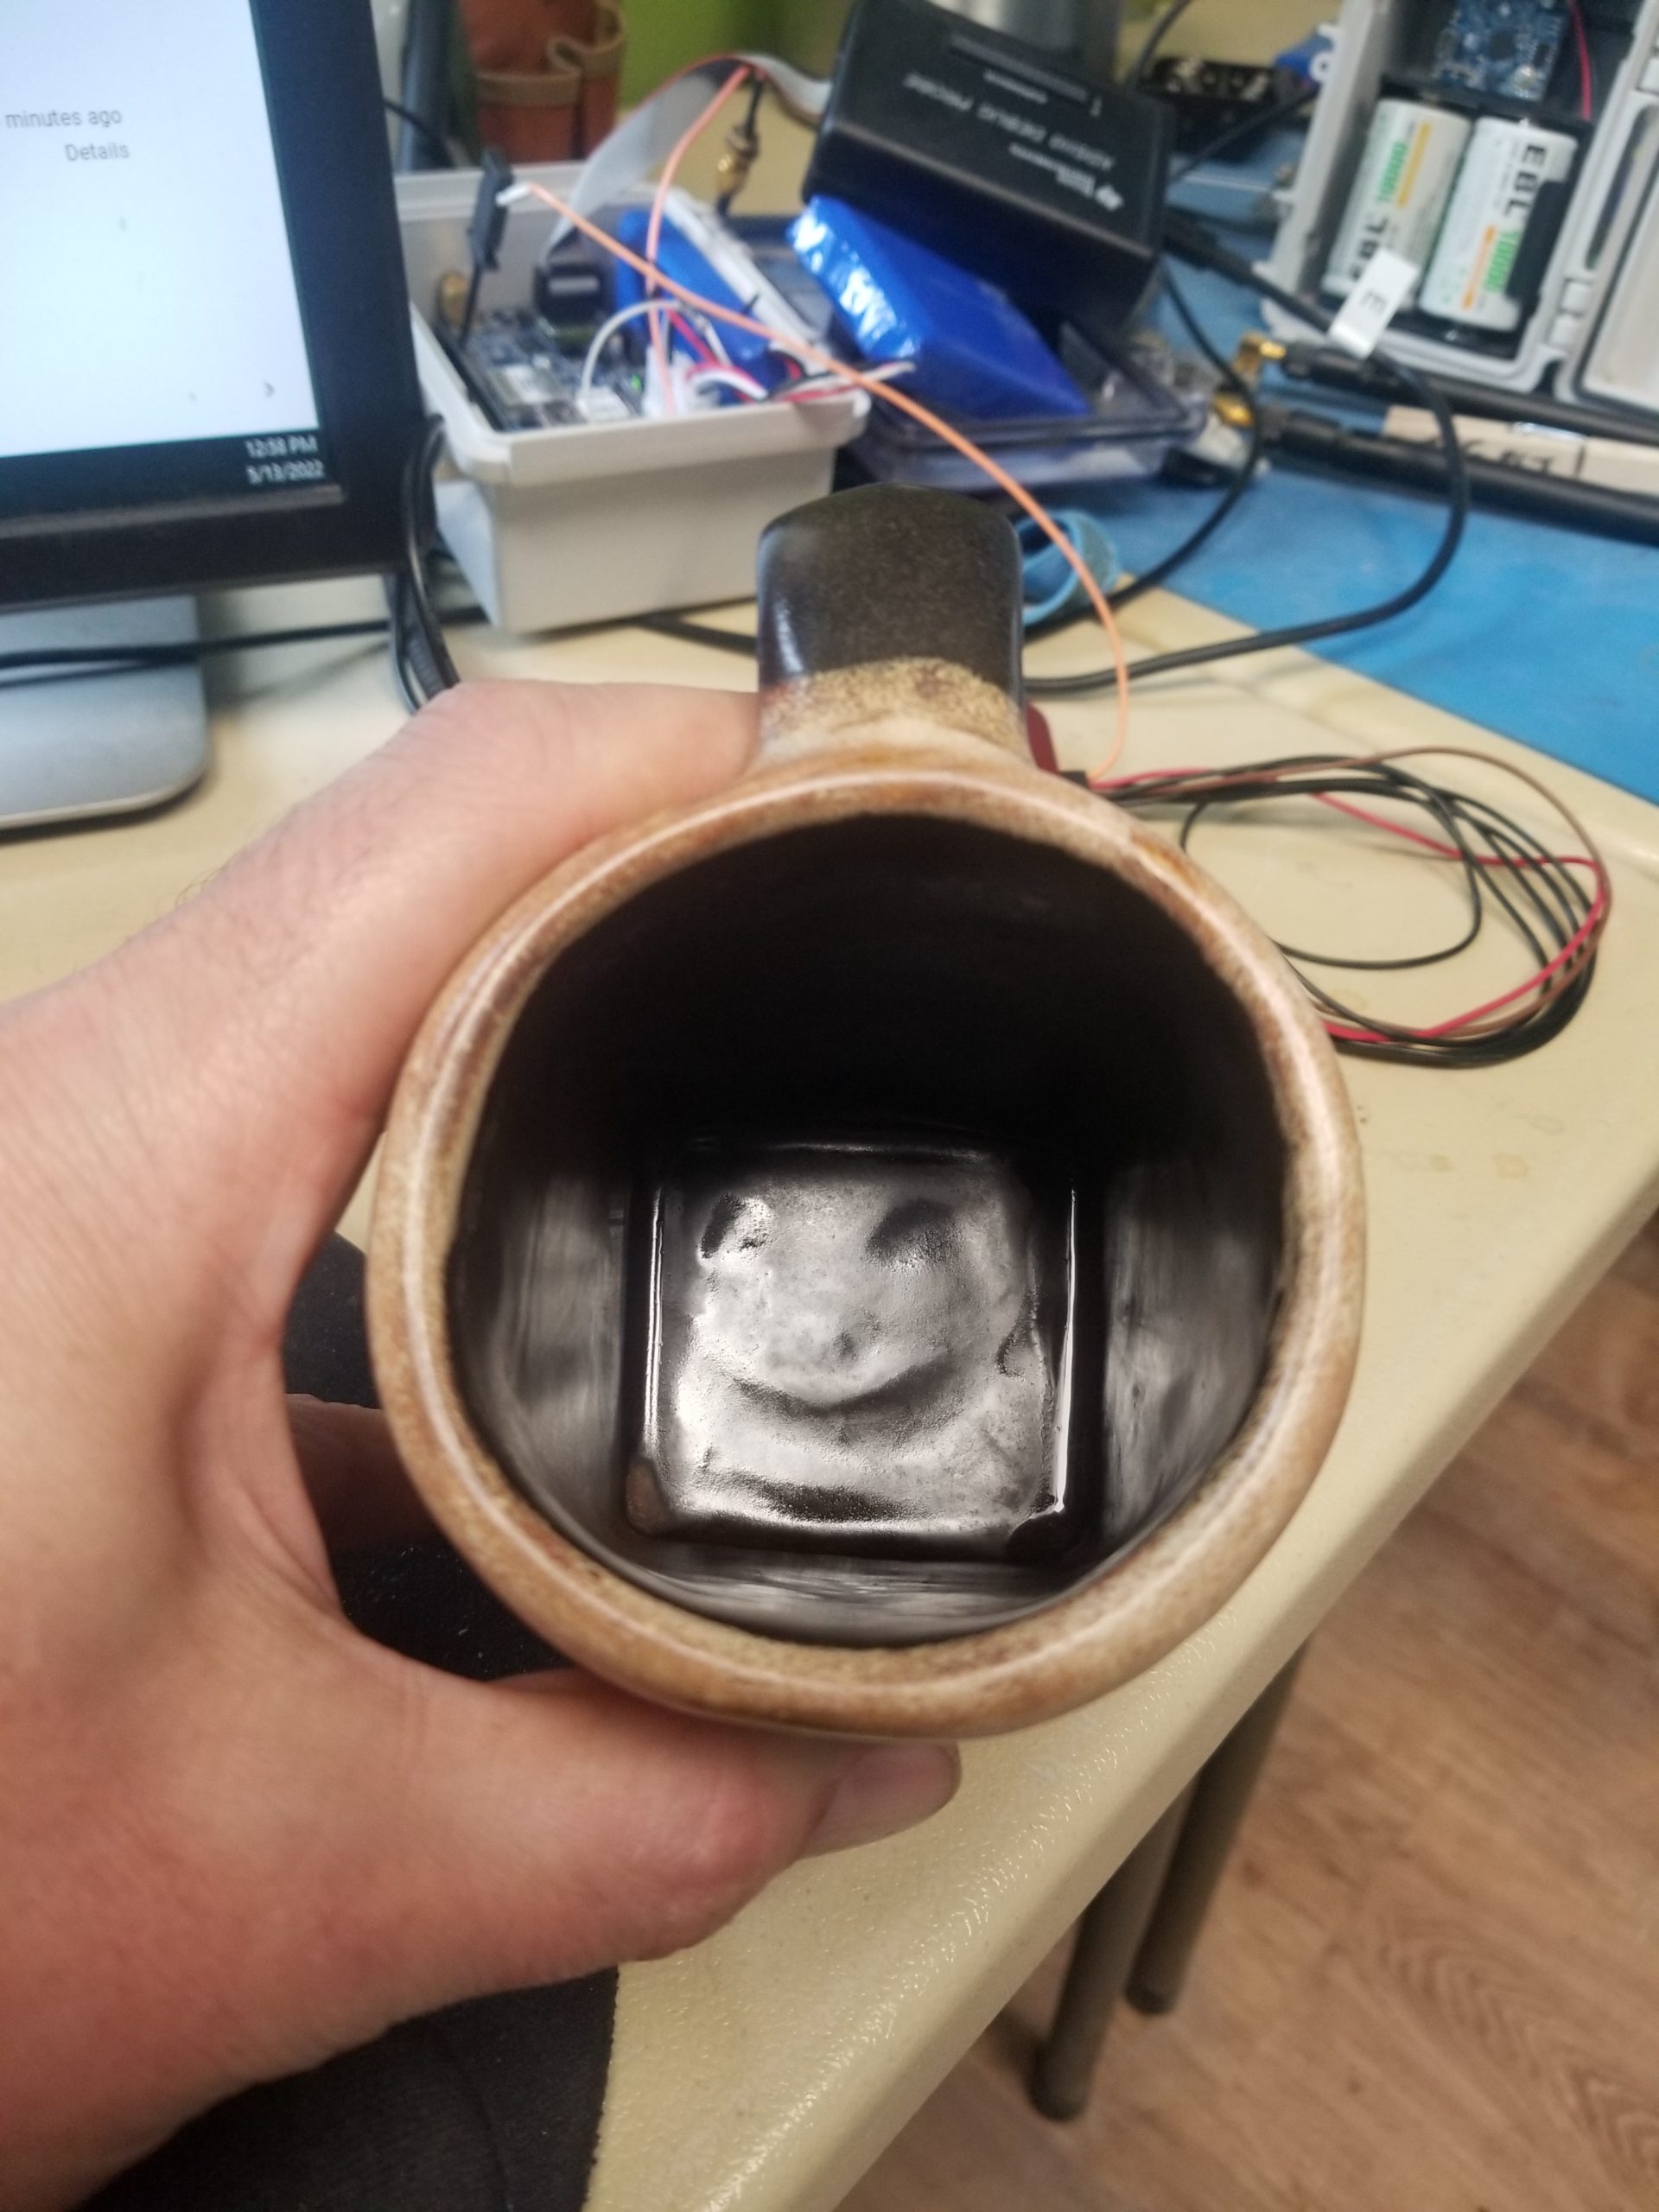
Here are two mostly random pictures for you just because I was amused by what I saw. These are unretouched and not posed. This is exactly how I found ’em.
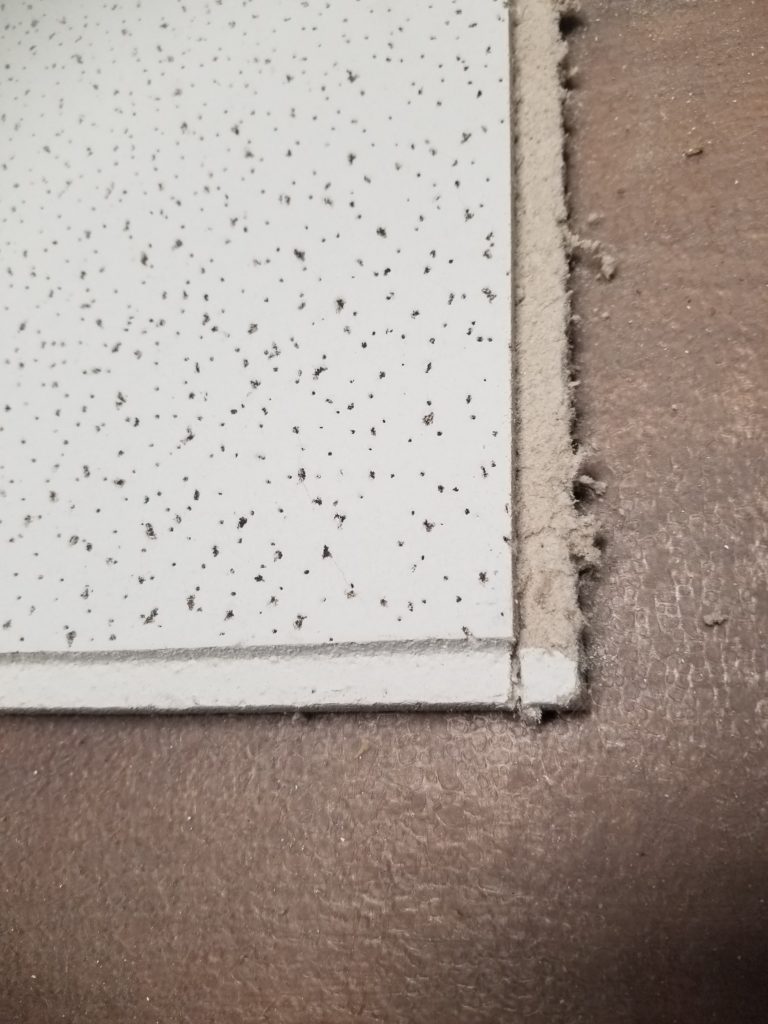
Meanwhile, some completion work in the office: I finally got around to dealing with the more challenging ceiling tiles. It turns out that cutting drop-ceiling tiles neatly is quite difficult. Well, cutting them is easy, but making a new half-thickness edge so it drops into the frame struts nicely is the hard part. The tiles are basically cardboard and even with a sharp knife, they mostly shred rather than cut.
Also, I thought I was clever and built the room such that there was an exactly even number of tiles in each direction… but no. Little imperfections made that just a dream. Worse, some tile bays were like 5% too big. Just enough so the tiles would not fit without falling. So instead of being a nice, whole tile, I had to split the bay and install two 50.25% wide cut tiles instead. Feh!
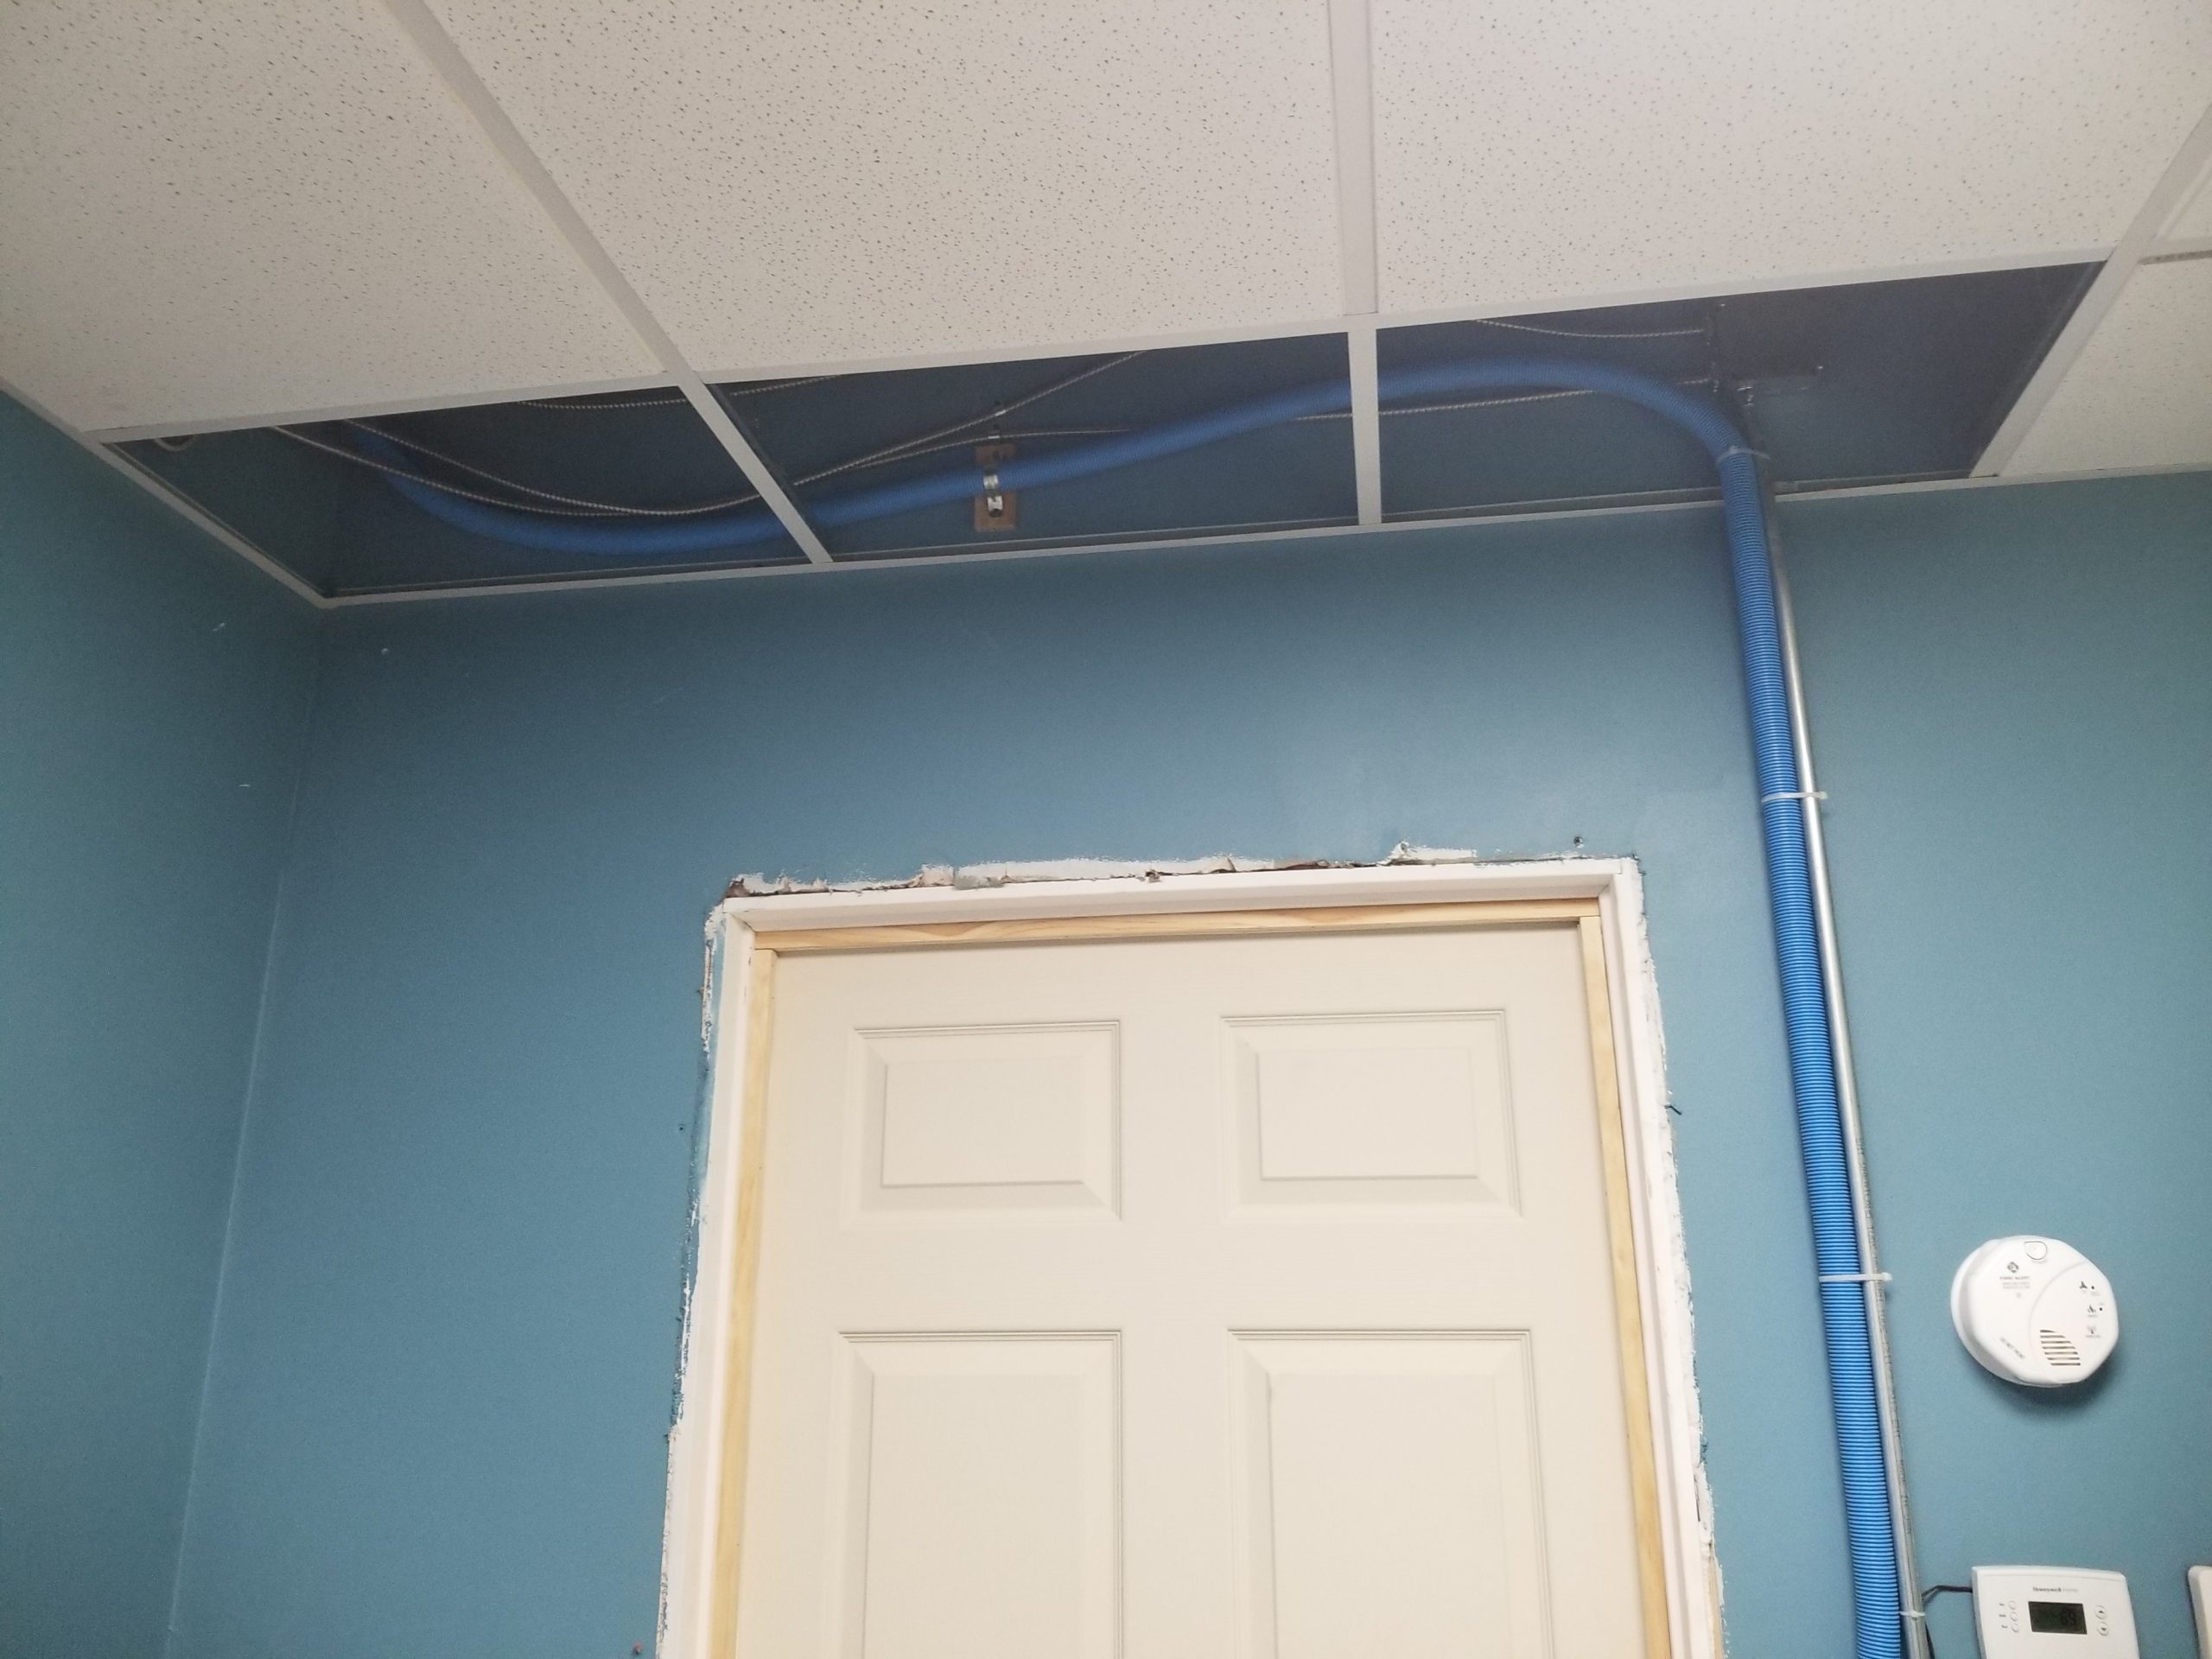
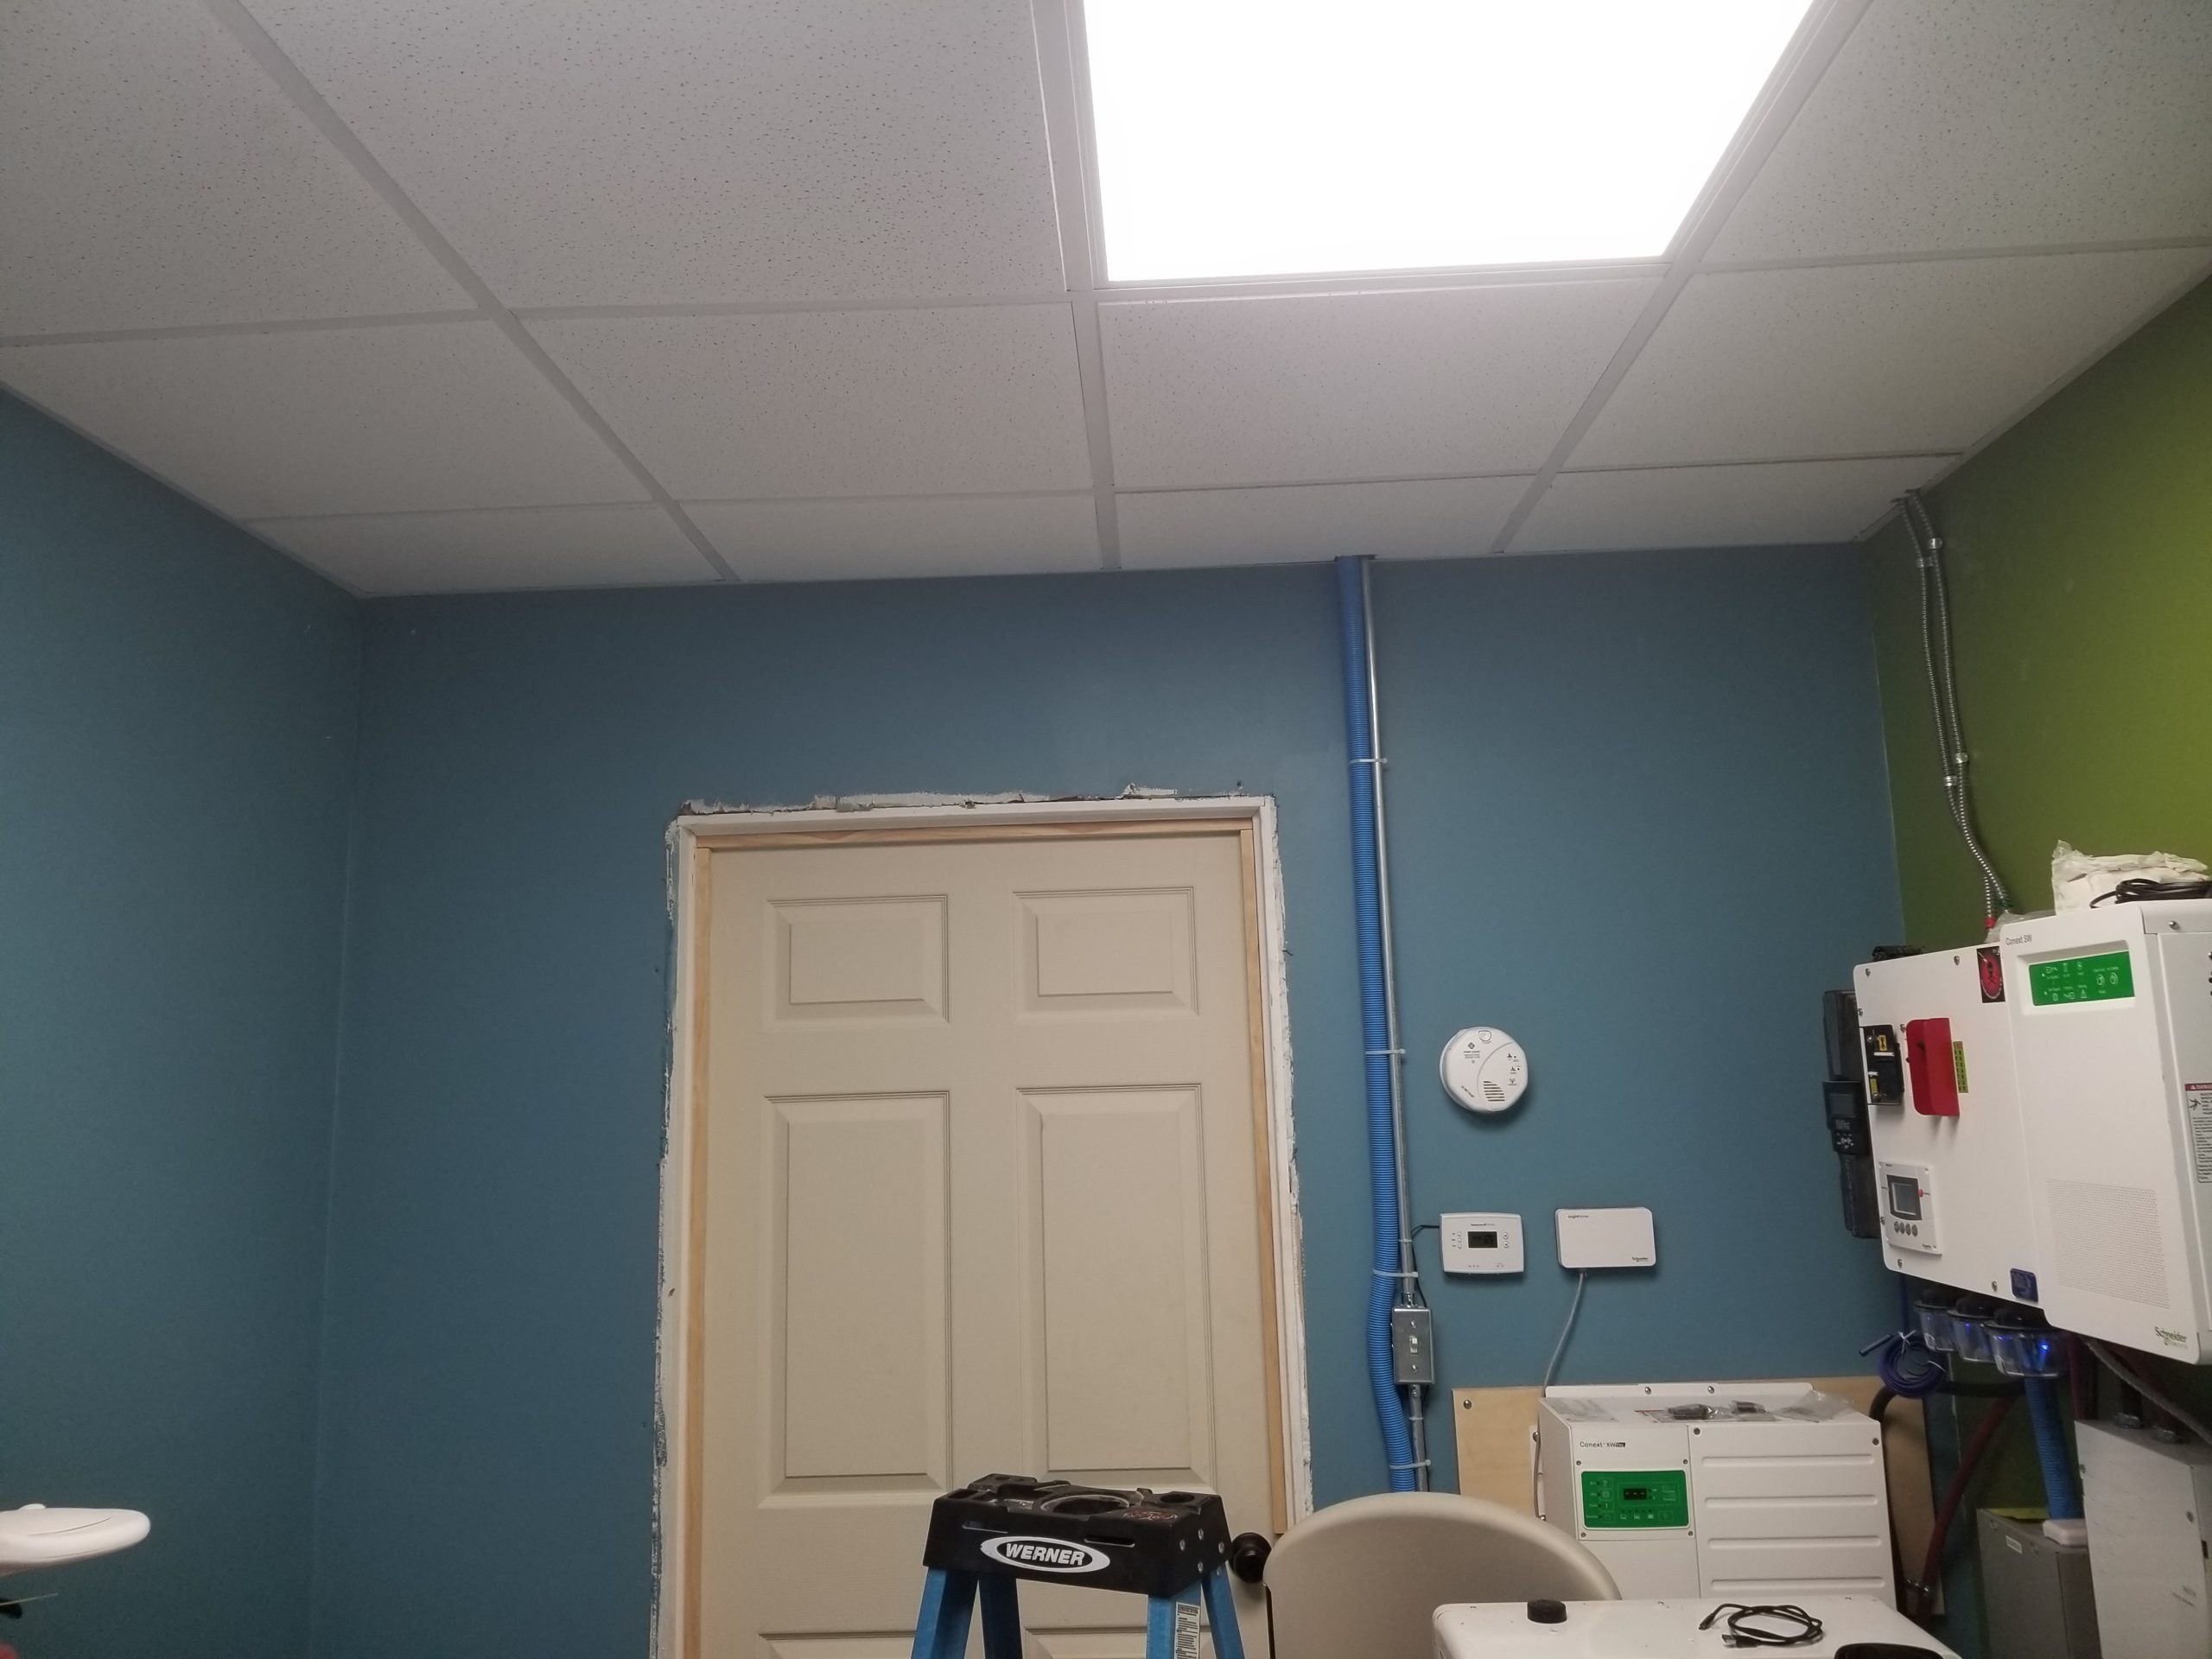
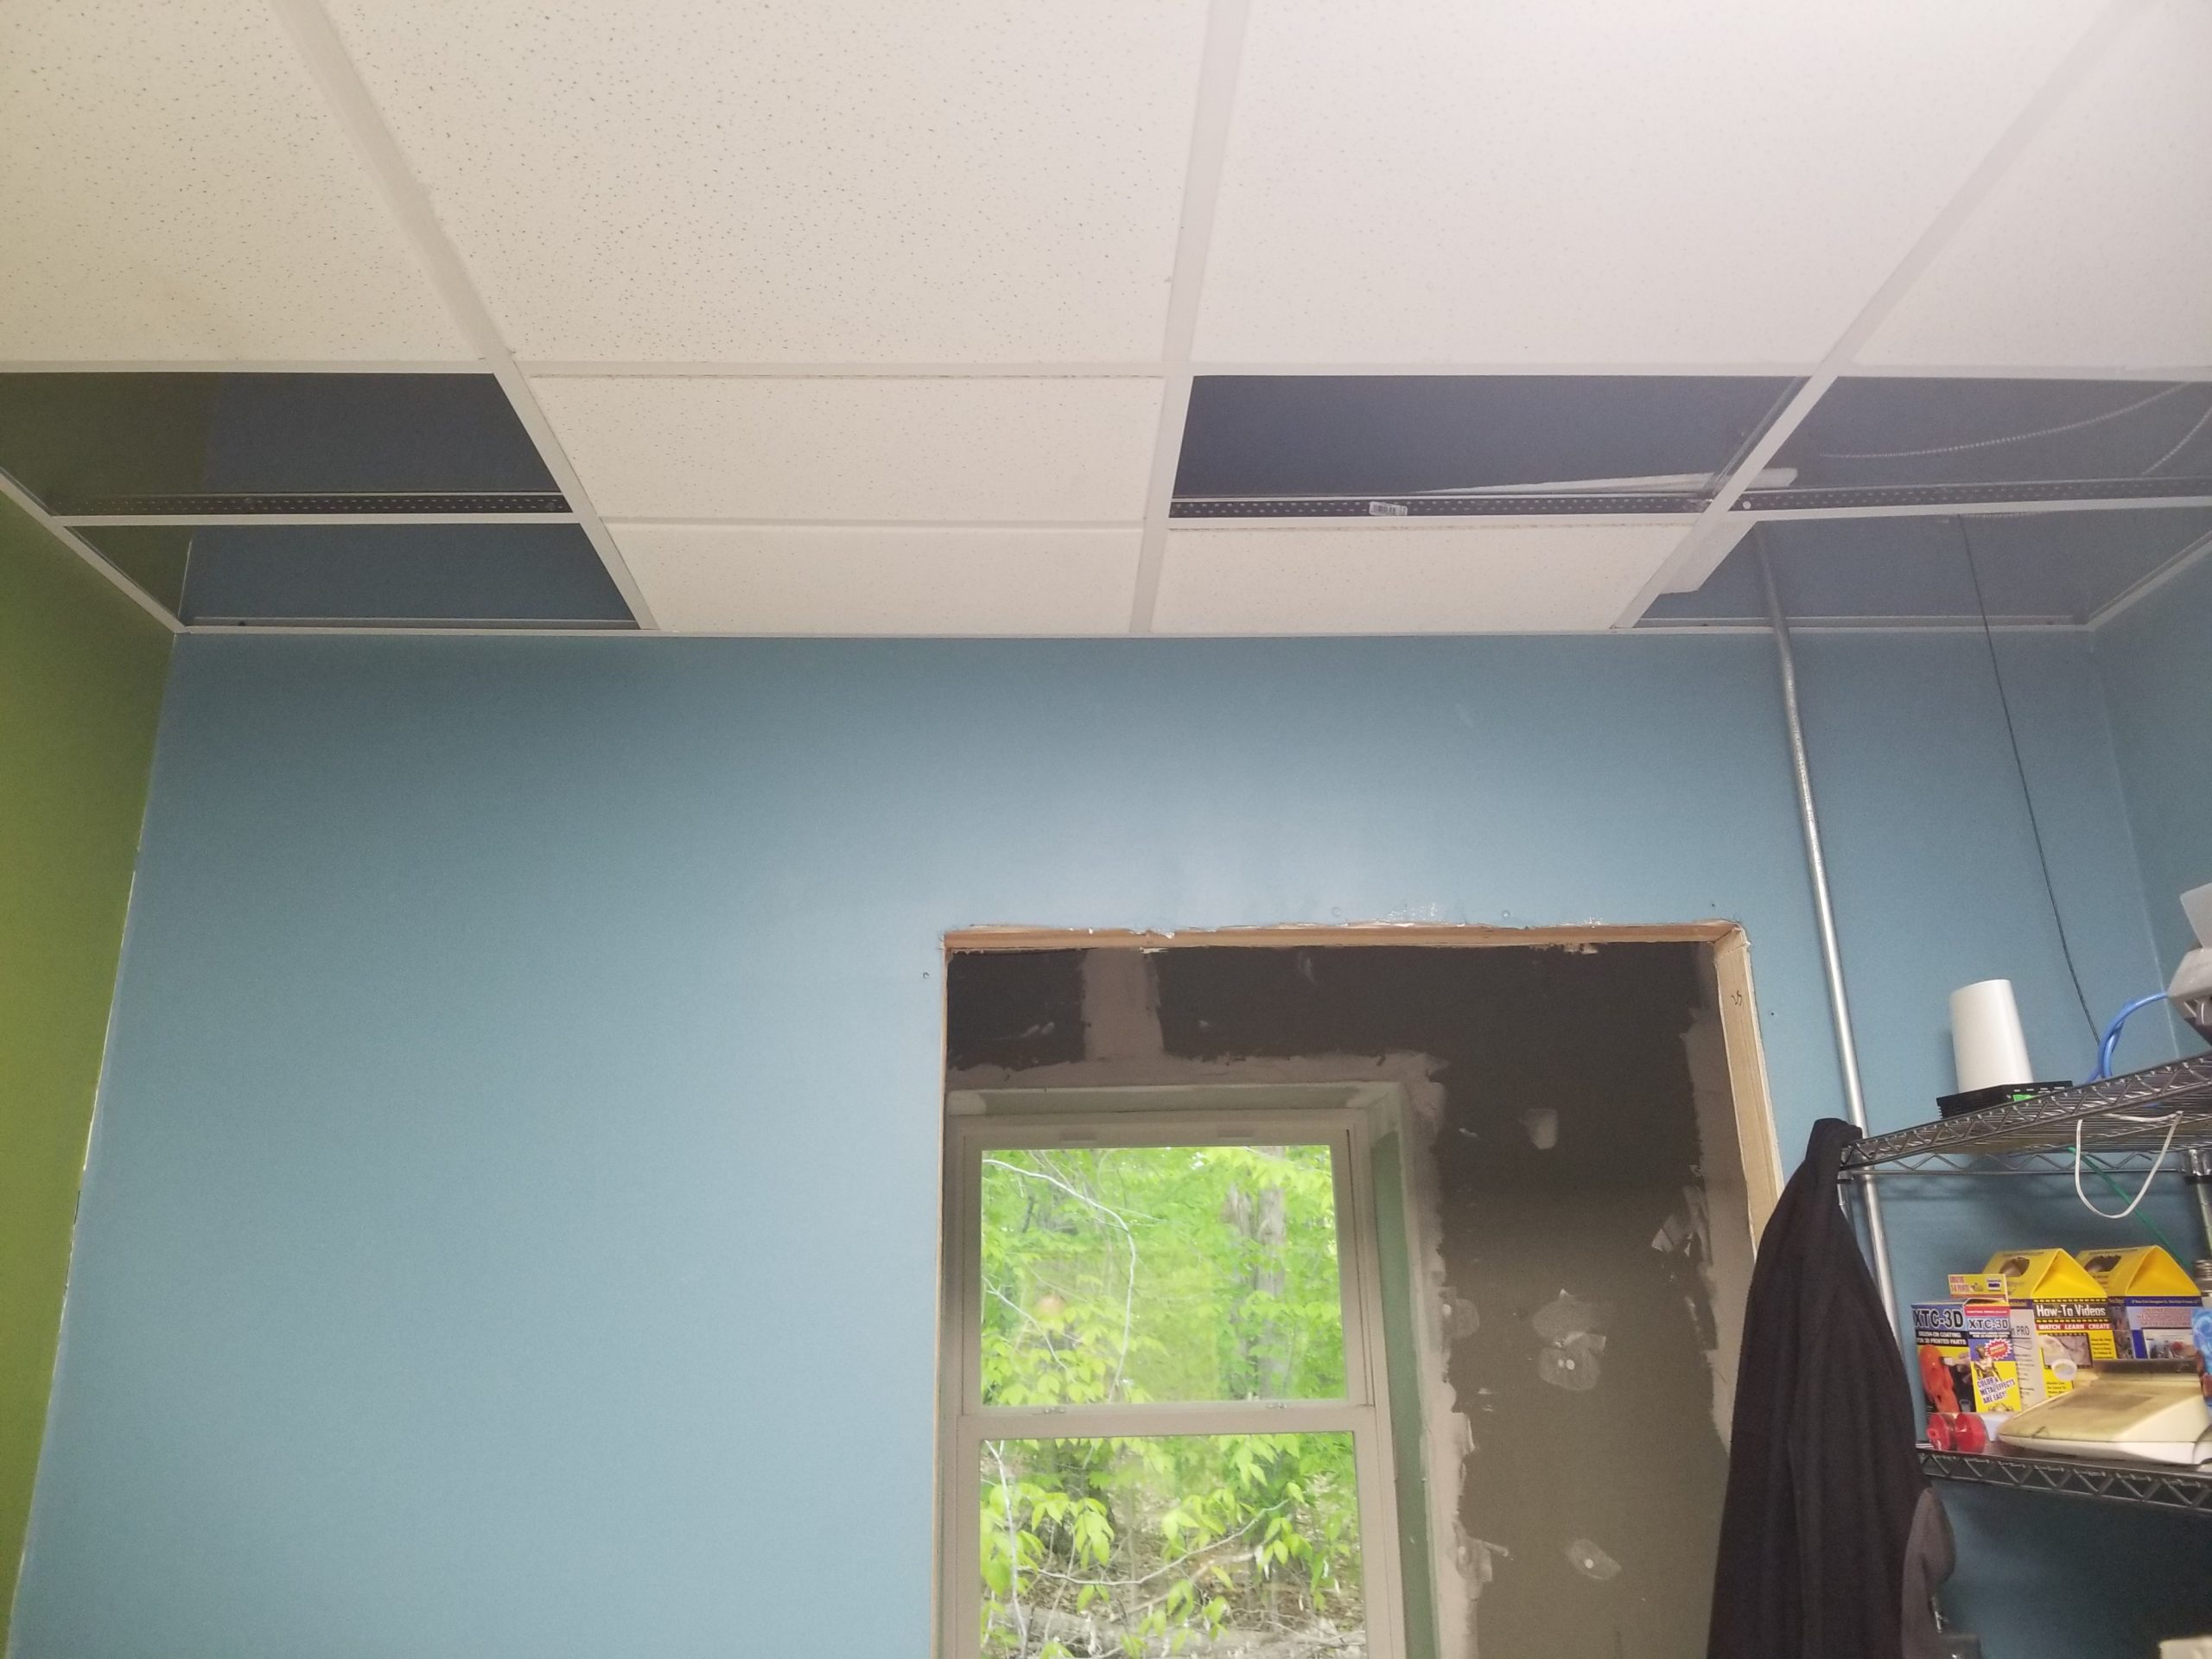

There’s still door trim and paint touchup to do — as well as actually finish the wallboard job in the Executive Wash Room (through open doorway) and the Mud Room. These will come all in due time. Priorities shift. It’s all on my H.A.L.O.E. – the homestead area list of everything.
Elsewhere in the W.O.G., more wall activity. I have actually used up my plywood, though there remain some wall areas yet to dress.
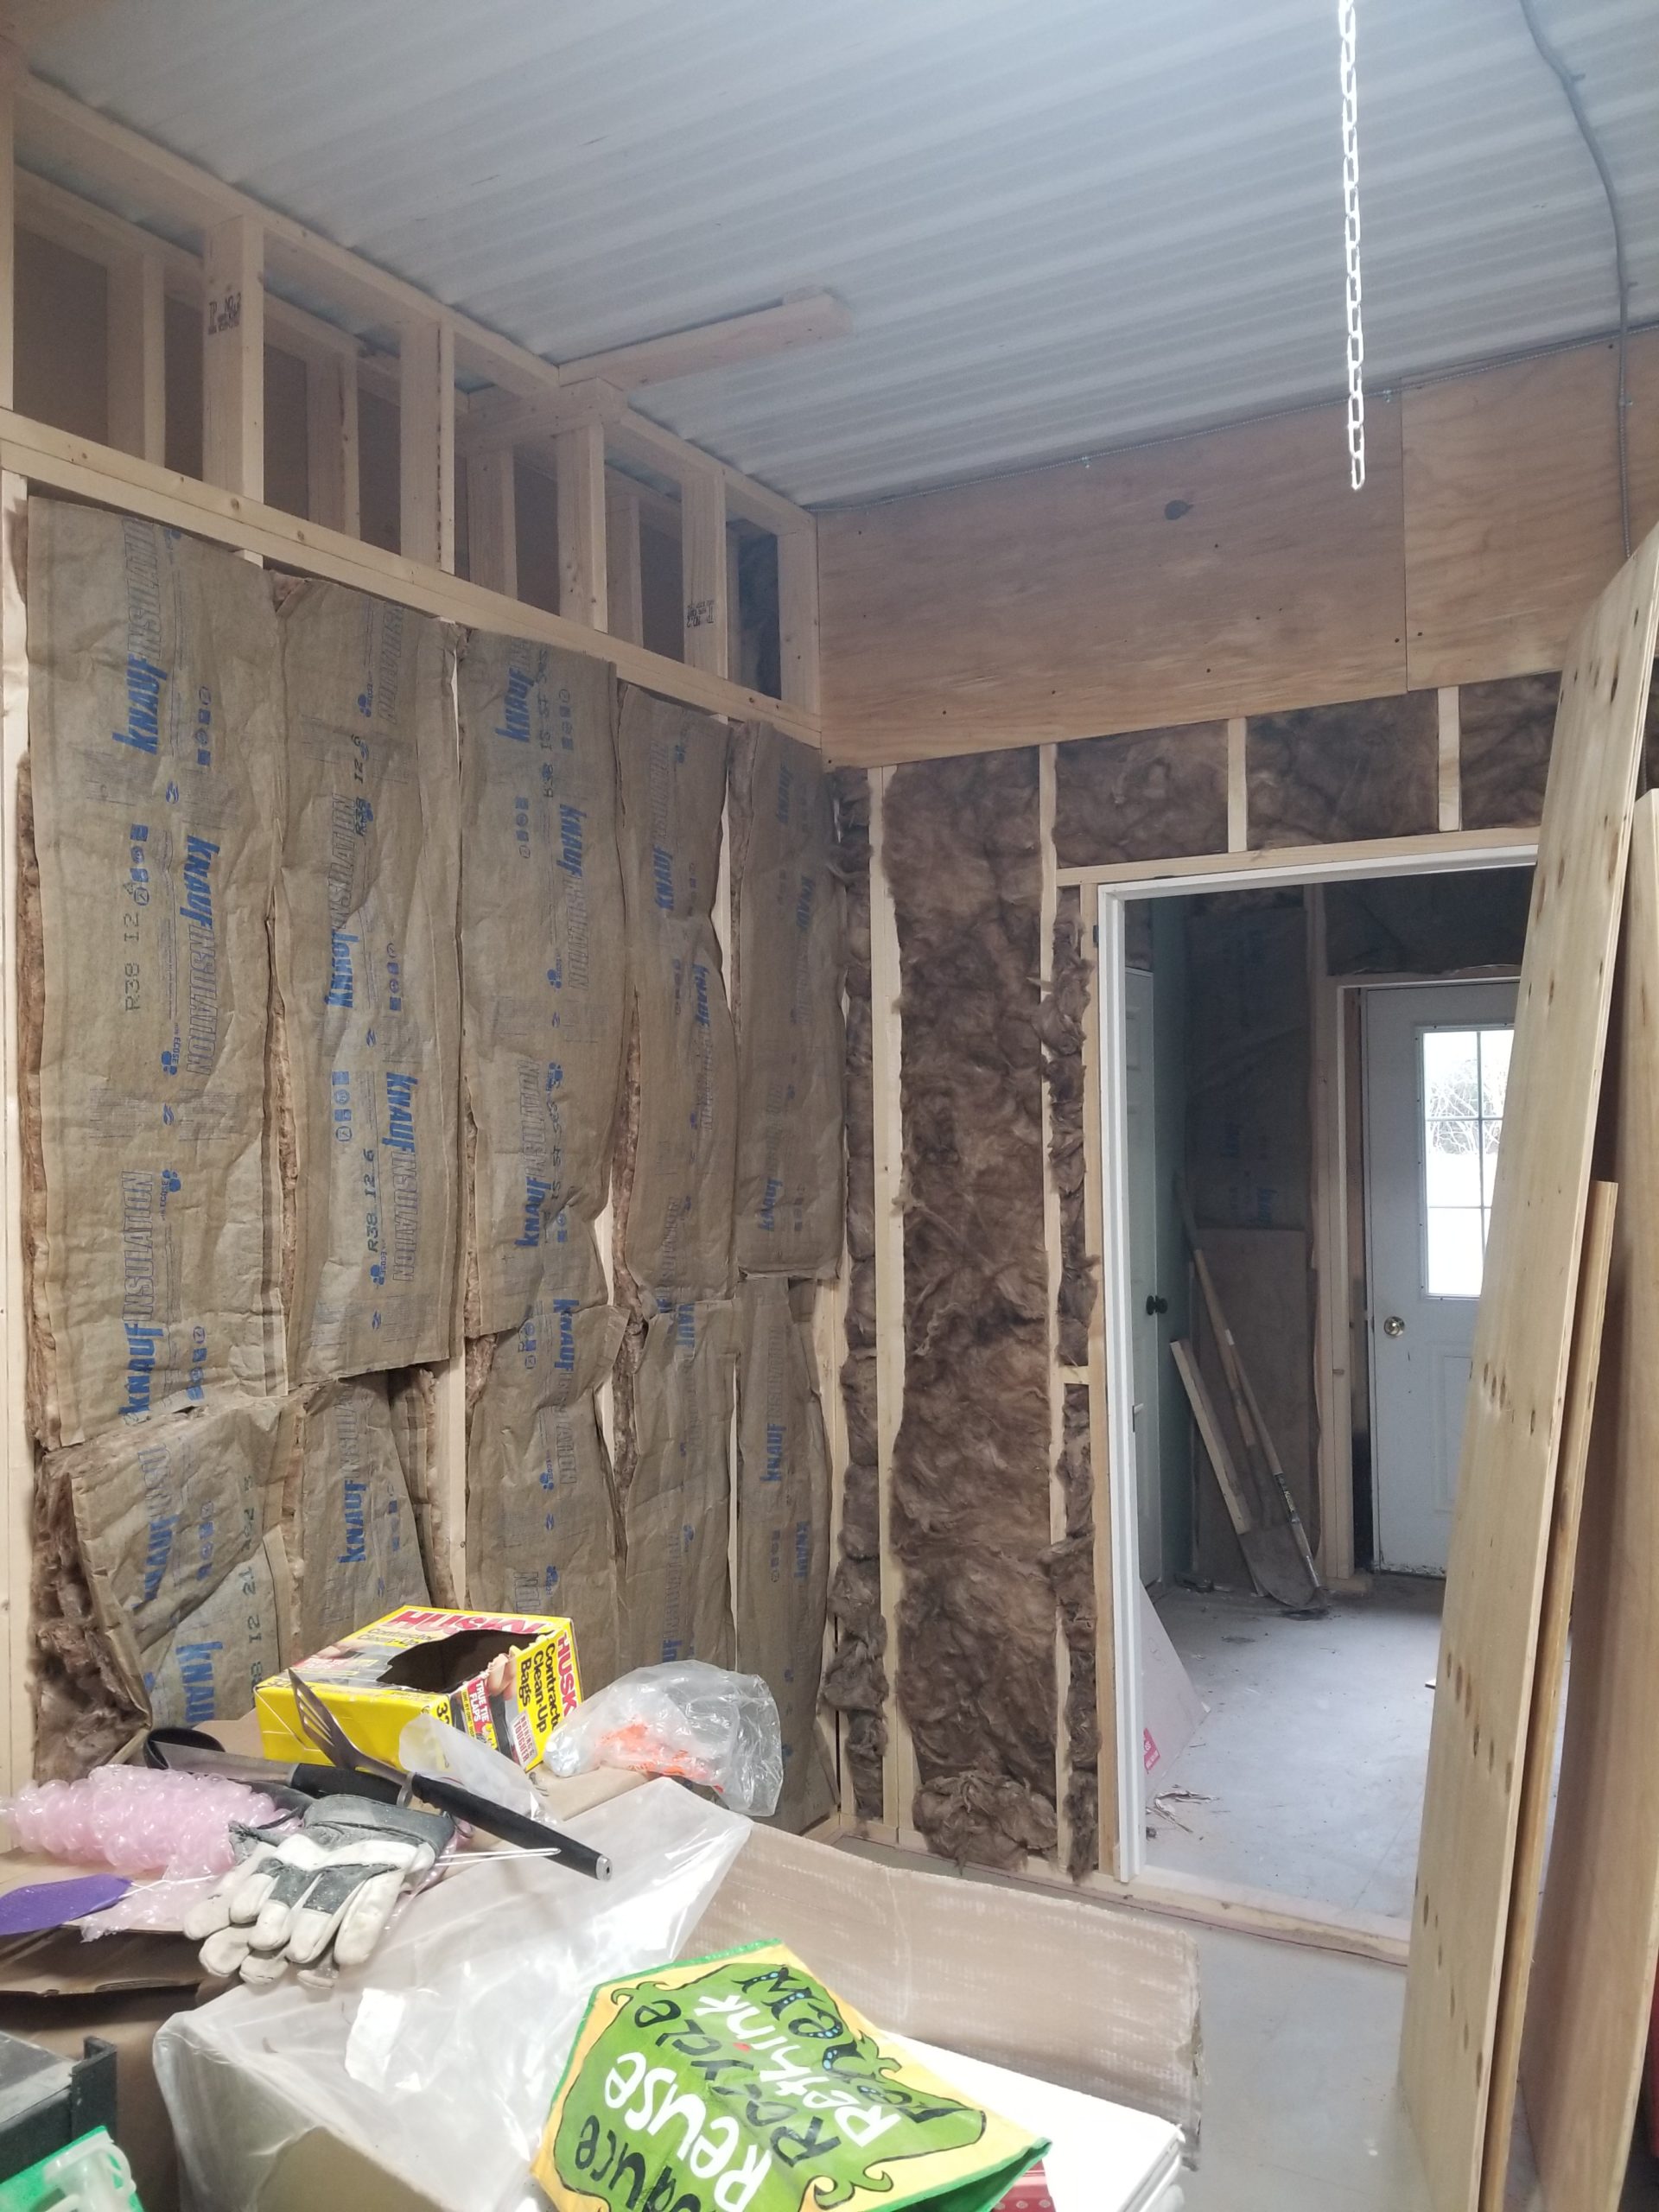
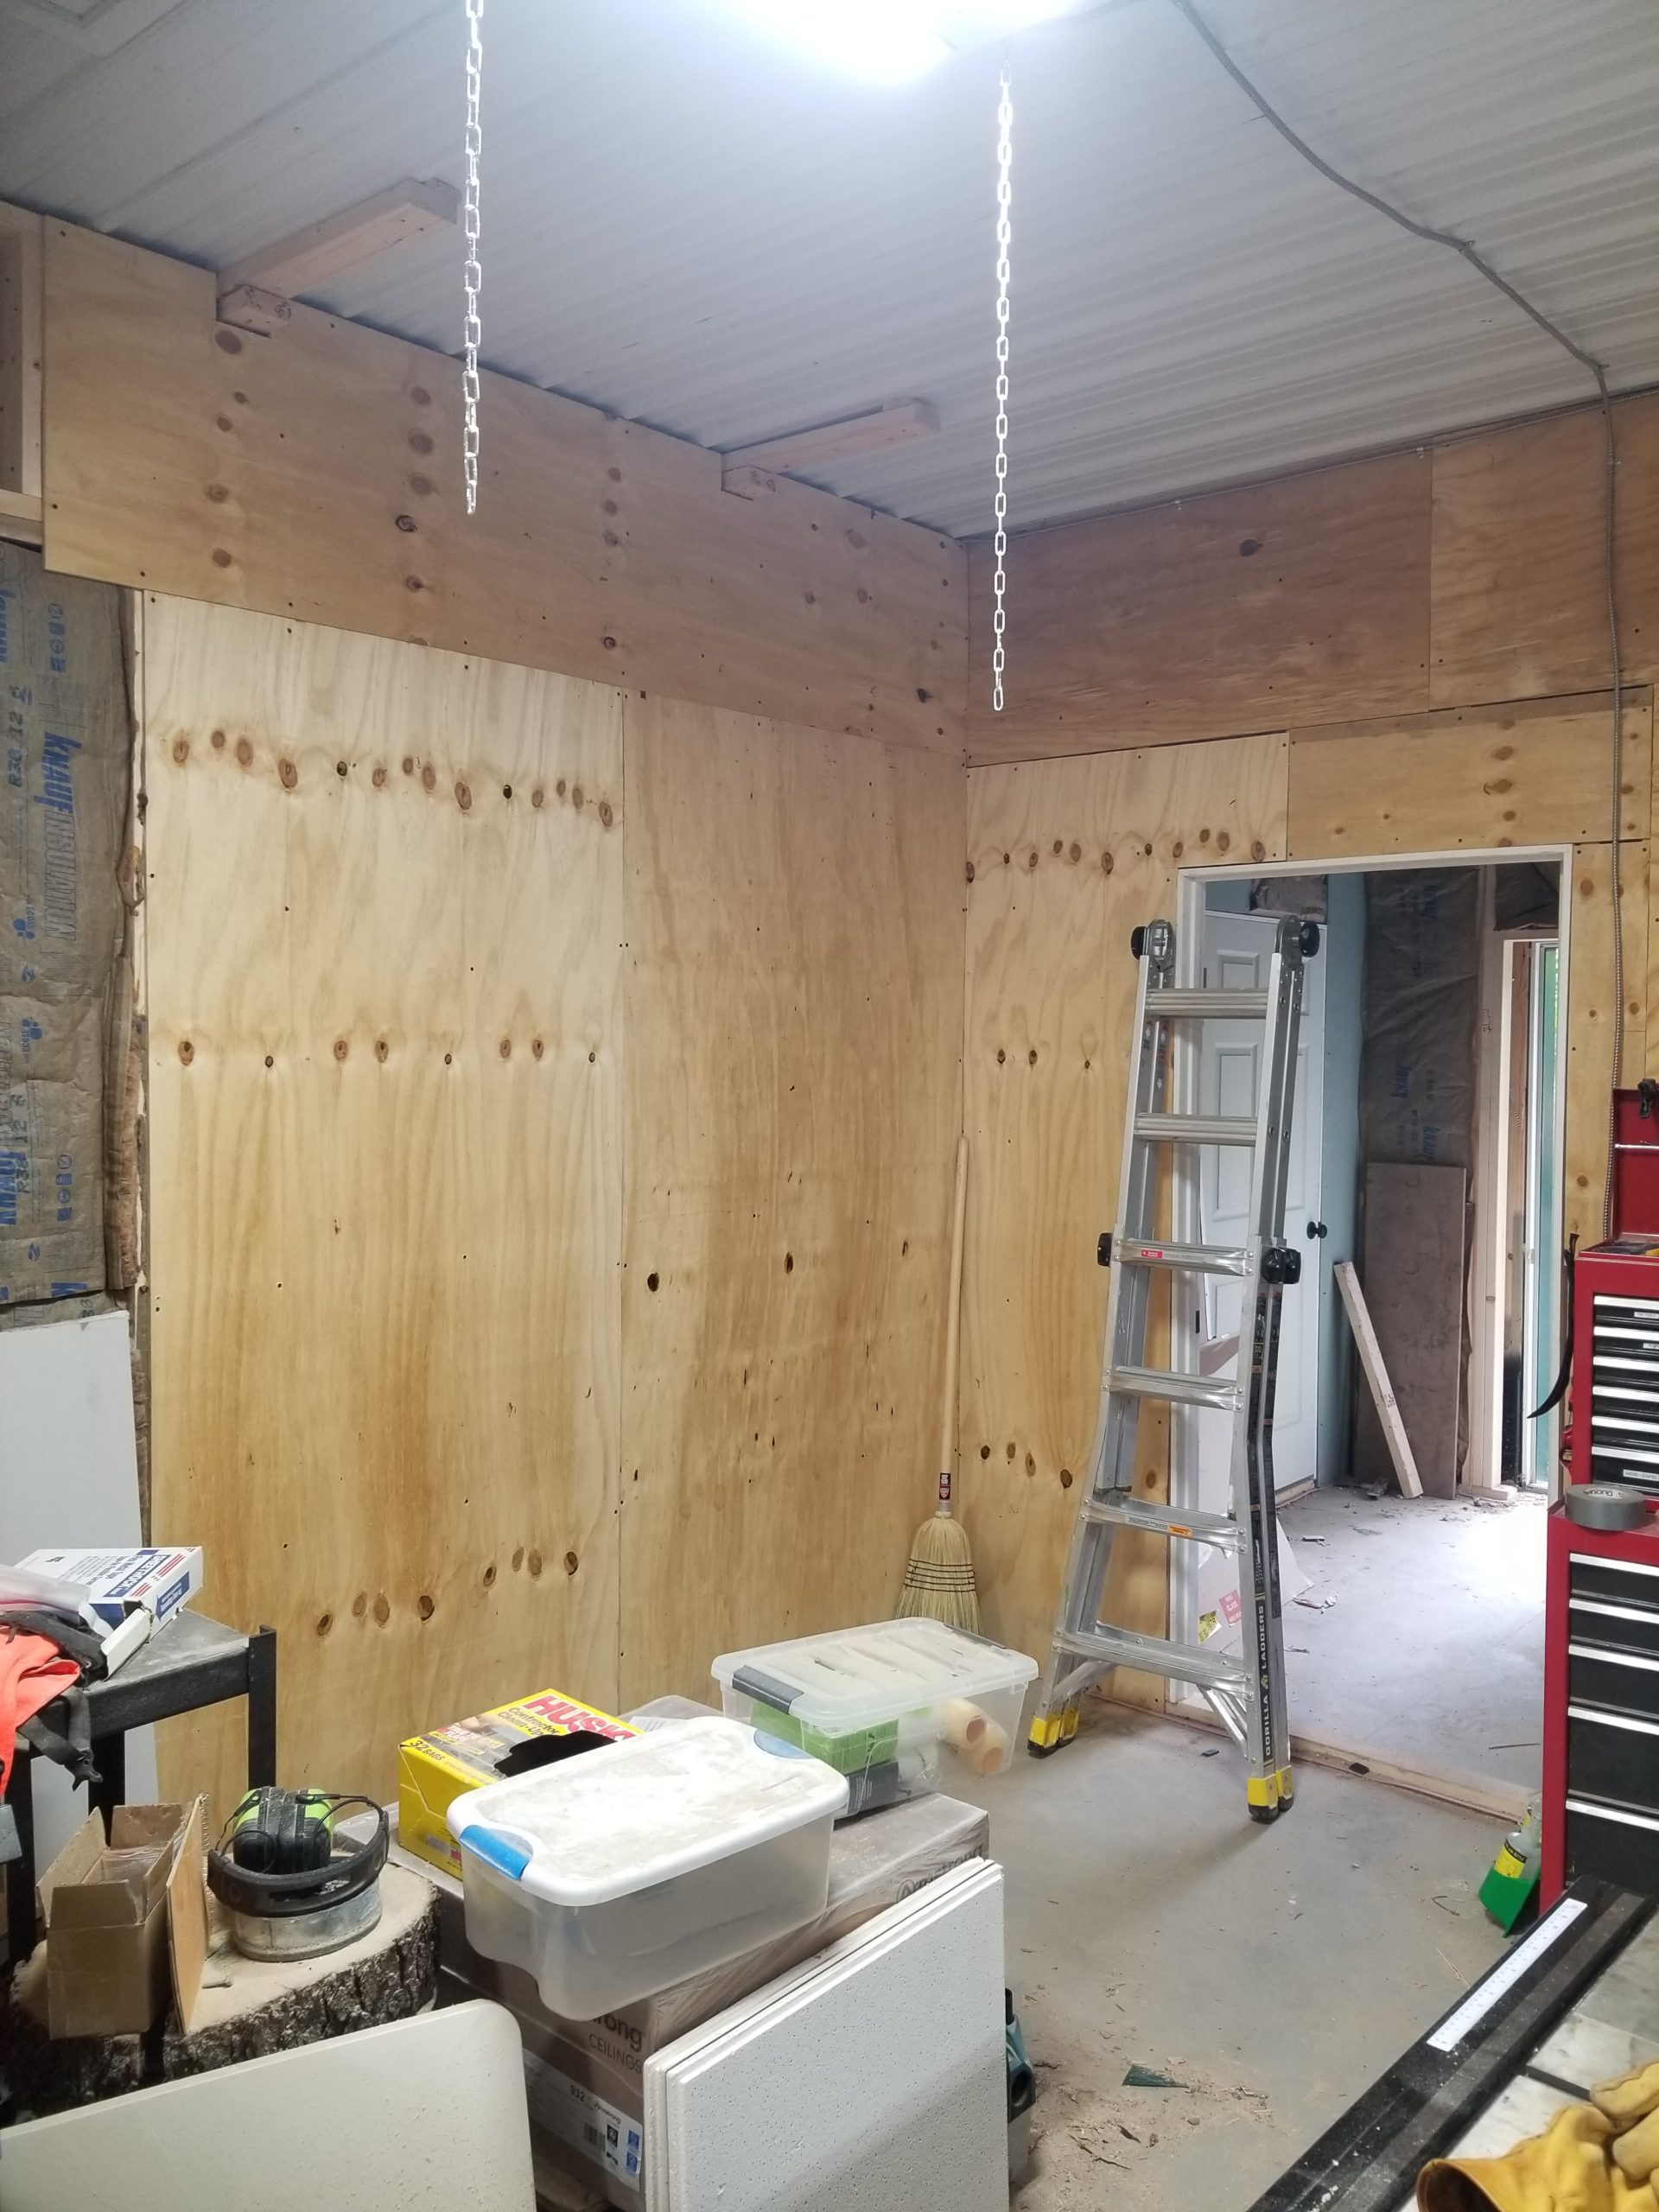
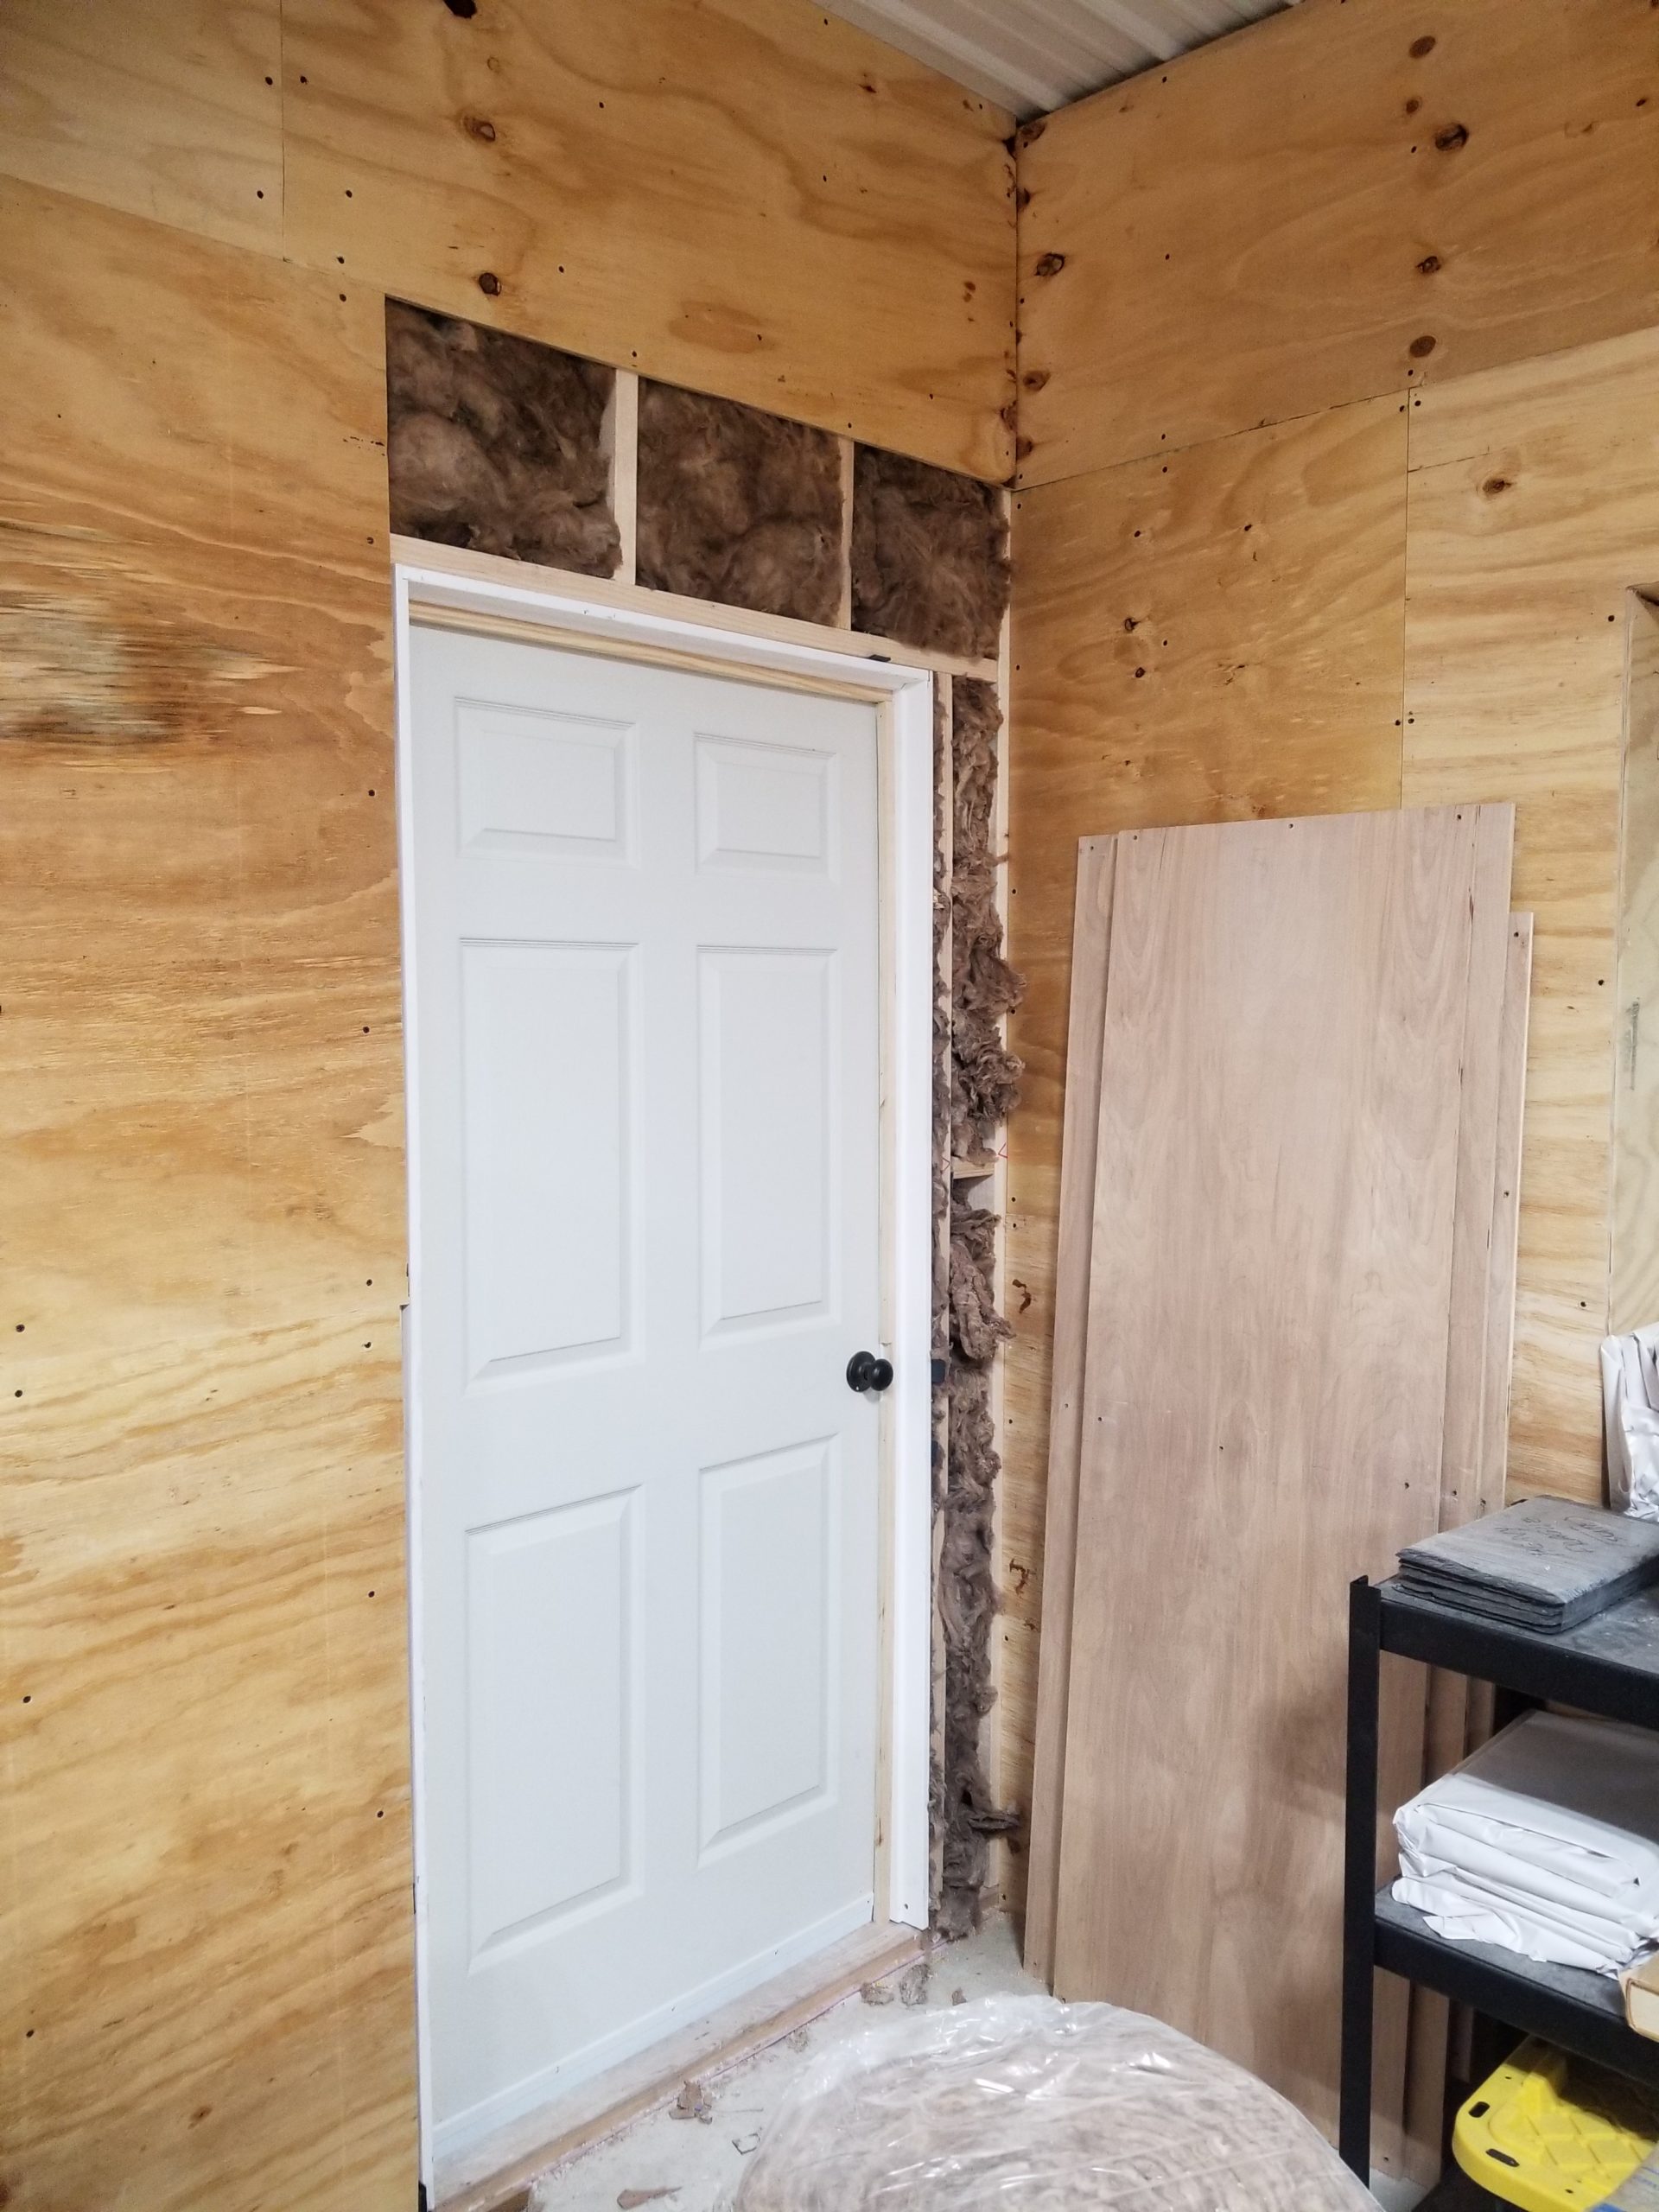
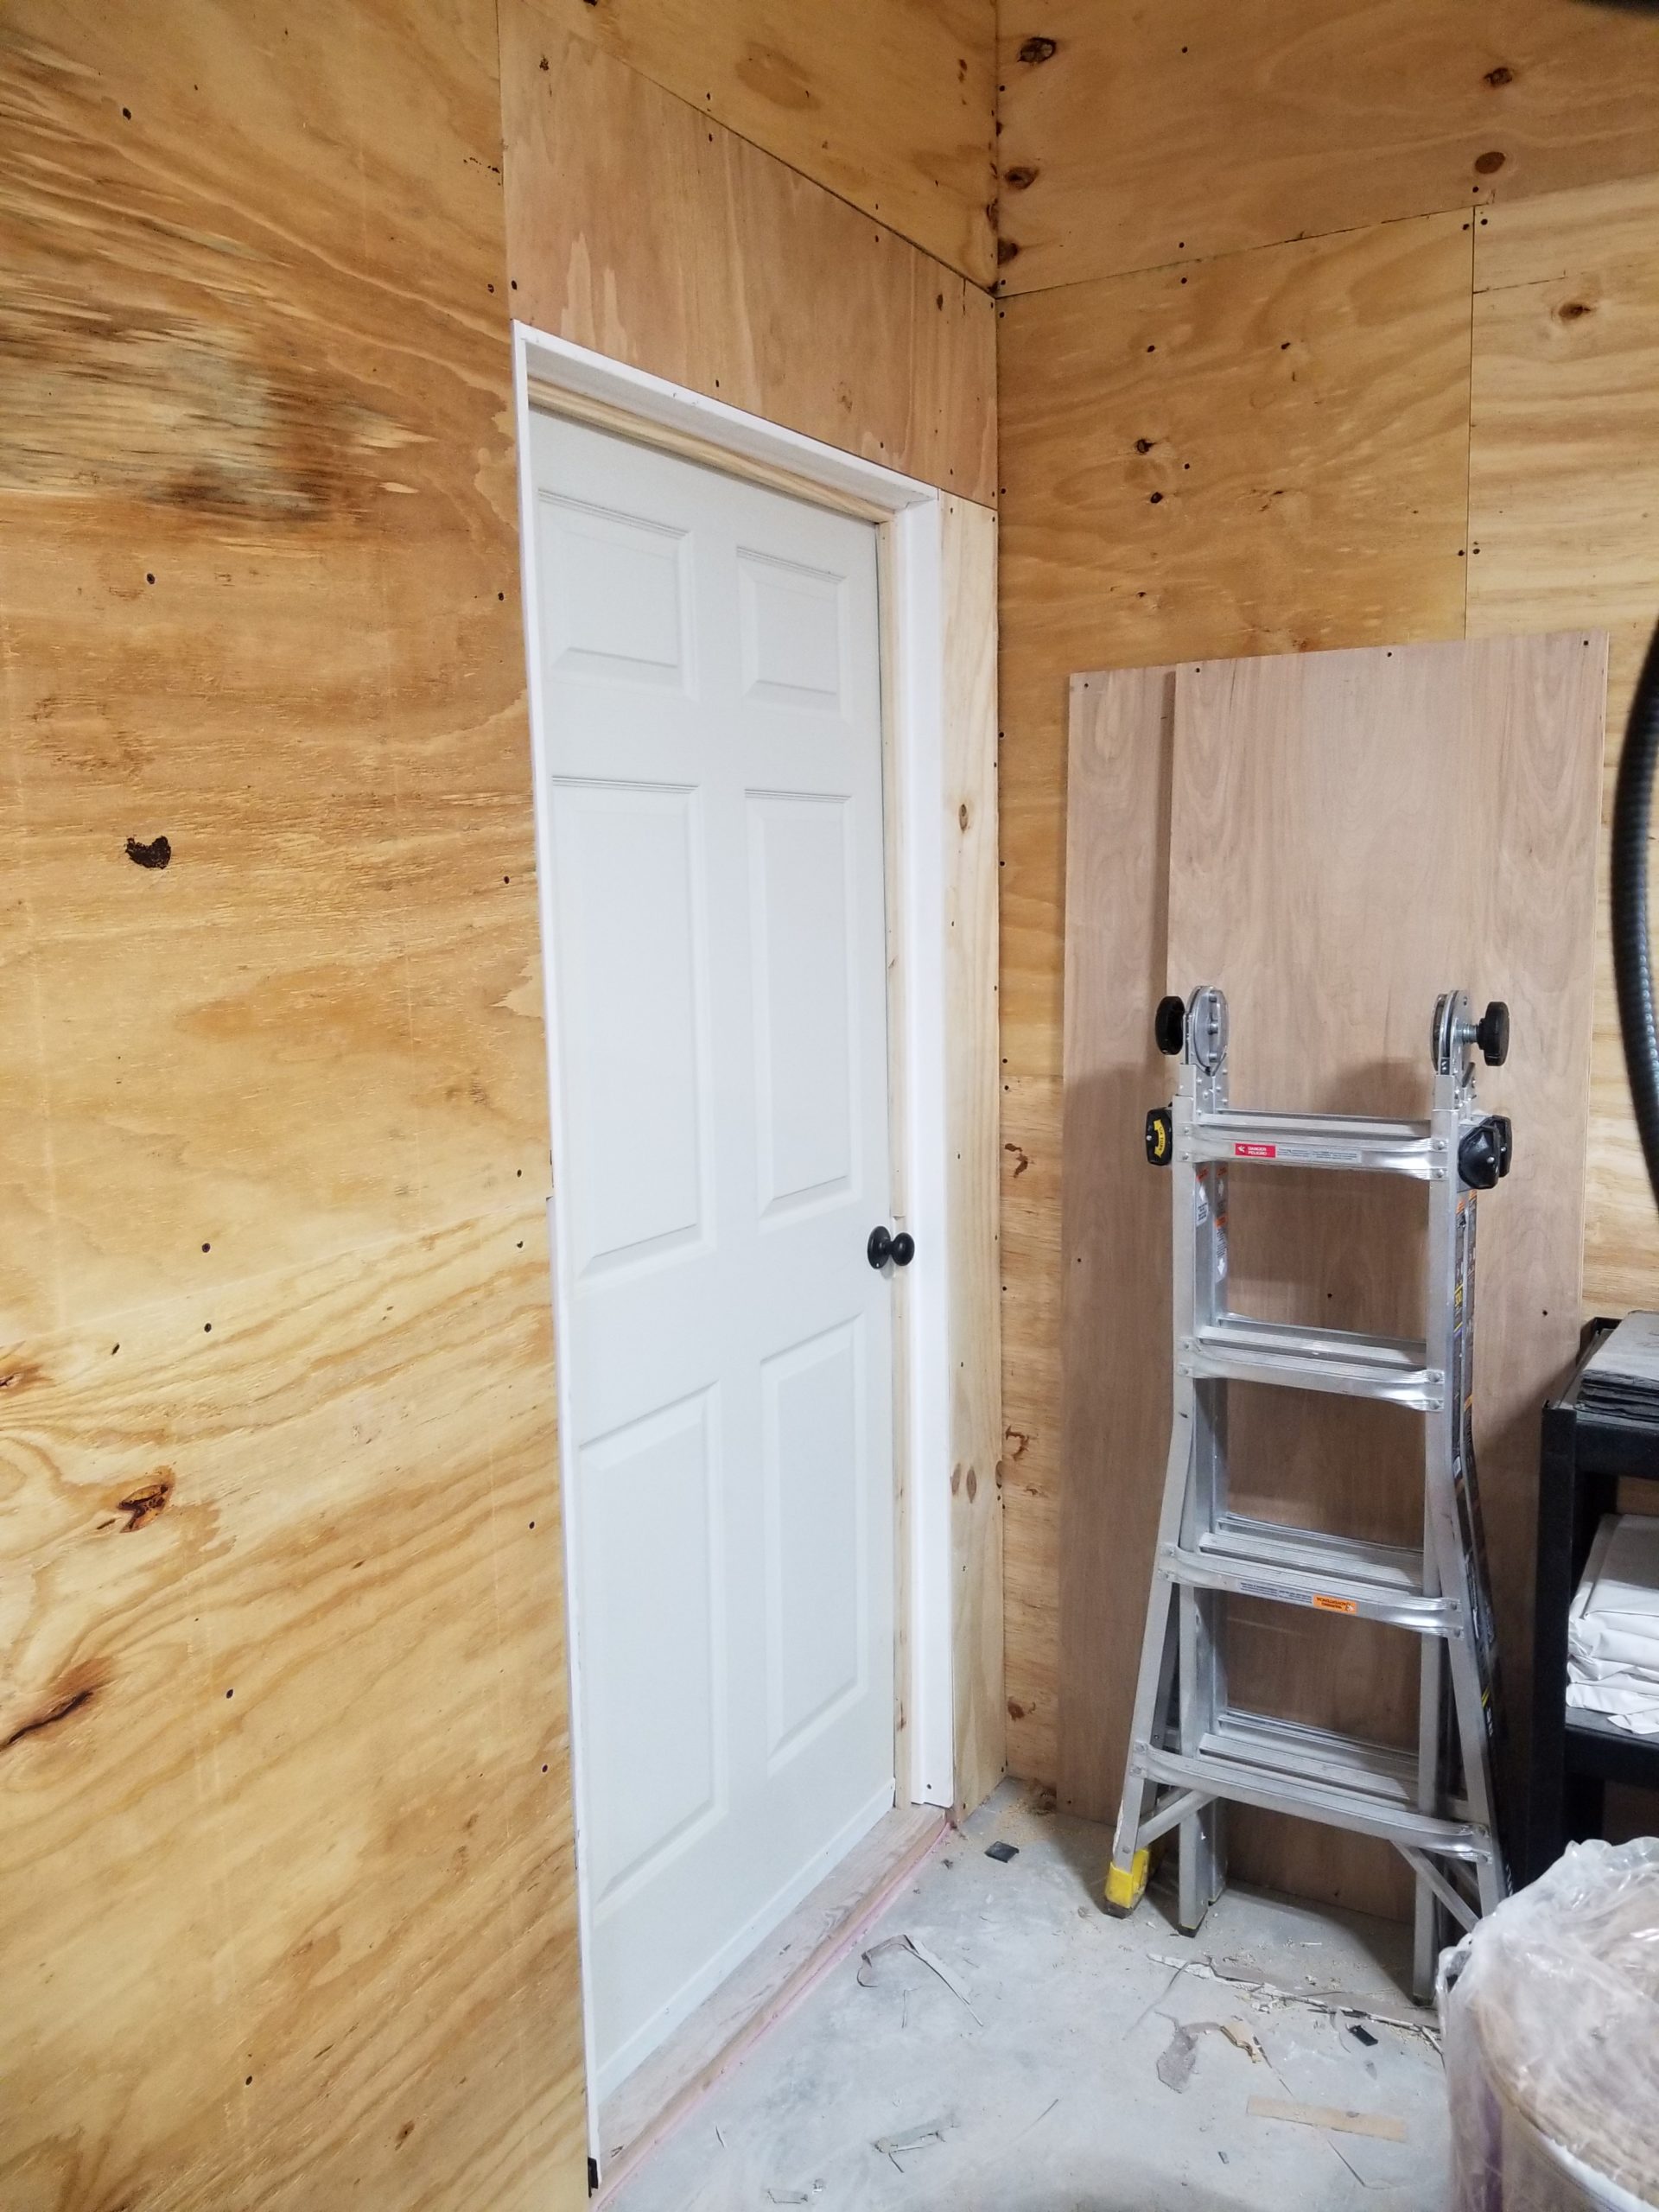
I’ll get more plywood in a bit – for now, I’m focused on finishing what I can with materials I have at hand, trying to consume piles of materials so they’re not in the way.
Sometimes, it’s those oddly shaped scraps that yield useful pieces, like this T/L shaped piece, which happened to have enough meat on it to cut a strip that I could use.

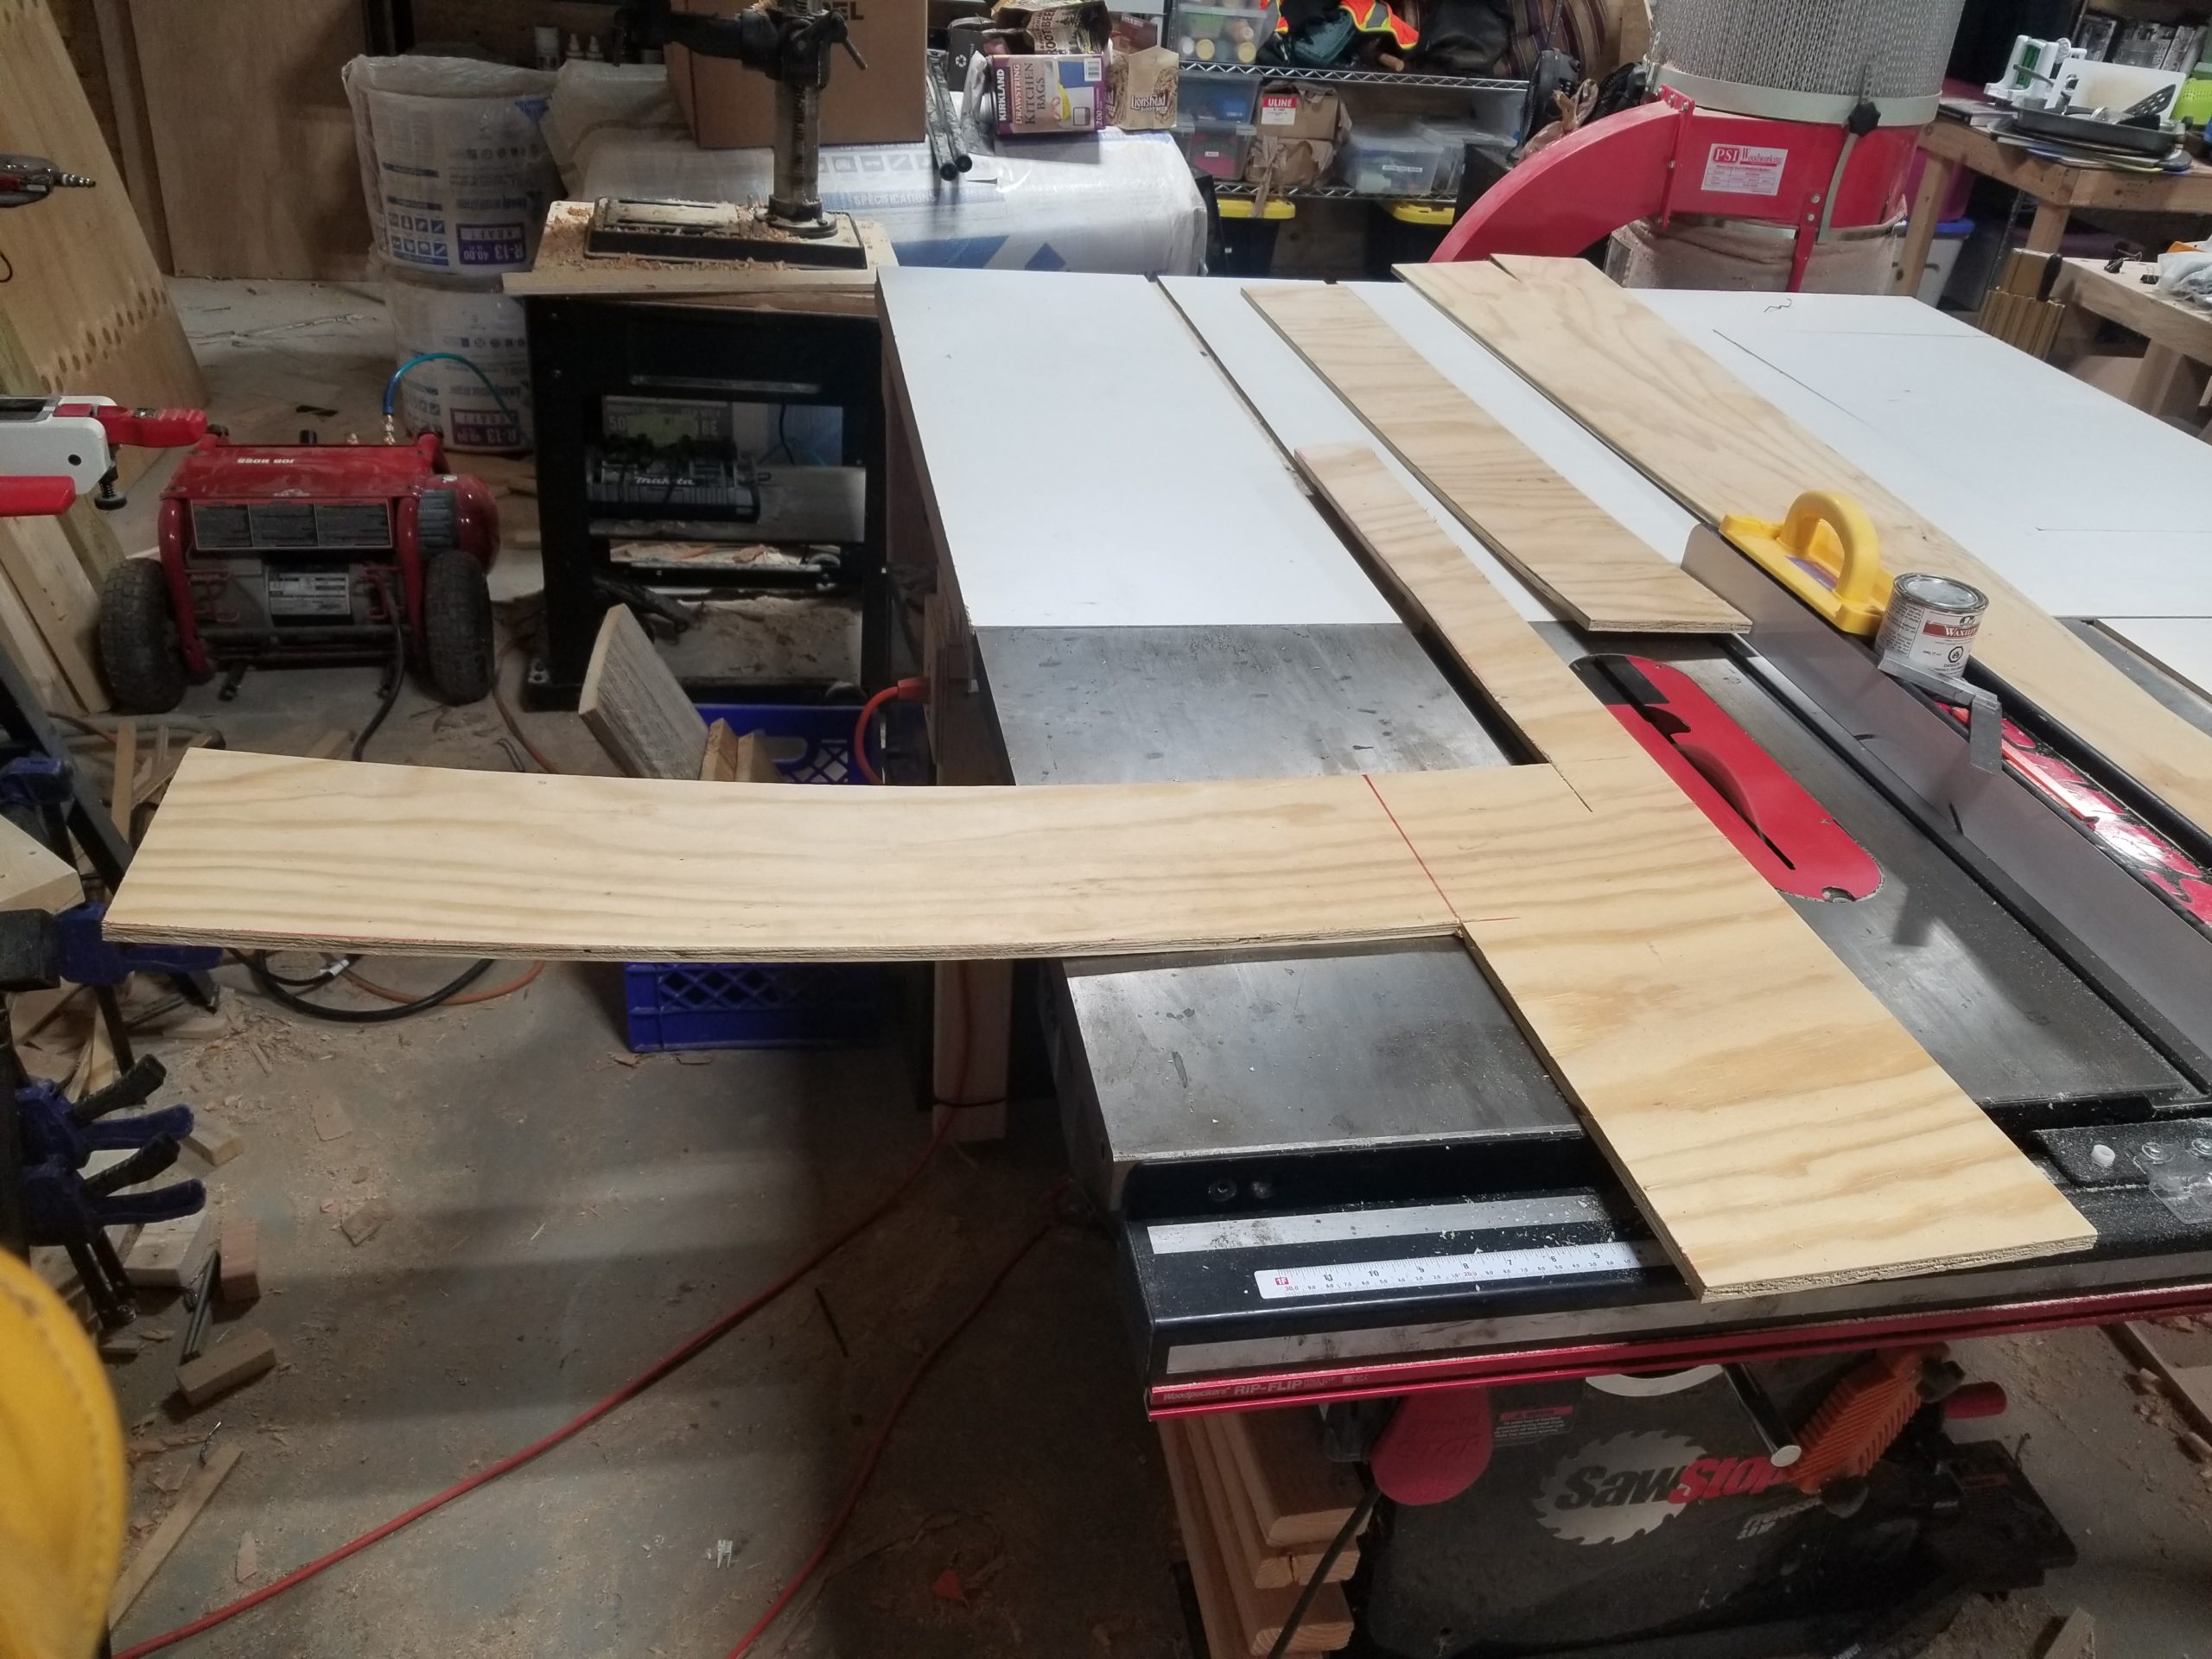
It sure is nice having the table saw fully operational now. It makes this plywood work go much faster and more accurate. I mean, it’s not like I’m obsessed with accuracy cladding the walls – the plywood is just there to hold the insulation in and provide a surface for mounting things. It doesn’t have to be pretty nor exact. And it’s neither. Some of that is my fault for being casual about measurements. Some of it is my fault for assuming the floor was 100% flat and level. It’s not. It’s concrete and it’s close to flat and level, but it isn’t exactly flat and level. This, in turn, means some of my stud walls have interesting variations in them and sometimes standing an 8ft sheet of plywood “vertical” — flush against the floor — turns out not to be true plumb vertical. It’s not worth fixing or fussing about. What comes *out* of the workshop will be beautiful. The workshop itself need not be perfect.
One thing that does need to change, though, is that the table saw needs to move further away from the wall! Feeding sheet goods like this is officially ridiculous.
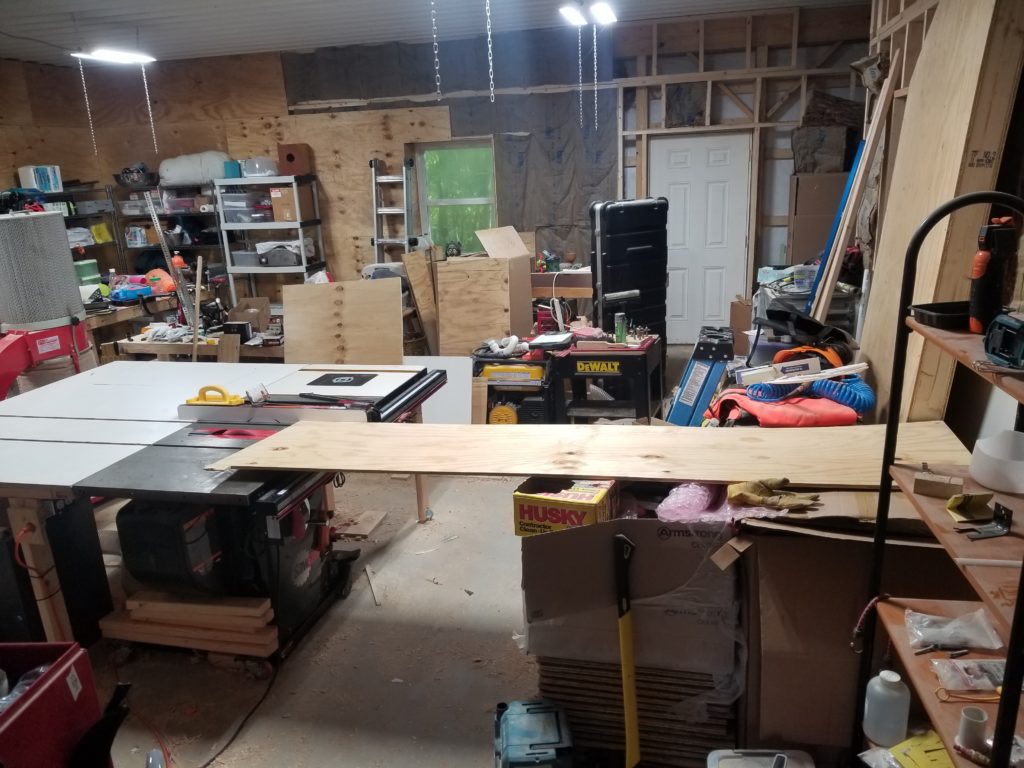
While the new inverter is doing ok running the table saw, it’s still a little iffy on the cold starts. The saw itself has a sophisticated control box so I knew installing a “soft start” device on the power plug was going to be a bad idea, probably upsetting the controller. I noticed recently, though, that the motor itself has some obvious wiring from the control box that probably isn’t that interesting. By which I mean: once the control box decides to run the motor, it just connects power to the motor and lets it run. I suspect if I interrupt that cable and insert a soft start device there, the controller will stay happy and the inverter won’t sag so hard when I cold-start the saw. I’ll be looking into that soon.
Q. When you have a tiny house and a guest arrives with a dog, where do you put them?
A. In the original tiny house!
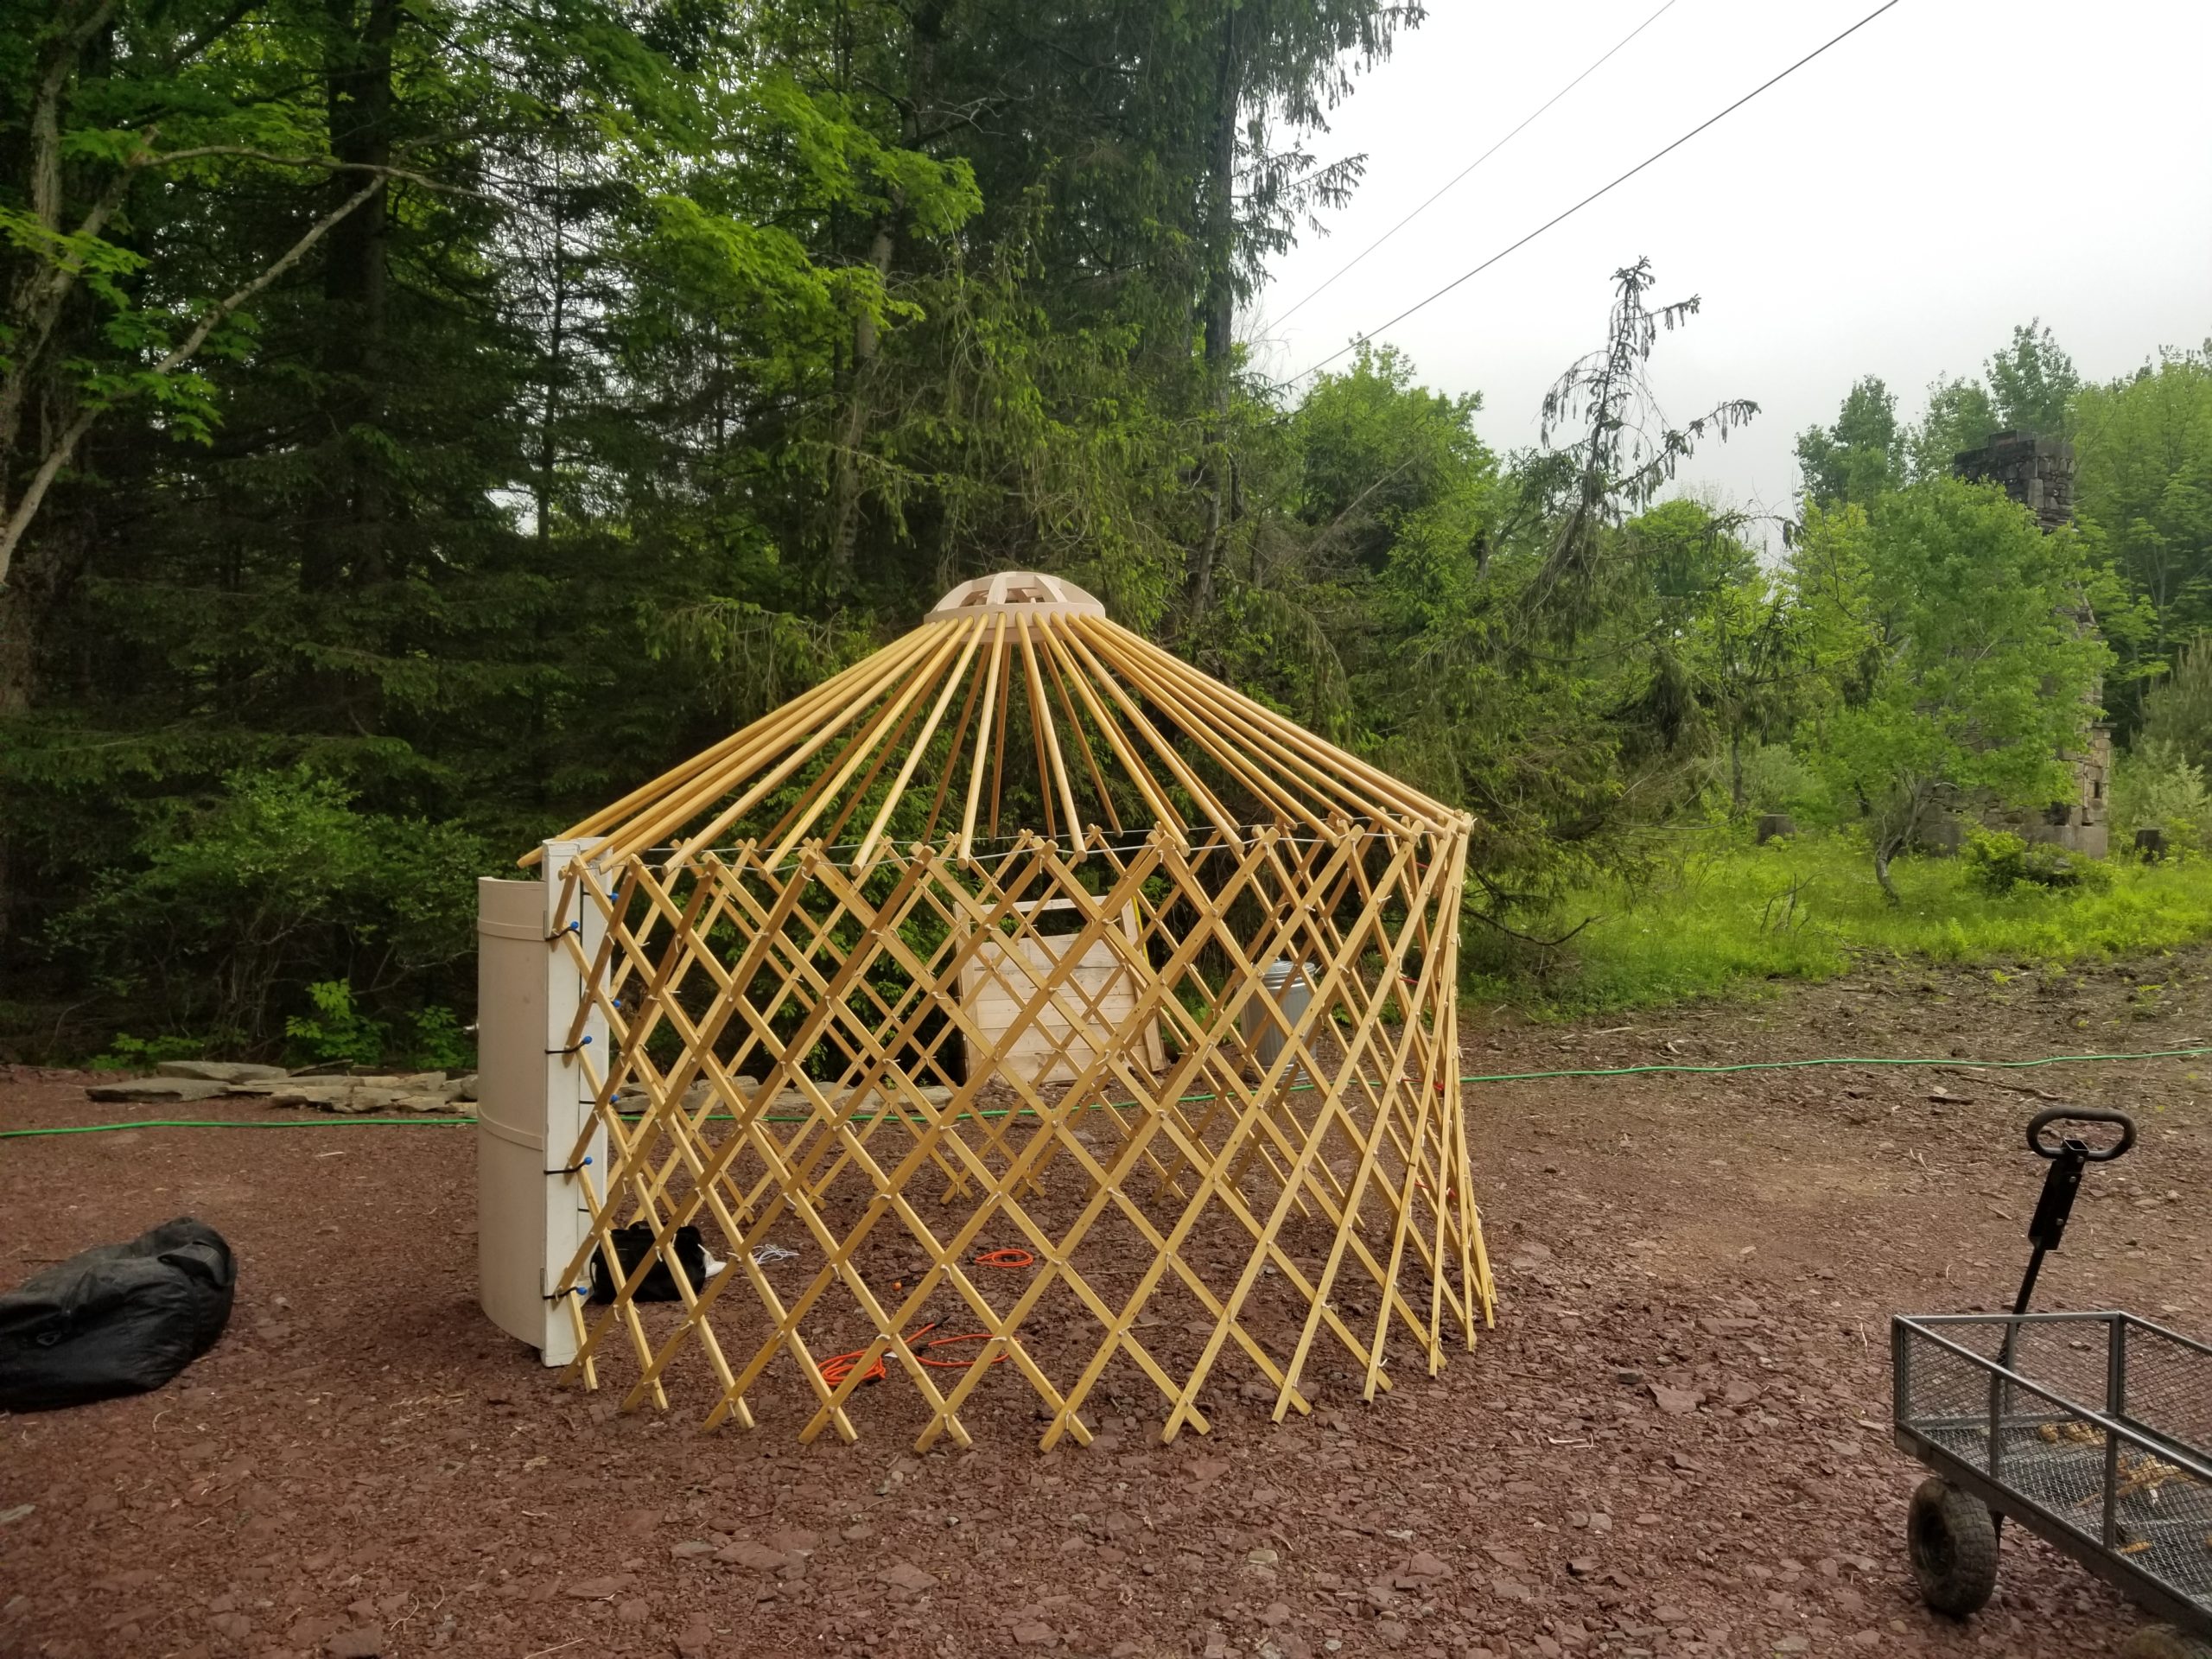
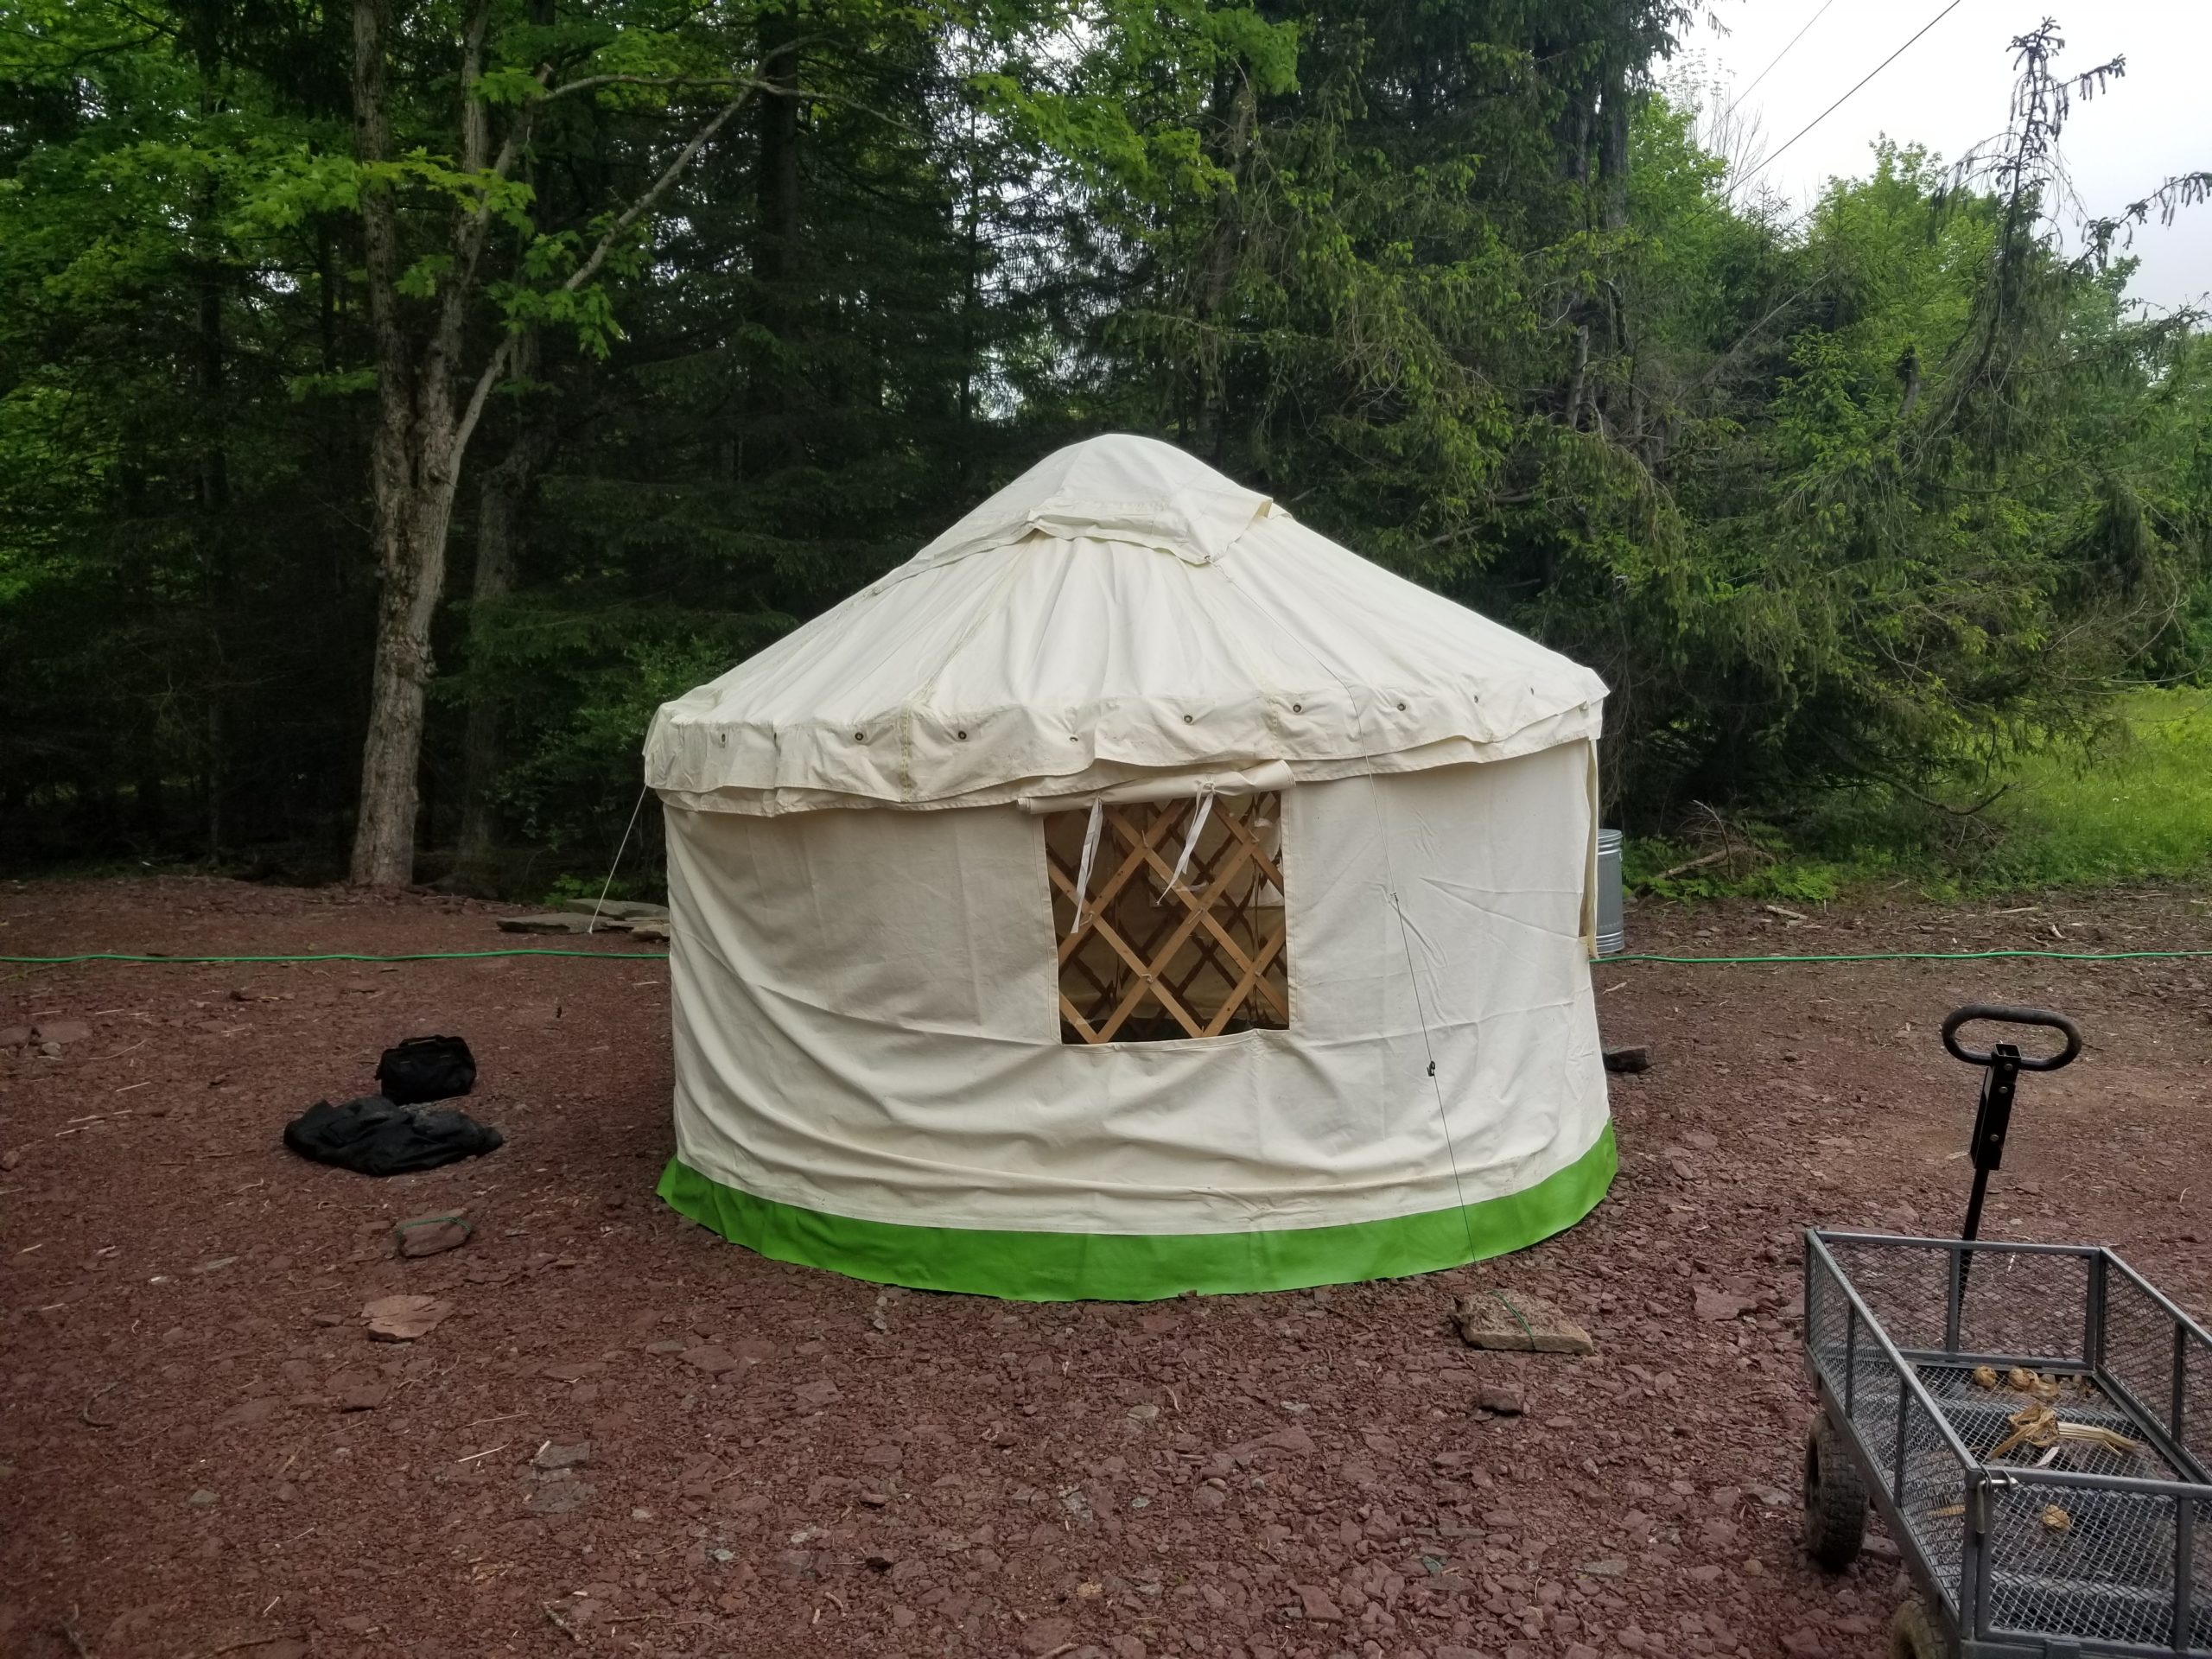
This is a yurt I built 10 years ago for camping/festivals. Approximately 60 square feet, though most of them are round.
That’s right, out here in the hinterlands, we have a whole separate house for guests! I mean, it may be the woods, but it’s not uncivilized.
I finally got sufficiently tired of it being dark in the garage at night that I installed the lighting I bought for it months ago! What started as a single outlet for the garage door opener (and an unceremonious extension cord from there down to some WiFi hardware), became a pair of bright hi-bay lights, a legit outlet for the WiFi device, and of course a switch. And the outlet for the garage door opener (still/again).
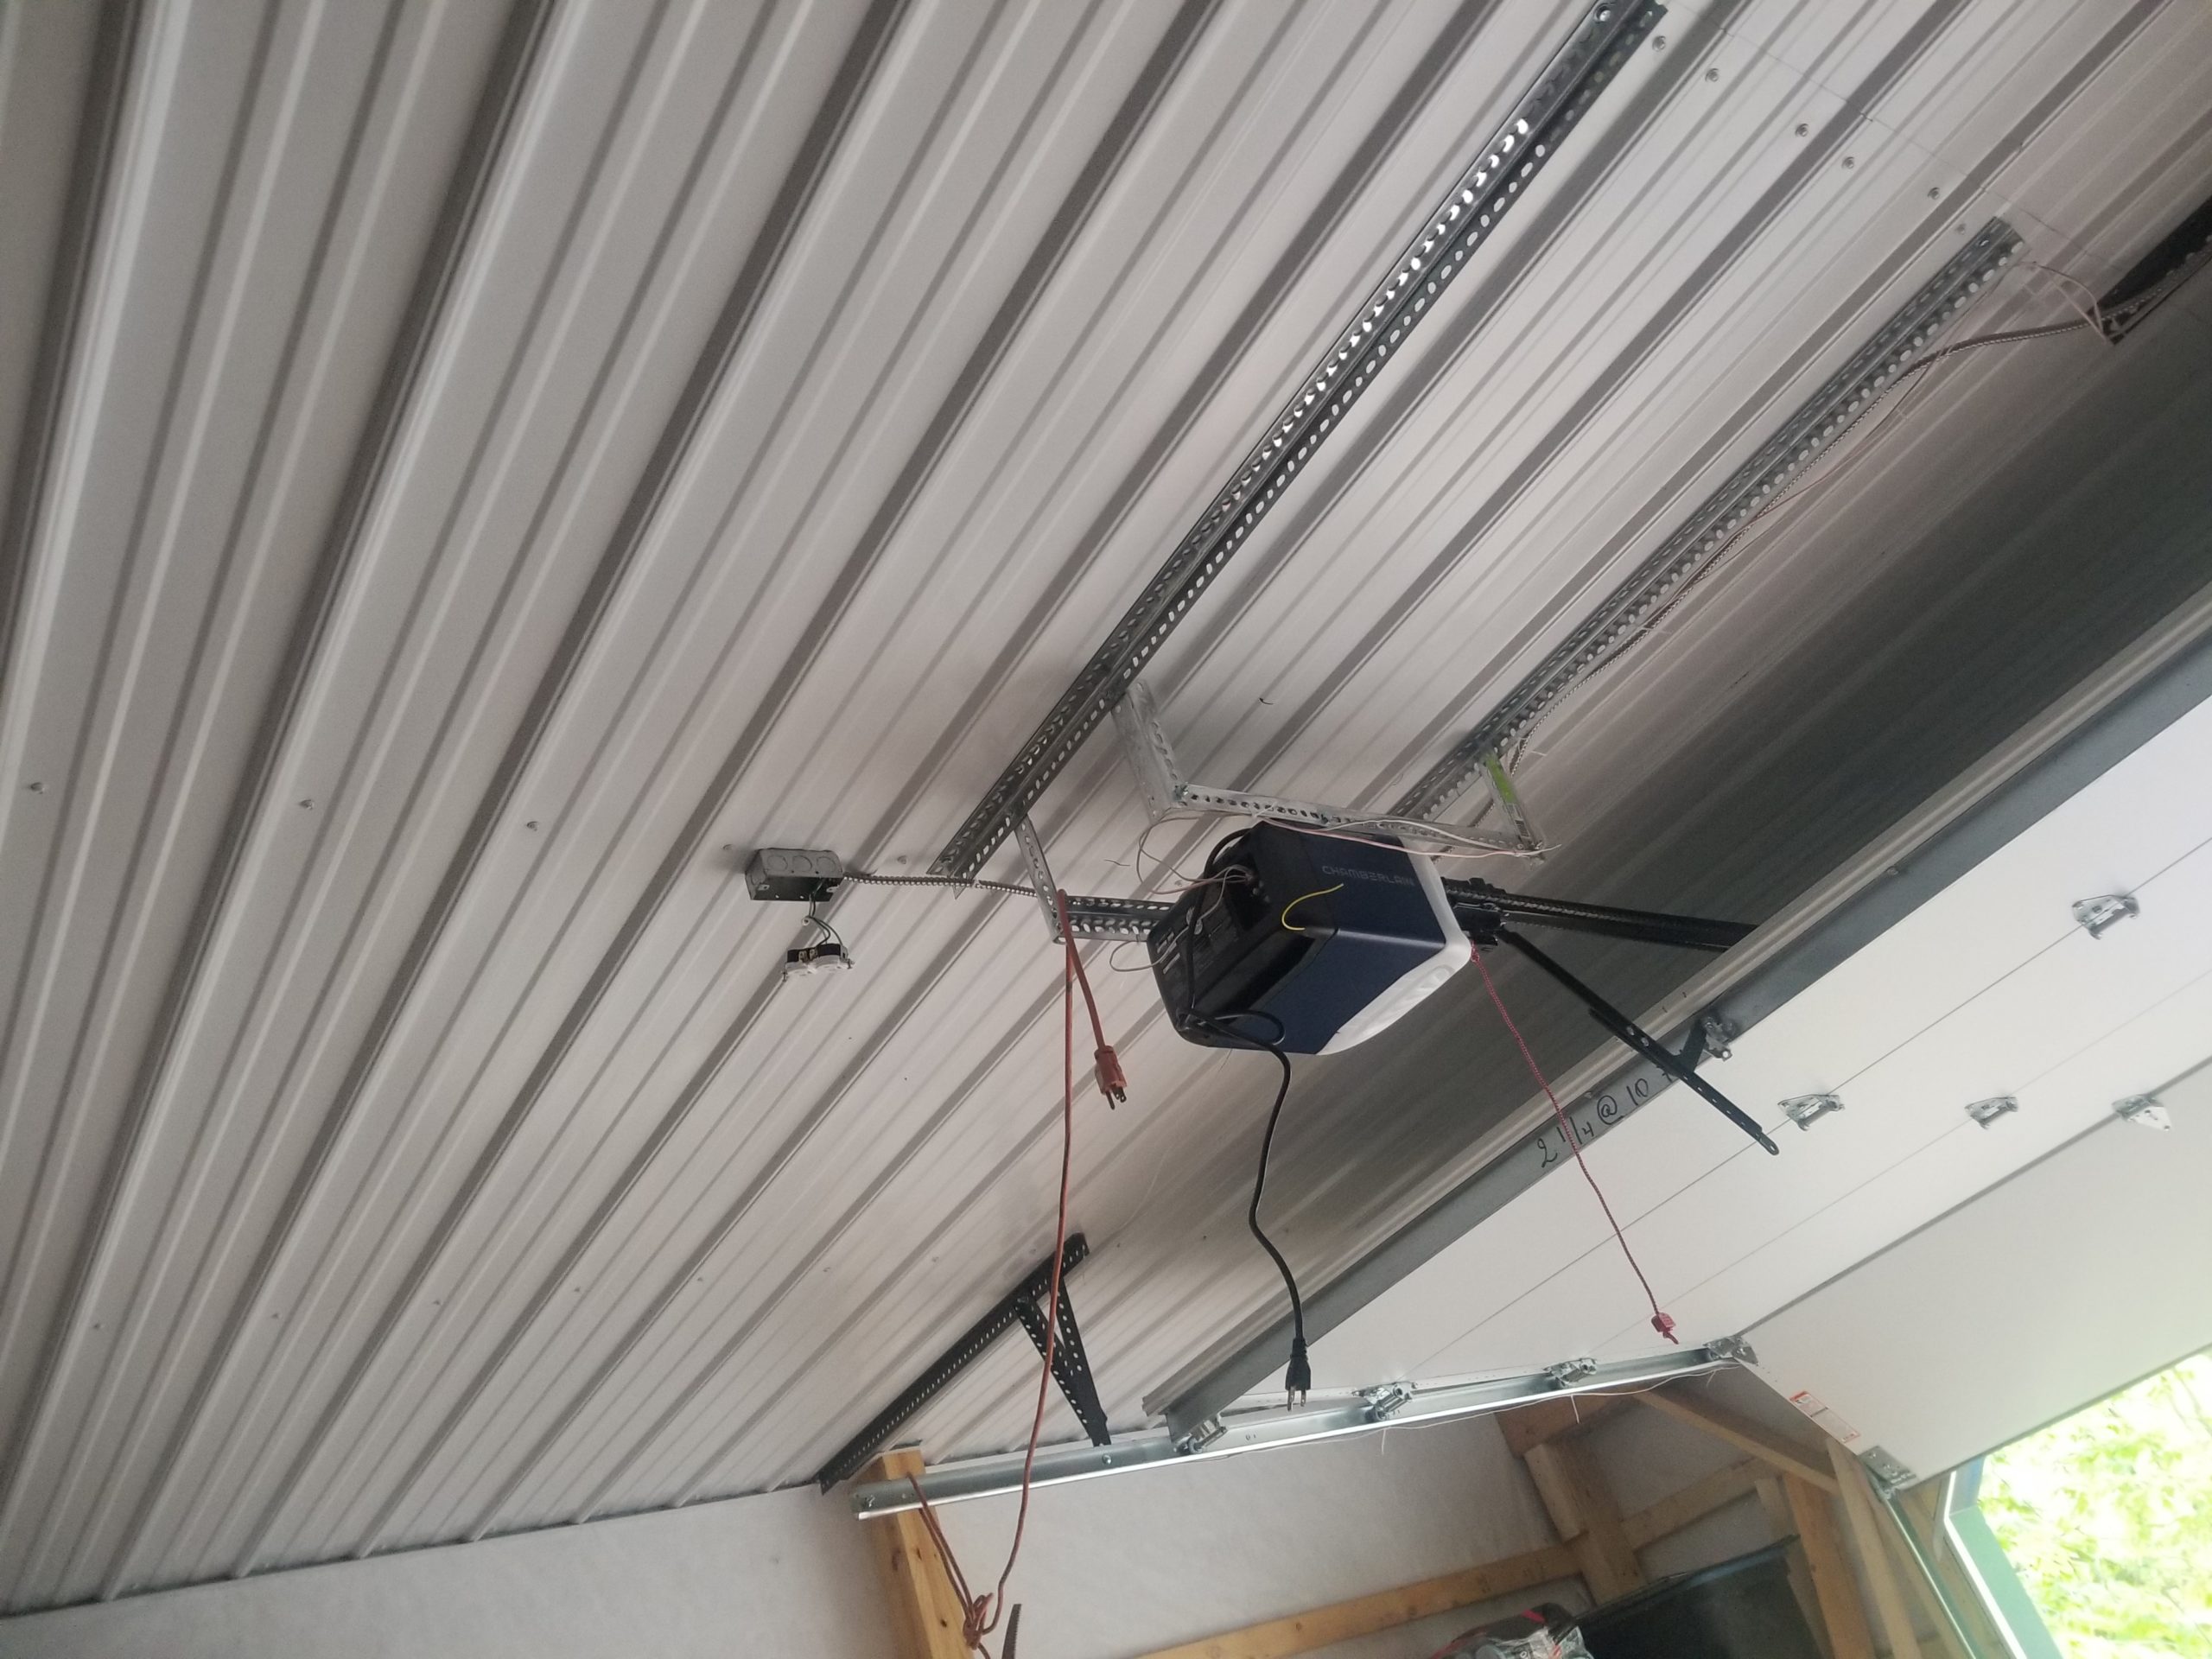
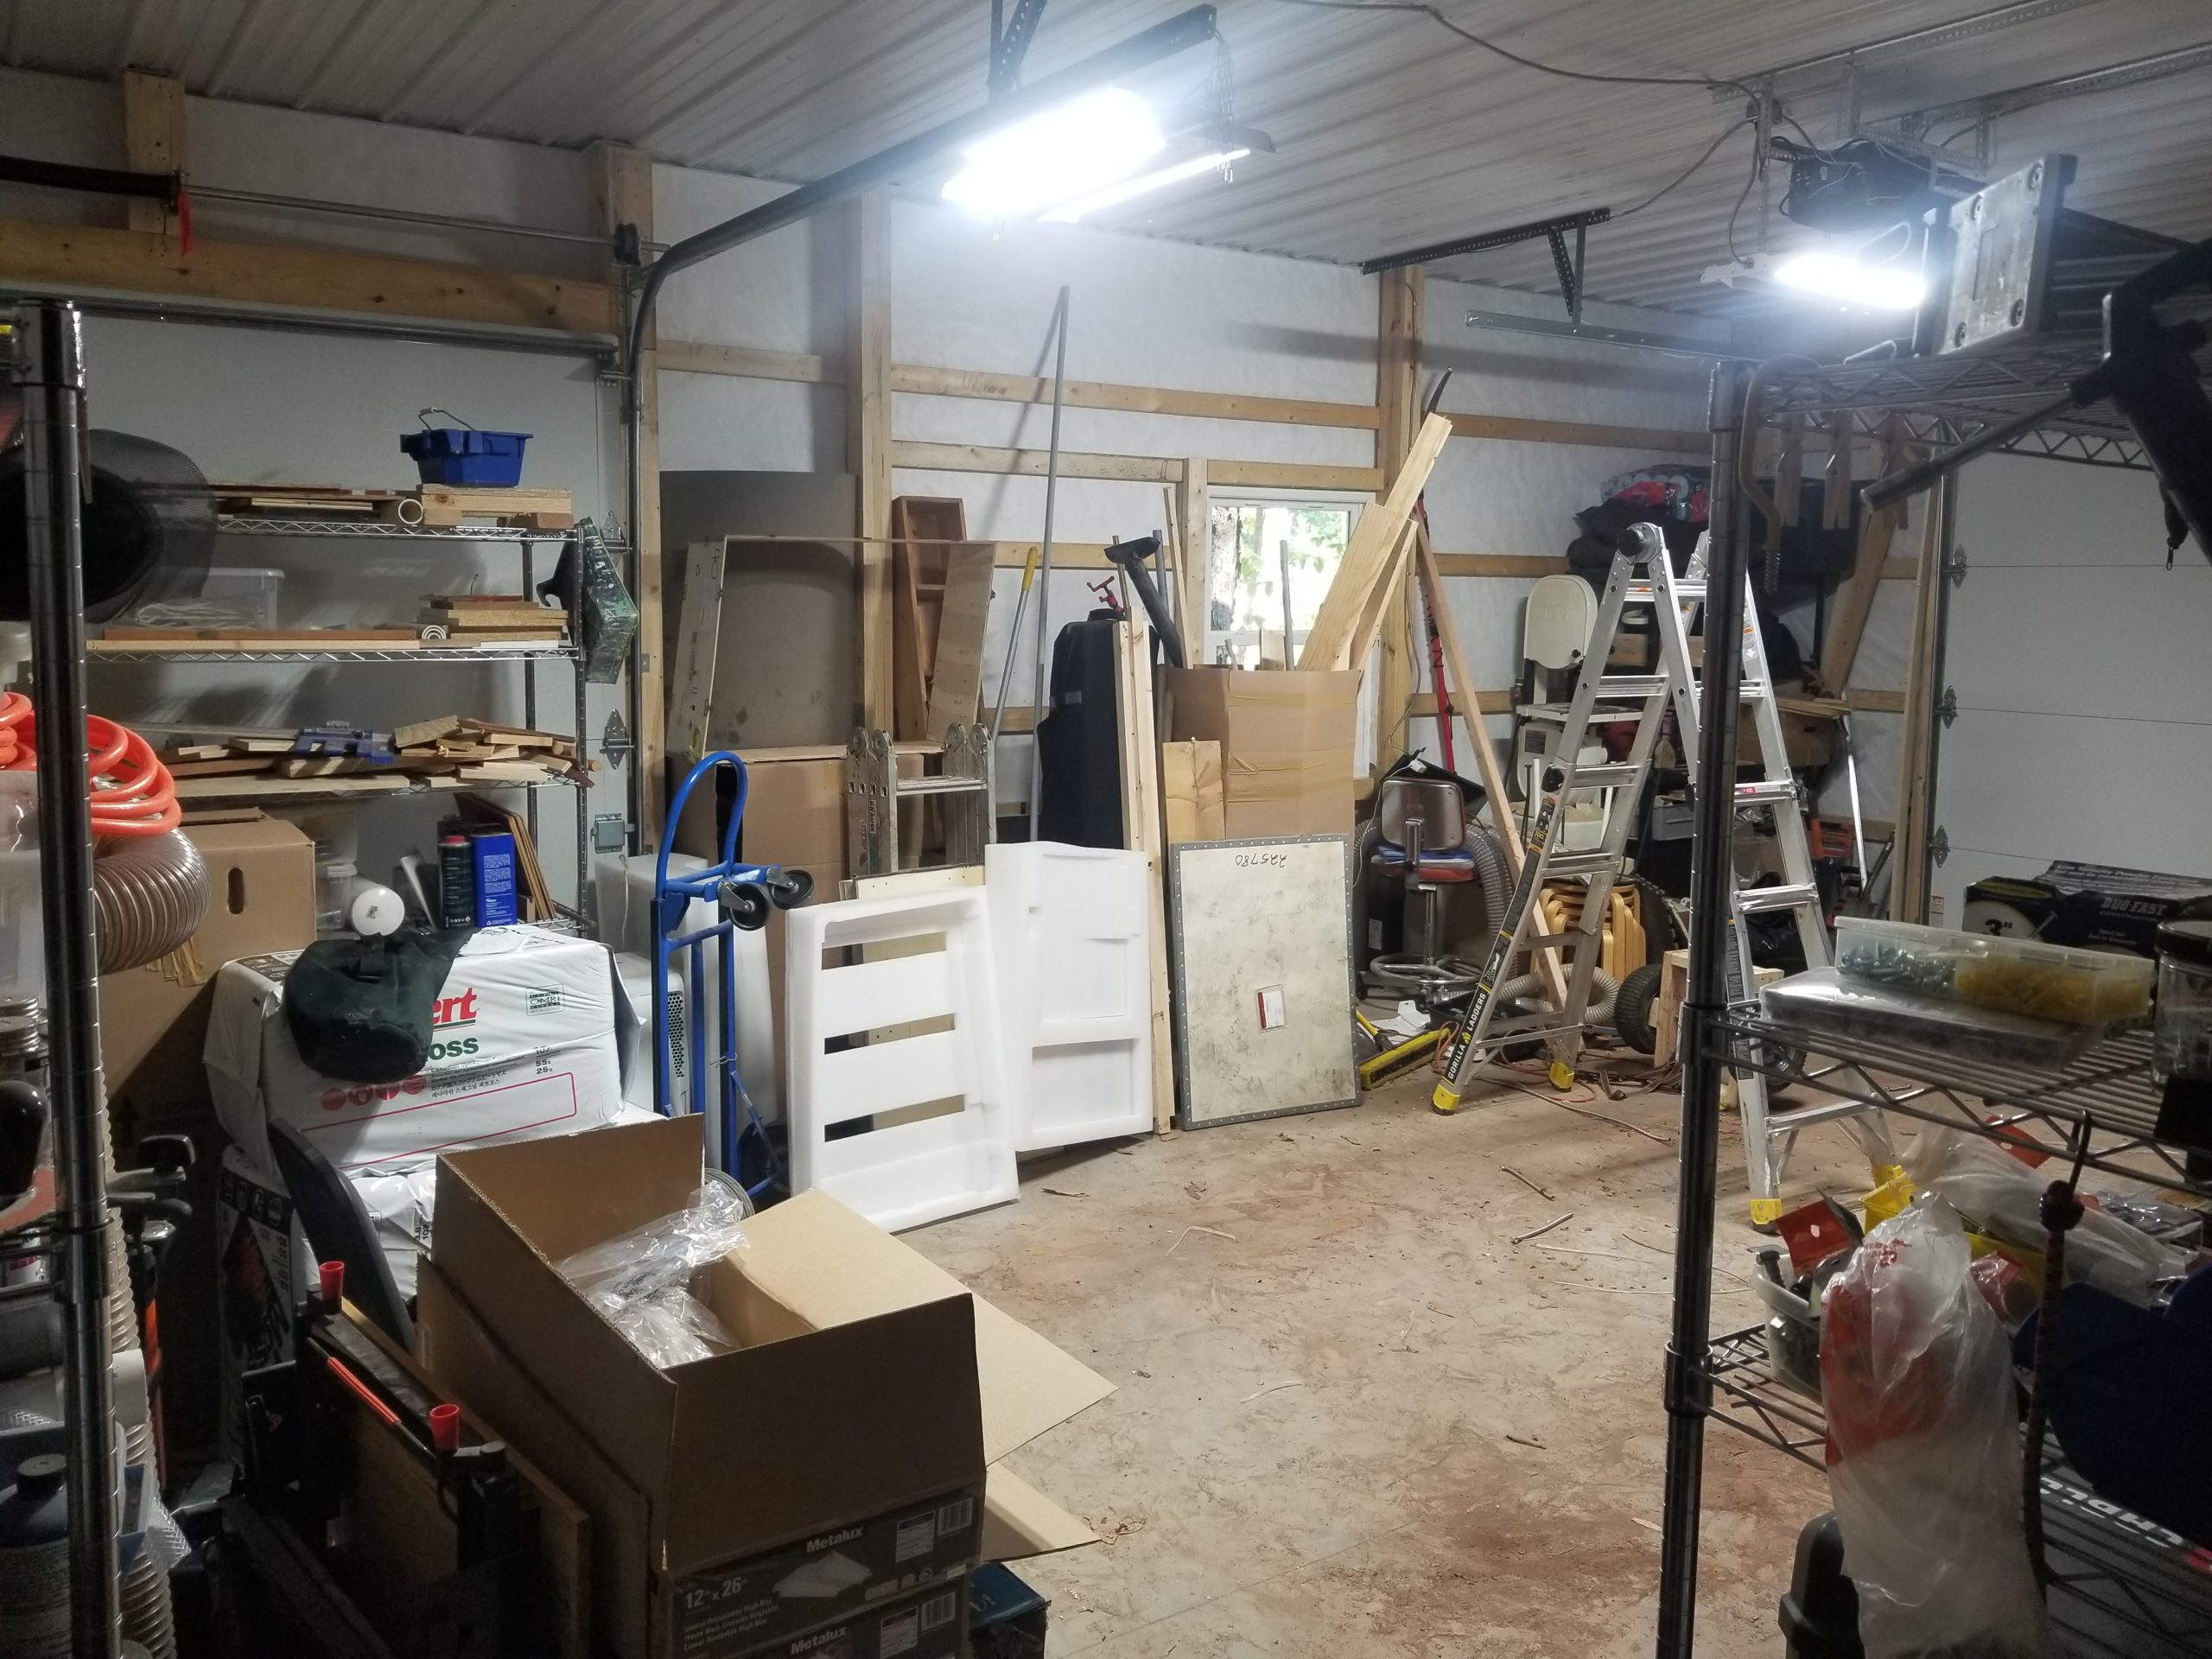
Even at night, it’s bright enough in every corner to find stuff. Yay! Why didn’t I do this long ago? Easy: it’s tedious ladder work and I don’t really like tedious ladder work. I do, however, like a well-lit garage. And now I have one.
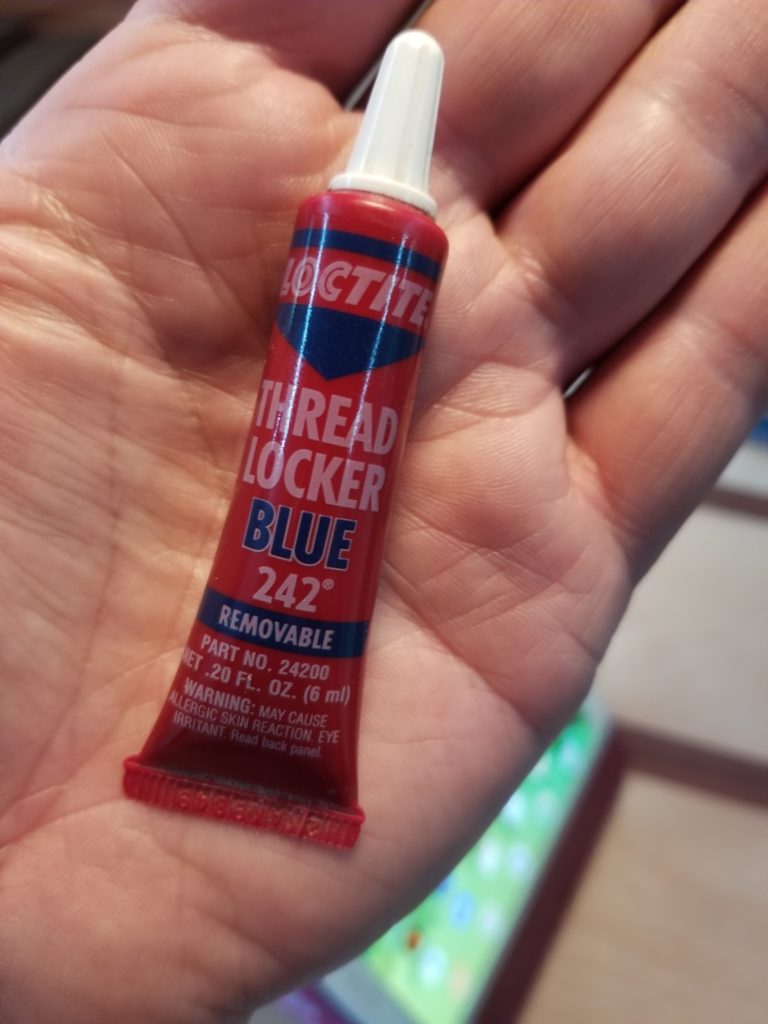
And lastly, can I just say: who thought this was a good idea, putting blue formula in a very red tube? This is made all the worse by the fact that the other variety of this stuff is also known by its color and is in fact red. So yeah, get the blue formula from the red tube. Get the red formula from the red tube. Really? There has to be a better way.
