First, some good news. It seems the Very Rational Proof Of All The Things I sent to the elections office was in fact sufficiently satisfying for them and somewhere around a week after I mailed that letter, I got my official voter registration confirmation at and for my official address.
I’ve been picking at the insulation job in the W.O.G. and continued the wallboard job in the mud room – the sight of neither of which is anything new nor dramatic, so I didn’t bother to take pictures. However, things will start getting visually more interesting soon, as today I purchased approximately $1000 worth of plywood (which for sure didn’t buy as much plywood as it would have just a couple of years ago) which will dramatically shift the look of the workshop from bare stud walls and insulation to a solid surface, making the place look considerably more finished and brighter.
I’m using plywood instead of wallboard for some very good reasons, none of which are that plywood costs 5x for the same coverage (though it’s only 3x more if I were to use the mold-resistant drywall). No, it’s not that I want to spend more 🙂 The reason for the wood surface is that I can then mount anything anywhere without having to use hollow wall anchors and dealing with the inevitable blown-out holes that happen with drywall. Also, naked drywall has a paper surface that is easily damaged. Painted drywall isn’t much more resistant to scratches and certainly not to dings and dents, all of which are highly likely in an active woodshop. Half inch thick plywood will take the abuse just fine as well as being intrinsically more mold-resistant than moisture-loving drywall. I live on the edge of the forest – this kind of thing matters a lot here. And of course, nobody expects you to tape and mud plywood. Aesthetically, panels of plywood look like they are a finished job, in their own way. Drywall, not so much. Installing the plywood is next on the list. The upper course of the stud walls is not complete throughout, but getting what’s done covered with the plywood will be worthwhile, even so.
For those sections of wall with both upper and lower courses ready, full coverage means I will no longer need to be able to work directly in front of those walls, enabling me to start building and using the wall-mounted storage system I have in mind, for one. For two, I can also simply move shelving units to the perimeter of the room. This will free up central floor space which, in turn, will make it possible to further unpack and eventually actually get the workshop to be a workshop rather than a construction zone and unpack staging area. W in W.O.G. stands for workshop, after all.
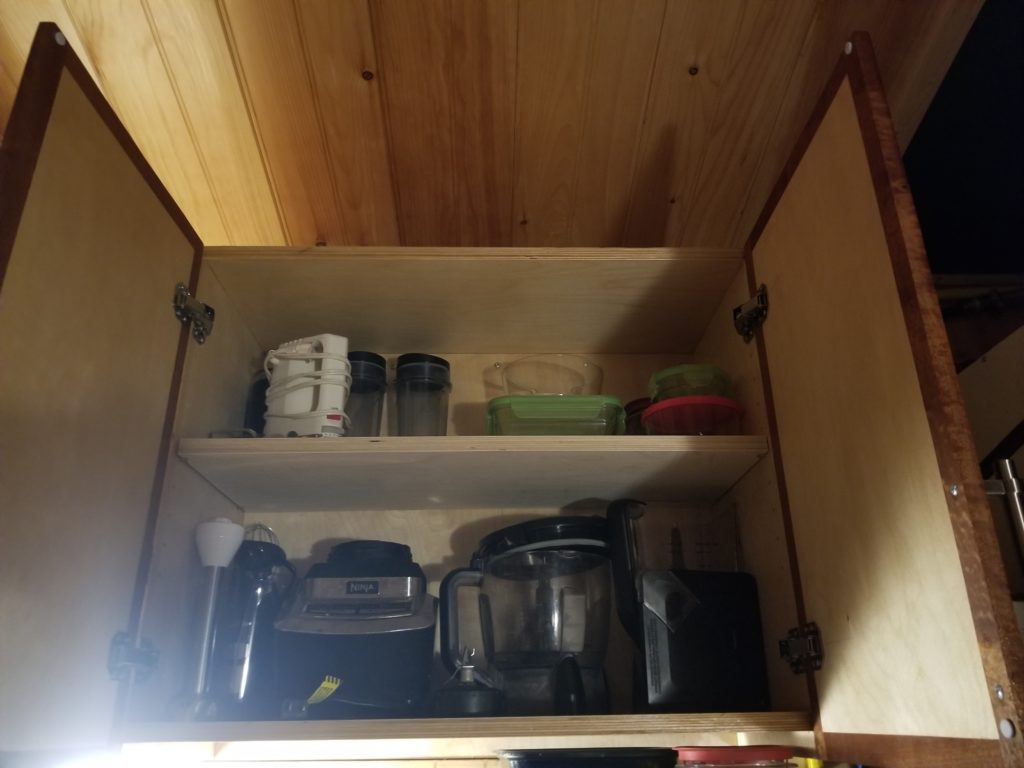
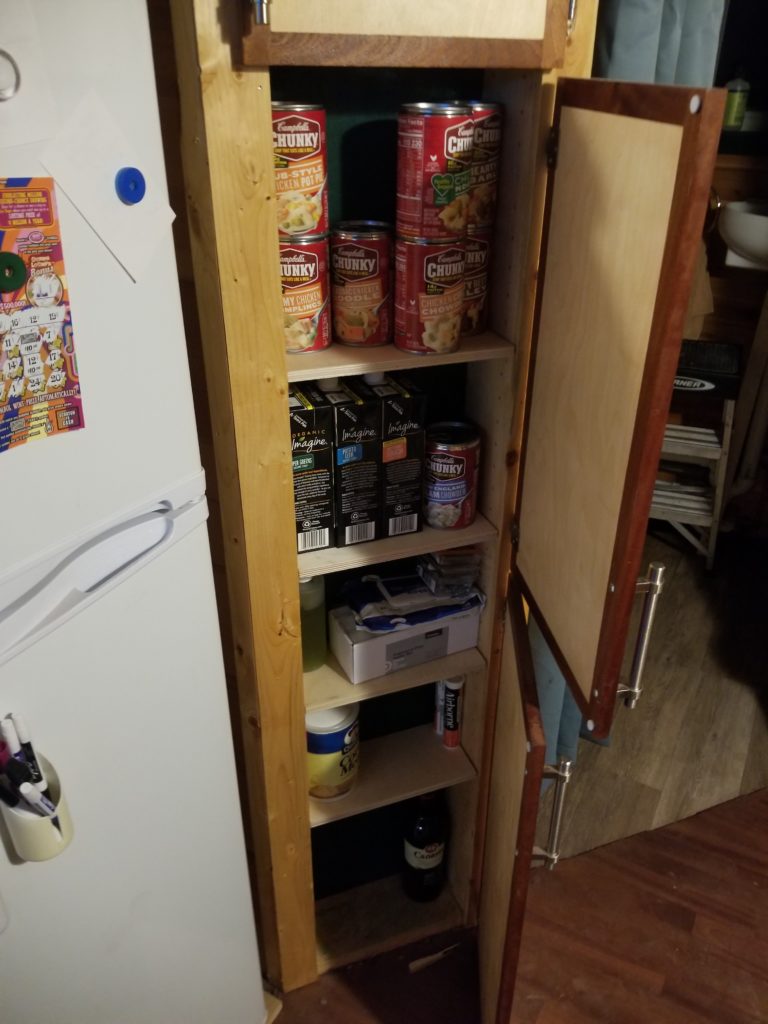
This week I had a house guest – my first overnight visitor – which was just enough motivation to prioritize making some shelves for the kitchen cabinetry and actually unpacking more kitchen stuff. It’s always been a balance of priorities – I had enough kitchen for one to get by, so I was spending my available time on other things. But now with a second mouth to feed and it was attached to a person who wanted to be able to cook and generally function in my kitchen, it was time to move that along. And so it was. Shelves make cabinets useful…
And although I could have made my own spice rack, that requires a functioning workshop and mine is a long way from being ready for such a project. Cutting rectangles for shelves is about all I can do in there right now, so I just bought some. It certainly increases the hominess of the kitchen to have the spice rack out in the open like this.
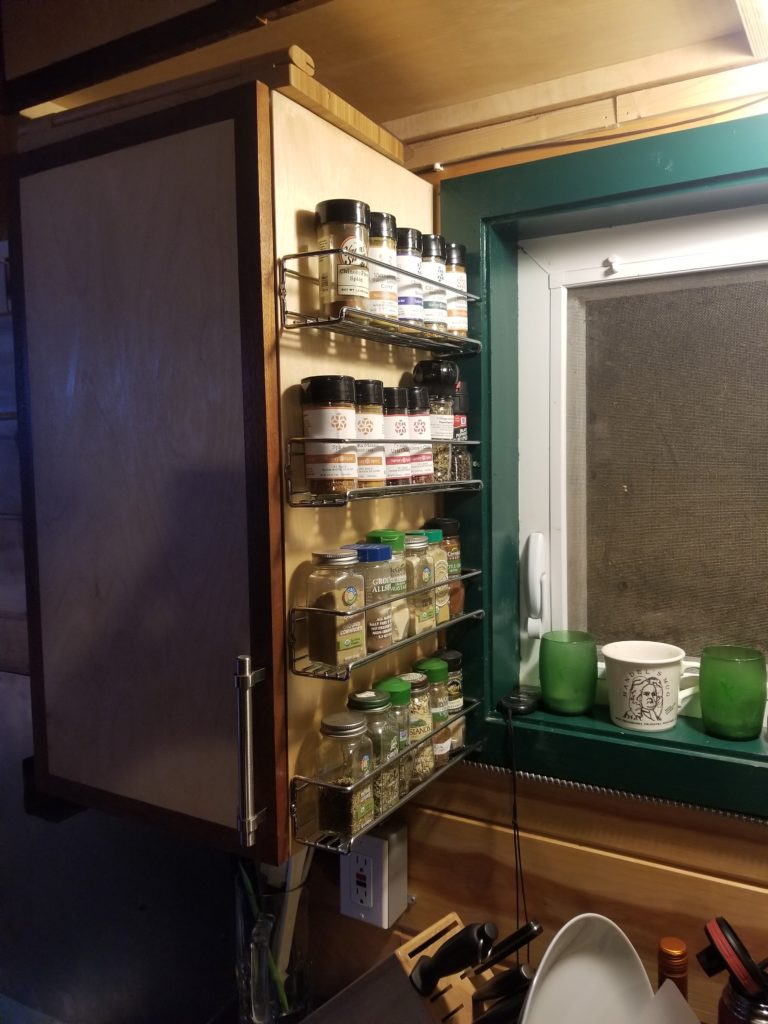
If one lives in a tiny house, one does not have the luxury of infinite storage space for spices — one must choose carefully.
It was also good to finally locate my knife block, too. Now I can stop buying those incredibly inefficient and packaging-wasteful salad kits and buy fresh ingredients instead. The kits were great for getting some greens when I didn’t have any sharp knives available, but now that I do, I can chop my own damned lettuce 🙂 Found my steamer basket, too. Steamed vegetables are back! It’s the little things…
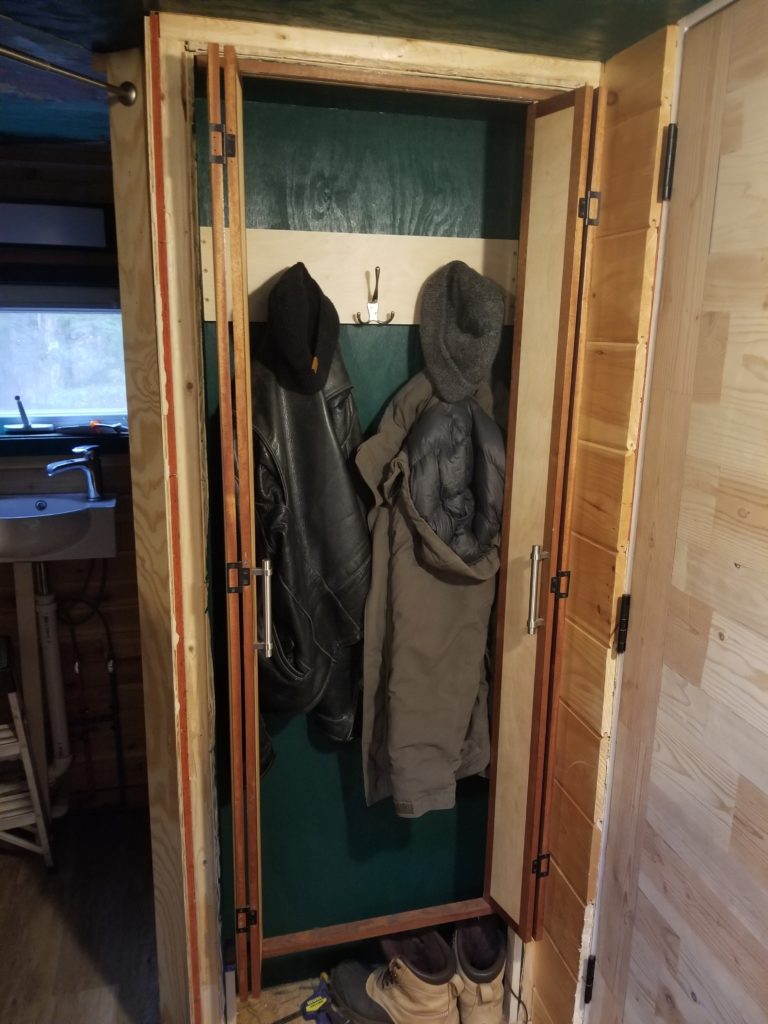
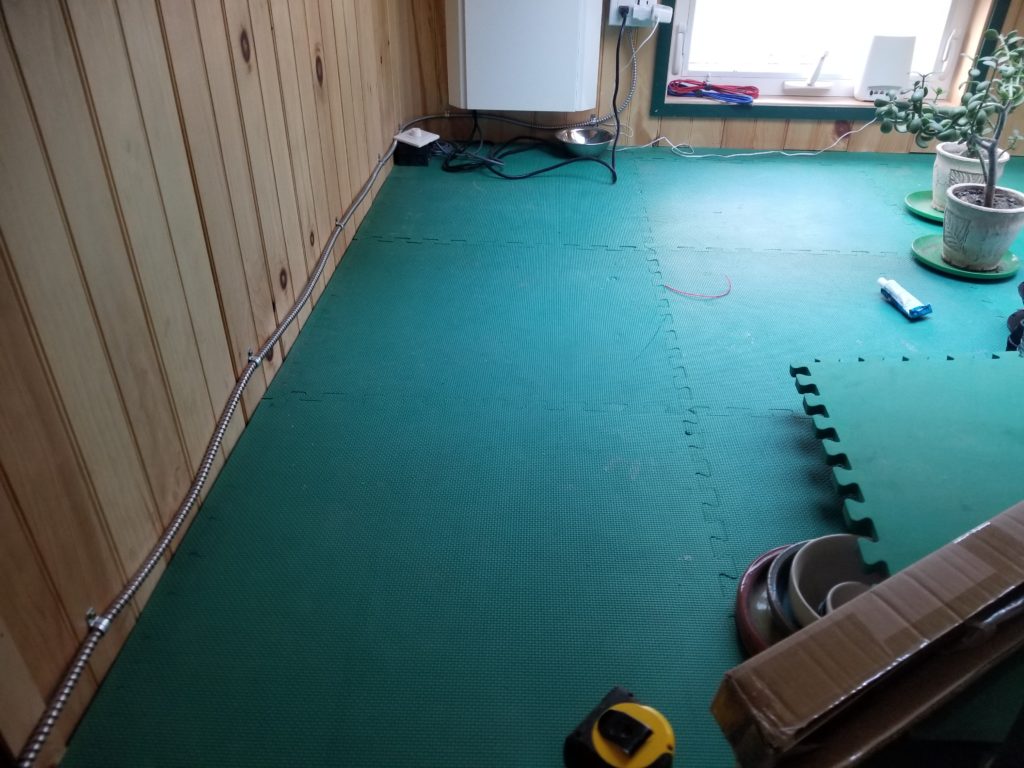
Speaking of little things, also these: hooks in the coat closet and cutting the foam floor panels in the Cozy Loft to size so they lay flat and nice now.
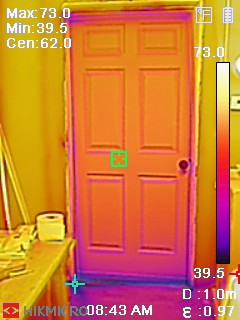
One thing that’s not so little was the cold in the office. The thermal camera revealed quite a lot of cold air coming in around the doors. Some of that was obviously coming in under the door, which was easily cured with a door sweep. However, a significant amount was also coming in around the jamb. These are interior doors and as such, aren’t really built to accommodate weather stripping. What to do? I added a secondary jamb that was big enough to accommodate some weather stripping, which I then added.
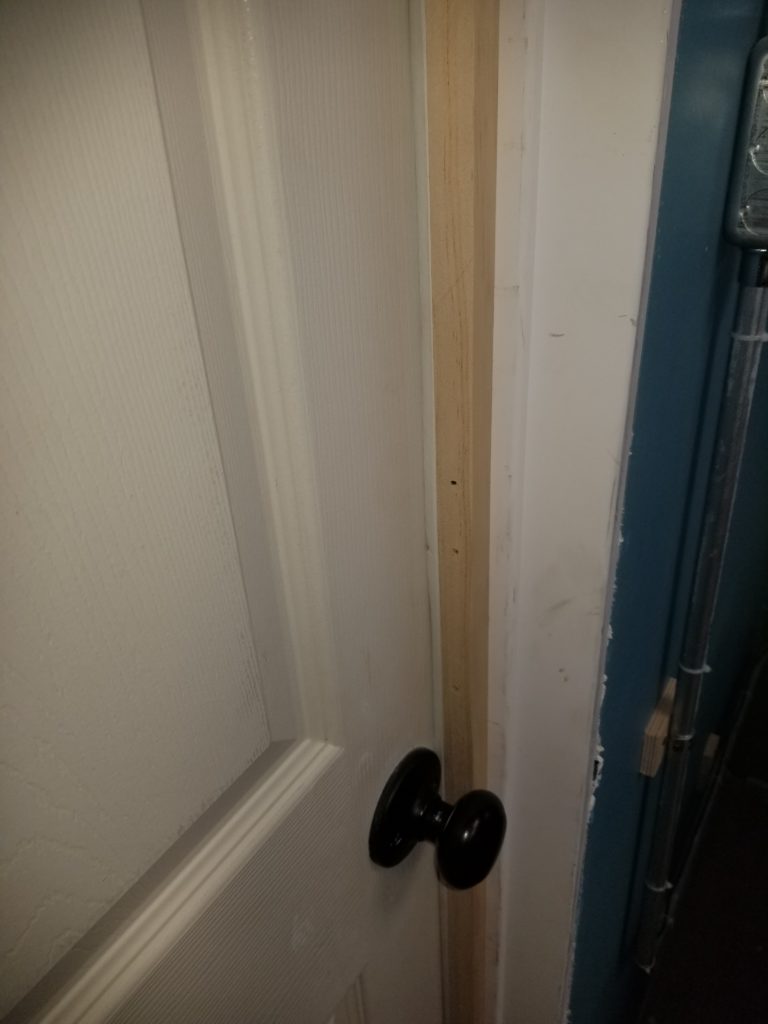
The thing is, this interior door turns out not to be perfectly flat! That doesn’t really matter much for an interior door – as long as it closes and latches, that’s enough. But if one means to have the door close tightly against some weather striping, that’s another story. When I first installed the auxiliary jamb, I just extended the profile of the jamb as-was. That made a lot of sense and was easy but there were gaps to the face of the door! I double checked with my 6-foot level. It wasn’t that the jamb was warped during installation (that was possible, but confirmed not to be the case). It was the door slab itself that wasn’t flat! It bowed considerably. Shit! So I pried off the aux jamb and re-attached it while the door was closed and with the weather stripping pre-applied, so I could fit the weather stripping snugly against the door as I nailed the aux jamb to the frame again, bending it slightly as I went to accommodate the door’s non-flatness. This ultimately made for a good seal, but the door is now kind of hard to latch as it compresses the weather stripping all around. I don’t know if there’s a better solution, but for the rest of heating season, this will do.
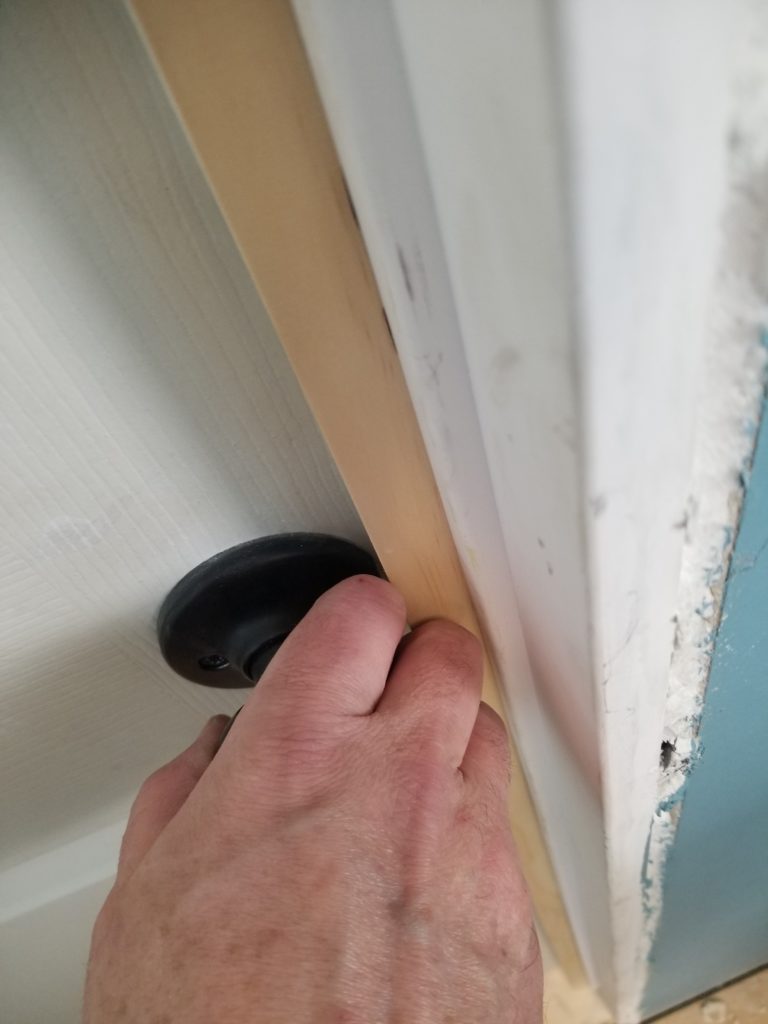
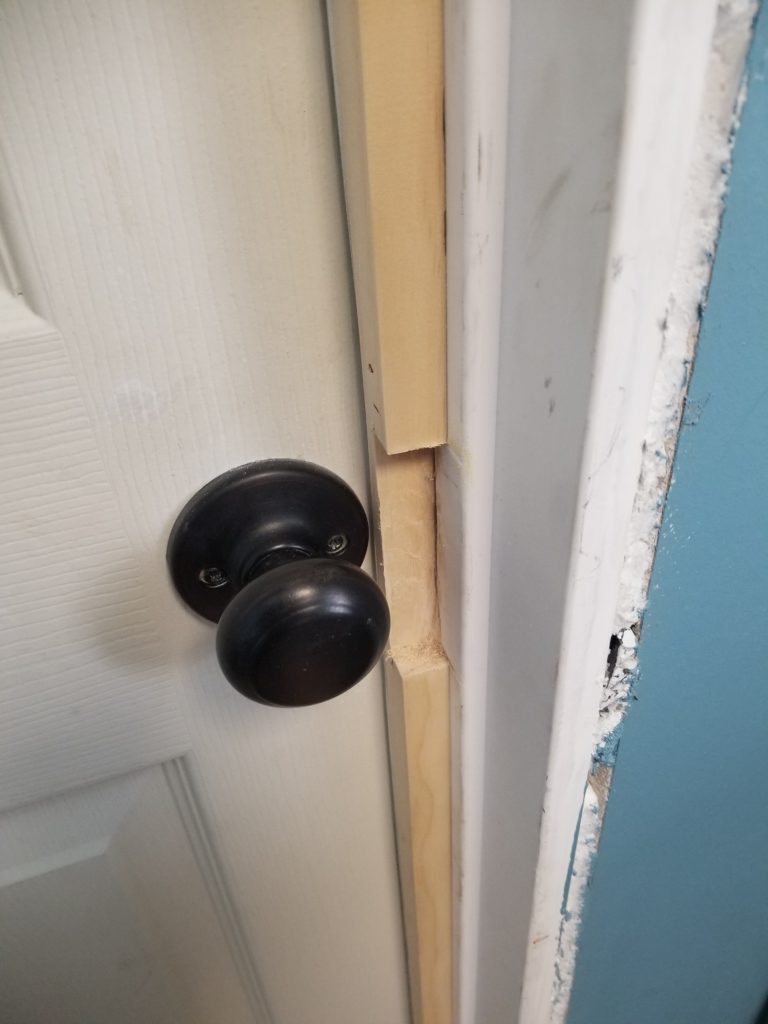
One problem with the aux jamb is that it consumed some space that my fingers wanted to occupy when operating the door knob! I solved this crudely but effectively by simply removing as much of the material as I could while retaining sufficient support for the weather stripping by the knob.
I suppose I could swap out this door for a legit exterior door, too… though that’d be a shame to have wasted the money on the interior door that’s here. And, for that matter, the one between the Executive Washroom and the workshop, which has exactly the same problem (and same sub-optimal solution).
But did it work? Yes. Much less cold around the edge of the door. There’s still some cold at the bottom, but there’s no cold spill into the room, just the door sweep itself being cold.
Speaking of heat… and therefore by association also of firewood… I found this amazing detail inside one of the logs I was cutting up to fit in my wee woodstove:
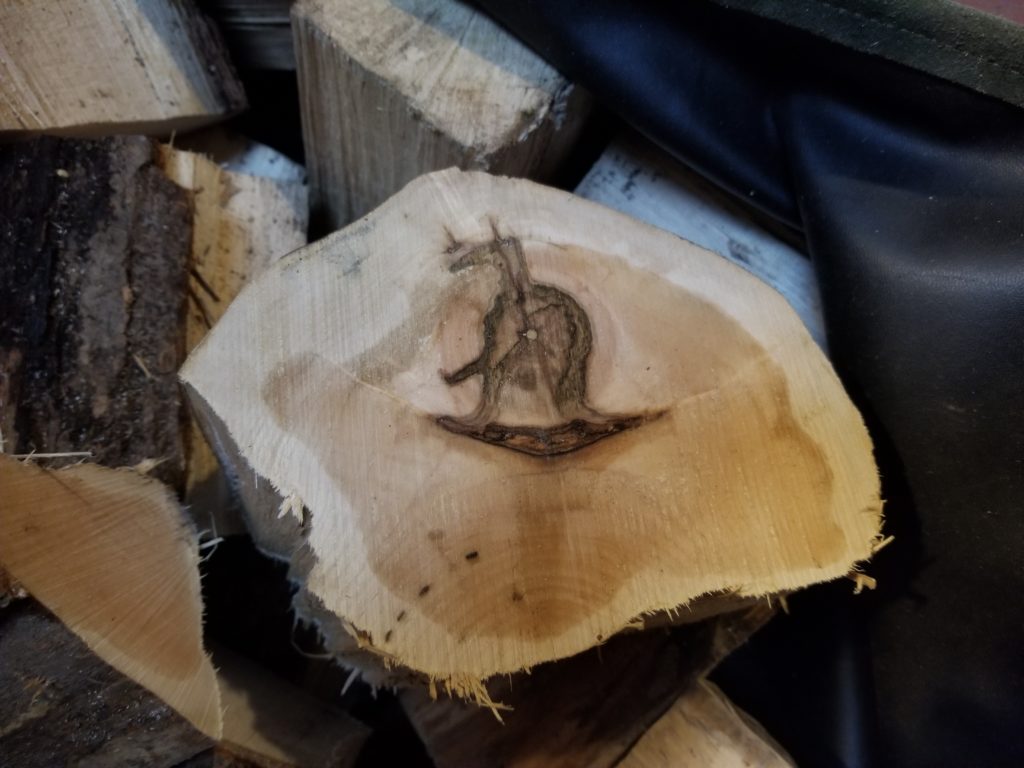
Unretouched, I promise. It reminded me of petroglyphs.
I don’t know what causes this kind of feature to occur inside trees, but I have seen both black and for that matter green streaks in cross section on logs from time to time. This is the first time it was sufficiently organized to look like a figure, though. Elsewhere on the log it morphs into something more abstract and smaller. I just got lucky at this slice. I found it evocative of the Mondoshawan from the Fifth Element.