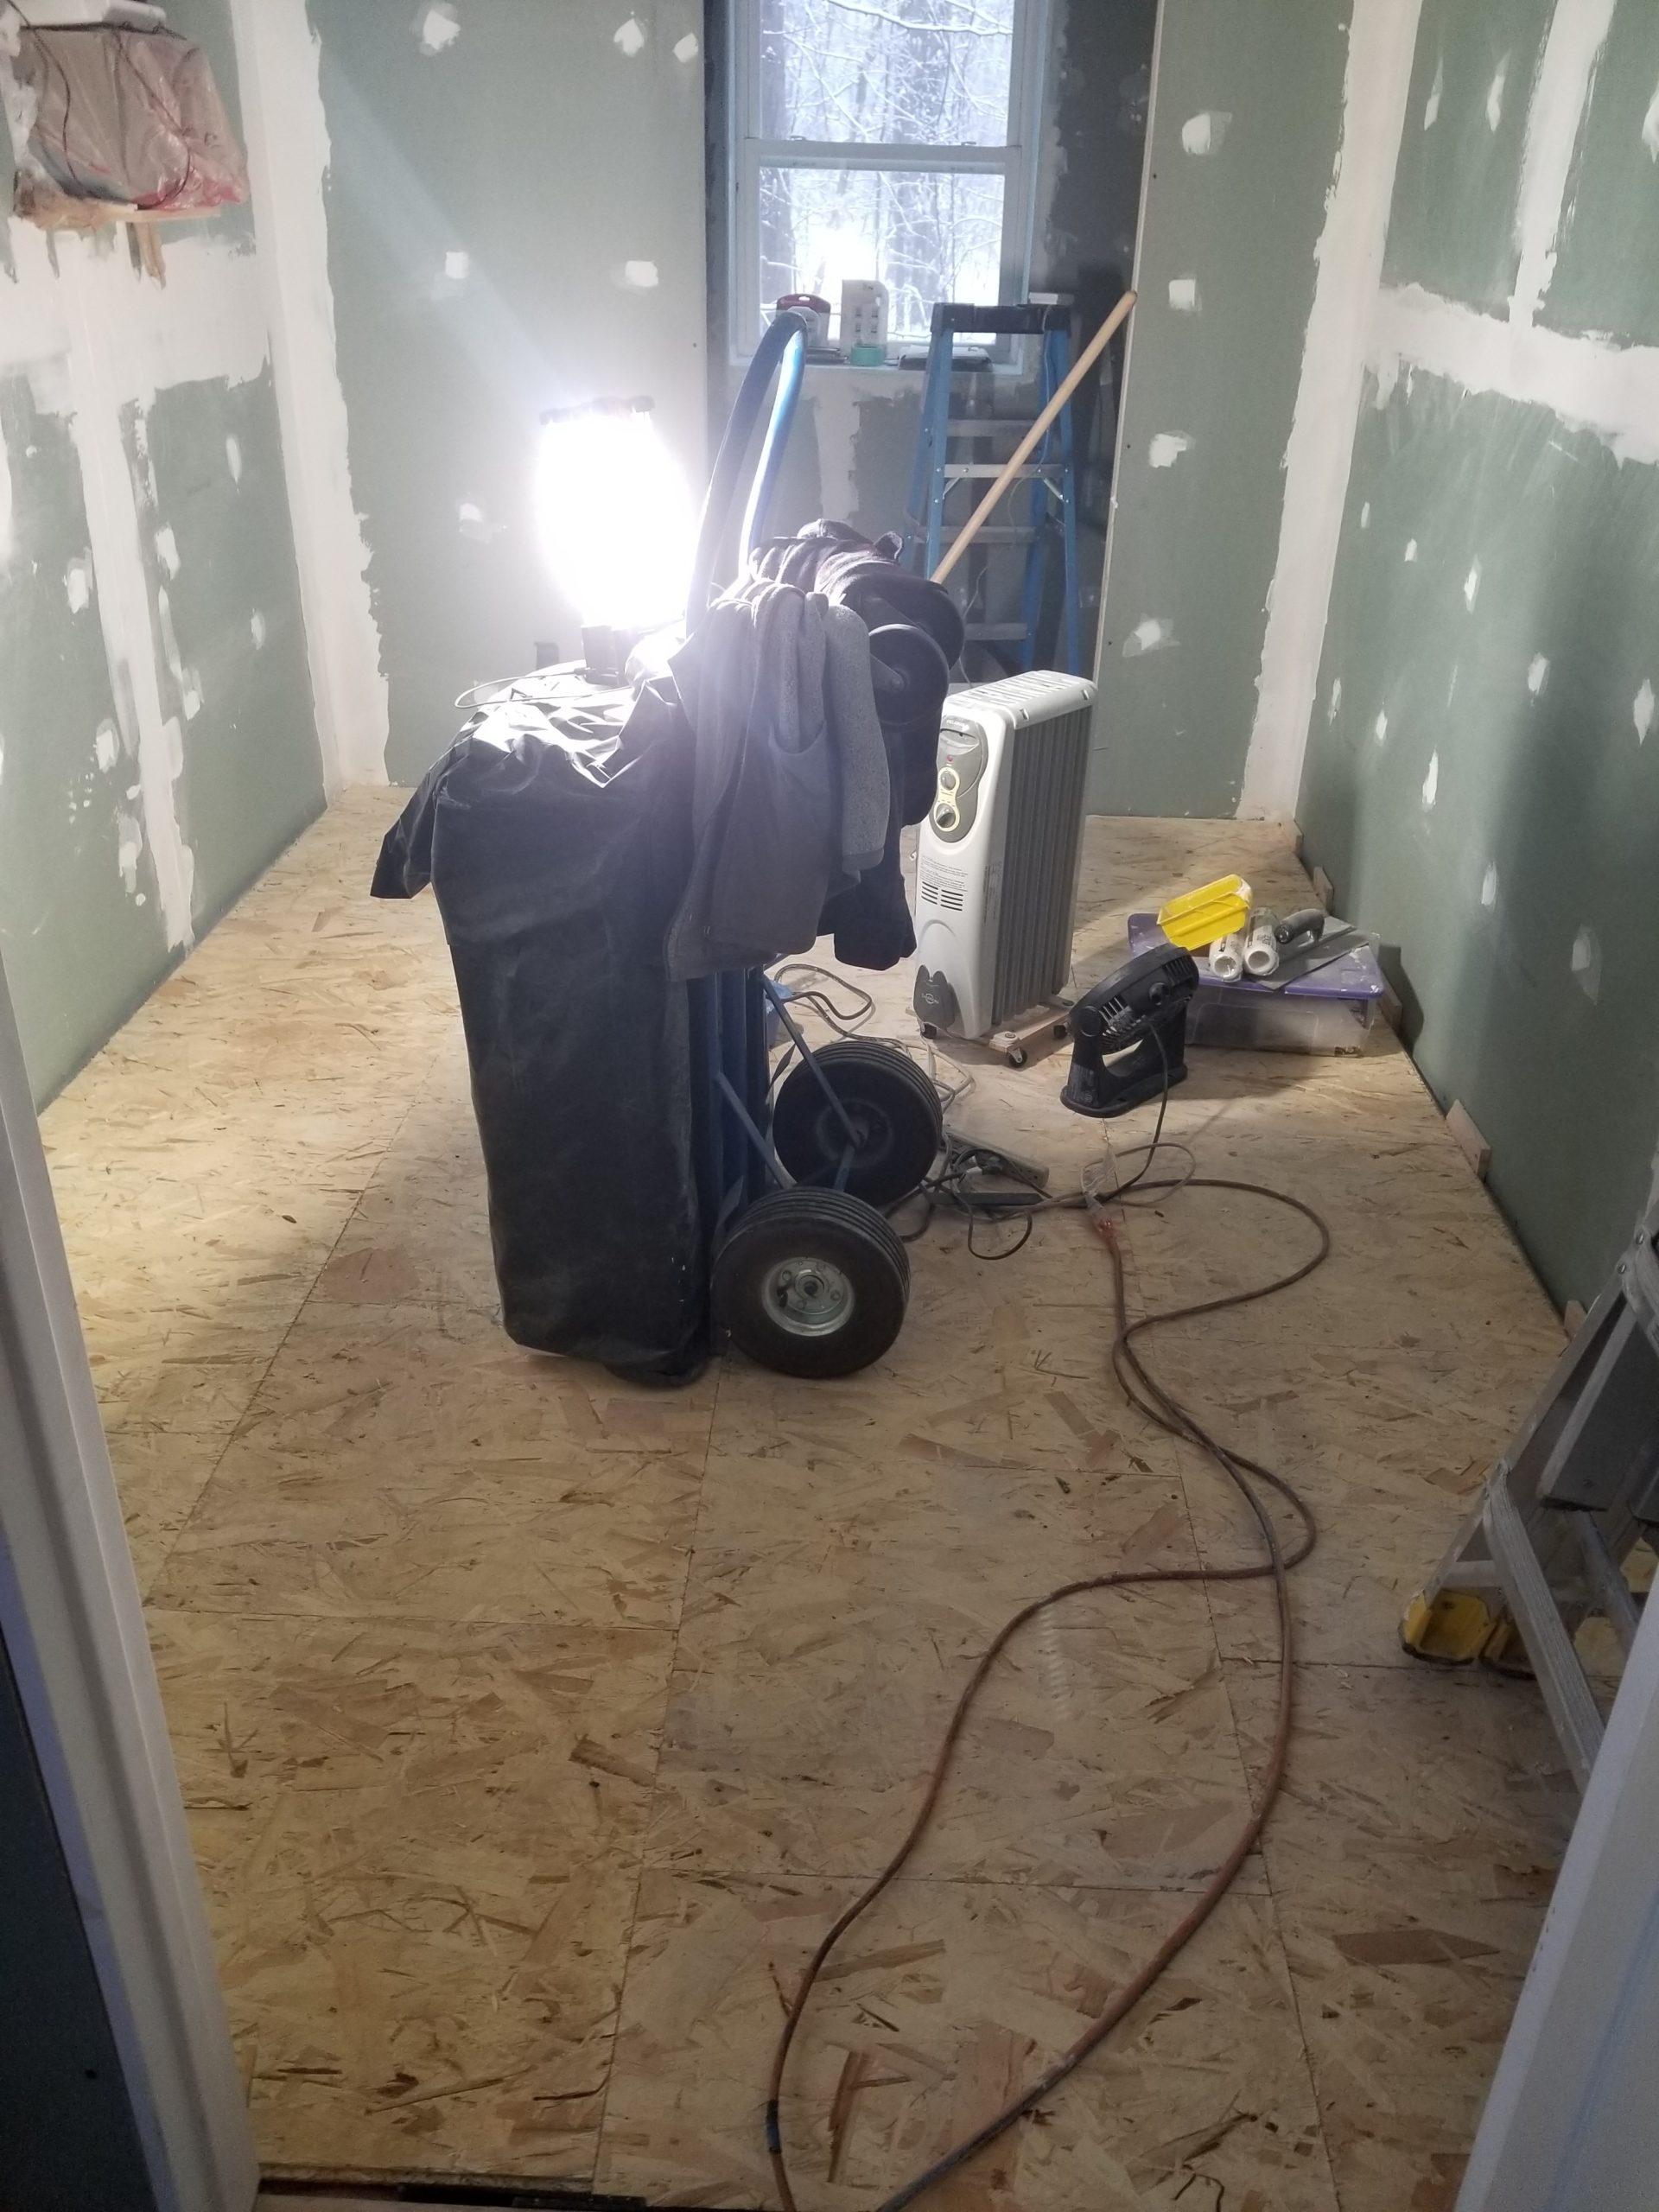
You know what takes a long time? Drywall joint compound drying when it’s chilly. I heated the space to about 60F (which was the best my little electric heater could do under the circumstances) and that helped, but since I was running that on generator and didn’t want to leave the thing on overnight, that 60F really only applied to about 10h a day. Doing it that way, it took 2-3 days for the compound to dry fully, and honestly, some of the heavier spots where there were bigger gaps were only mostly dry at that point. This really slowed me down with respect to getting the office done. The slow dry let me spend some time on workshop framing, which was good to get done (and consumed a pile of lumber that is no longer in the way because it’s walls now), but it also meant I did not get the office operational by the end of my winter break. It’s close — another weekend should do it — or maybe some weeknight puttering to chip away at it — but it’s not done and this is disappointing.
So, what DID get done?
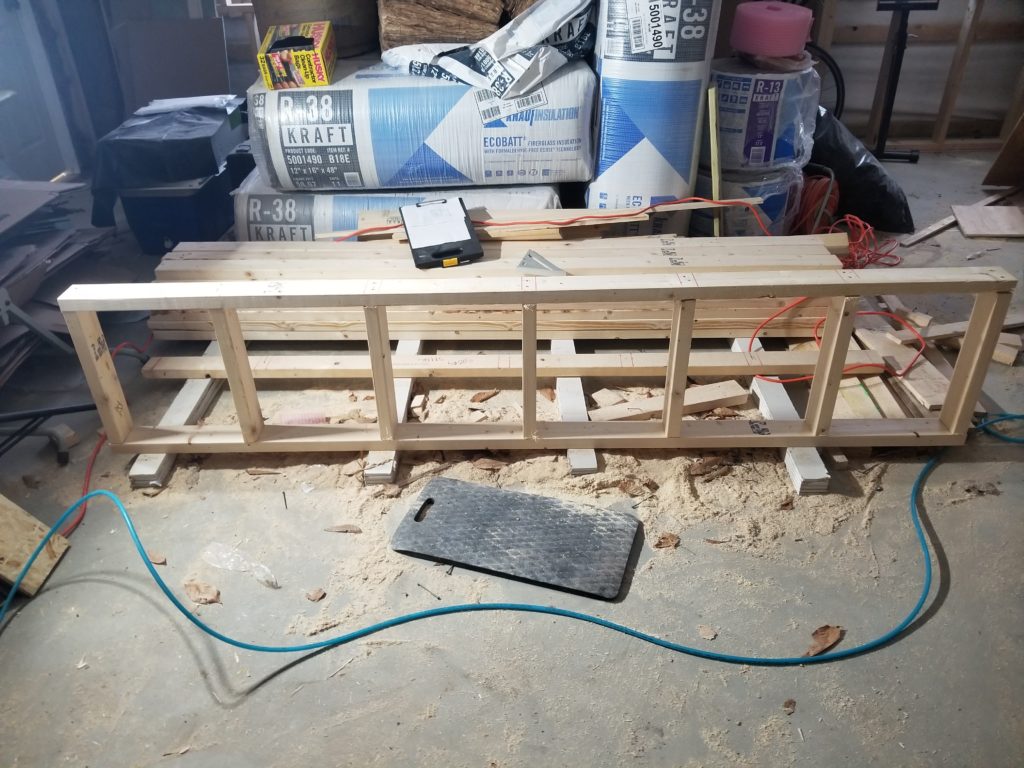
Well, while I was waiting, I got some of the upper course of wall framing done in the workshop. That’s good progress and consumed more lumber. The upper modules are much smaller and easier to build and raise than the lower ones.
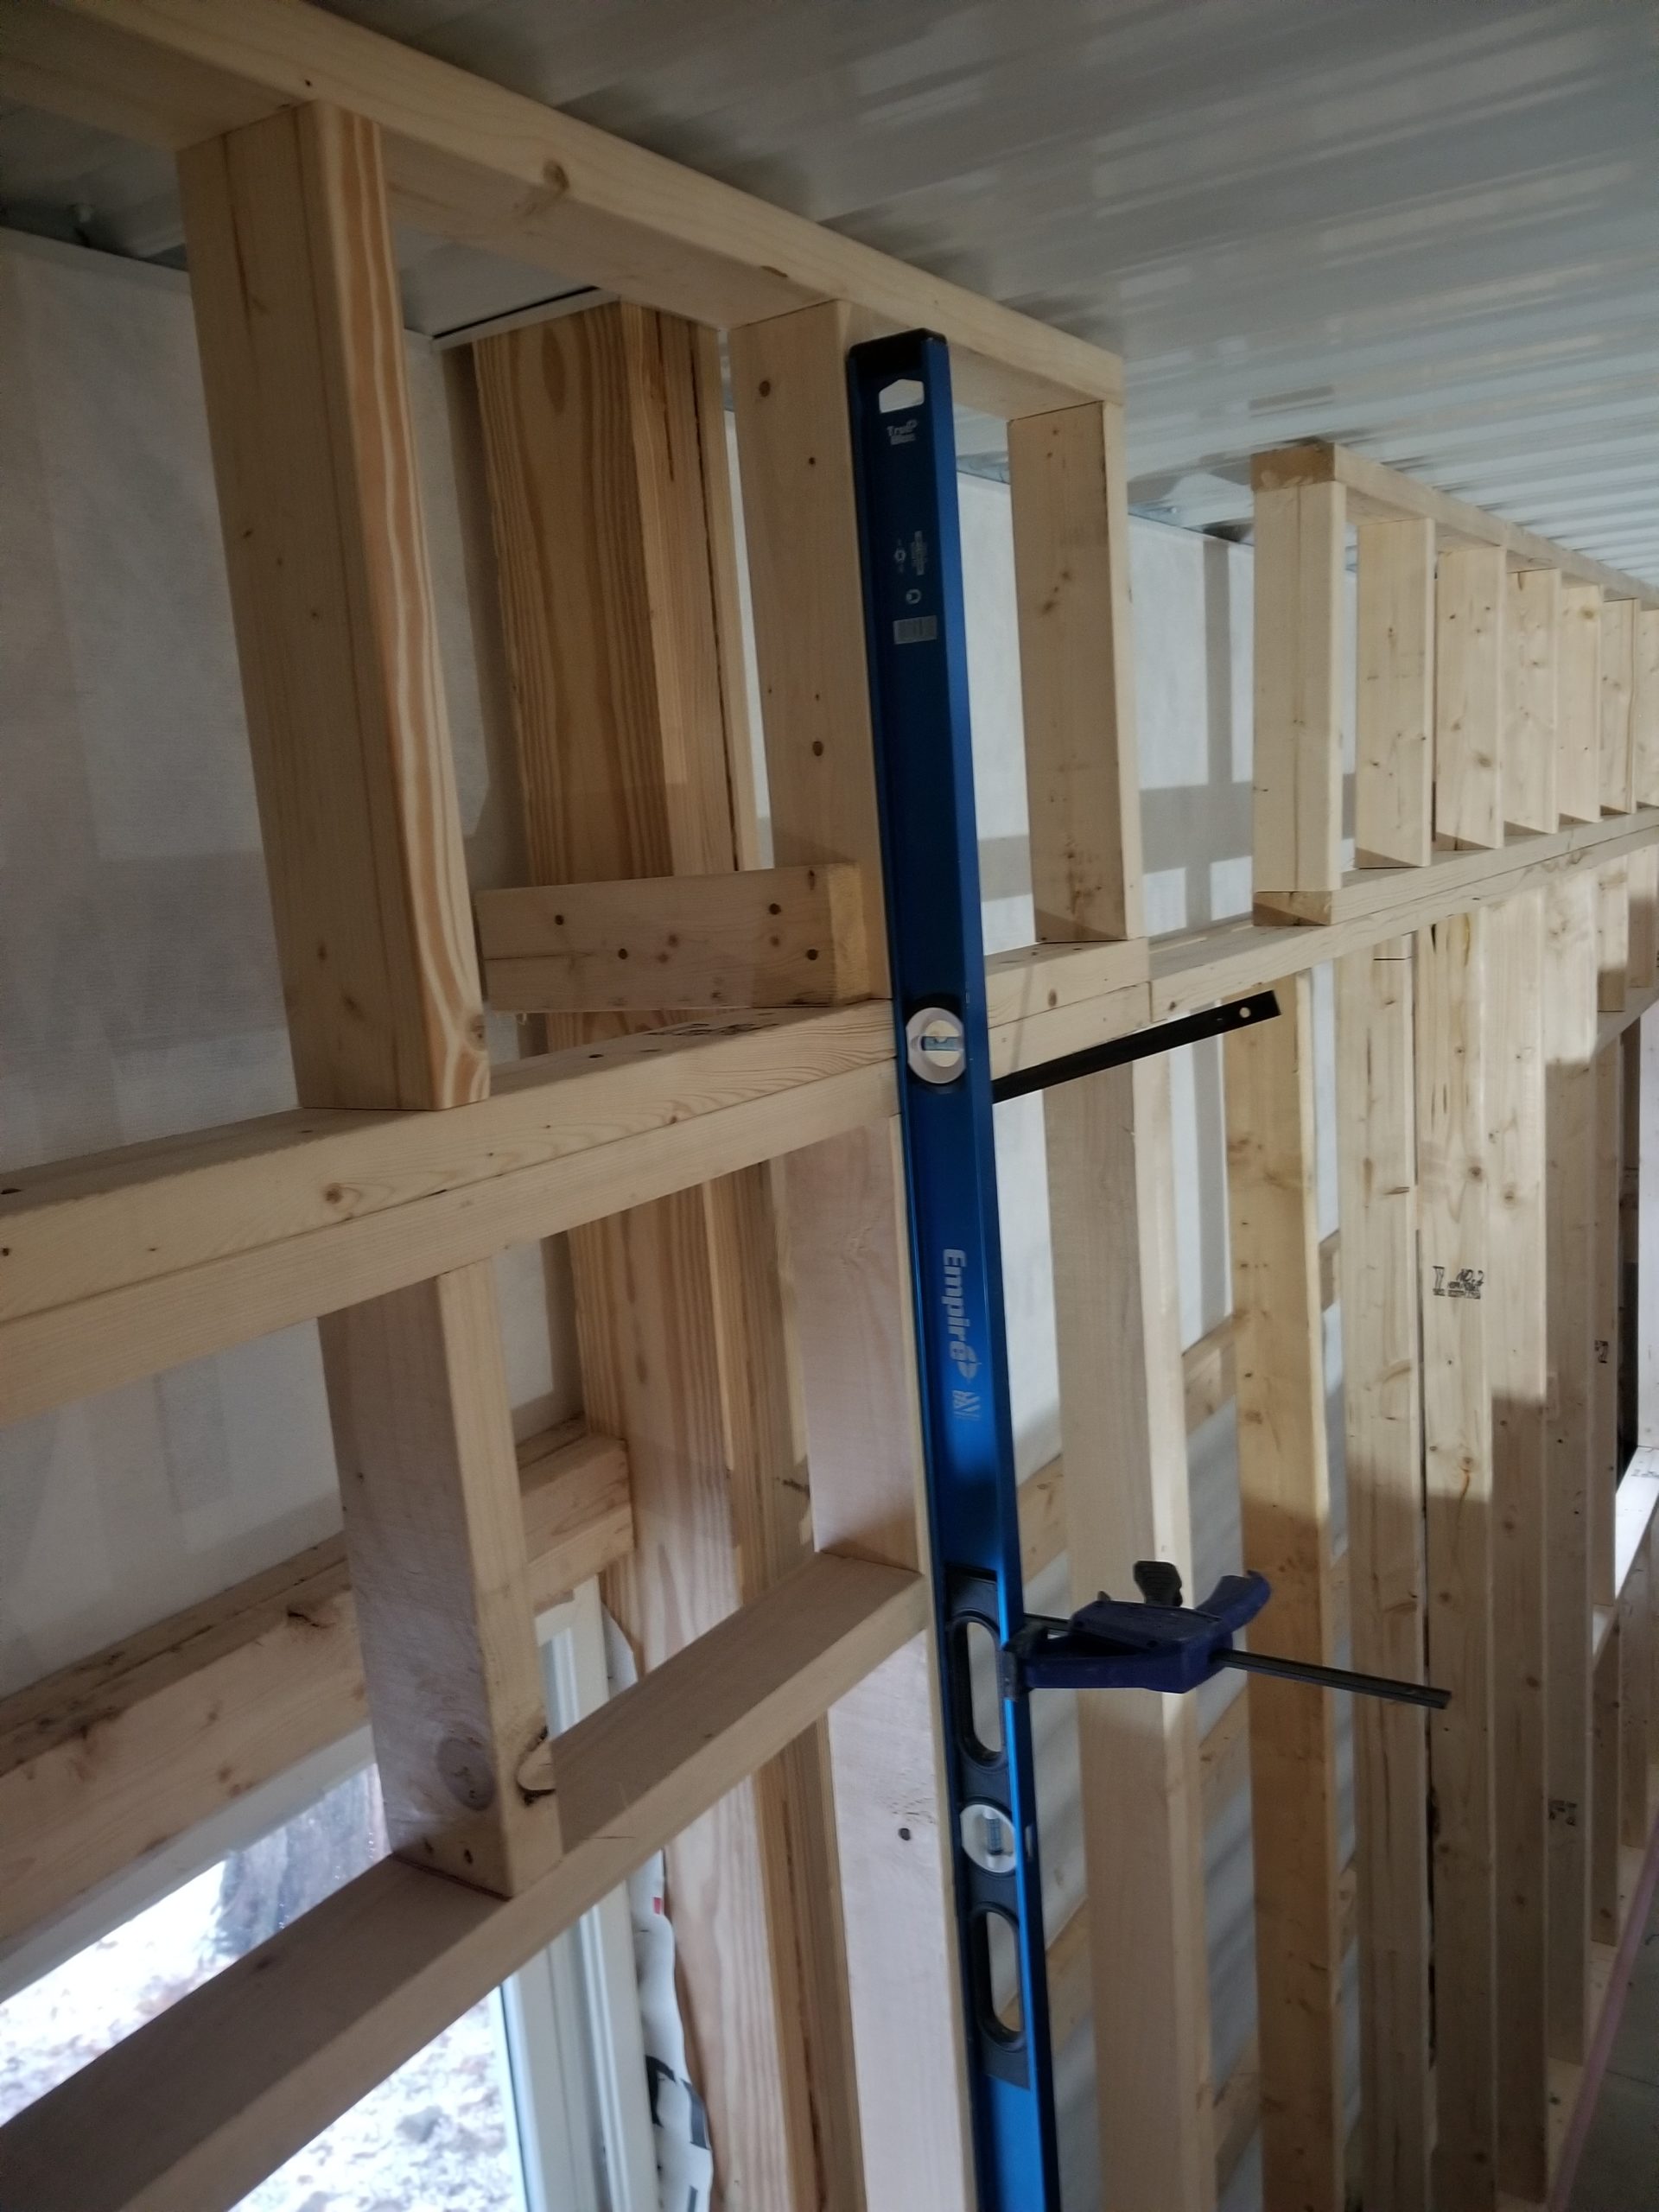
The wall in question doesn’t intersect with other walls along its length (unlike the office partition, which has a couple of perpendicular walls and relatively short spans), and indeed, nothing structural was available in the ceiling, either, for anchorage. The foot of the wall is nailed into the concrete, but ten feet up at the top, there’s nothing useful to secure it to. There are, however, those 4×6 posts every 8 feet, which are the skeleton of the building. I simply tied the posts to the wall at a few spots (high and low) which did just fine for keeping the wall vertical and secure.
Stub walls are easy 
Tie the wall to the post 
Upper course progress

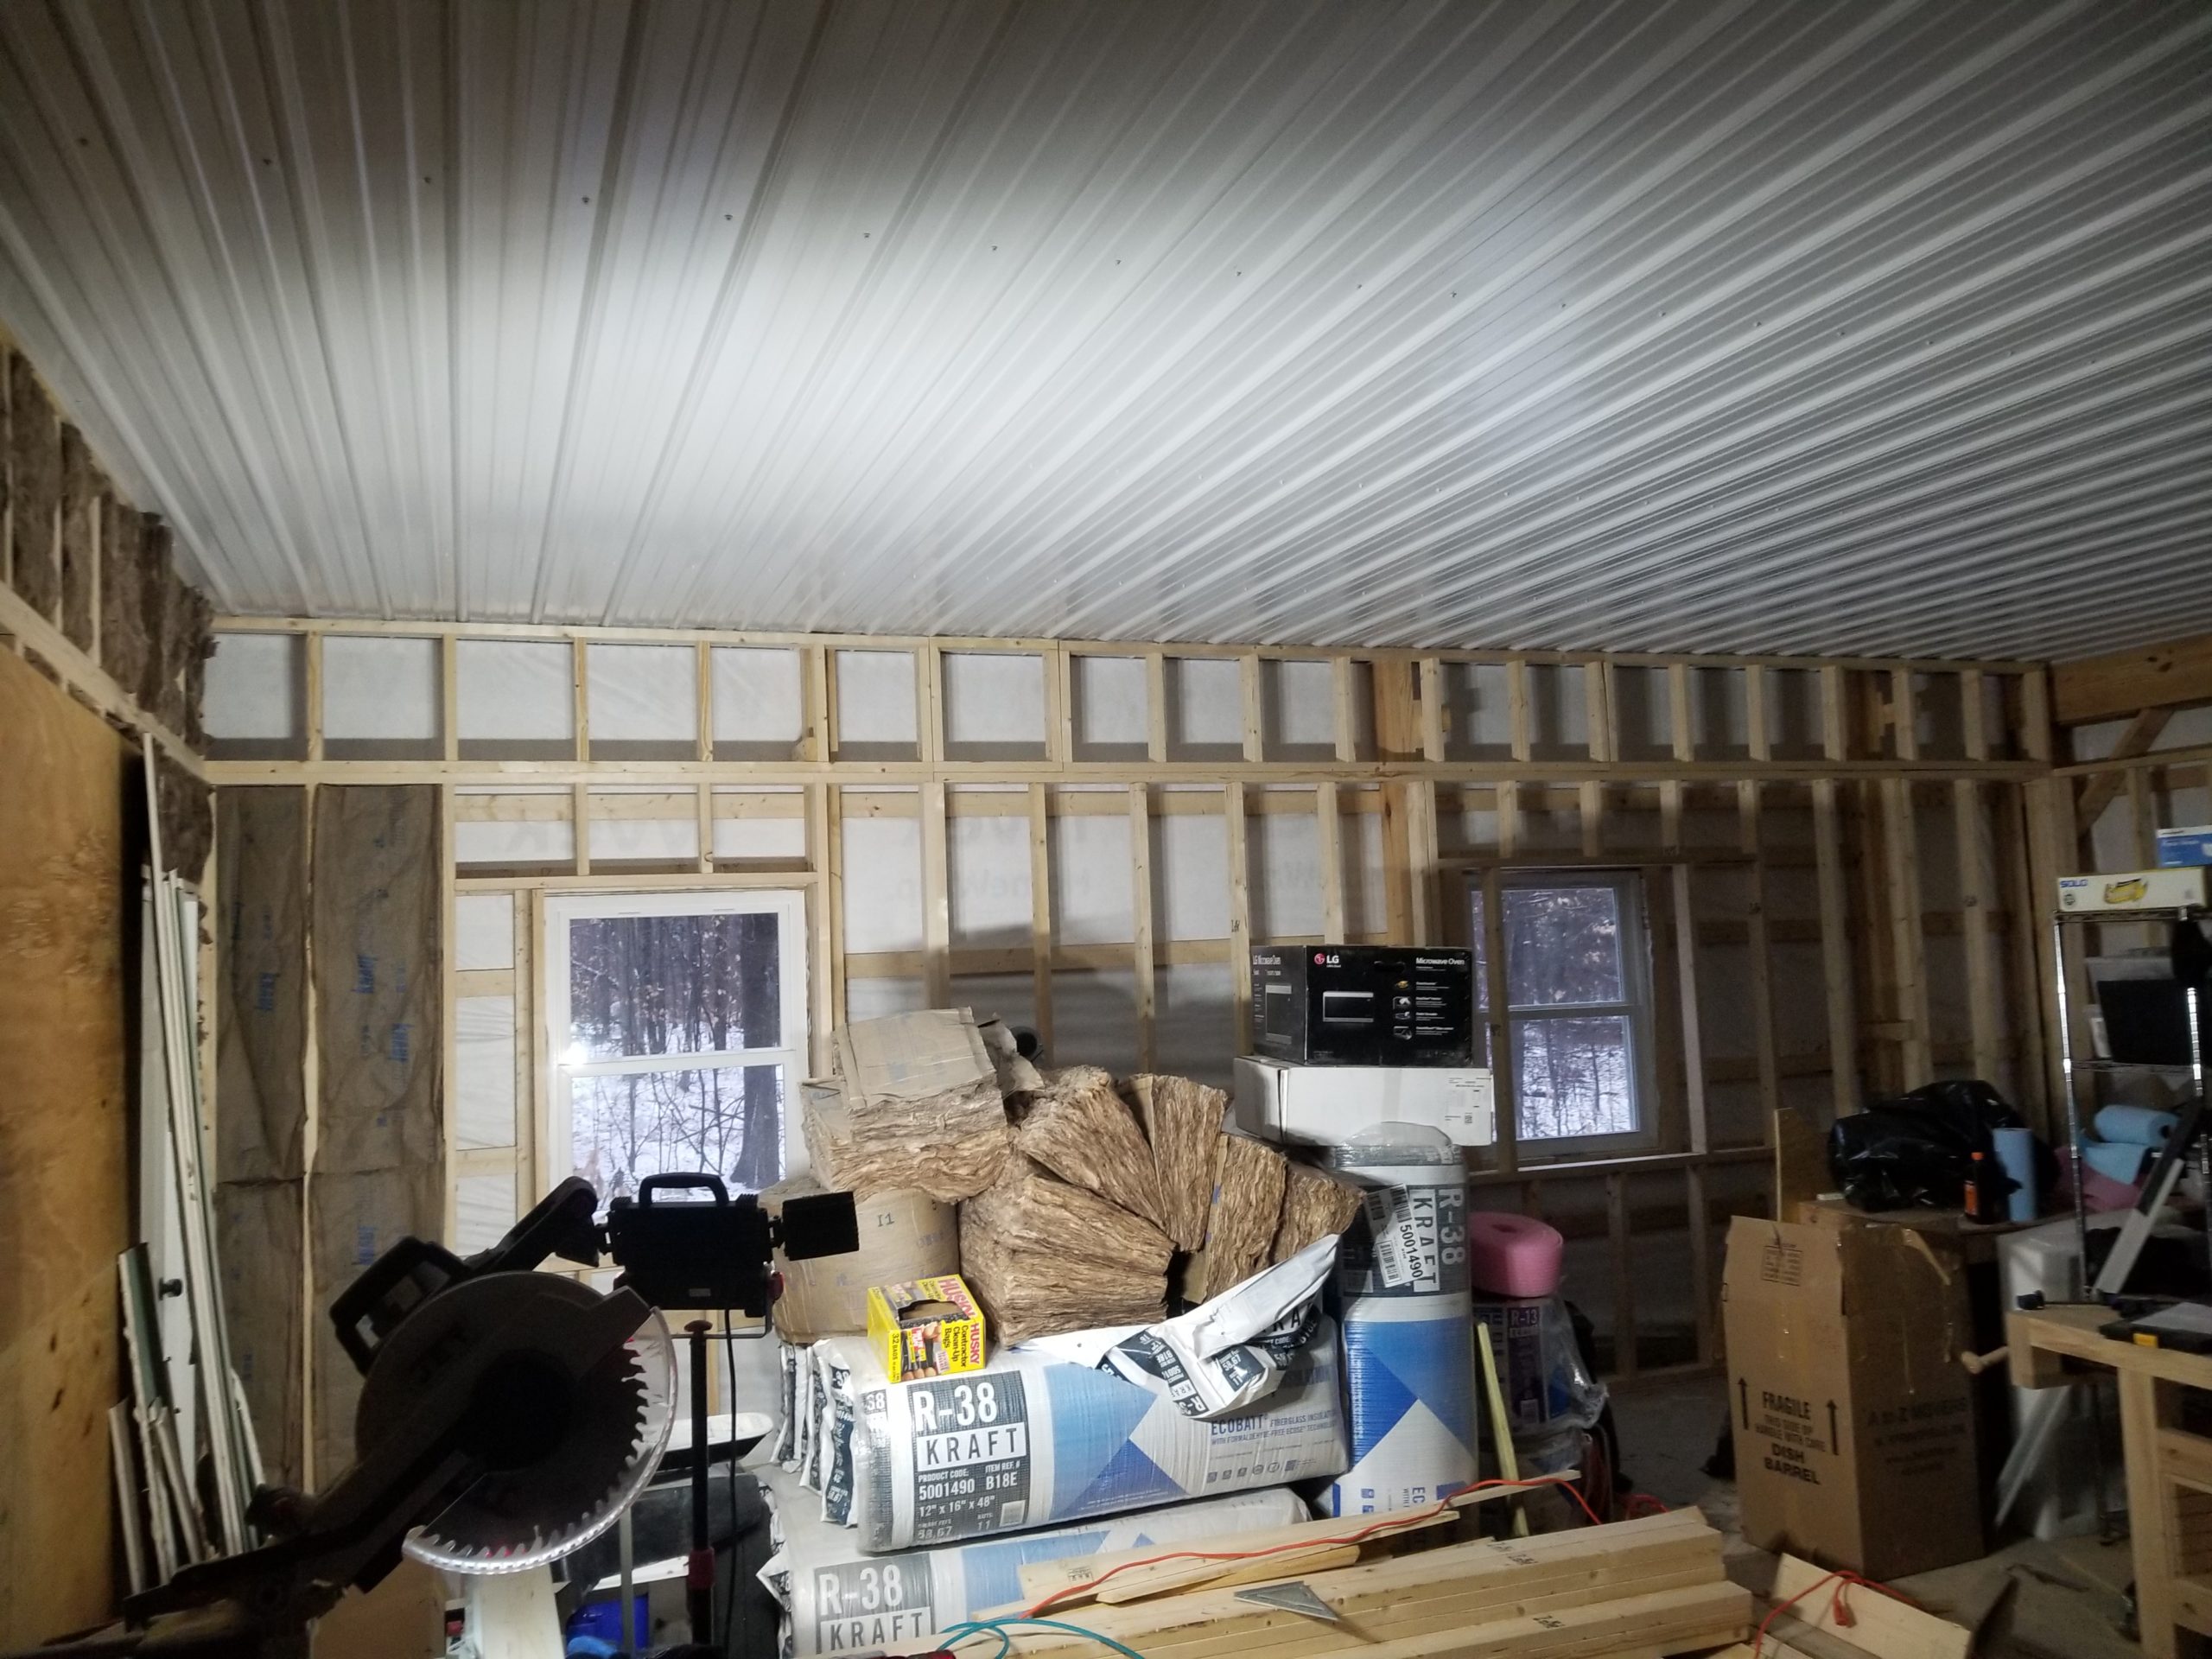
And yes, there are piles of things in front of these walls, too. I can’t help it right now, I just gotta shove stuff around as I build. It’s a lot of extra work, but until the walls are finished, I can’t put things into wall-hugging shelves or build the various workstations that are planned for this space (which will also consume things that are out in the open right now, in the way of everything else). So it goes (slowly). Still, it does go, and eventually the walls will be completed.
Speaking of walls, once that joint compound was dry, the next thing to do is gently go over all of it with a sanding paddle to remove excess and feather the edges so it looks good under paint. Here’s an example of what I mean. The top half of this picture has a blurry edge to the dried joint compound. The bottom is sharp.

There’s a finesse to sanding such that the compound gets smooth and feathery but the sanding paddle doesn’t scrape up too much of the paper face of the drywall and the joint tape under the compound doesn’t get exposed. It’s not as easy as it looks. I do drywall projects probably once a decade, so I’m not exactly practiced at it. Still, I managed a pretty good job for an amateur. The proof is in the painting – if it looks good painted, the drywall job was good enough.
I chose to paint the office in two colors – a green accent wall and three walls in blue.
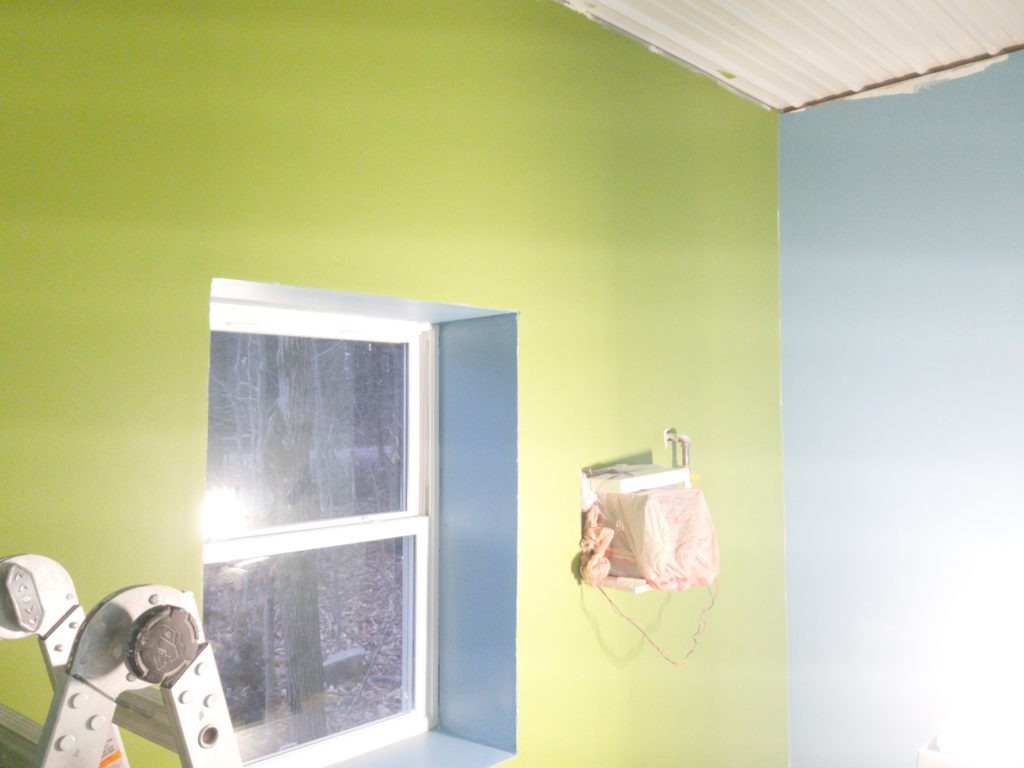
Nevermind the rough edge at the top – I’ll be installing a suspended ceiling anyway, so no need to have that be perfect where nobody will ever see. The green color is called “frog” and the blue is called “voyage”. I’m using Behr/HD’s latest premium paint (“Dynasty”). They brag that it does one coat coverage. In truth… yeah, actually, just about. If you’re heavy on the roller, one coat would do it! The paint went on easy and looks amazing. I did two coats anyway, since I had plenty of paint and in spots my roller wasn’t as saturated as it needed to be for one-pass coverage.
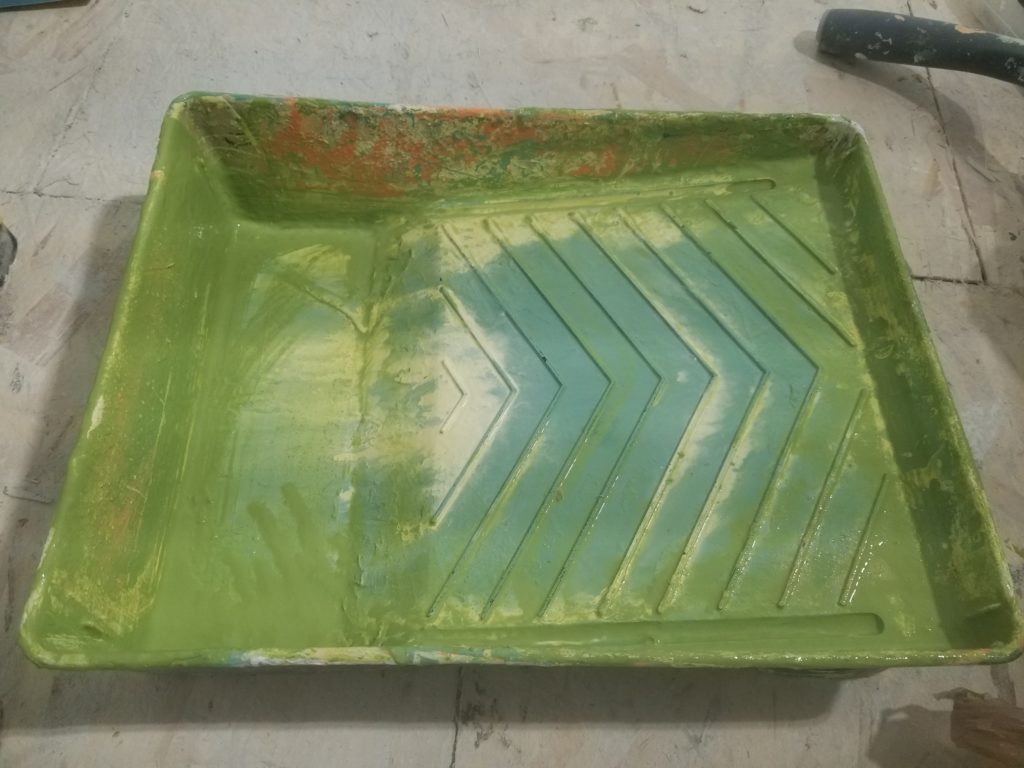
I’ve had this paint tray for many, many years… and likewise it has accumulated bits of paint from projects far and wide. It’s kinda fun to look back at the tray and see if I can remember which colors went with what room in which house. I can see my first house here, as well as my second, as well as the W.O.G. (the tiny house itself has only trim paint, which was done from a cup not a tray).
While the paint is drying, the weather warmed up a little so it was time to attack that sign post problem again.
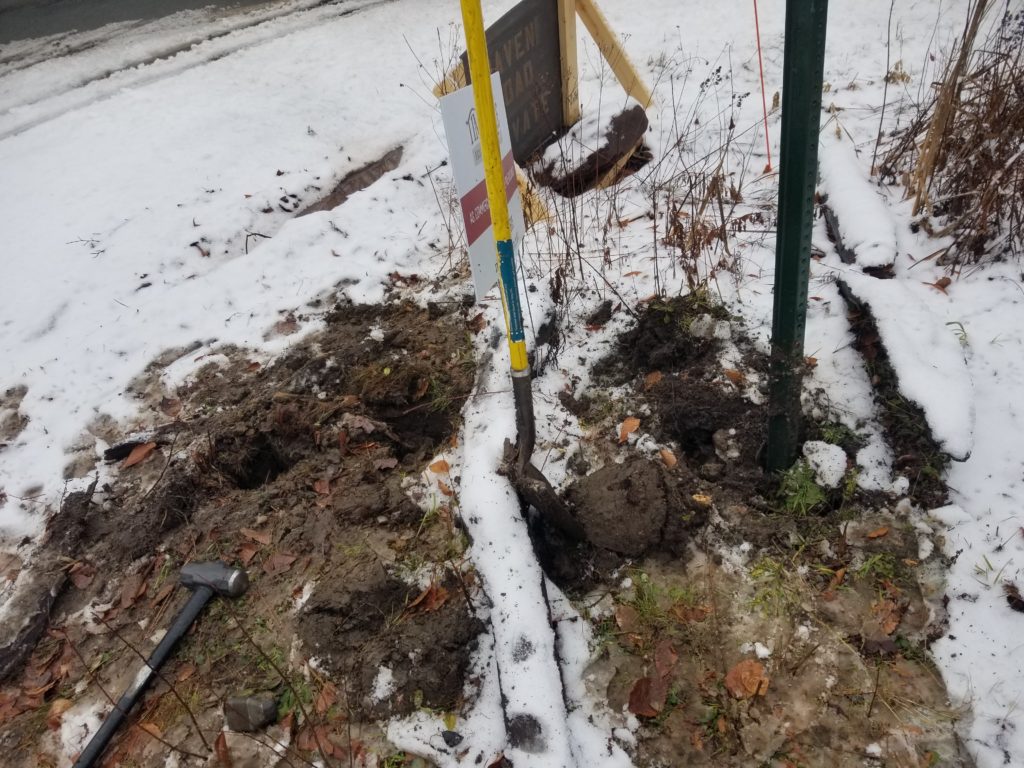
What you see here are three attempts to sink this post. I managed to hit a rock all three times. It may well have been the same rock – they get big around here sometimes. What I didn’t manage to do was get the post more than about 2ft into the ground. It needs to go down 3.75 ft.

Did I mention some of the rocks are big? One might imagine that large rocks are not confined to the surface. I couldn’t find a spot that was both decently in range of the road and not obstructed. So I went to the other side of the road and tried driving the post there.
Success!
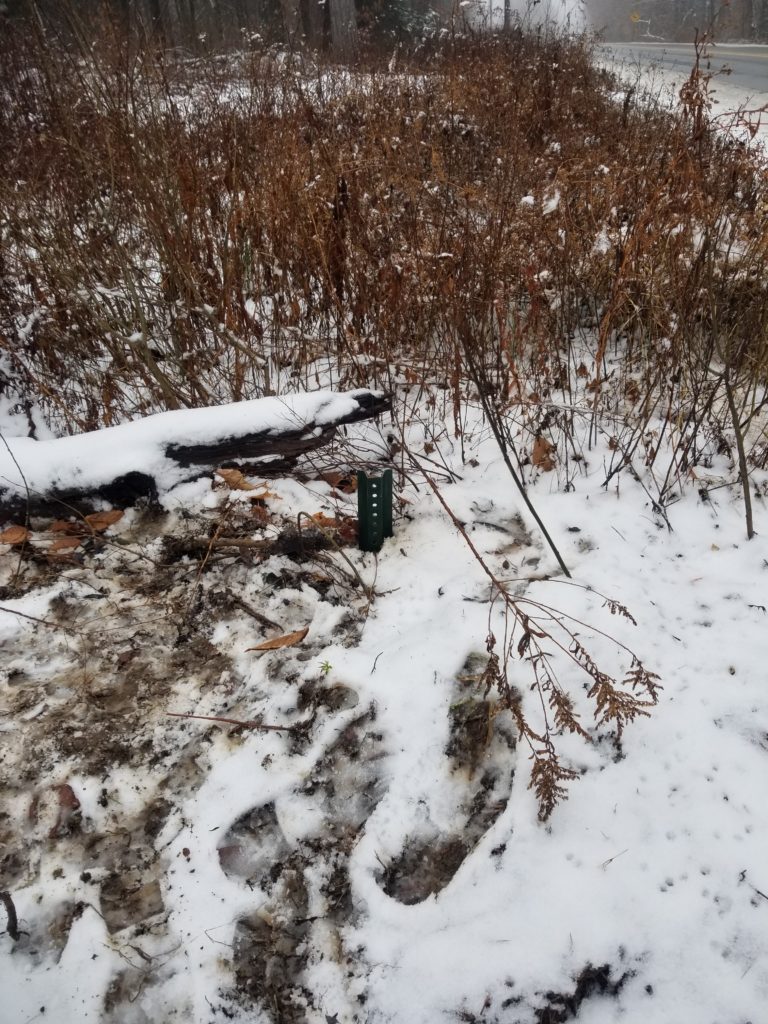
Doesn’t look like much, but I tell you, driving this 4ft post 3.75ft into the ground with an 8# sledge is hard work, especially after doing it two prior times and then digging it out! The other sign post (not for a road sign but rather for a no-trespassing sign and a deliveries-thatta-way sign) went in a bit more easily, but was still swinging an 8# sledge to pound a 4ft post 3.75ft into the ground.
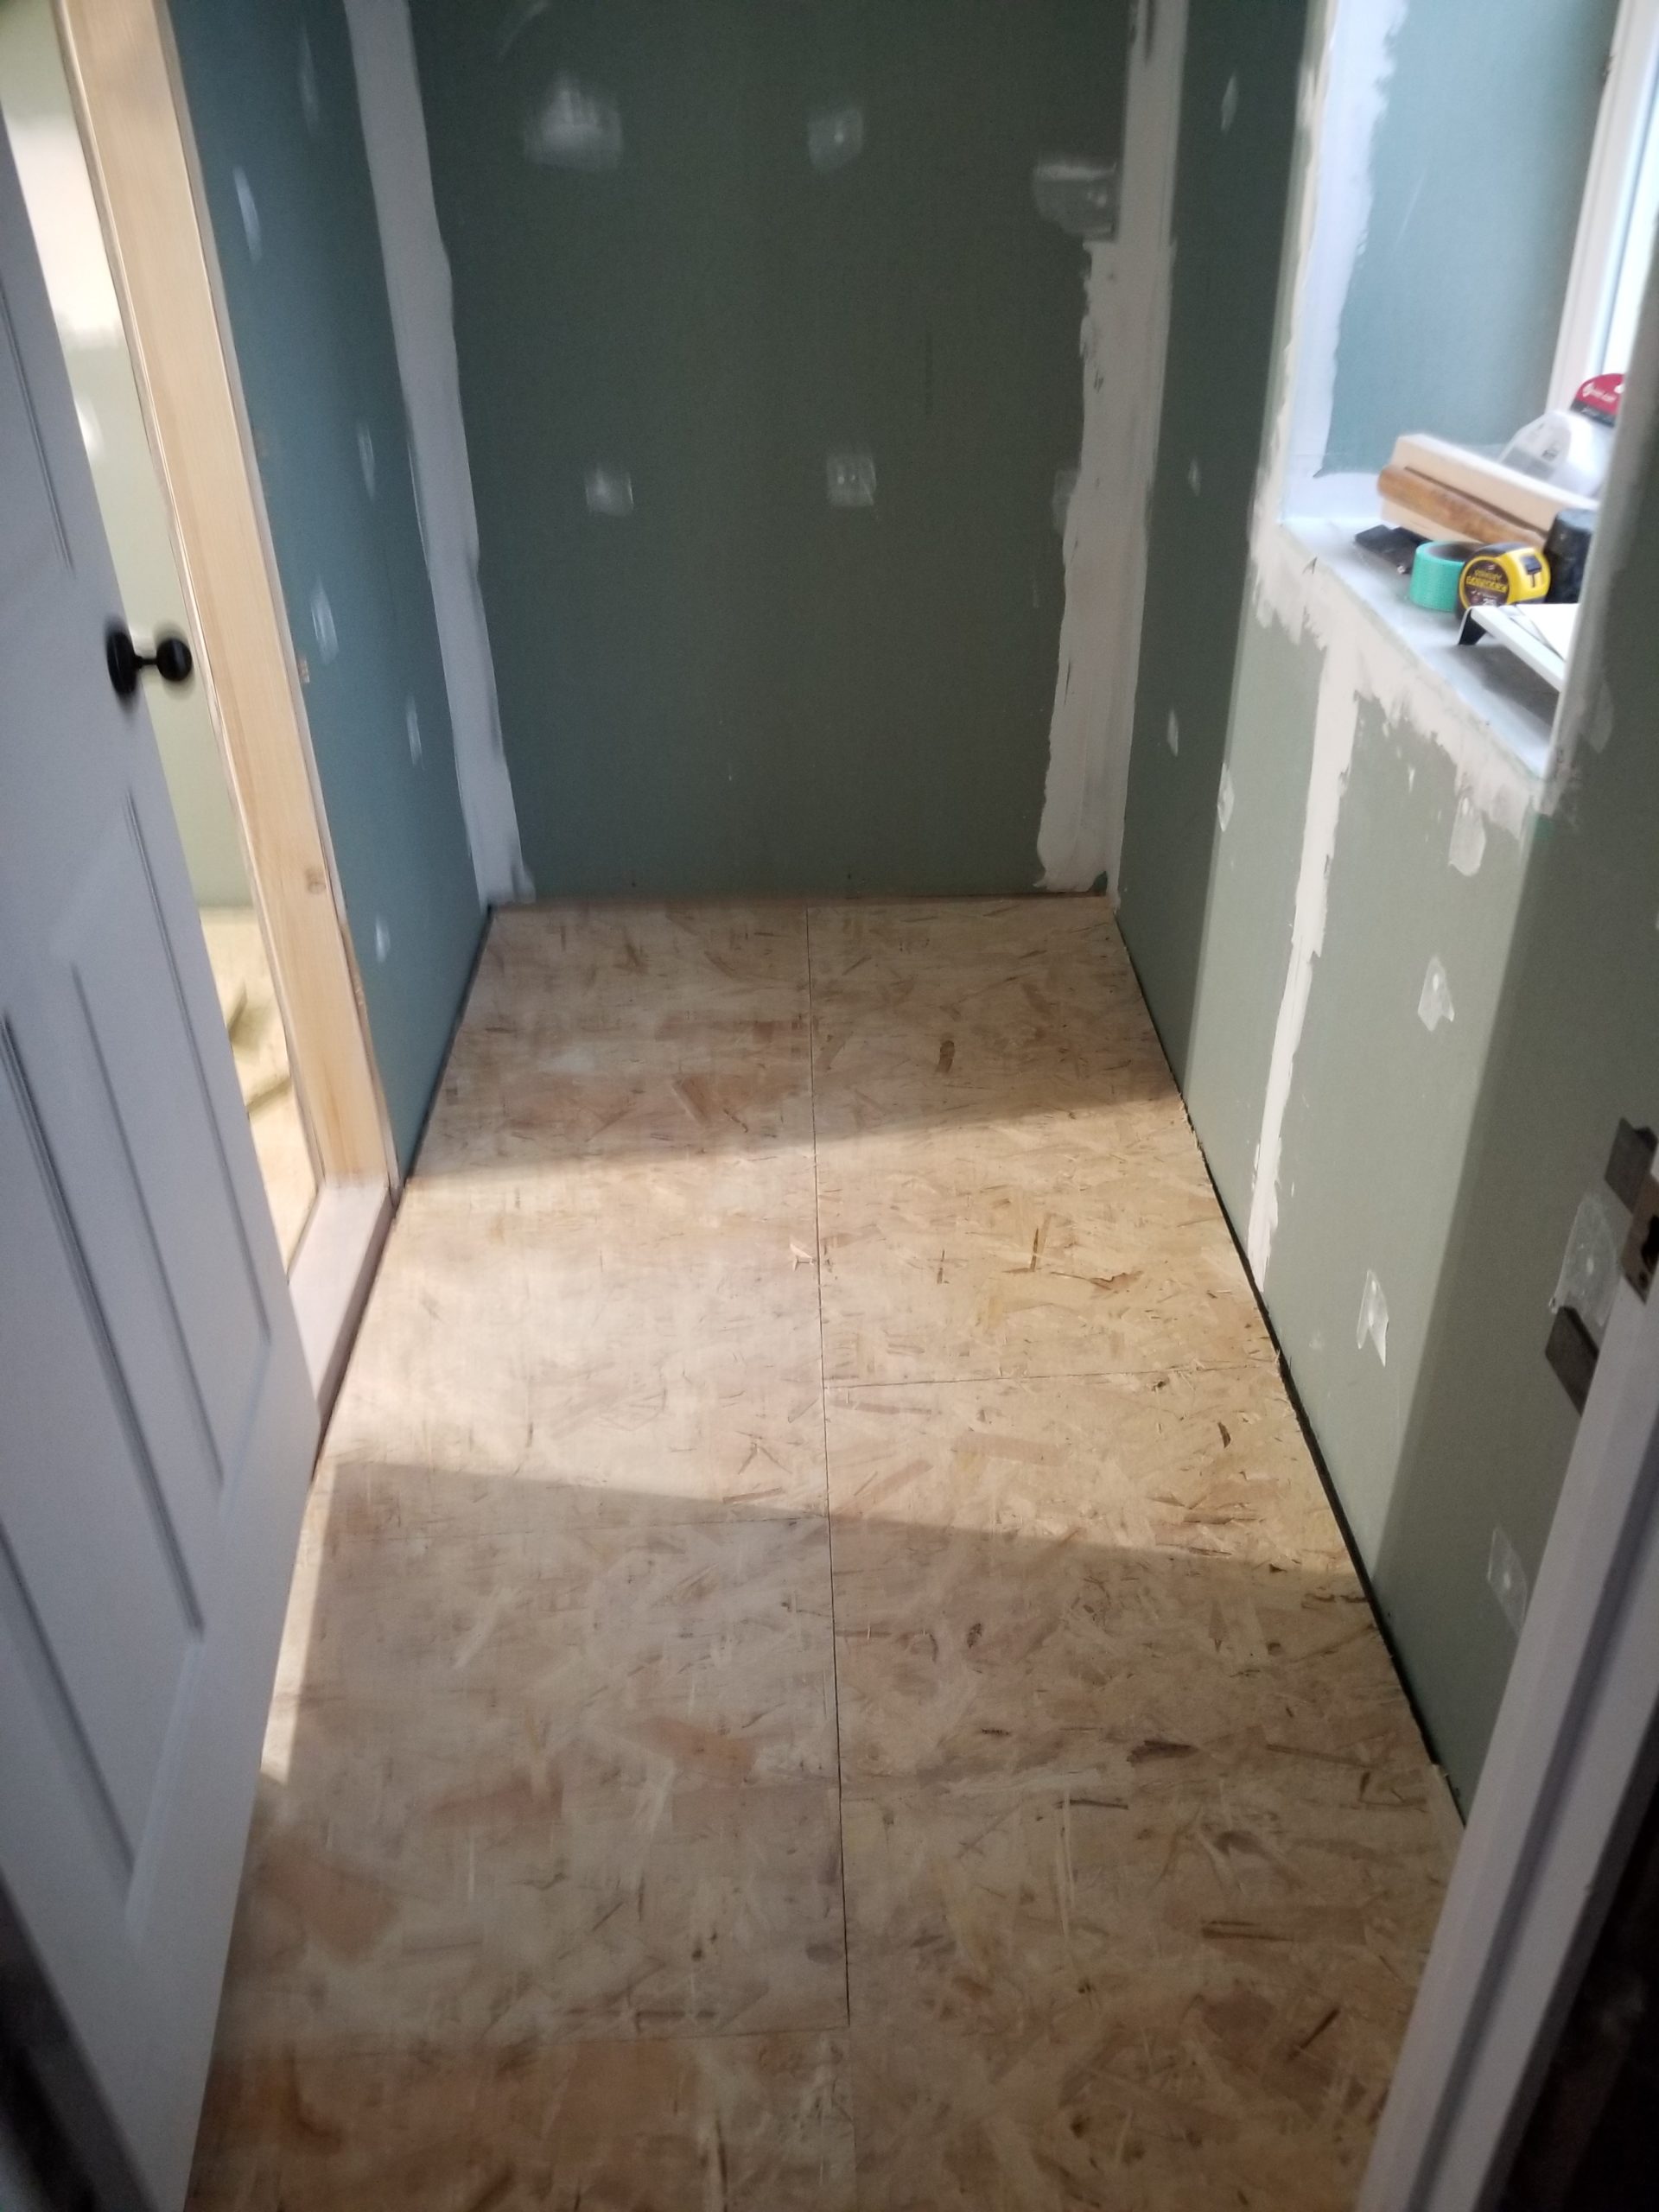
Oh! I almost forgot! Subfloor! I bought these nifty panels that are OSB on the top and very stiff foam on the bottom. They stand the floor off the cold concrete, reducing thermal and moisture conduction considerably, as well as providing some cushioning for foot traffic. I have some finish flooring material to lay over this, but already the room looks and feels much better.
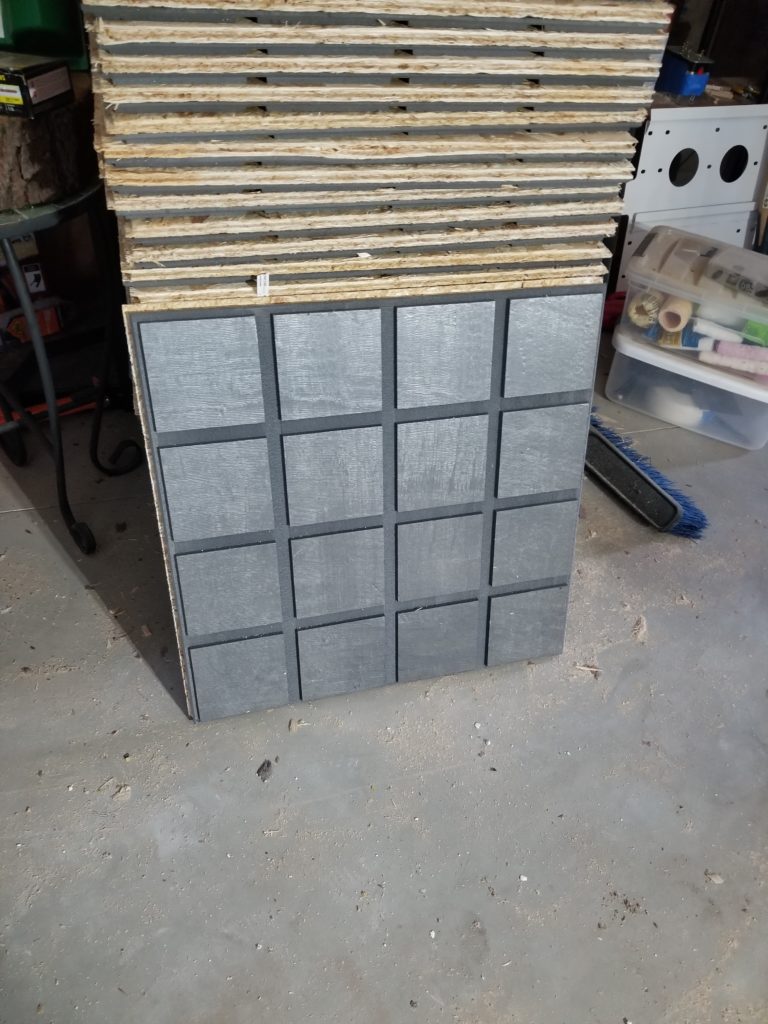
The panels 
Office 
Executive Washroom

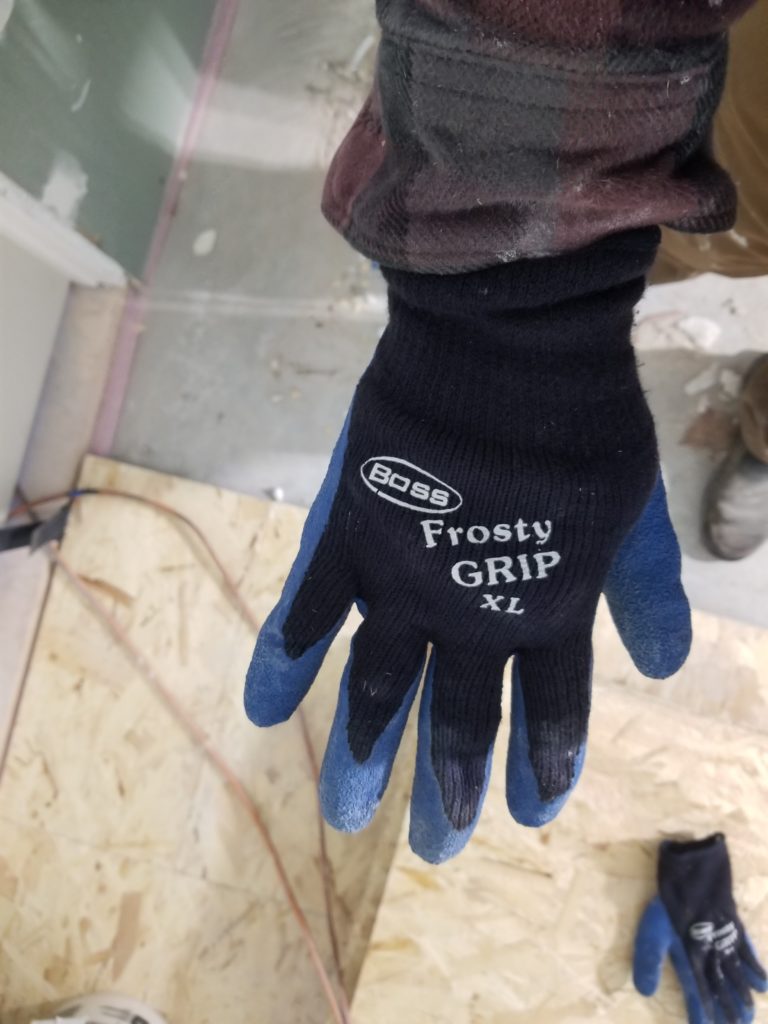
I found these gloves while shopping for other things – they purported to be cold weather work gloves and that sure seemed like a good idea to me. I bought a pair and can recommend them. The rubbery textured parts are great for grip but they do reduce sensitivity a bit, so these are not for precision work. Framing and carrying, chopping wood, that kind of rough work, they’re fantastic.
Okay, office painted, subfloor in, time to install the power center, at long last! My stud finder is still packed away somewhere and although they don’t cost much, I just couldn’t bring myself to buy another one just because I can’t currently locate the one I already own. I did have an idea about that, though! I have some rare earth magnets. If I slide one across the wall, I can feel when it’s attracted to a drywall screw head. That, in turn, tells me approximately where the studs are! Just drop a level line from the screw to the height of interest, and presto, stud found.
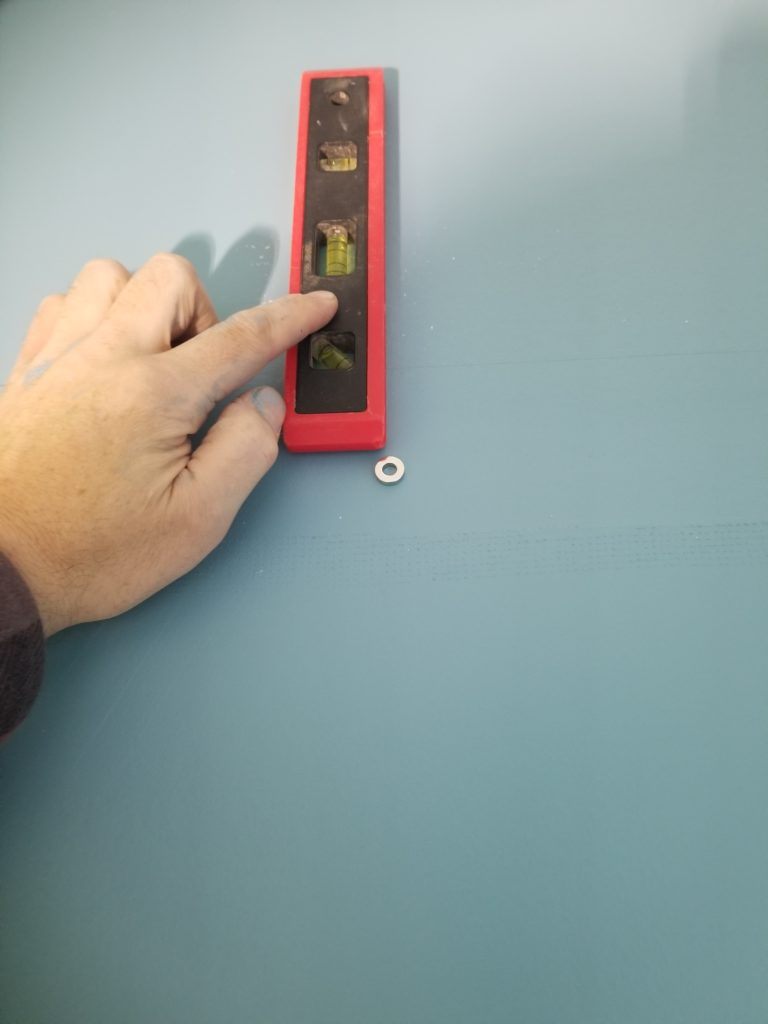
This worked pretty well, but was definitely slower than using a stud finder (or marking the floor before I installed the wallboard. I’m sure I spent well more than $20 of my time doing this that could have been saved by simply picking up a second stud finder widget during one of my many trips to the home center, but I can be stubborn like that.
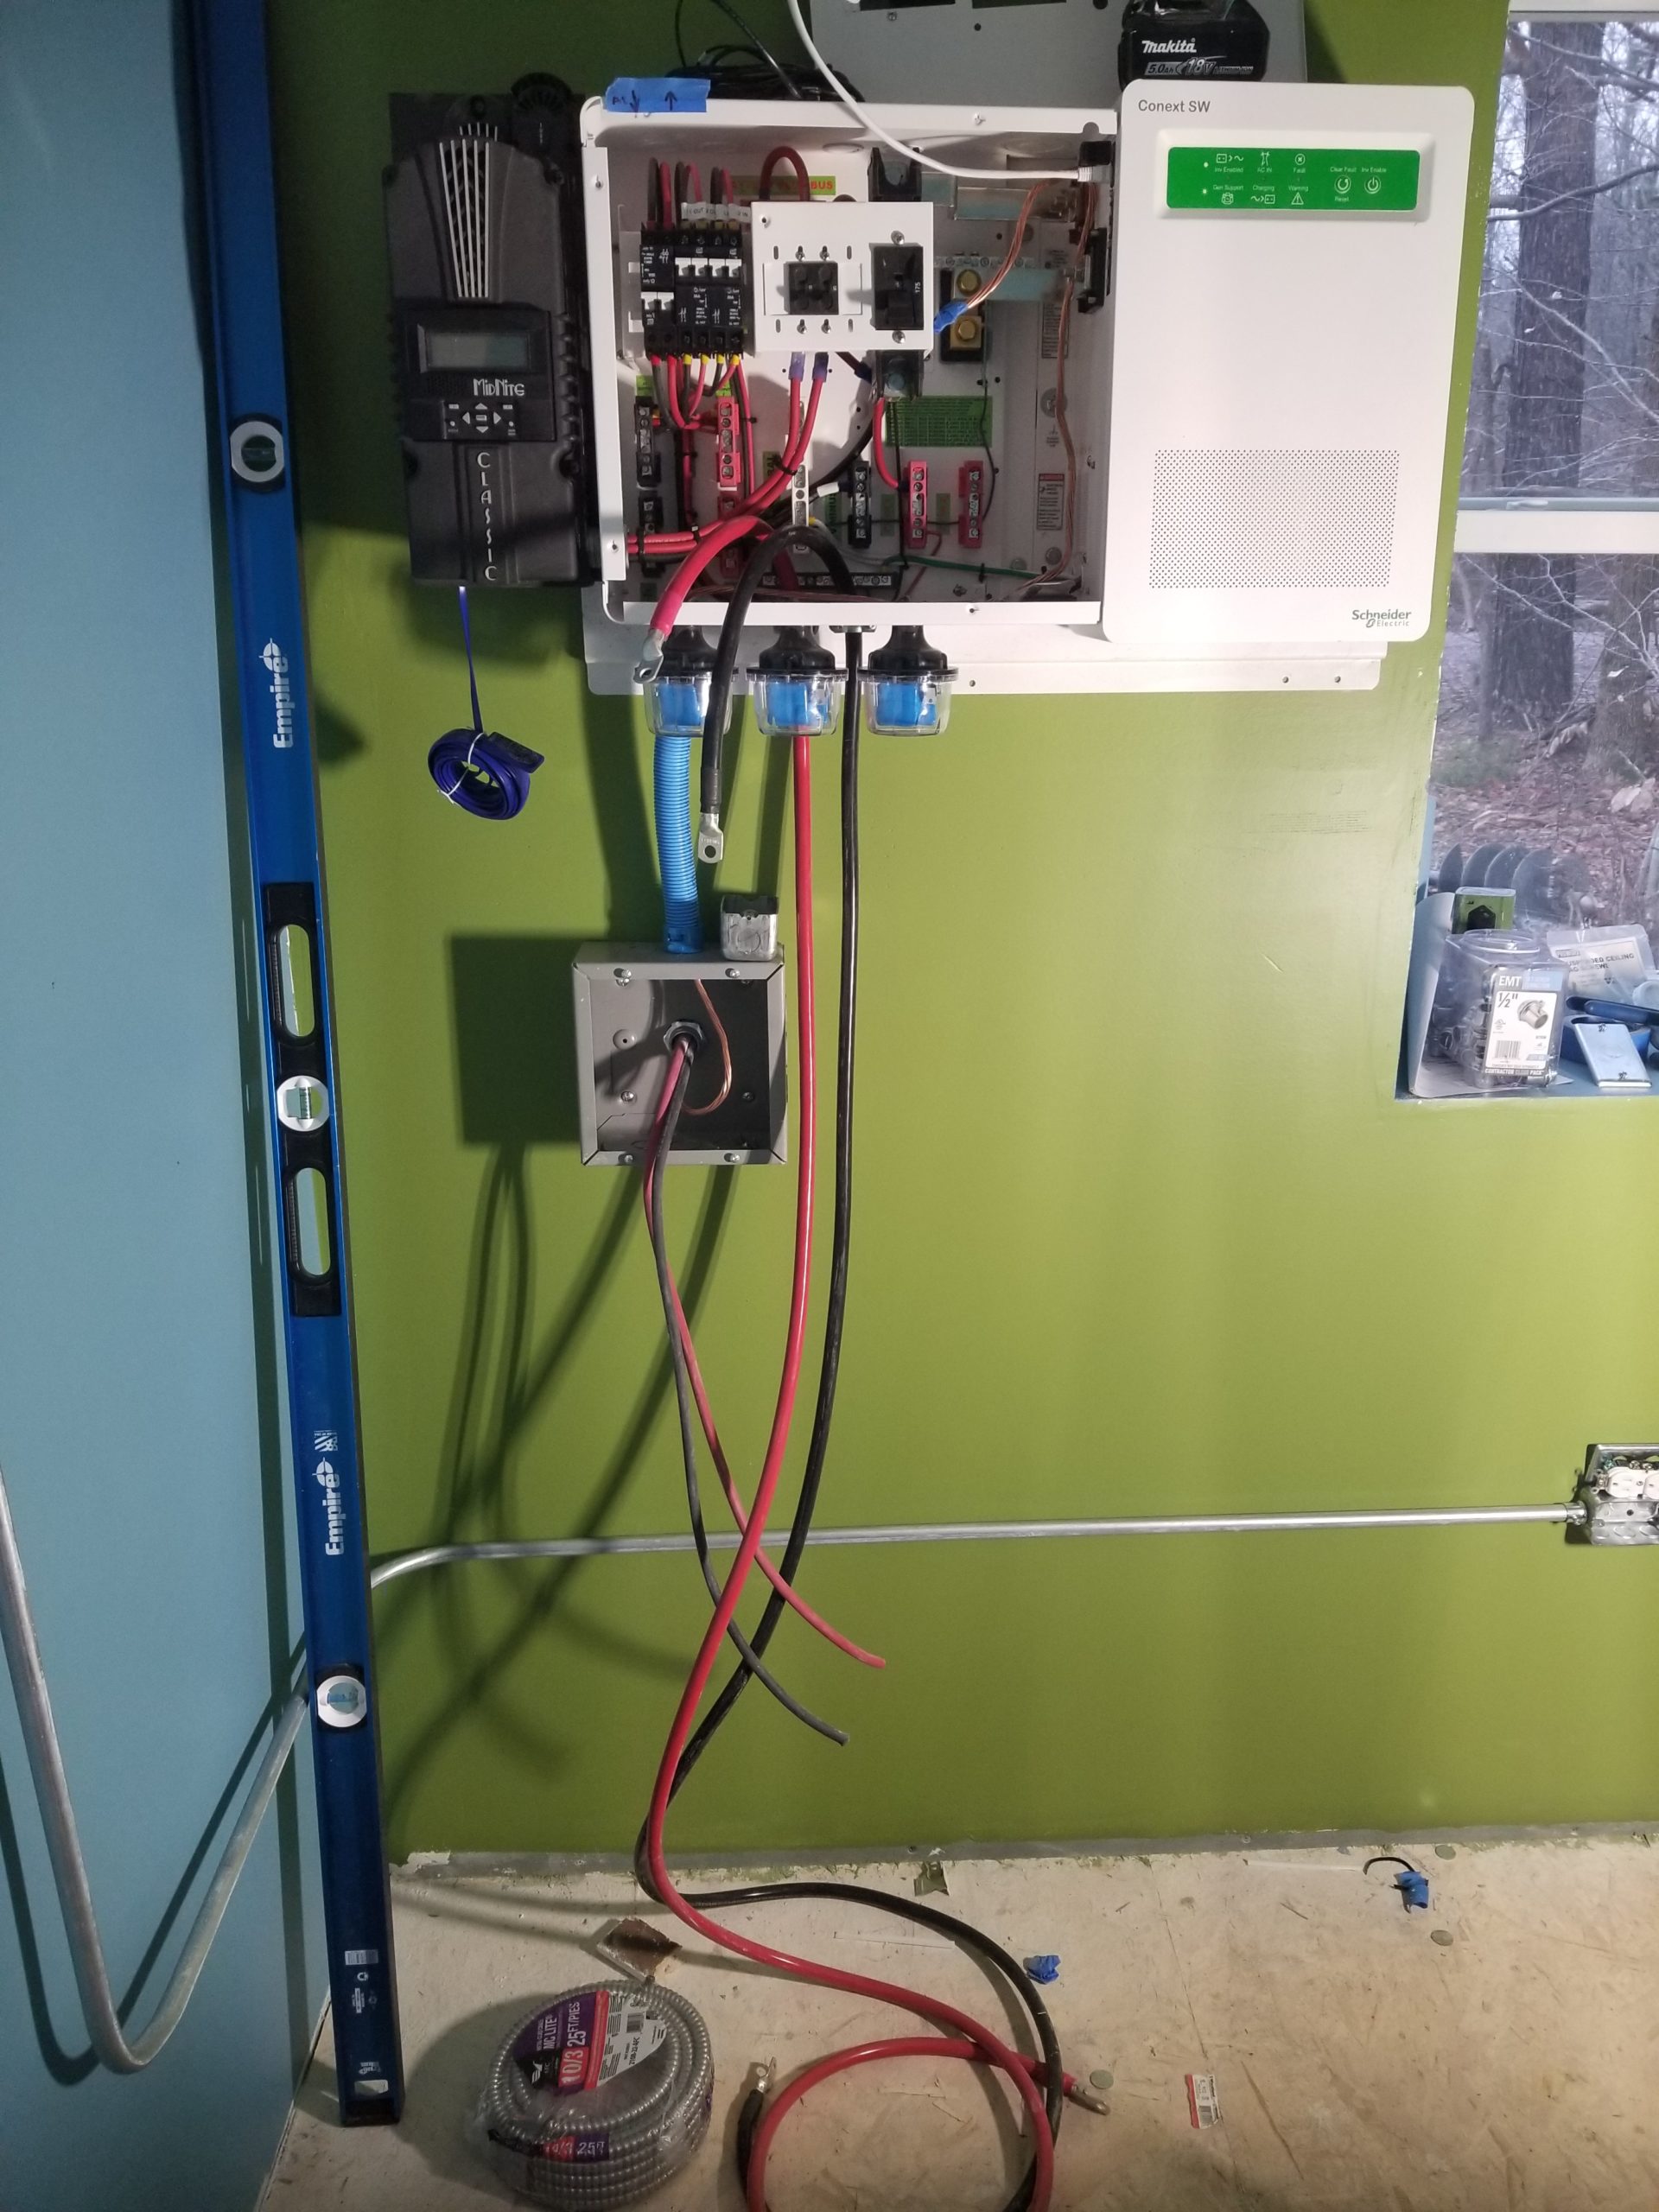
Studs found, power center mounting plate mounted. The power center itself is about 3ft wide, 2ft tall, and weighs somewhat over 120 pounds. It’s a monster to lift and there’s just this half inch hook on the back that interfaces with this mounting plate, so there’s not really room for fingers behind it and it’s awkward to lift from the bottom. There’s just no way to do this gracefully or without quite a lot of upper body strength.
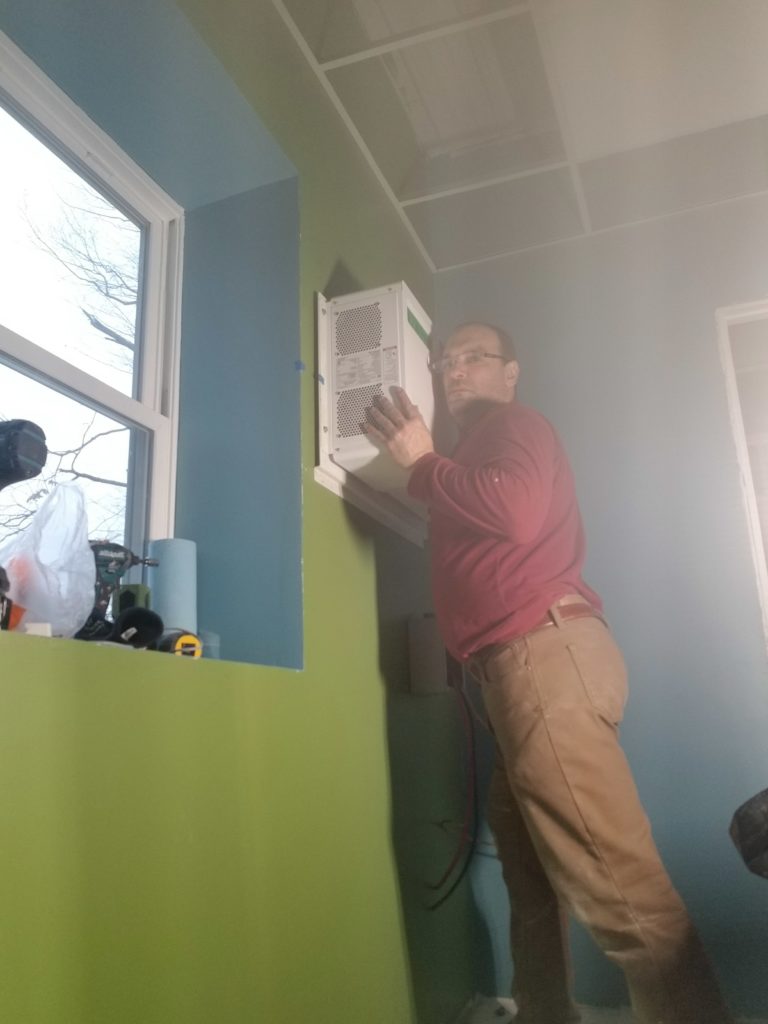
The pic on the right was posed after the thing was actually mounted – I’m here by myself, so nobody is around to take action shots as the action is happening. This gives you an idea of how high a lift it is, though – imagine trying to control this 3ft wide monster gently onto the rail at the bottom of the mounting plate, without sliding it along the wall (scraping up the nice fresh paint) or losing balance. I got it done (two tries) but I didn’t enjoy it. Still, it was a ton easier than installing an identical unit in the TH itself, where I didn’t have the advantage of actually being able to lift it directly.
I did notice something odd in the power center’s internals.
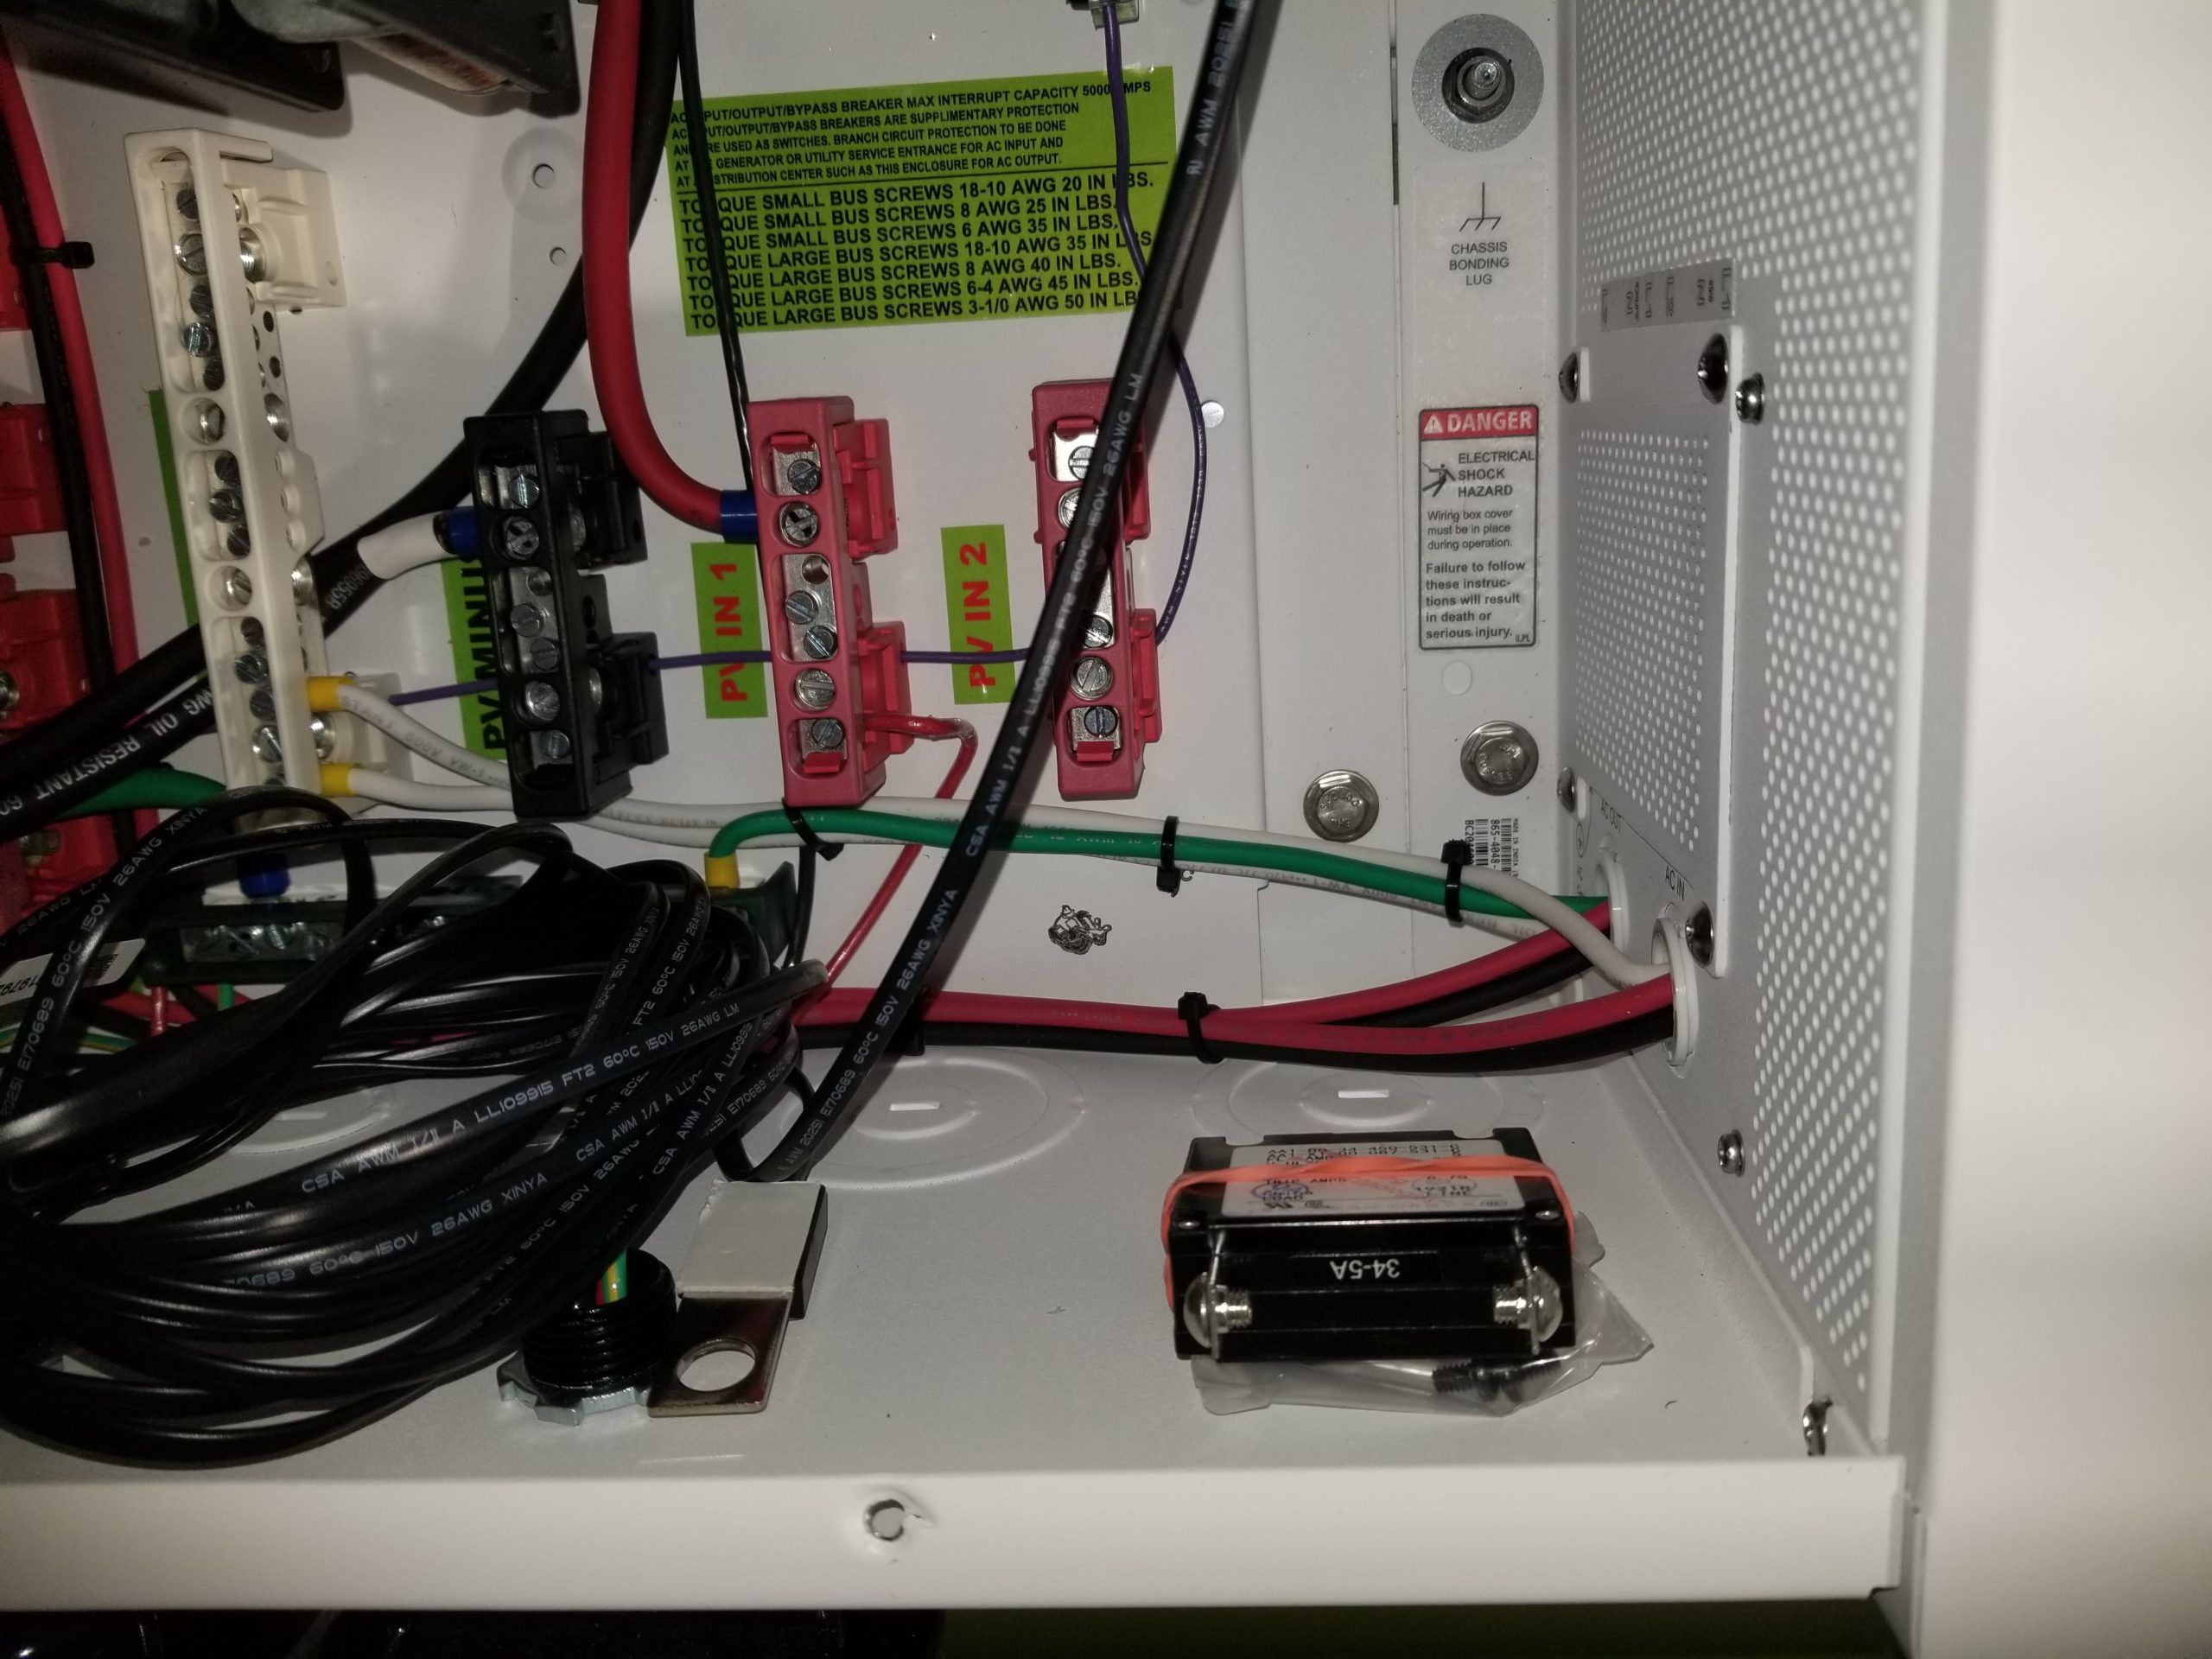

See those two red bus bars in the image on the left? See that bundle of wire with the green showing prominently, above the two black-and-red bundles, all heading to the right? Between the green and the red, there’s a little clown stamp. I didn’t notice it in the other unit (may or may not have been there – it’s inconvenient to check now).
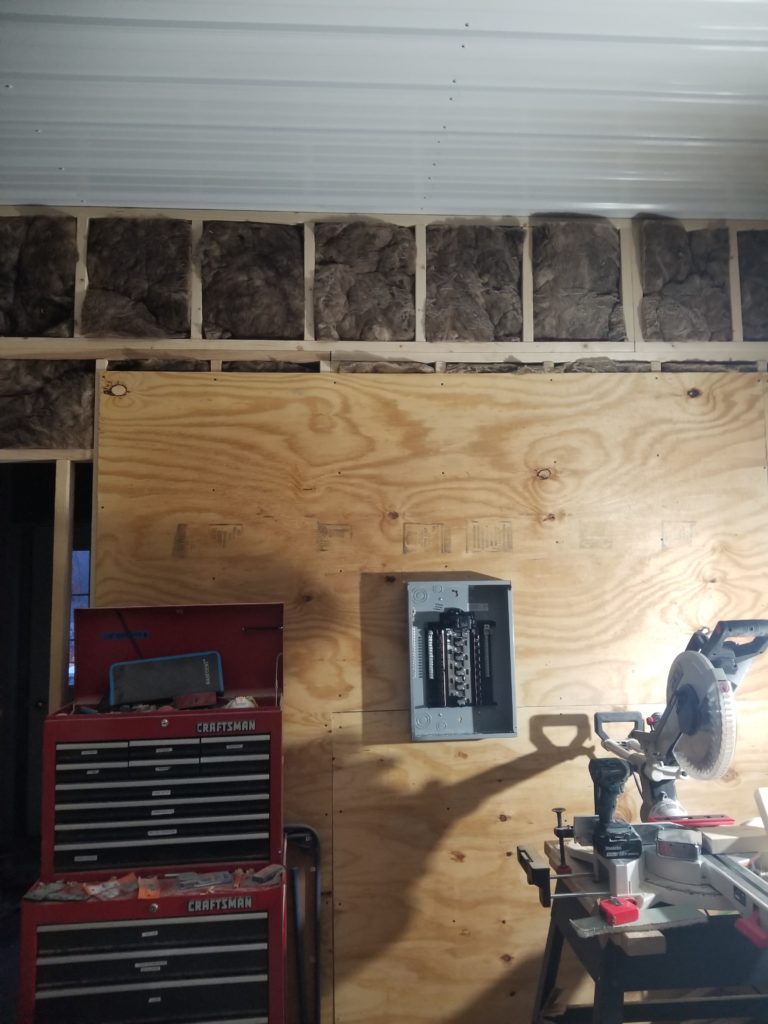
Now, on with hooking up all the power stuff. Remember that bit about “before anything can be done, something else must first be done”? Still true. To connect the power center to things like lights and outlets, I have to first connect it to a breaker box (what electricians call a “load center”). Okay, install the load center in the workshop, where most of the circuits will go. Five screws. Easy. Done in a flash.
But here’s the thing. All the cables from the office to and from the load center will need to go through the wall. It makes the most sense to have them go through the wall above the drop ceiling. So I need to figure out where the drop ceiling is going to go before I can do the pass-throughs. And, for that matter, many of those cables will travel through the ceiling so I need to not only know where the ceiling goes, but actually install it before going any further with power.
Right.
Step 1 for installing a drop ceiling is to mount the wall molding, which is just an L shaped bit of sheet metal that terminates the grid at the walls. What I didn’t realize was that if you do not have fractional ceiling tiles at the edges, what happens is the cross pieces don’t have anything to attach to! You see, normally, the cross pieces snap into holes in the main gridwork. At the edges, there’s nothing to snap into.
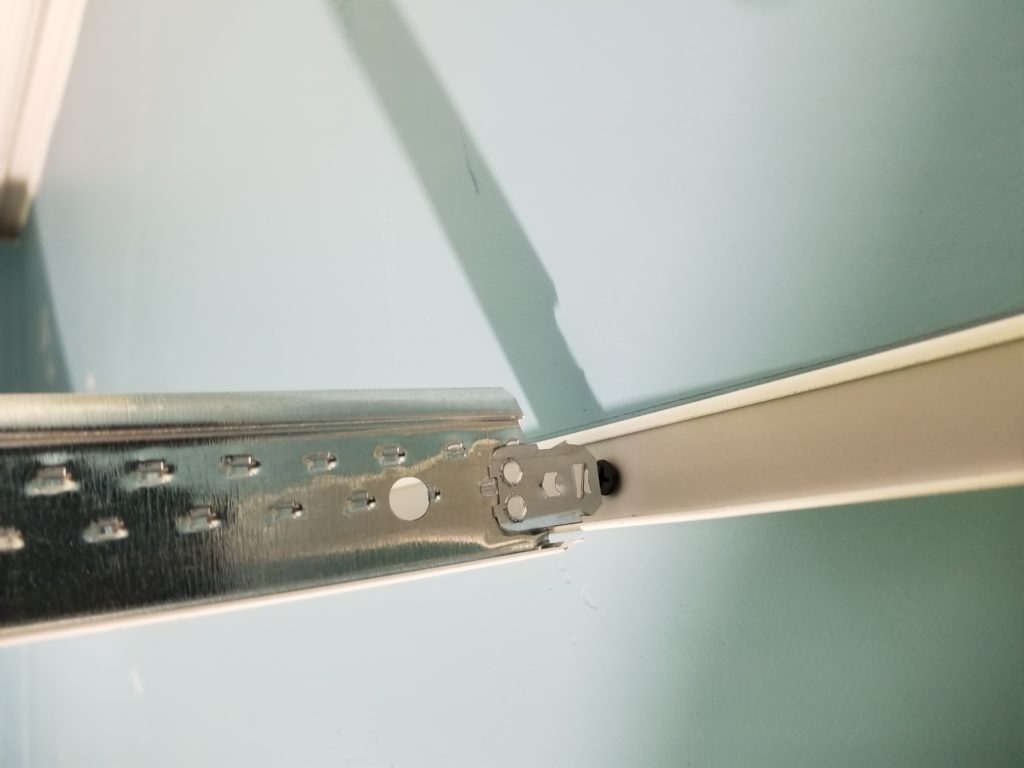
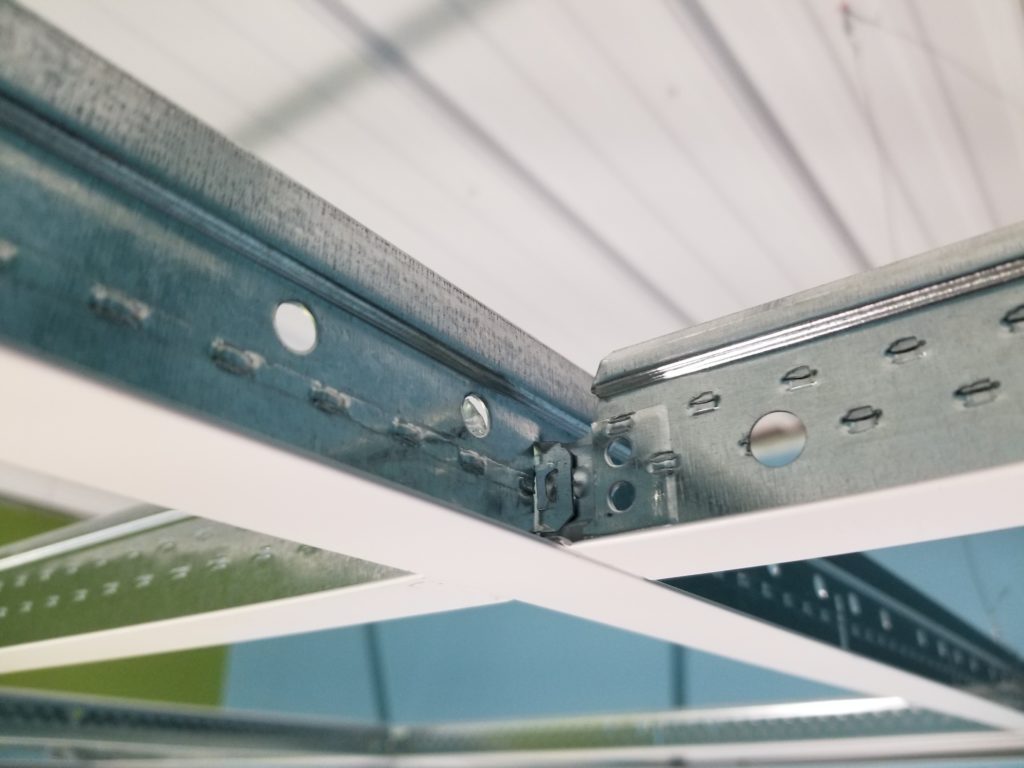
Had the tile at the wall been a partial tile, I would have had to cut the cross piece to fit, which would have removed that connector tang and presented a flat edge to the wall and the bottom part (white) would actually rest on the wall molding, where I could fasten it with a rivet, similar to how this main beam piece does (this is the 12′ long rail that the cross pieces tie into).
But no, none of that. My layout – and thus selection of parts – requires full tiles at the edges and things are already cut that I don’t have extras of. It’s a 2 hour round trip to get new parts to redo it, never mind all the money wasted to trash the parts already cut. I do not want to redo it. It occurs to me that as long as everything is a tight fit, by the time the whole grid is set up, these loose ends will actually get decently fixed in place by their neighbors, ultimately by the walls themselves. And if that doesn’t work, a dollop of epoxy is plan B. This is my first drop ceiling. I’m entitled to some errors – and some creative solutions 🙂
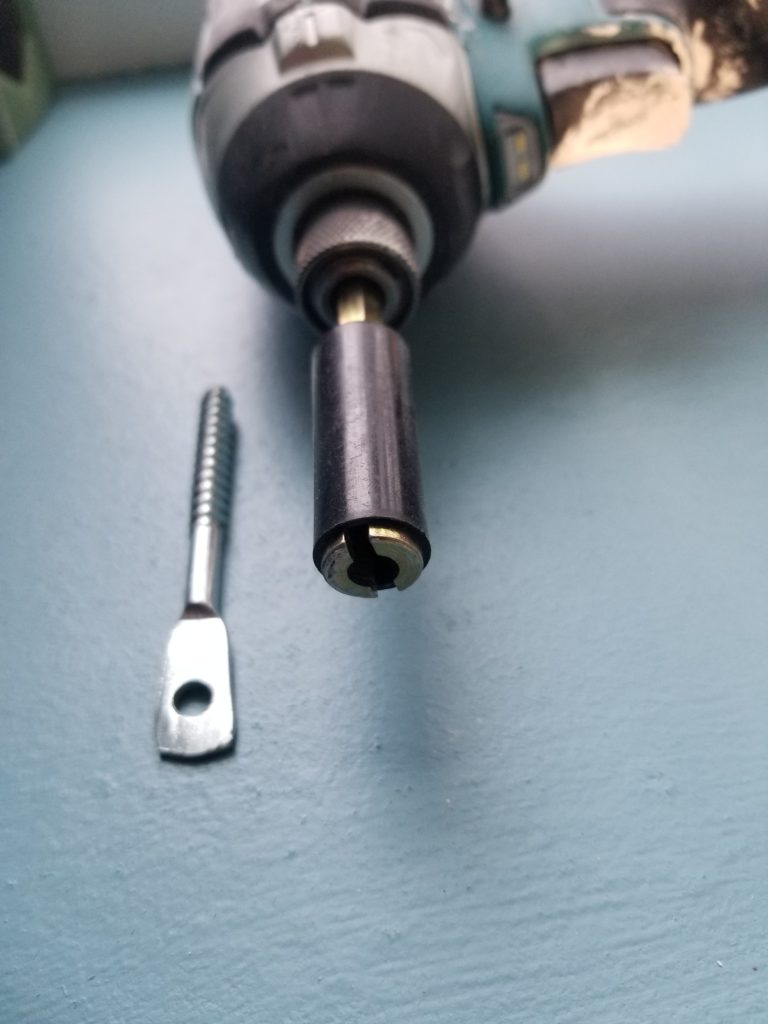
Before the grids actually went up, though, I installed the hangers. These are just lag screws with eyes. Fortunately for me, for $5 I could buy a nifty driver socket that fits over the eye part so I could use a power driver to just set these screws into the ceiling truss bottoms without having to manually turn them with pliers or something.
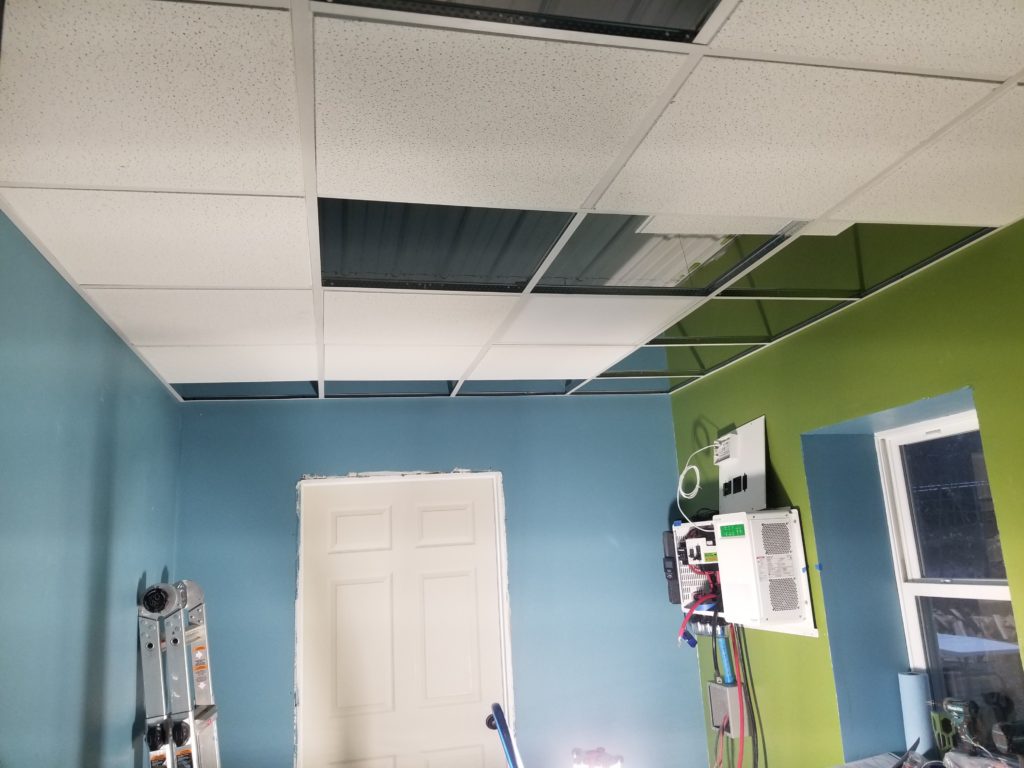
With a bit of fussing (did I mention this was my first drop ceiling?), I did get it all to fit and stay up. There are some tiles not installed yet, intentionally, so I can get my torso up there to work on the electrical things that are happening above the ceiling. Remember the electrical work? This is a song about electrical work.
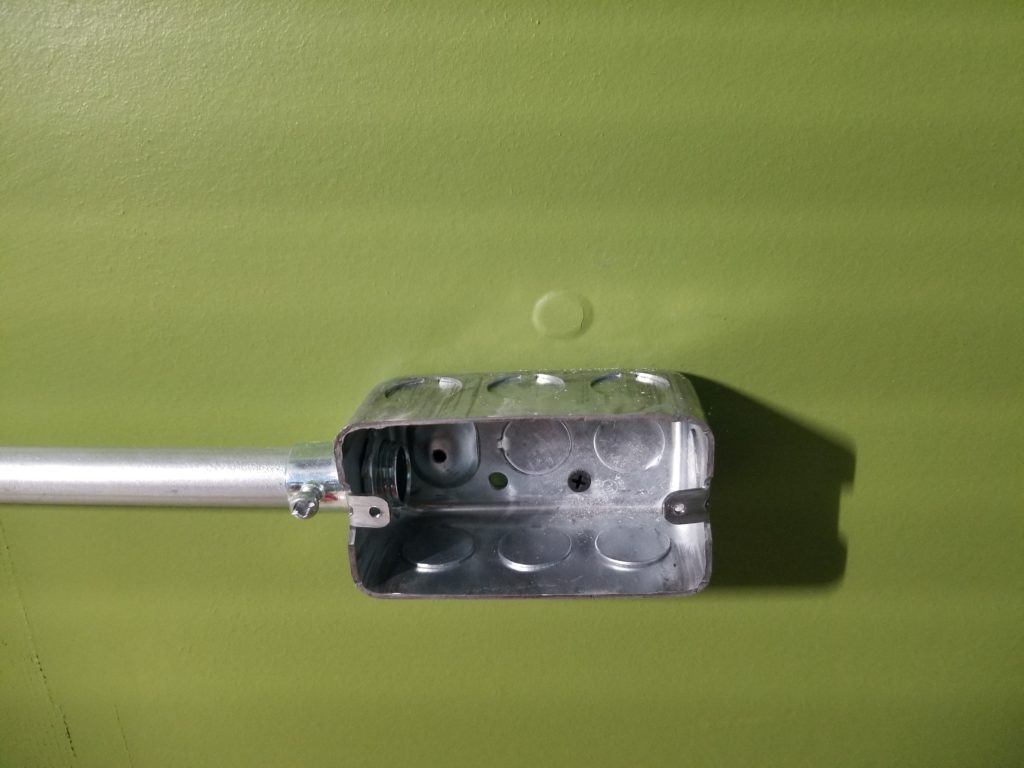
Ceiling installed, time to route those pass-throughs. It starts with a couple of junction boxes at the load center area. You’ll notice something else here: there’s a span of plywood that wasn’t here before. The junction boxes have to be mounted to something and the cables to and from them need to run along something, so I have to finish at least as much workshop wall as is relevant to this power installation.
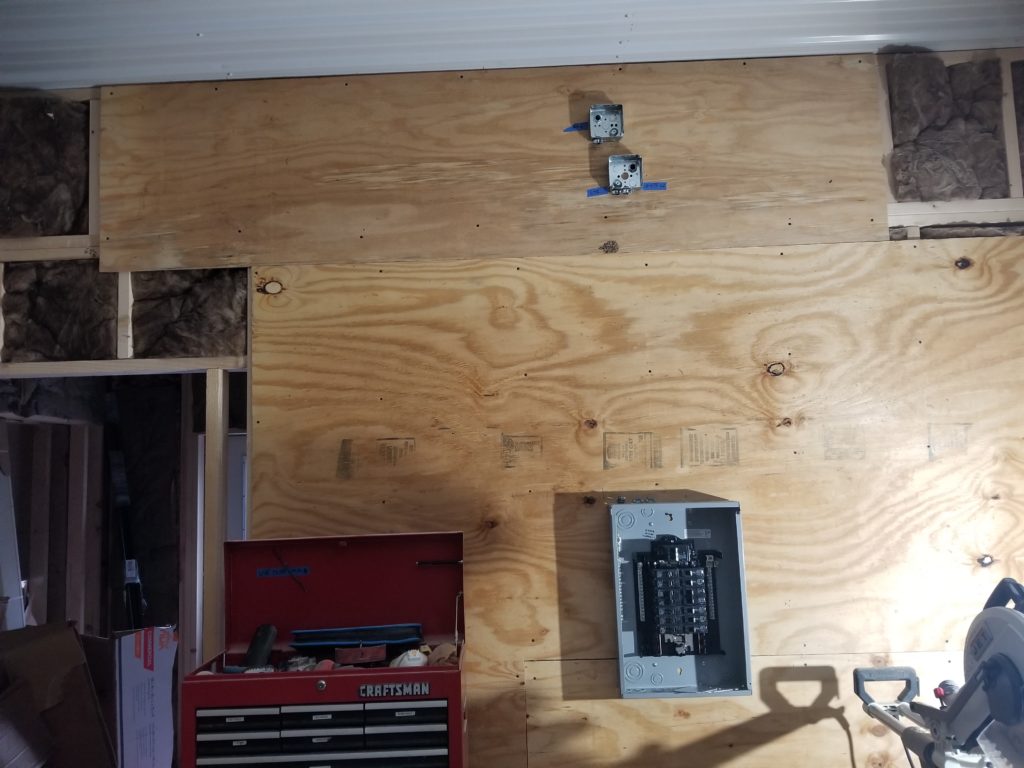
But that means I need to fetch a sheet of plywood and set up a cut station and cut it. None of this is hard, but it all takes time.
And you wonder why it takes so long to get things built? This is why. Up and down the ladder. A lot. Sneak a sheet of plywood out from storage. Find the sawhorses. Cut it. Install it. Put the horses back otherwise they’re in the way. Because the shop isn’t built out yet, it’s not organized at all yet, either – and really can’t be – but that also means it takes an enormous amount of time to find tools and supplies and such. I can’t just go to the electrical section and pick out some cable clamps. Parts are everywhere. To spend the time to coalesce them into organized spaces would just mean things like getting the power system set up would happen even later, which means I have to keep doing office things in the house (and storing office stuff in the house), longer. Something I really don’t want. Would it be overall quicker to spend a few days organizing so I could be more efficient working? Maybe. But all that organizing would have to get tossed anyway, because the final layout of the shop can’t be implemented until other things get built, so while there’s some immediate utility to temporary organization, it is also a lot of effort I’ll need to do again soon. More than scouring the building for shop supplies and tools? Hard to say. But there it is.
Okay, then, how far did I get? I got pretty far. I went with rigid conduit instead of armored cable because it looks very clean. I didn’t put wires in the walls because I expect mice. I’ve already met a few in the W.O.G. I suppose I could run conduit or BX cable in the walls, but that’s just a lot of work. Surface mount is easy to install, easy to modify, and doesn’t leave gaping holes in the wall (or require repair jobs) if you change your mind about where a fixture goes. Images are auto-cropped to fit nicely in the gallery. Click to see full.

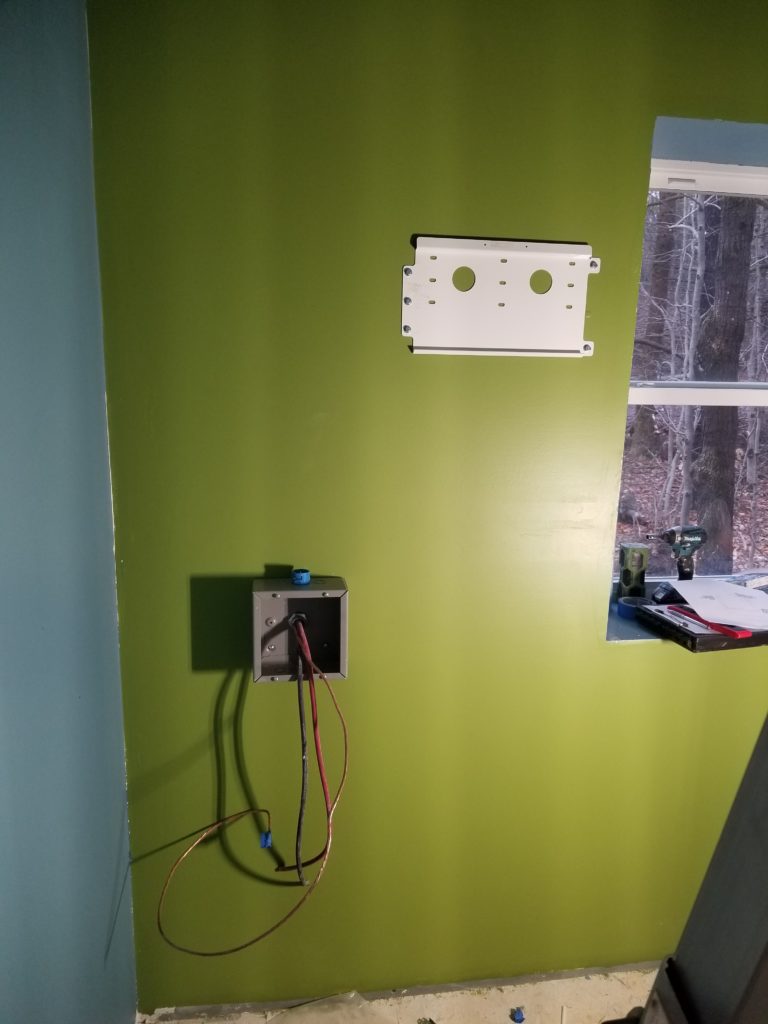
The box below the power center is the solar array feed 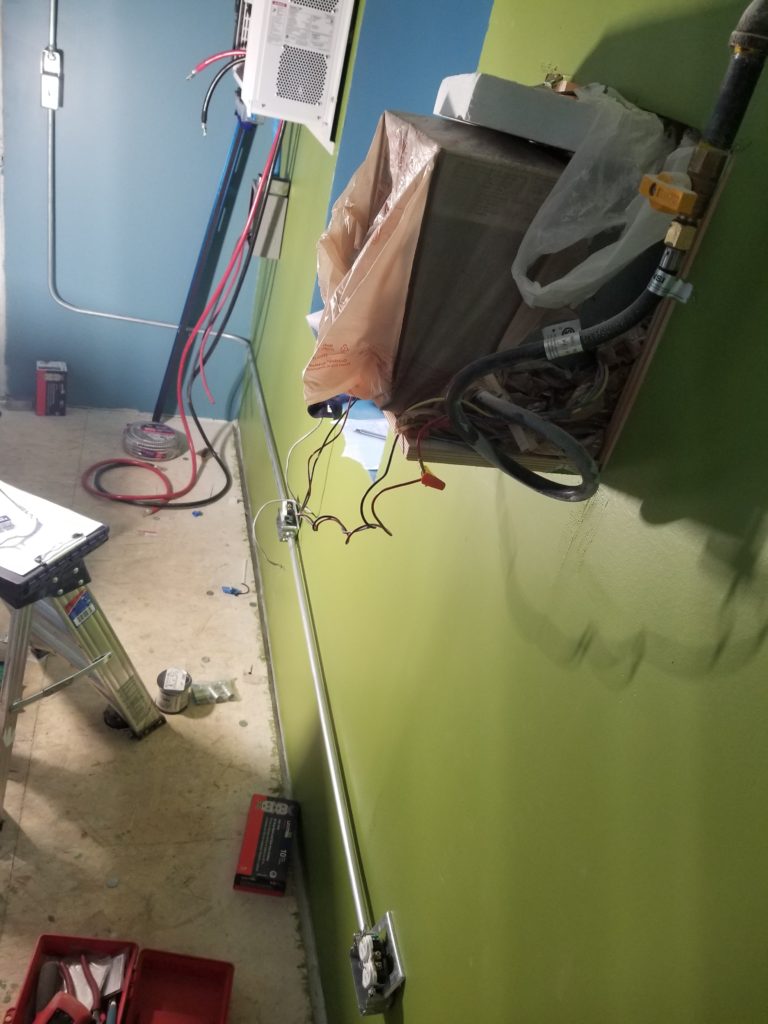
Outlets on window wall, light switch (rear left) 
Outlets on shop wall 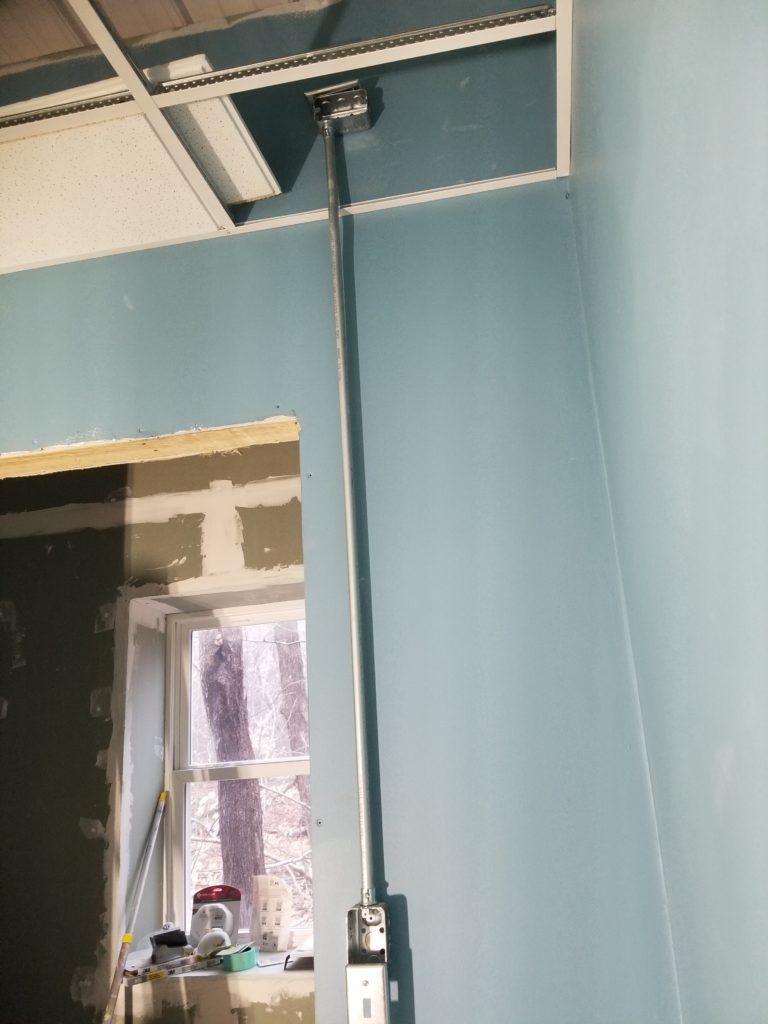
Second light switch, showing riser to junction box in ceiling


I can’t install the battery module, which weighs about 200# and definitely sits on the floor, until the finished floor is installed, anyway. I have the materials for that and I’ll probably pick at that as I pick at the electric over the course of the next several days. I only need a little bit of the floor installed to accommodate the battery, but it should be pretty quick to install to completion – it’s click-to-connect planks. Waterproof, easy, attractive. Count me in.
One surprise when I was installing the outlet boxes was this pop-out! Evidently, despite my thinking to the contrary, the wall board was not snugged all the way to the studs absolutely everywhere. When I drove the screws into the stud to secure the outlet box, it pulled the wall closer to the stud and thus pushed the previous screw head out a little. Ooops.
The only thing to be done for it is to excavate the screw, drive it deeper (or remove it, since now the outlet box is doing its job), spackle it, paint it. You know, this outlet box is 16 inches up from the floor. It’s going to be under a desk. Nobody but you and I will ever know there’s a defect in the wall. If someone should be crawling around under the desk and notices this, they’re entitled to their judgement, should they decide to render some. I’m not likely to do anything about this.
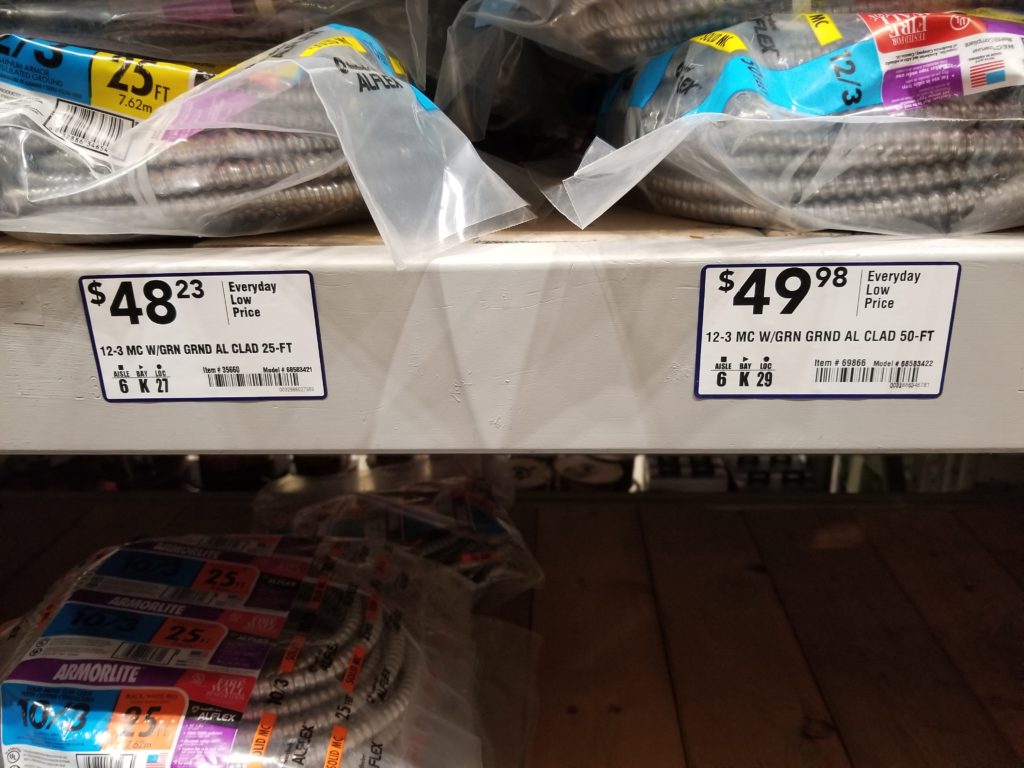
Hey, wanna see something funny about supply and demand? I wanted to buy a 25′ length of “14/3” armored cable. The store didn’t have “14/3” in any length, but did have “12/3”, which is just a bit thicker but will do the job just fine. Alright, “12/3” it is. They had two coils – a 25′ coil for $48 and a 50′ coil for less than $2 more. Seriously. I didn’t need another 25 ft of “12/3” today but the stuff is sure to be useful later and I couldn’t beat the price, so I got the 50′ coil.
Here’s where I left it: office is painted and ceiling generally installed (some fractional tiles have not been cut yet). Subfloor in place for office and washroom. Power center mounted. Office junction boxes in place. Pass-throughs for walls are made (and protected by steel conduit for mouse defense). Load center mounted and ready to accept cables. Now it’s just a matter of wiring it all up, which includes installing the generator port, hooking up those monster battery cables, and then going through all the settings to configure the power center for the system its been wired into. The washroom is still at the joint-compound only stage (not sanded) – I was only working in there while waiting for other things to dry. I’ll attend to the washroom after getting the electric all set up in the office. Probably after I install a garage door opener, too – I’m really tired of getting out of the car for that.