The HomeBox is about 95% complete inside — still some trim too add, some shelves and cabinet doors to make, that kind of thing, but it is totally livable right now and either I move it to the land right now (November 2021), before it’s just too cold to deal with things, or wait for Spring. Why not just wait and enjoy a more easeful transition in fair weather? That’s a fair question! The answer is that for every month I wait, it costs me another $1500 in rent, $200 in electric, $30 in water, to name a few. Spring comes late at the land, so conservatively, I’d say we’re talking 5 months more to wait. So is it worth $8,650 to wait? That, and, well, I’m quite eager to actually get on to the next phase of this project: living in it!
The decision was made. Move the HomeBox to the land in early November and jump right in to tiny living… in the woods… in the mountains… in the winter. Sure! Go big or go home! Or go home big. Or something 🙂
The HomeBox, unlike an RV or camper, isn’t really built for moving, per se. It’s built for being in a place. This means cabinets and fixtures aren’t secured against the inevitable rocking and bumping that comes with road travel. This means I need to batten down the proverbial hatches. It’s only a couple of hundred miles and a relatively easy, 95% highway drive to get there from here, so perfection isn’t required, just sufficiency.
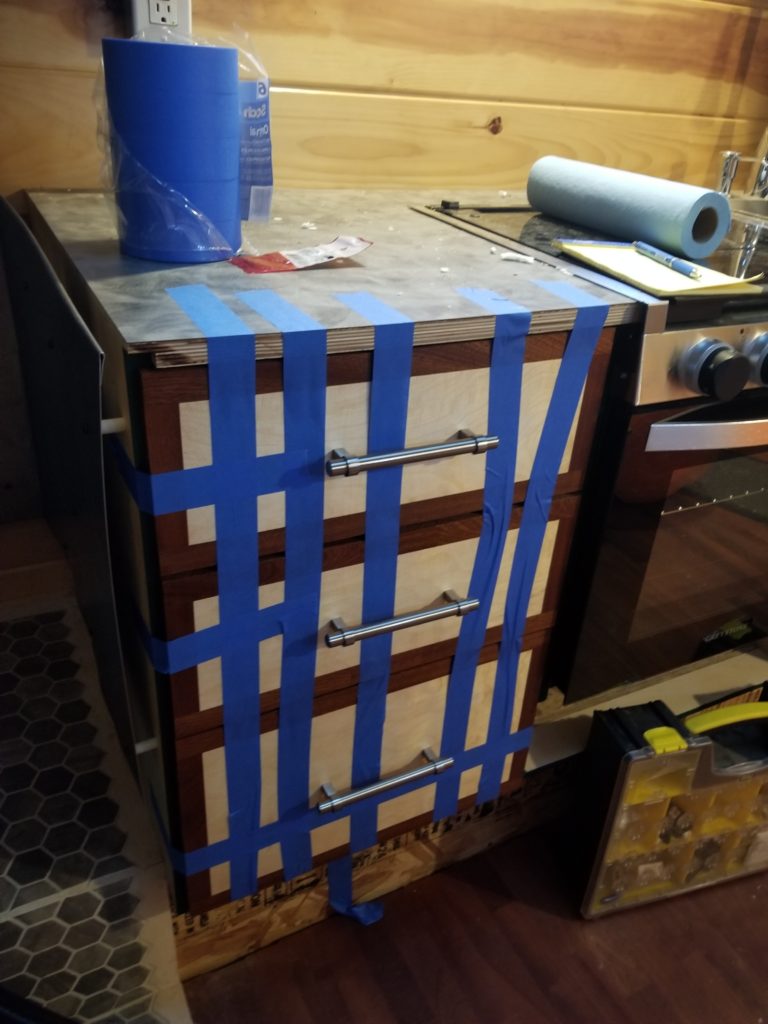
So I bought some blue painter’s tape and went to town. Well, I went to the fridge first.
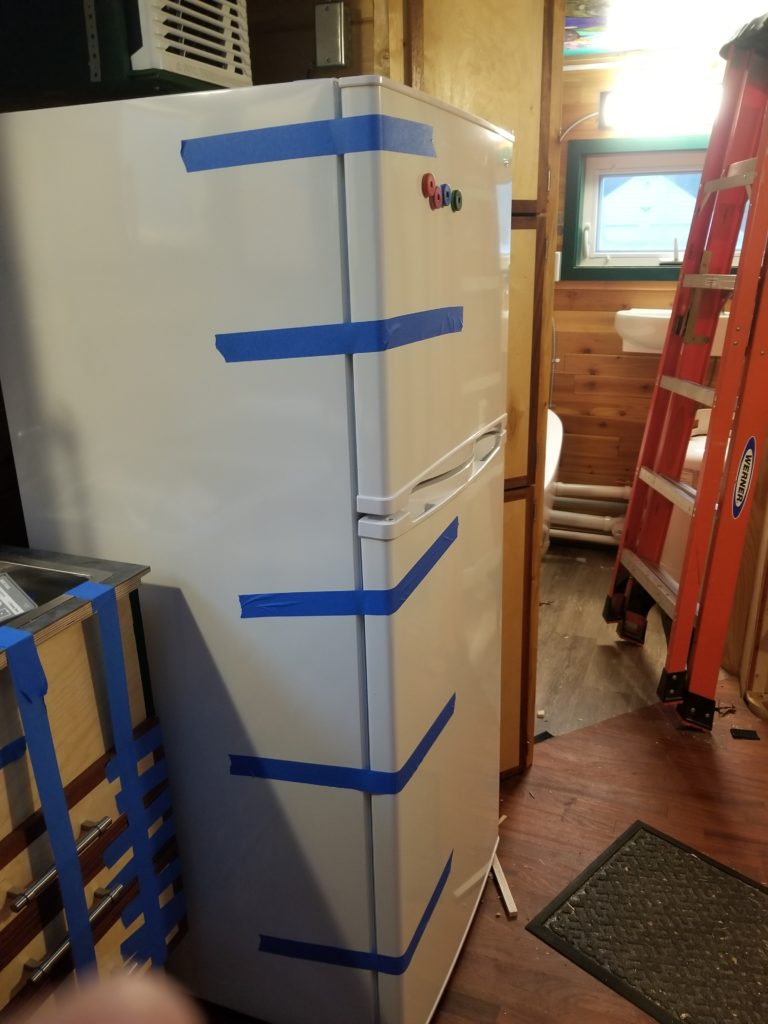
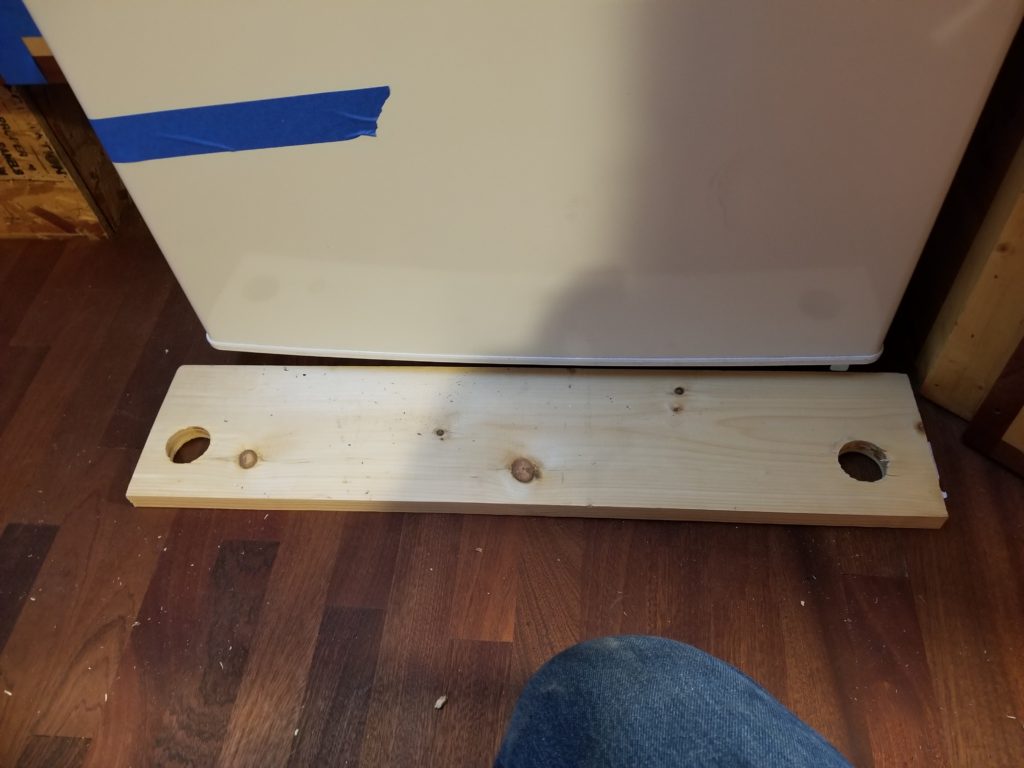
To keep the fridge from rolling, I make it a boot to capture the front legs. That was almost enough. I also shoved five pounds of bubble wrap between its sides and the cabinetry/wall as well as behind it. All together, that fridge wasn’t going anyplace.
Then I went to town.
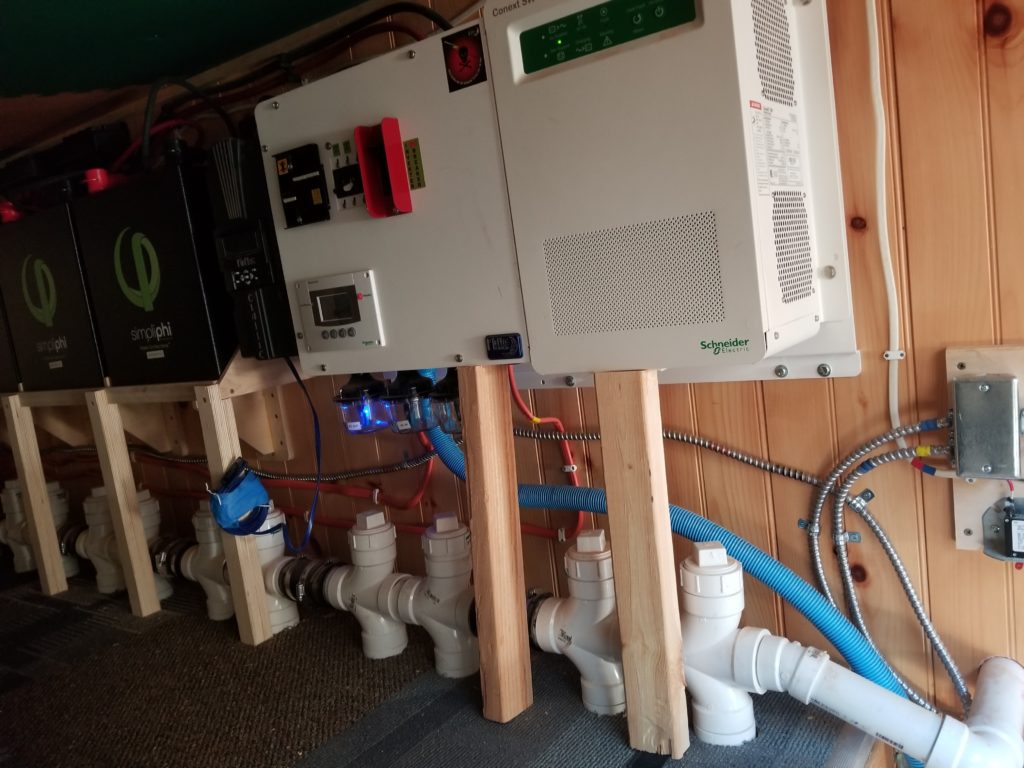
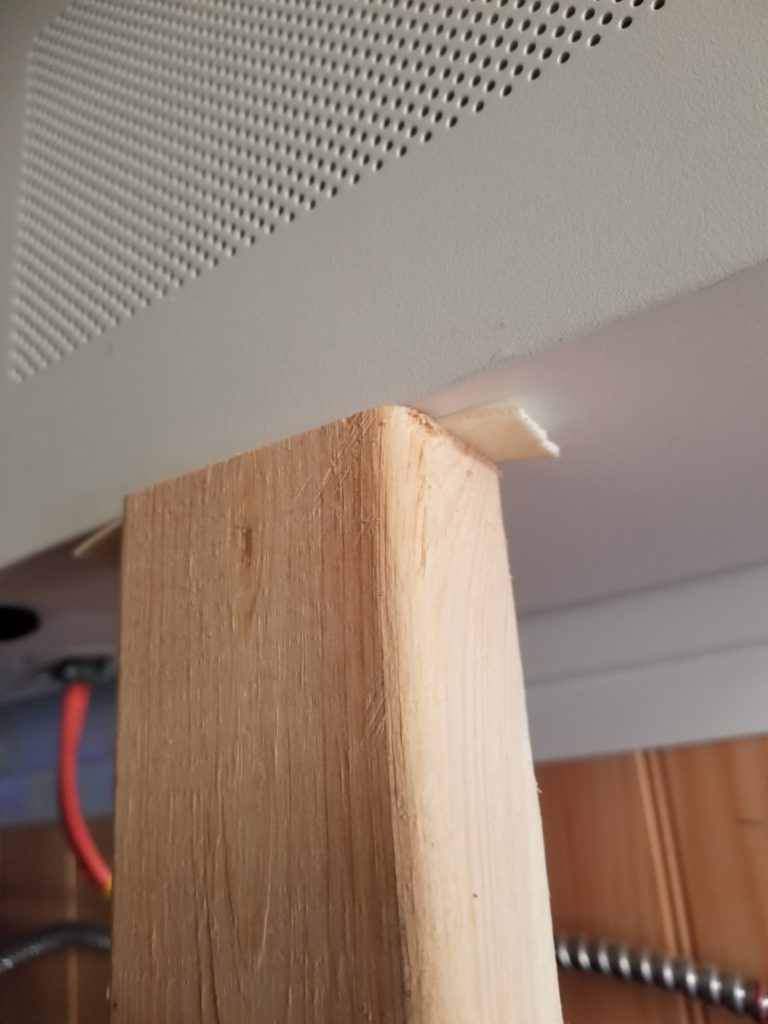
There were two items in particular that concerned me, the power center and the wash sink in the T.H.R.O.N.E. Room. The power center is heavy, about 120#. When I mounted it to the wall, I accidentally drilled the pilot holes for the lag bolts a bit large, so I have low confidence in their ability to resist pull-out. That said, it’s held fast for a couple of years now and resisted some light tugging (I certainly didn’t want to test it to the point of failure!), but still, a static load is one thing, bouncing down the highway is something else. Easy enough – I made a few braces. To be sure the braces stayed in place, a little double-face foam tape did the trick nicely. Same with the wash sink (left to your imagination).
Windows closed and latched, the heck taped out of everything that can move, I seem to have in my haste neglected to take a picture of the ropes securing the ceiling fan, but take my word for it, there were ropes securing the ceiling fan…. must be time to hit the road! And so it began…
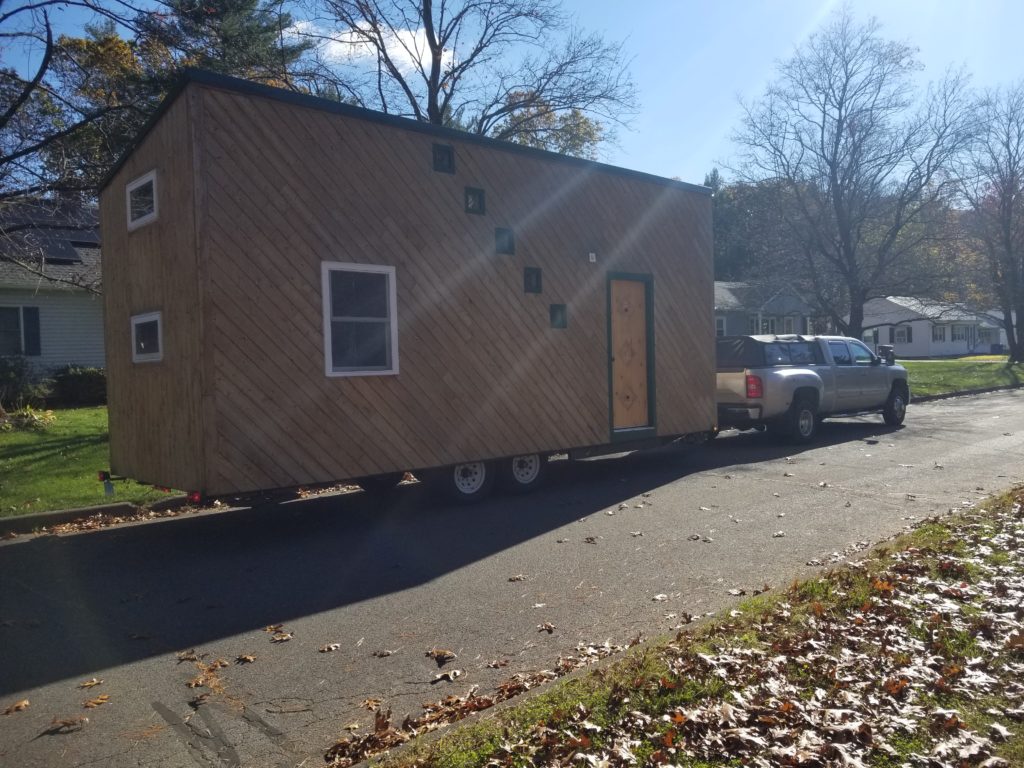
I never did get an official weight for the trailer. My understanding of the necessary rules for registration and that of the clerk at the DMV were different, so no certified weight was obtained. Still, for sure it’s heavy. And, as it turns out, it is also a bit top heavy (over 400# of power system in the upper corner and a little front-heavy, but not dangerously so. My tow driver was confident we’d be fine as long as we took it nice and easy. Fine with me. This represents 4+ years of intense labor and upwards of $70,000 in materials and services (not counting site work, the W.O.G., even!) so I’m keen to have it arrive safely, if slowly.
My job was to ride behind the trailer, watching for anything of concern – wobbly wheels, smoke from brakes, pieces flying off, that kind of thing. Not exactly a serene job, driving down the highway fretting over my baby for 4+ hours, but necessary. For the most part, the trip was uneventful (just how I like them). Every now and then there was a bit of sway or tip that worried me, but in point of fact it was fine. How close to not-fine it was I may never know — and do not wish to know — in point of fact it was fine.
There was one incident en route – the kitchen window flew open and began to flap against the frame. No bueno! I called the driver and we pulled over ASAP to re-secure it. The opener mechanism got broken by the stress, but the window glass itself was okay. I’ll deal with the opener mech in the spring. That window gets to stay closed for the winter anyway.
ARRIVAL! Approximately 6pm.
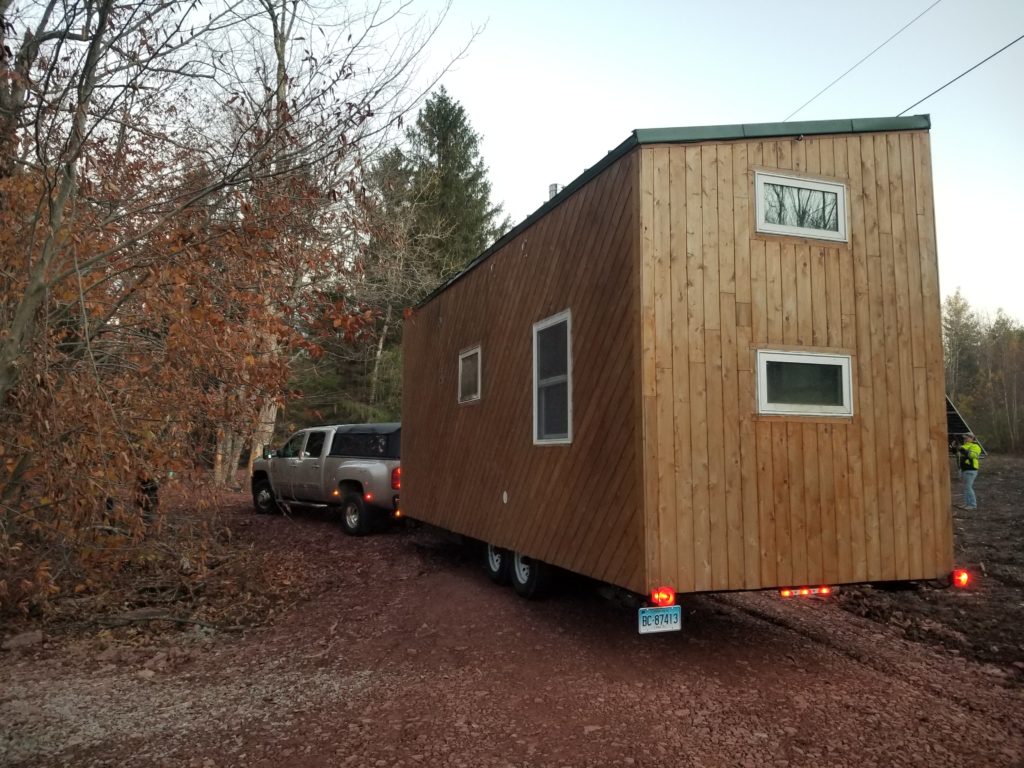
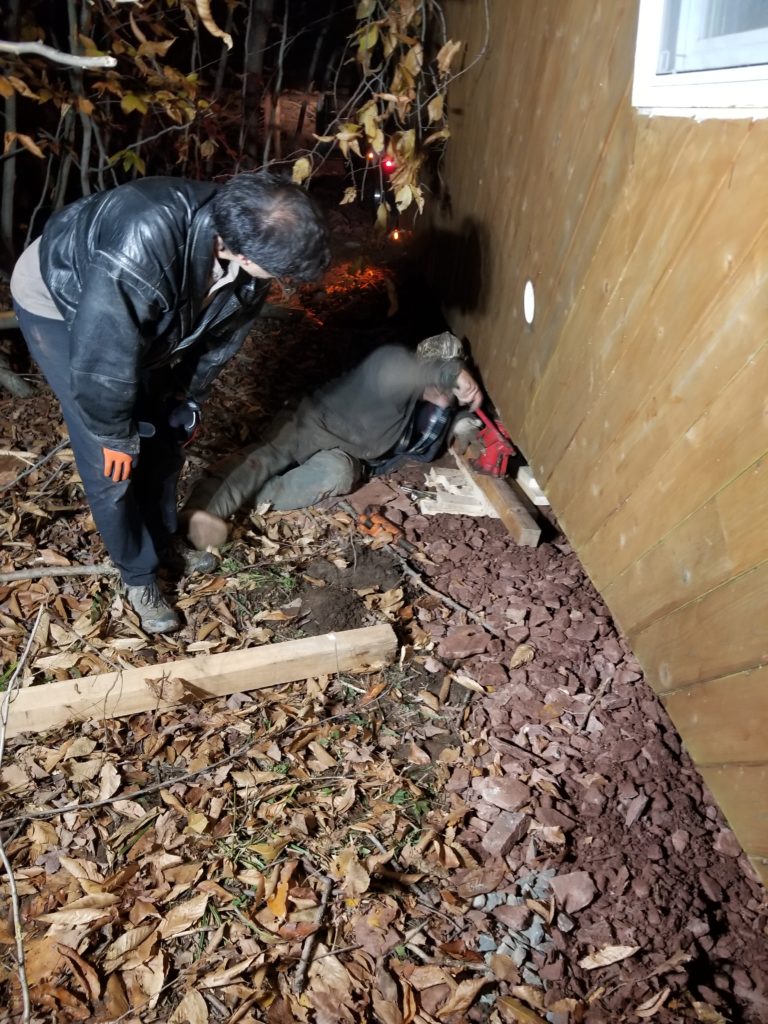
It turns out my site work guy was still preparing the landing pad, so we had to wait a while for him to finish grading. Finally, as dusk approached, we proceed to the landing pad… and my driver misjudged the lay of the land and this happened:
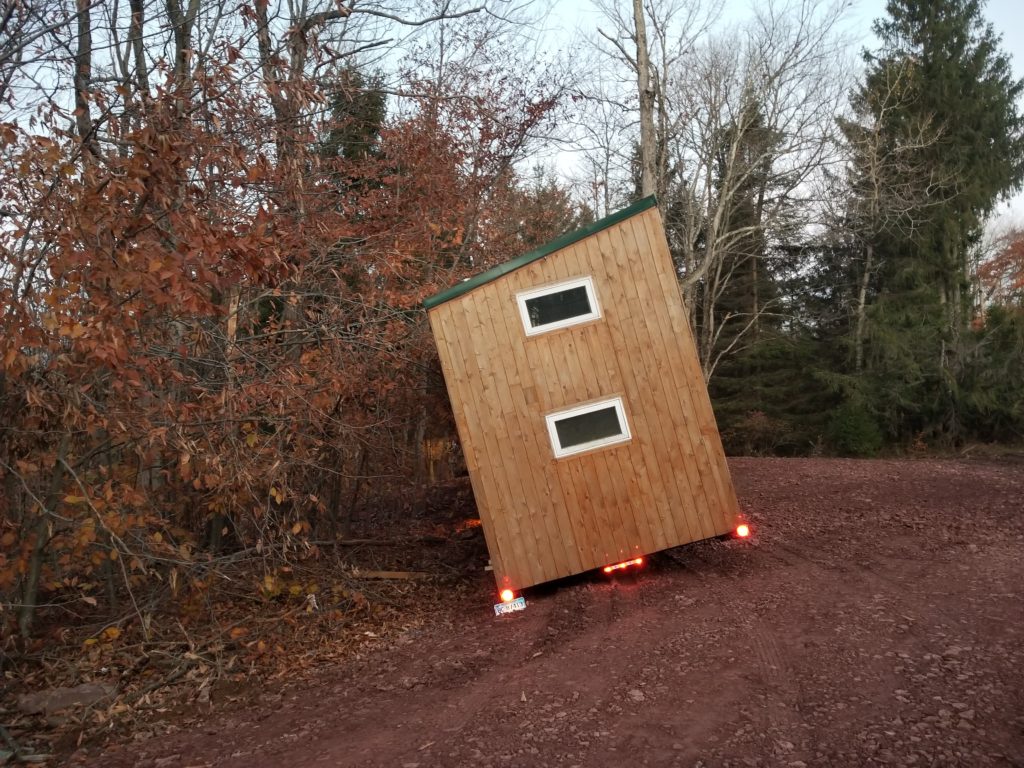
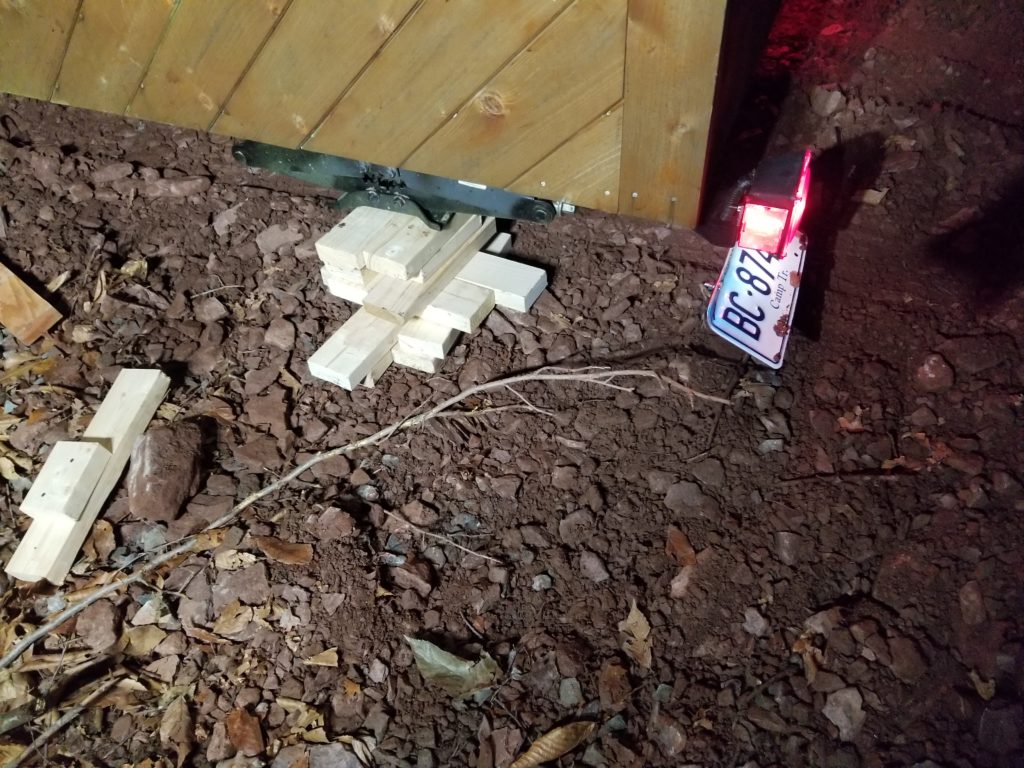
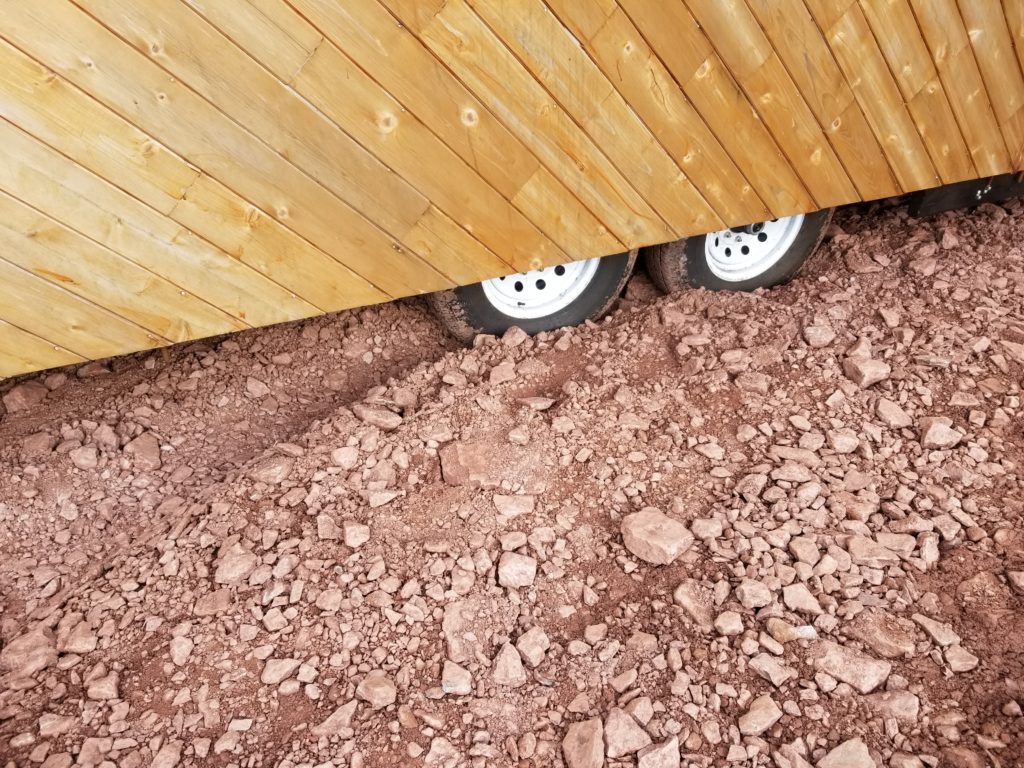
Note the license plate, normally about 16″ from the street level, is digging into the shale road. If it had to tip, I’m glad it tipped this way. The power system is in the upper right side so if the trailer tipped that way, that’s a lot of weight up high that would have leverage enough to make a bad thing much worse, possibly toppling the whole thing. Now that would be a Very Big Problem. The kind of problem you solve by hiring a crane service.
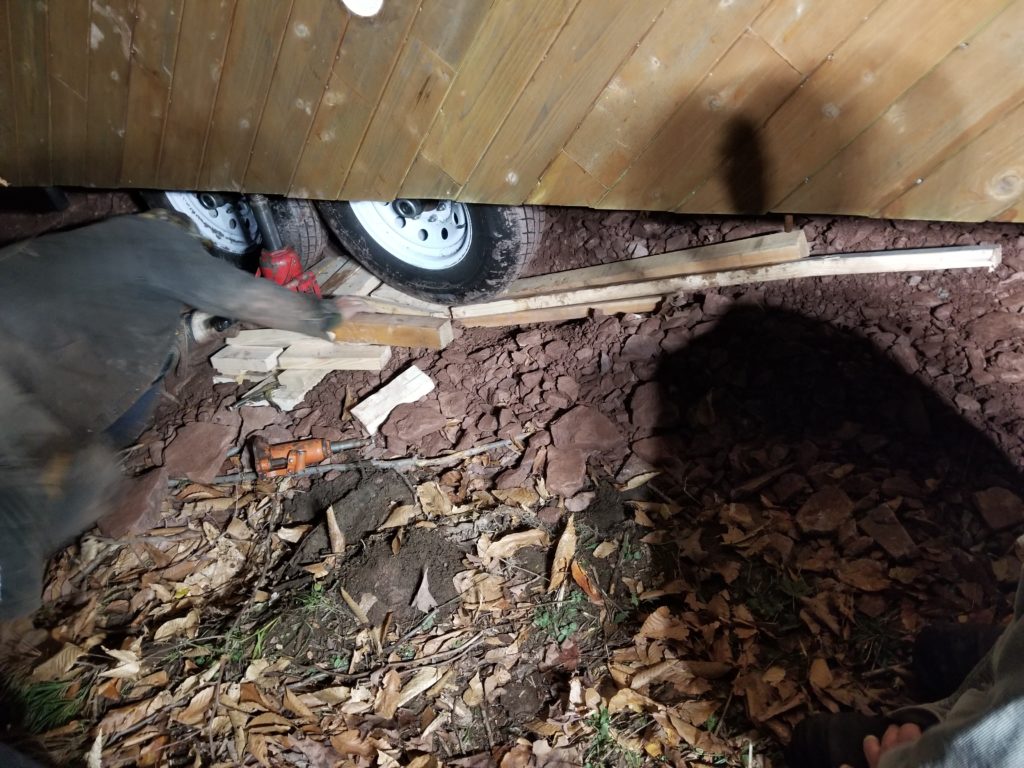
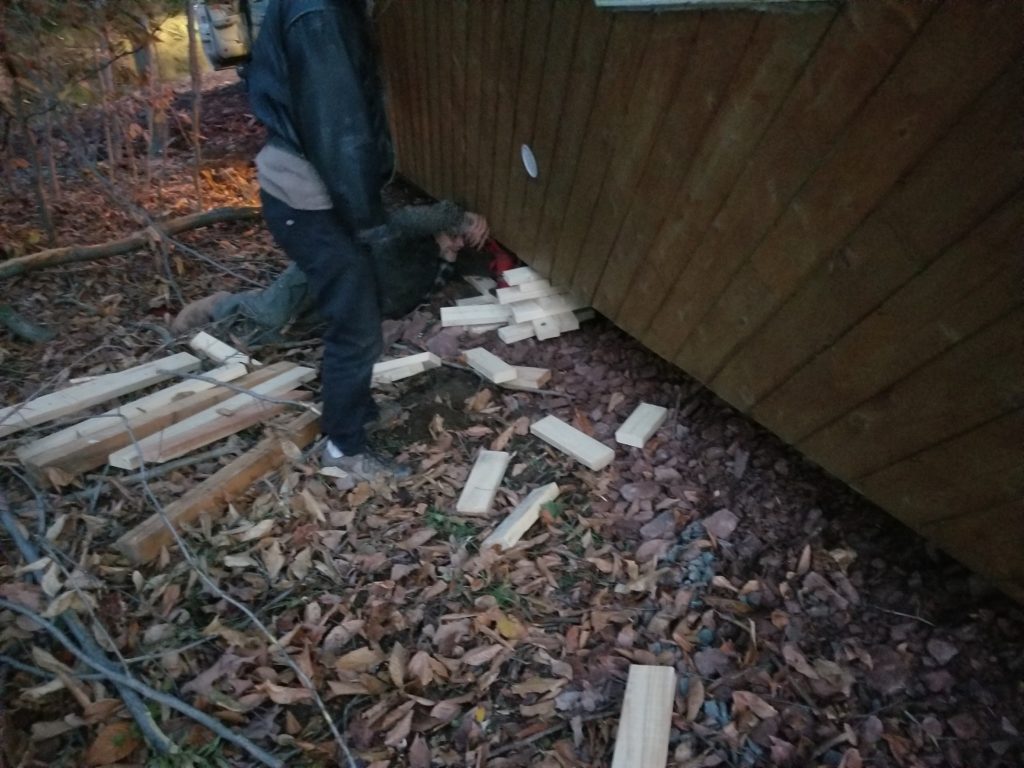
My excavator guy was still at hand and had some wisdom for how to right the vehicle. This mainly involved using a 12 ton jack to lift it a little, putting wood beneath the wheels, then doing it again, then doing it again, then doing it again…
It turns out the tow vehicle was especially long and that made it difficult to put the trailer in the right spot (it has to be directly over the utility well for hookups) without having the tow vehicle hanging off into space over a small cliff. Excavator guy to the rescue again, directing my driver in a series of maneuvers which slowly got the trailer very close to the right spot while simultaneously positioning the tow vehicle such that (a) it didn’t hang over a cliff and (b) was in position to leave when it was all done.
It landed finally not quite in the right place, but we were all tired and mentally/emotionally spent, so we left the trailer not-quite perfect, and definitely not level, for the night. I extended the stabilizer jacks and made the best of it. Fortunately, the list was to one side such that I could just arrange myself in the bed with my head high and my feet low so it wouldn’t be too bad for one night’s sleep. It was a little fun going to the bathroom in the night, though, what with the tippy floor!
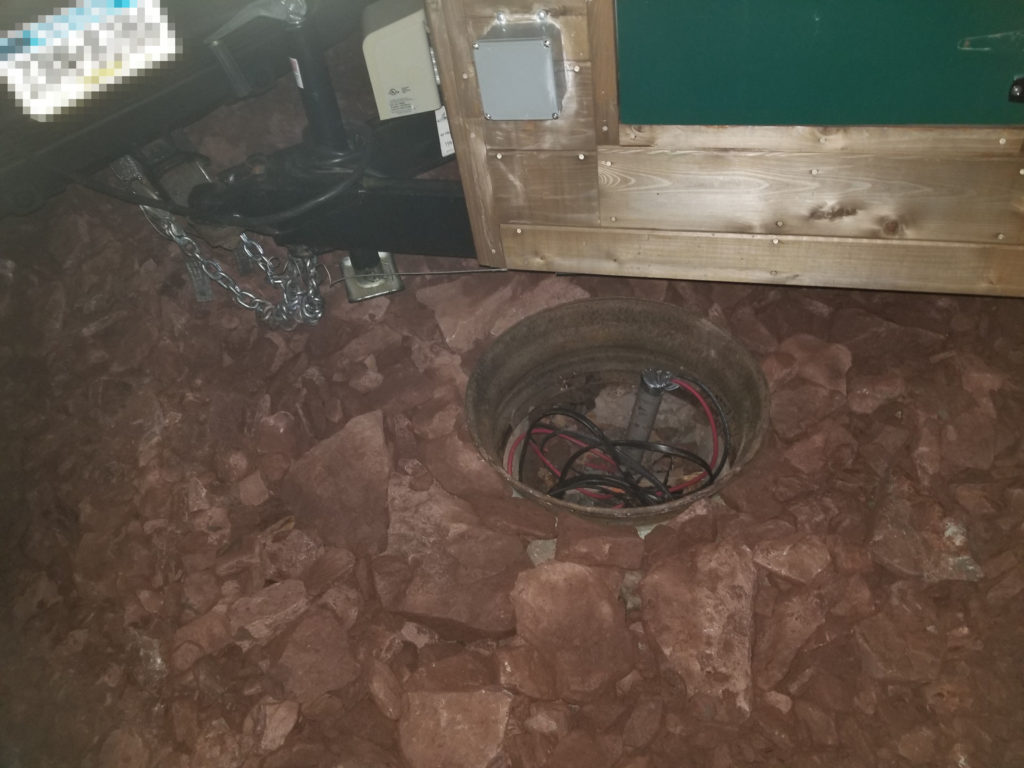
If the utility well looks a bit like a truck wheel rim, you wouldn’t be imagining things 🙂 You can’t see all the things in there, but aside from the solar (red & black wires), there’s a black cable that goes to the well pump, a black pipe that goes to the well, and a green drain line that goes to the tank. The Propane Porch (above) needs to be centered over this in order for hookups to make sense for the pipes. We’ll take care of that in the morning.
And by “take care of that” I mean our friend the excavator guy will lift the trailer up by the nostril using his bulldozer and simply shift the building over by a little bit to get things aligned. I was really impressed with the finesse he had here, above to maneuver the thing inchwise. His prior experience as a heavy crane operator probably helped here — those people can deliver a massive pipe or I-beam to just exactly where they need to go, from way over there. Anyhow, now in position, we can get on with getting level and getting the utilities hooked up. The fresh water pipe (black) and a newly installed junction box (gray) can also be seen in the utility well.
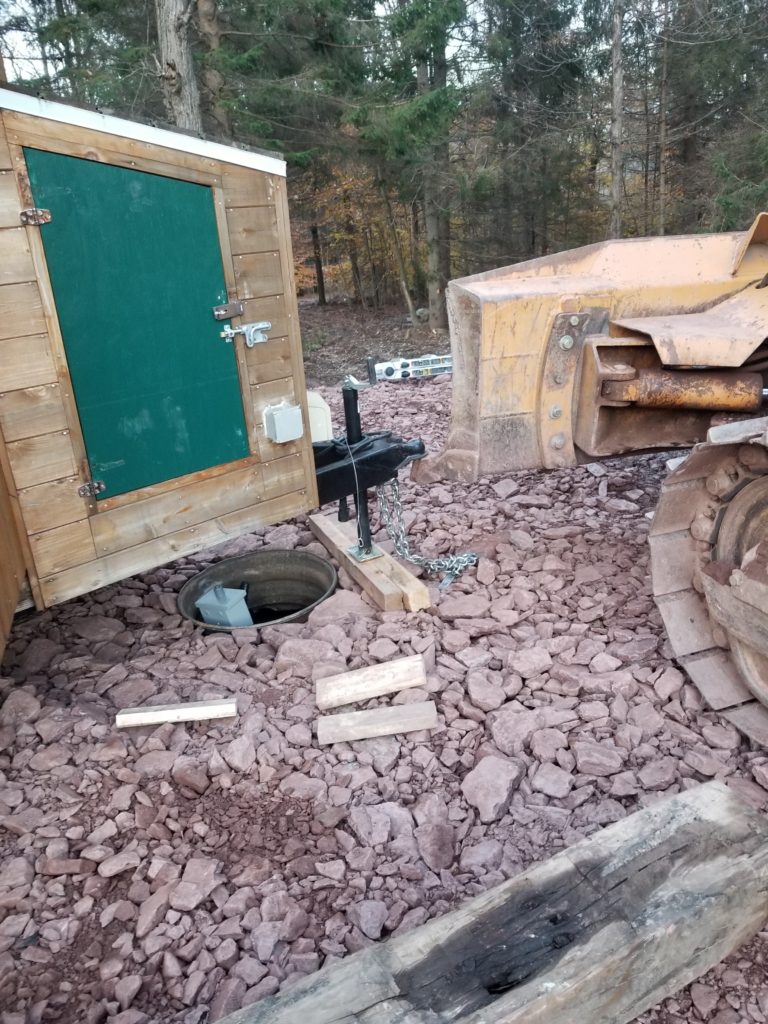
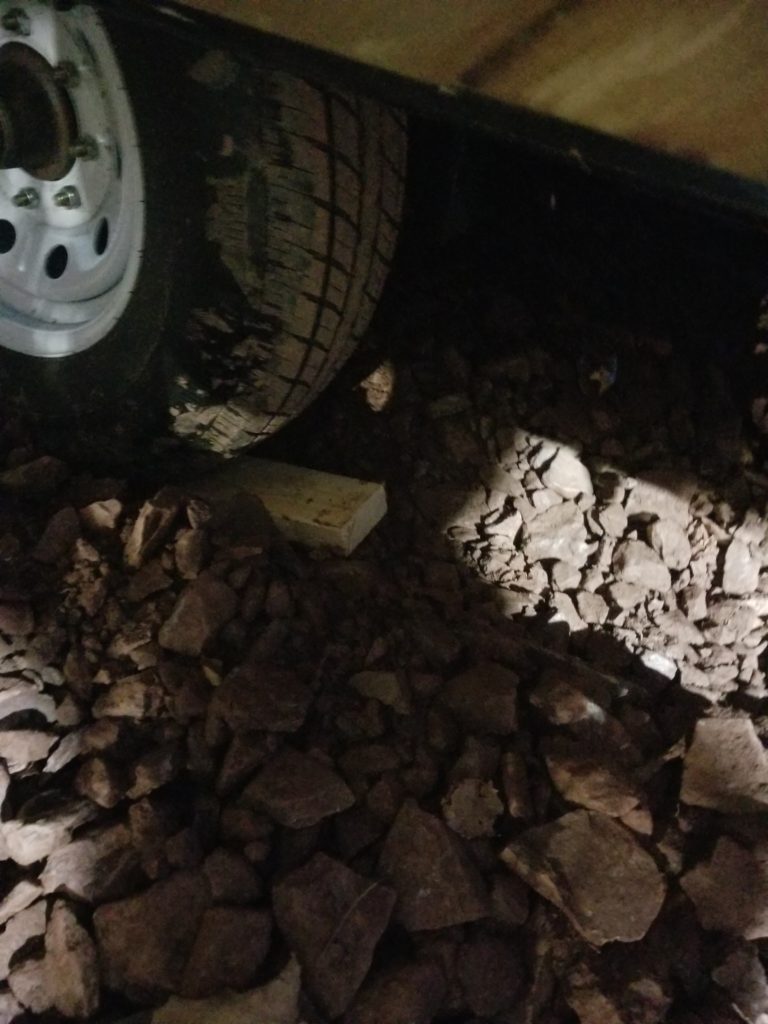
Here you can see the tires sunk in to the shale pad a fair bit. This illustrates just how heavy this vehicle is… I mean, it’s a STONE ROAD and yet it’s been compacted somewhat by these wheels.
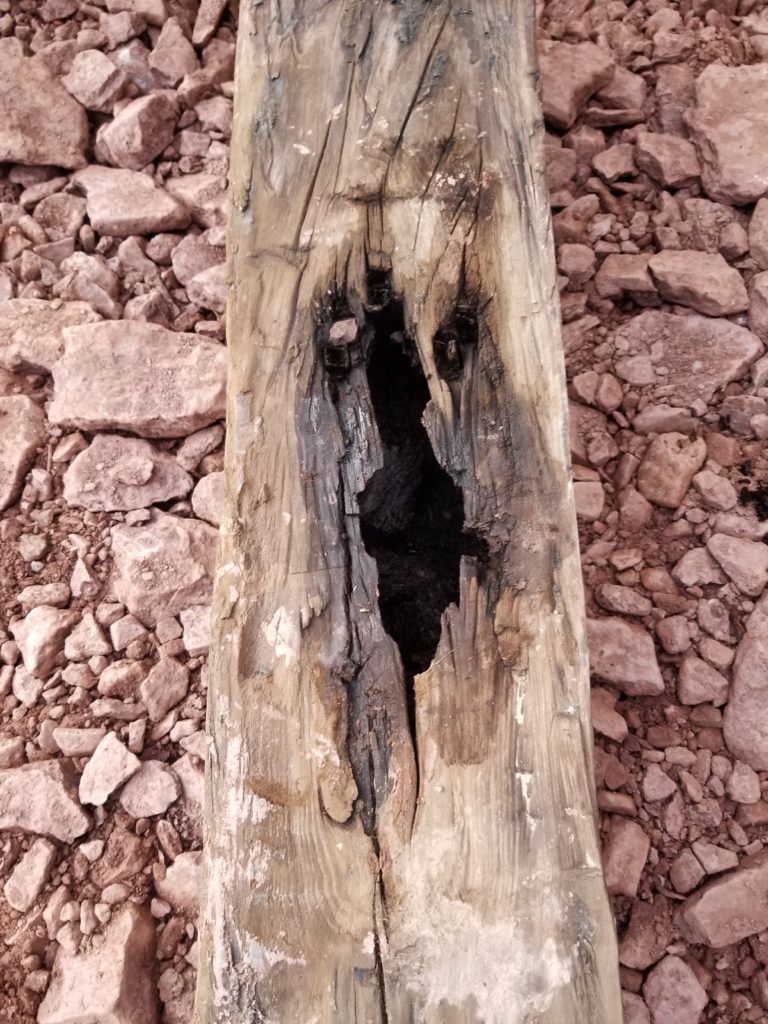
I seem to have failed to take any pictures of the leveling process or the reclaimed timbers used in the process, but I did snap a pic of this burned out one that had a bit of a face…
House installed, in position, and level, now it’s time to start hooking up utilities, but it’s dusk at this point and that’ll be a task for another day.
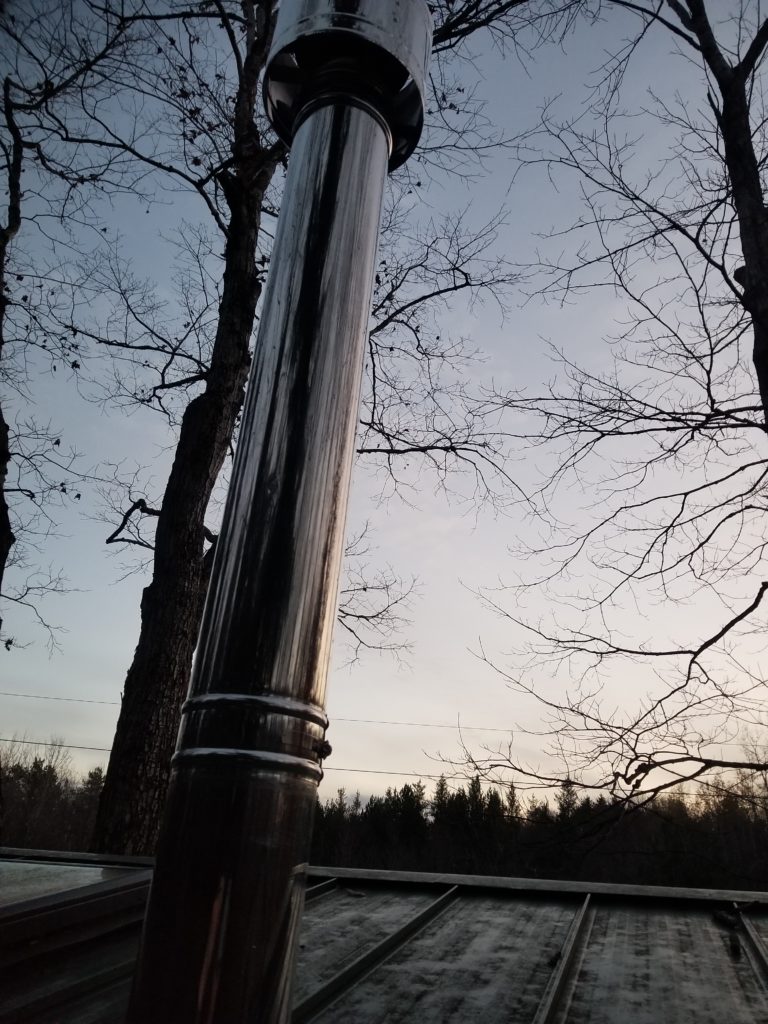
First things first, though, never mind power or water or sewer, I need to get my wood stove going! Quick (but carefully) up the ladder, I bring the top part of the flue and install it at sunset. A lovely fire in the woodstove to relax by that night.
