I have always liked “The WOG” as a name. It’s easy to say (rhymes with “fog”) and has no other meanings except Workshop/Office/Garage, as far as I knew. Then somebody told me that “wog” is a derogatory, racist term elsewhere in the world! Crap! I mean, I wouldn’t name a building “N-word”, and it seems I have rather accidentally done something analogous. Now, I’m writing from a different culture — we here in the USA have a lot in common with the cultures that have that word, but our cultures are also sharply different in certain ways, especially our slang/vernacular. I mean, how is a sweater here a jumper there? And I don’t even know what our jumper is over there. Pinafore dress, I think? Anyway, all this to say that I never meant any offense (or offence, as the case may be) and in my culture WOG doesn’t mean anything, though evidently it does elsewhere. I’m in a bit of a quandary about this. There are certainly many cases of homophones from some languages having comical or unseemly meanings in other languages, like the Vietnamese name Phuc, or the town recently renamed to Fugging. I think as a compromise, I will start to write it “W.O.G.” so there’s no question of intent, though in casual speech I will continue to say the word that rhymes with fog, being mindful that if I happen to know I am speaking with someone for whom that word carries additional meaning, not to say it that way.
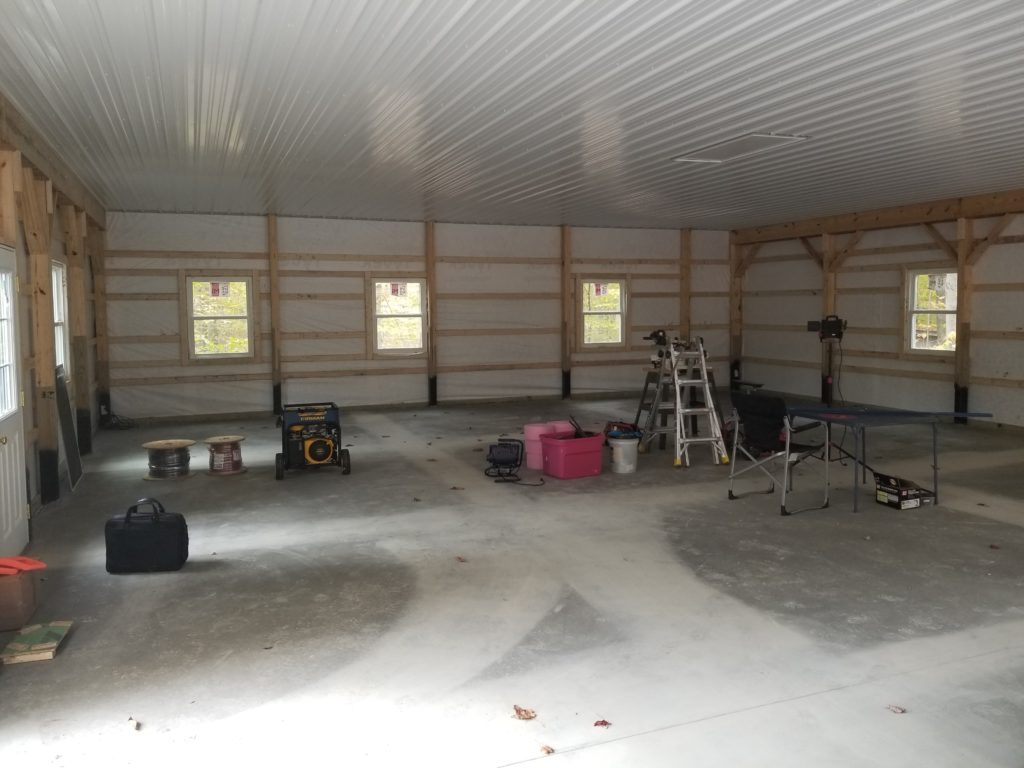
And now on with the W.O.G. blog. At this point in our story, the building itself is built but the interior is entirely empty.
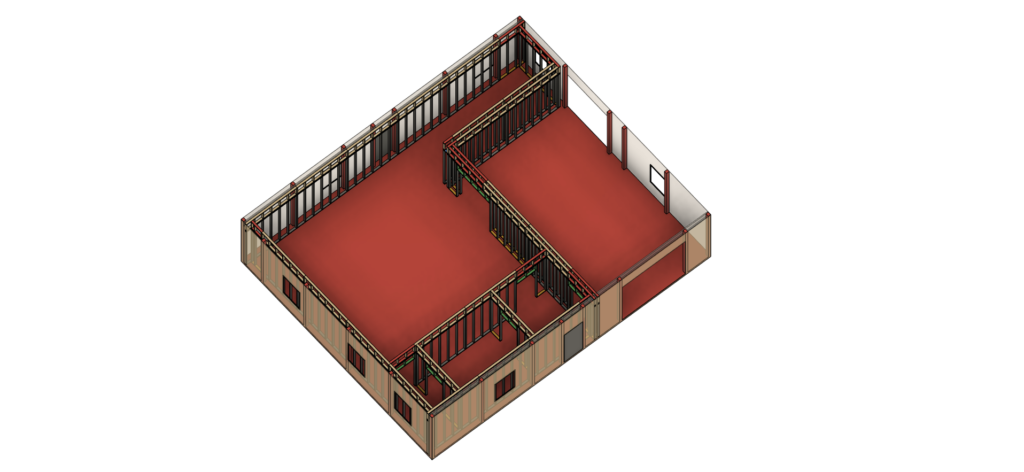
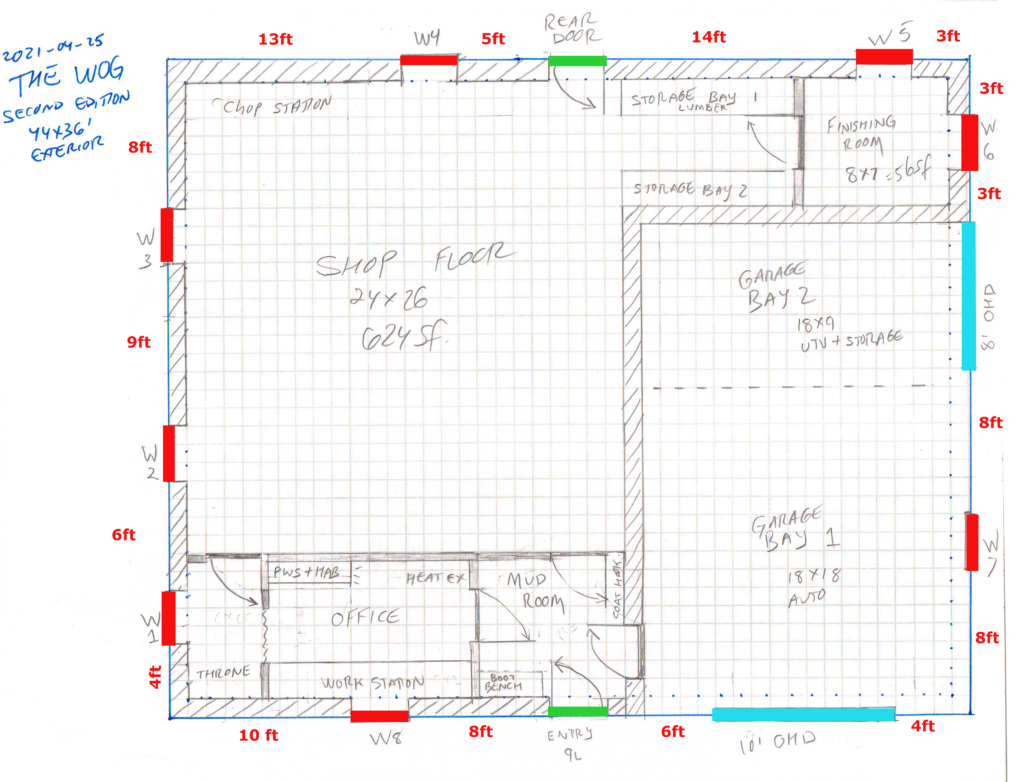
The model on the right was derived from the actual pole building blueprints, to which I added the interior stud walls. To refresh your memory, this is the plan for the space, more or less:
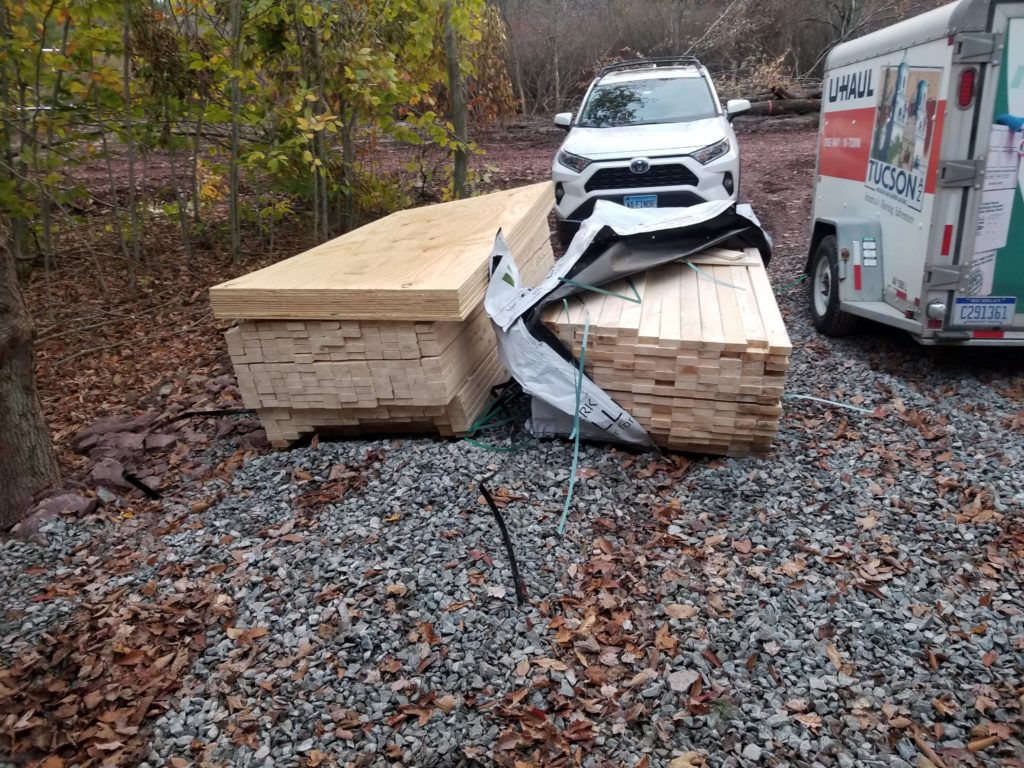
I’m not moved in yet, but the more of this I can get built ahead of then, the better. So off I go for a couple of weekends, framing like mad. Inconveniently, there are no tools and no power there yet — of course not, the power comes from the solar arrays which are not yet fully assembled and the tools, well, they’re going to live in this building but not until the building is built! So I rent a trailer (actually, I bought one, but had registration issues last-minute, so I had to rent one anyhow), load it up with all the things I can think of that I might need to get these walls going, and head to the site. I call a local lumber yard and have them deliver over 400 studs and some plywood so it’s waiting for me when I arrive. That’s a bunch of wood!
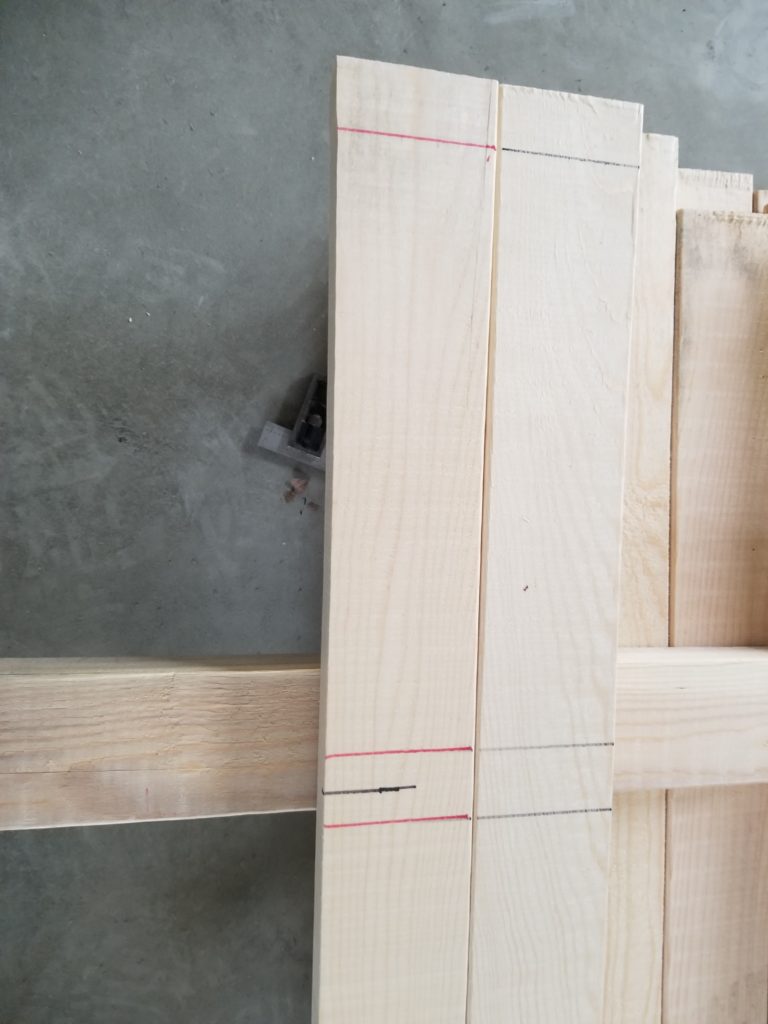
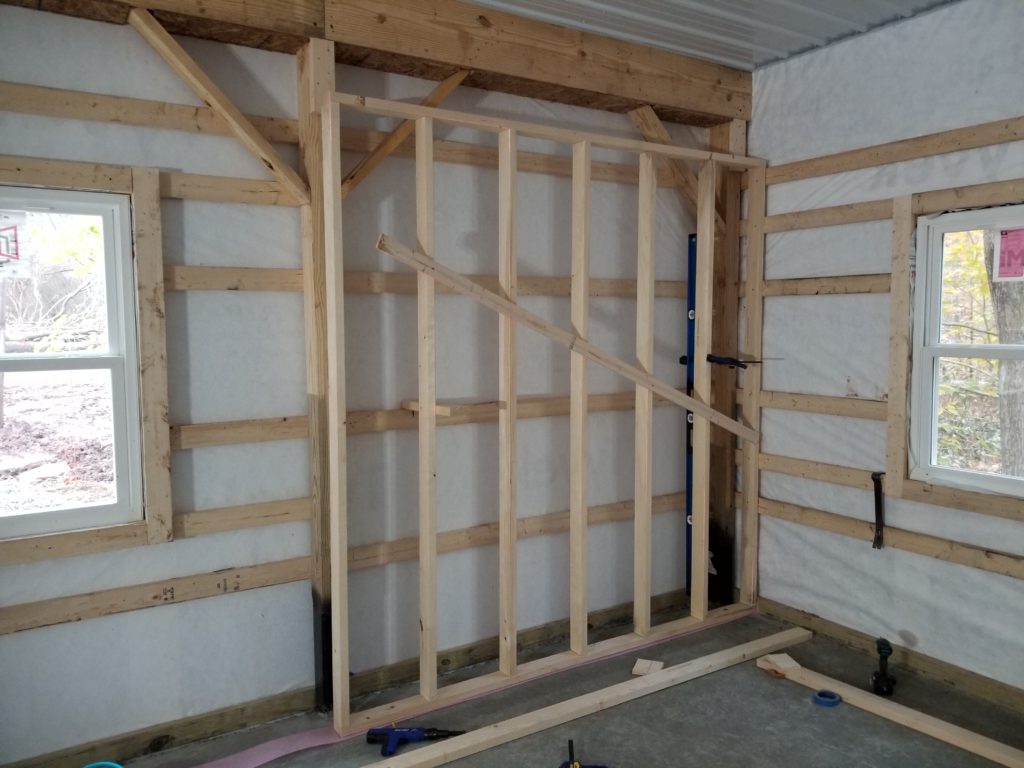
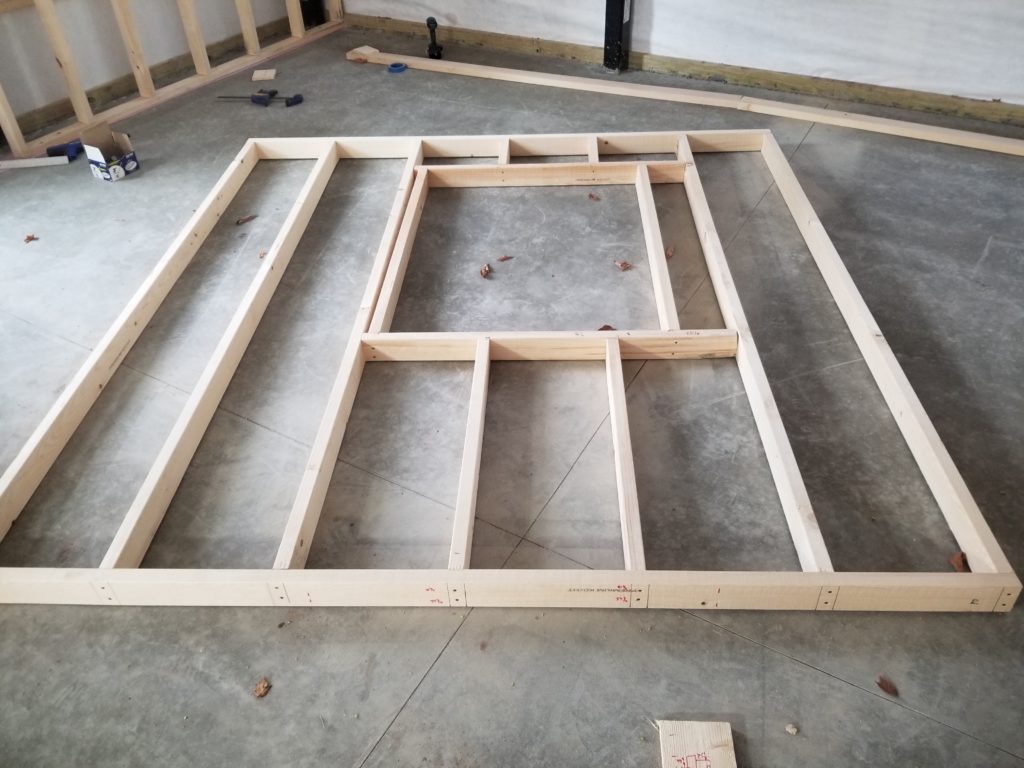
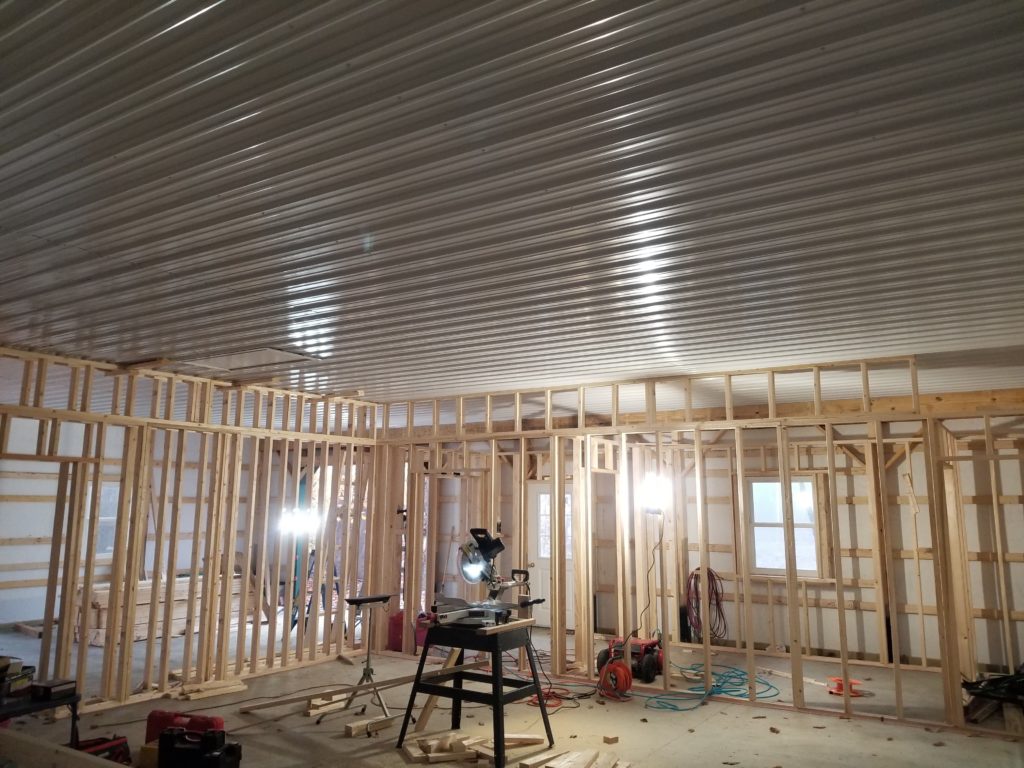
I start by marking a piece of wood with the standard 16-on-center stud layout, so I don’t have to keep measuring. I can just use a square to copy these layout lines over and over as needed. I made the modules 99 inches high – 96″ is the standard stud length and 3″ is the thickness of the combined top and bottom. The modules are exactly 96″ wide, so wallboard, etc., which come in 96″ lengths, will span them neatly, no matter how they are staggered. I pre-build the modules on the floor, which isn’t great for my knees and back, but I didn’t have a huge table available and didn’t think it would be worth making a assembly table. The modules are pretty heavy, too, so maneuvering them off a table would be tricky.
As it was, these 96×99″ modules were heavy enough to make me sore by the end of the day of lifting and positioning them variously about the space.
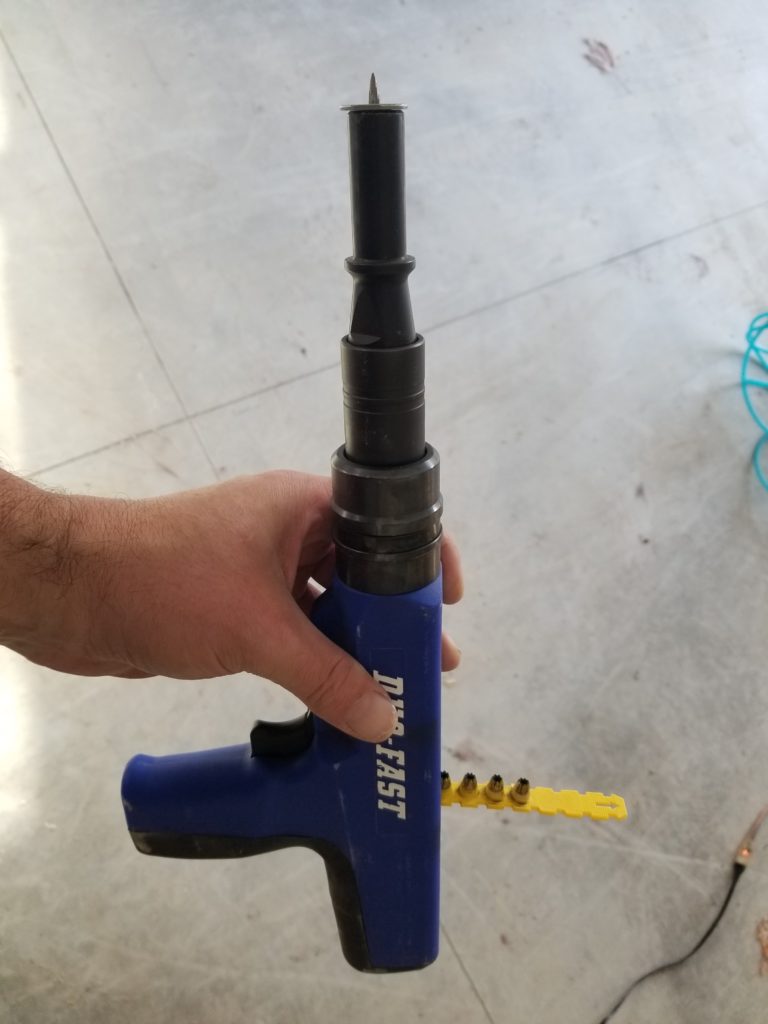
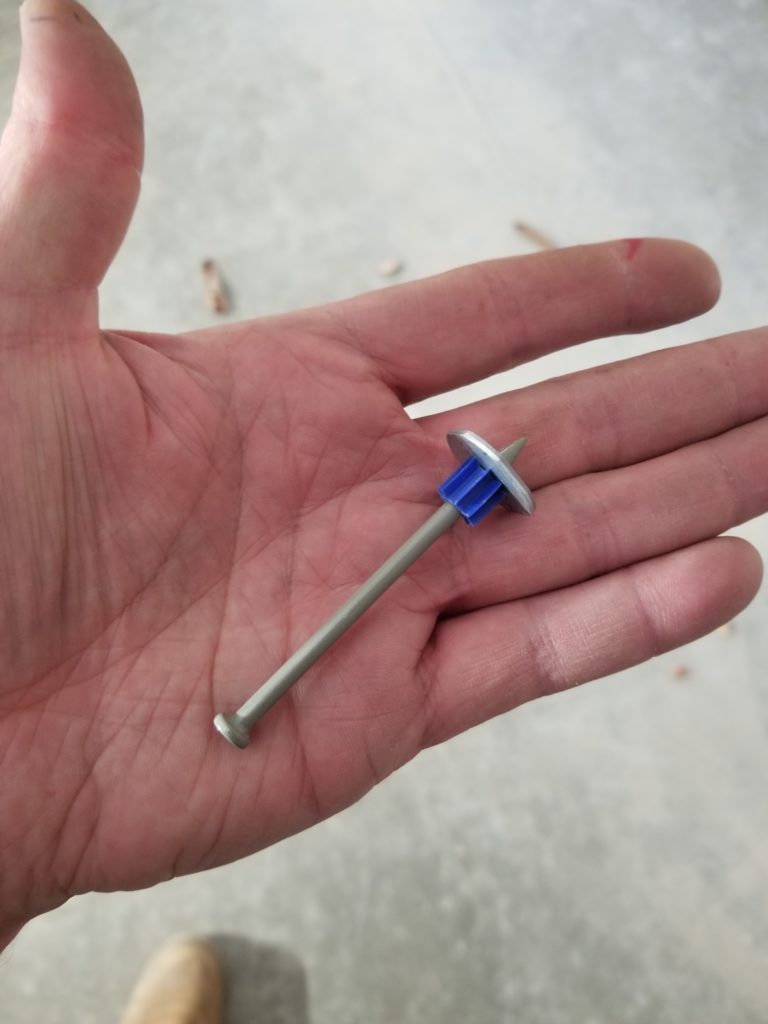
To anchor them to the floor, I used this ballistic nail gun. It uses 0.27 caliber rounds to fire hardened nails right into the concrete. They’ll go into mild steel, too, for that matter. Pretty impressive. And it’s got a heck of a kickback, too.
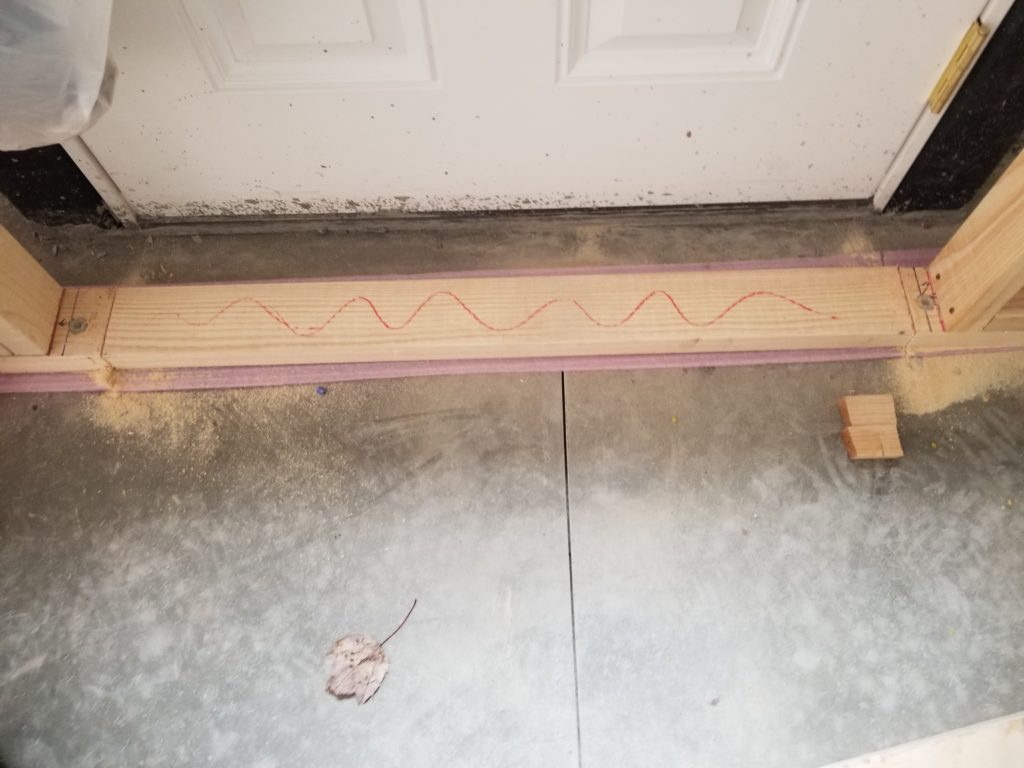
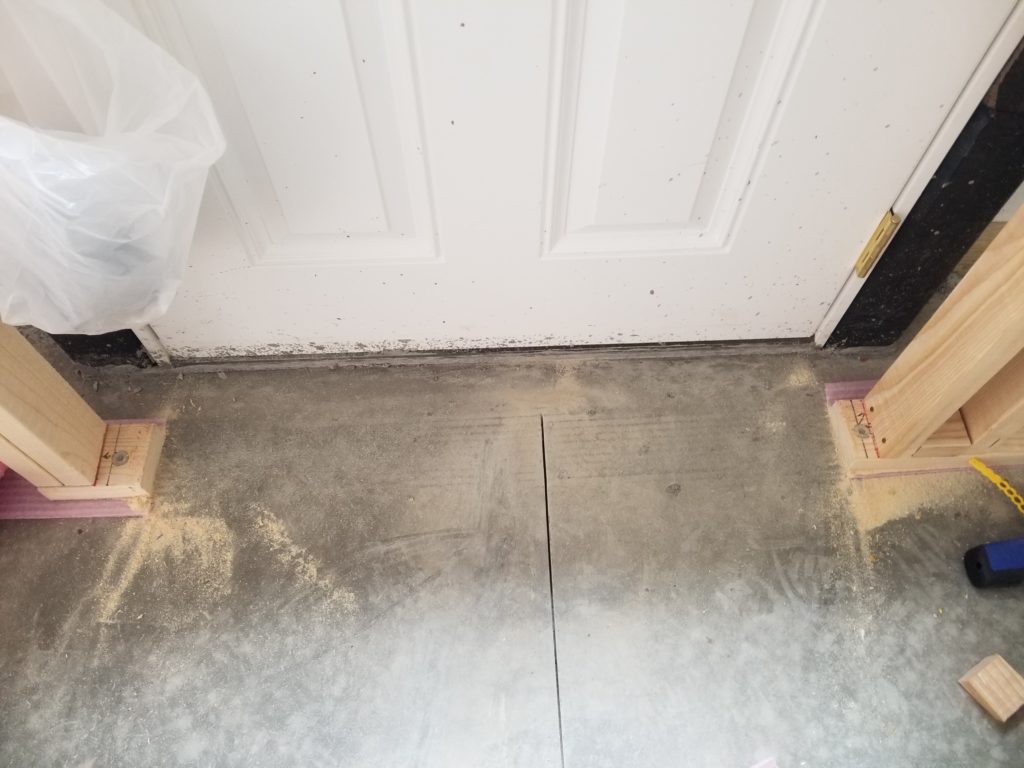
For doorways, it’s easier to frame the whole wall and then cut the bottom of the doorway out after installation. This gives the module the full strength and rigidity of having a contiguous bottom plate until it’s installed.
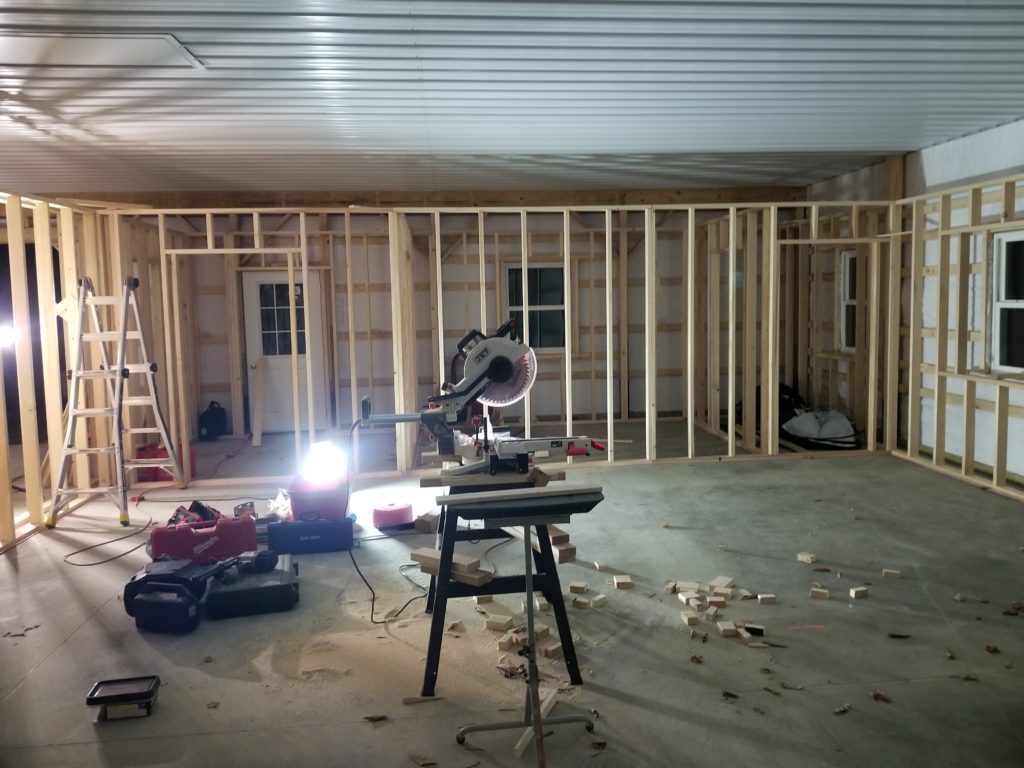
By the end of the weekend, it looked like this: lower course of walls all built. They still need another 20″ or so to reach the ceiling and they’re a bit unstable because they aren’t tied together (nor to the ceiling). Still, good progress for a solo effort.
I returned the following weekend to do enough of the top course to be able to complete the garage partition wall, which was the main goal. Since the garage doors are not installed yet, being able to close off at least part of the inerior against weather and animals had priority.
… time warp! …
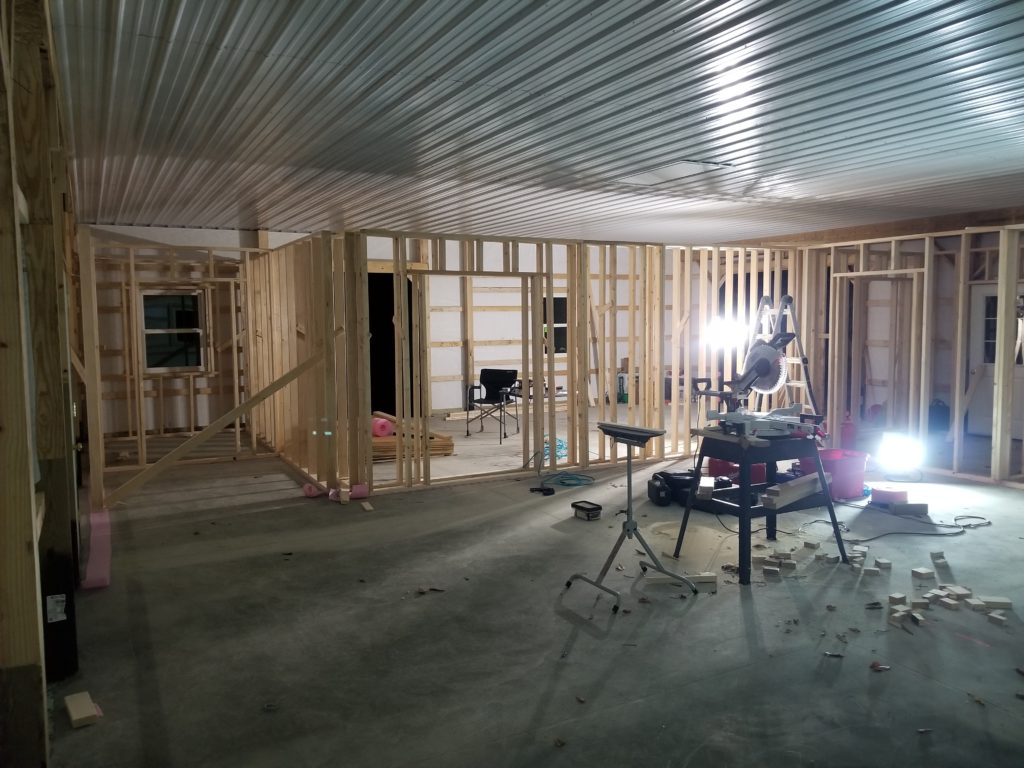
It’s the following weekend and I’m back to continue the framing job. This time with my own damned trailer. Here’s the upper course of framing under way. The priority is the garage/not-garage partition wall (left of frame) – the goal is to complete that wall and get it boarded up by the close of the work weekend. Thus, I won’t be doing the top course for everywhere there’s lower framing – just need to do enough to stabilize what’s there and get that partition wall done.
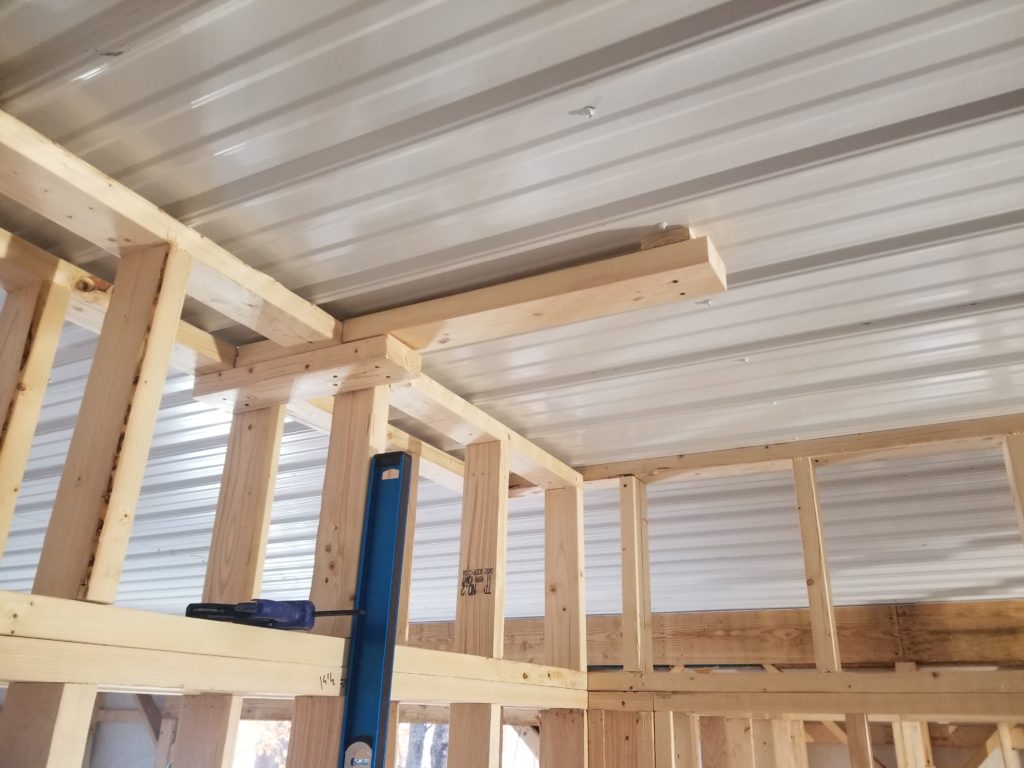
One tricky bit of building stud walls in a pole building is that there’s not much overhead to anchor the tops of the walls. In reality, the only forces involved are shear forces so in some ways of thinking, simply driving some nails or screws into the sheet metal ceiling would be enough to anchor the walls because the sheet metal is rigid horizontally and that’s the direction of any forces the walls could possibly exert on the ceiling. That said, I really didn’t like that idea and would much rather anchor the tops of the walls to something solid. There are those roof trusses, which appear every 48 inches along the long axis of the building. I can certainly tie in to those for the walls which are perpendicular to them, or if I’m lucky, run along one of them. But more than half the partition wall is between and parallel to those trusses. Hm. What to do? If I’d really planned this well ahead, I would have put some lumber above the ceiling, tied in to the trusses, to span where I need to span, giving the walls something to tie into through the sheet metal ceiling. However, the ceiling insulation crew had already come and gone and I didn’t much fancy crawling around up there, trying not to fall through the ceiling as I navigate 4-ft-on-center trusses with whatever worklight I could get up there. Nah. Way too much fuss, even if the insulation hadn’t been in the way already (which it also was). Okay, then, plan B. This was plan B.
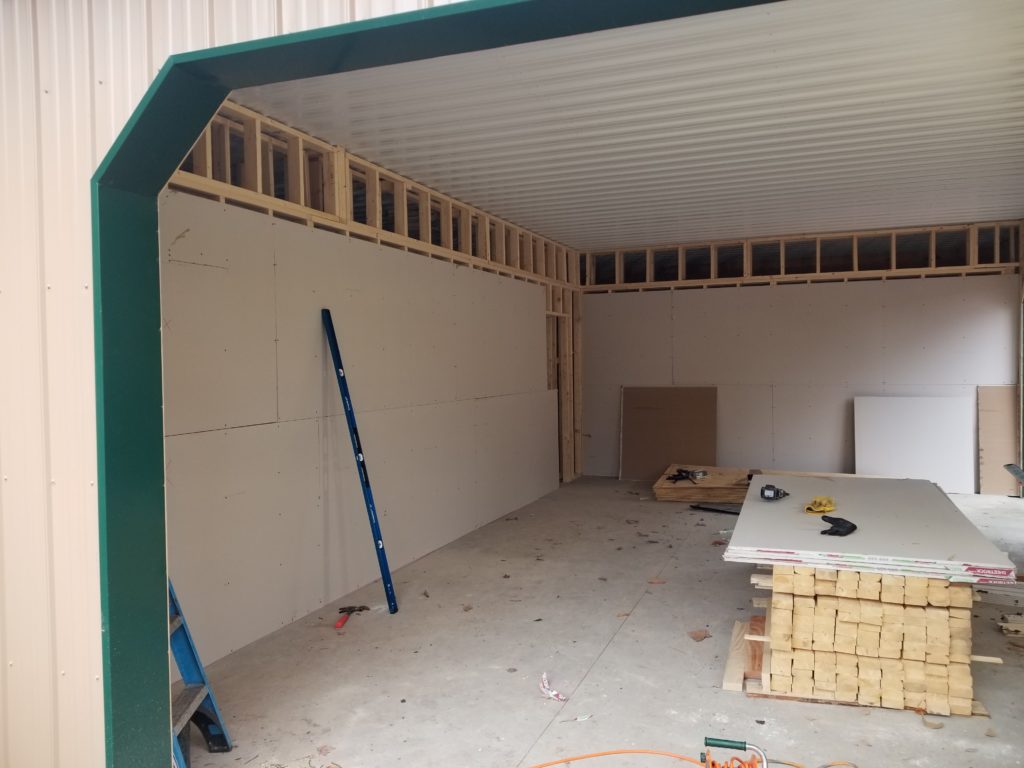
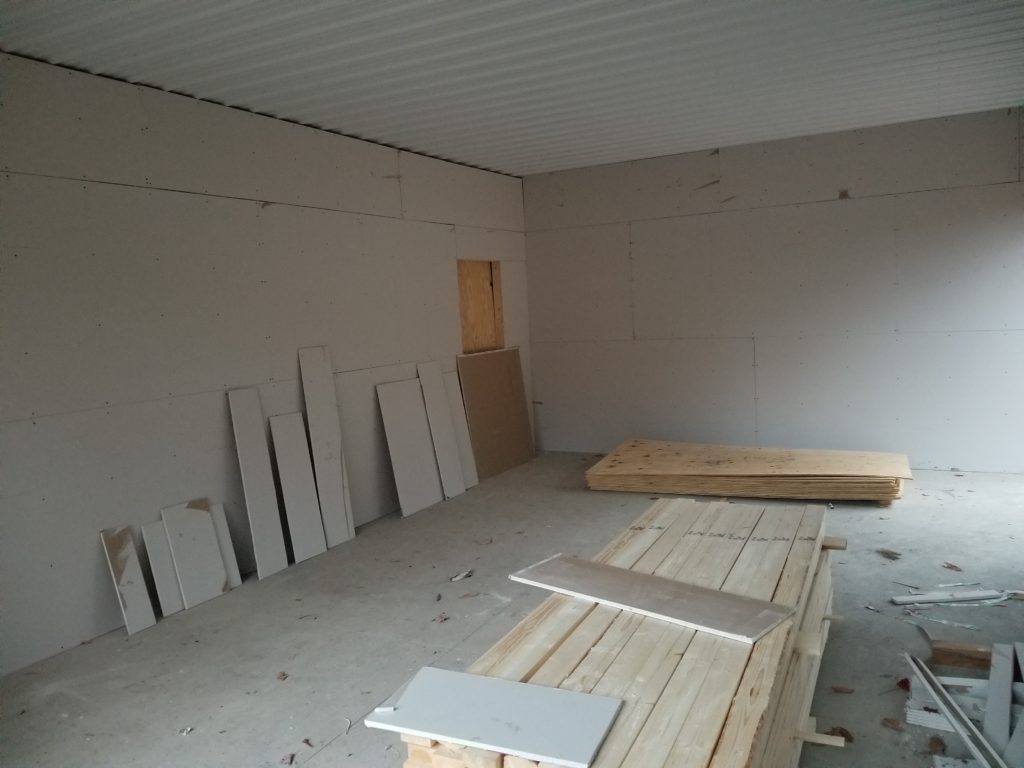
While I was building the uppers, J went on a mission to buy wallboard which would have been so much harder to install without his extra hands. Here’s the partition wall, as viewed from the garage side.
That wood-colored panel in the corner is a filler for what will be a 4ft wide doorway. Why so big? For ease of getting machinery in and out, for one, and who knows, maybe I’ll build a boat that’ll need a way to get out of the workshop.
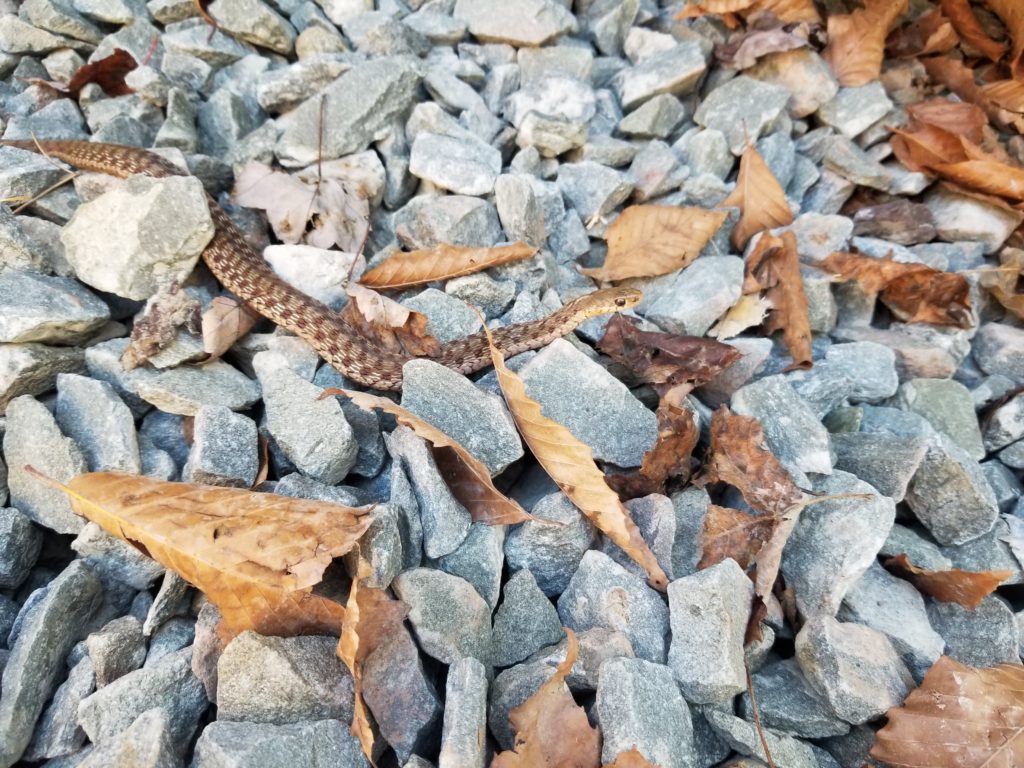
Meanwhile, Mother Nature had some things to show me while I was working…
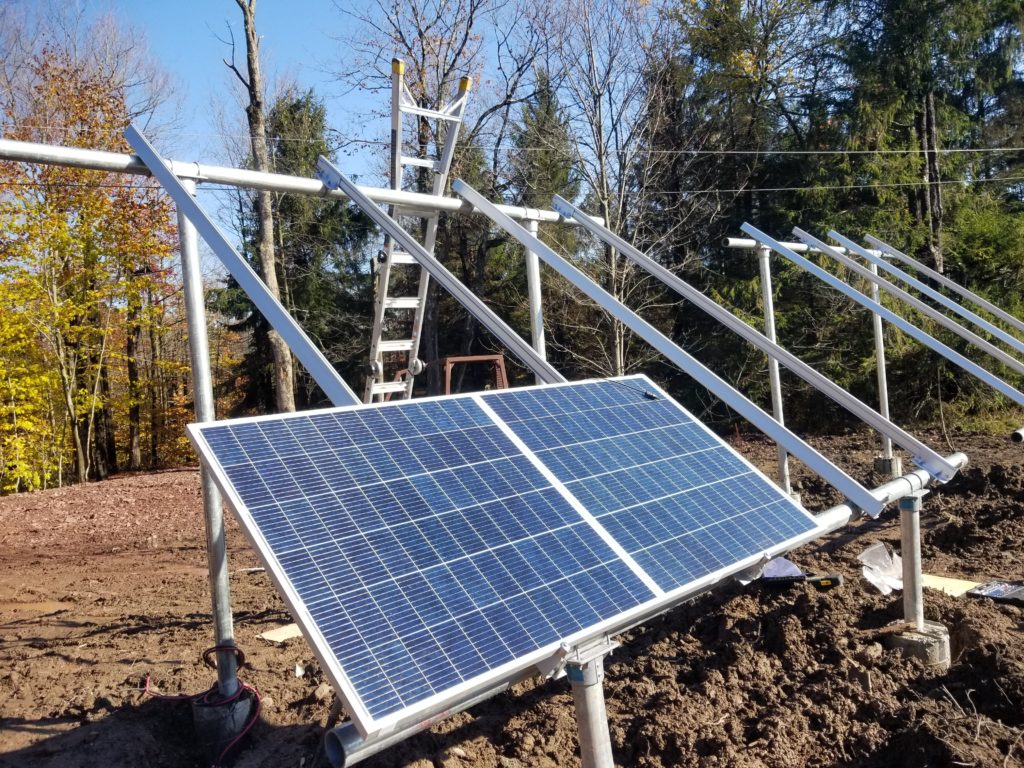
The other goal for the weekend was to put the solar panels actually on the racking. These panels are 7ft long and 40″ wide and weigh a bit more than 60 pounds each… and of course they’re also fragile, so getting them up in the air and onto the racking is a non-trivial task.
There was no way in deepest darkest heck I was going to be able to do this myself. Fortunately, this weekend featured J’s helpful hands which were good for solar as well as wallboard installation!
I’m processing a few weeks worth of pictures all at once and for technical reasons, the usual methods I use to keep things nicely in sequence have failed, so some of the story is a little out of order. That, and I don’t actually remember exactly when each of these myriad things happened 🙂
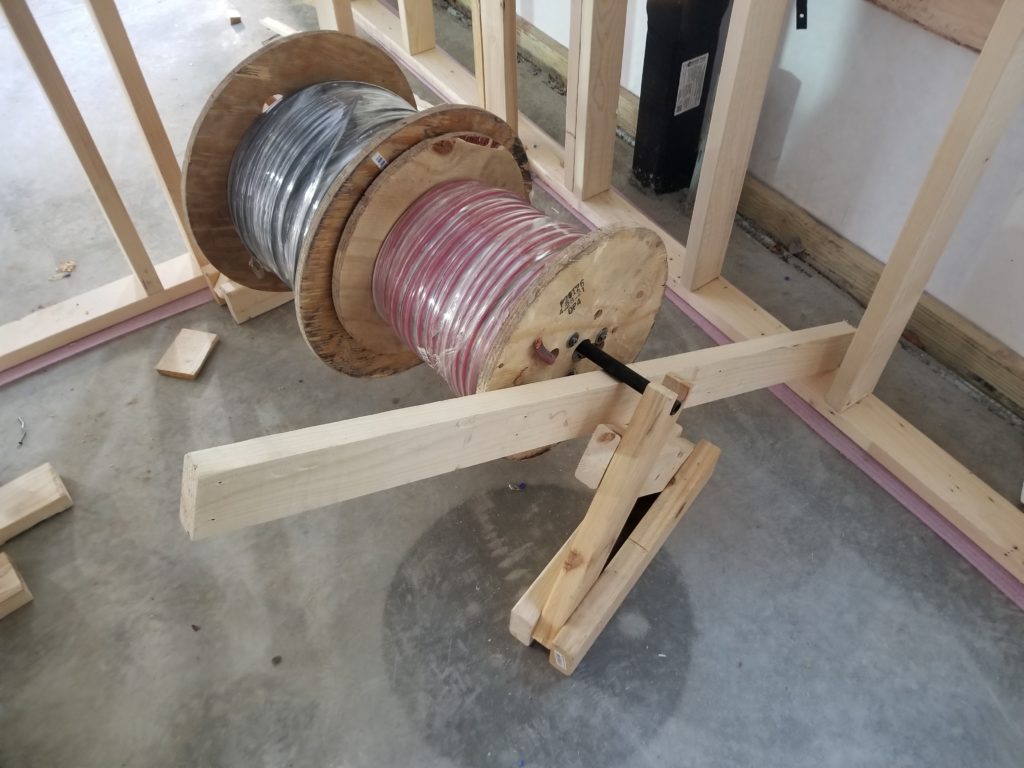
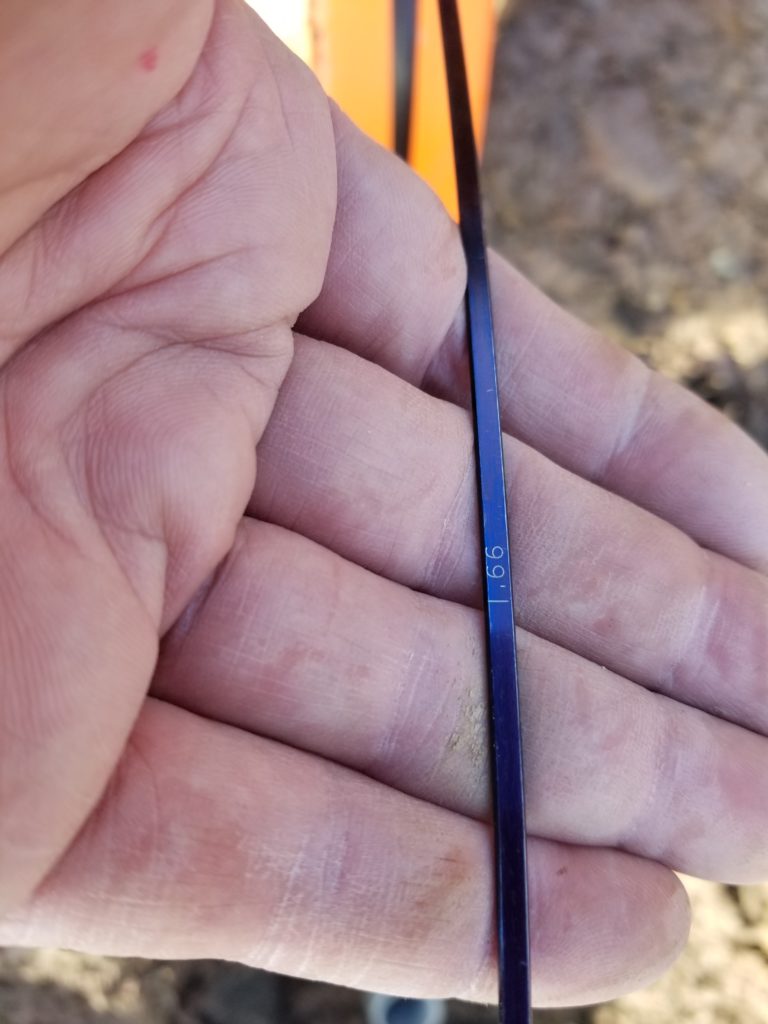
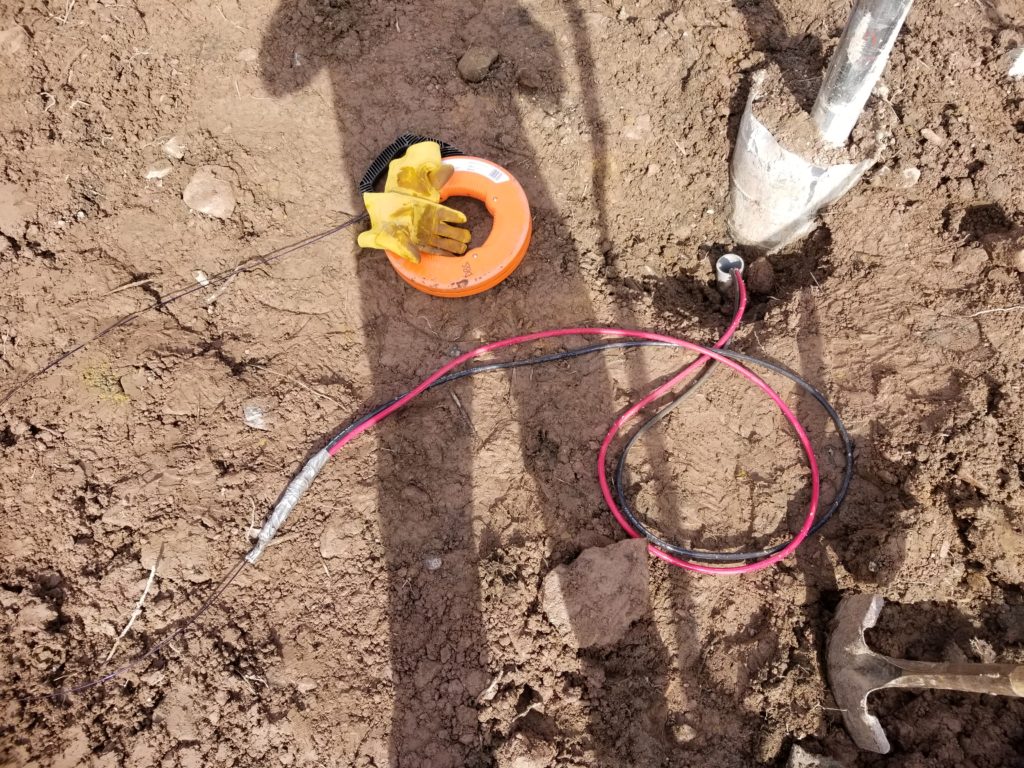
Somewhere along the line, taking a break from framing, I pulled the heavy AWG 2 wires through the conduits between the W.O.G. and the HomeBox utility well. The name for the thing one pulls with is “fish tape” — for fishing wires through walls, typically, though it also is used for conduit. Why “tape”? Well, it’s long and flat and flexible — I suppose that makes it tape. Anyhow, my new extra-long fish tape has numbers laser-etched in it which tells me how much of it has been paid out — a good way to estimate how far one has to go to reach the end, or, conversely, how much pulling remains once the wire has been attached to the far end and is being pulled back through.
So how far are the things? I estimated the W.O.G. run at 150 feet and the run to the HomeBox at 100 feet. I was concerned that a 250ft roll of wire was going to be too short. Also, if the total was more than 250, that would have been a real problem since this wire is very hard to splice and anyhow, I wouldn’t have had any extra wire to splice! So, to guarantee I’d have enough after estimating the total needed at “too close to 250 to only buy a spool of 250”, I bought spools of 500ft of wire. Way overkill but it was very important to have a contiguous run and not run out. And my excavator guy has a use for the extra wire, so now it’s his.
The fish tape is 240′ long. The first marking is 240 and they go down from there. So when I’ve paid out a bunch and it says 152, that’s 152 remaining of 240, or 88 feet. The other is 240 – 99 = 141. 225 in total. It turns out that 250ft roll would have been enough, but I’m still glad I bought the bigger rolls because being 275 over is so much better than being 25 under!
The other tricky bit about this wiring job is that the combiner boxes for the solar panels are expecting cords that fit through 1/2″ or 3/4″ holes and what I’ve got is 2″ conduit. Now, the 2″ conduit has 1/2″ wire in it so those would fit into the combiner boxes, but those wires would be exposed to the weather as they exited the conduit and flew through the air to the combiner boxes. I need to terminate the conduit somehow, anyway. So I bought a set of outdoor boxes and modified them to accept my 2″ conduit on one side and some 1/2″ flexi conduit on the other.
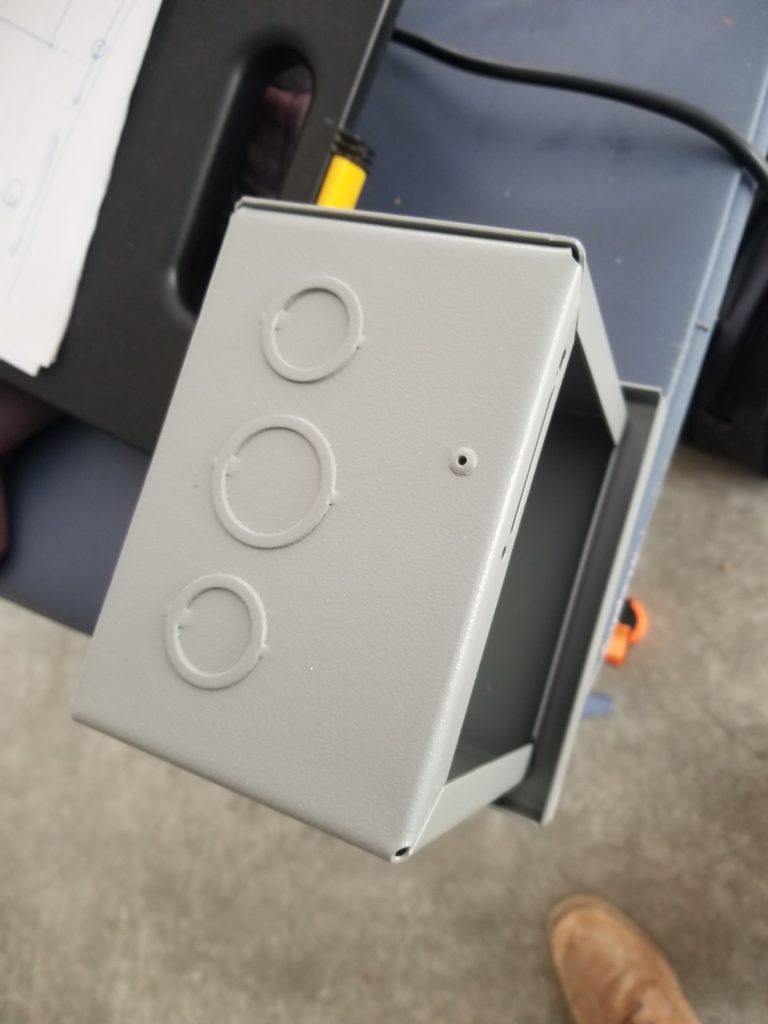
Box is ready for 1/2″ or 3/4″ connections 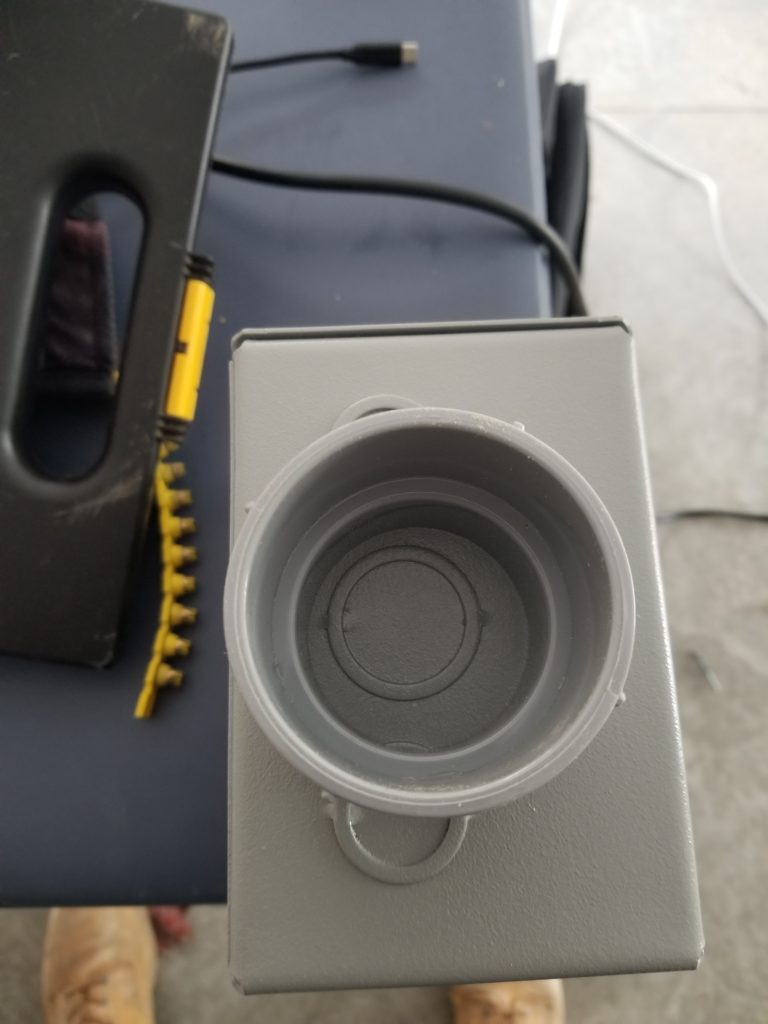
I have 2″ conduit 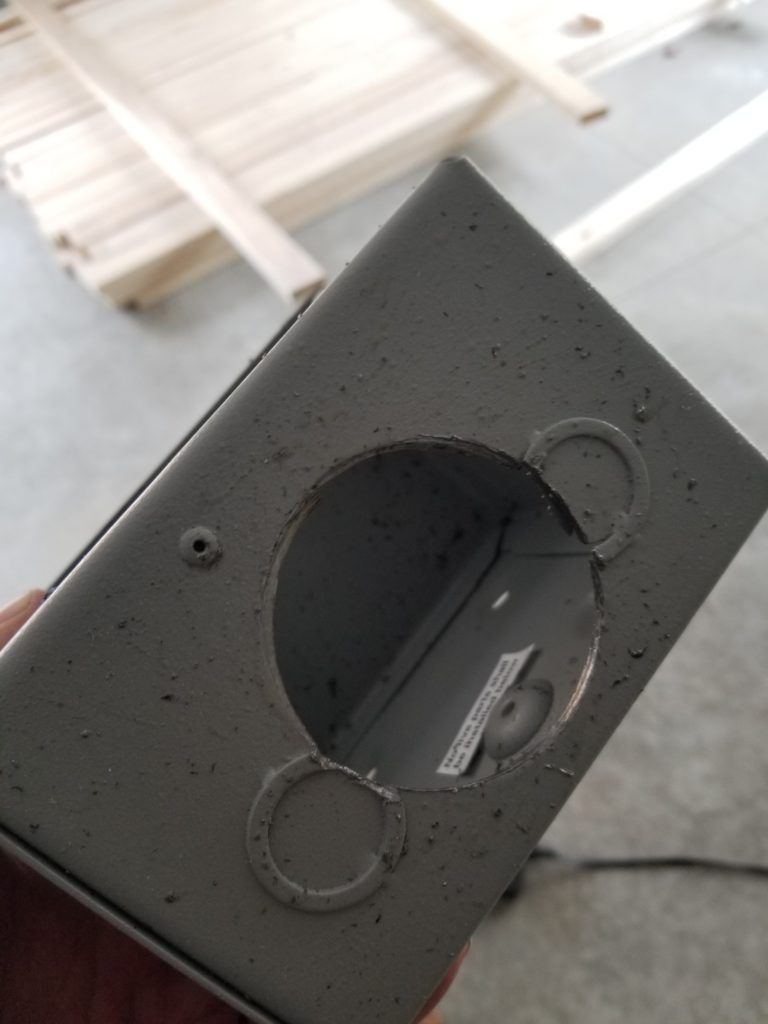
So I drill the heck out of it
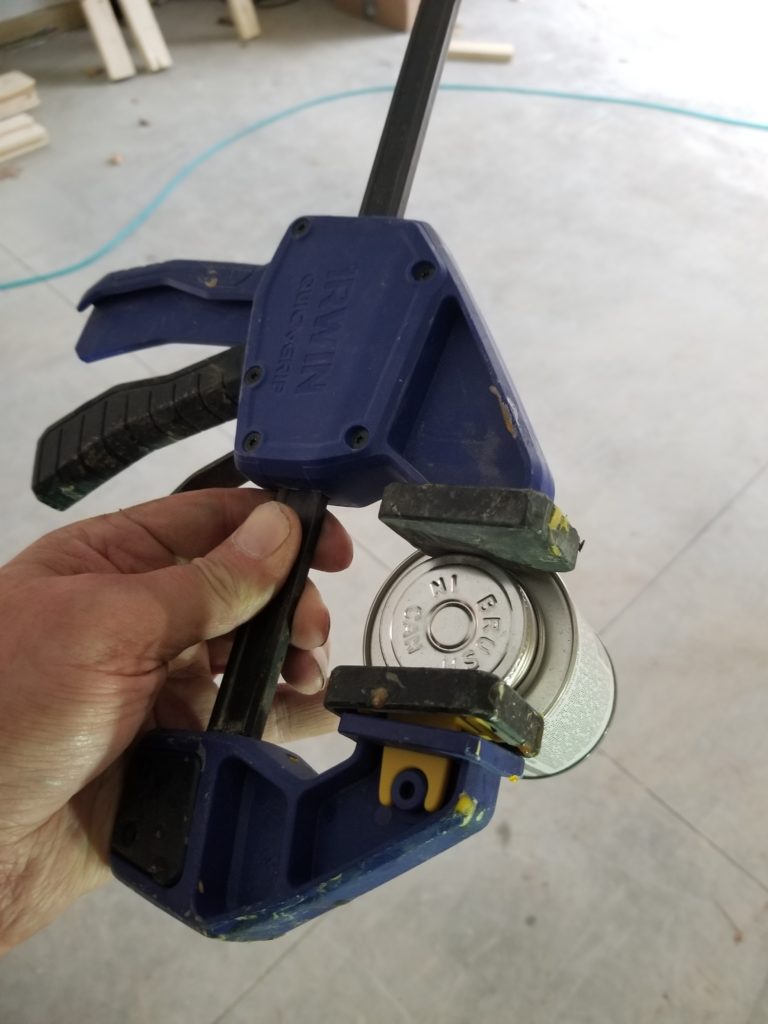
When I go to open the PVC solvent/cement to attach my frankenstein box to the conduit, I find the top of the cement is stuck and I didn’t bring a suitable wrench I could use to open it. Improvise!
Combiner box mounted to the racking with U-bolts. The U-bolts said they were meant for 3″ pipe and I have 3″ pipe, but I really had to fight with them to get them to fit. Either they were manufactured wrong, got bent since then, or who knows what, but I spent a good 5 or 10 minutes each getting them in place rather than 30 seconds it should have taken.
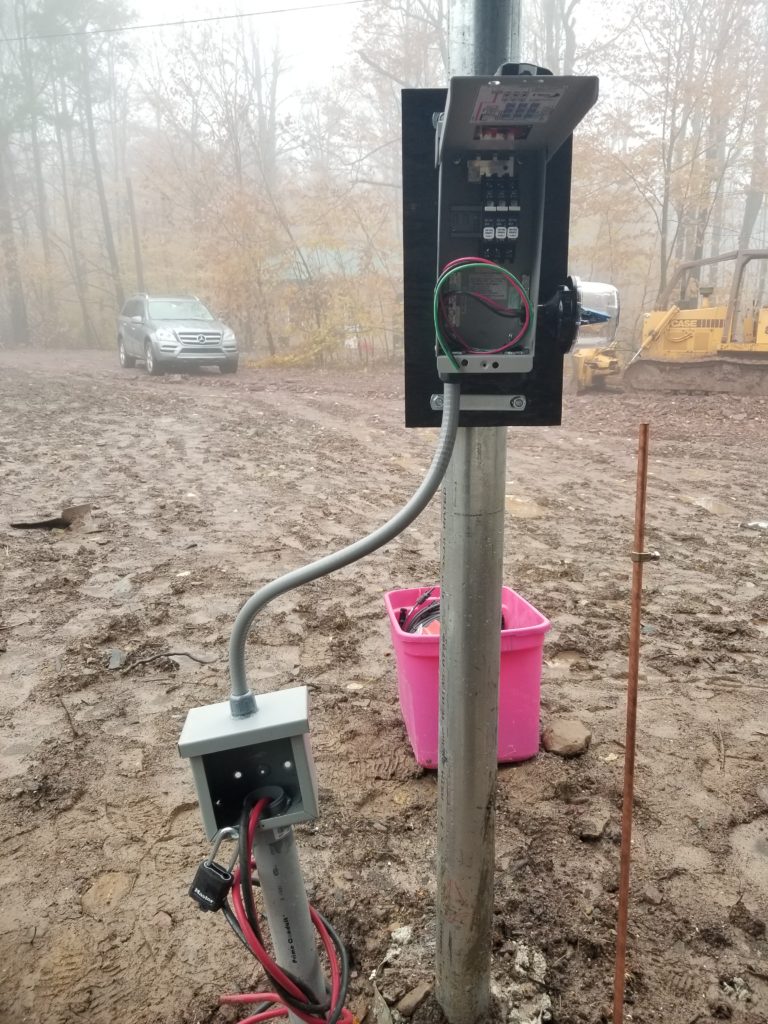
Too bad the conduit in the ground wasn’t installed perpendicular… It’s not an actual problem it being jaunty like this, but it would look nicer if it were plumb rather than leaning.
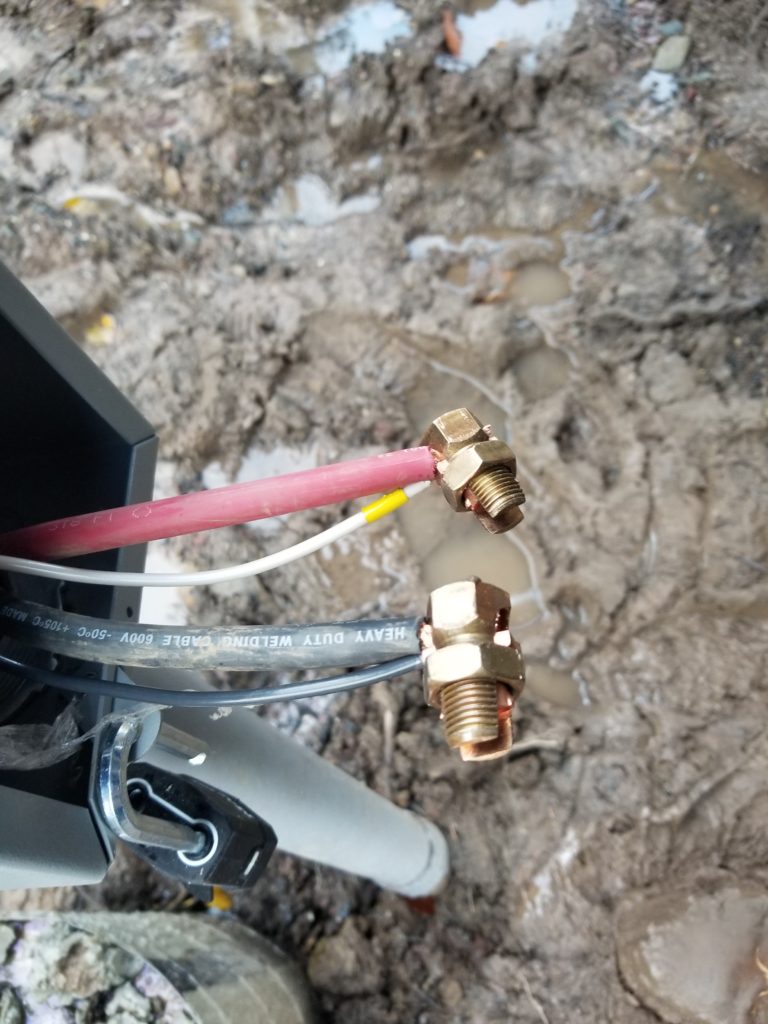
Okay! I have a box that my 2″ conduit comes into and 1/2″ conduit comes outta, flowing into the solar combiner box. Now all I have to do is figure out how to transition from my AWG 2 travelers to AWG 10 wire that is more appropriate for (and more importantly: fits into!) the combiner box. There’s no such thing as wire nuts that can work with such massive wire. I found these things called “split bolts” that did the trick nicely. Feed both wires through the hole in the bolt, then cinch up the nut and tighten it securely. And wrap with a lot of electrician’s tape to keep them from shorting against each other. I couldn’t find shrink wrap big enough, though it would have been preferred.
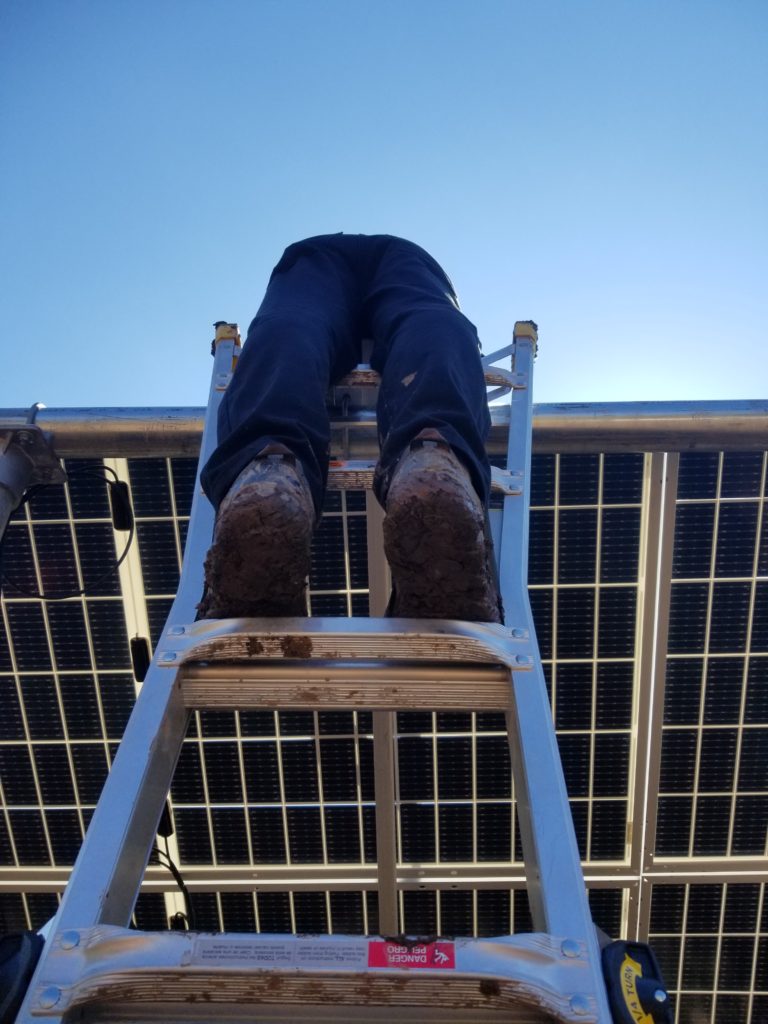
And yes, it was still insanely muddy. Observe the deep footprints and standing water.
Hook up all the panels to the box and then done! That thing on the right of the box is a lightning arrestor.
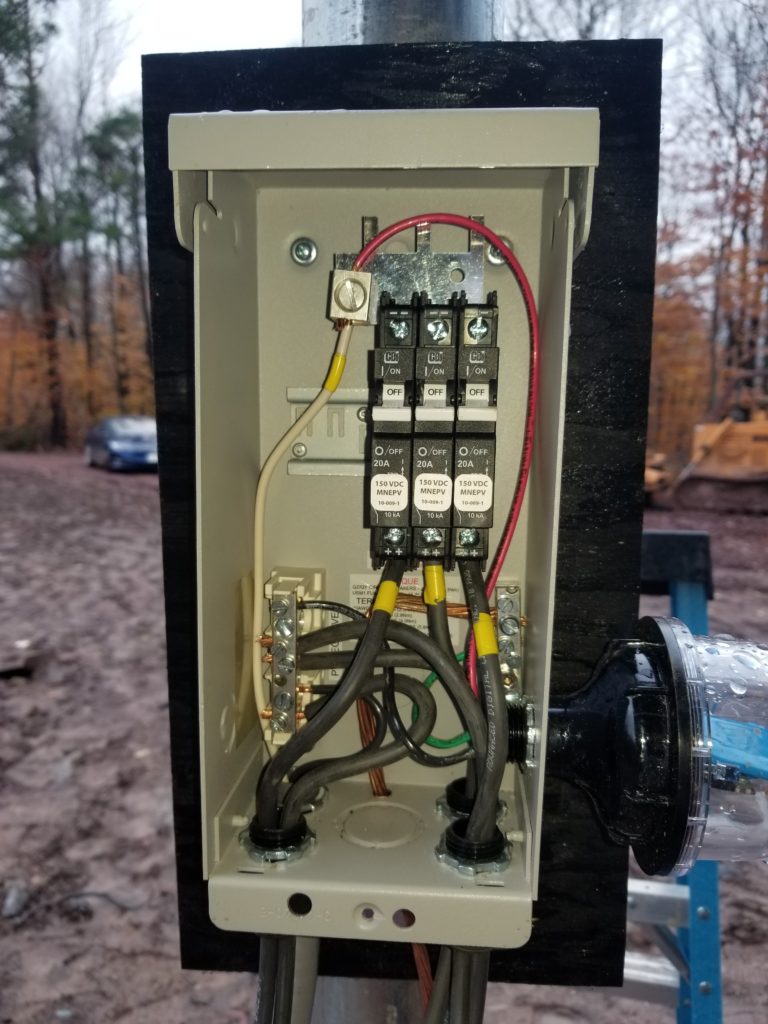
It turns out that the installation kit for the panels did not come with cables perfectly sized for the job — or they expected me to put the combiner box somewhere else such that they’d all make it — or something. There was no indication to suggest there was some place in particular it should be, so I simply placed it where it made the most sense for my installation. Well, that meant some of the wires were way too long and others were way too short. I didn’t have time to deal with that and I really wanted to have the panels hooked in, even if badly, so I could have power as soon as I moved in, which at this point was going to be soon!
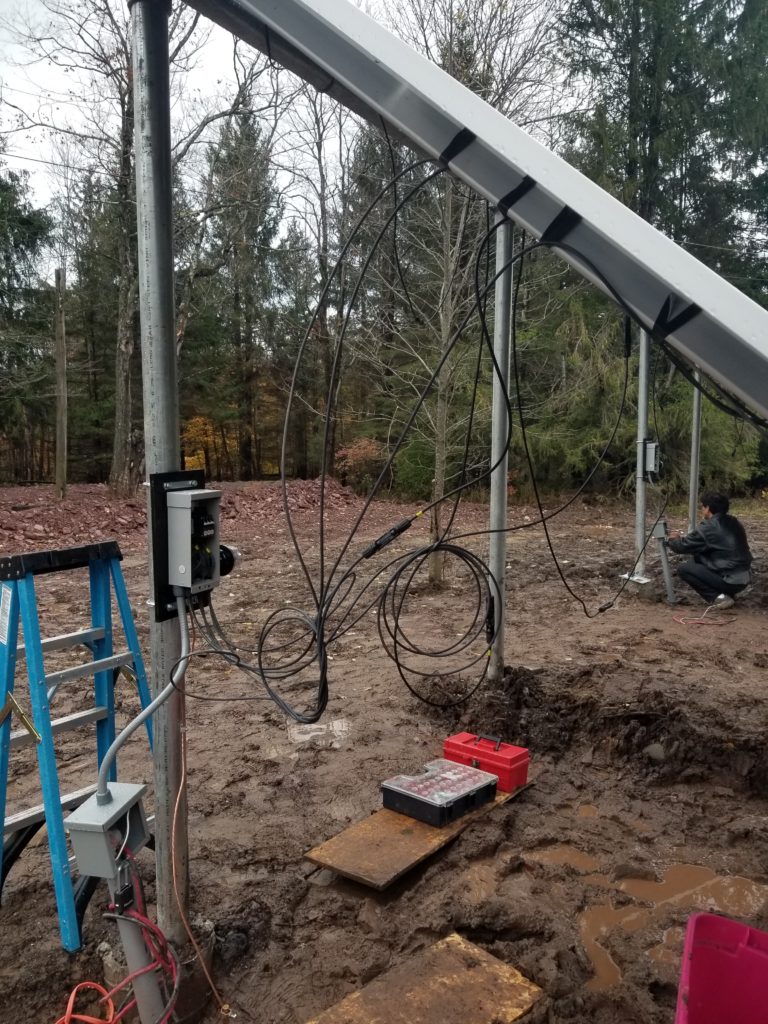
So. Much. Mud.
