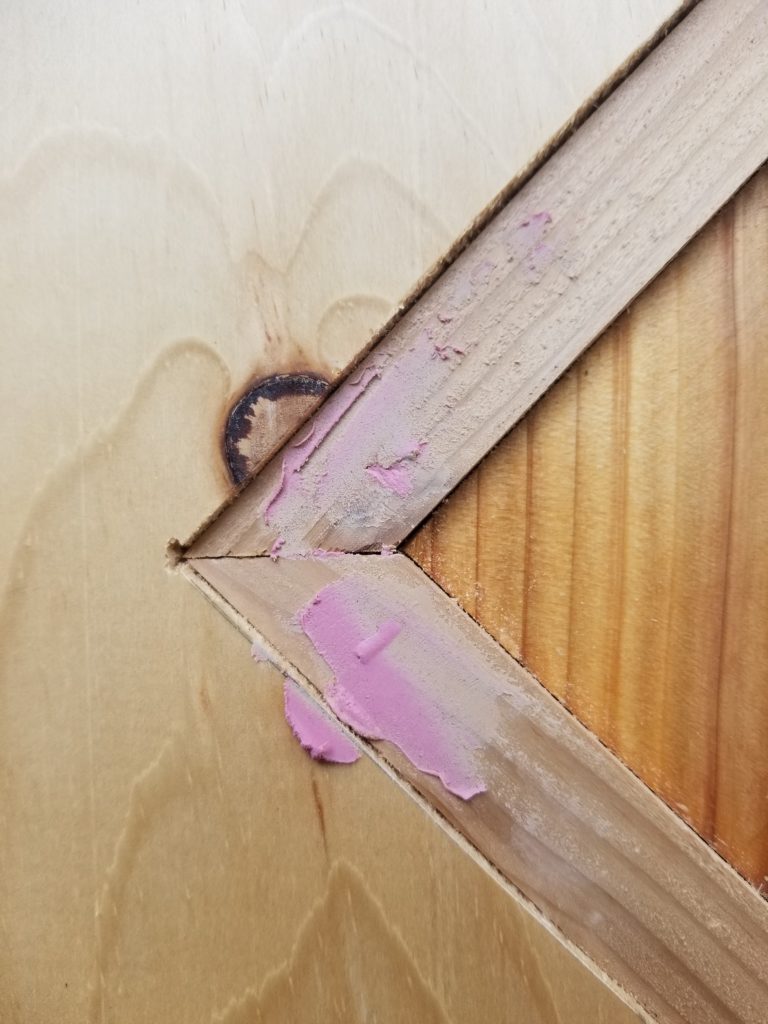
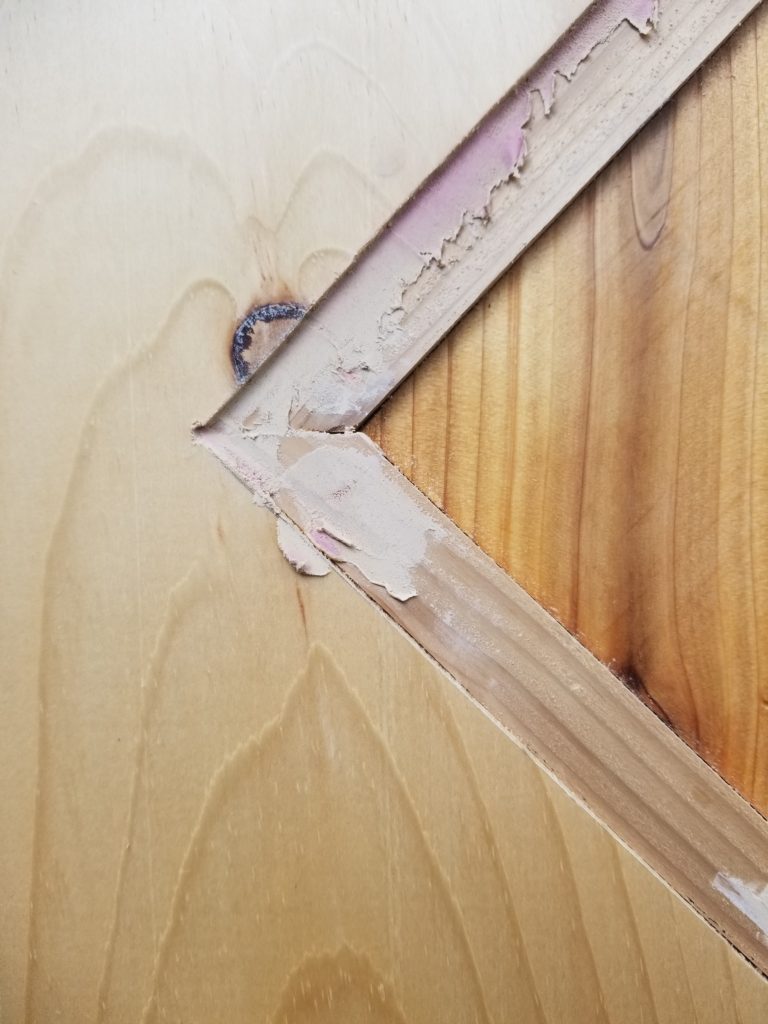
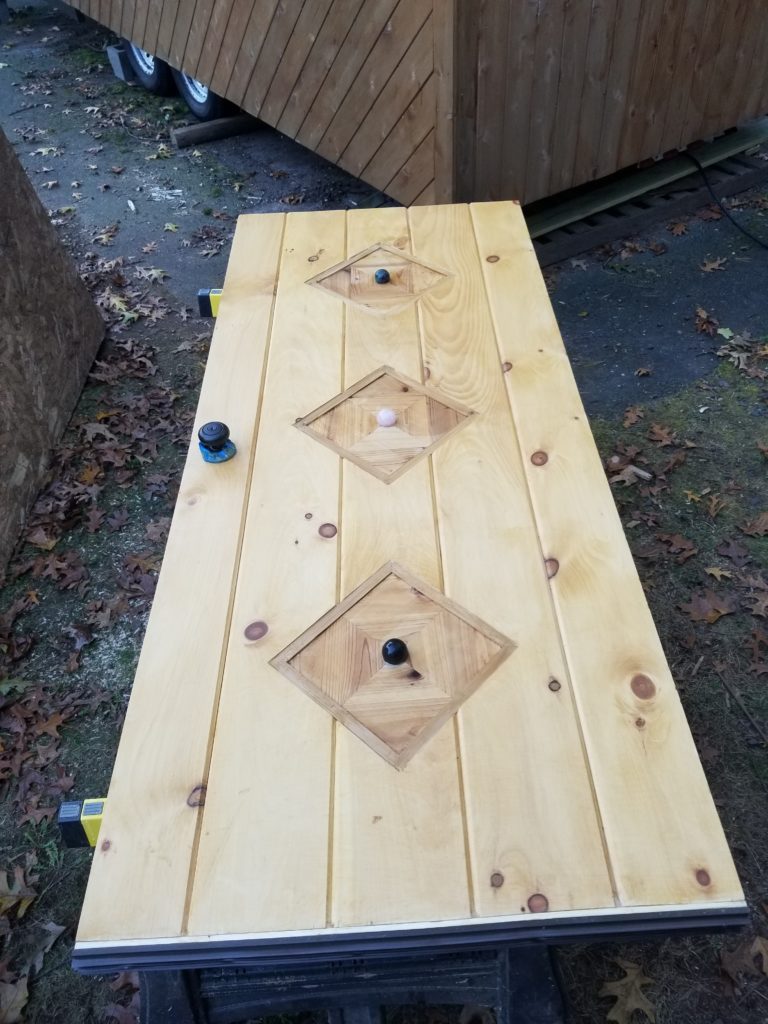
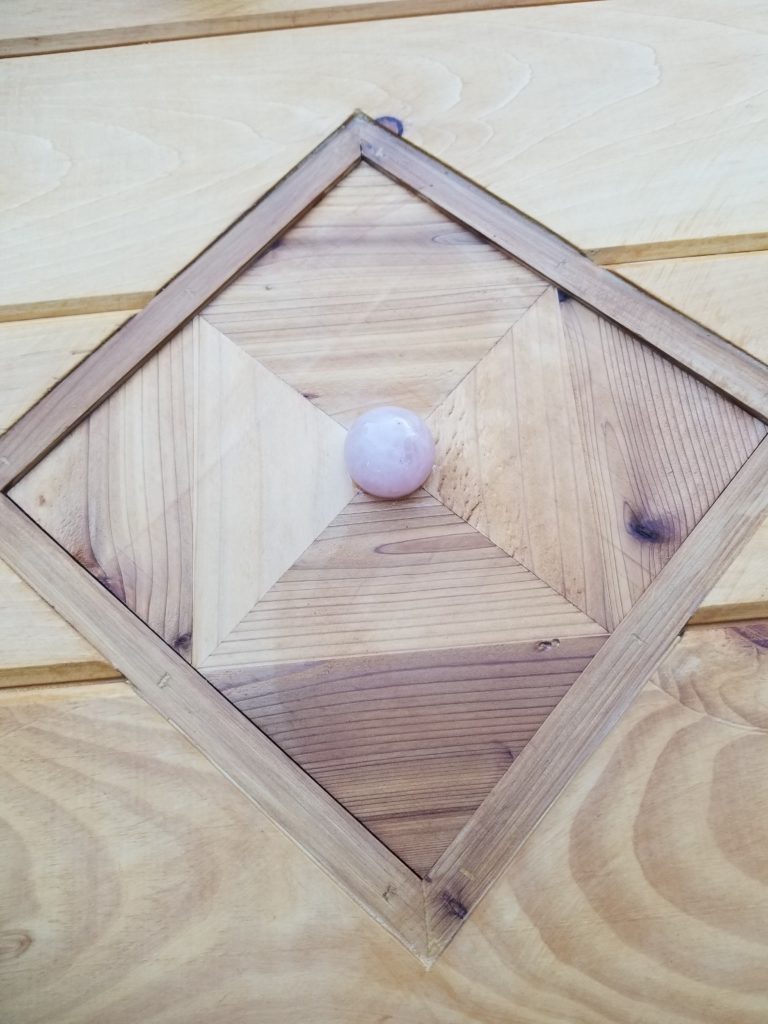
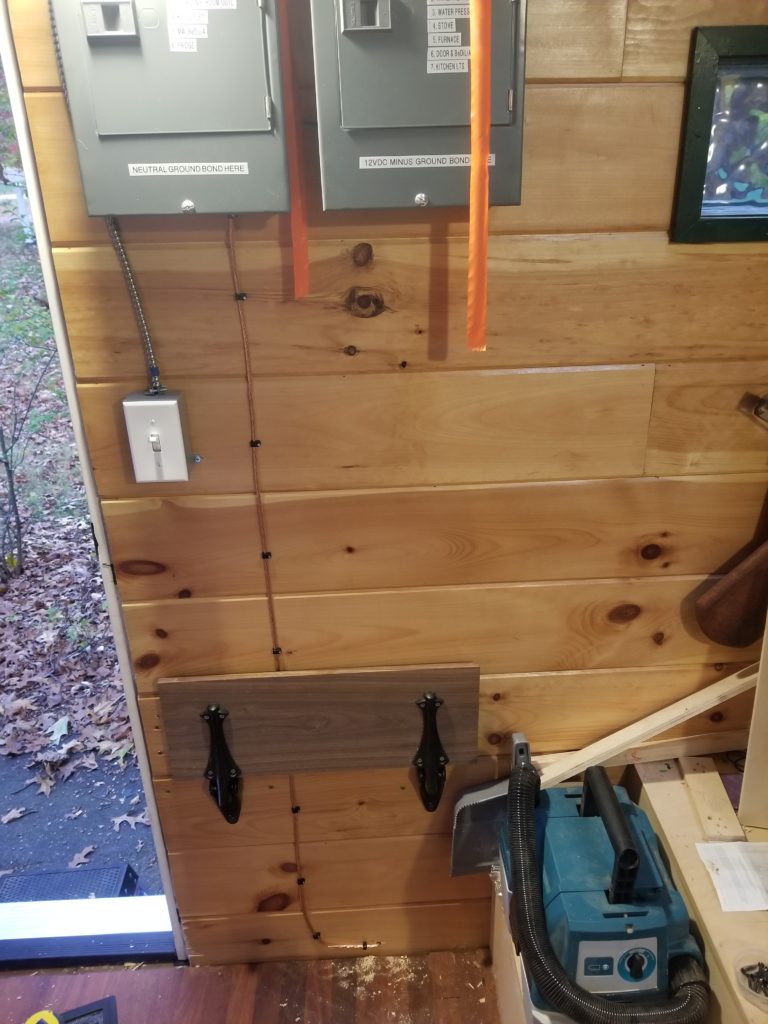
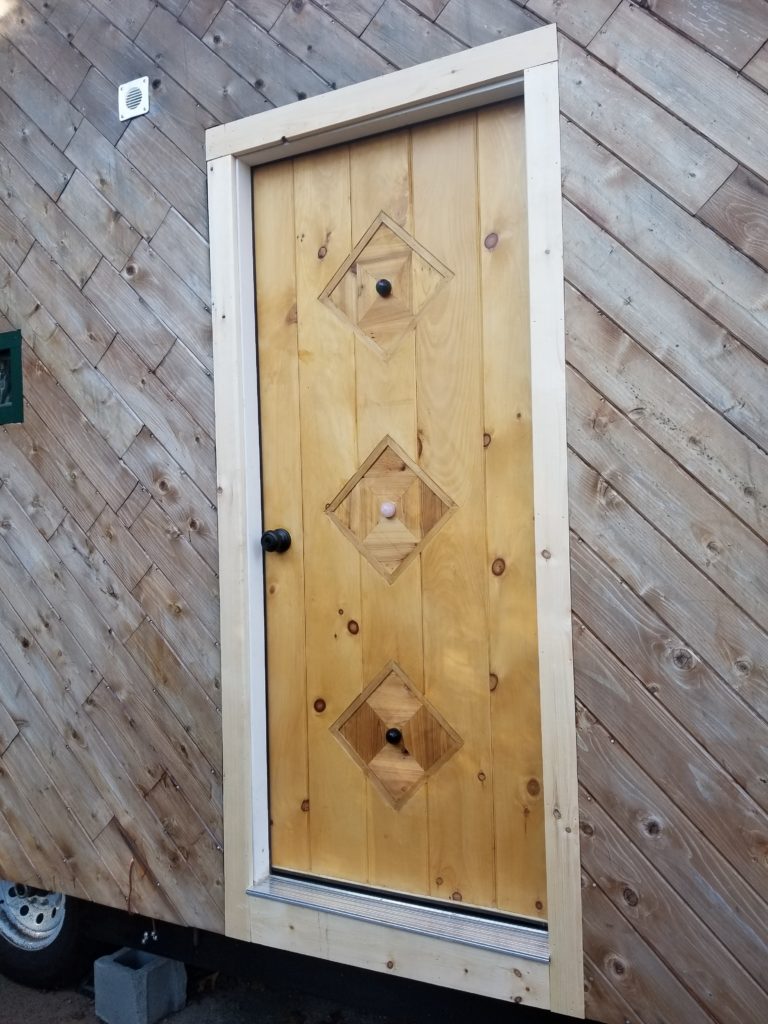
To finish the door, I had to fill some gaps. To fill some gaps, I got some gap filler. This stuff is magic! It starts out pink and then when it’s ready to sand or paint or whatever you would want to do next, it tells you it’s ready by being no longer pink.
Then I installed the crystal balls. Not the clear, future-gazing kind, but the obsidian, rose quartz, and fluorite kind.
Add trim and we’re good to go! Since this picture was taken, the trim has been painted green to match all the other trim.
Something I’d been putting off for a while but is definitely important is grounding the electrical systems to the trailer chassis and providing a way to ground the chassis to the… well… ground.
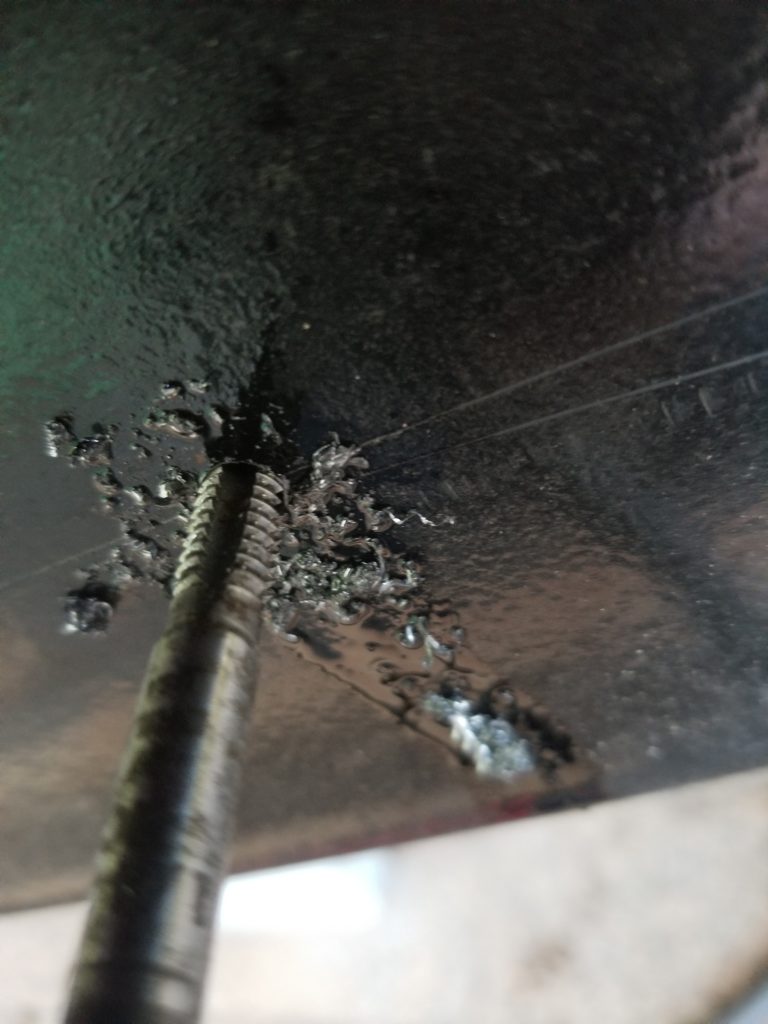
There wasn’t a nice lug to use on the chassis as-was, so I had to drill a hole and then cut some machine screw threads in it with this handy widget so I could then screw in a a screw to connect the grounding wires.
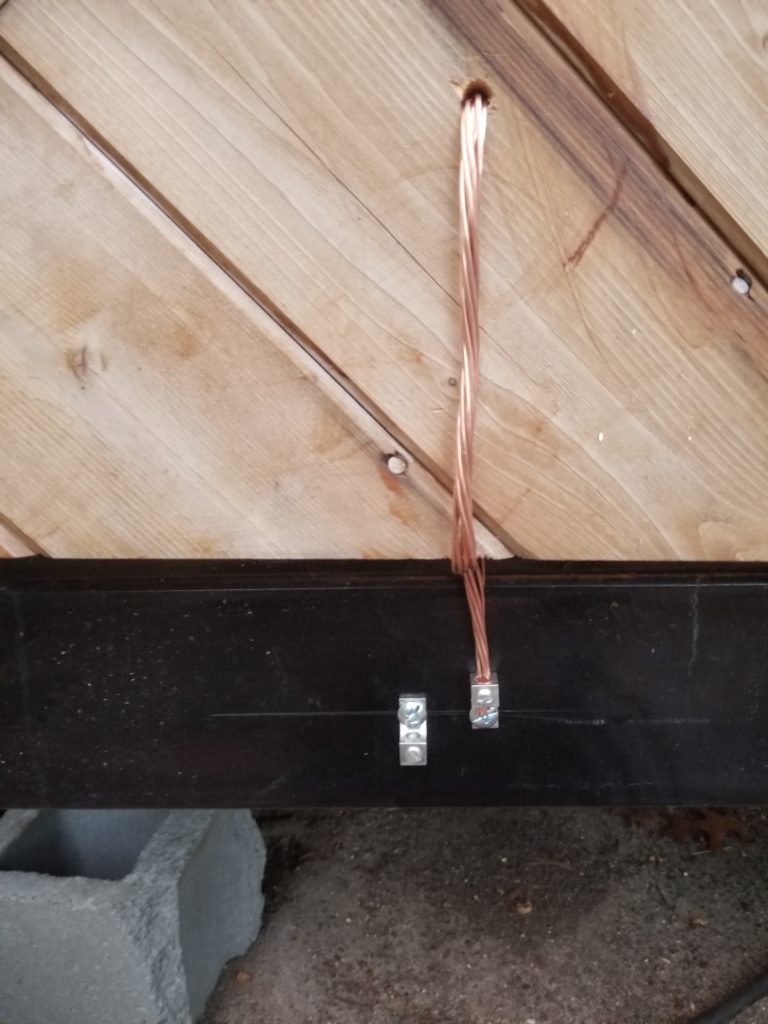
Ground wire comes out the bottom of the load center, through the wall, and then into a lug bolted to the chassis thanks to this recently drilled hole. I still need to ground the chassis to the ground. That’s what the other lug is for. The hole in the siding has since been sealed with silicone.
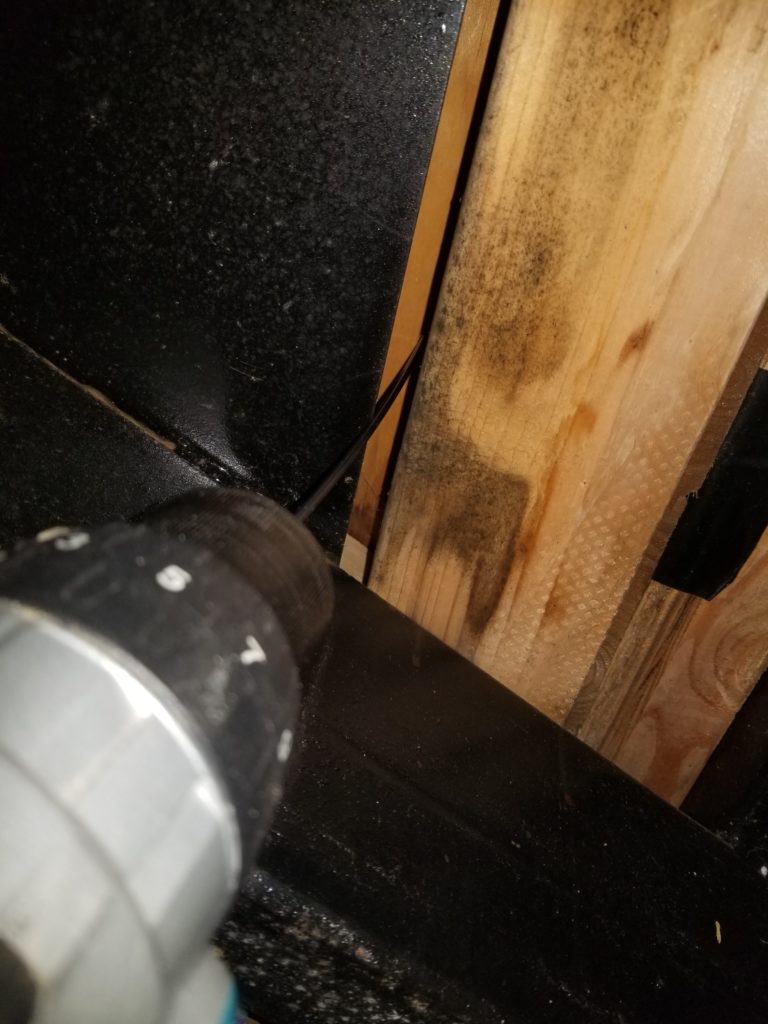
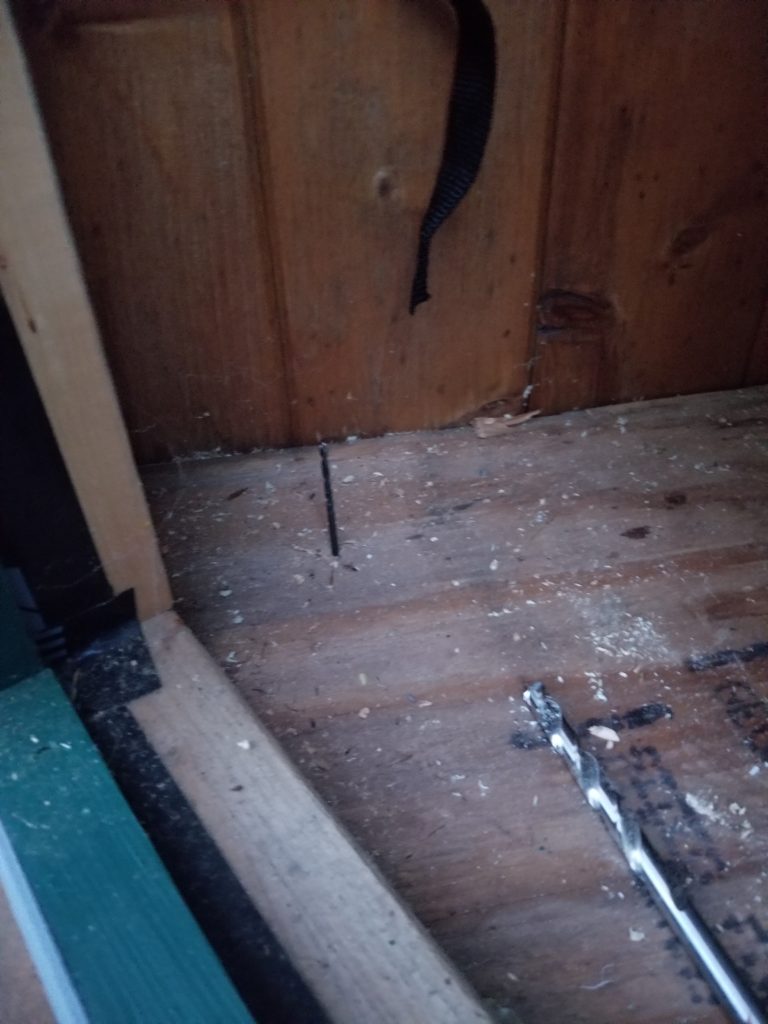
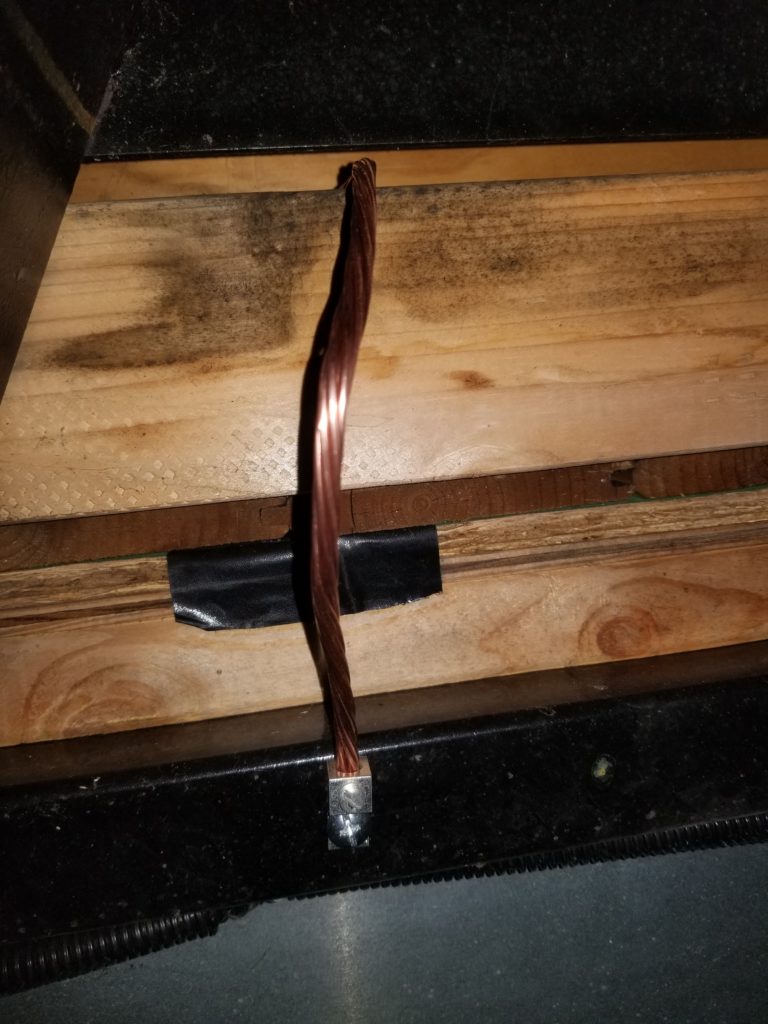
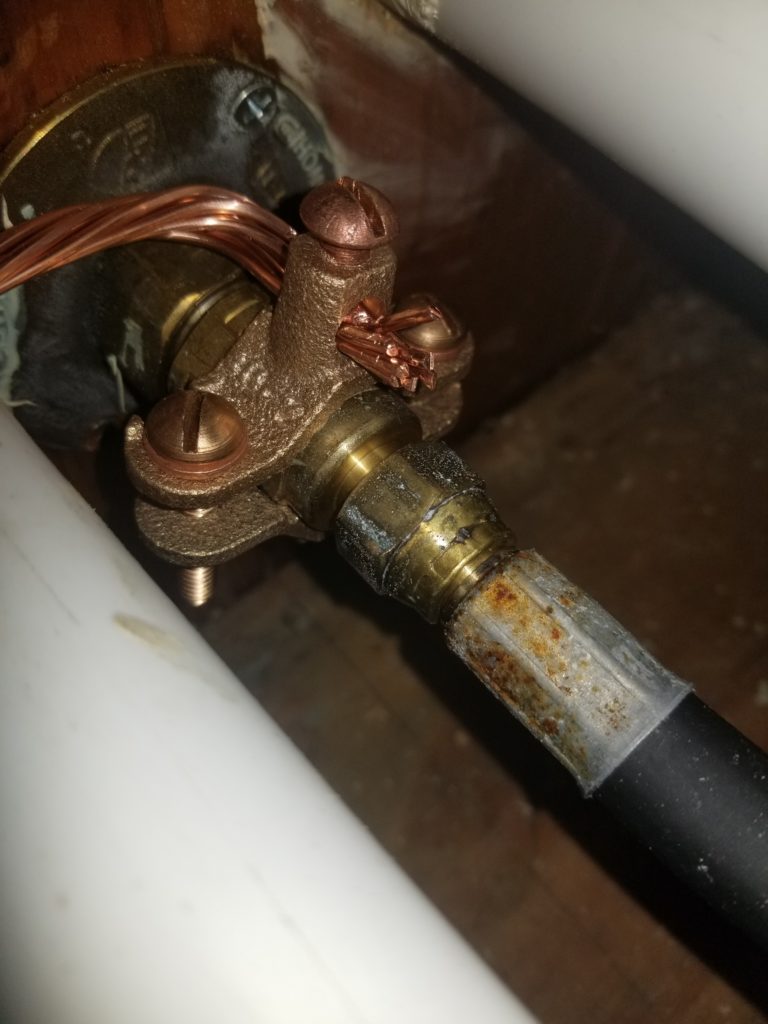
The grounding for the propane gas line is a bit more tricky. The connection is made at a brass fitting – that’s the easy part. The hard part is getting a wire from that fitting down through the floor of the Propane Porch to the chassis, without having to drill through many thicknesses of wood, since the Propane Porch has a stoutly built floor. The answer? Send an extra-long skinny drill bit up through the bottom, finding that perfect spot between two members…
Then drill down from the top with the right-sized bit for the grounding wire, using the pilot hole as reference, to get it to all add up just so. Another drilled and tapped hole for another lug and it’s done.
