At long last, it is time to finish the installation of the wood stove. The next step in the process is installing the heat shields, which are really just some sections of sheet metal. The thing is, I don’t really have metalworking equipment other than a bending tool (wide) and a seam squishing tool (black and red handles) left over from installing the metal roofing. The roofing, though, was about half as thick as this sheet metal, and much easier to bend.
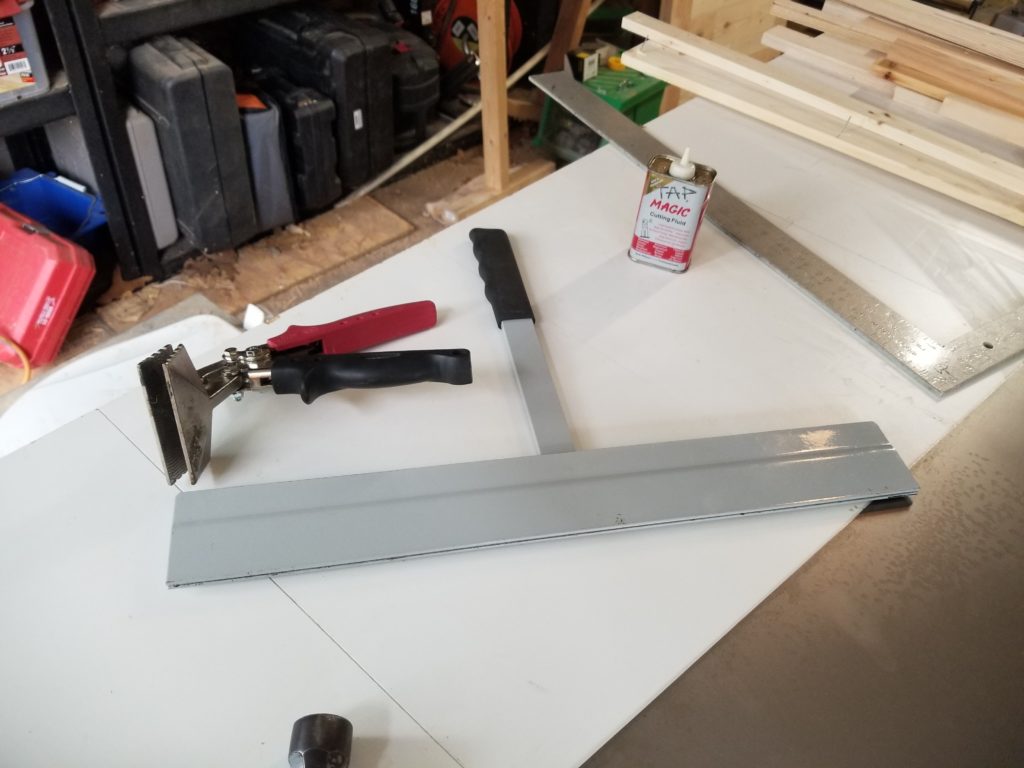
I did manage to bend this stuff, too, but not neatly. And, it seems, there was one case of not following through on my measurements — the shield didn’t quite fit under the cabinet!
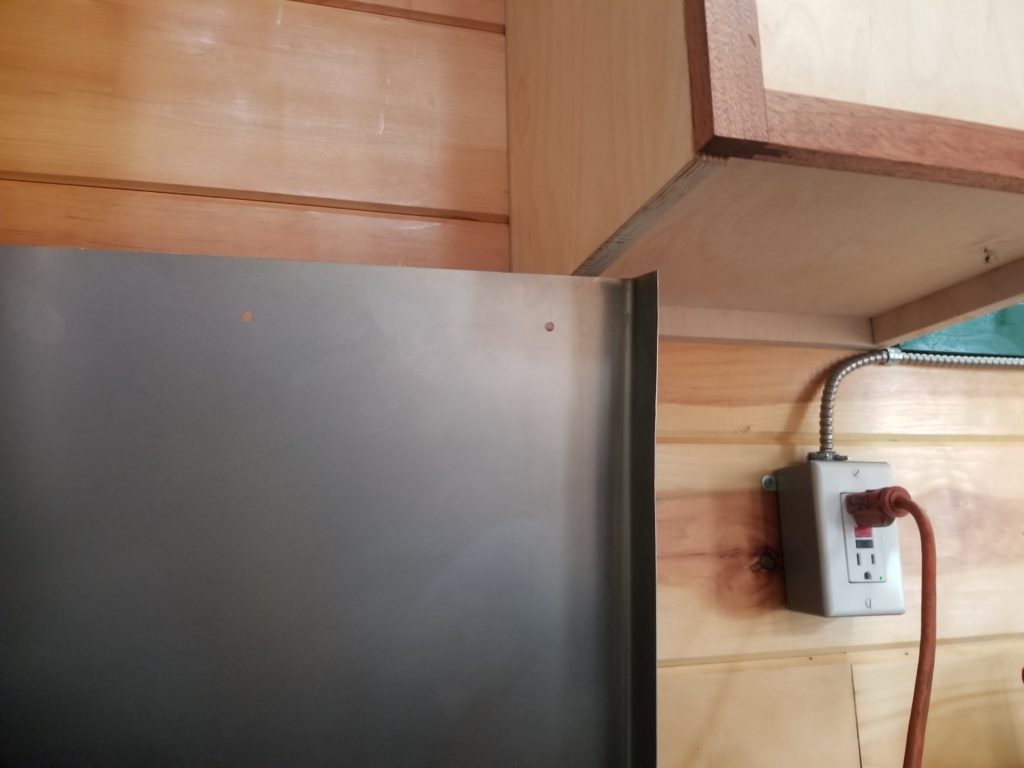
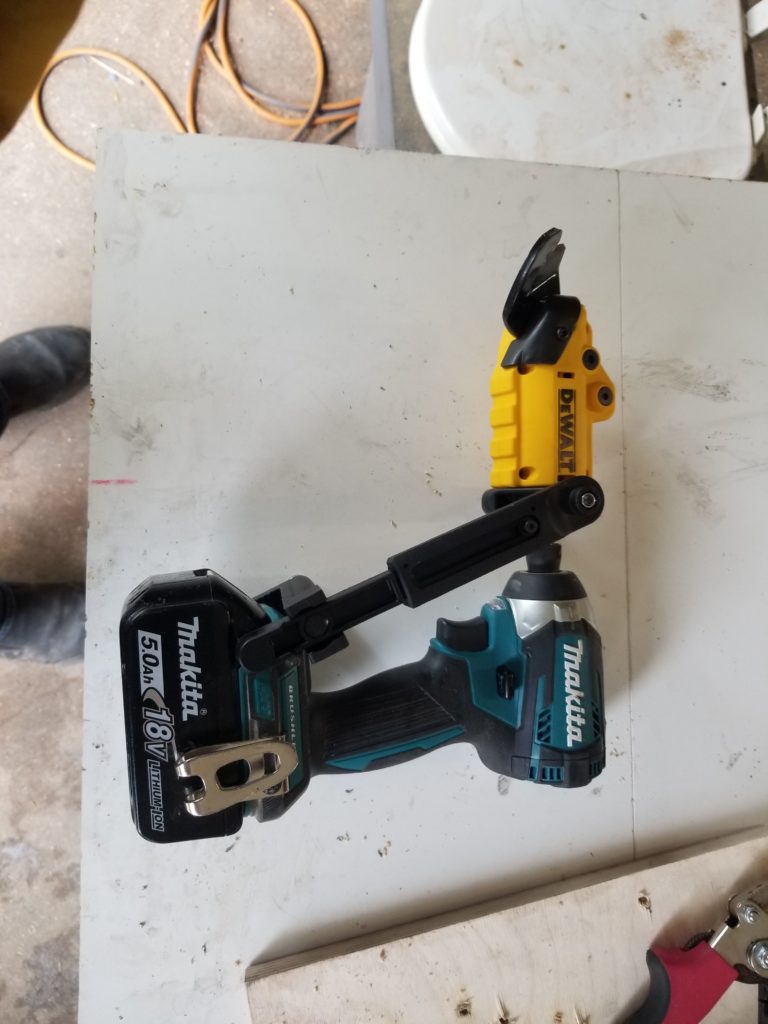
It was too much trouble to remove, so I just trimmed it in place with my new power shear. This is a beak that plugs into an impact driver tool that turns it into a super capable set of automatic snips. This DeWalt unit was half the price of the Malco shears I used for the roof (which weren’t strong enough to cut this metal) — and just as useful. Whether they are as durable is another story — I didn’t have a lot of work for them to do, so I don’t know. I do know they took care of this job with ease.
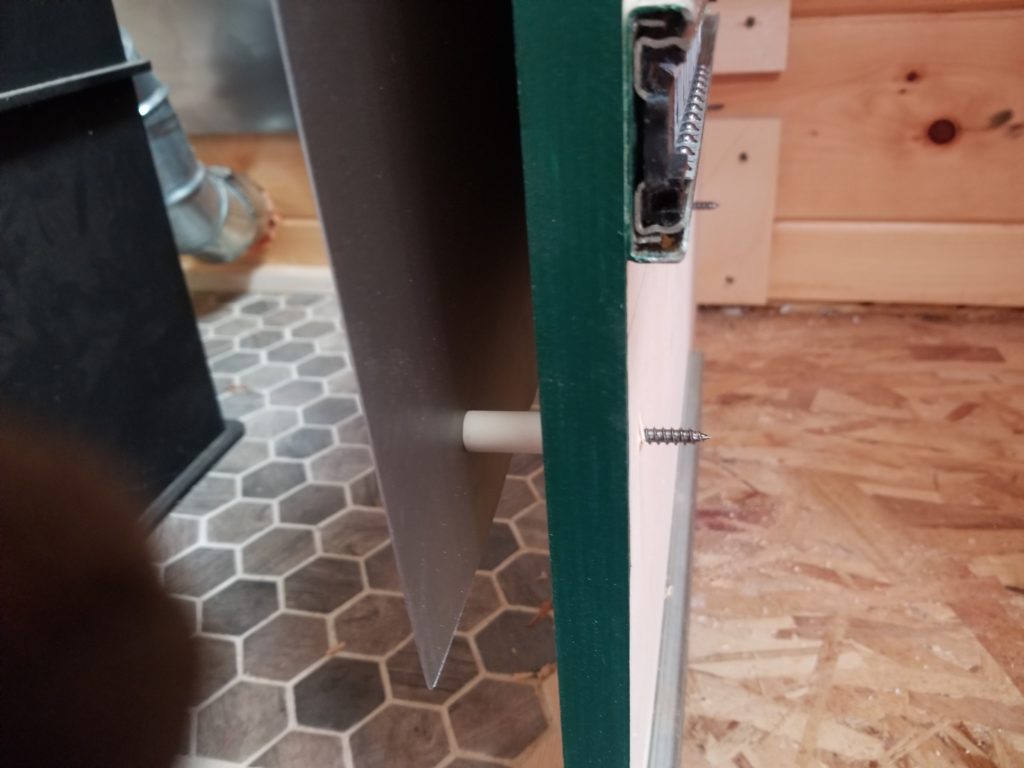
The magic of the heat shields is that they have these ceramic stand-offs behind them. This creates a pocket of air which, when the shields get warm, convects upward, washing the protected surface with new, cool air, continuously. I imagine they also interrupt the direct radiance of heat from the stove, too. Anything 18″ or closer to any part of the stove needs protection by a shield. In this case, the base cabinets. Yes, I trimmed that screw after taking the photo. MultiMax and the Carbide Cutter to the rescue (again).
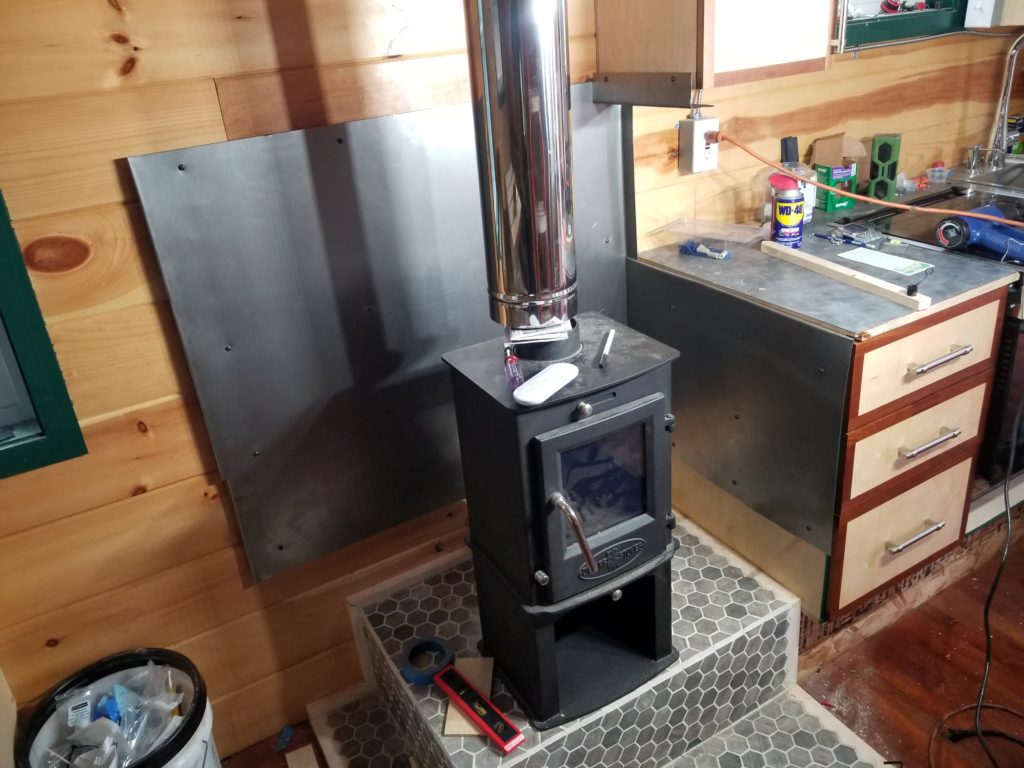
Shields installed, including the corner of the wall cabinet that was just inside the 18″ limit. It would probably have been fine, but better safe than burning!
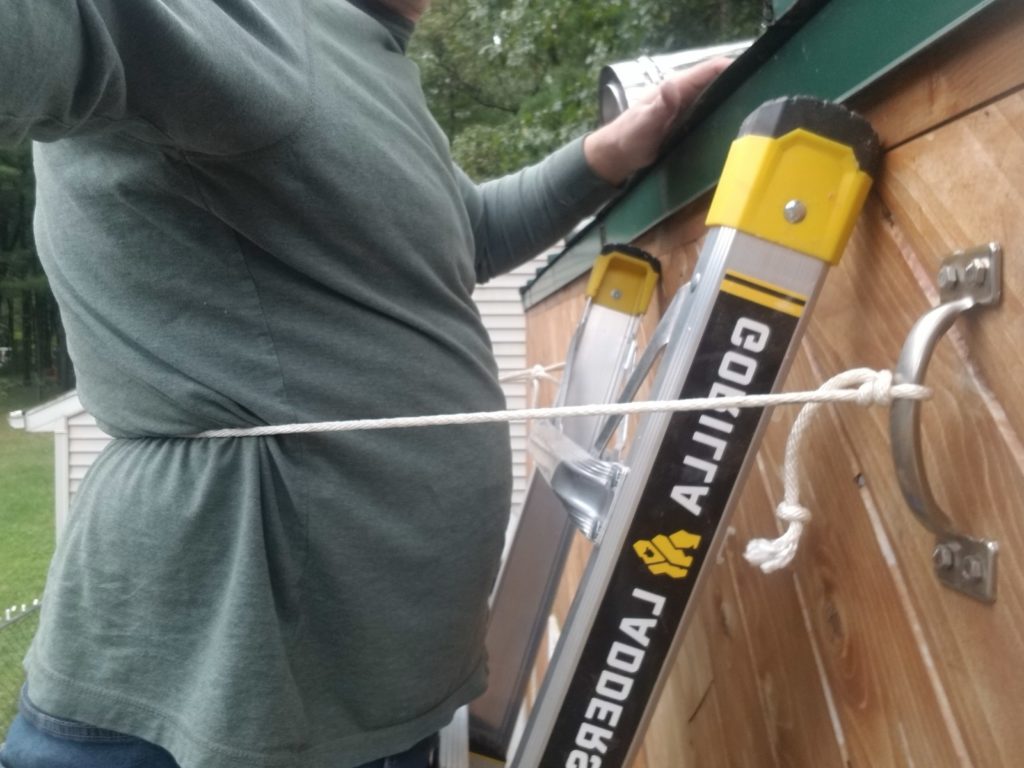
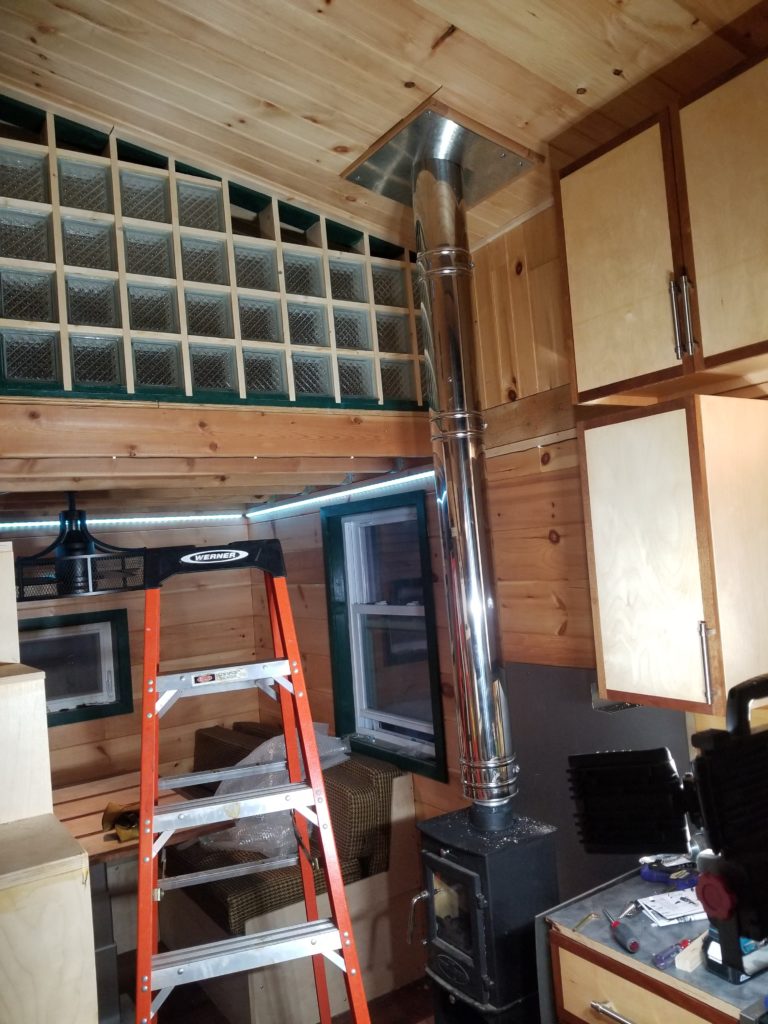
Now it’s time to (temporarily) install the top of the flue. Remember those handles I bolted to the side of the house? This is one of their intended uses: tie points for an impromptu safety line that keeps me close to (and more importantly over) the ladder as I fuss with the 4-ft upper section of flue.
Got it done. It looks like this from the ground (minus the ladder and safety line):
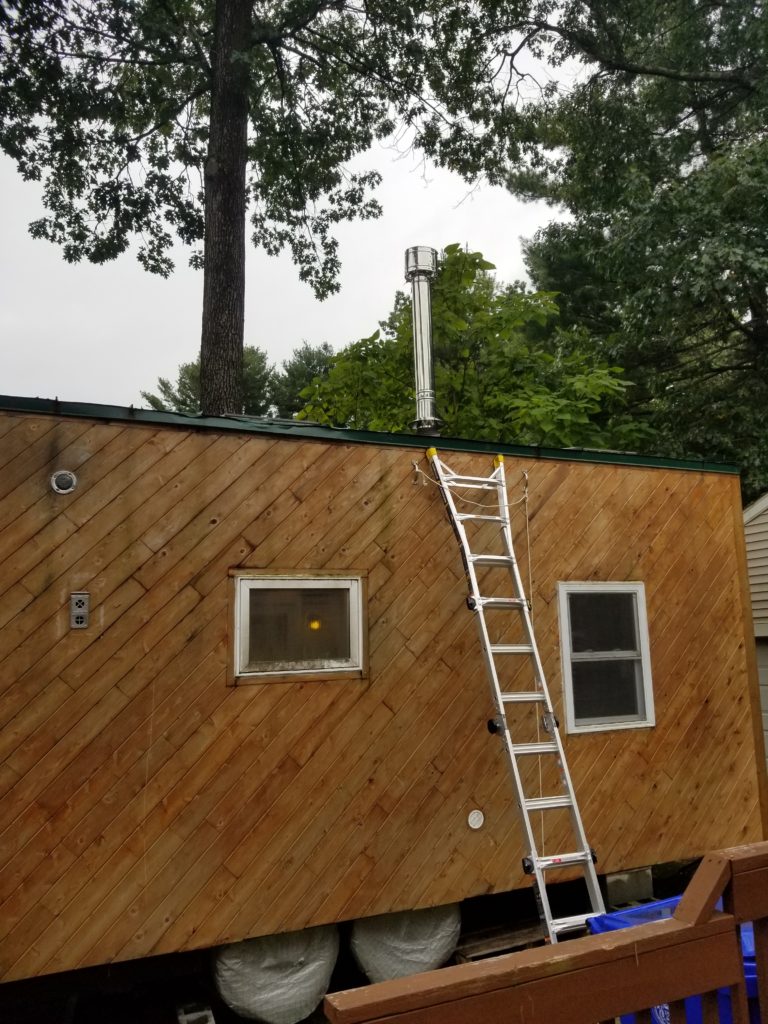
I’ll need to (and have since) take down that last section and cap-off the top for travel. What I don’t know is whether the height of the stub is greater or less than 13’6″ from the road level. I won’t know until the trailer is off its blocks and bearing its full weight on its suspension. That will be soon.
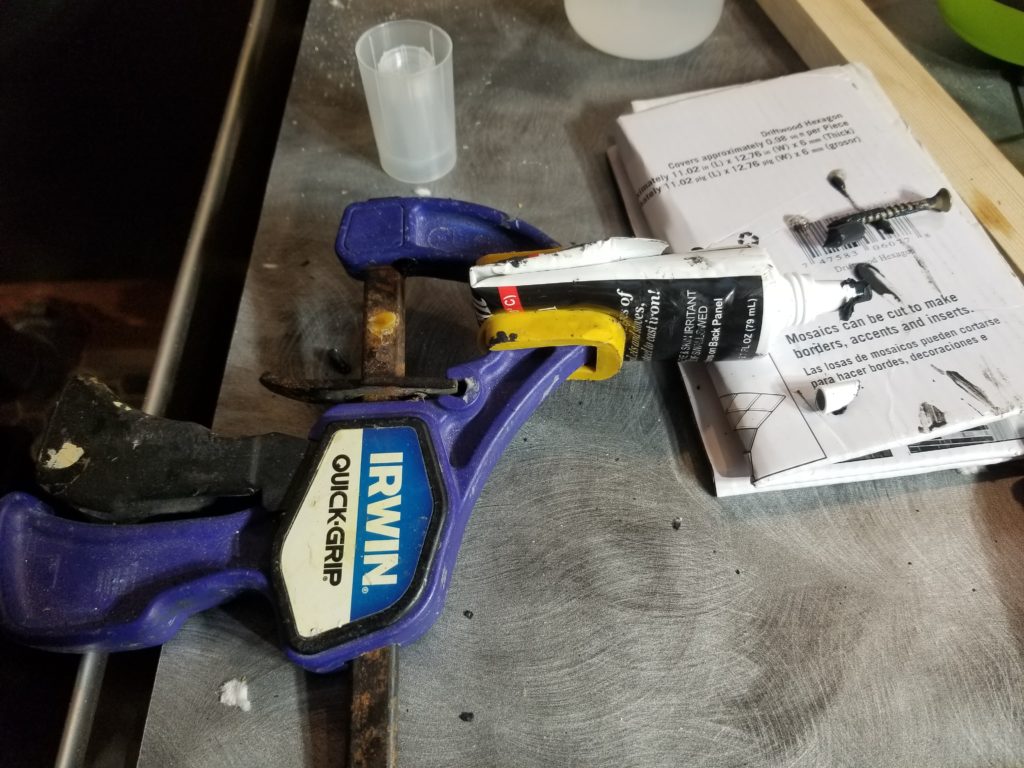
Flue top done, the last bit is to cement the bottom of the flue to the stove body. The tube of cement proved especially difficult to squeeze, so I wound up using some surrogate fingers.
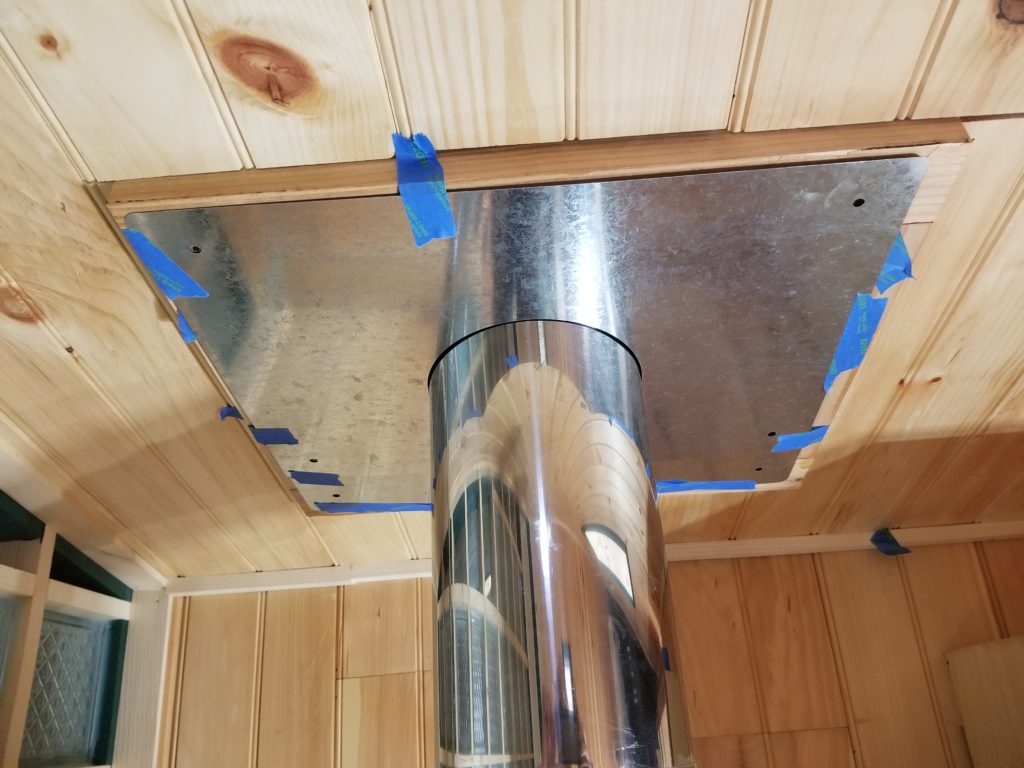
The last little bit of construction is the dressing plate that covers where the flue enters the ceiling. It hides the heat safety gap as well as a support bracket. First thing to do: tape it in place and mark the holes.
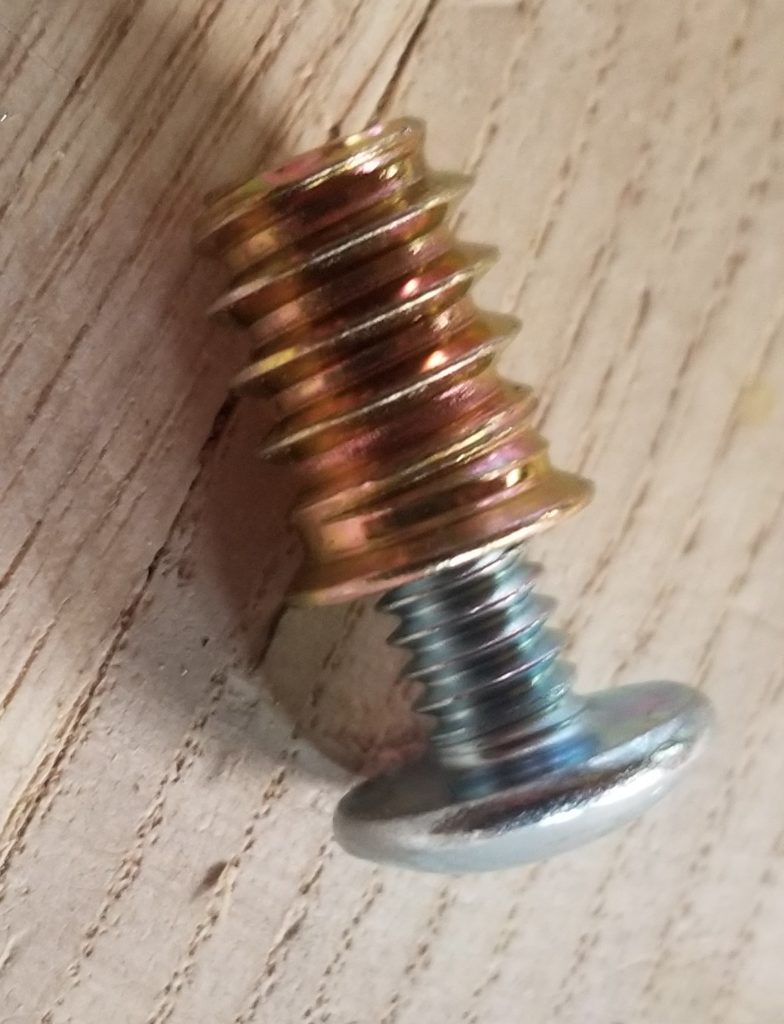
Then I drove a bunch of these into matching holes drilled in the ceiling. These are known as “threaded inserts” or “insert nuts” or sometimes “nutserts”. They have wood screw threads on the outside but machine screw threads on the inside. They let you screw a machine screw into wood. Why would (wood!) you want to? Well, if there was something that was going to need to be screwed and unscrewed more than once, you’d use this so you don’t risk cross threading or stripping the wood. Shown below with the mating machine screw partially installed.
All ready to fire up!
But first, some safety gear!
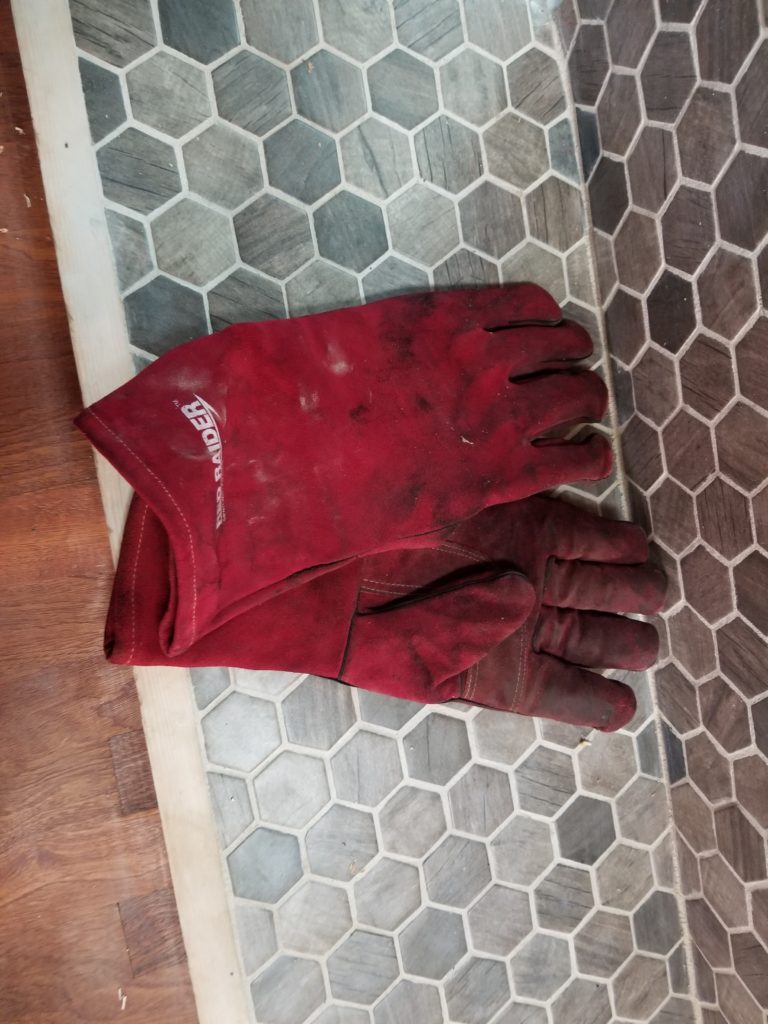
Welder’s gloves for working in the fire box 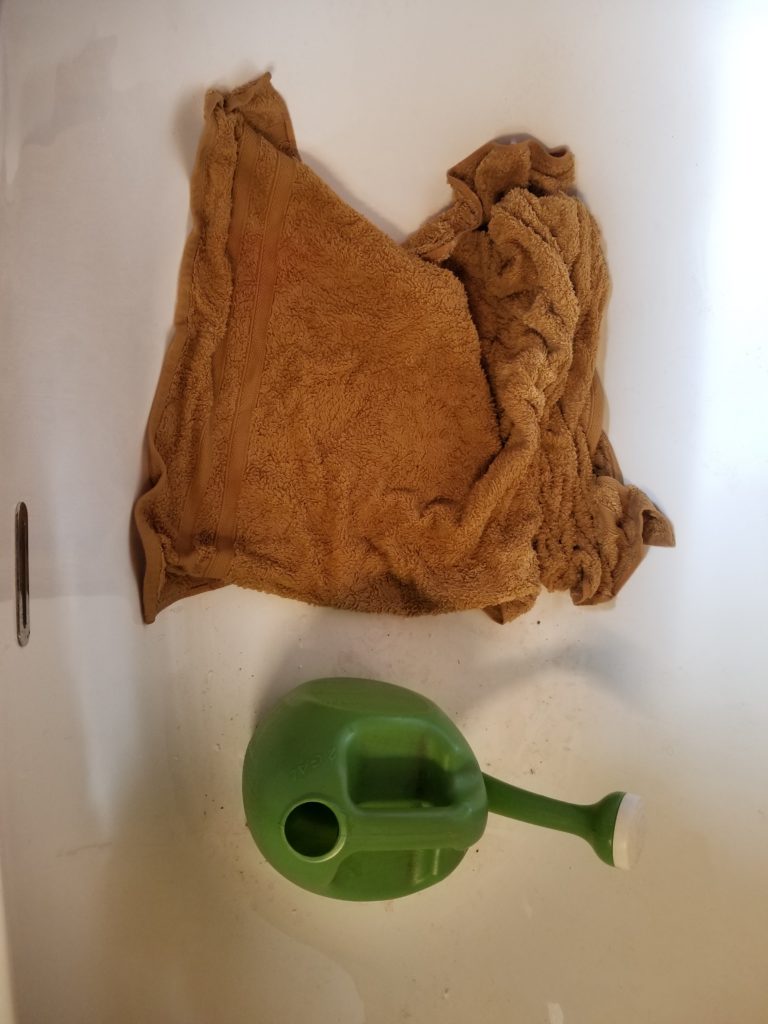
Soaking wet bath towel for emergency use on the body; watering can for emergency use on the house
I also had the fire extinguisher canister inside and the garden hose outside, all standing by. I didn’t expect anything to go wrong, but better safe than burning!
Speaking of burning, after I kindled the fire, I noticed the flames were licking at the inside of the flue in a way that they shouldn’t. I double checked the manual and saw that I had installed a baffle backwards! Oh crap! Those welder’s gloves cam in handy as I pulled each of the logs out of the fire box, smothered them, and left them on the hearth.
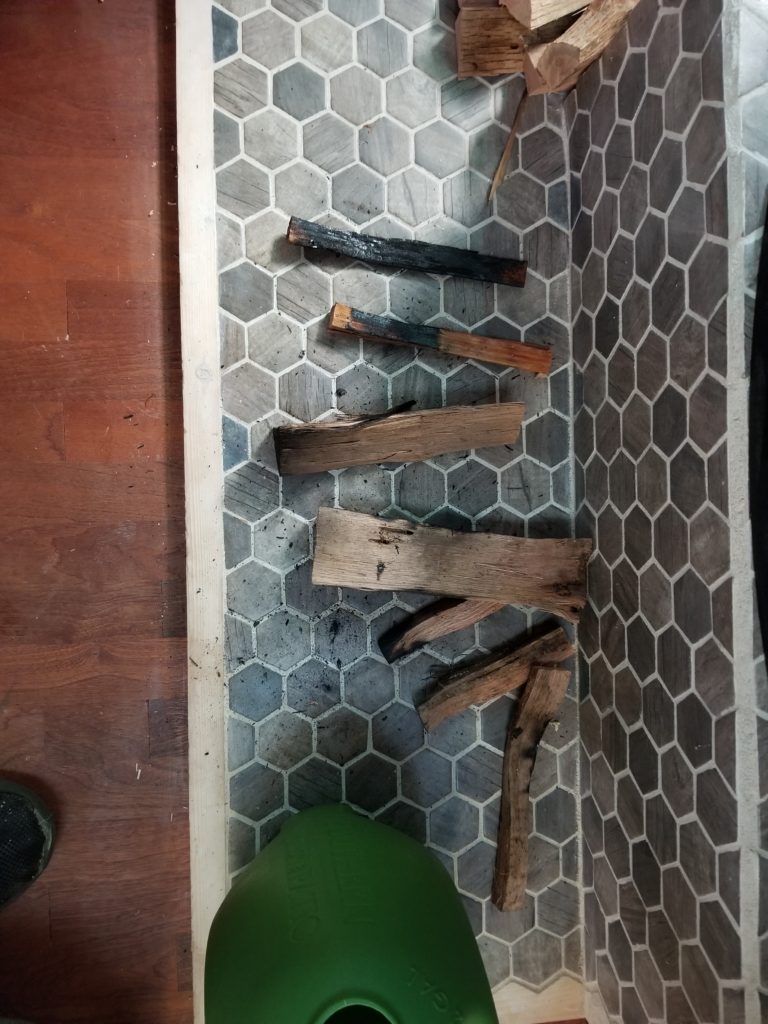
Here’s that baffle. I had it with the holes in the back, rather than the front. In the front, it diverts the top of the fire forward and keeps flames from going directly up the flue. That’s how it supposed to be. Once corrected, it was time to light it again.
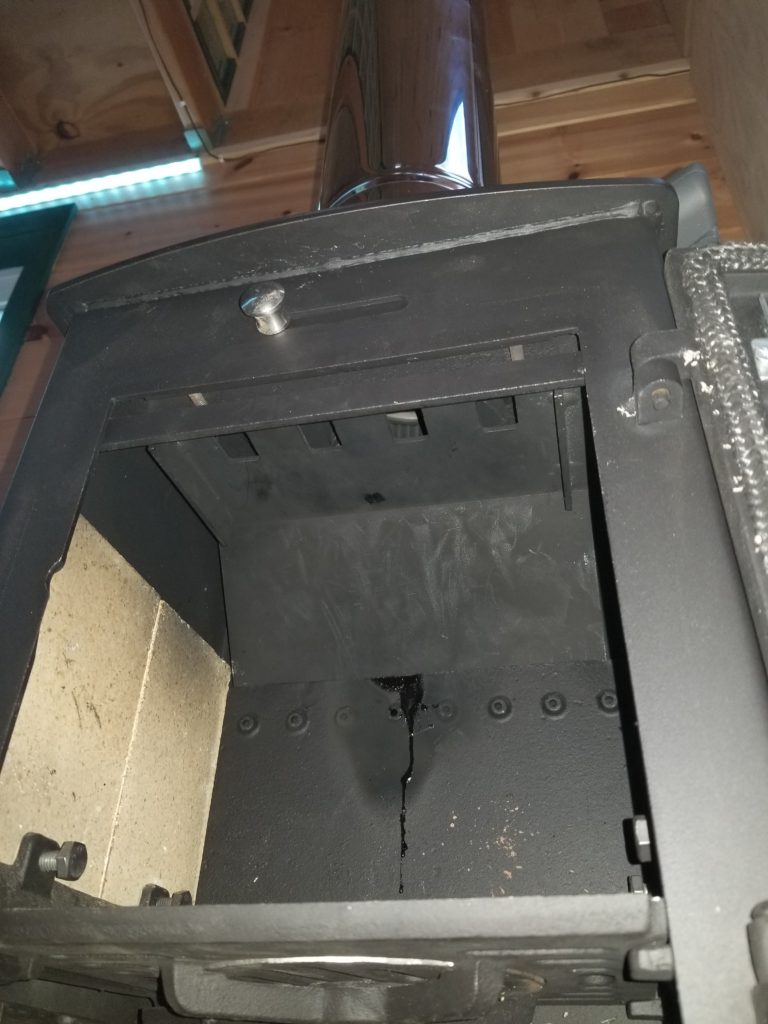
There we go. That’s better.

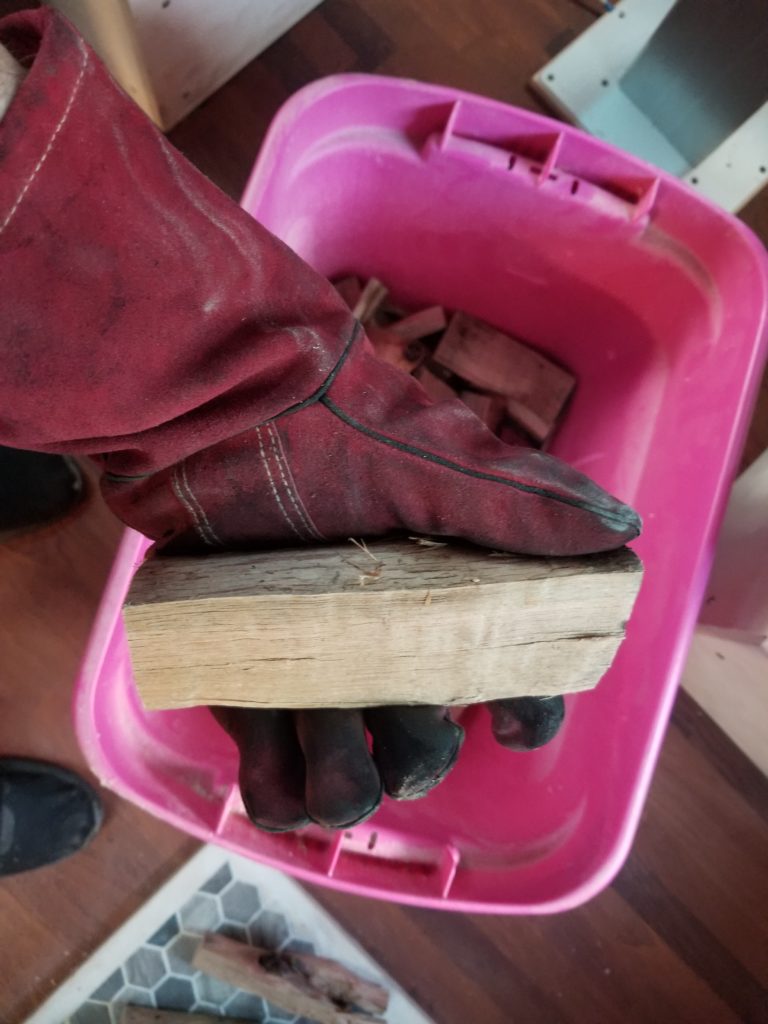
“Stove length” firewood is way too big for this thing, though. However, a visit to the bandsaw and possibly the Kindle Quick (an inverted log splitter), breaks them down to an appropriate size.
This little stove burns like a champ! It warmed up the place nicely and had the easiest stove burn I’ve ever seen. No fussing required at all. Just add wood from time to time and let it burn. The air controls adjusted the rate of firing nicely – it was a good burn at every level. At what I consider to be about 75% full throttle, the stove got to around 600F on the exterior. The space behind the heat shields didn’t get above 85F and the flue itself (double walled and insulated inside) didn’t get over 115F. Very nice. No fire worry at all. Not even close.
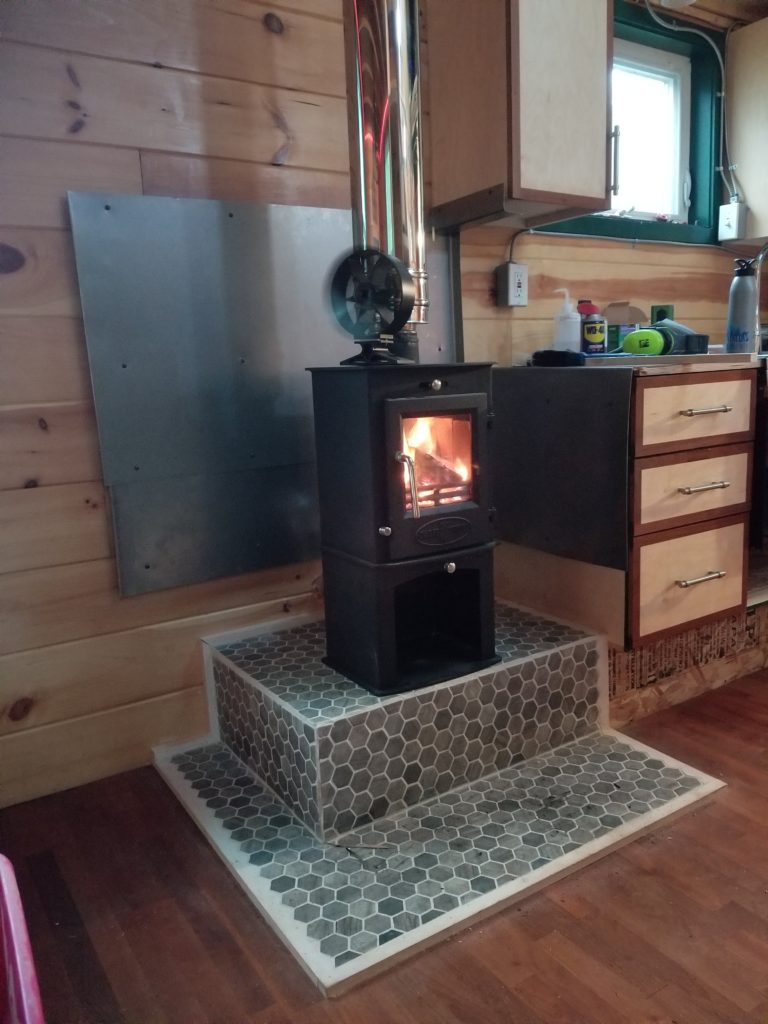
I let it burn for a couple of hours and then let it burn down, which is did just as well as everything else, leaving me with a few small chunks and mostly just a pan of ash. This thing burns amazingly well. It’s been a long time since I’ve lived somewhere with an indoor fireplace of any kind. I didn’t realize how much I’d missed it. Sitting by the wood stove was very cozy and peaceful.
And in totally unrelated news, I also recently swapped out a pair of marker lights because, well, evidently they were not nearly as water-tight as they’re supposed to be!
