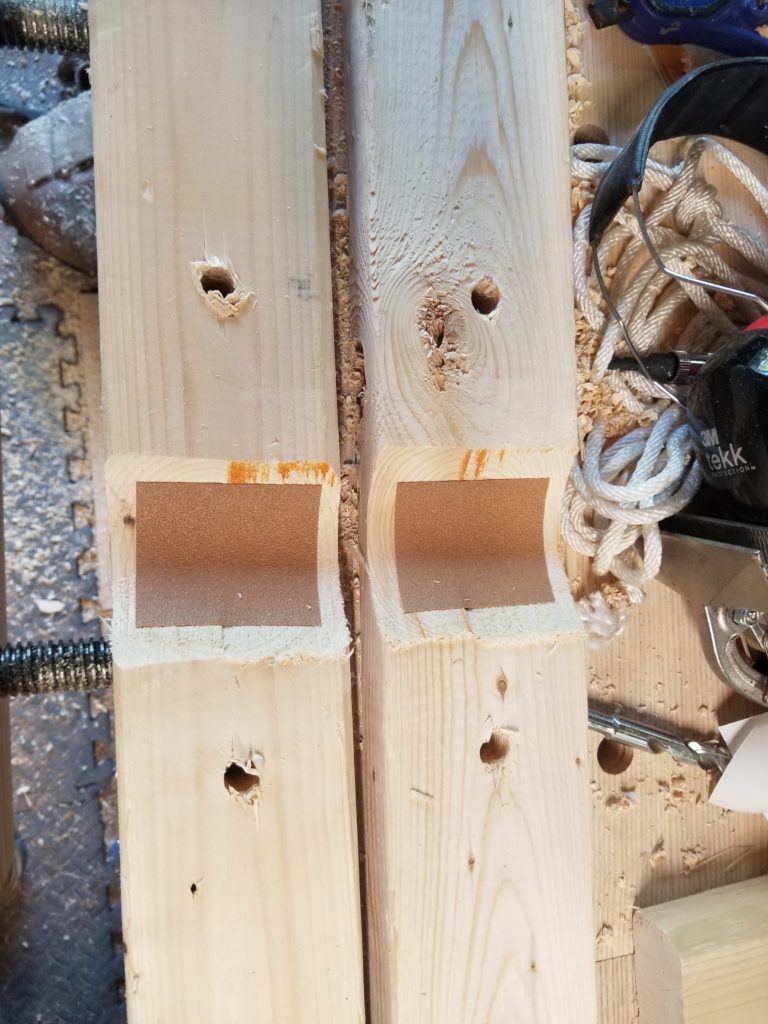
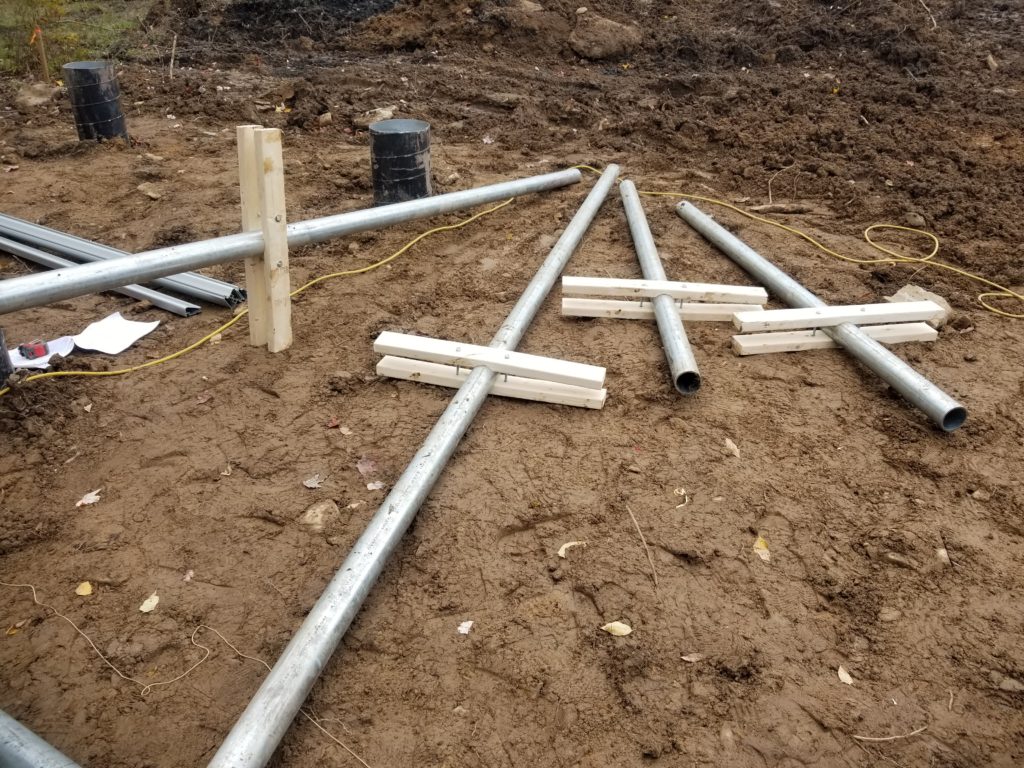
Back on site recently to assemble the solar racking. There are many challenges here, including how to hold these long, heavy pipes at just the right heights. The answer comes in two parts. The first part is how to hold these long, heavy pipes at any height. The answer to that is a set of homebrew clamp collars made from 2x4s with half-moons cut out. I lined the cups with sticky-back #120 sandpaper so they’d have extra holding power. This worked very well. Slide these over one of the pipes, bolt them together tightly, and I have a very effective depth stop.
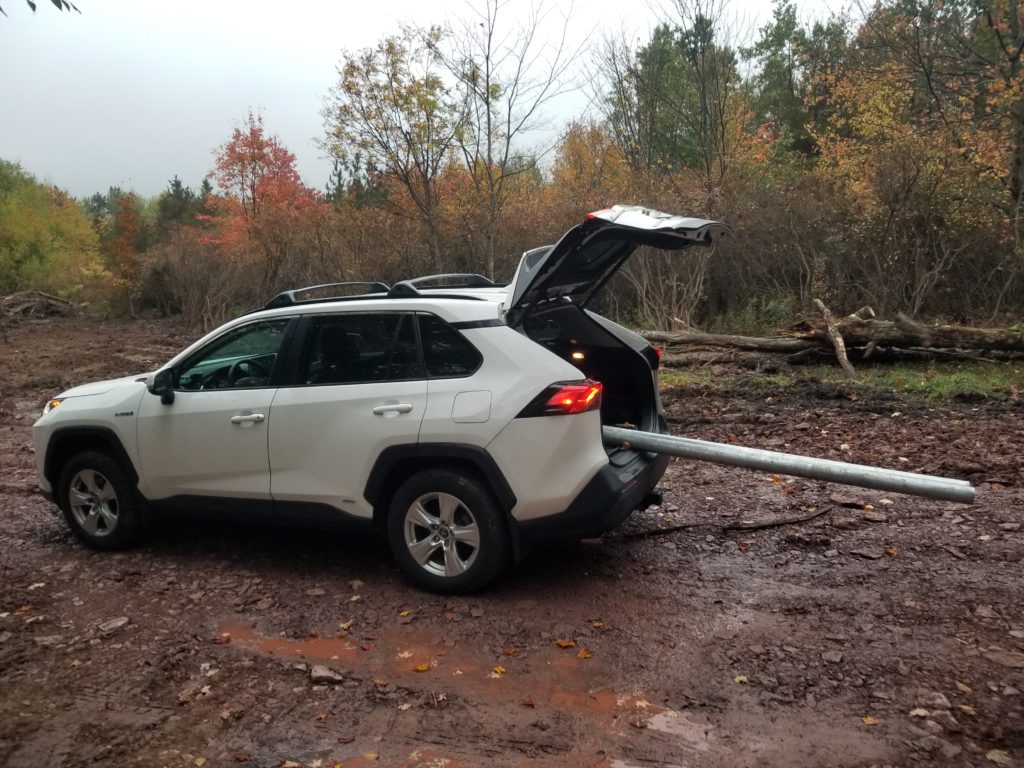
First, though, I needed to move the pipes from local storage out to the site. Good thing it wasn’t far. My car doesn’t exactly have this kind of cargo space and no way was I getting these 130# 14-ft-long pipes on my roof bars. Just no.
Upon arriving on site, I did take a moment to visit The WOG, whose ceiling had been completed since my last visit. It looks nice!
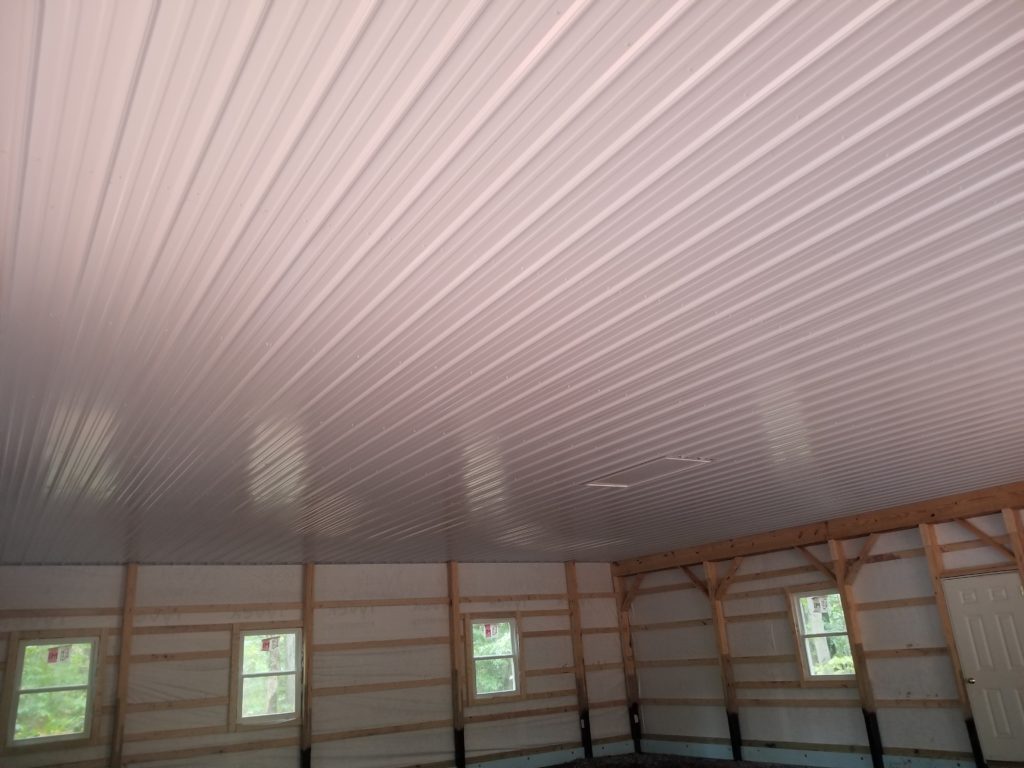
Only the garage portion will have this metal ceiling visible, though. The workshop and office parts will have an acoustic drop-ceiling.
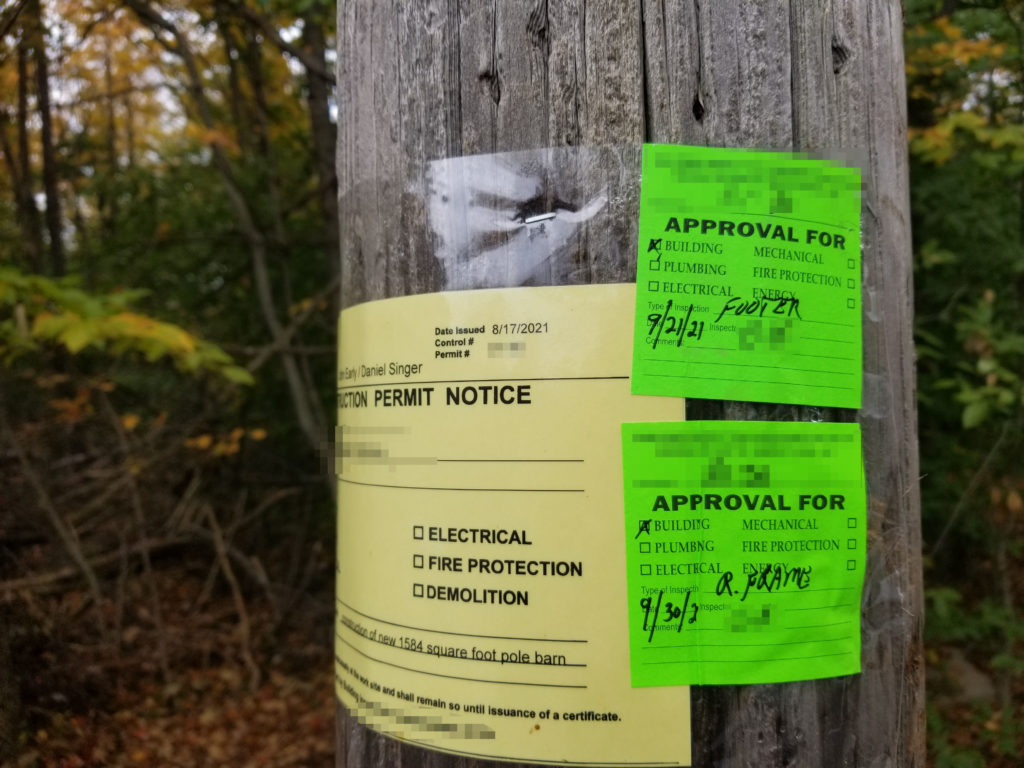
And evidently it passed inspection, too!
It was a little muddy, too. And by muddy, I mean, it almost ate my shoes. Here’s a boot print, to give you a sense of it.
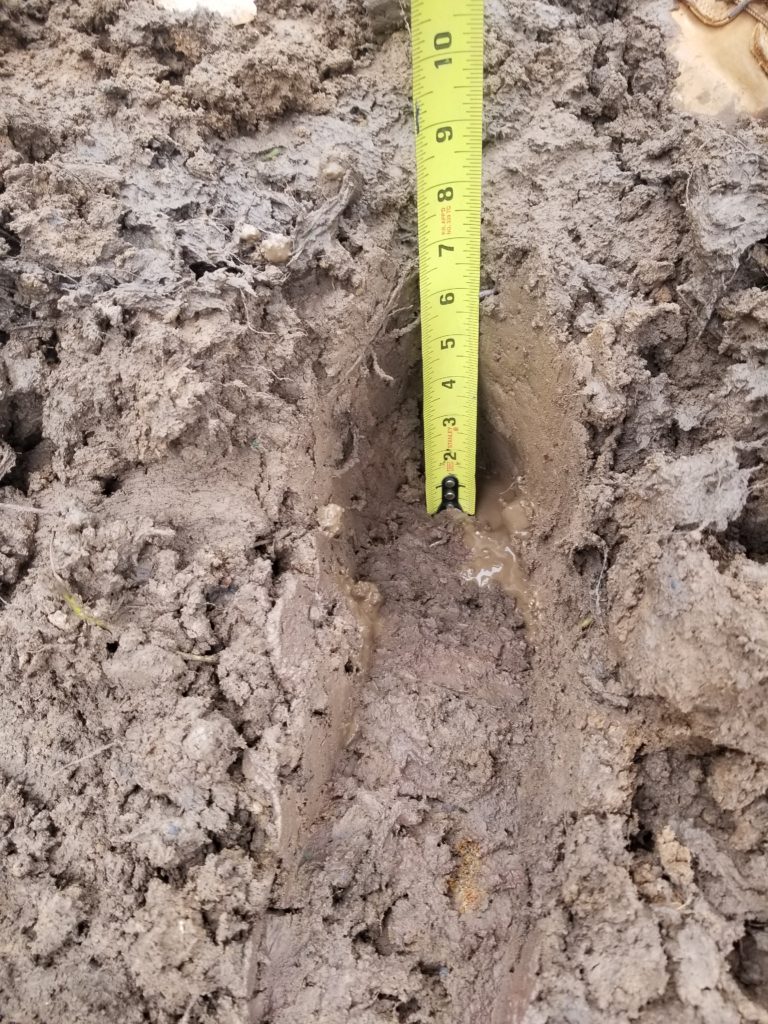
After all the heavy equipment has come and gone, it’ll be time to re-work the road and deal with the runoff and such. It makes no sense to do that now.
At the solar field, I see a bunch of tubes set in the ground. This is where those long poles will be set.
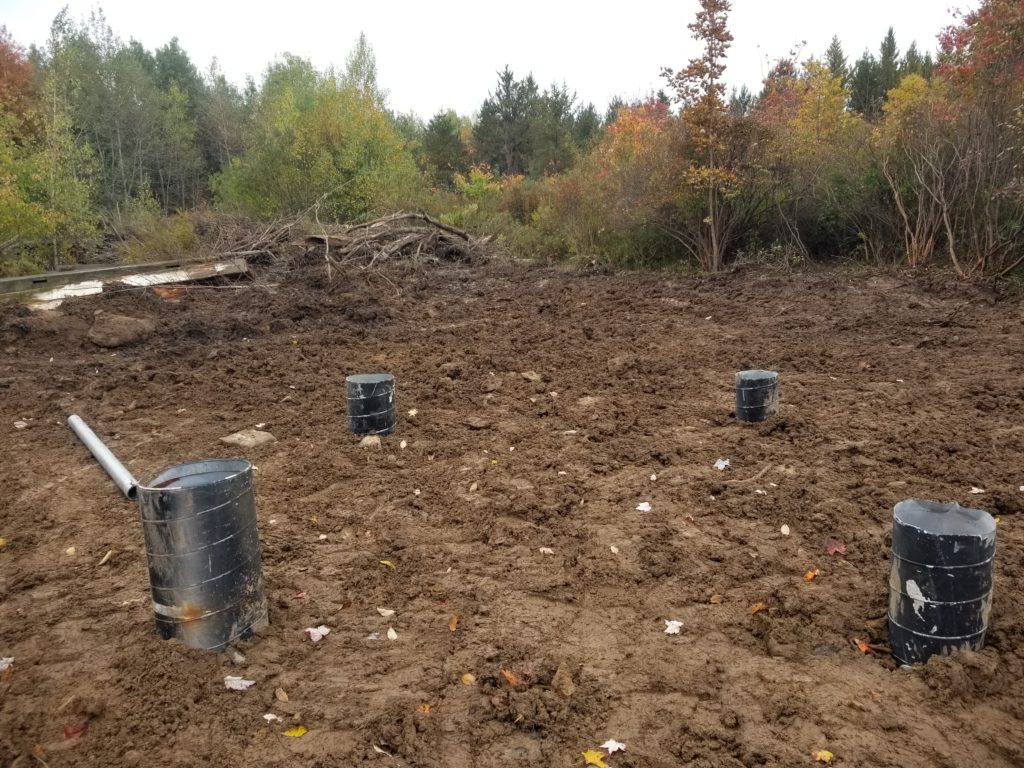
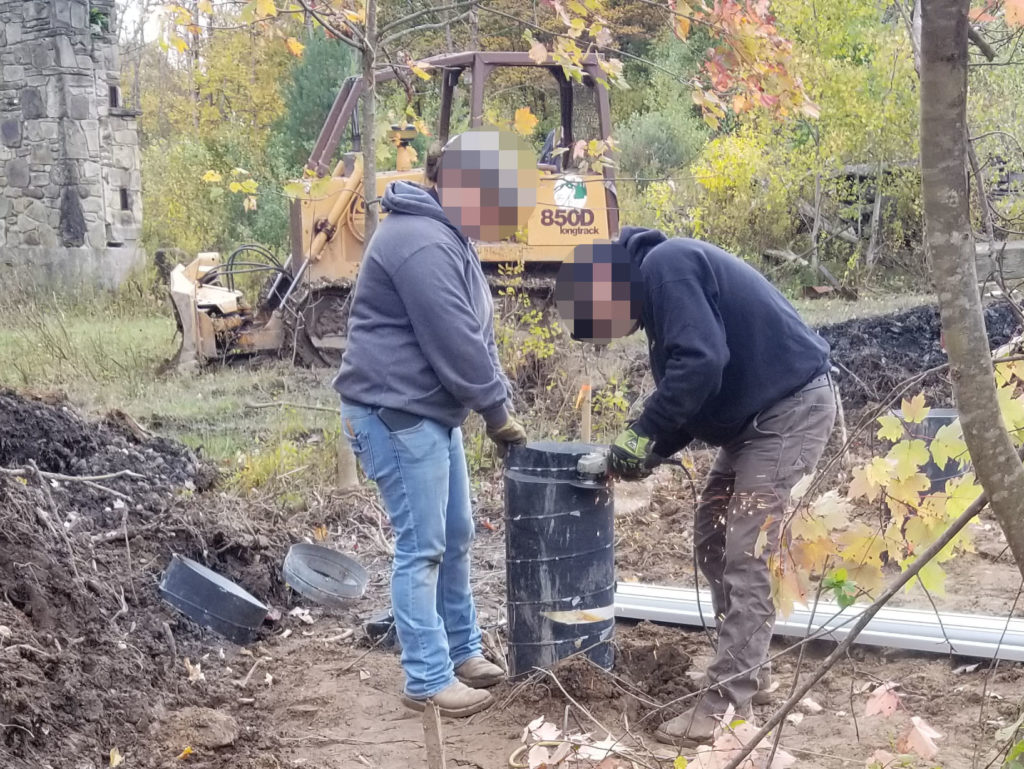
My excavator guy arrives shortly thereafter and uses a laser level widget to determine a constant elevation for all of the cans, then goes after them with a grinder to trim them to height.
Now the tops of all those tubes are at the same elevation. Now I mark all the pipes showing what’s above and below ground and set the clamp collars on them all.
Then it’s a big alliyoop and the pipes are standing in the cans. I happened to look down into one and was a bit surprised by what I found… a ventilation register!
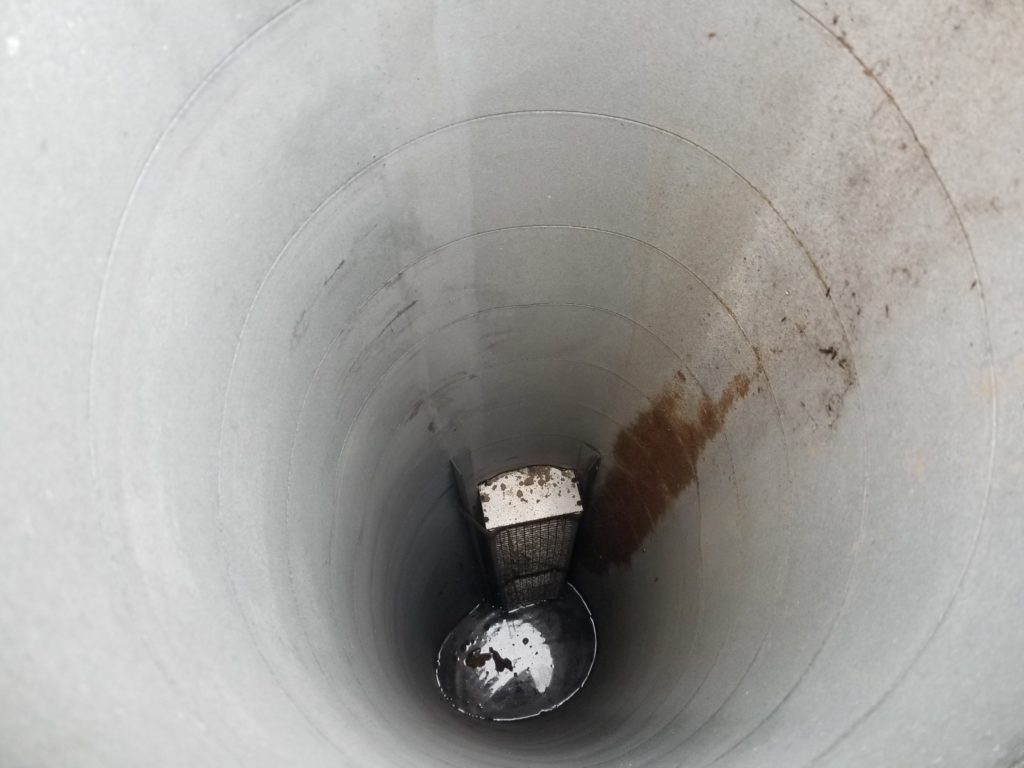
It turns out these tubes/cans are salvaged bits of HVAC ducting! The excavator couldn’t get a hold of long cardboard tubes usually used for this kind of work so he just used what he could find. Works for me! And anyway, the ground is so wet here that the paper tubes might have melted.
Next, open the hardware packs that have also been in storage… and what do I find? Looks like a mouse nest!
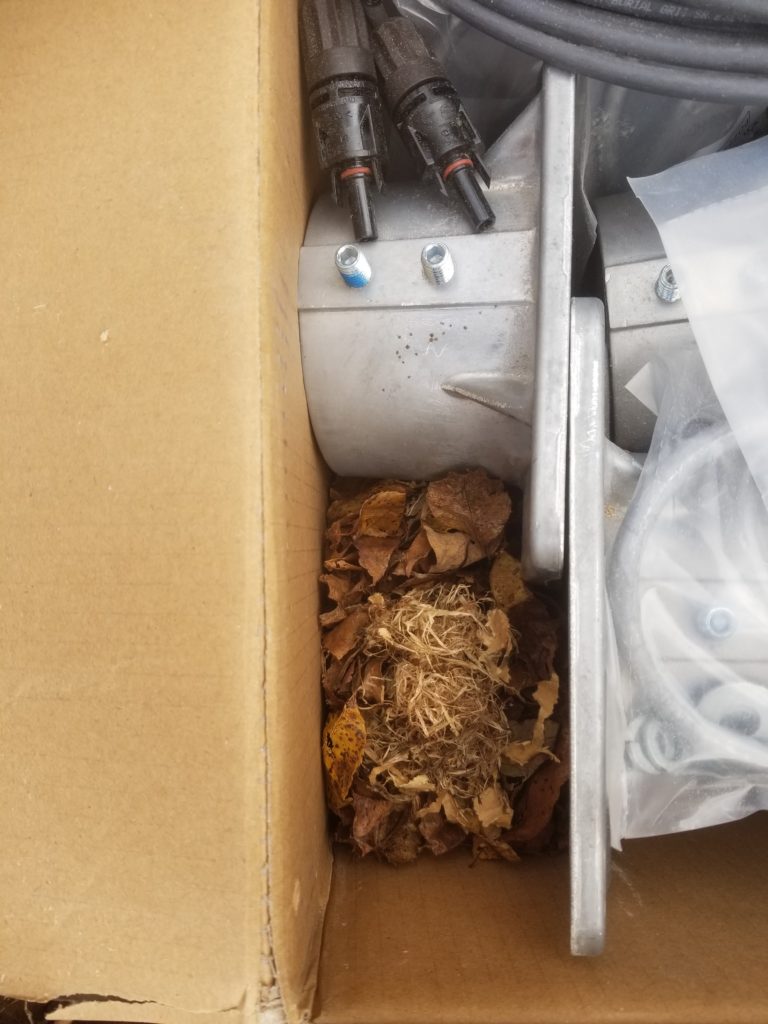
Fortunately, the wires do not seem to have been chewed. I did wonder if the mouse was still in residence, though.
I didn’t wonder long.
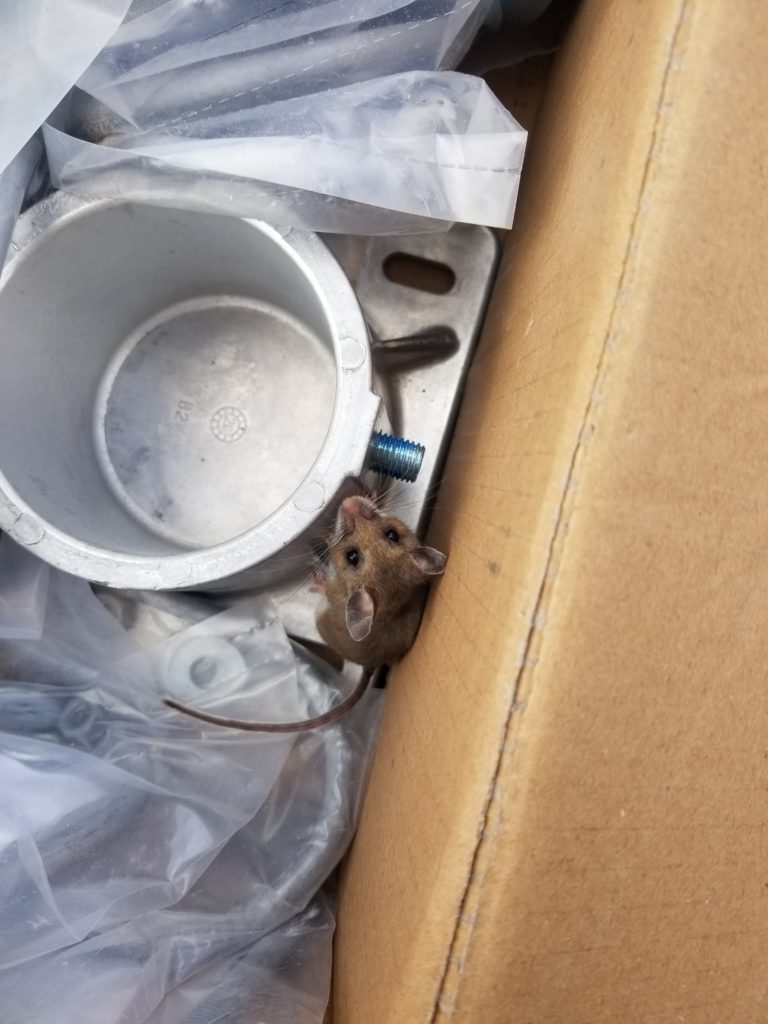
Mousey was escorted out of the box.
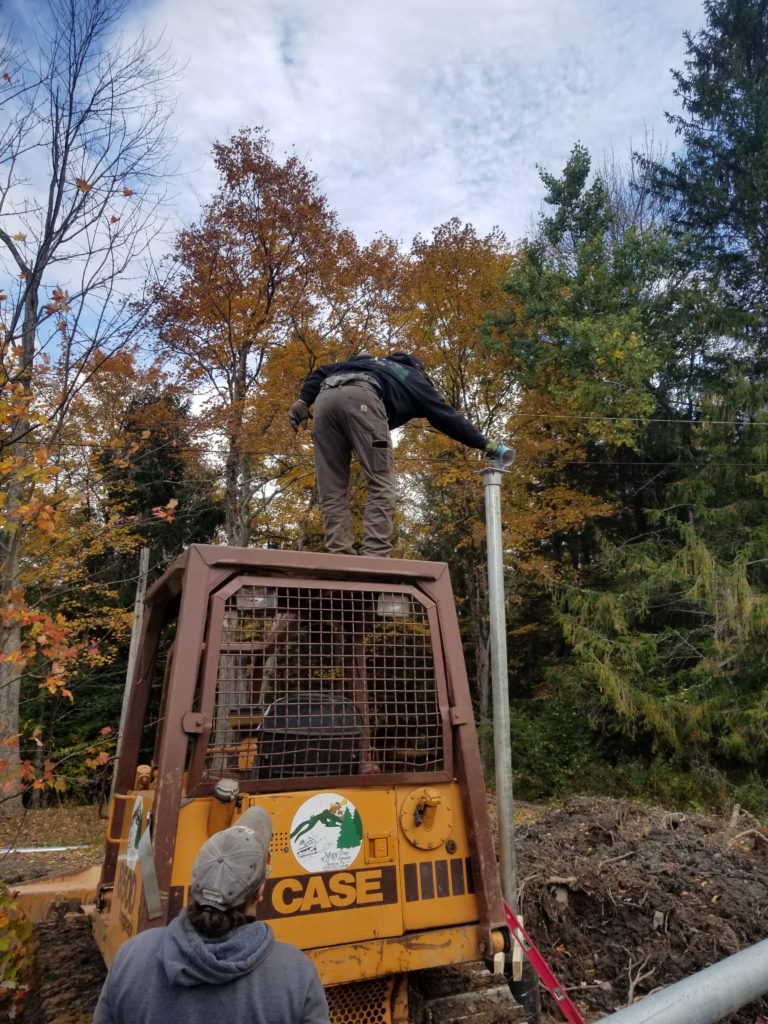
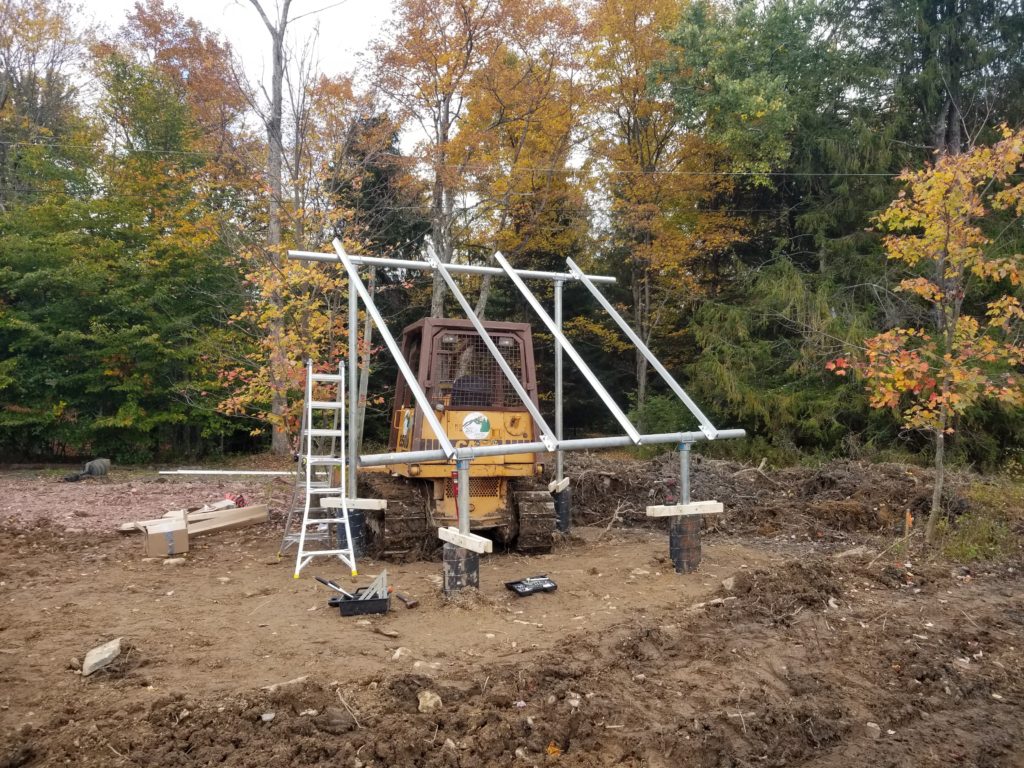
The pipes were stood up in the cans and the rest of the racking built. This was by far the most sane approach, in contrast to setting the pipes in concrete first, then hoping to assemble the rack with them fixed in place. We had to fuss with the positions a bit as we went — which was possible only because the vertical pipes were free to move.
It turns out that a bulldozer makes a great all-terrain scaffolding, too!
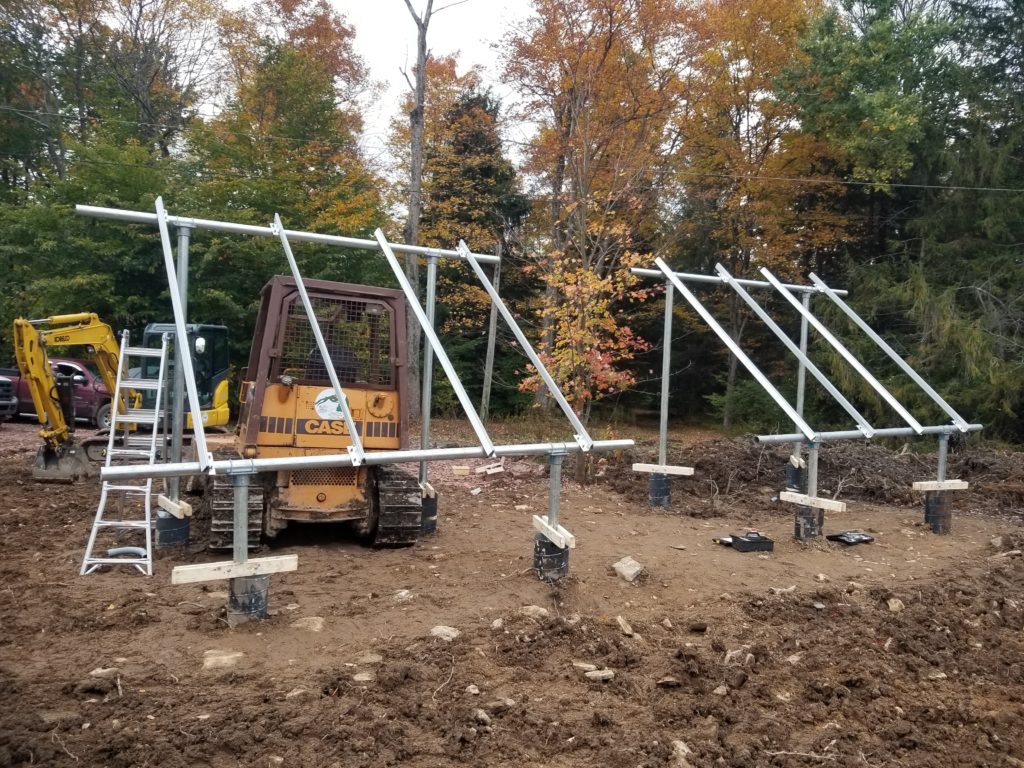
After considerable effort, the first array’s racking is built!
The second went a bit quicker, since now we knew what we were doing (sort-of).
The concrete for the footers (tubes) could not be arranged for that day, so the racking has to wait a few days. Once the concrete is in, some time will pass and then I’ll be back to install the panels for real. Now that will be exciting!