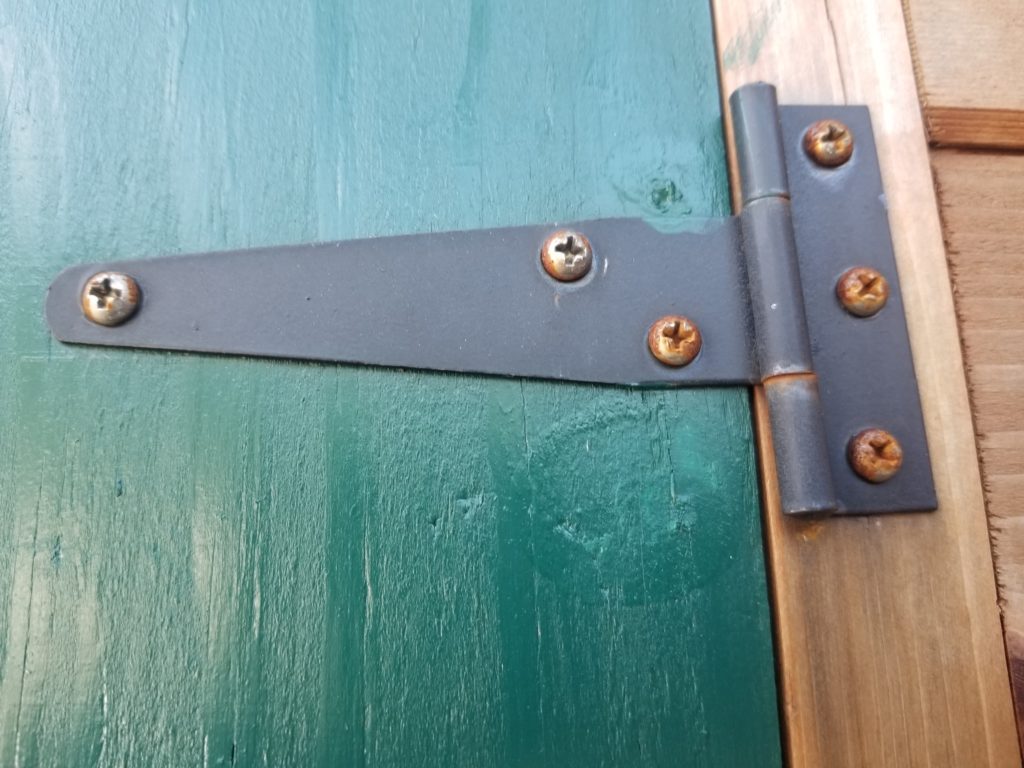
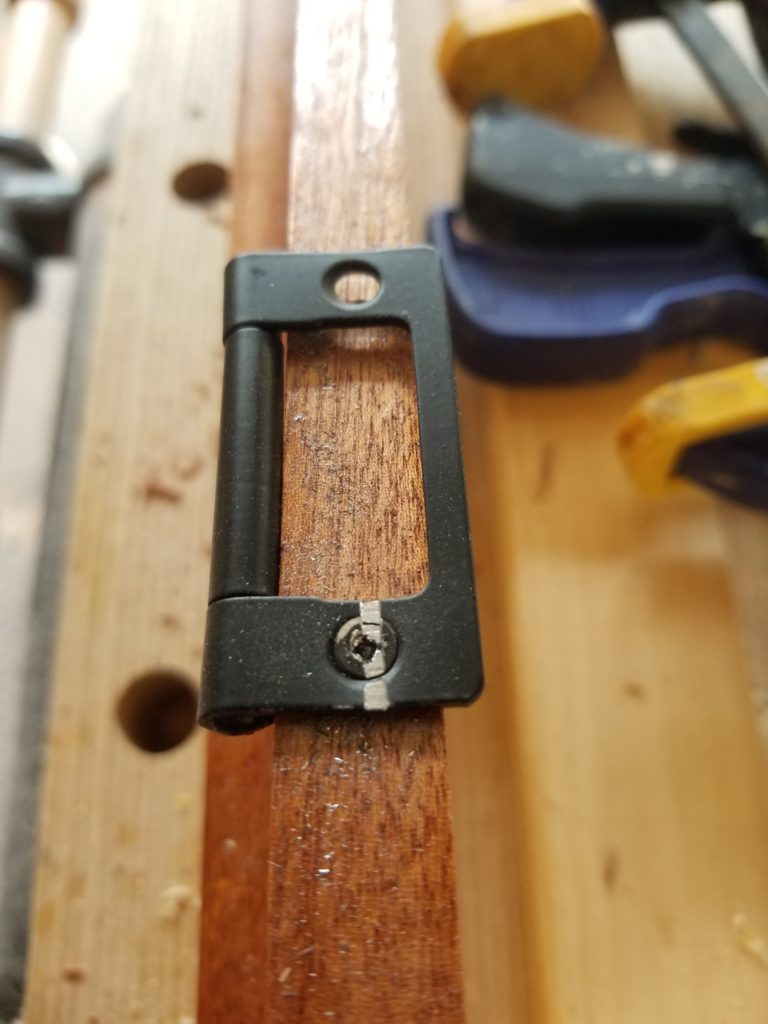
I have replaced the hinges on the propane porch doors a couple of times already because they rusted. The current hinges were theoretically outdoor rated, but they, too, rusted in just a year or so. I replaced them with some marine-grade stainless steel ones — which in retrospect I should have used from the start and not trusted inexpensive “outdoor” hinges at all. Ah, well, we learn as we go sometimes.
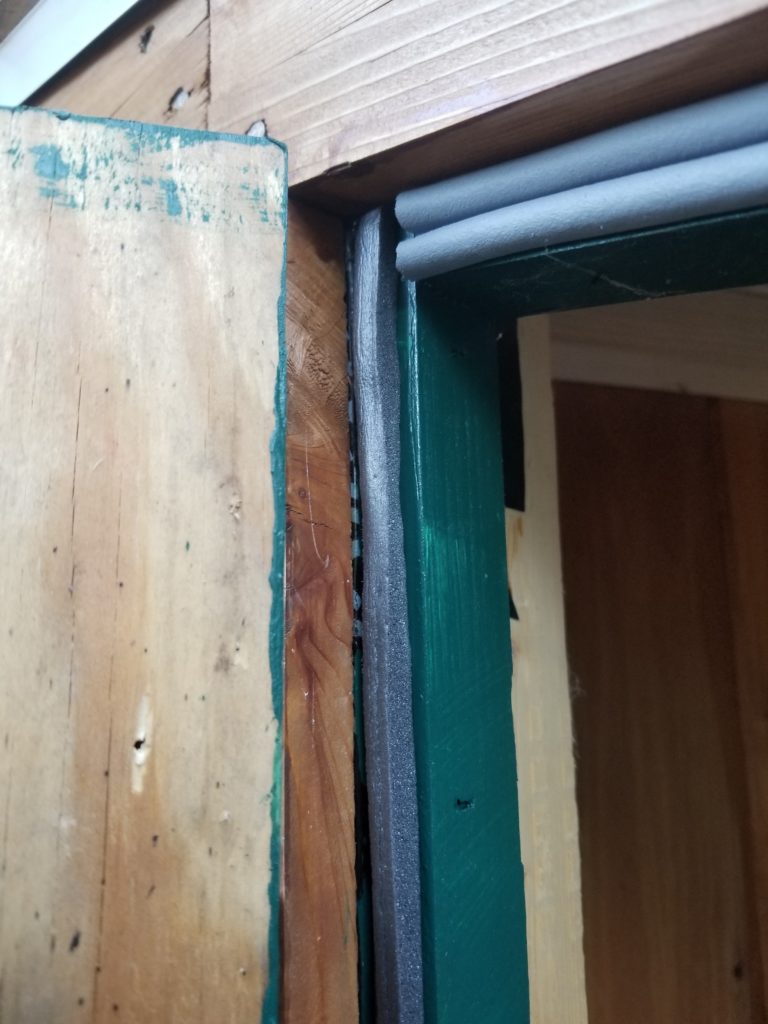
I also noticed that water was getting into the propane porch when it rained hard. While it’s not exactly a sensitive area, at the same time I don’t want it getting repeatedly wet or it will get moldy and that’s bad. Okay, then, install some weather stripping. No problem. Done.
Well, by “no problem” I mean it was easy to install the stripping and I’m sure it makes a nice seal around the door such that water will stay out, but the weather stripping also takes up some space and the doors were fit before the stripping was in place, so now the springiness of the weather stripping wants to push the doors open. The little magnetic catches I have in there are no match for the spring force of the stripping. The hasp closure isn’t the right answer, either…
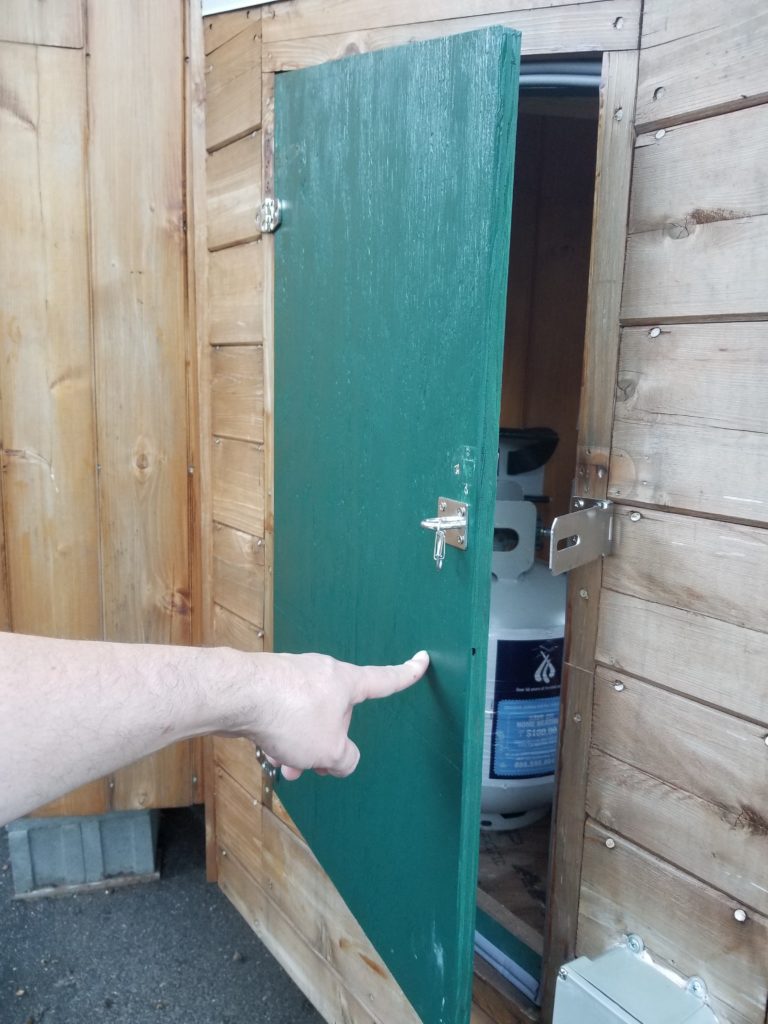
Springy! New stainless hinges visible to the left. 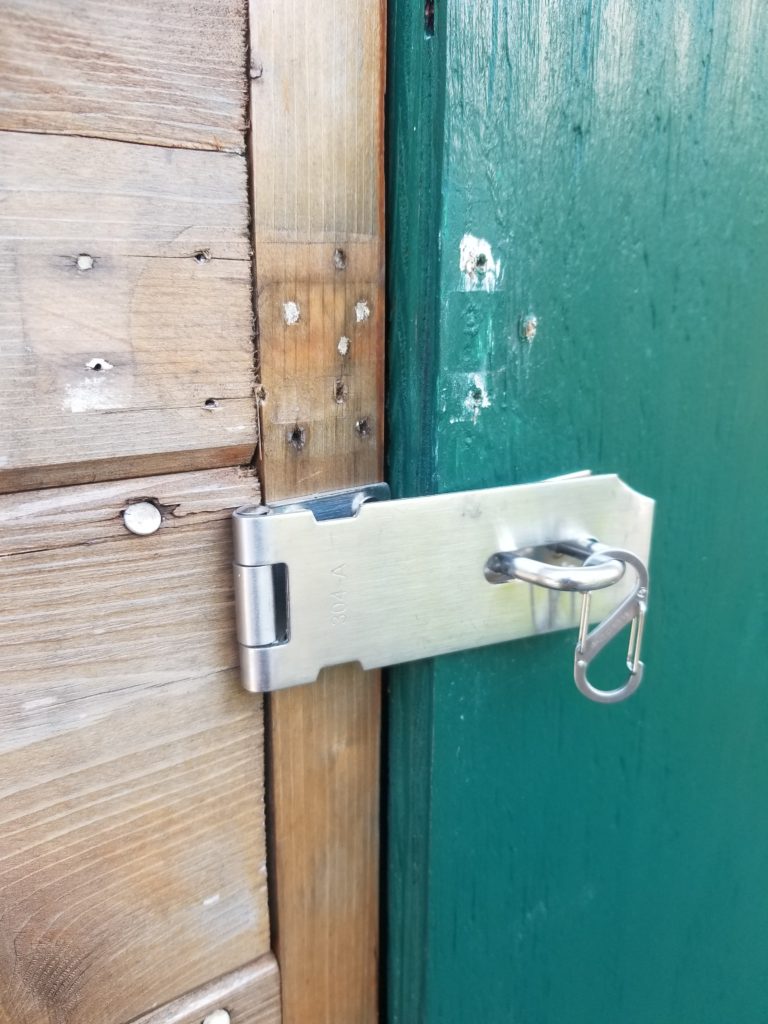
Ghosts of old closures
This galvanized slide bolt did the trick – almost.
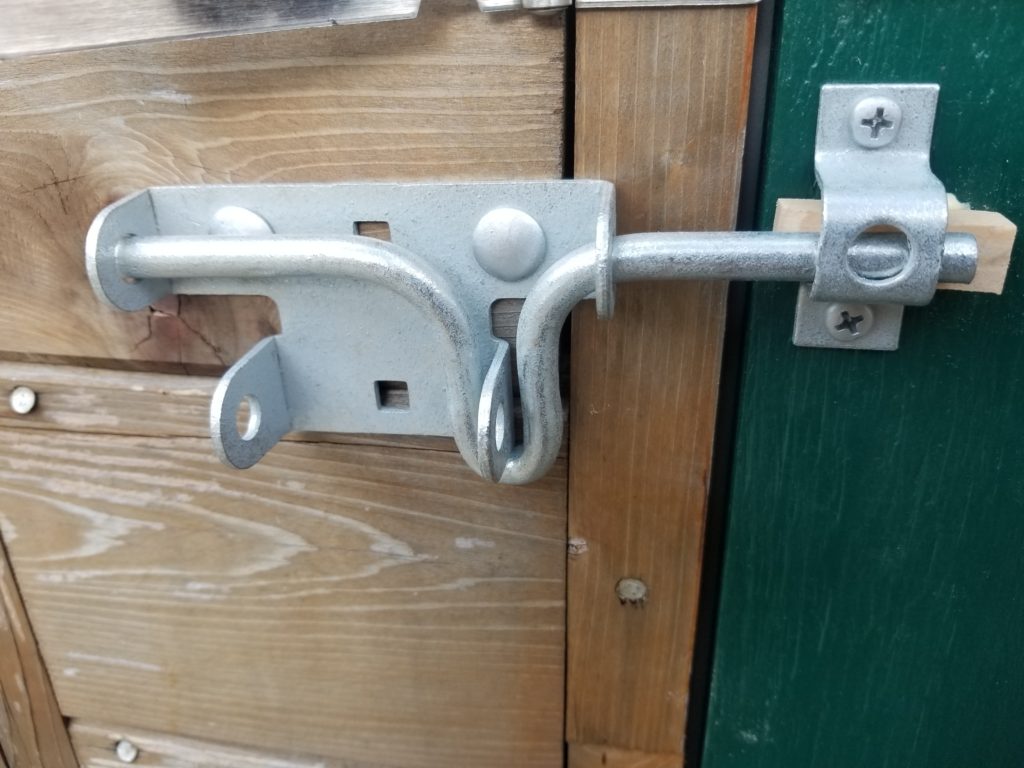
There was still some slop between the loop (right) and the bolt, but I could take that up with a strategic block of cypress left over from another project. Cypress, like cedar, is weather-worthy on its own, which is good, since any finish I might have applied to it would just get scraped off by the slide bolt anyway.
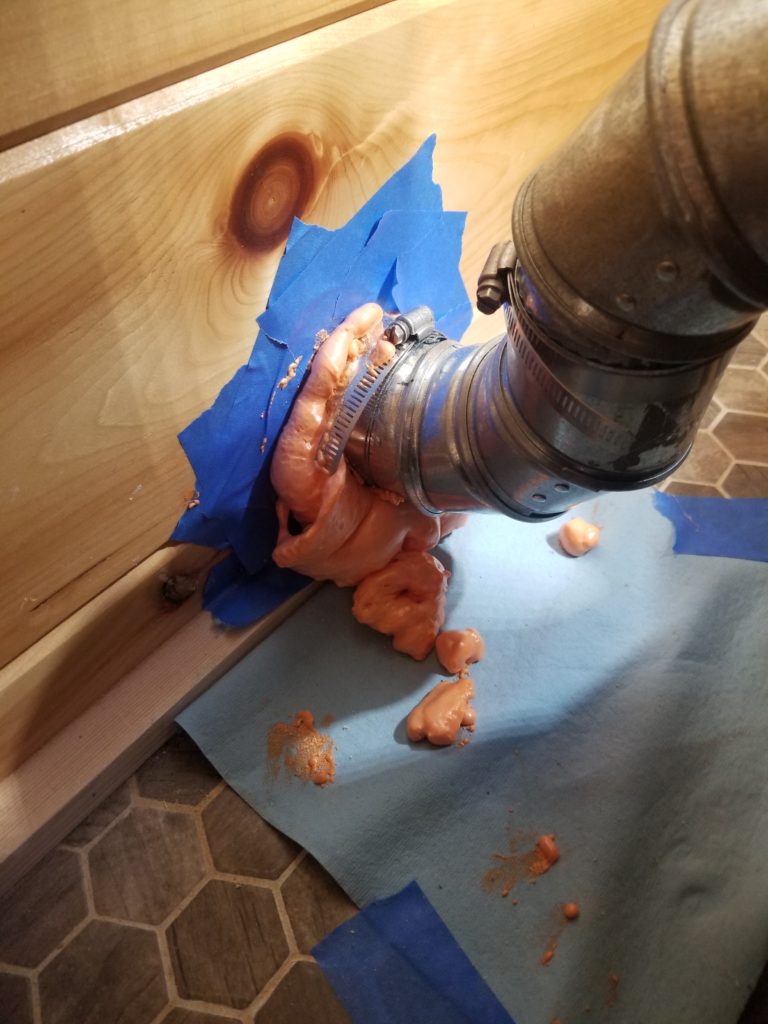
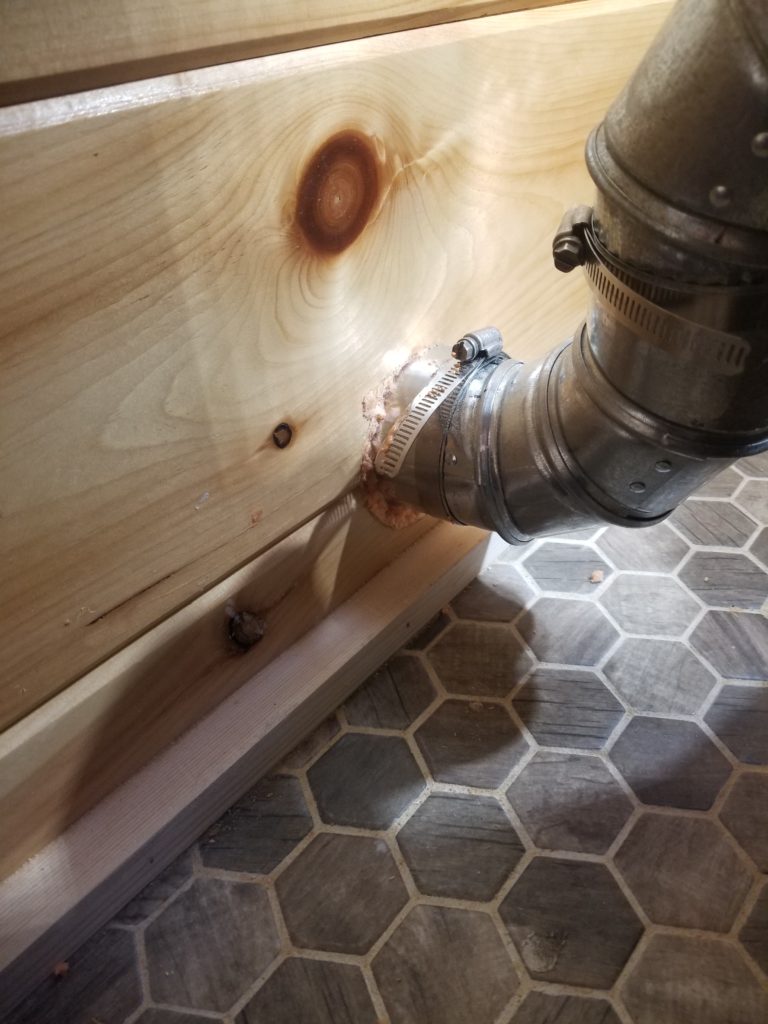
In preparation for getting the wood stove online, after having cleaned up the outside spray foam problem with the air intake, it was time to clean up the inside spray foam overflow. That, happily went easily. The foam did not stick to the duct pipe and every other surface had been covered extensively in masking tape, to which the foam did not stick, either.
As you have no doubt noticed, I often work on multiple aspects of construction concurrently. This helps break up the routine as well as gives time for things to dry/set/cure as well as have deliveries arrive, etc. On the one hand, sometimes this means that things take a long time to get all the way to done, but it also means that at least something reaches completion every week or two, even if that’s not my primary focus at the time.
At this point, with the ladder handles in place and the foam cleaned up, and the cabinets in place, I really am ready to spec out the heat shield, fabricate and install that, finalize the flue, and actually test fire this thing! Those tasks will start soon.
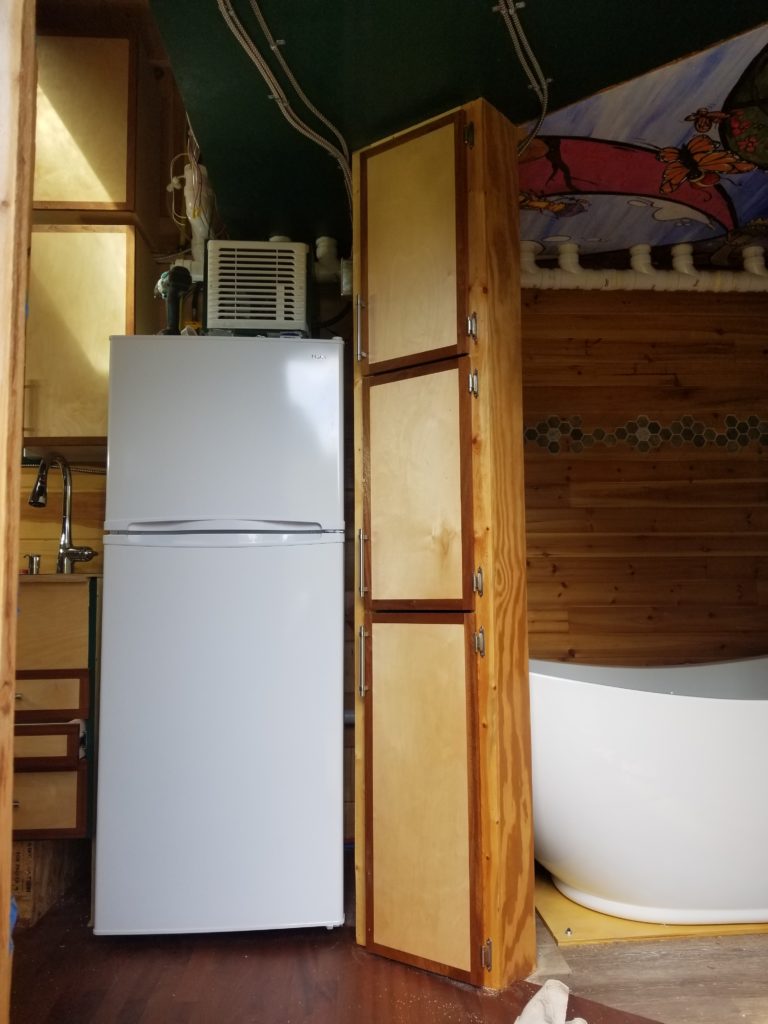
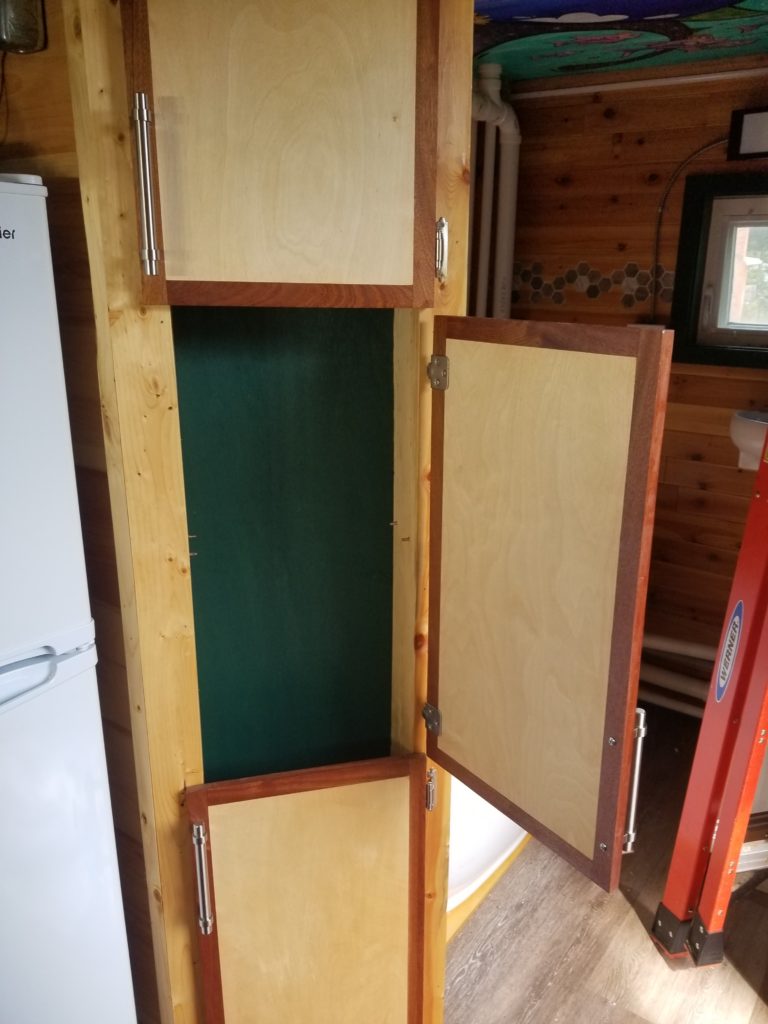
The last few panels from Panelpalooza are the pantry doors and the bifold doors for the coat closet. The pantry doors were simple enough – though not without their installation troubles, either.
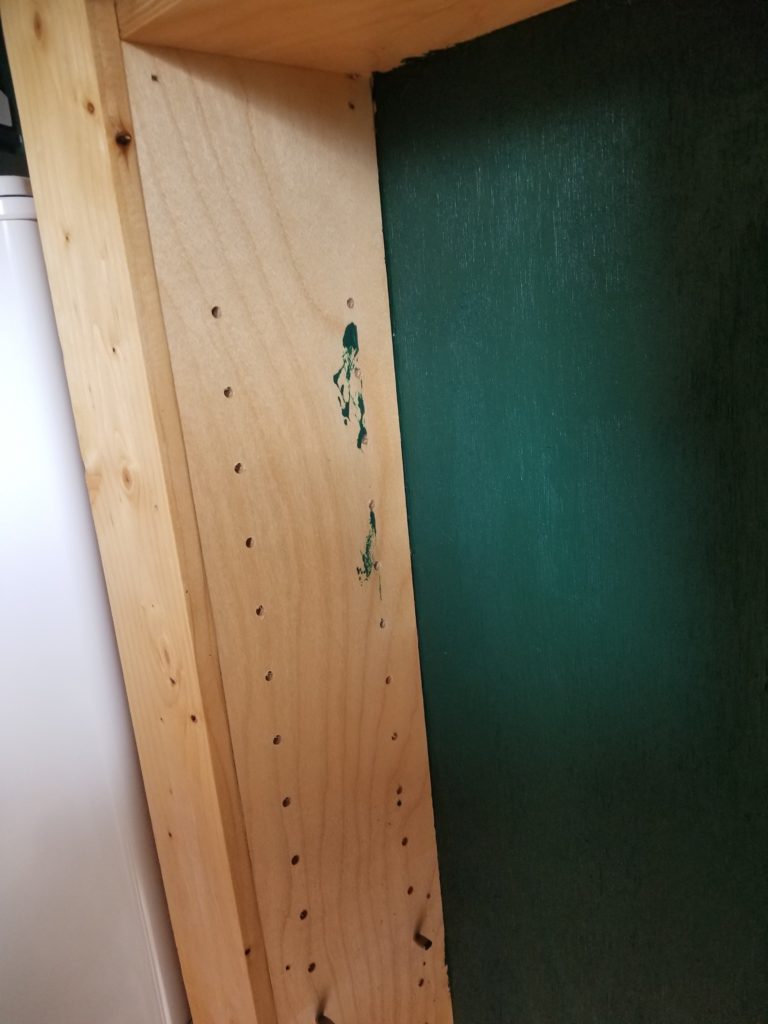
What kind of troubles? Well, one major goof was when I installed the handles in the lower-left of each door. That works for the upper doors, but the lowest door would have its handle pretty much at ankle level that way. Now it just has holes at ankle level (where I already drilled) but has its handle at a much more reasonable height. And then there was my thinking I could somehow paint the interior with sufficient finesse that I didn’t need masking tape. I was wrong.
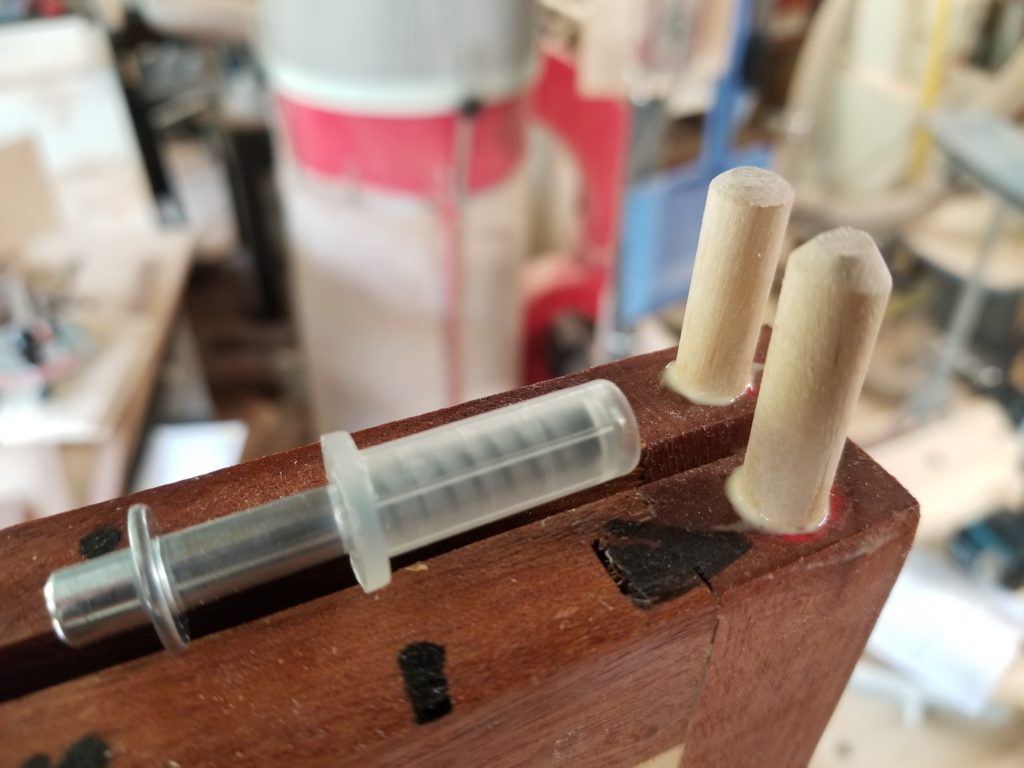
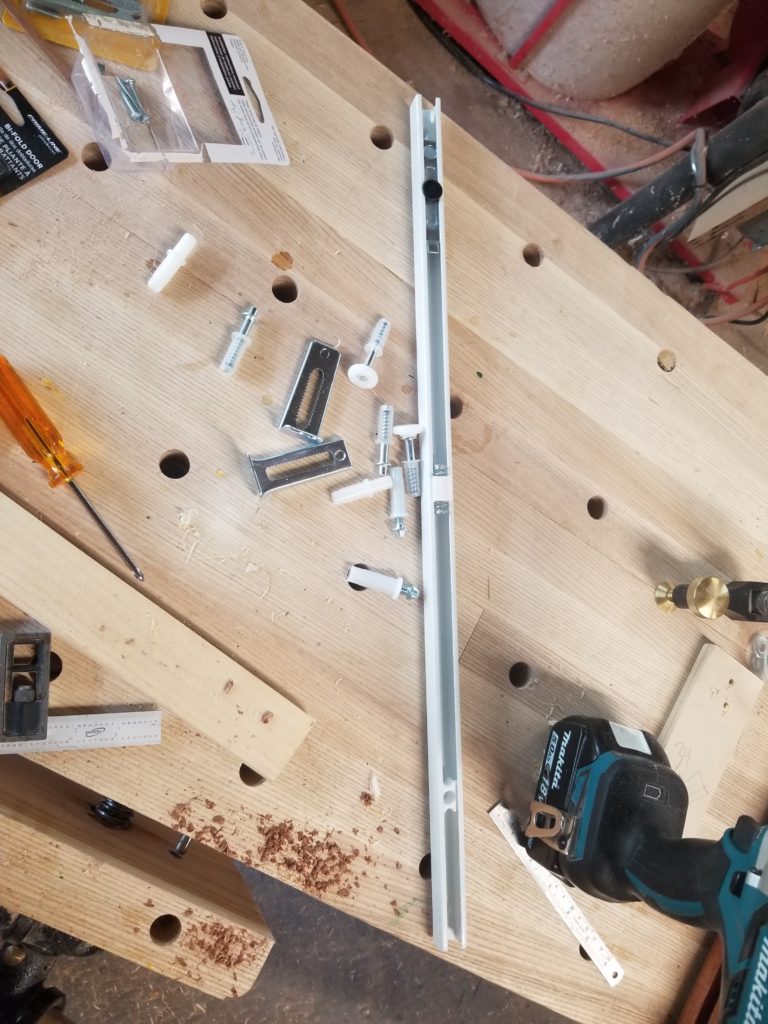
I was optimistic that commercial bifold door hardware could in some way be made to accommodate my doors. This, as it turns out, was wishful thinking. My doors are just over 1/2″ thick, considerably thinner than commercial doors, and as such, the hardware just doesn’t work with them. Why not? Well, lemme show you. See this pivot pin (metal with plastic sleeve)?
It’s a clever and useful design, but is also requires a hole nearly the thickness of my doors! If I drilled a hole big enough to take it, there’d be maybe 1/10″ of wood left on two sides to hold it. Any stress would probably tear it right out. No bueno. Wooden pins, on the other hand, can be glued in and when they are, their glued body becomes one with the hole and the surrounding wood, restoring it to full strength as before the hole had been drilled in the first place. Great! Problem solved! Well, except not: the metal pin has a spring to make installation of the doors easier — push the pin down, slide the door under the track, let the pin spring out and lock the door in place. Easy. Convenient. With these wooden pins, there’s none of that. I had to do some pretty significant shenanigans to install the doors and for sure they’re not coming out without disassembling some things.
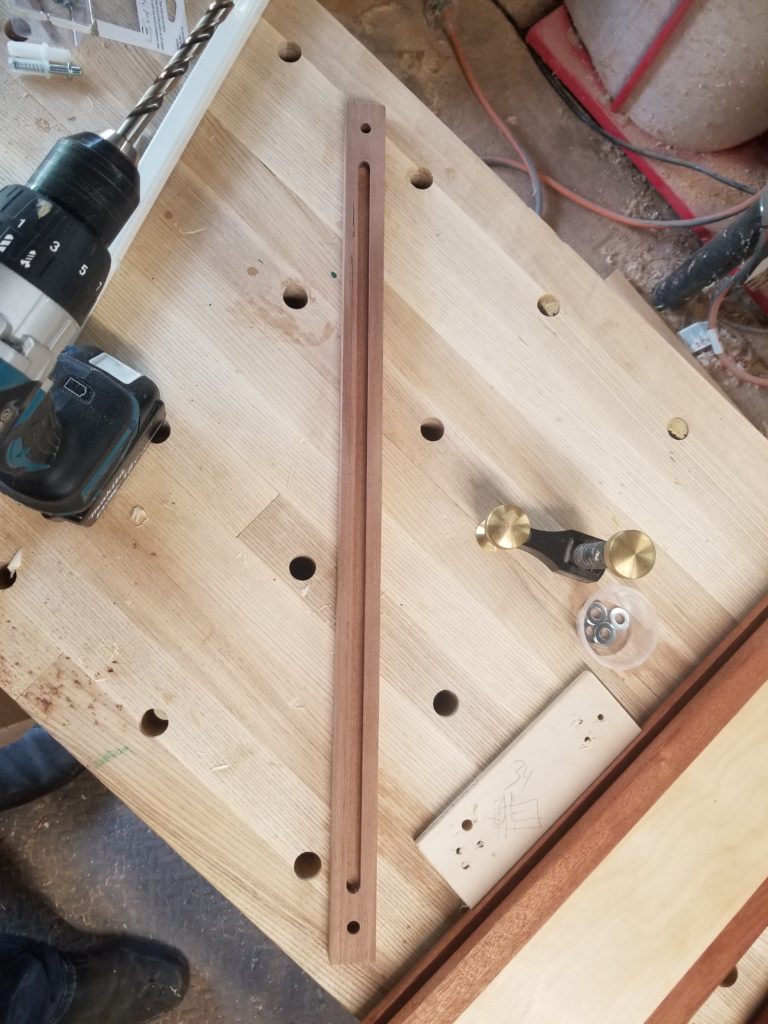
I was hoping that at least the metal upper track I could use, but no, it made no sense without the commercial hardware to go with it. Okay, then, time to visit the router table and make my own track!
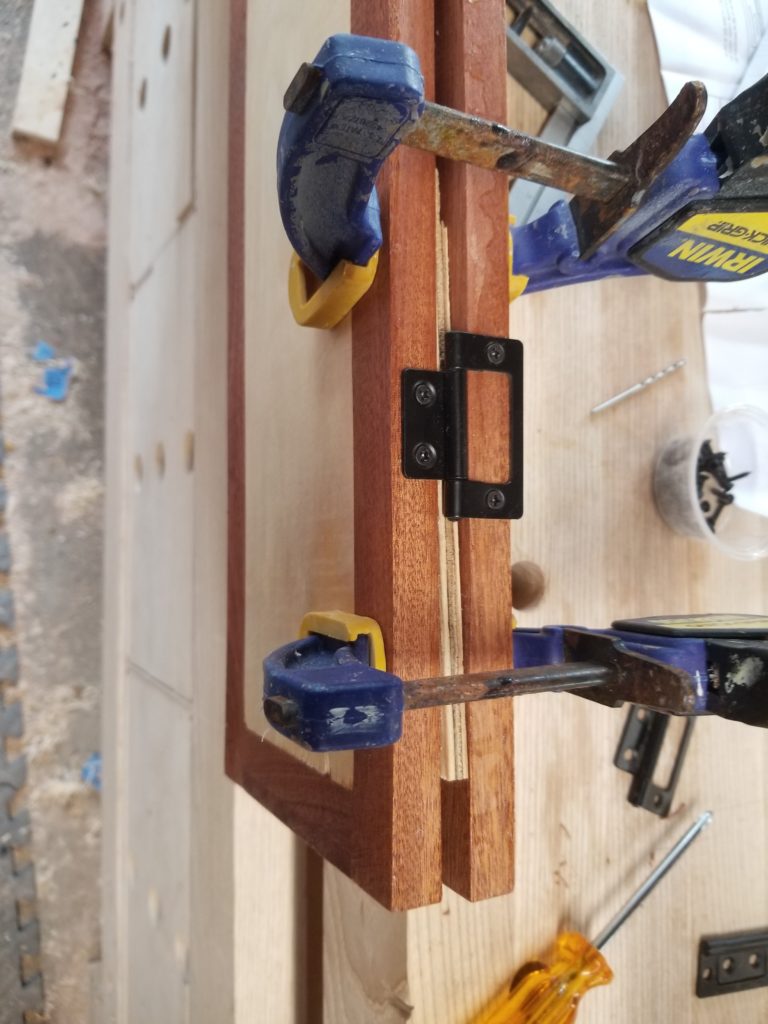
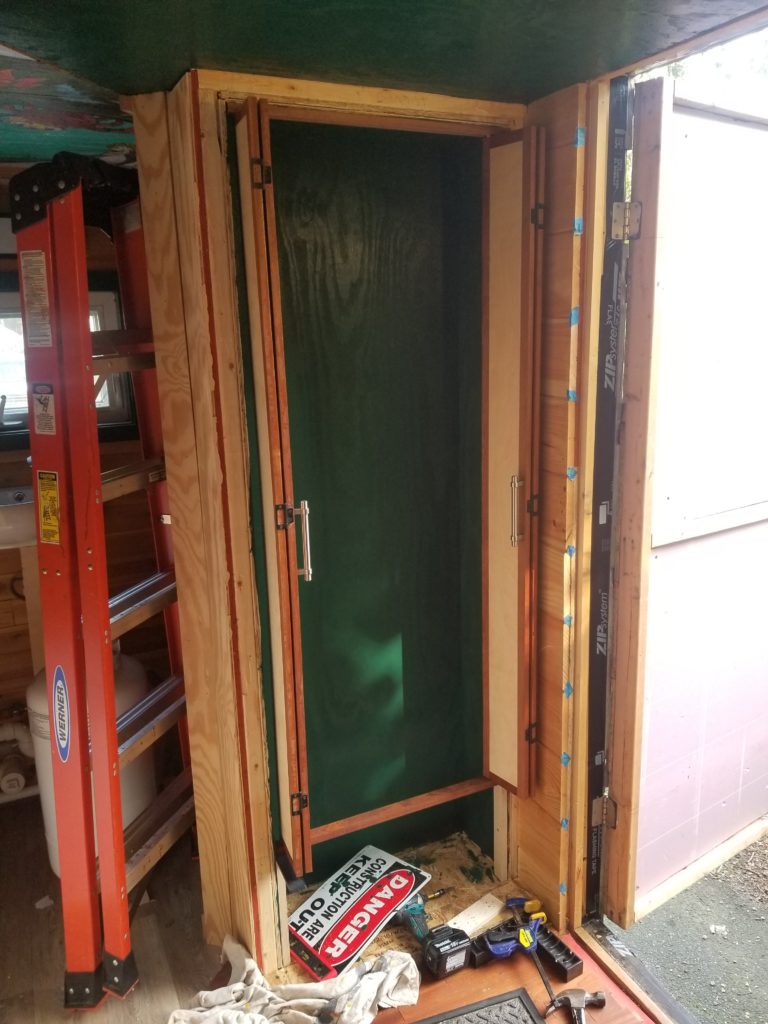
Gotta install the door-to-door hinges, too, to get that bifold action going.
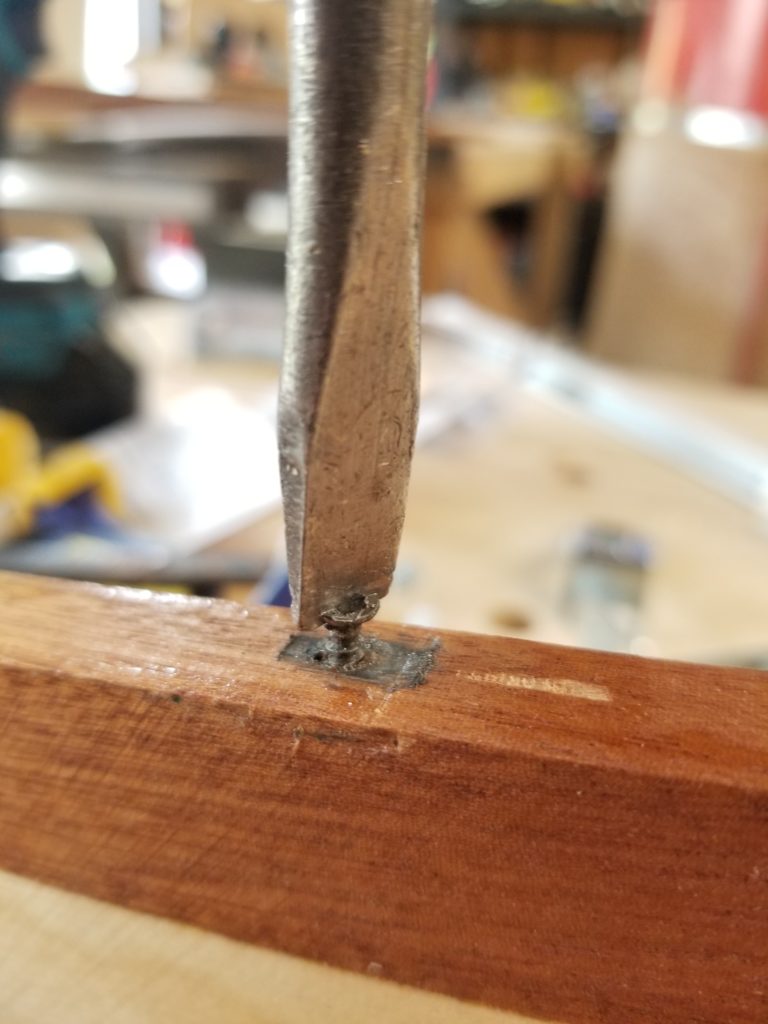
But not before discovering that not unlike the concealed hinges, these, too, came with The Very Cheapest Possible Screws. Several of them stripped as I tried to remove them. MultiMax once again to the rescue, cutting a slot across the stripped philips head so I could use a flat screwdriver to remove them.
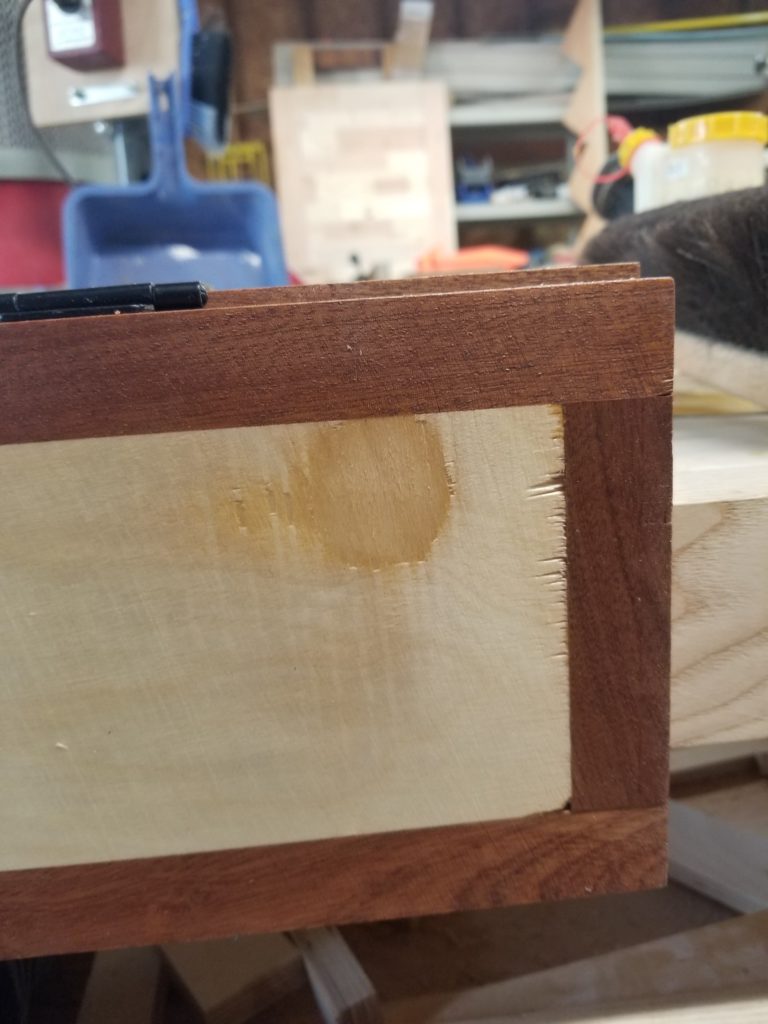
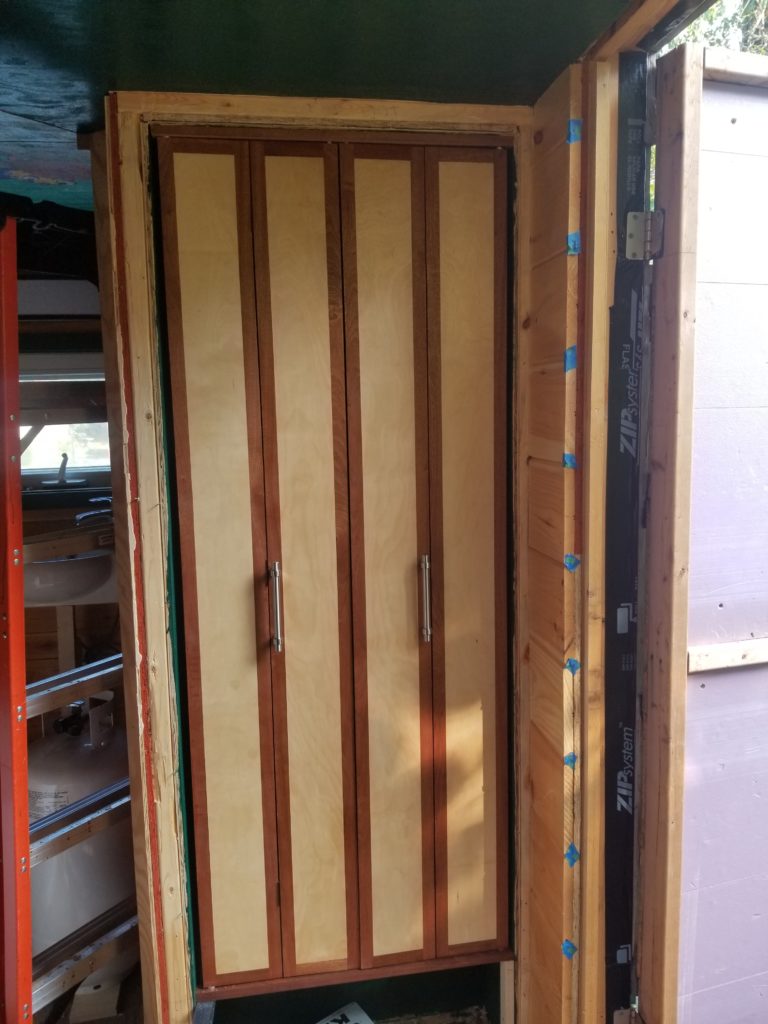
Ultimately, I did get the doors installed and reasonably true in the opening. And I must say, they look pretty nice!
There’s some case trim missing, as well as finishing out the boot dock below, but you can see the closet taking shape as-is. Why the super-narrow doors? Well, the closet opening is about 25″. The real entry door will open inward, not outward (construction door with pink insulation shown, opens outward). If I used two simple doors, they’d each be just over 12″ wide, definitely interfering with the entry door, which is about 8″ from the front of the cabinet. If I used one 24″ door, it would open super wide to the left, blocking the bathroom entry and being inconveniently large anyhow. Bifold doors mean I can minimize their intrusion into the room. A pair of bifold doors would still be about 12″ wide and even if they retracted to the left, they’d still interfere with the entry door, as well as protrude much into the foyer when the entry door was closed. These 6″ wide doors solve all that neatly. They’re made of cabinet plywood (except the hardwood borders), so they are also pretty darned stable dimensionally speaking, as well as very stiff. That wasn’t enough to keep one of them from warping a little — I’ll need to put an alignment block in the middle at the bottom to encourage it into its proper position.
What’s with the blue tape? They cover little holes where the tongues and grooves of the facing boards come together. It turns out that those little holes look a lot like home to various species of bees… best to exclude them while I’m spending so much time with the door open! The final entry door will have a jamb there, covering those holes.
There were some drawer bodies piled in the corner where the fridge now lives. Obviously, I will need to put them somewhere else now that the fridge is where the fridge is. Might as well actually install them, eh? Well, for reasons inexplicable, these drawers didn’t even have their utility fronts, let alone their decorative fronts, so the first thing I had to do was close them up. As any woodworker will tell you, there is no such thing as having too many clamps.
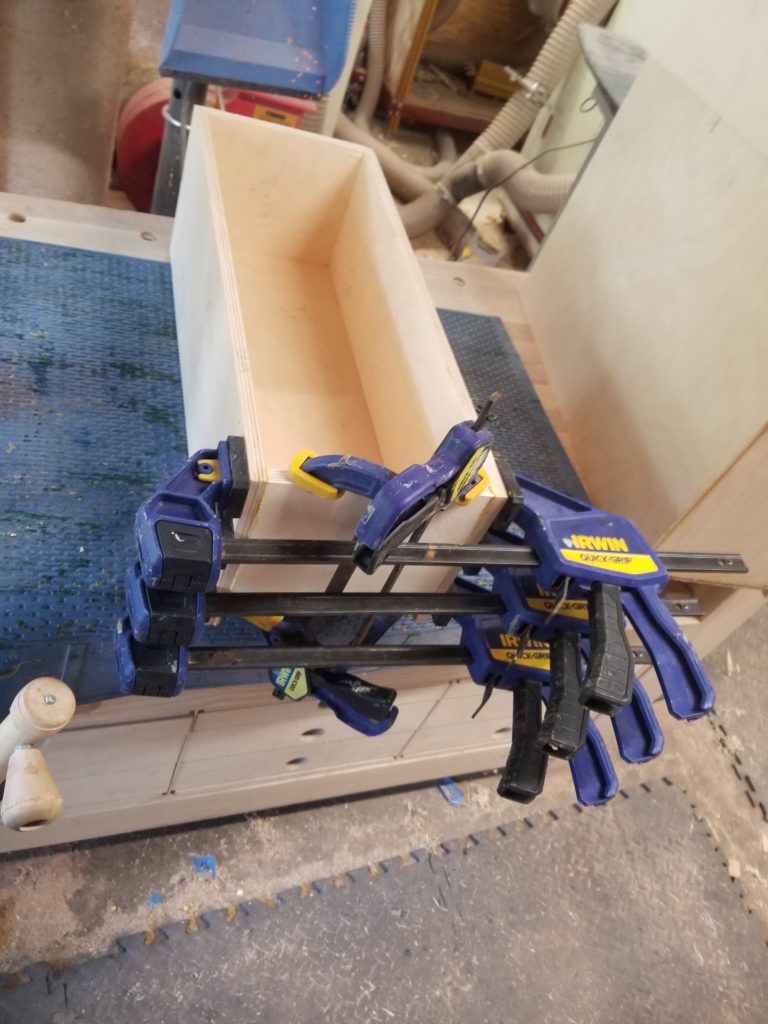
That also applies to any specific clamping task, as well as to inventory generally 🙂
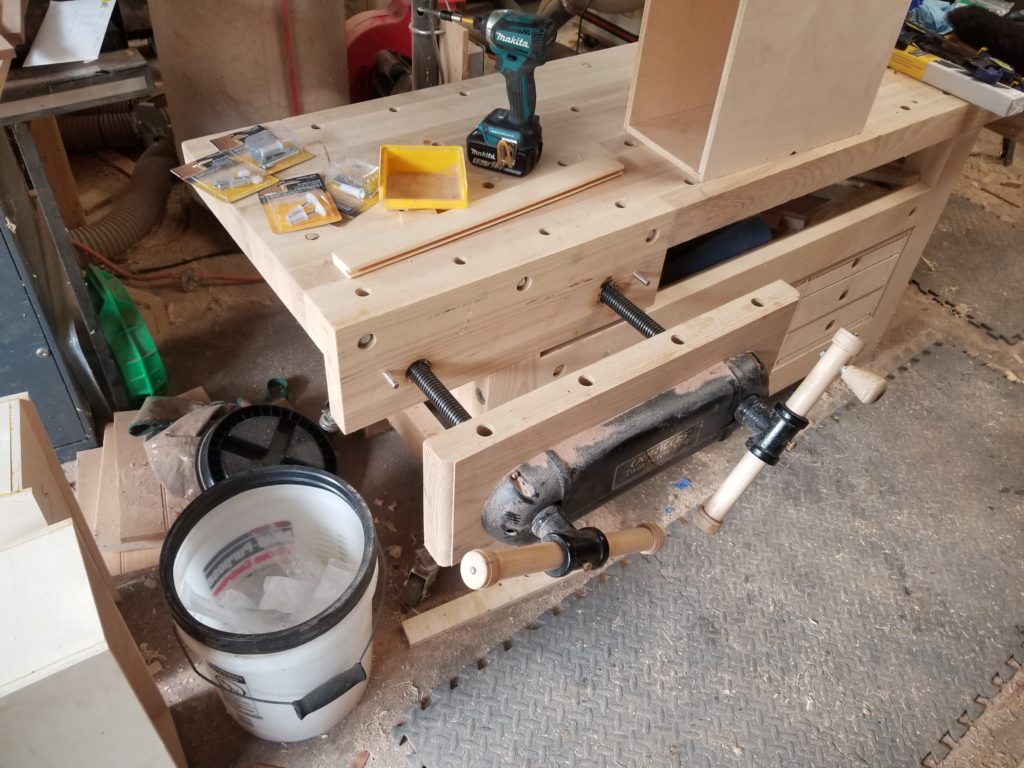
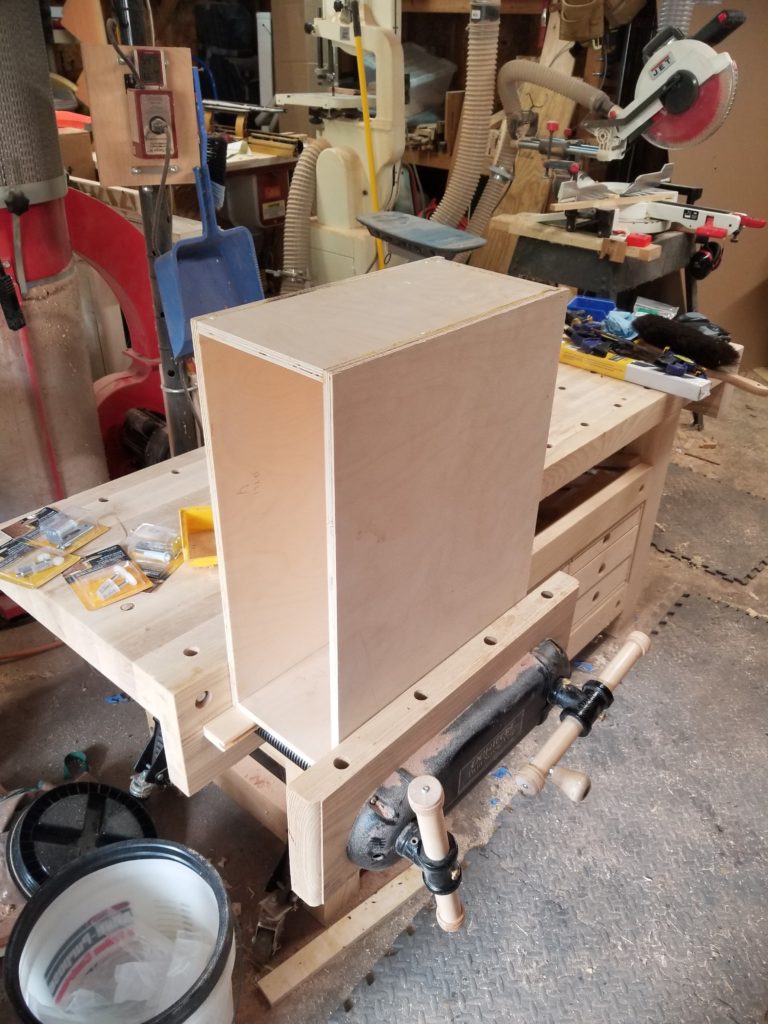
Drawer fronts installed, it’s time to clean up any glue crud or misfit edges. To do this, each body gets a visit from the block plane. And because I thought having a monster 24″ wide x 12″ capacity vise on my bench was a good idea when I made the bench, it was extra easy to hold these drawers in place for planing.
Lastly, installation of the little clips that hold the undermount slides to the drawer bodies.
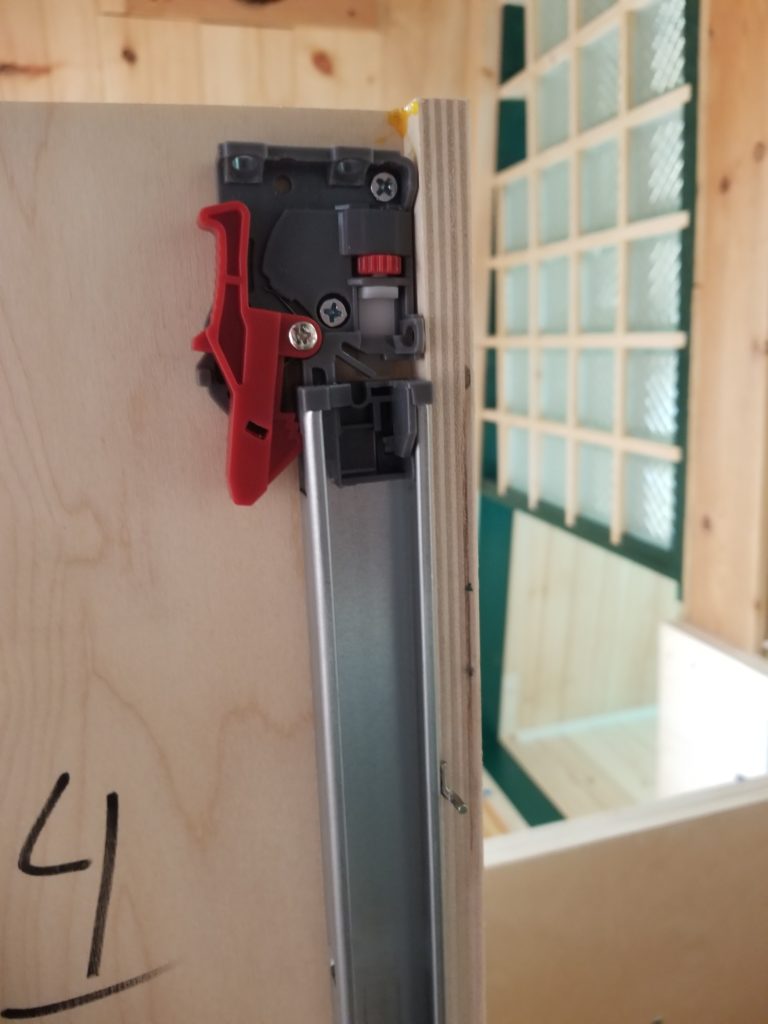
I had my doubts about these when I met them. They look like the red pawls are meant to engage more deeply, but that was only possible by really forcing them in hard and fussing with the system under compression. That didn’t seem right. Maybe the clips are designed for use with different slides and this is the proper degree of engagement for these slides. In any case, this appears to be sufficient and not being interested in forcing them, this is what I have and it works well enough.
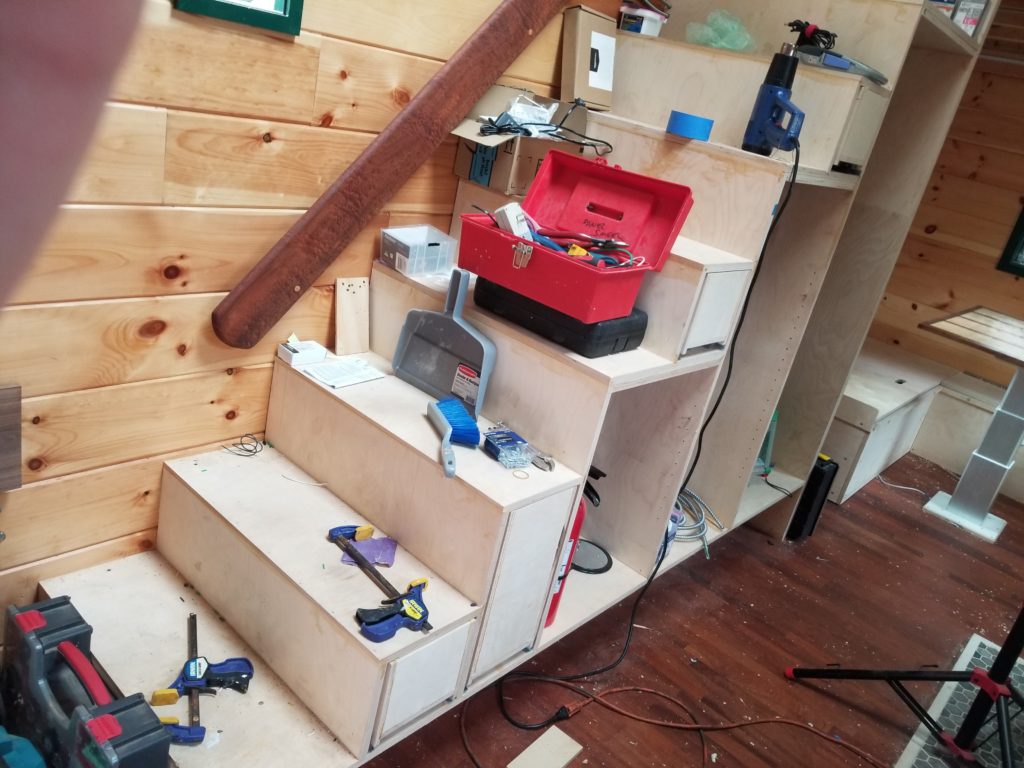
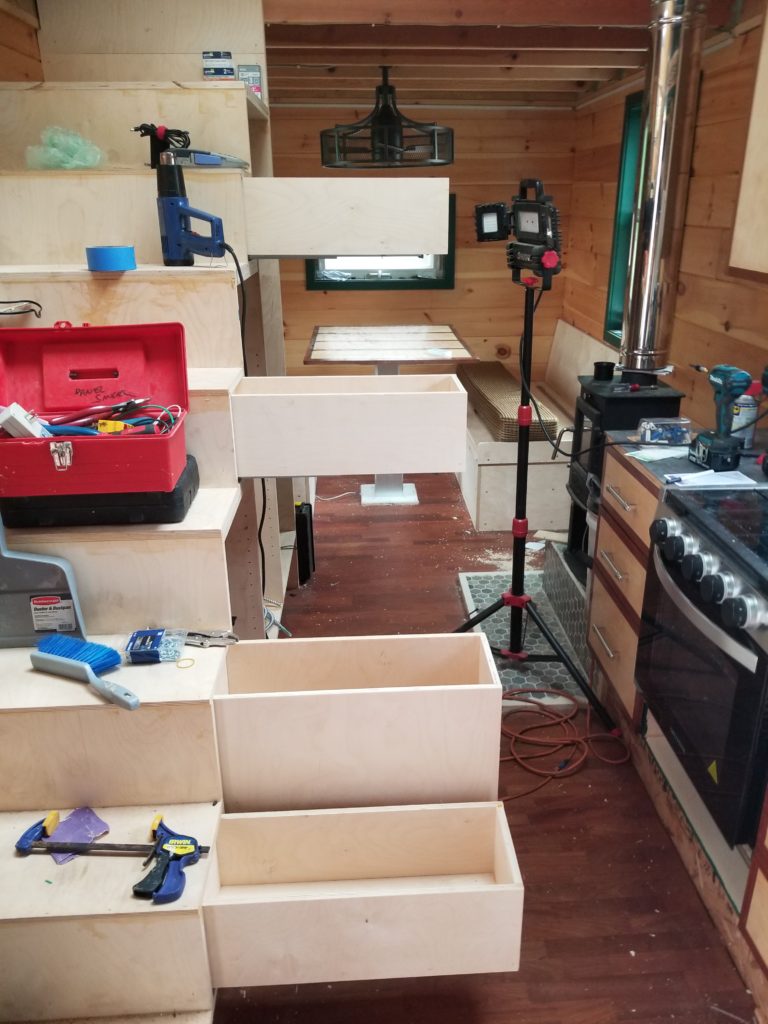
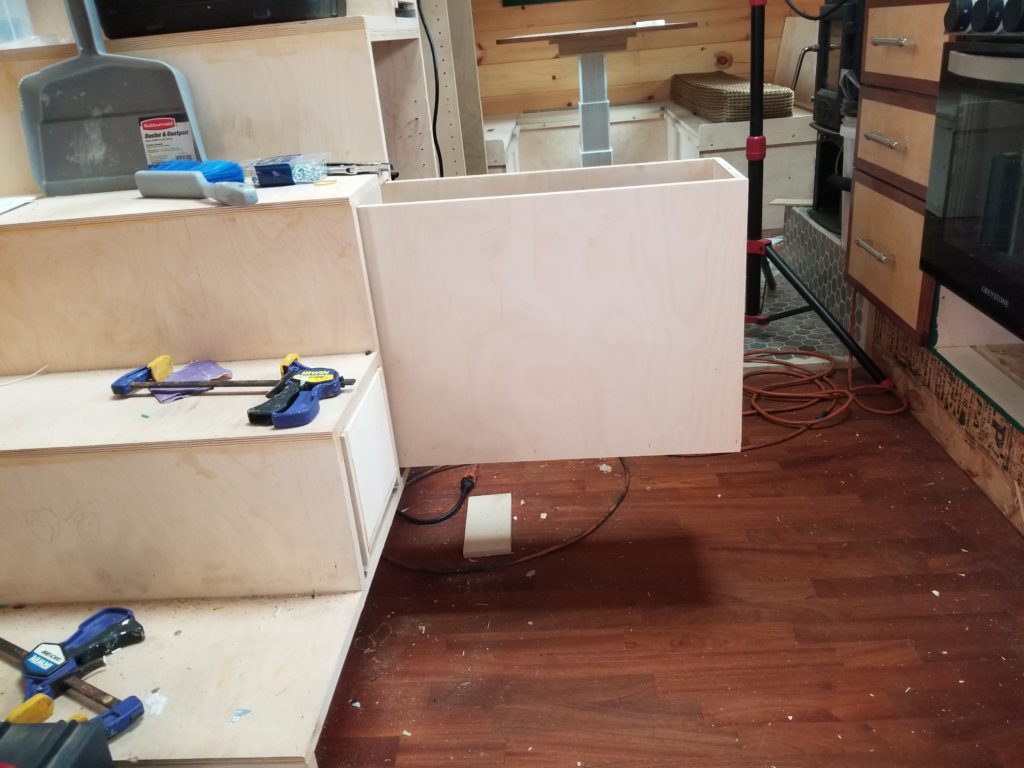
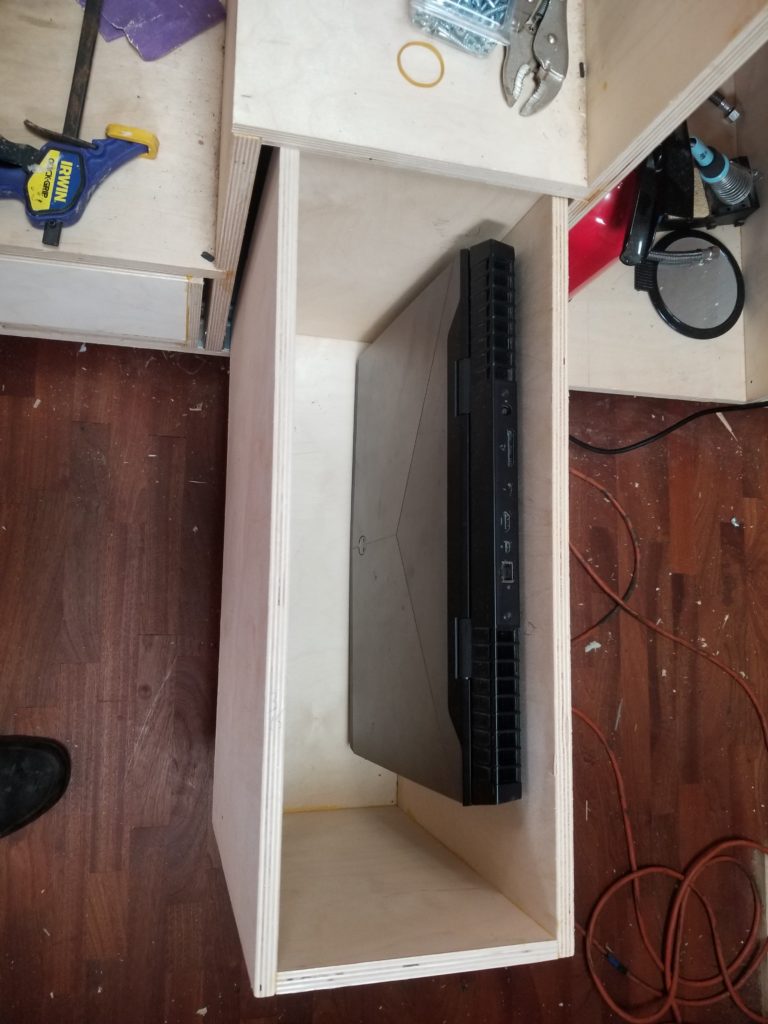
Presto! Four under-stair drawers. I’ll still need to make nice matching fronts for them, but at least the drawer bodies are out of the way and the storage stairs are incrementally more done. That second cabinet is oddly tall but that’s just what it had to be given the construction of the stairway. That said, it is not without utility…
The tall aspect makes it a little wobbly on its narrow footing, but since it doesn’t extend past the housing of the stair body, and due to features on the backs of the slides that engage the rear of the drawer box itself, it doesn’t actually fall off the slides, it just wobbles a little when it’s out. Plenty of room for my big laptop with space left over for the charger brick, too, for that matter.
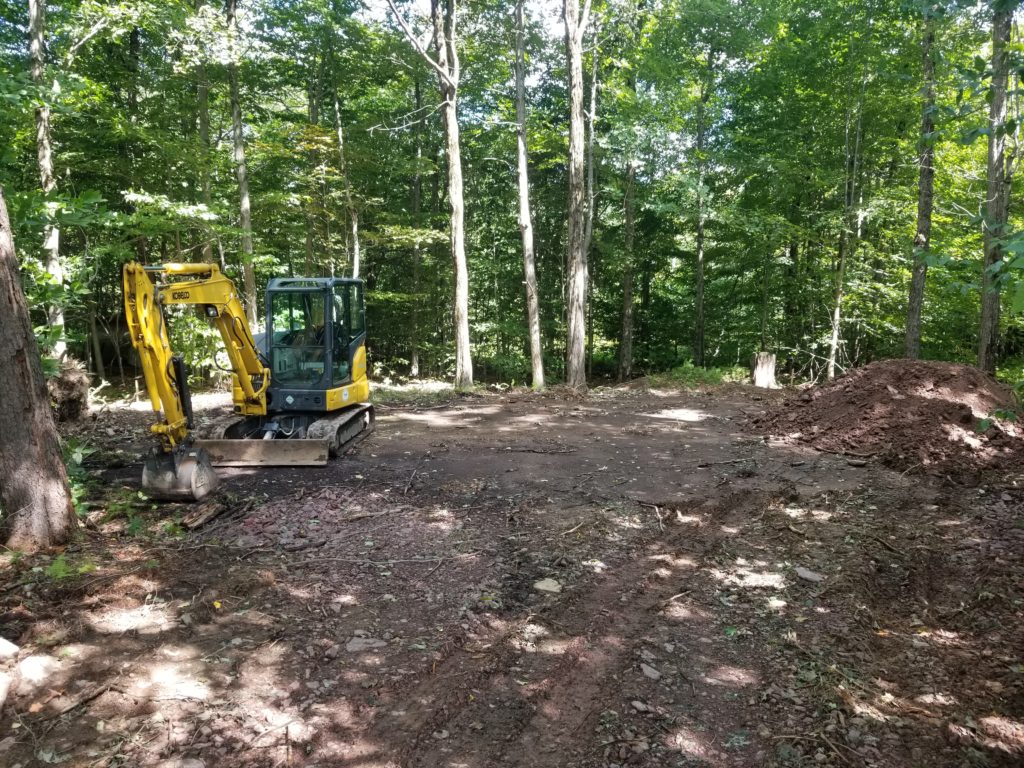
And lastly, I went on a site visit recently to meet with the excavator who is preparing the land for The WOG and all the other things. Ground breaking for The WOG is actually slated for one week hence! We went over lots of details, with none of which I’ll bore you today. I will, however share a few snapshots.
He had just started bringing in fill to level out the pad for The WOG (left). As it happens, his equipment was parked such that the bucket was pretty much exactly where the office part of The WOG will be. The executive washroom will be to the left of the machine. The mud room to the right, followed by the garage entry.
And I leave you with a metaphor apropos of the changes upcoming in my lifestyle. Trading slip-on loafers, my everyday shoes, for rugged boots.
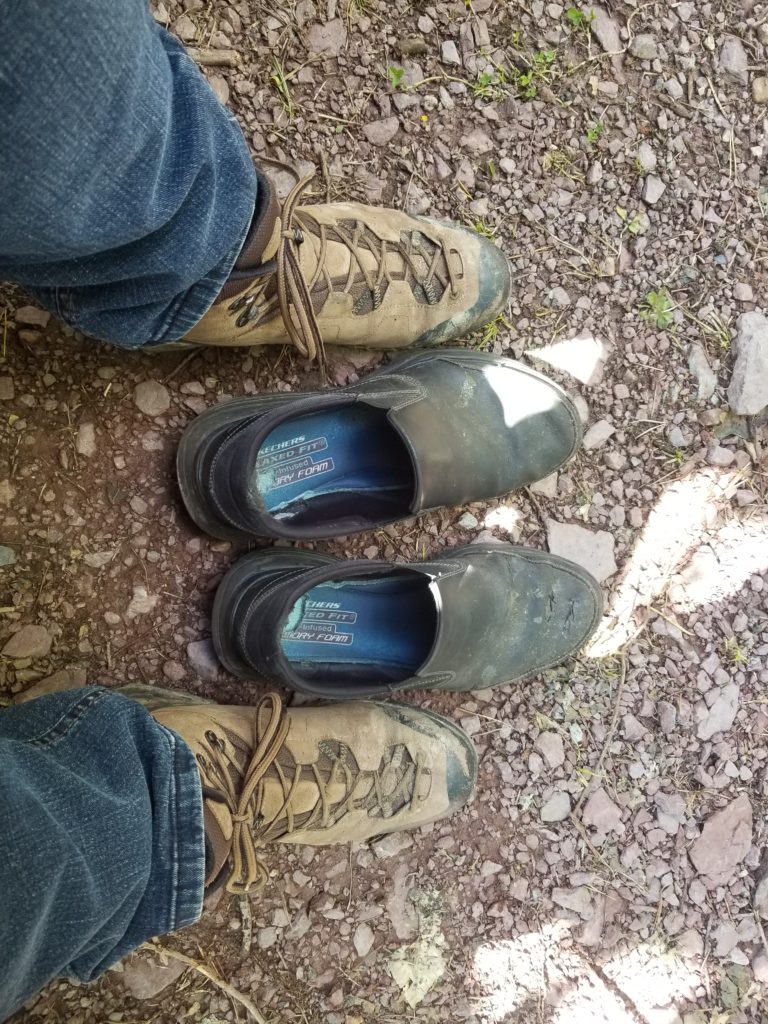
If I were to wear the loafers on site, they would be sucked right off my feet by the mud in seconds. They’re no match for the terrain more generally, either, for that matter. This does mean my policy of a no-shoes house will need some refinement — or my footwear will. Taking these boots on and off is bit more trouble than just slipping off the loafers! But then, that’s why I have a keister coaster…
