The first step to install the bednette lift is to fasten it to the floor. The first step to fasten it to the floor is to realize that the control & power cord for the column needs to be accommodated. That accommodation takes the form of a piece of plywood slightly thicker than the cord’s diameter, with a slot cut to let the cord escape. This essentially becomes a spacer gasket. Once that spacer is fabricated, the first step to attaching the column to the floor is to pre-drill the holes. The first step to pre-drilling the holes is to mark where the holes are in the mounting flange of the column.
So I do that (black dots). Then drill clearance holes. Now it’s time to pre-drill for the screws that will go through the flange, through the spacer, and into the floor. The floor is hardwood and thus really needs pilot holes for the screws. Using the spacer gasket as a template, I just tap a pointy thing through each hole to mark where to drill. Actually drilling through the spacer is of course possible, but the chances of shifting the spacer during that endeavor is pretty high, whereas there’s much more control when simply setting an automatic center punch through the existing holes.
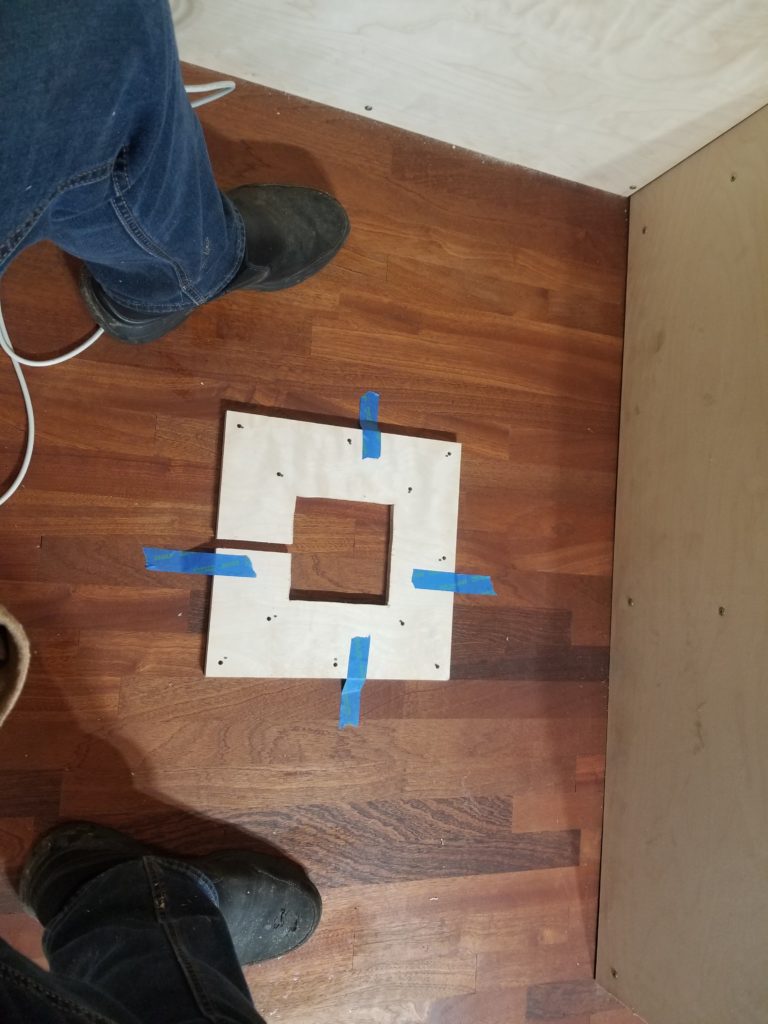
Slot for wire exits left 
The divots left by the center punch are almost invisible on the floor, though, so before drilling, I tag them each with a piece of blue tape. Then it’s drill, baby, drill.
The original plan to use a limit switch for the lifting column turned out to be a non-starter — or at least a non-finisher — the solution proposed by the column rep didn’t fit my needs. I did come up with a solution, though: instead of reliance on a limit switch, shim up the table top so when the column is in its fully retracted state, the table is at precisely bed height. That way, I can just send it down to end-of-travel and have it be where I want it. For table mode, any height that’s high enough is fine, it’s the low position that must be exact so the bed surface is level. There’s another thing: the column can only bear about 200#. Actually, I suspect that’s its lifting rating and that its static rating is much higher, but still, I already weigh considerably more than that, before the weight of the bed and bedding, so I want to supplement the table support when it’s in bed position. No problem – just install some cleats around the bednette benches so when the table lands at bed position, the table is supported on 3 sides as well as by the column. Great, problem solved!
No.
It turns out that if the column loses power, it needs to reset by retracting all the way back to its fully retracted position… and then a little further (presumably to calibrate the home sensor — I know a bit about actuators and that’s standard practice), to finally return to the nominal full retraction position. Okay, that then means in some cases the column has to retract beyond its lowest nominal point. In many circumstances that might be okay, but if I have cleats around the perimeter of the table which is bolted to the column, they will prevent this homing routine from functioning properly or at the very least put a lot of deflective stress on the table if it succeeds. No bueno. I need to be able to remove the cleats when the table is in any position, yet have them be absolutely secure most of the time. Hm. How to do that?
The answer is in two parts: first, bolt them on and use wing nuts inside the bench bodies so I can undo them even if the table is done. Second, to prevent them from shifting, some self-adhesive 120 grit sandpaper on the cleat backs will immobilize them against the bench face when under compression from the bolts. This adhesive sandpaper trick is commonplace in woodworking — we use it for jigs and fixtures all the time when we need a non-slip surface to hold parts in place when we can’t clamp them as fully as might otherwise get the job done.
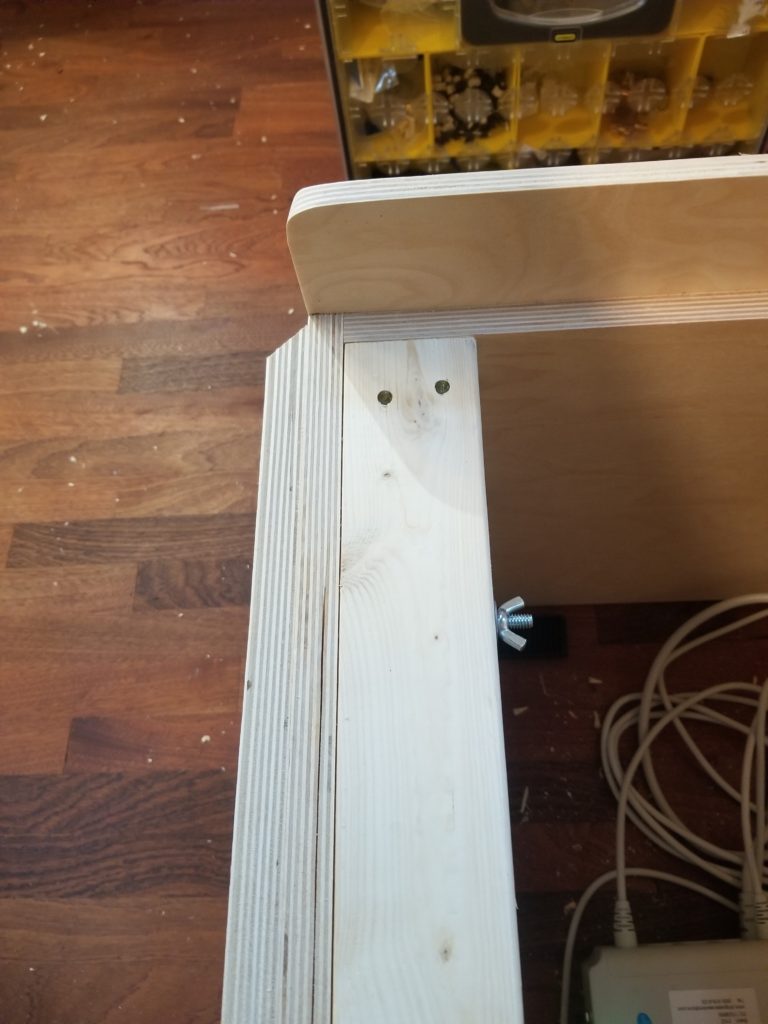
Cleat (with bevel edge) in position with bolt & wing nut 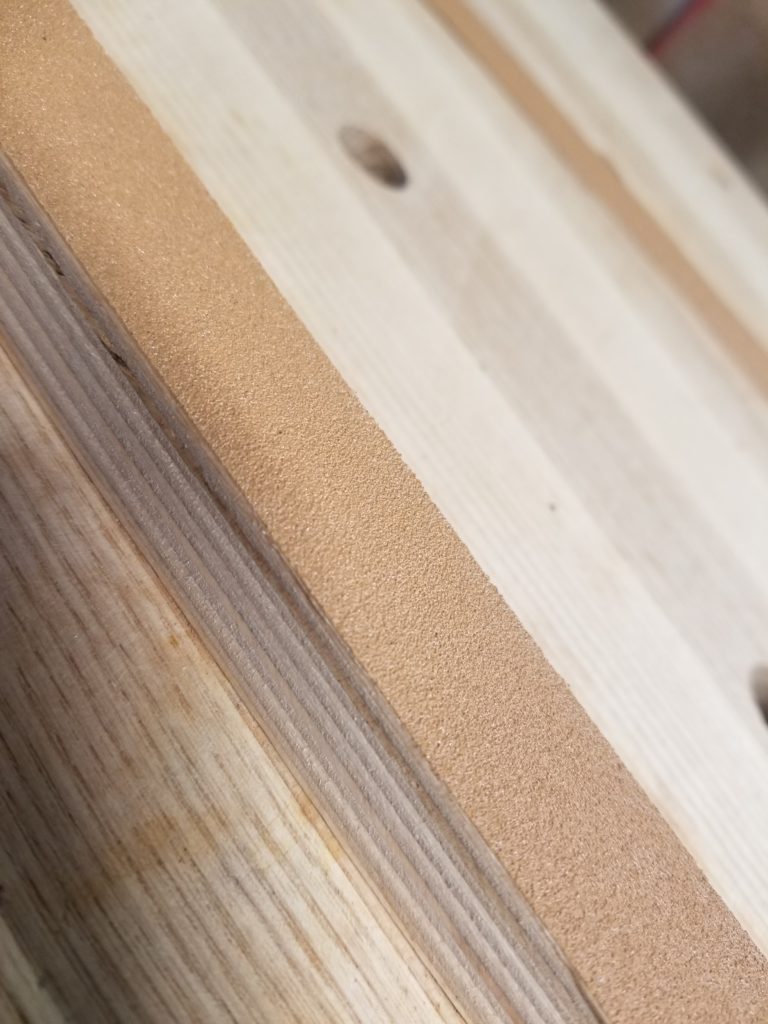
Cleat on bench, upside down, showing sandpaper (tan)
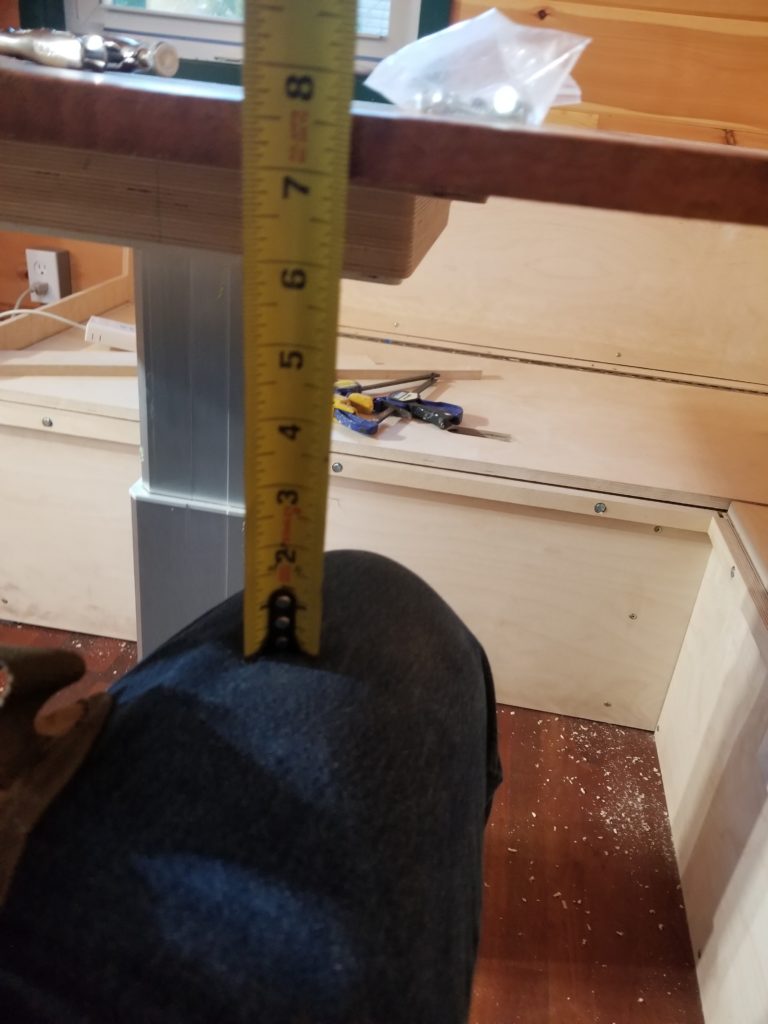
Next step, figure out the size of the shim block I need between the column head and the underside of the table so the table will land on the cleats exactly when the column is retracted normally. I tried a couple of things before realizing the best way was to simply put a straight edge across the cleats, spanning over the column, and then measure the distance. After doing that, I glued up a few pieces of plywood to get as close to the exact thickness as I could.
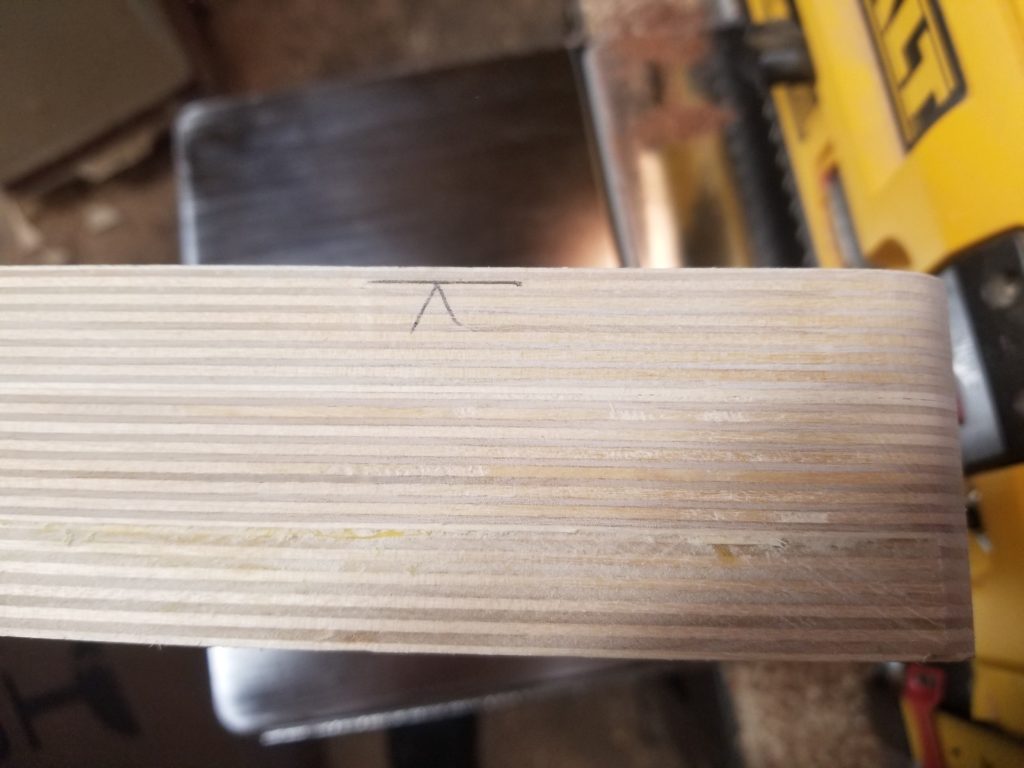

Then into the thickness planer it goes, shaving off tiny slices until I get down to my line. The plywood did not really like going through the planer — anything but the very lightest cut tore the crap out of the surface. I anticipated that, but was still surprised by exactly how bad it was. Fortunately, I noticed right away and took light cuts after that which was sufficient to finish the job neatly. And even if it hadn’t been, this entire block is not generally visible, so it doesn’t matter much, really.
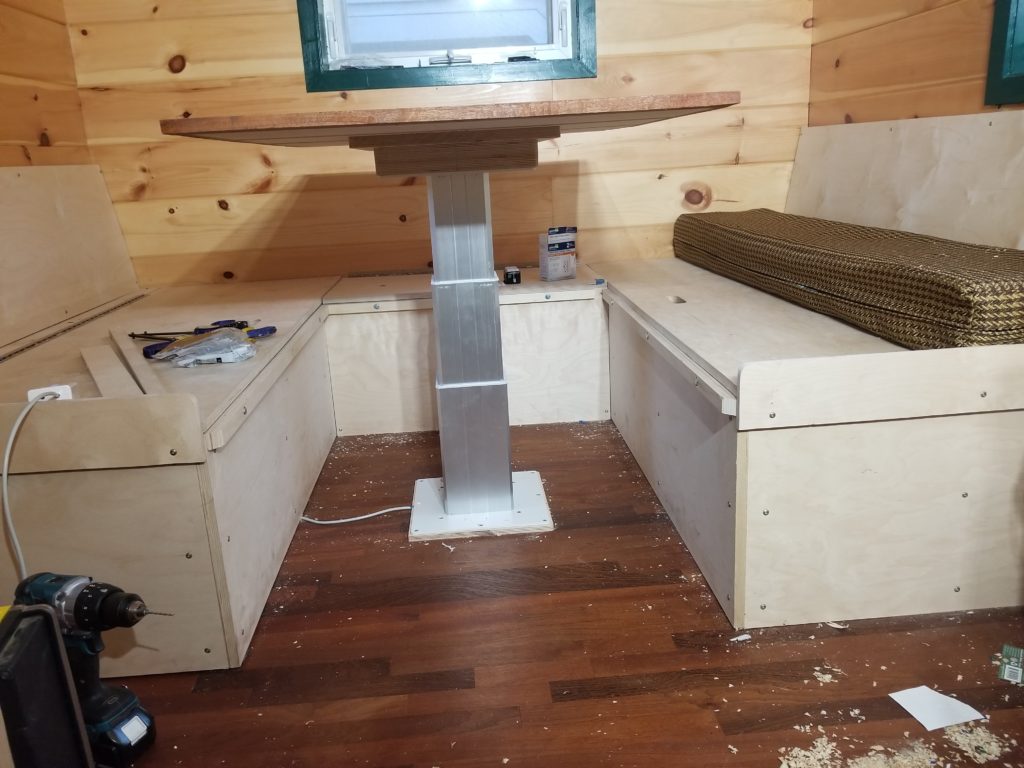
You can see the cleats, the bolt heads, the recess where the table lands, the thick shim block under the table (including a flange which let me screw the block to the table)… and one of the cushions! Only one cushion had been completed at the time of this photo, so that’s the one I have. It is actually one of the secondary seat back cushions and does not go in the position as shown. However, it is the same thickness as the seat cushions which means I can sit on it, see how that feels, as well as check clearance under the table.
With the table as maximum height, there’s plenty of leg room, even for my thick thighs. At this height, the table top is a little wobbly, so for normal use, I’d have it a few inches lower, where it is much more stable. I mean, it’s a pedestal table – they’re not known for being rock solid – but letting the column retract a little makes a big difference and there’s still leg room, so I might as well use it that way. That said, putting the table at max height makes it easier to get in and out of the benches, so maybe that will be the mode – raise it up fully to get in, lower it for stability when seated, then raise it to facilitate exit. Maybe that’s too much trouble. We shall see what actual usage patterns emerge.
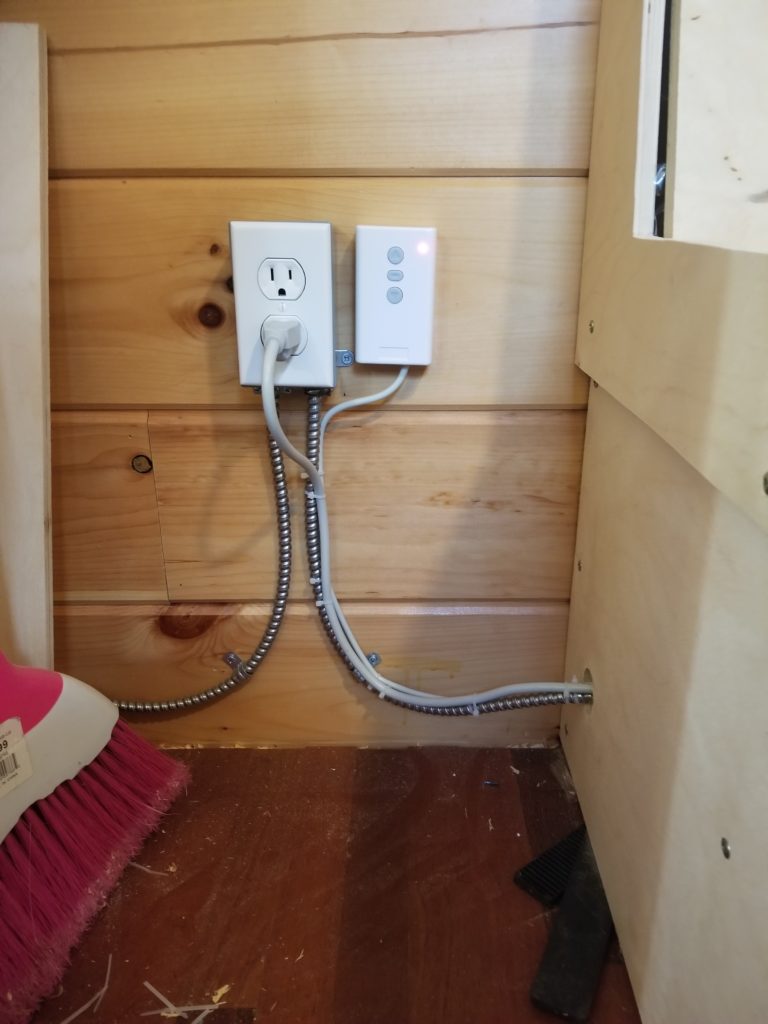
And while there is a remote control for the lift column, there is also a hard-wired control which is required for that homing sequence, so I can’t completely ignore it. I can, however, stash it someplace out of the way. It can live next to the outlet that the column plugs in to.
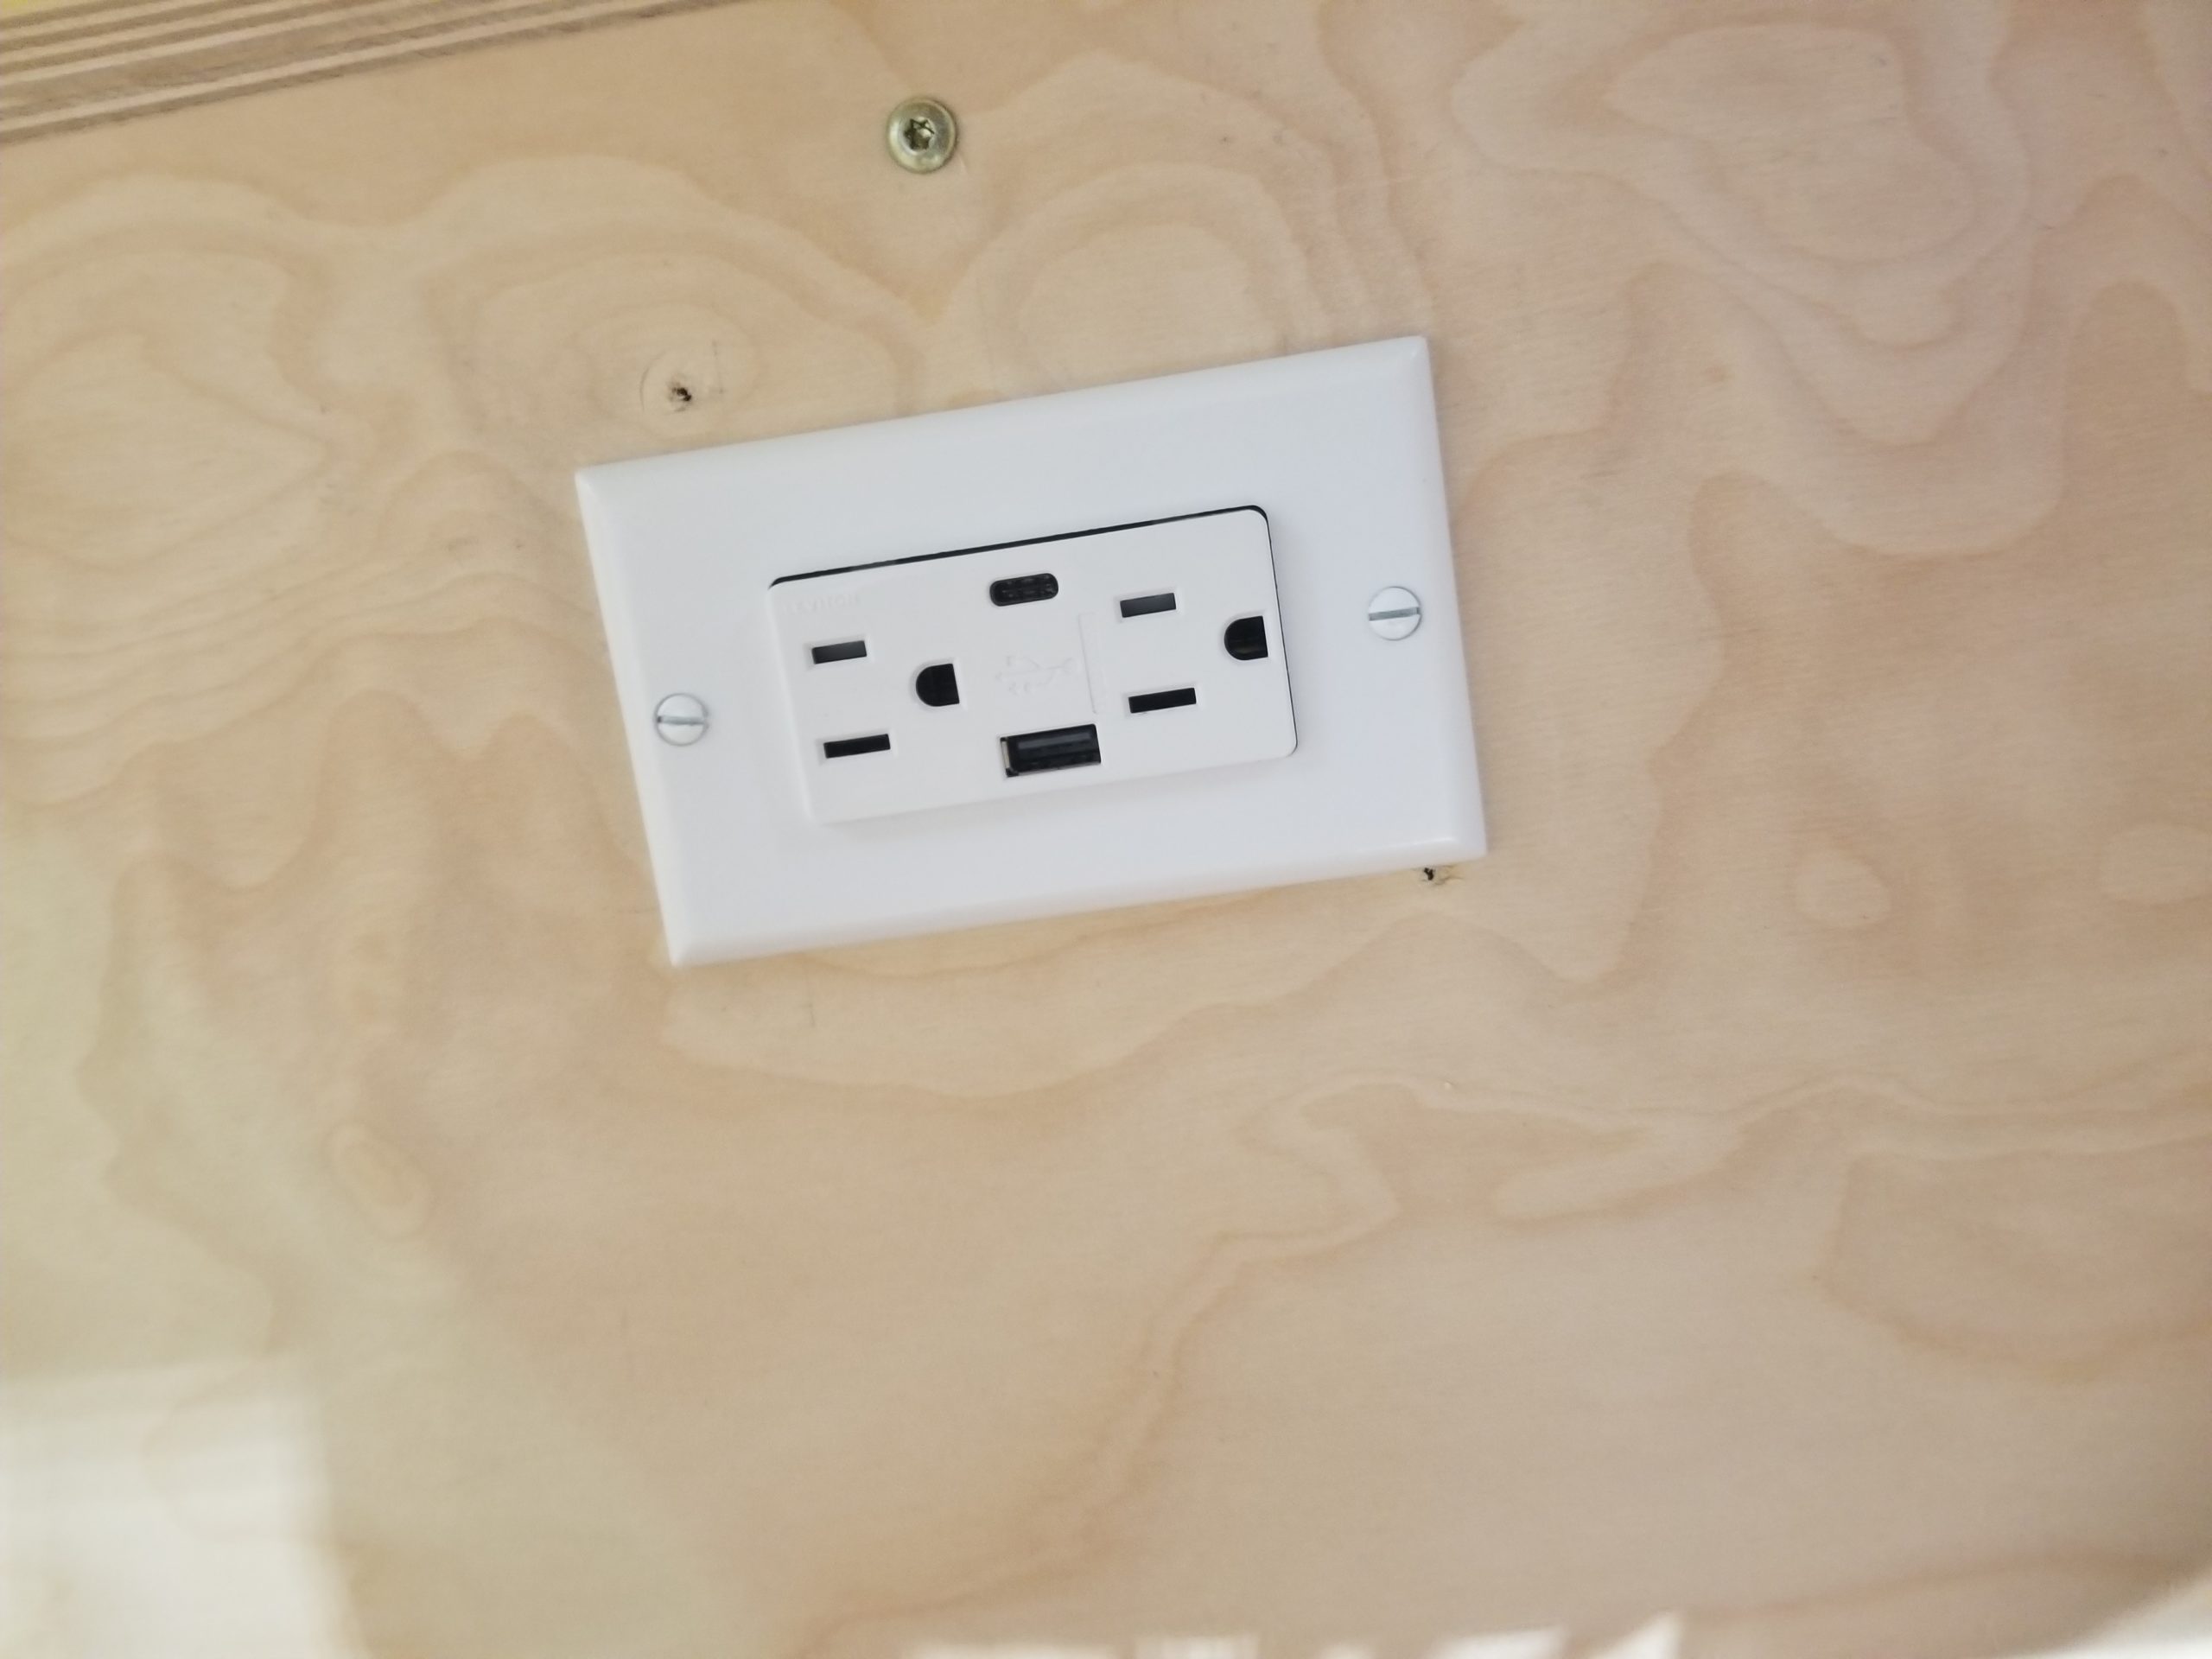
Before we leave the bednette, I happened across something I knew existed but hadn’t really been thinking about recently, the last time I was in the electrical aisle of my local HD: an outlet with USB charging ports built right in. This saves you the trouble of having a charger widget to plug in — and when the outlet is at knee level under the table, that would be especially useful. Of course, the table is already bolted to the column in a way that really does not want to be undone, so if I want to trade out the outlet fixture already installed for this one, I’m going to have to crawl under the table… sigh…

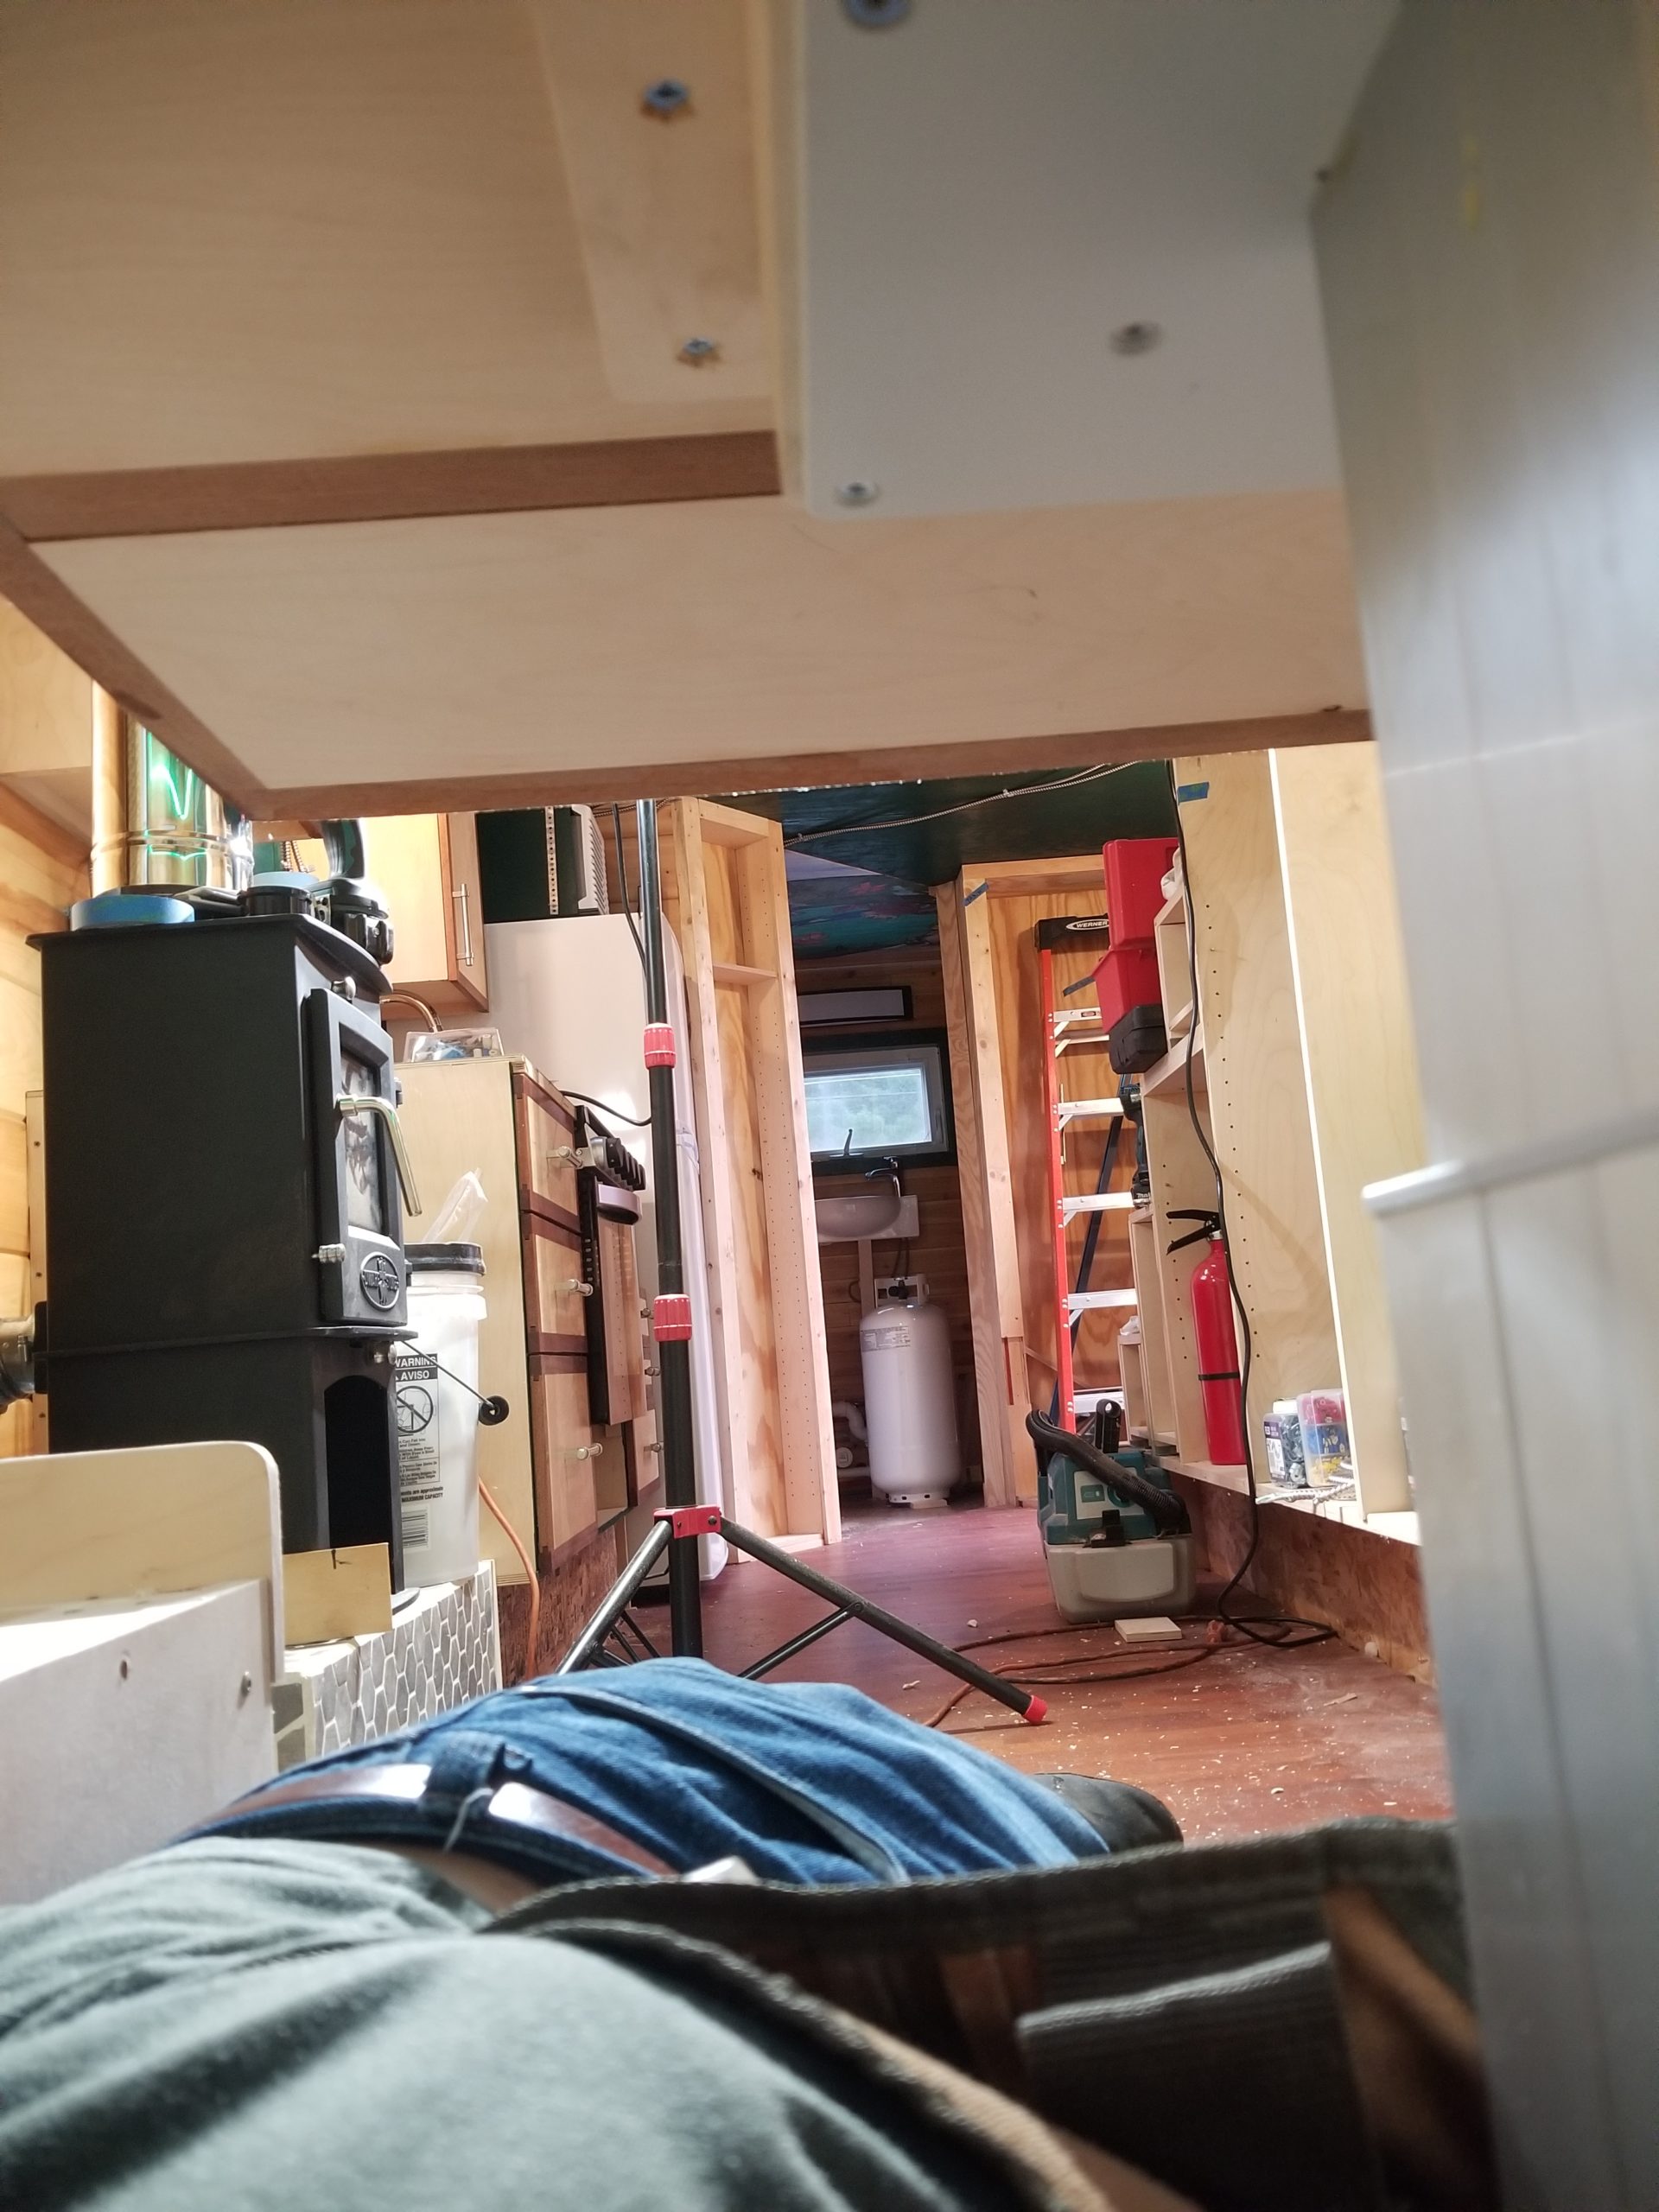
View into the house 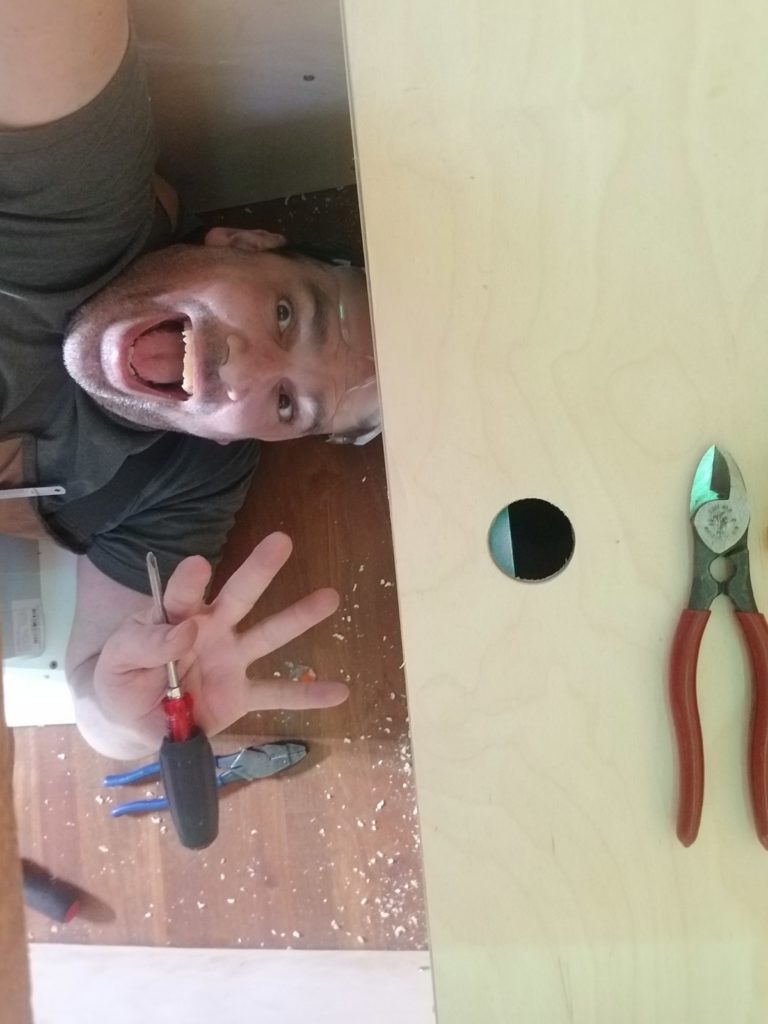
Hi, I’m under the table! 
Outlet is level, camera is not

While I am in fact ready to start fabricating the wood stove heat shield and finish the flue, I haven’t gotten to those yet. It did occur to me, though, that installing the top module of the flue means another trip to the roof and going to the roof is scary because it involves stepping around and off the end of a long ladder. Even with the stabilizer bar on the ladder, this always makes me very nervous. I had an idea – what if I affixed something to the side of the house which I could use both to secure the ladder as well as to provide a hand-hold if I needed one while working on the flue pipe (e.g., cleaning it) from the ladder? That would make both operations quite a lot safer. A pair of stainless steel handles it is, set with 2″ lag bolts, also SS. Of course the holes in the handle flange were 10% too small for the proper lag bolts, so I had to drill those out a little, but that’s fine. Having a workshop means having options.
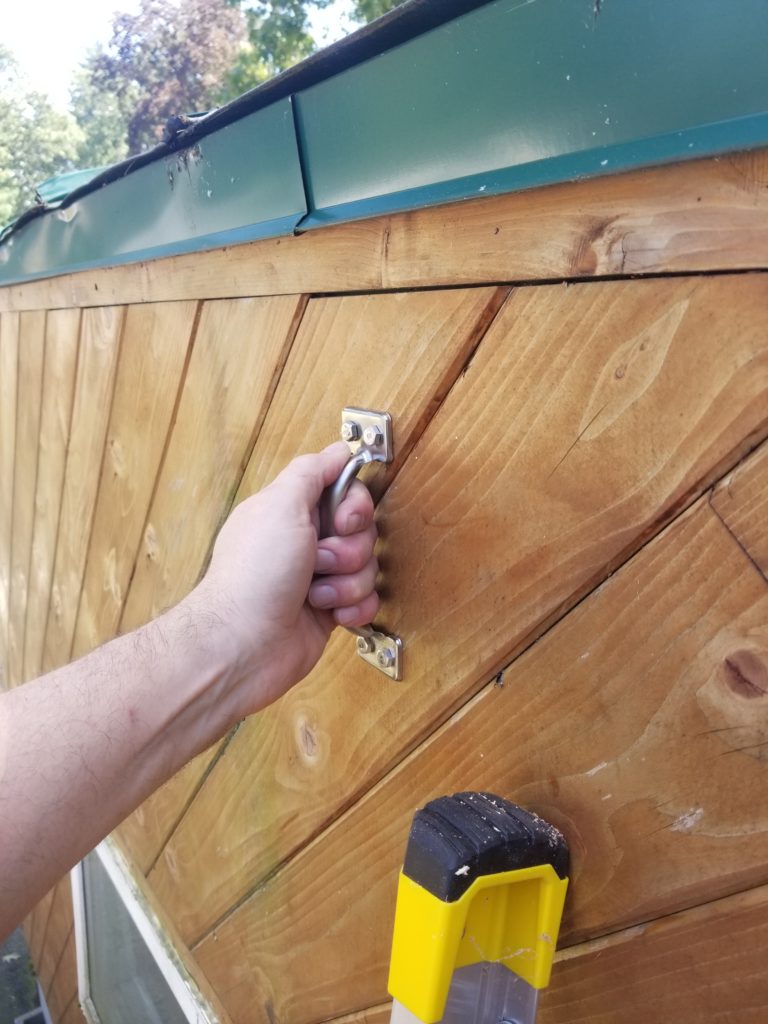
Bolted through to sheathing, not just siding 
Left or right handles for control while working on the flue. Ladder would be placed to the right of the handles to actually get onto the roof. In that case, the right side handle would be used to secure the left side of the ladder, preventing accidental tipping or falling away. When living alone in the forest, this is gonna come in handy. Ladder not shown at full extension for roof access.
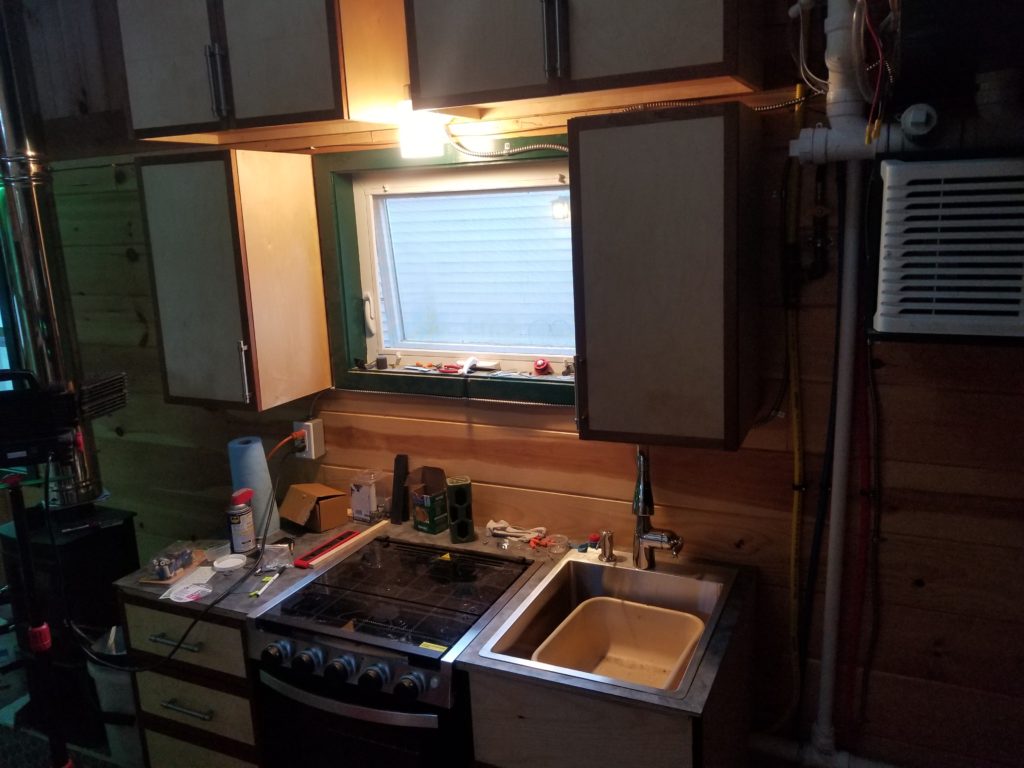
I’ll need some task lighting for the kitchen – it will go directly between the high cabinets. It makes some use of that narrow space and does a pretty good job of getting light on all the counter top space, cooking surface, and sink. I took this picture in the early evening when it was darker, so I could see where the light from this fixture went.
Some of my lighting is 120V AC and some of it is 12V DC. The colorful LED strip lights are DC but so, too, are the kitchen light and the foyer light. This makes it especially convenient to work on the electrical systems, since I can leave the AC system on while servicing the DC, or vice-versa. I don’t have to be in the dark no matter which system I need to maintain. Thus, I can safely de-energize the AC panel to finish the refrigerator circuit and light my work with the DC entry lamp.
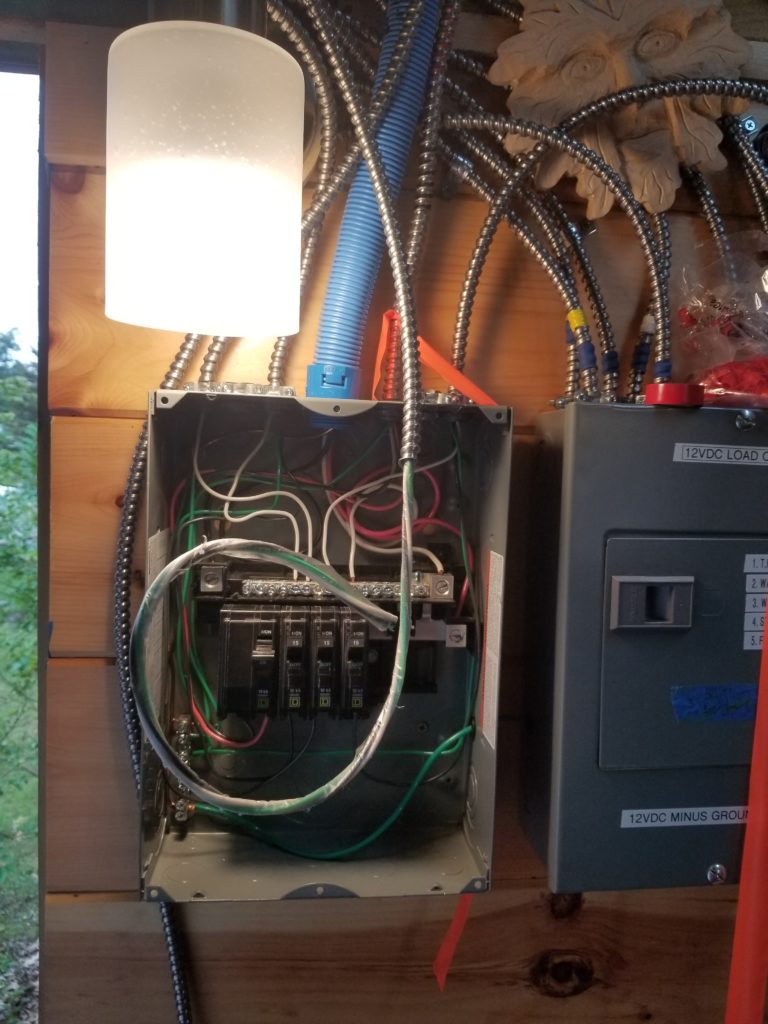
AC Load center powered down – DC lighting! 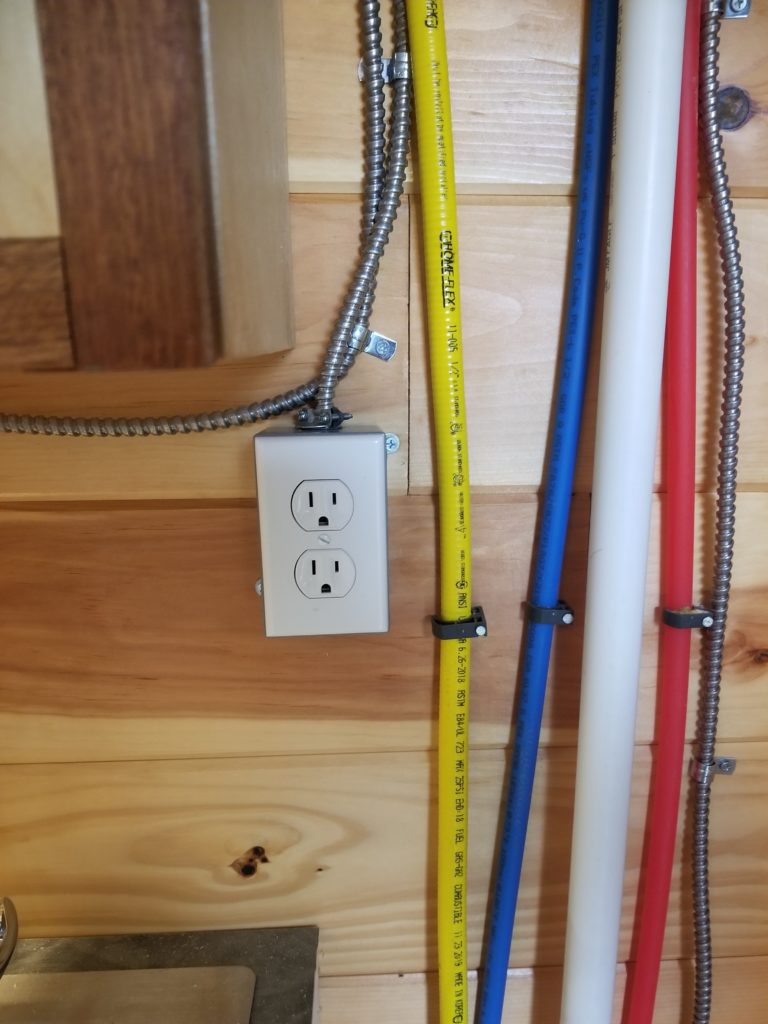
Outlet for fridge
I realized that the fridge outlet is close to the sink and thus should be a GFCI unit rather than a basic outlet. I’ll take care of that soon. I’ve made a note to get back to it.
The reason it was time to install the fridge outlet is… because the fridge is here! Getting the fridge box, weighing in at about 132#, up and into the HomeBox, whose floor is a bit more than 24″ from ground level (remember, there’s wheels under this thing!), was “fun”. There was some pivoting. Some dead lifting. Some using the little step ladder as a waypoint. Creativity was required and deployed as needed. But before anything can be done (install the fridge), something else must first be done! In this case that wasn’t just the outlet, which was the obvious one. Also, the side of the base cabinets needed to be finished as well.
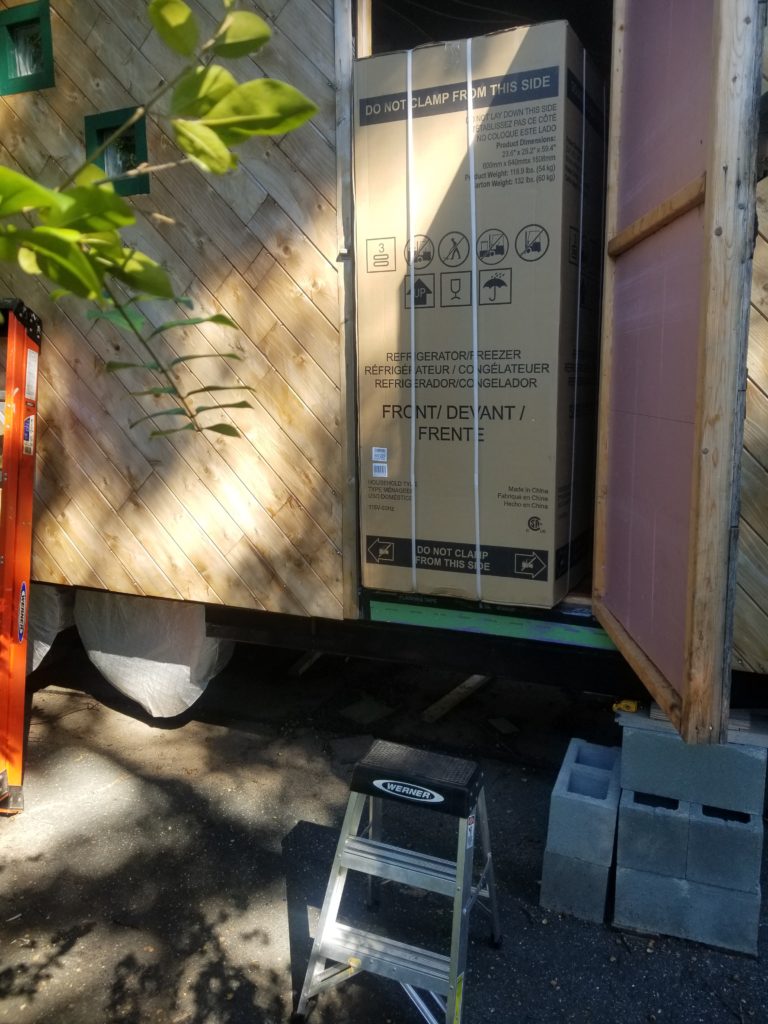
1-2-3-HEAVE! 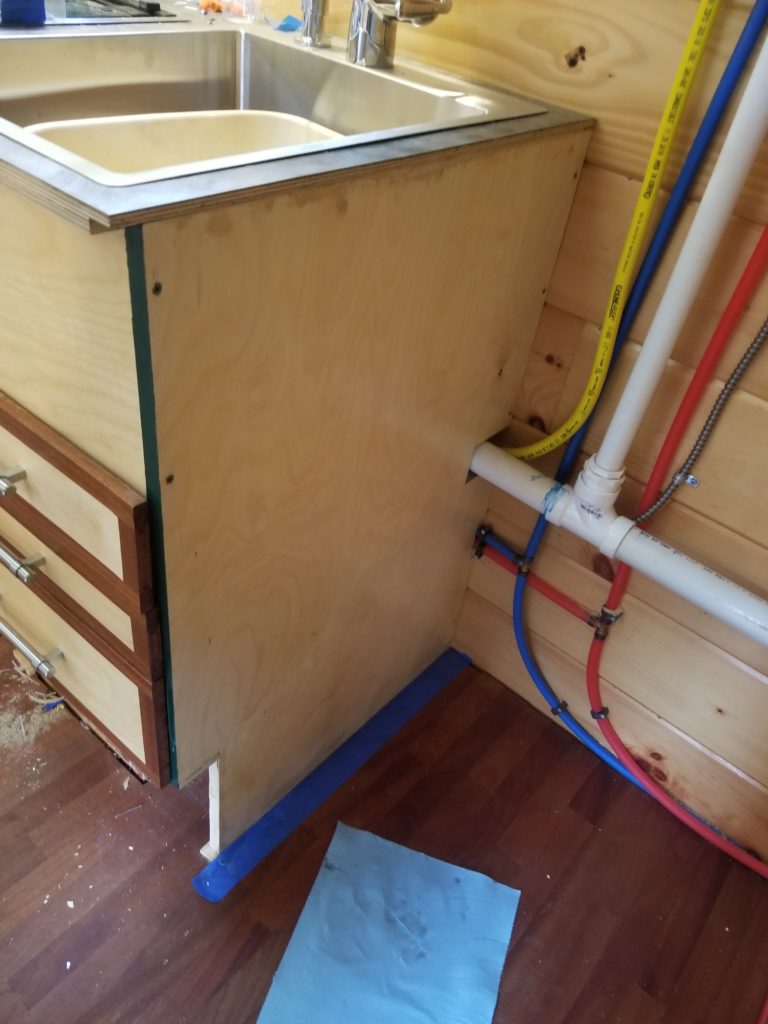
Don’t need to mask the wall, it’s the same finish!