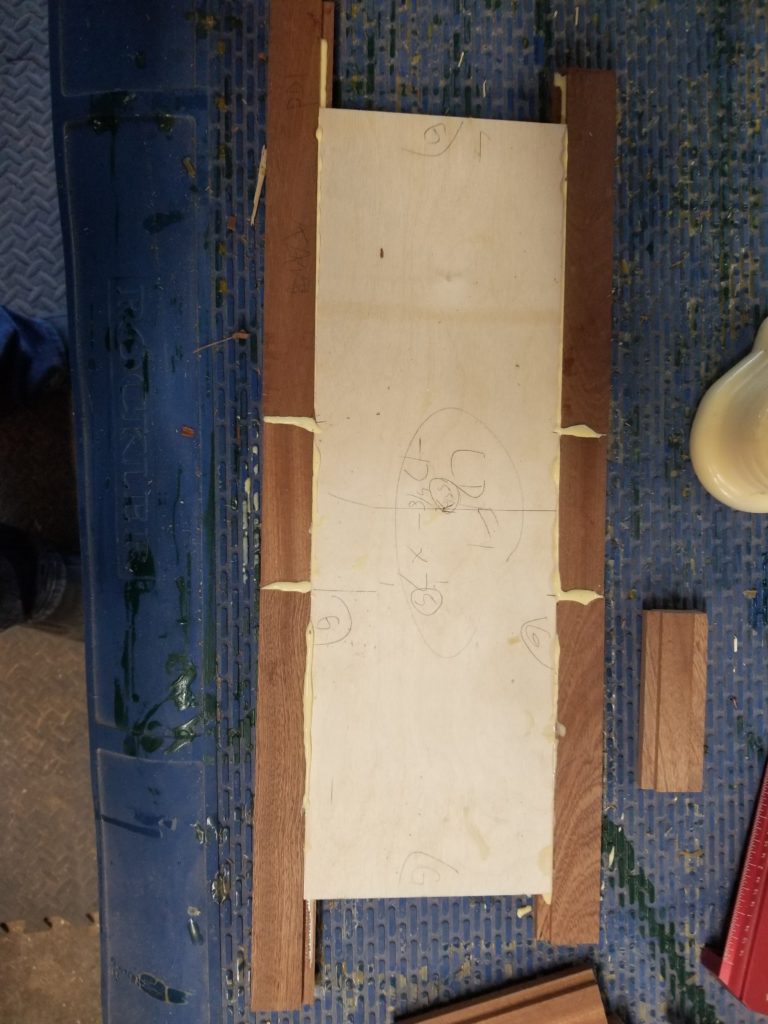
I didn’t quite finish all the panels during Panelpalooza a couple of weeks ago, but they did get finished. By the time I was on the last one, though, I was out of stock that was long enough to span the entire border so instead I pieced it together from off-cuts and whatever was left. It actually wound up looking pretty good – the drawer, when done, didn’t stand out at all.
Before 
After

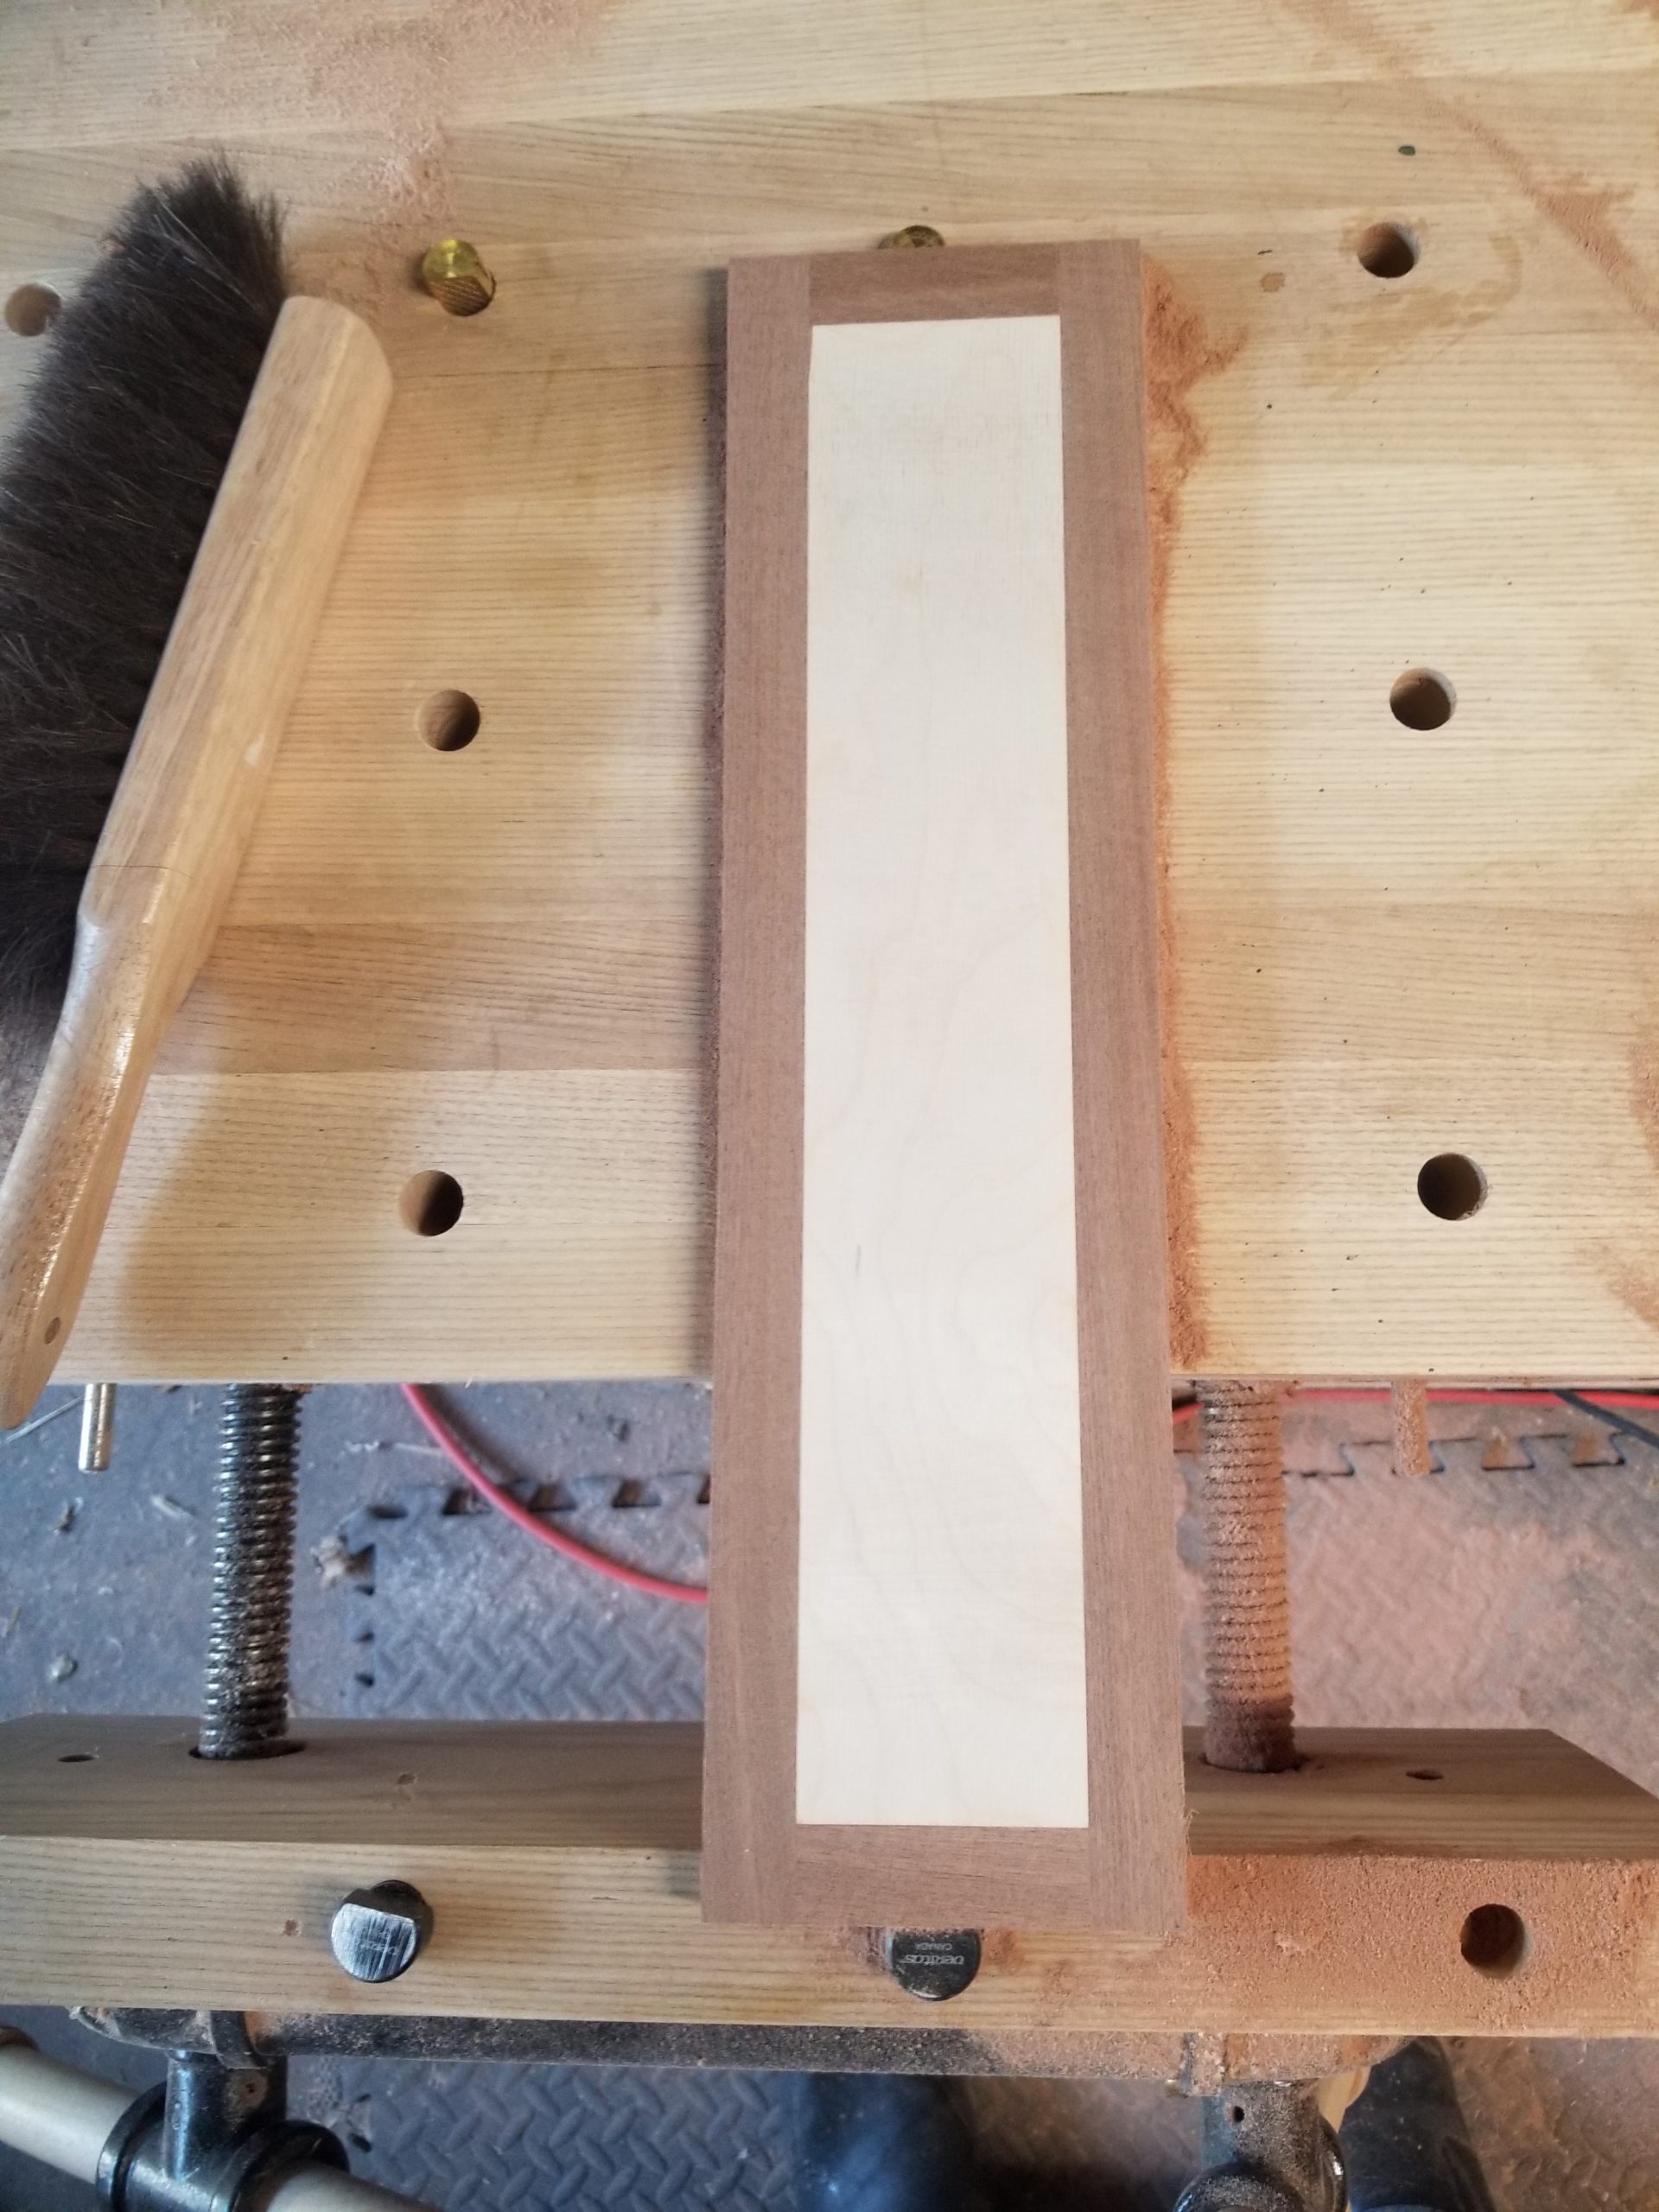
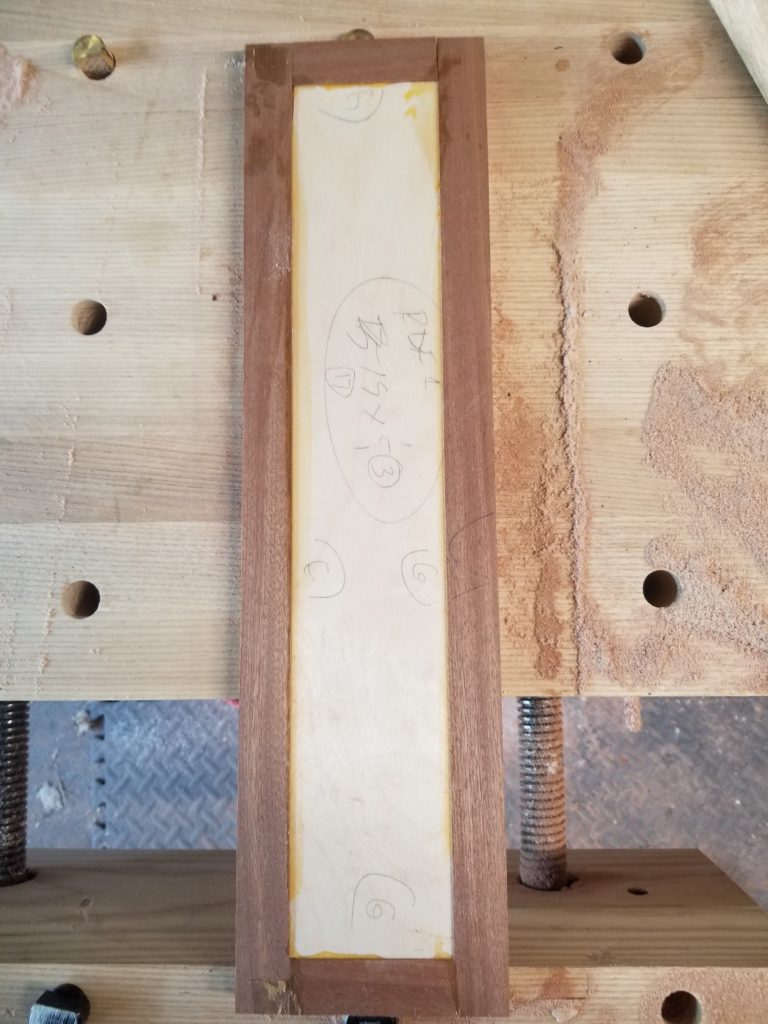
Once all the borders were on and the glue dried, it was time to give them a thorough going-over with the belt sander to clean ’em up. You can see on the left the raw piece, with dried glue smears and lots of pencil marks identifying the piece and the machining to be done. On the right, all tidy and nice.
Next up, the tedious task of shellacking them all, fronts, then backs, then sides, then a light sanding and all again.
Drill, baby, drill (for handles), install the handles. Some of the panels were drawer fronts (like those, above). Those got screwed to the kitchen base cabinet drawers and presto, somewhat more elegance:
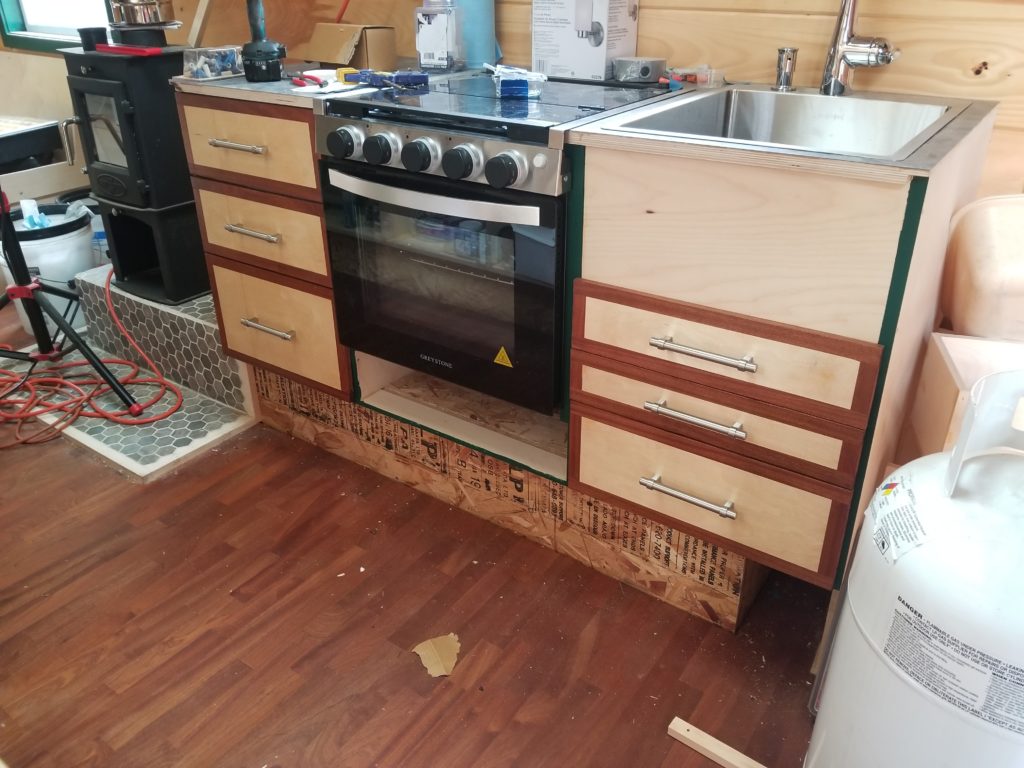
That space above the drawers on the right can’t be a drawer because the sink basin comes very close to that wall – there isn’t even room for a narrow tip-out. I really don’t like false drawer fronts — especially with pulls that don’t operate! — but it also looks like something’s missing here. Hm. Perhaps I will make another (another!) panel here without a handle, just to bring the face into the same plane as the other drawers and to continue the border motif to the top. I just can’t bring myself to put a handle on a thing that doesn’t move, but I think a filler panel is probably worthwhile, though that also means I’ll have to machine some more border material – I’m all out after building these (and the cabinet doors).
Speaking of cabinet doors, there are four more cabinet doors that need handles but I seem to have misplaced (or discarded?) the jig I built to locate the handles. What to do? Build a new jig! But how to get the positions exact?
Blank Jig 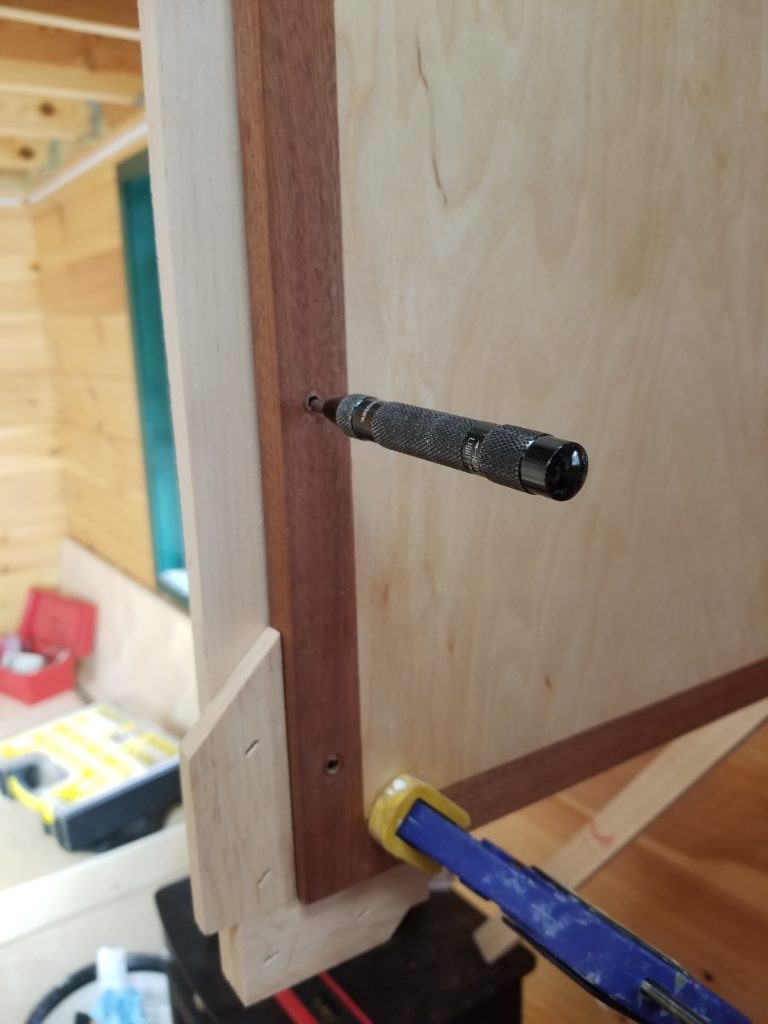
Punch through existing holes to mark jig
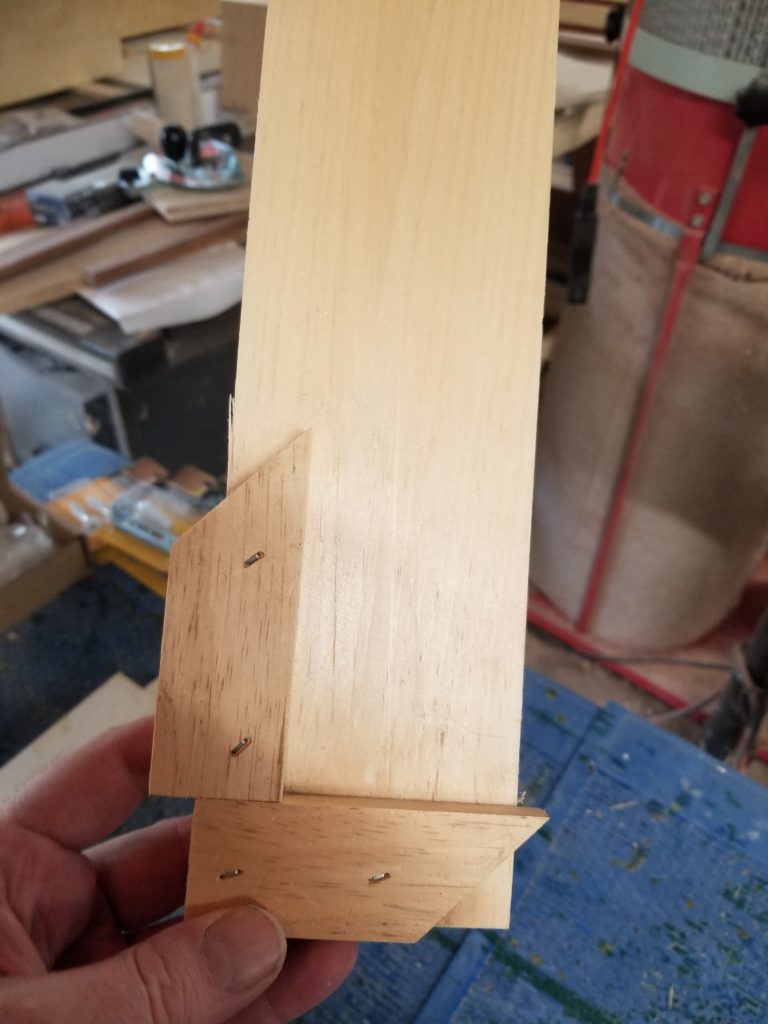
This way! Build a blank jig that registers against a corner (it really is square – grain and angle cuts on scraps used as cleats make for a convincing illusion), then remove an existing handle and punch through the holes to mark the jig. Then drill through the marks and now I have a new handle-drilling jig that matches the handles I already have.
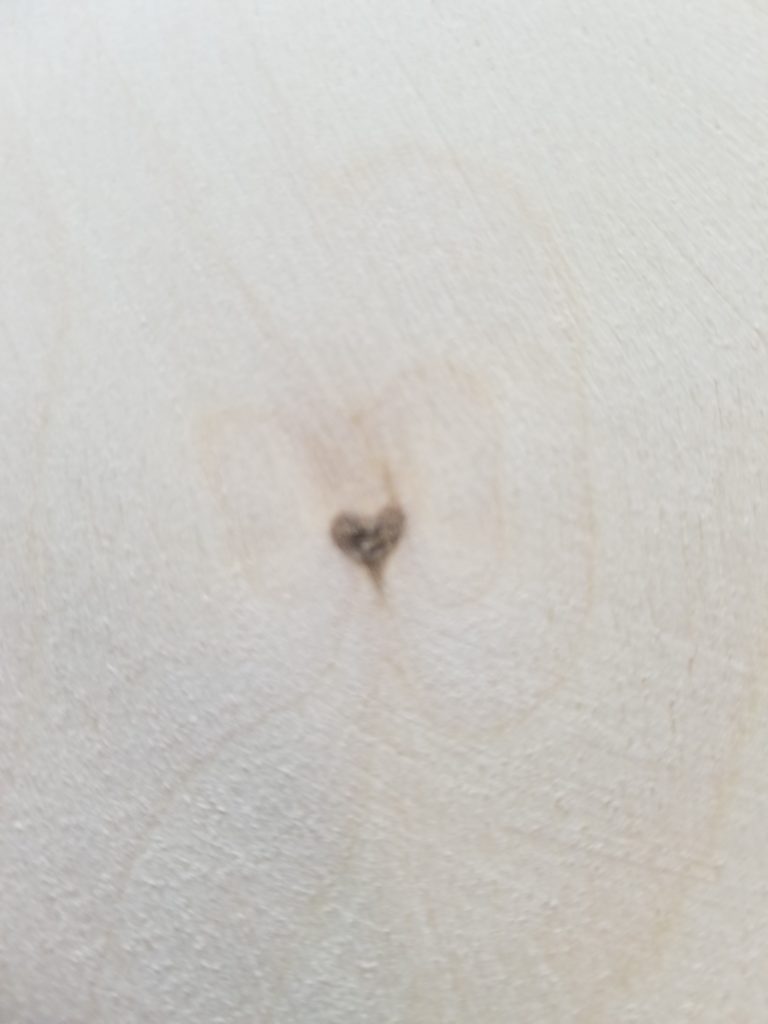
One of the panels had this heart-shaped knot! It’s pretty small – maybe 1/4″ across, give or take – but it’s there. One of the high cabinet doors got it on the inside.
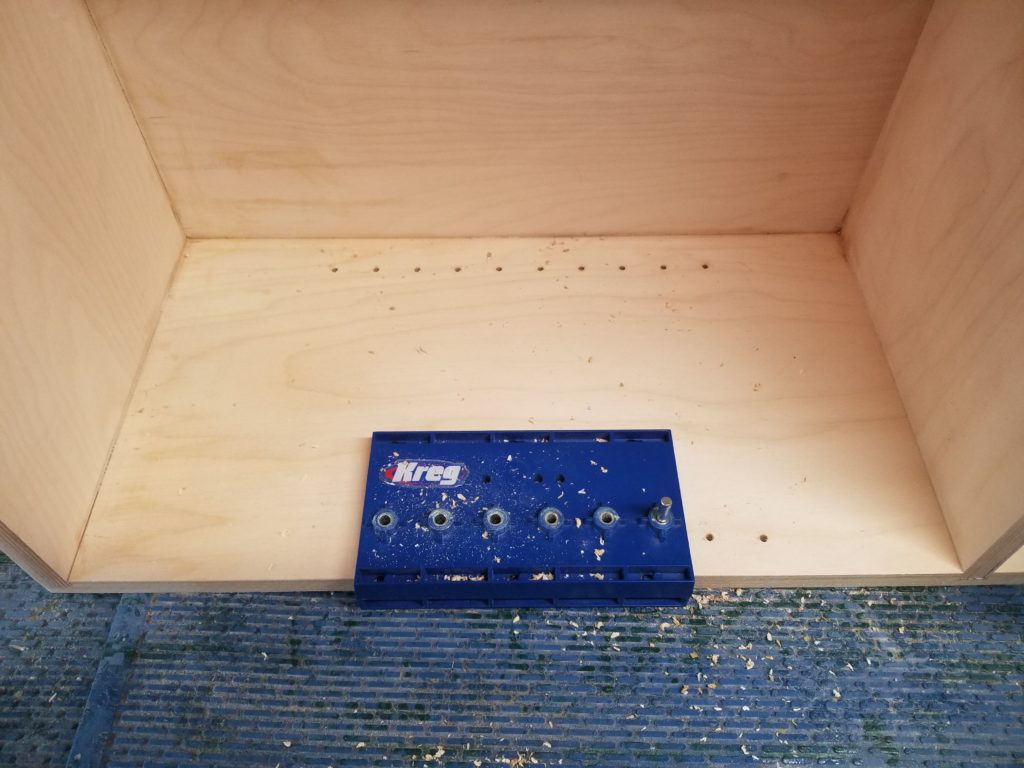
Before mounting the high cabinets, they need to be drilled for shelf pins. I have this handy Kreg jig for doing that. It’s slightly more sophisticated than simply a few evenly spaced holes. It has some edges to square it up and space it properly from walls. It came with a special drill bit that has a built-in stop so the hole is just the right depth (you can’t over-drill through) and a pin that you can fit to the last hole you drilled to then perfectly align the jig for the next series of holes. Worth every penny. Shelf pin holes made fast, easy, and perfect with very little effort. I highly recommend.
Pin in last drilled hole locates next series 
Special drill bit with depth stop and jig clearance


I like the clean look of hidden hinges but didn’t care to fuss with Euro style ones that embed into the door and the cabinet, so I bought a bunch of non-mortise concealed hinges like this:
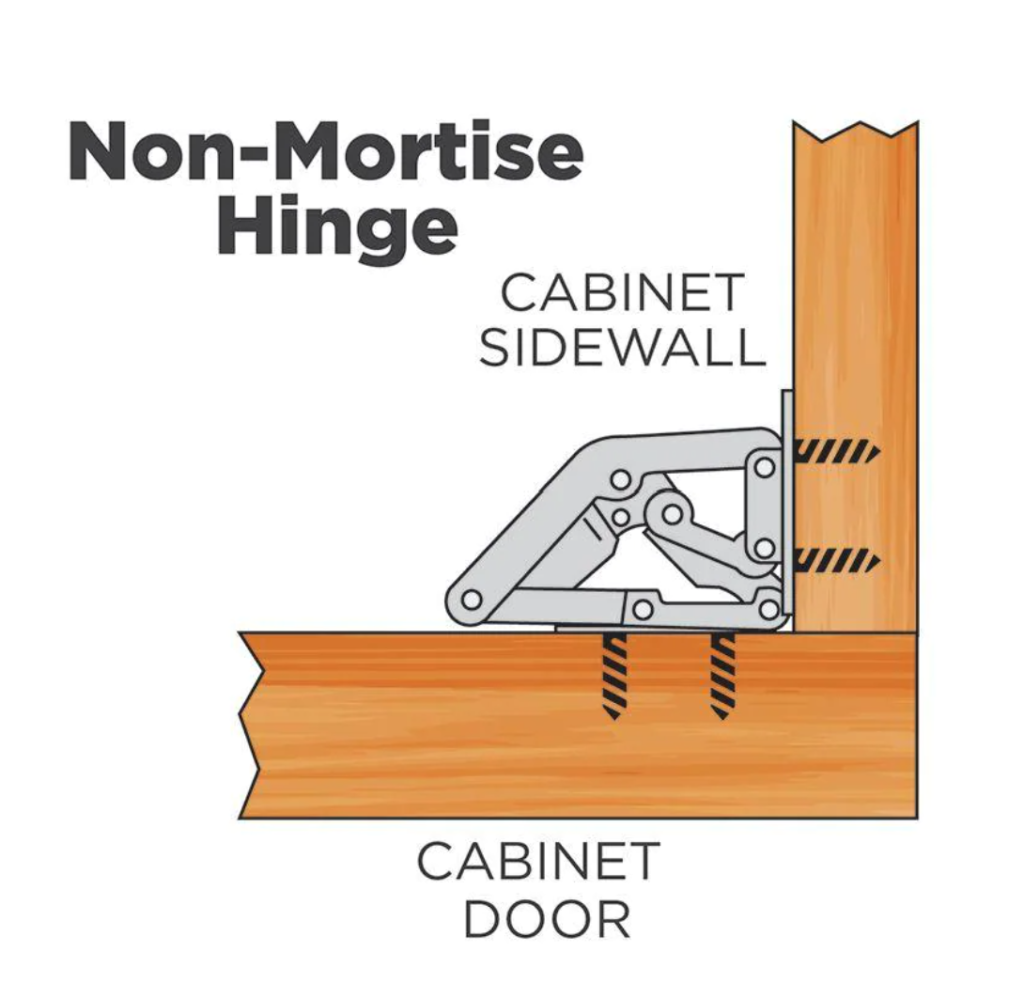
They consume a little bit of cabinet volume but they’re quick and easy to install. Unless something goes wrong. Then the fact that they supply the Very Cheapest Possible Screws becomes a problem. The heads strip. The screws actually shear off! I lost several this way and had to use my friend MultiMax to saw a slot across them in situ so I could use a flat blade to back the screw out and replace it with a Slightly Less Cheap Screw. The screws that came with it had rounded head profiles, making them impossible to grip with pliers or vise-grips or pretty much anything. Hence the cutting of the slot.

Stripped head with newly-cut slot for removal 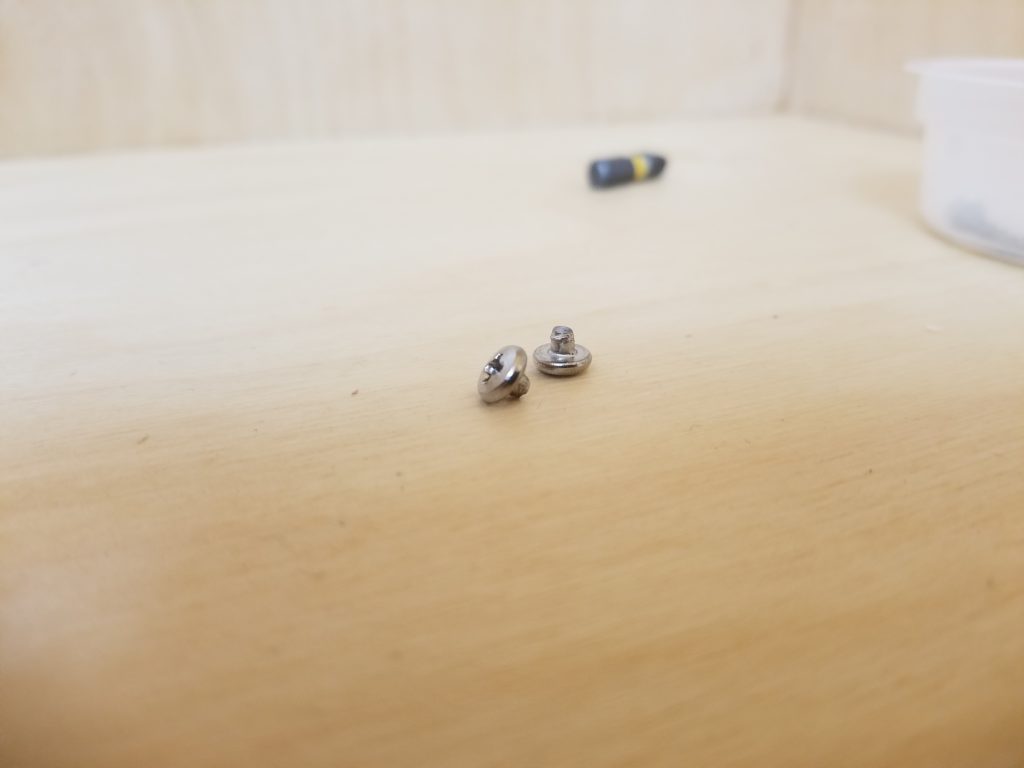
Button head screw heads sheared off!
I suppose I should have known better… these hinges are from HD and even the RFID “security tag” was… well…
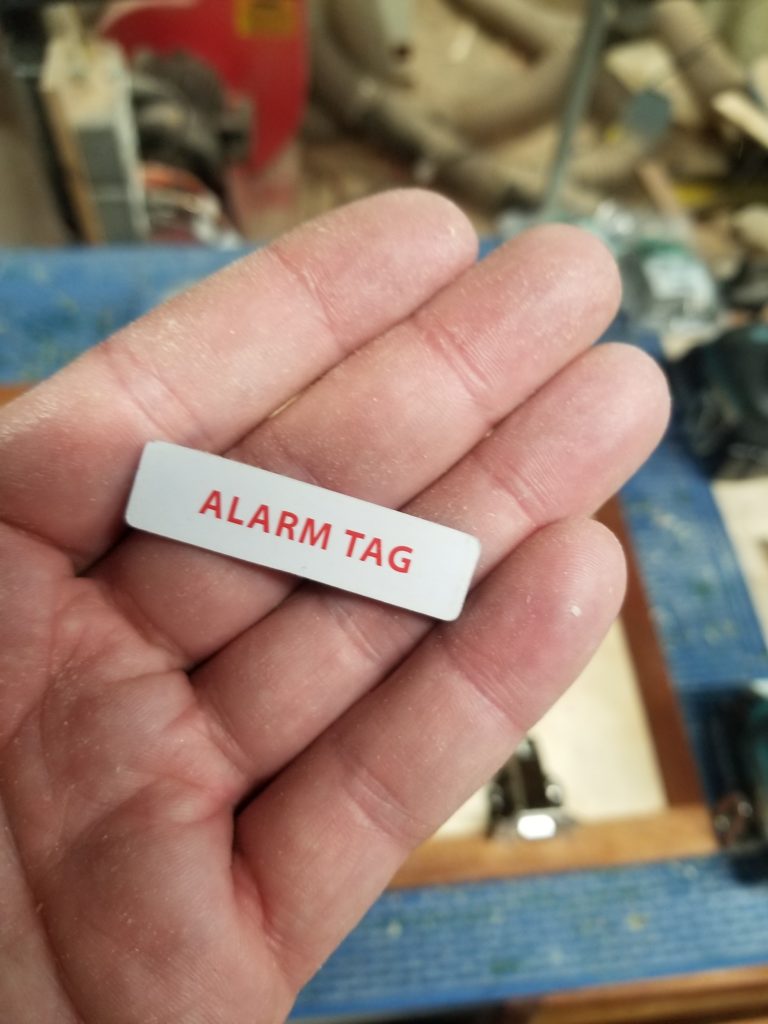
Don’t walk out of the store without deactivating… 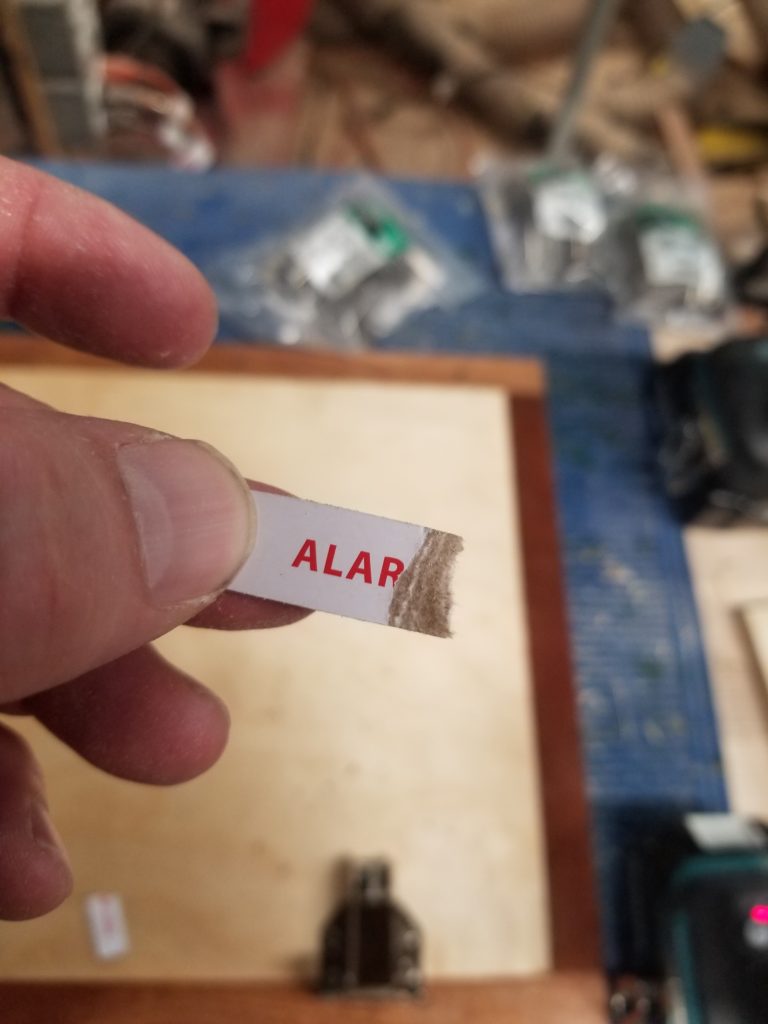
…this piece of cardboard!
Sigh. What do I want for $7 a pair? Well, I want them to spend another $0.03 on decent screws. That’s what I want. They might have probably gone in easier had I drilled very slightly larger pilot holes than called-for, since this was very hard wood and not the soft pine they probably expected me to be using. But over-drilling means they won’t grab – a finesse job for sure getting just the right size for the material. Silly me, I just followed the instructions.
Hinges mounted to doors and cabinet bodies pre-drilled, next is time to hang them! Question: how do you solo hang heavy wood cabinets roughly 7 feet from the ground, where the area below the would-be cabinets is already occupied such that you can’t get a ladder or a T-brace or even a cleat there? For sure there was no way I was going to hold the cabinet to the wall with one hand and drive a screw with another. Not. A. Chance. Then I had an idea…
The upper cabinets were already installed and the new high cabinets were going to be just about an inch above them, so I could rest the high cabinets on the upper cabinets! Except the upper cabinets are only 13″ wide and the high cabinets are 28″ wide. No way they’re going to be stable. However, there are two upper cabinets and therefore I can build a temporary bridge (lay a piece of thick plywood) between them. That will be wide enough to bear the high cabinets and as a bonus, it also provides a solid platform on which to place some thick shims to get the height and level exact before driving the screws. Perfect. Let’s do that.
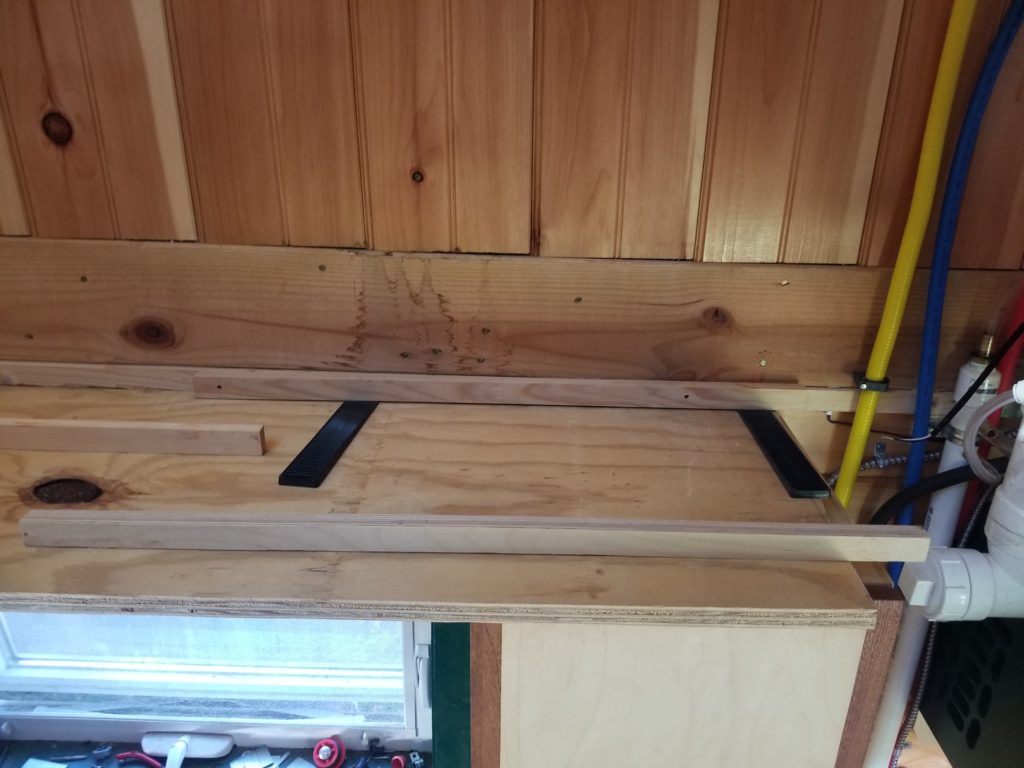
Bridge, spacer runners, and shims (black) to set the position 
High cabinet sitting on shimmed runners

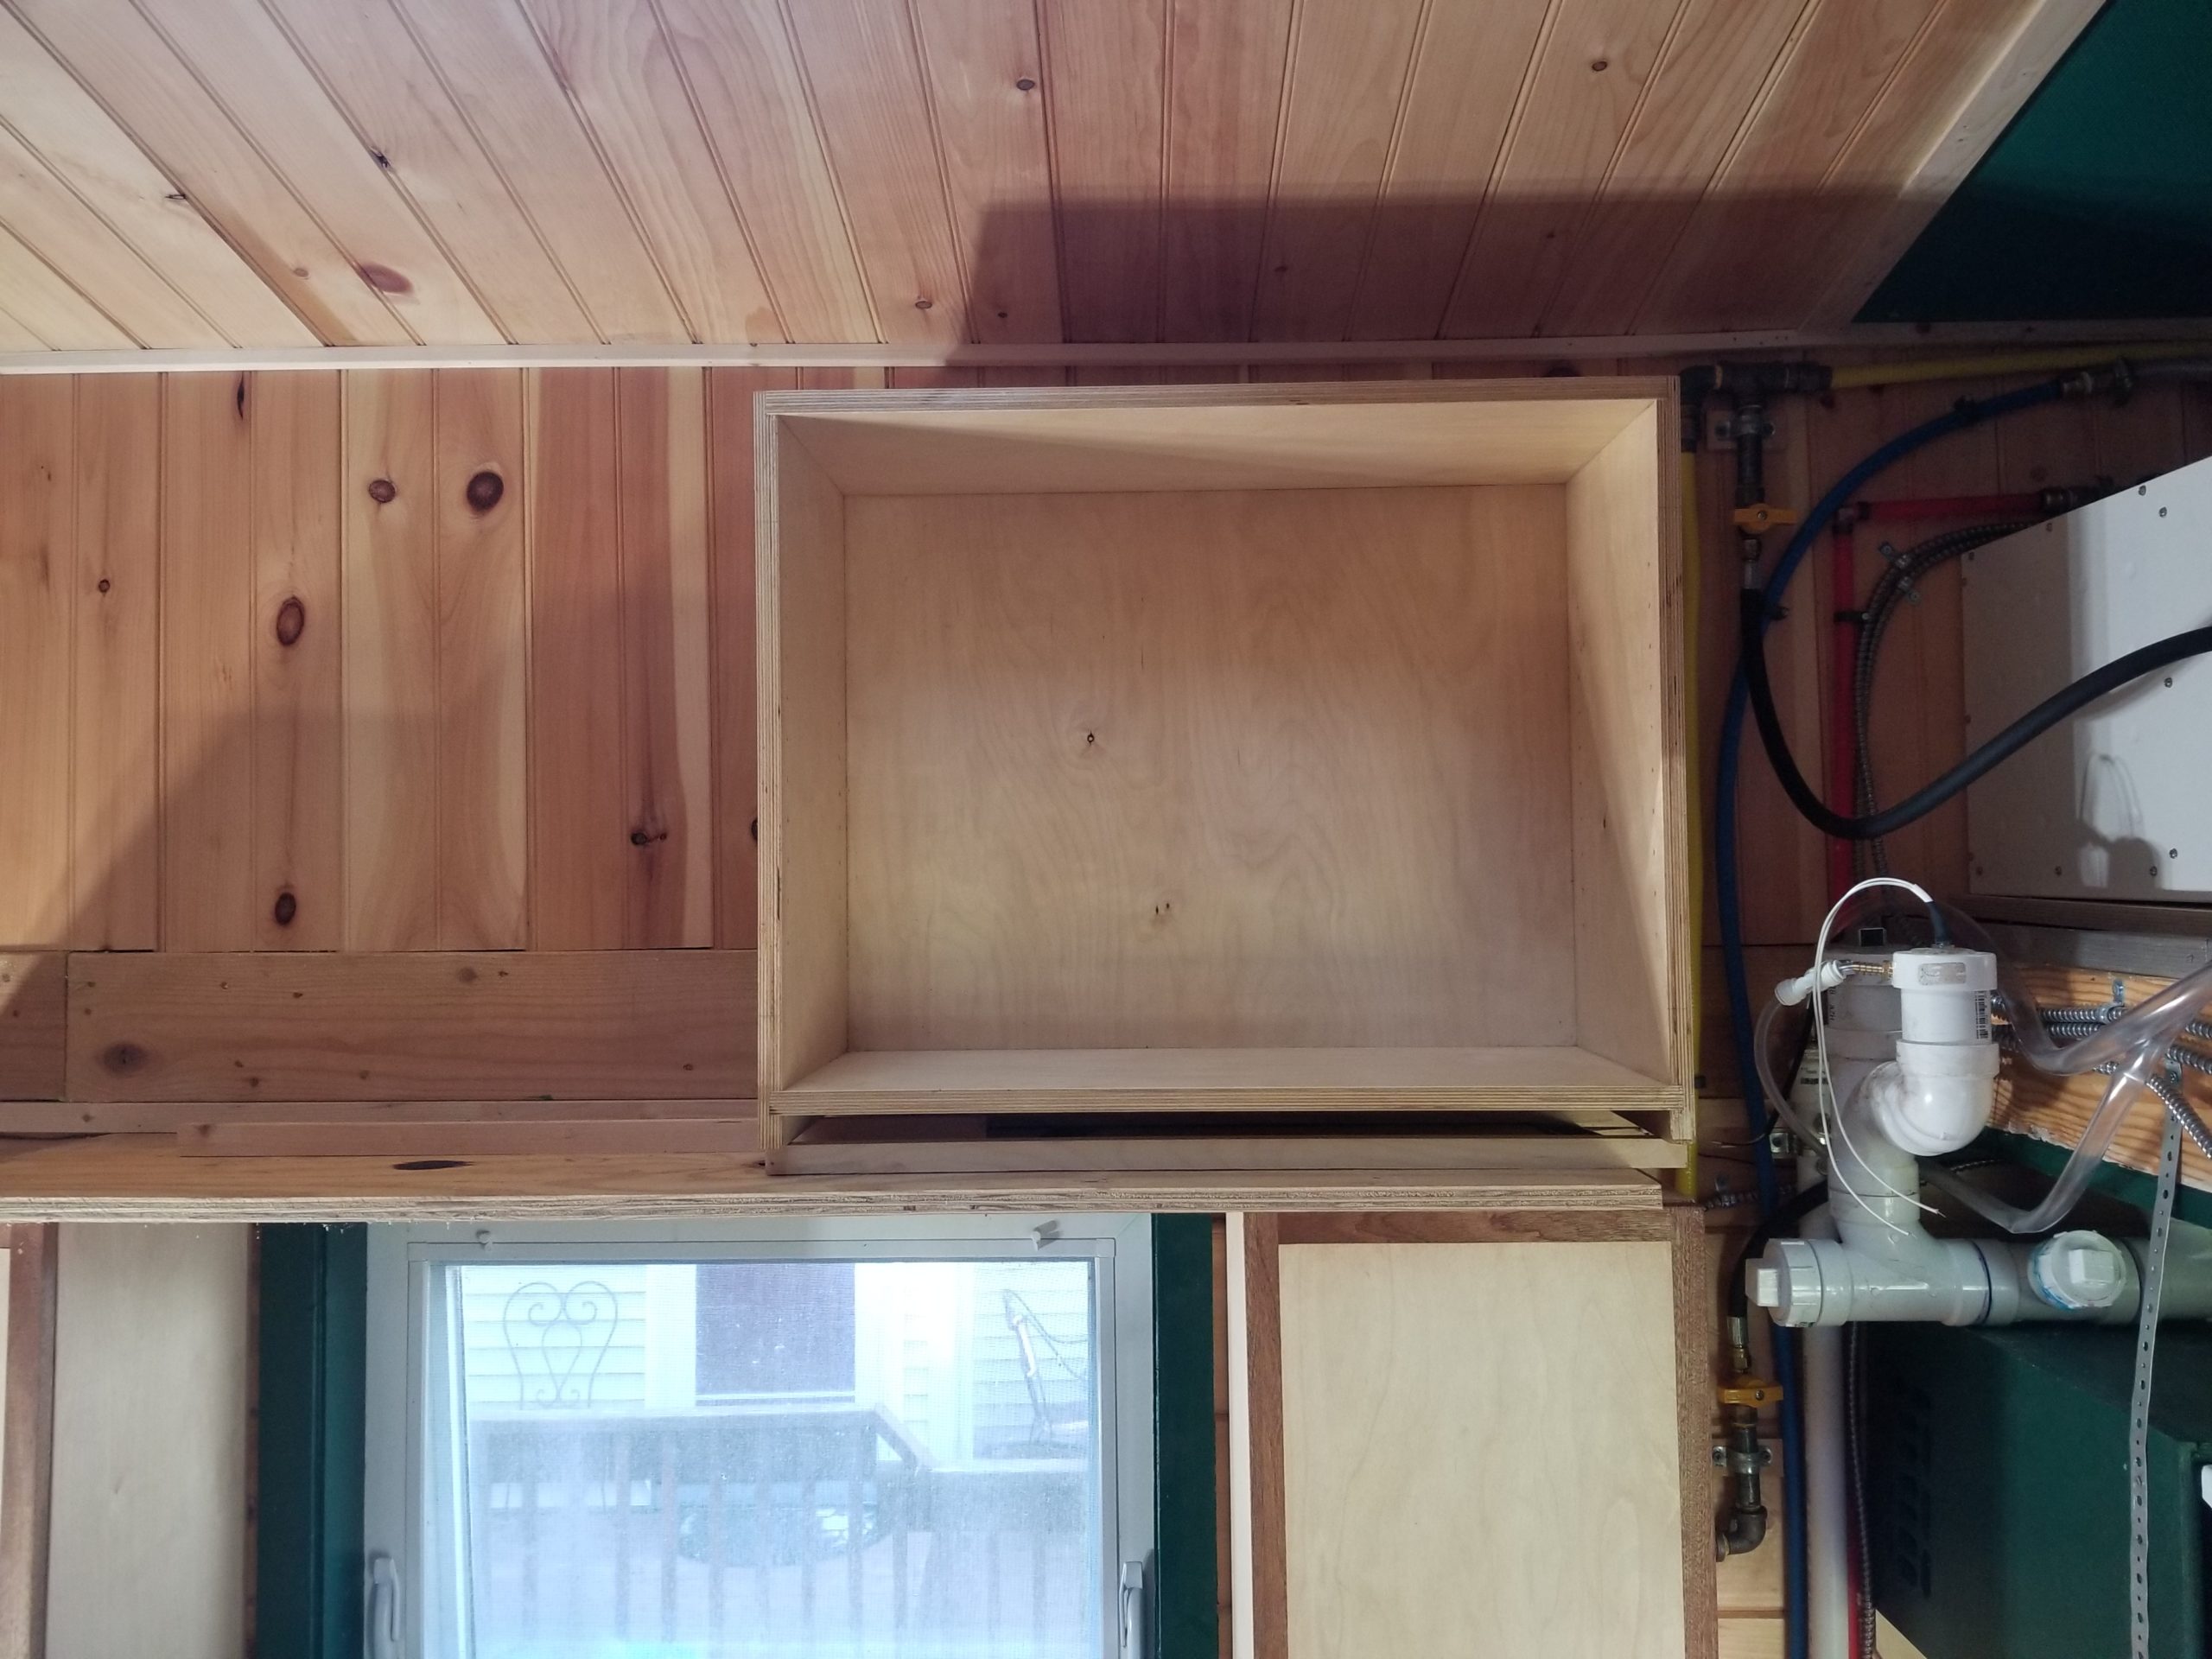
It worked nicely. I carried the cabinet up a step ladder, placed it on the spacer runners which were already shimmed level, and then it was easy to screw it to the wall. Demon Cat disappeared in the process, which is all for the best. As it turns out, the rim joist (the board on which Demon Cat revealed himself) is slightly proud of the bead board above it, so if I didn’t want the cabinet tilted back, too, I needed a thickness shim behind it. Okay, I can do that. A couple of scraps of thin plywood from who-knows-what prior project did the trick.
And verily, the kitchen cabinets are done.
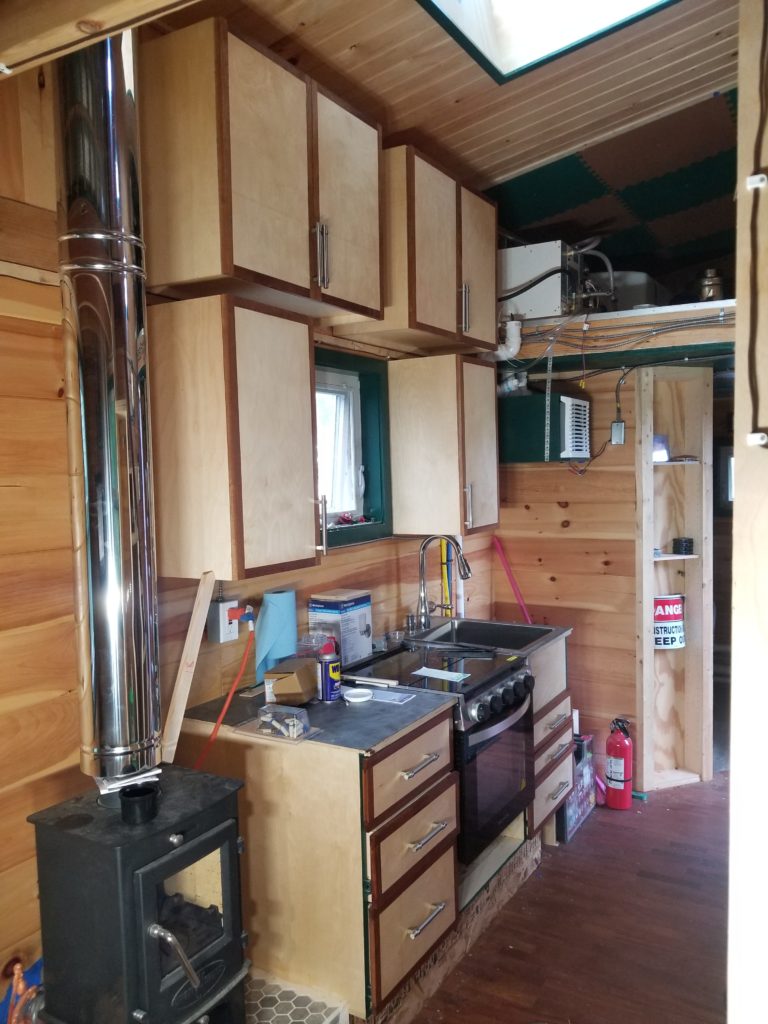
Now THAT is enough cabinets for a decent tiny kitchen. As it turned out, even with all that cabinetry, it doesn’t feel heavy or looming into the space. It just works. This is a testament to the open sight lines and airiness of the interior layout (not bad for a computer geek!). I am very pleased.
So what’s that gap between the high cabinets? It’s an artifact of the material, actually. This cabinet plywood comes in 60″ square sheets. To minimize waste, the high cabinets are 28″ wide such that their longest pieces could be cut two across from that 60″ board. That’s all well and fine but the space across the galley is about 64″ wide, not 56″, so there’s a bit of a gap between the high cabinets. What to do? Maybe some clever art? Some especially inconvenient knick-knack shelves? Dunno yet.
The remaining panels will become pantry doors (that skinny unit by the fire extinguisher) and doors for the coat closet (not shown). I’ll be working on getting those two locations ready for their doors soon.
It’s also time to buy the sheet metal and install the heat shield around the wood stove. And finish installing the flue. And test fire it (eek!).
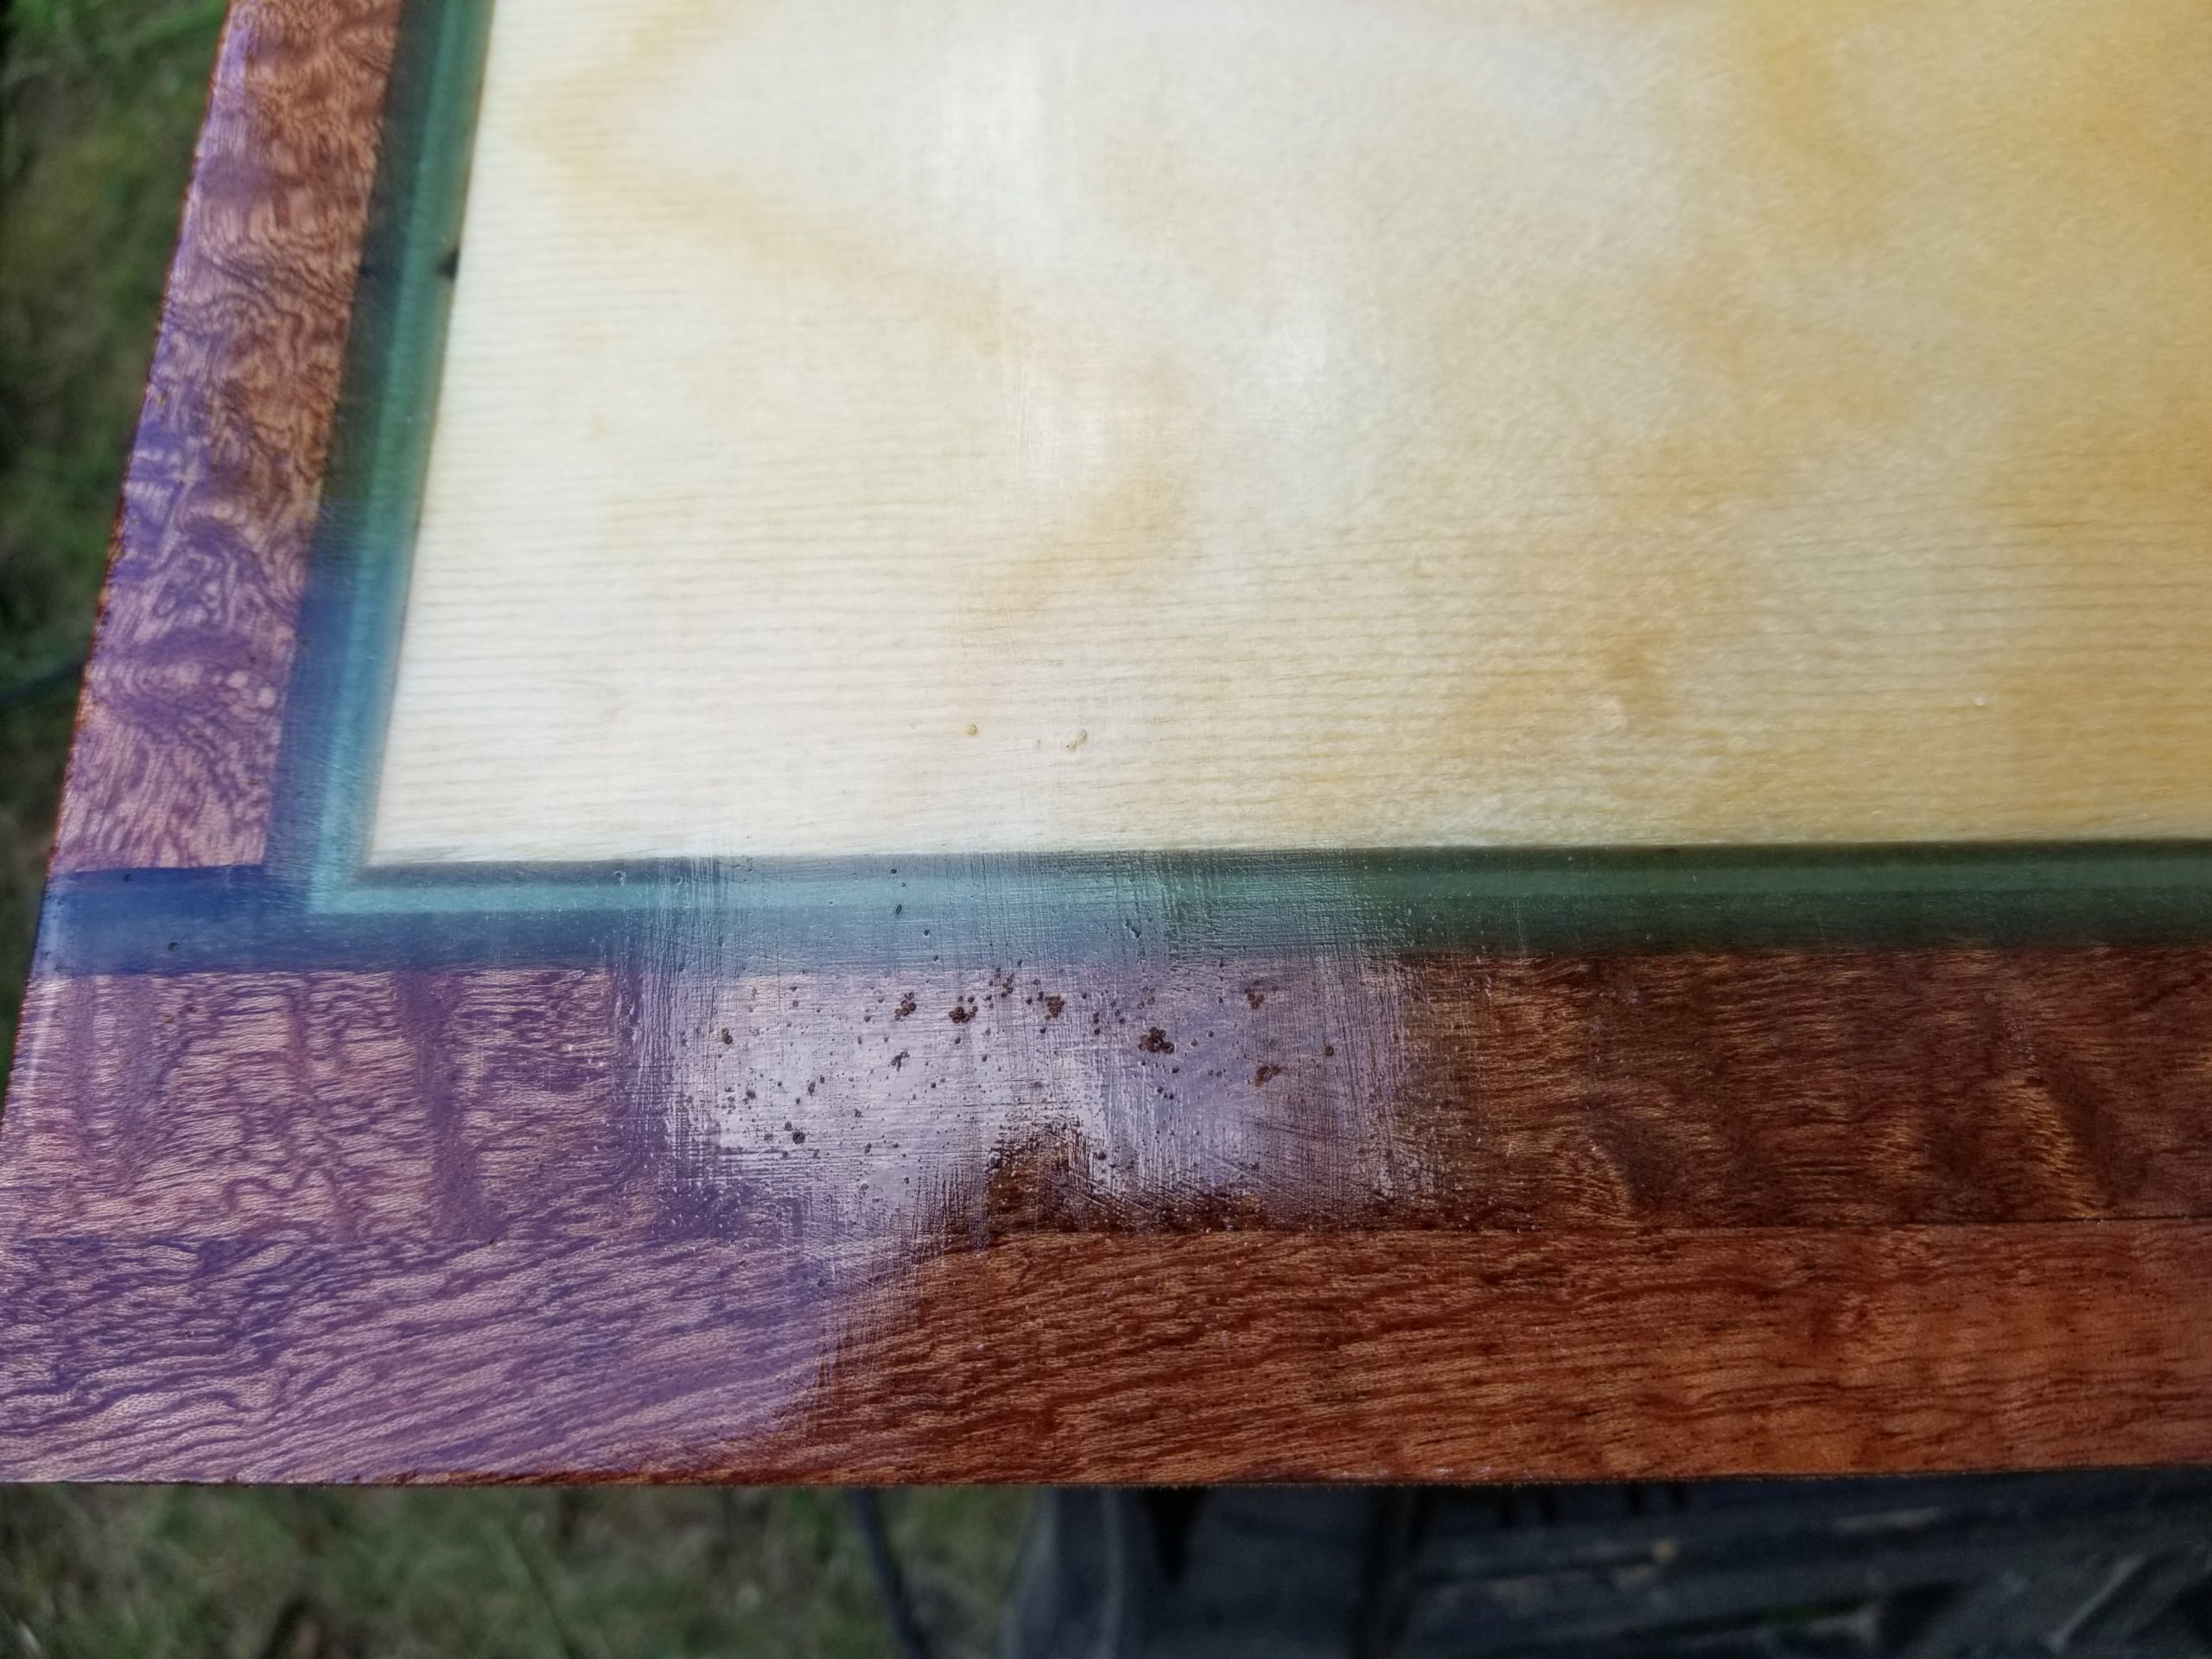
And lastly, for today’s update, the Bednette tabletop. Recall there were some bubbles and other surface defects that concerned me. I sanded them down, which did level them out a bit, but also left craters filled with epoxy dust. I did my best to air-blast out that dust (wearing appropriate PPE so I didn’t breathe the epoxy dust), but that only got me so far. However, I knew that if I applied a wet enough top coat, that top coat would get into those dusty pockets and fill them, making them look less like dusty pockets and more like little dark spots. That I can tolerate. And as it turns out, the satin top coat (not epoxy) took down that super high gloss to something a bit more in line with the aesthetic of the house.

White is fine epoxy dust in craters 
Once filled with topcoat, they don’t stand out so badly

I’m ready to install the Bednette tabletop now – as soon as I install the lifting column, which will be ready as soon as I solder two more wires and bolt it to the floor. Soon. Not today, but soon.