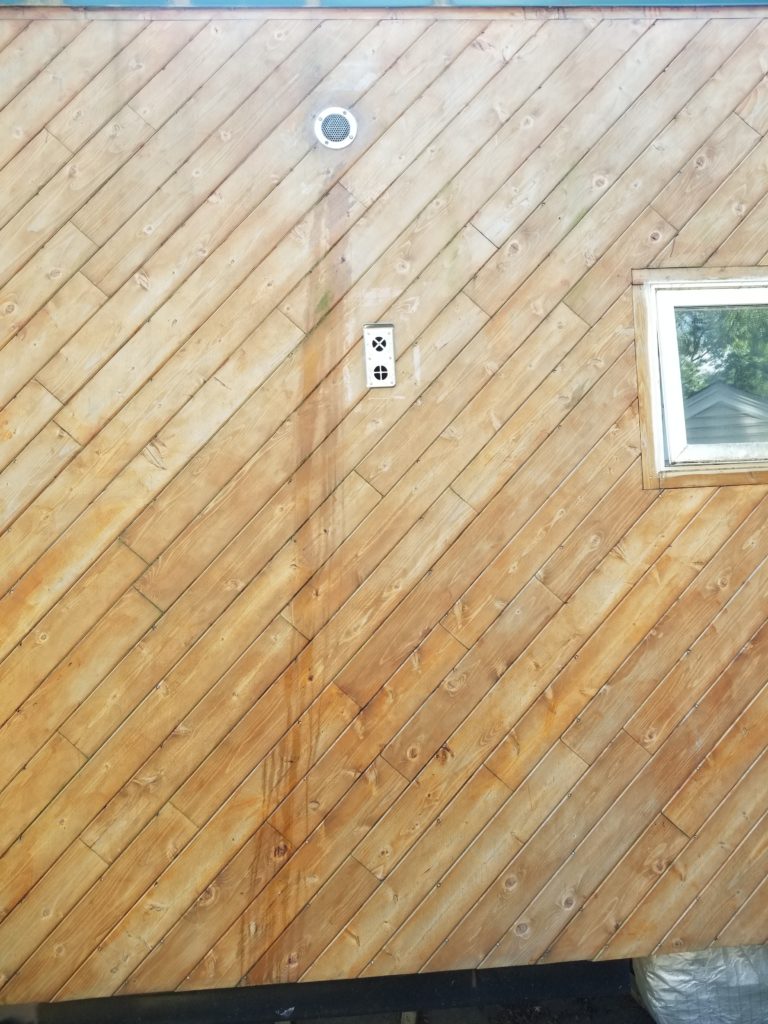
Maybe this doesn’t look like anything to you, but to me, this photo shows something very significant. That top grille is the air intake & exhaust port for the water heater. You know, the one that was admitting rainwater not long ago. This is what the side of the house looks like after I squirted some water into the newly-re-angled ductwork. What do you see? You see the water leaving tracks down the side of the house, after it naturally drained out of said ductwork. Yay! I checked after a heavy rain storm, too, and the water heater innards were dry where they should be dry. Huzzah! Next question: does the water heater actually heat water? Or, did getting wet inside what’s supposed to be dry bits cause any trouble?
I’ll let this picture speak for itself:

And then I’ll tell you the reason the water is pink is that it is about 25% antifreeze, which is dyed pink, which was left over from winterizing the house. Now that it has its own heat source, that’s no longer necessary, but for last winter, when all I had was an electric heater in there that was subject to being disconnected sometimes because it shared a critical circuit with the main house, it was best to put in the AF just in case. This picture also tells you that the kitchen sink has water service. All the water supply and drain plumbing is now officially complete. Same for all the gas.
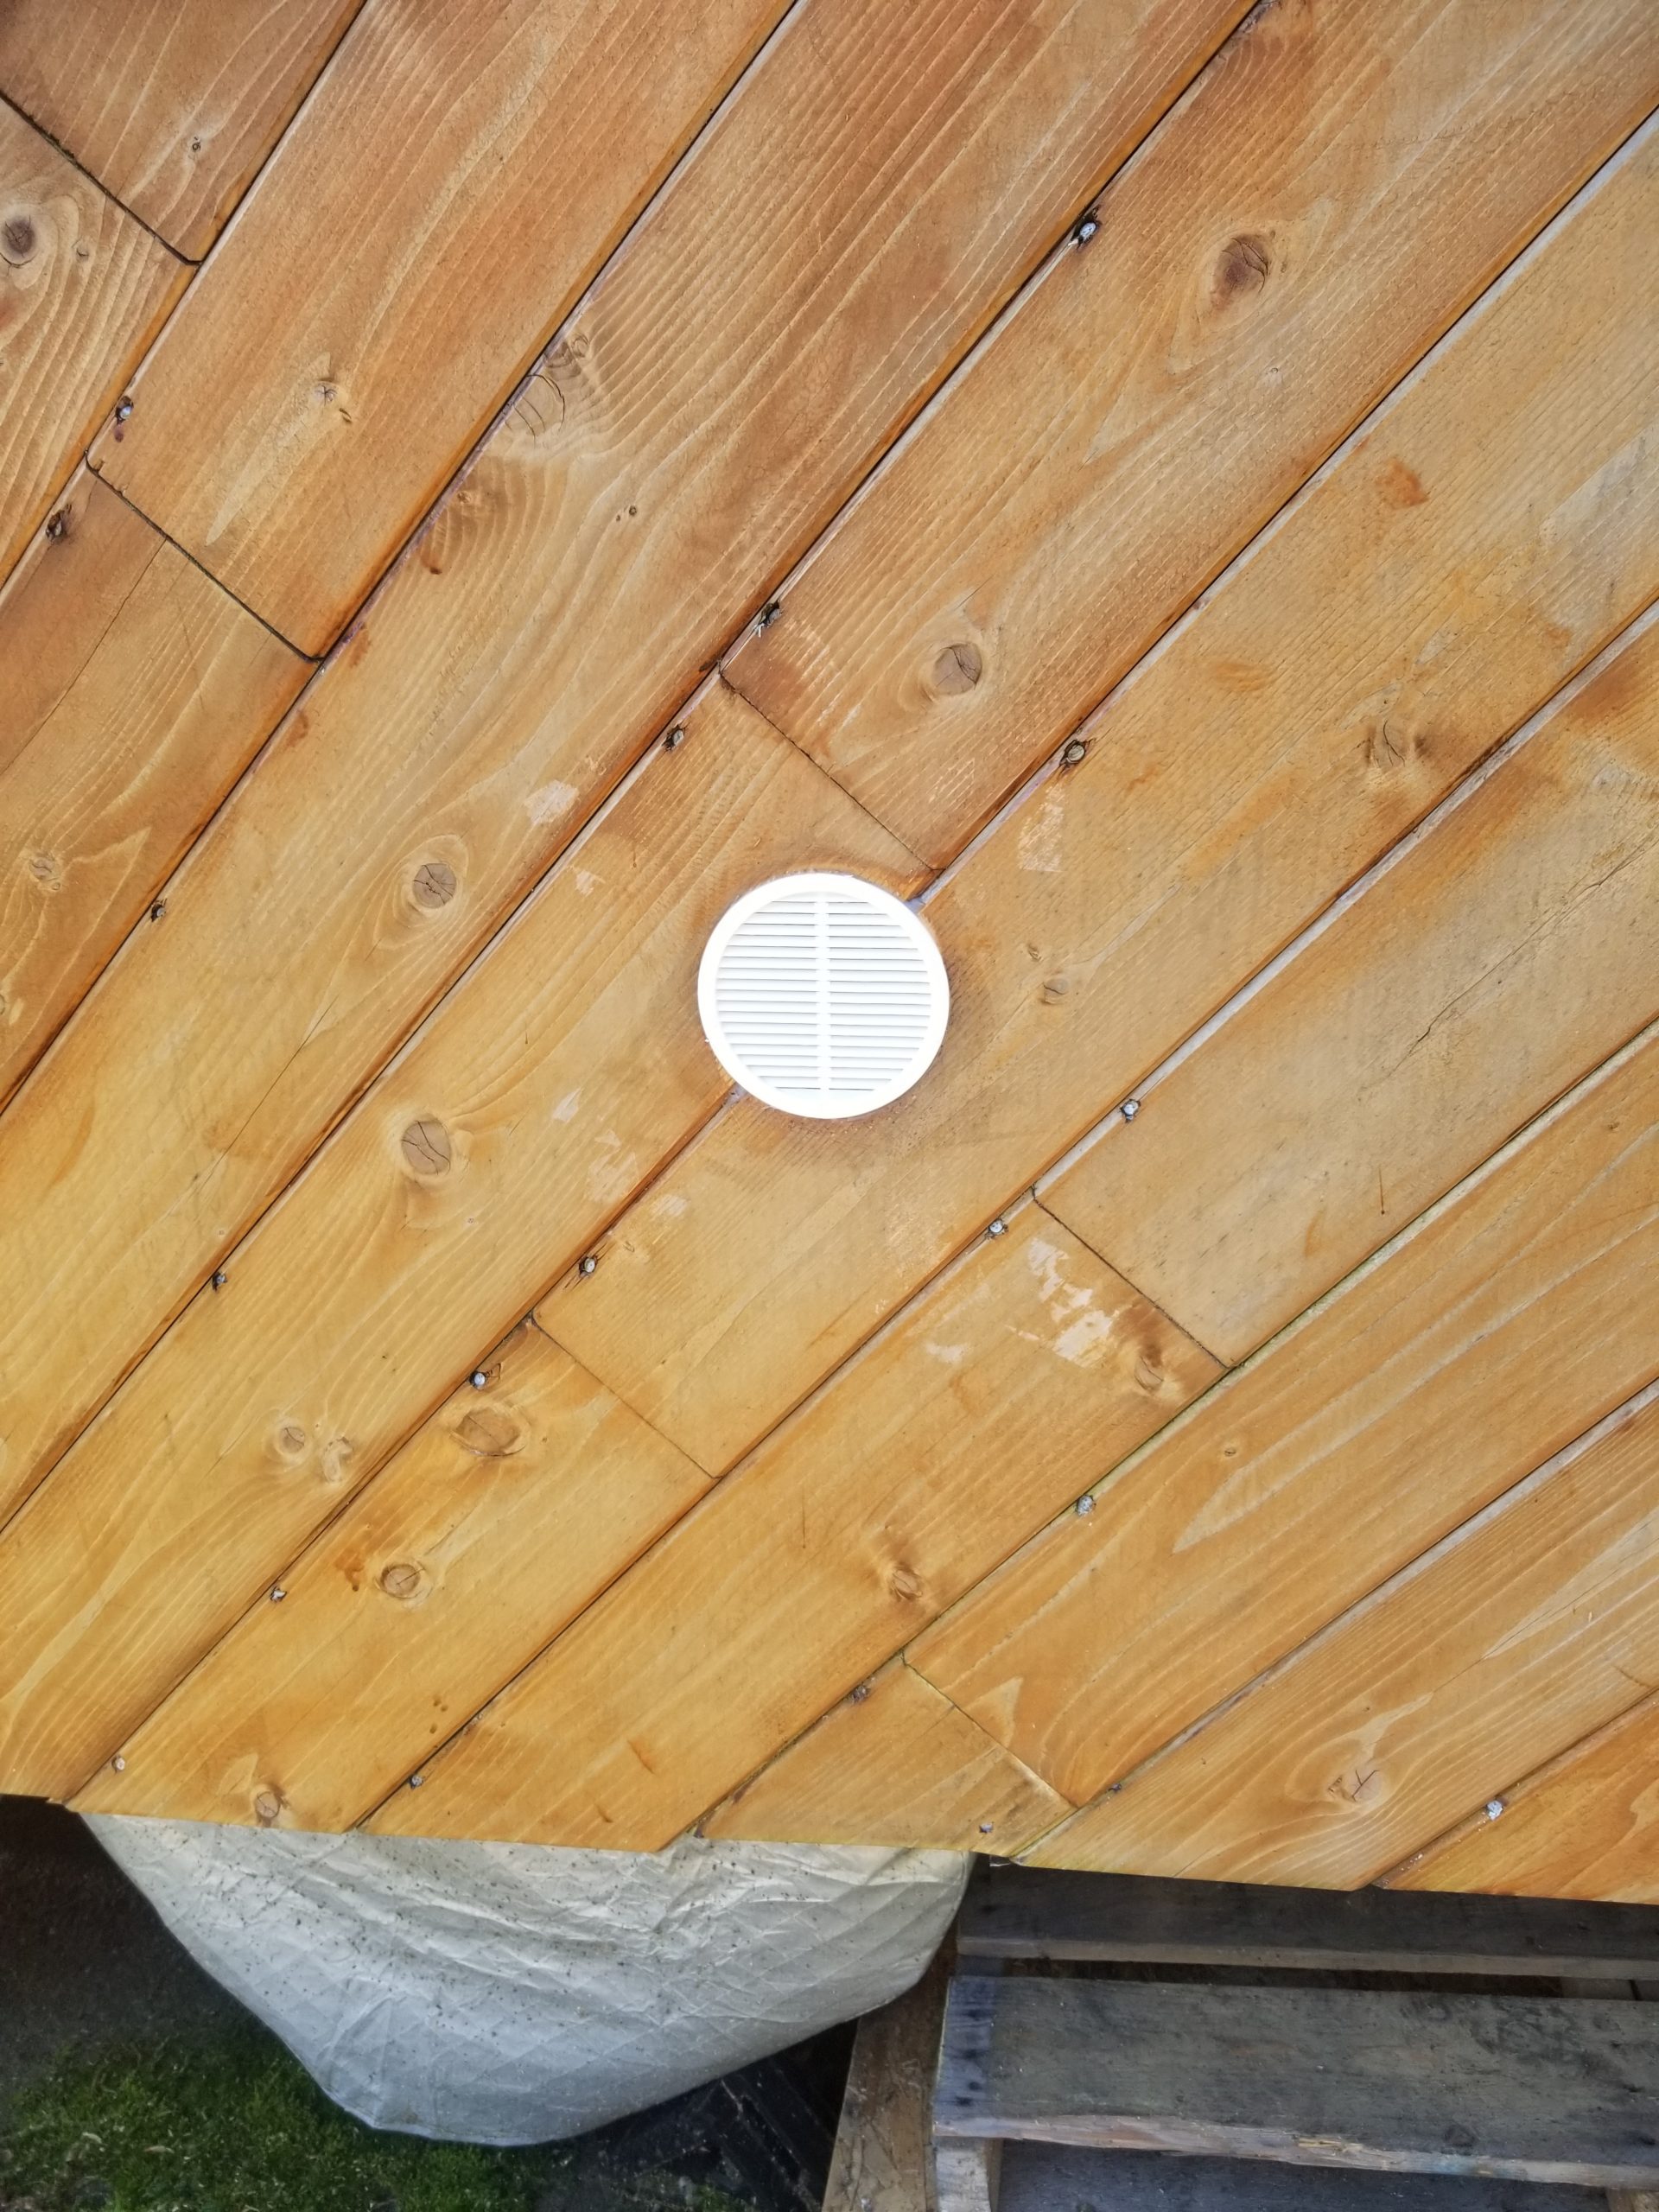
There’s also one new vent on the side of the house. This is the fresh air intake for the wood stove. Because the house is so tightly built, the wood stove would have trouble getting adequate combustion air if I didn’t have a special duct for it. Either that, or it would suck in air through some of the other gas appliances like the water hater or the furnace, moving cold, outside air through the house to the stove. We call that a chilly draft. No, thanks. The wood stove gets a private air intake so no drafts through the house.
What’s been taking the most time recently, though, are attending to some long-overdue trim work as well as construction of the Bednette. First, let’s talk about trim. Here is the atrium skylight. The first trim panel is in place (left) and you can see what it covers (right) and why I’d want to cover that.
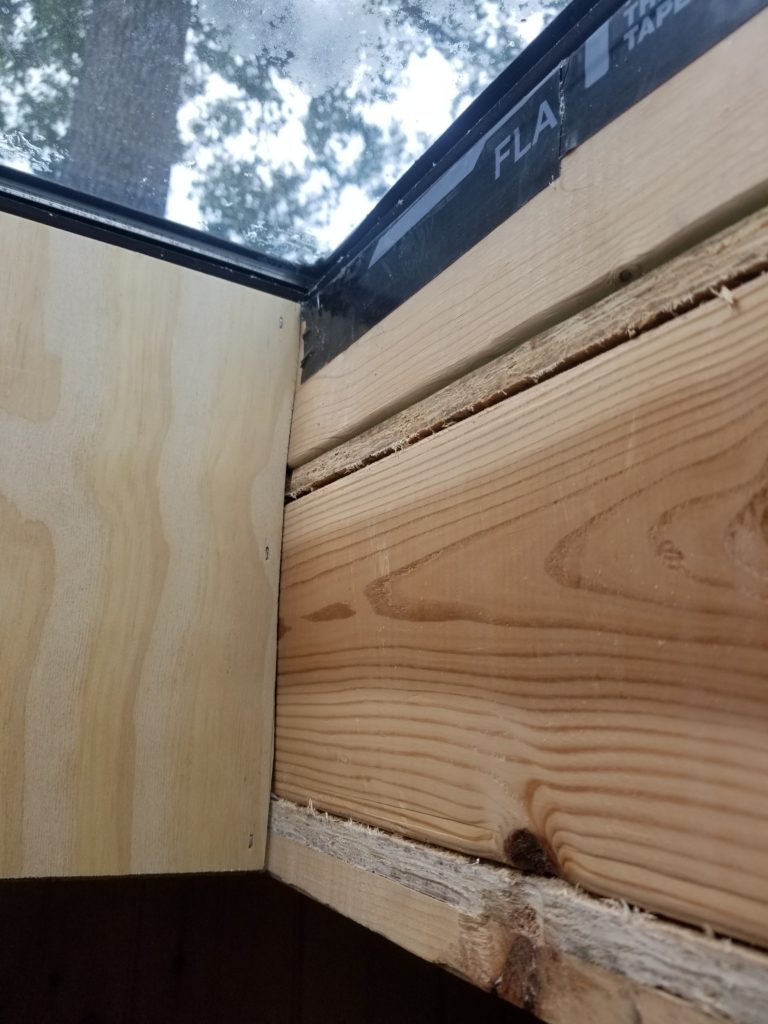
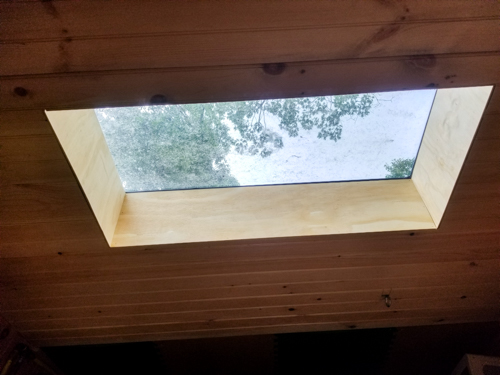
The trim panels make a huge difference in how the skylight recess looks. I will also add some casing trim to it, but there’s only so much overhead ladder work I can tolerate at a time and because I wasn’t thinking this far ahead when I made this opening, it wasn’t especially well squared off, so to get the trim boards to fit well required rather a lot of scribing and repeated fitting and refining. Each time up the ladder, check the fit, make some marks, down the latter, make some cuts… lather, rinse, repeat.
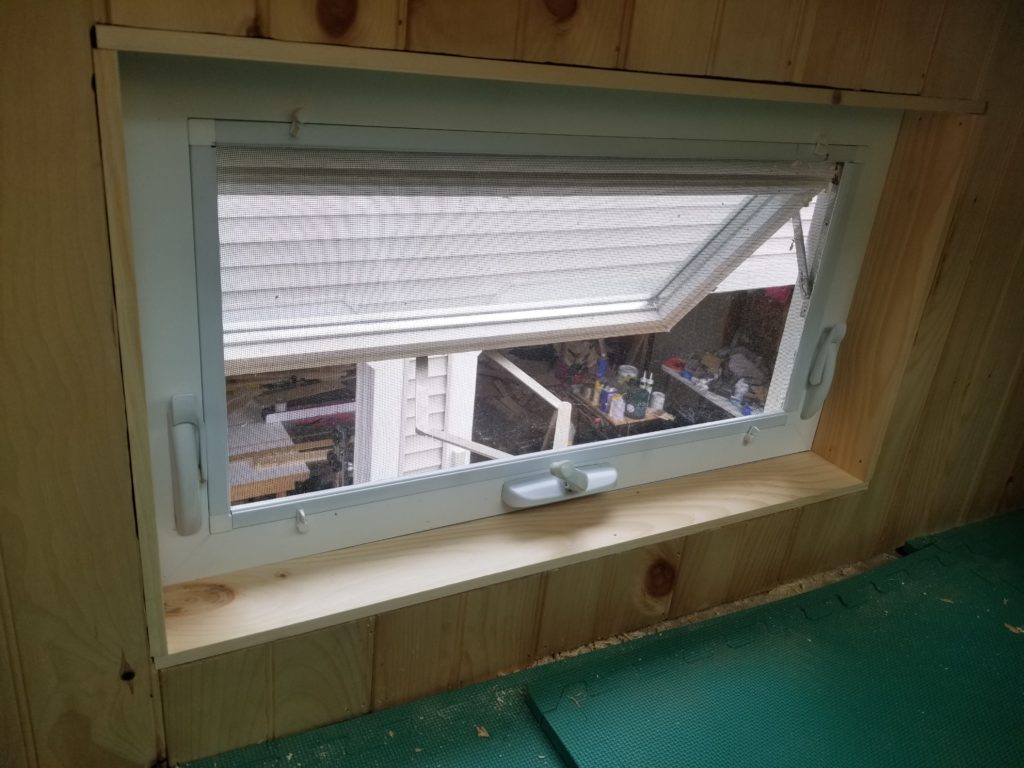
The Cozy Loft window got its first round of trim, too. This will also receive some casing trim later. But at least for now it looks a bit more tidy.
For a time, I had been thinking that the tall wall in the Cozy Loft was going to get upholstered like a fancy chair so it would be a sort of built-in bench. I realized that the thickness of the padding would also place the occupant further to the right in this scene, which also means further toward the short wall -> less headroom. It’s already critically close to my ass-to-crown measurement as it is. Pushing me out to the right was a non-starter. So, wood facing it is. I’ll still need something like a back-jack or bean bag to sit in comfortably, but no longer am I pretending that I can turn that tall wall into a built-in chair back.
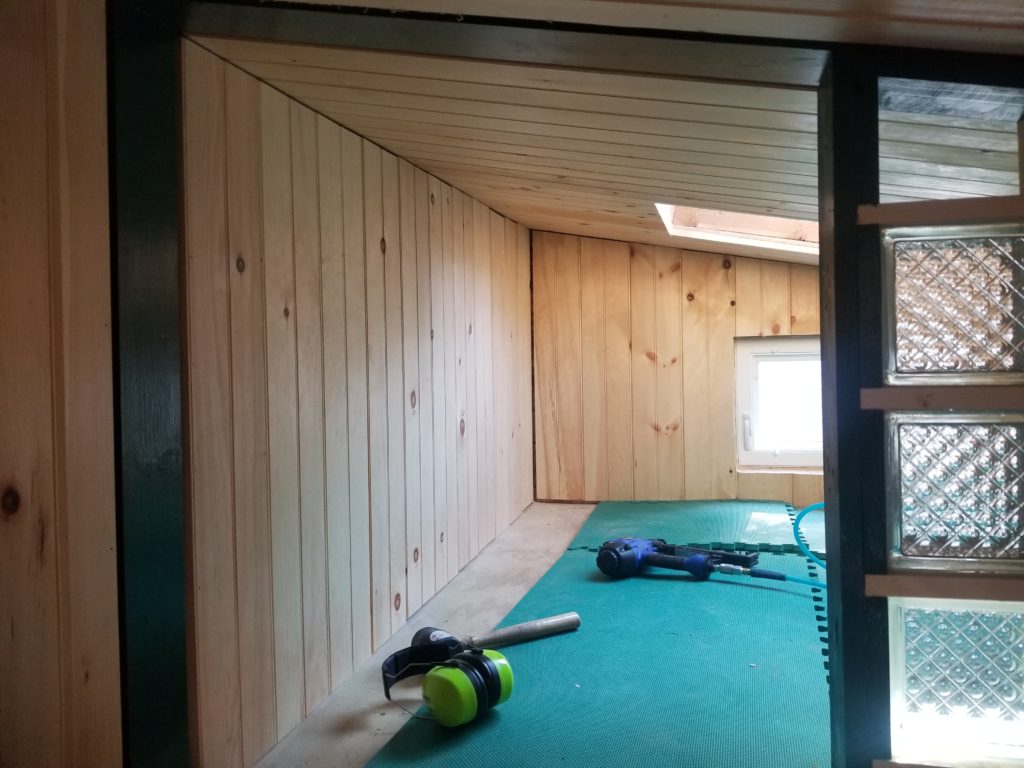
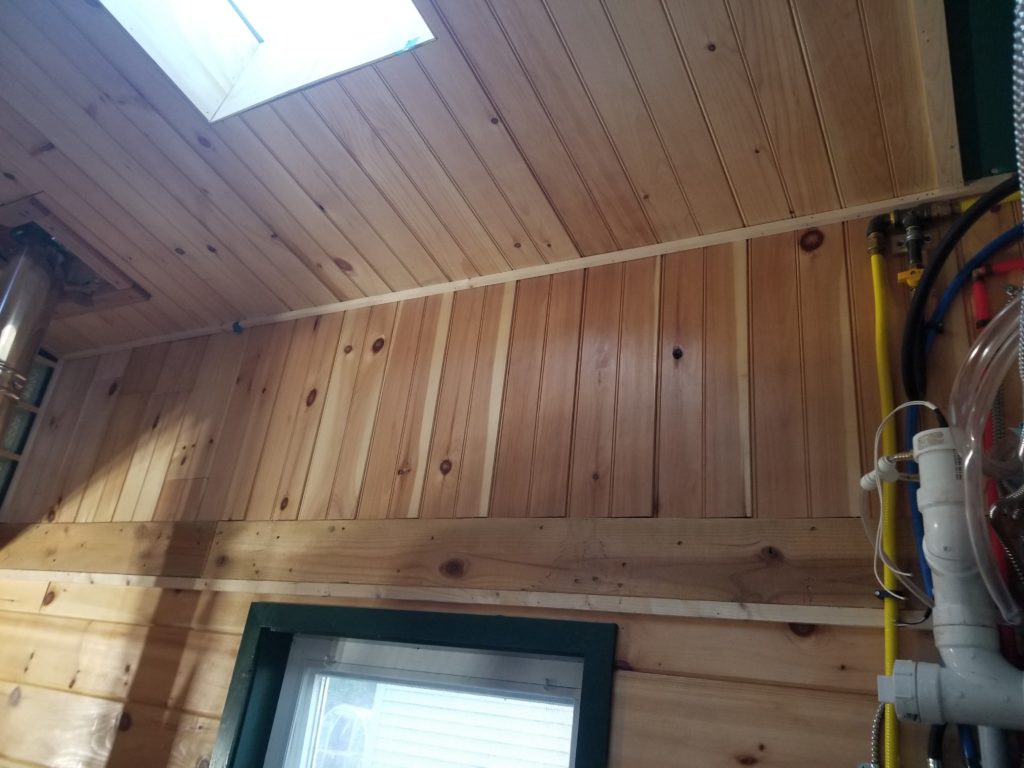
And now that the tall wall is done, it seems like a good time to do the corner and crown trim here and, for that matter, elsewhere it’s been pending. Still some casework missing from the window, but at least the ceiling and walls look finished for real now.
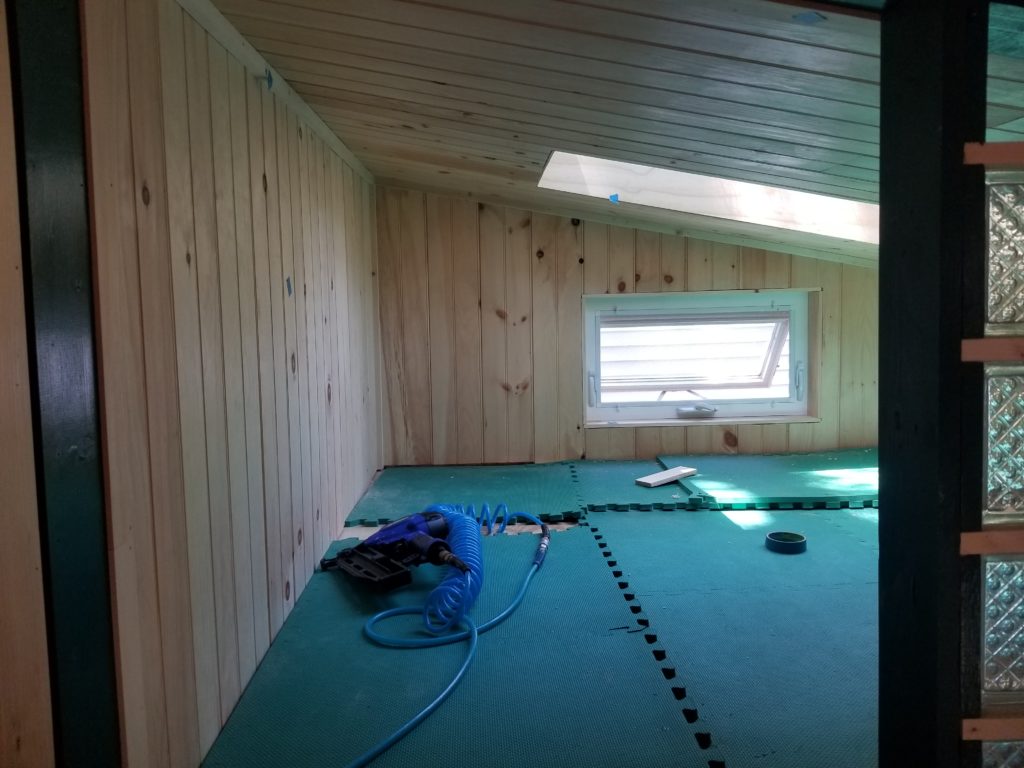
Next, the glass block partition wall gets dressed to the ceiling and the walls.
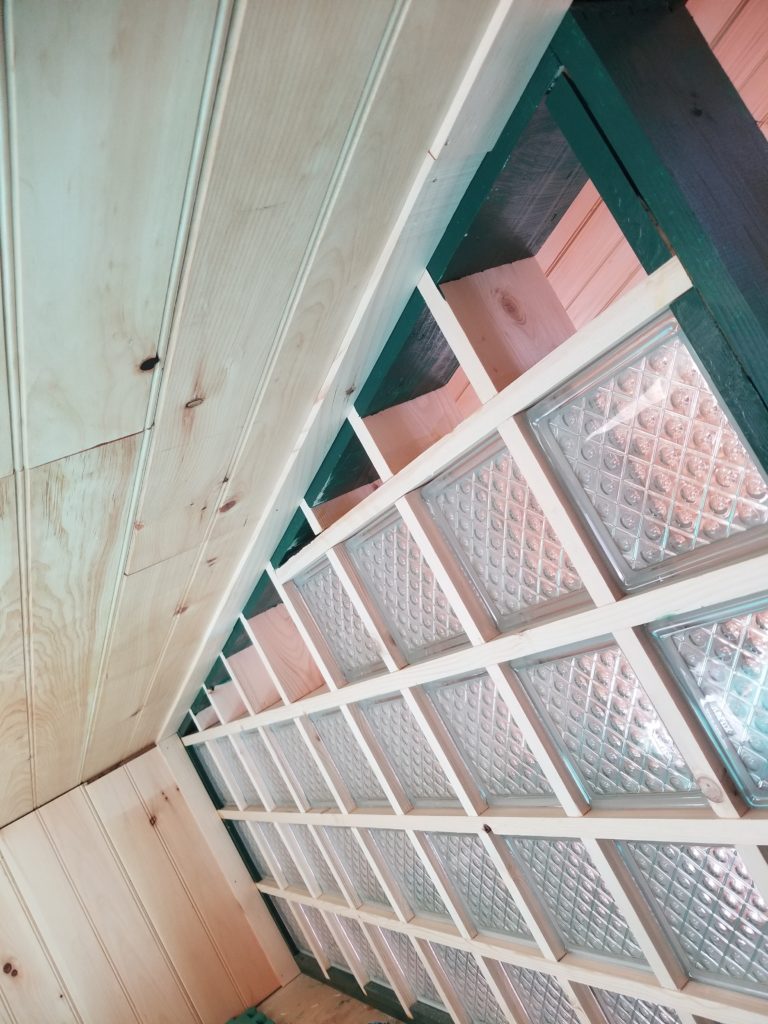
Had I been thinking ahead – and a bit more patient – I would have waited to build the partition wall until all the facing on the ceiling and sides was complete so no trim would be required – just install the partition wall on the face of what was there. But no, I was impatient and wanted to build the partition ahead of finishing the other stuff, so that meant some gaps and that meant some trim. And now that trim is done.
Also, crown trim along the upper wall. See the three pieces of tape by that last light port (upper right)? That window was just a bit too close to the ceiling (oops) to apply casing trim all around like the others. What to do? I will make a U-shaped bit of trim for it and actually paint the crown trim at the blue tape to match, so that little section of crown trim will pretend to be casing 🙂
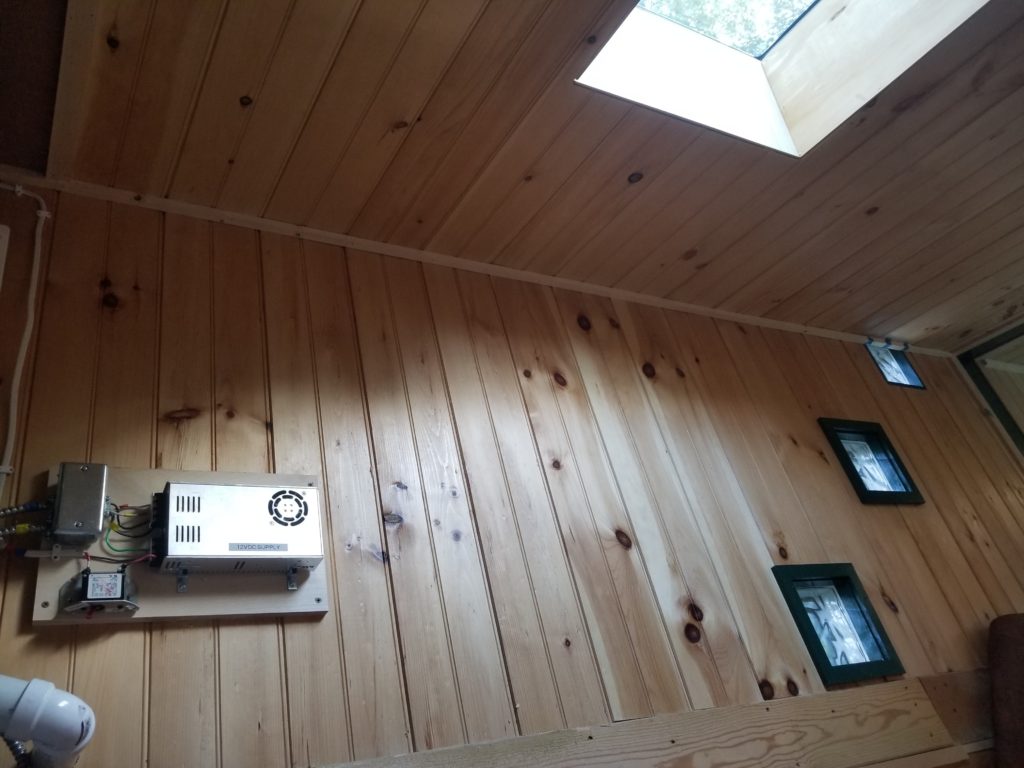
SO. MUCH. TRIM. Crown trim at the top of the low wall (that with a single tab of blue tape).
And as has been my habit, in as much as I can, I use off-cuts and scraps to manufacture the trim. These are some leftovers from the bead-board that covers the upper walls and ceiling.
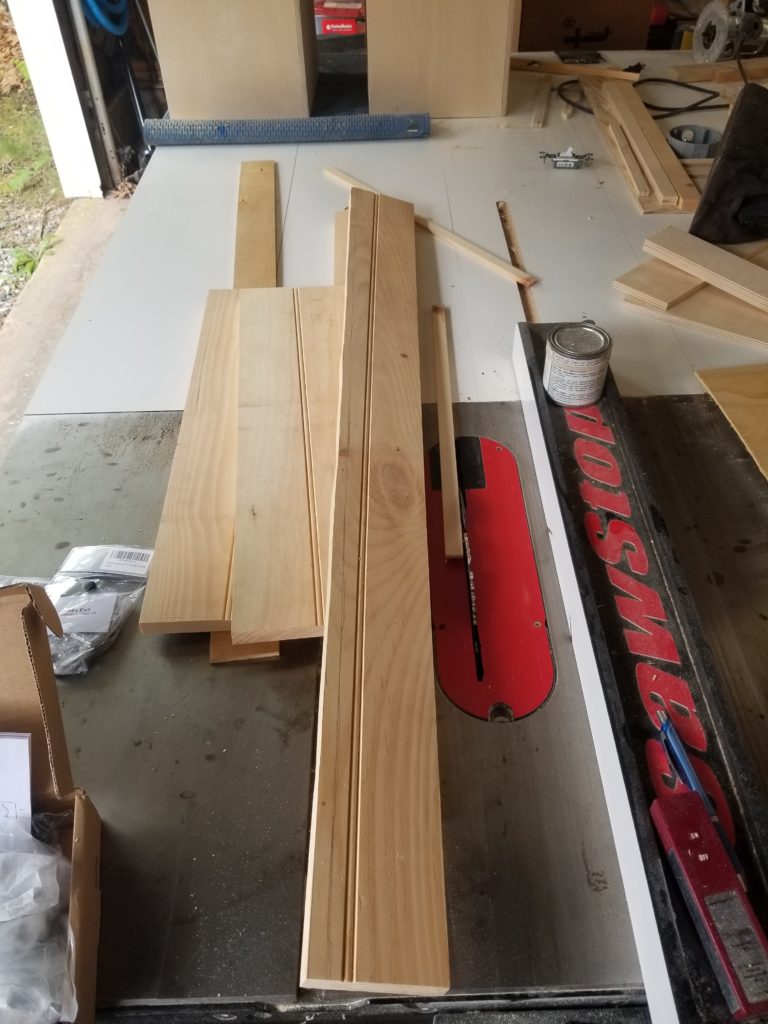
As a matter of fact, the grid work for the glass block wall also generated a lot of off-cuts that were useful for making into trim, too. You see, the right-sized boards at the lumber store just didn’t have the quality I wanted. So I went for the next size wider boards, which were much nicer, and cut them down to size. To others, that may have seemed like a waste, but I knew already that I had a need for lots of trim stock and that those narrow off-cuts would be remanufactured into exactly that. And so it was.
Sometimes, the trim I need to make is a little odd. What’s this stepped stuff for, you might be wondering?
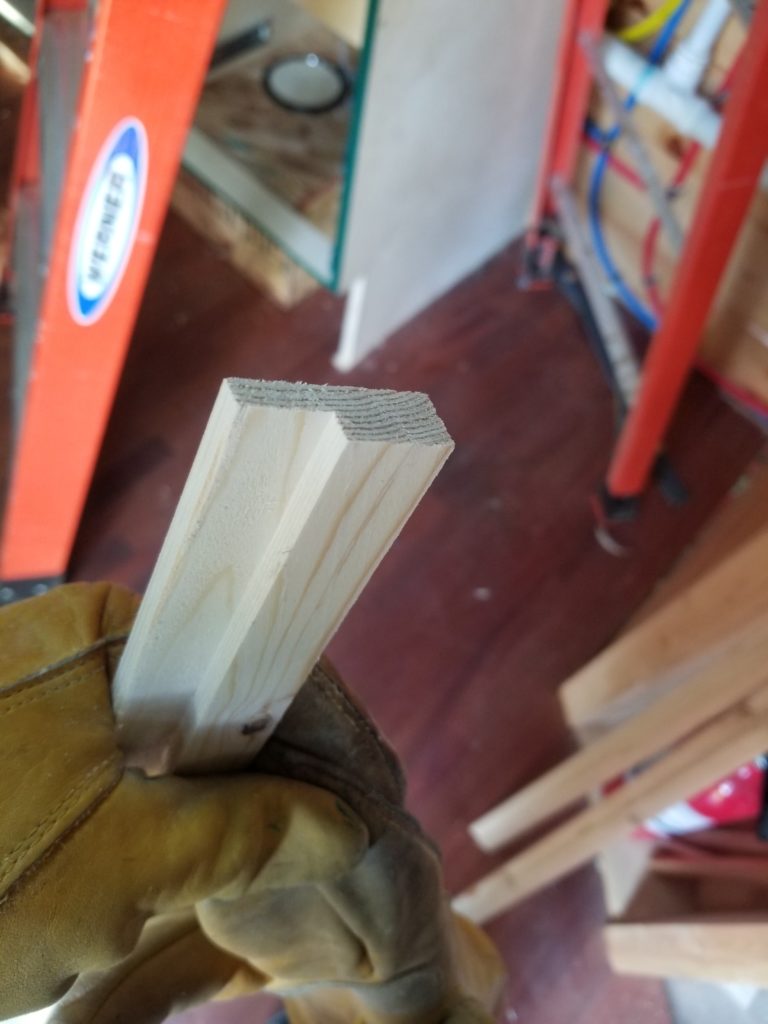
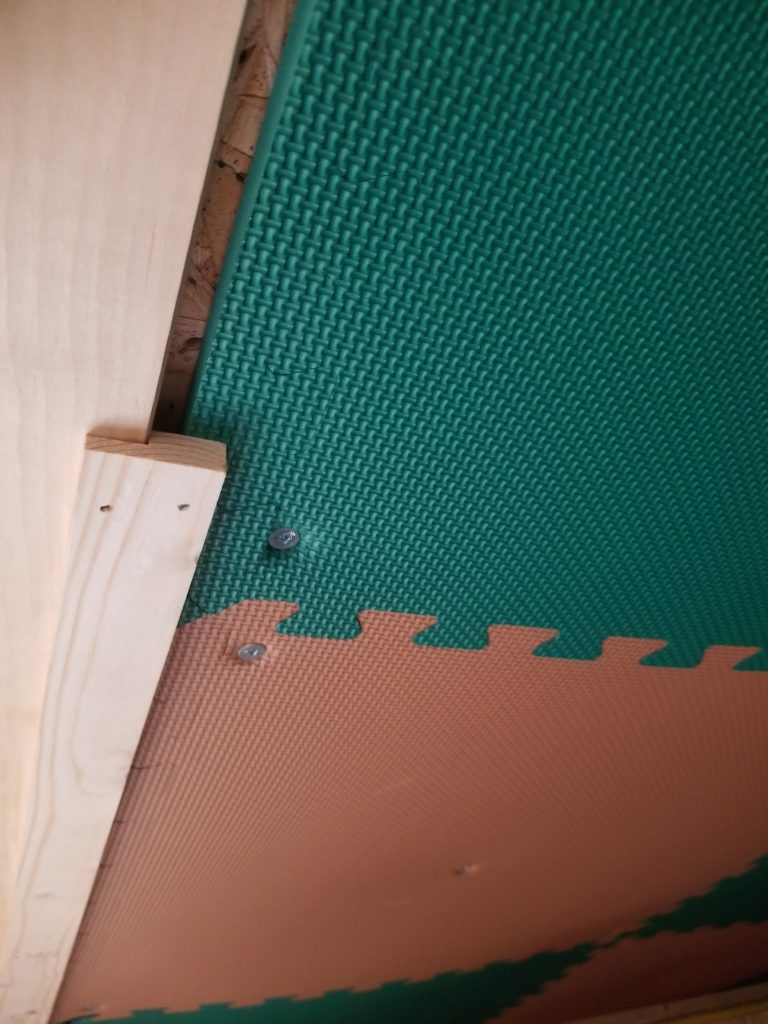
It goes here, where the Storage/Utility Loft ceiling (padded) meets the atrium ceiling (not), which is a different thickness.
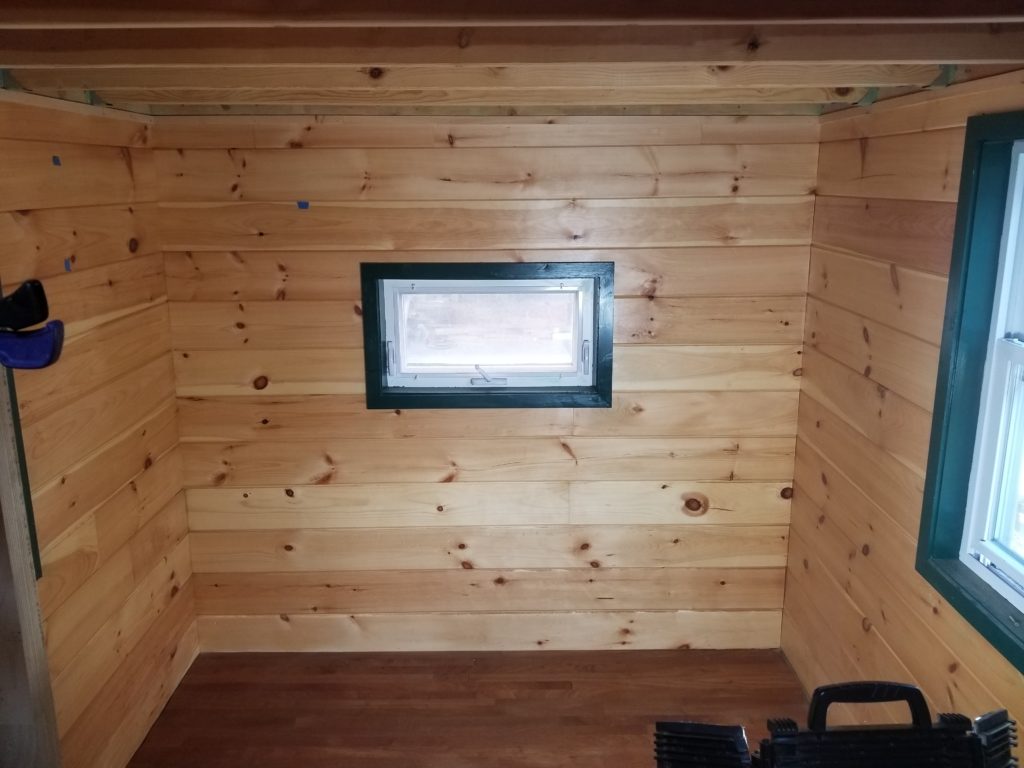
What else have I been up to? The Bednette! The design has changed a little since the last sketch I shared, but the concept remains the same: booth-benches and a table-bridge that become a queen sized bed. In the interim, I also located a motorized lift pedestal that should serve perfectly for the table to lower it into bed position without any complicated physical maneuvers on my part. The two opposing bench concept is what I went with, where each bench also has considerable storage below. The photo above is the space the Bednette will occupy.
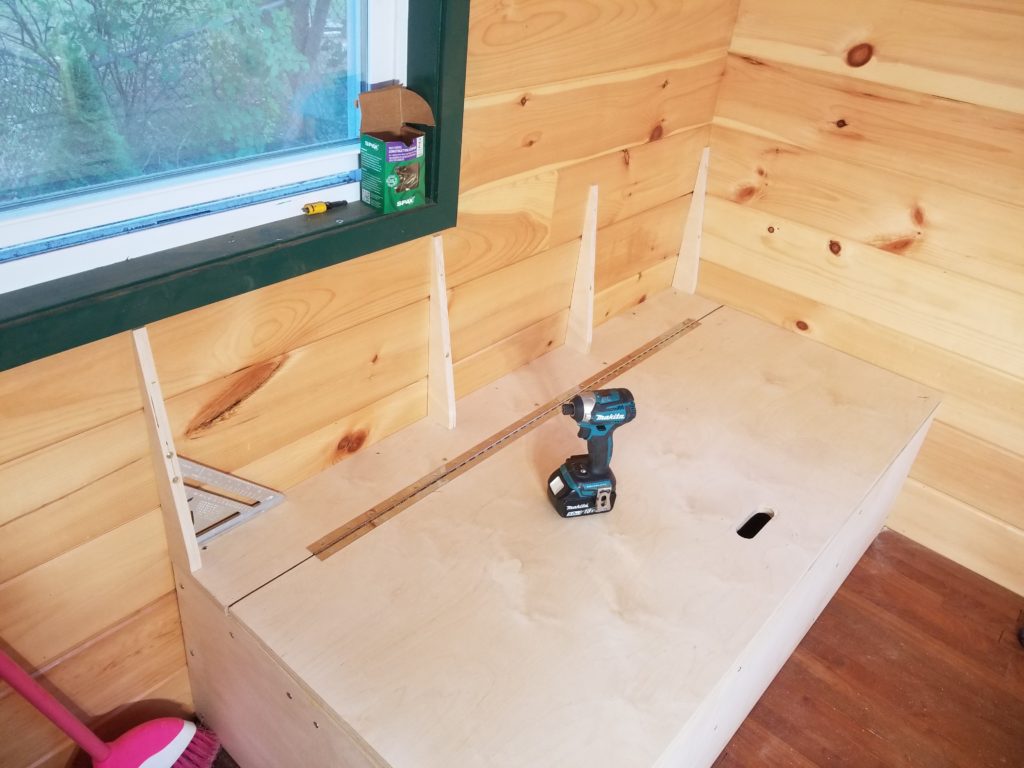
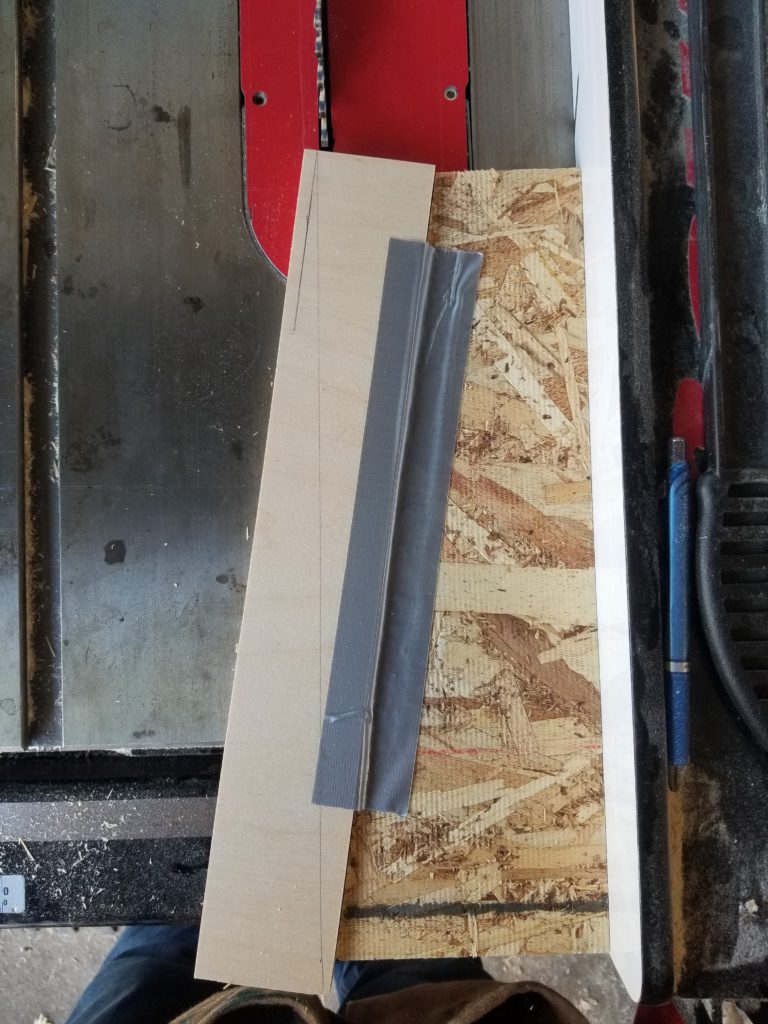
One such bench, in progress. It’s a simple box with a hinged lid, upon which a slightly sloped back will be installed. That sloped back needed a set of triangular parts. Those get cut on the table saw, with a poor-man’s tapering jig (a/k/a a piece of angled wood and some duct tape). See the straight pencil line on the blond wood? That’s just to the left of where the blade will cut, making a wedge (the piece which will remain taped to the angled OSB on the right).

To make those nice handle-slots, I finally got smart enough to do this the right way: use a hole saw to do the ends, rough out the middle with a jig saw, and only then use the router and a template to finish it. Why not just use the router for the whole thing? Well, it would work, no question, but it’s also quite a lot more wear on the router bit to eat all that wood and secondly, when the work is pre-cut close to the template line, the router has less work to do and is therefore considerably easier to control, too. Worth it.
Use double-face tape to apply the template right over the pre-cut holes. Note some wood visible in the interior of the template, but not a whole lot. That’s the extent of what the router needs to cut away. Jig saw blades are cheap and durable. Router bits are neither. Good trade.
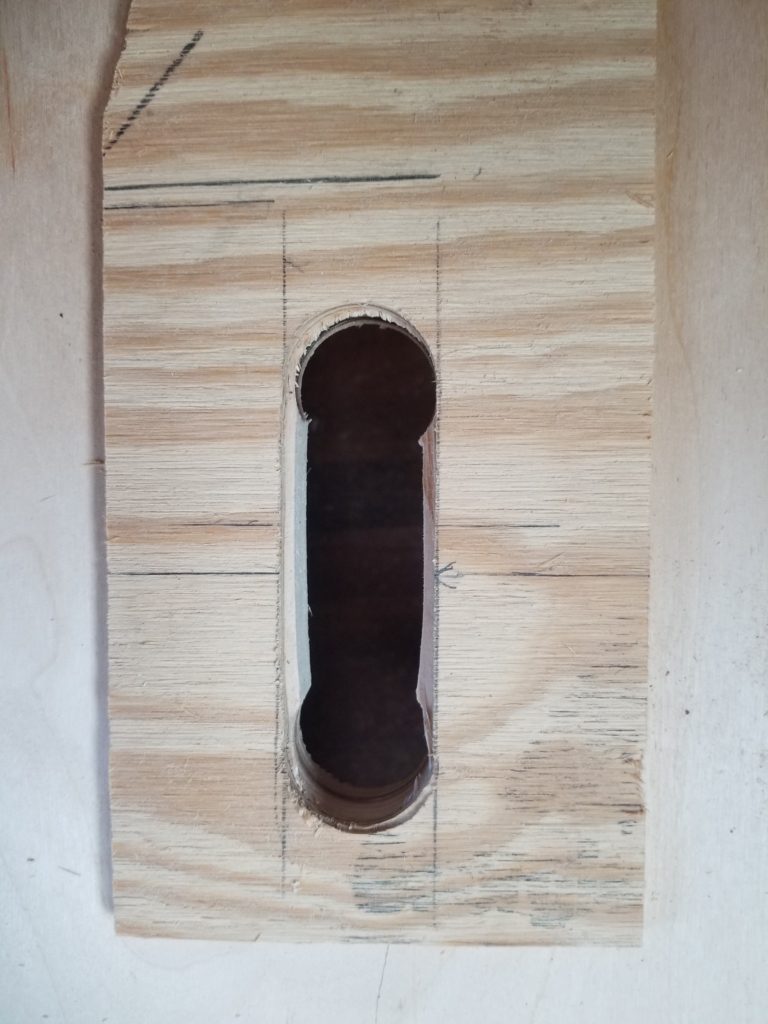
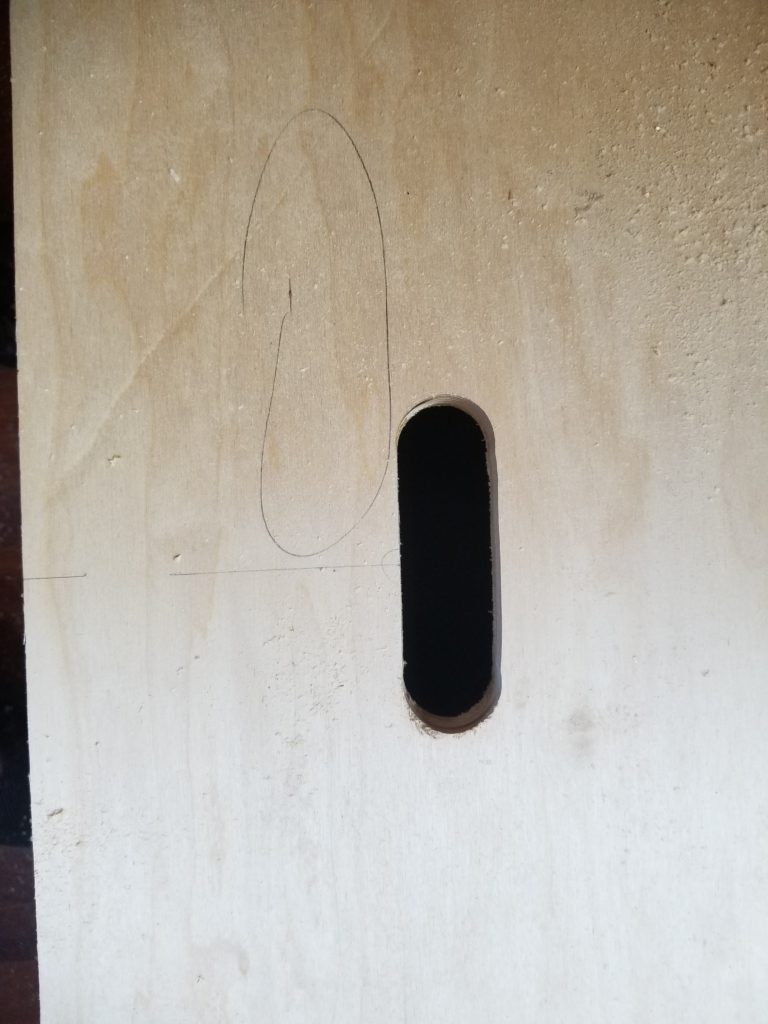
After a visit from the router, a near perfect hand-hold slot to lift open the storage lid. It got a little crunchy on the edge there when the hole saw slipped, but hey, it all goes underneath some big cushions anyway, so it doesn’t have to be beautiful.
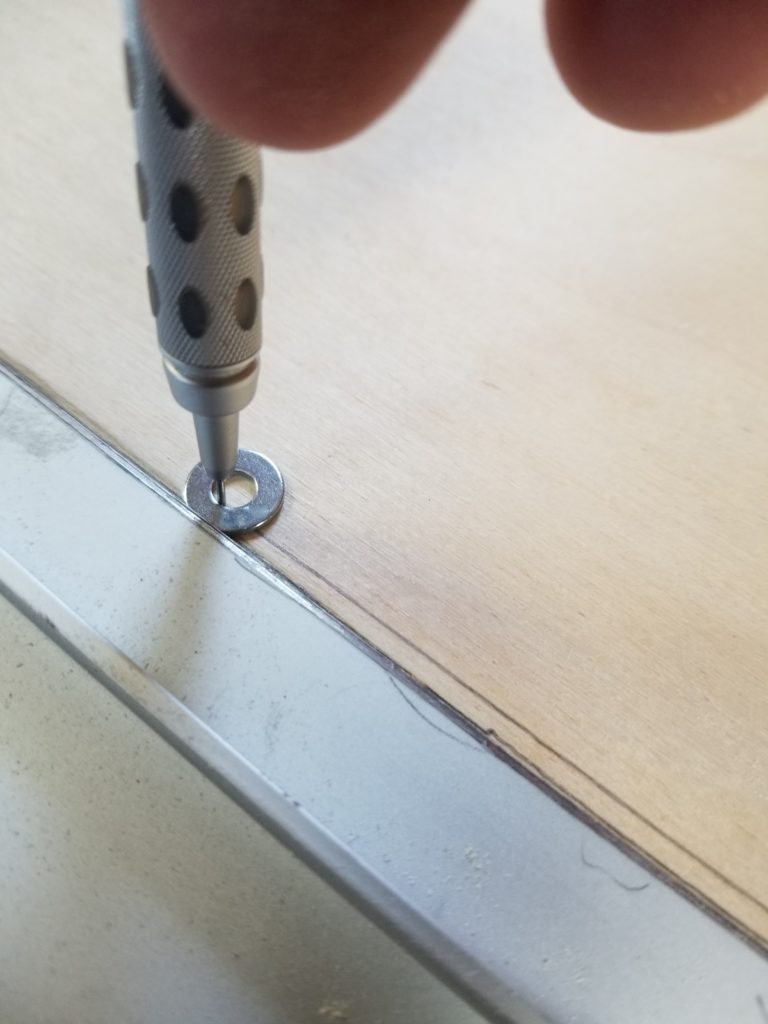
A neat trick I learned recently: use a washer as a scribing spacer! Here, I have a straight edge (aluminum bar) from which I wish to make an offset line. Insert pencil into washer, then just drag it along. Presto! This is even more useful for irregular edges, for which I have also used this technique with success.
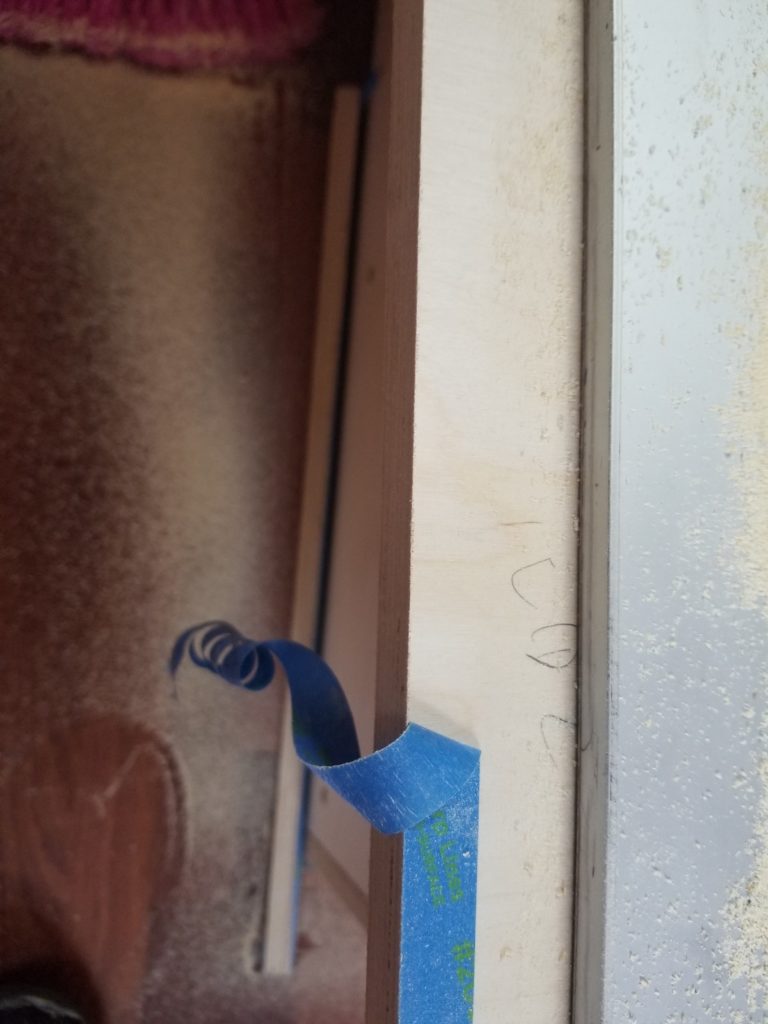
And when cutting plywood, if you don’t want the edges to fray, applying some painter’s tape to the show side before cutting really makes a huge difference in the quality of the cut edge. Behold.
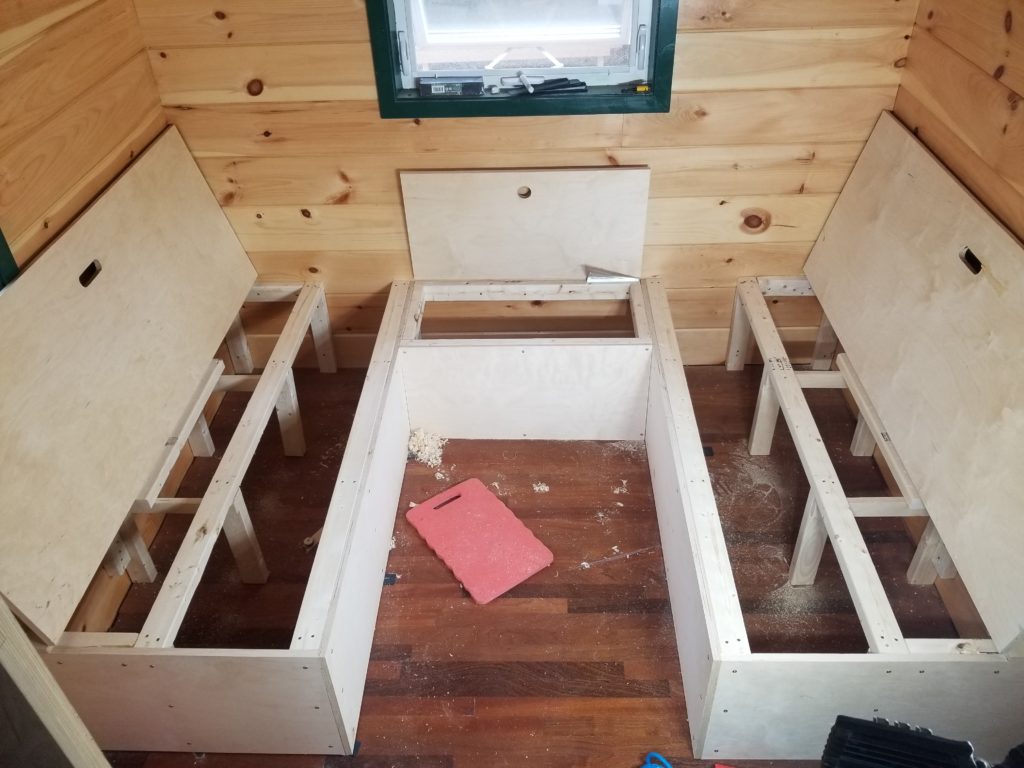
Bednette, minus the table, lifting column, and landing cleats. All storage boxes open. The long compartment is meant for big blankets. The smaller compartments can accommodate storage tubs/totes. Maybe pillows in that short cabinet at the end.
Here it is closed. The distance from back rest to back rest is like 82 inches or so. A proper queen sized bed would be 80 (ha! mine is BIGGER!). The width of the benches is 60″, same as a queen sized bed. I will add some trim to the not-against-the-wall edges of the benches to help retain the cushions. And I have already contacted a friend to fabricate those cushions.
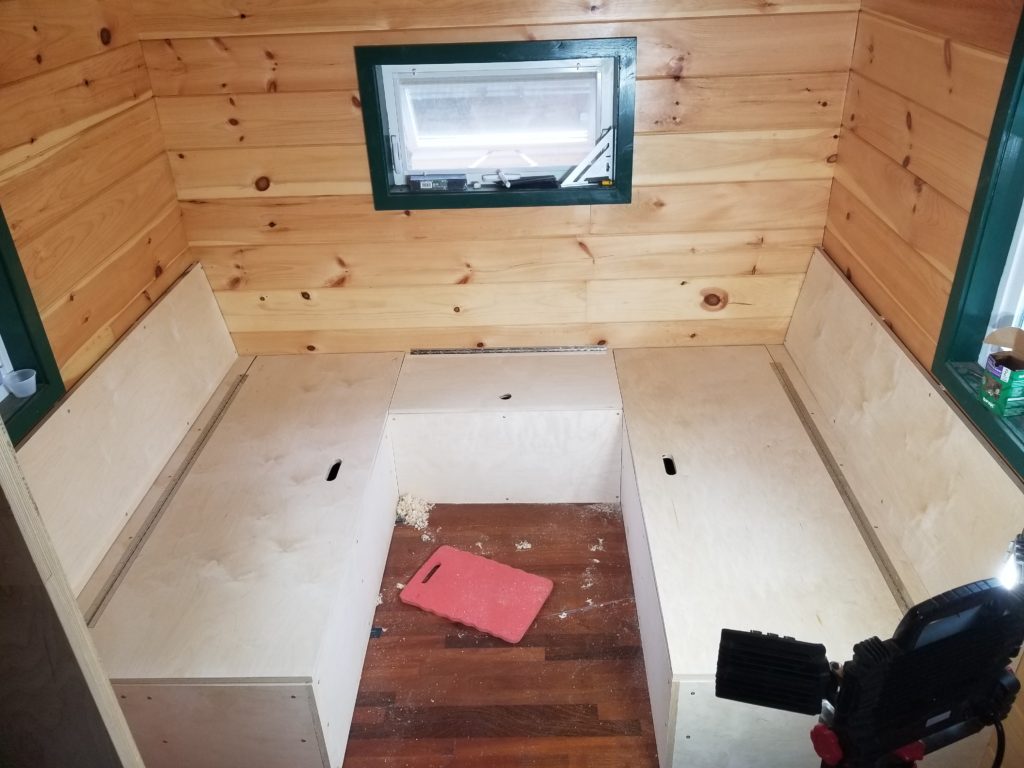
It will be much easier to install the lighting and the outlets before I install the table, so I’m going to do those next. Strip LEDs along the crown trim for basic lighting here, same as the T.H.R.O.N.E. Room. That’s maybe not enough to read by, but it is enough for most other functions and it can be turned down low or set to a nice color for romantic mood if desired. Once the lighting is installed, I’ll see just how bright it really is and add over-table lighting if necessary. The T.H.R.O.N.E. Room lights seem a little dim, but there are a lot of corners and funny angles there, so the light doesn’t really get a chance to diffuse in the room much. I’m thinking it will be easier here.
Building out the Bednette benches was pretty stright-forward, though given the unusually high price of plywood and other lumber right now (3x nominal, no kidding!), I aimed to minimize materials. So instead of building free-standing boxes and securing them to the walls and floor, I actually used the walls and floor as sides of my boxes. This definitely meant less material but also meant that irregularities in the walls and floor translated to my benches, which complicated things a little. I got it and they’re good enough, but they’re a bit less perfect than they could have been had they been built as stand-alone cabinets. That said, there’s nothing that’s perfect in this house, so they’ll feel right at home 🙂
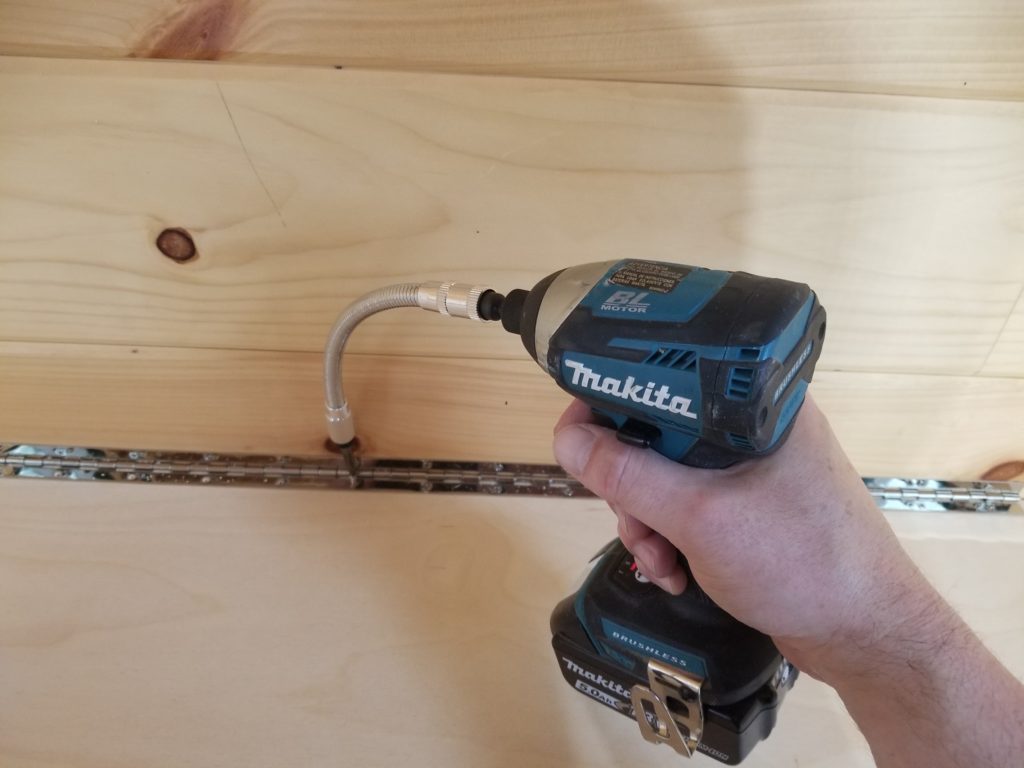
The only really challenging bit was the piano hinge on that rear bench-cabinet. It’s really close to the wall and thus hard to get a screw driver in there. Fortunately, Inspector Gadget was here to help.
