Since last update, the ceiling in the Cozy Loft has been dressed, as have two of its three non-glass-block walls. The third wall I originally thought to upholster like a fancy chair back for leaning up against, since it’s the only wall I can lean up against up there, but then I noticed I could sit upright in the hollow for the skylight! It’s a little weird, I’ll grant you, but it also means there are other options for that space and I need to think about it more. While I think, you can gaze admiringly at the ceiling & wall job. Trim to follow.
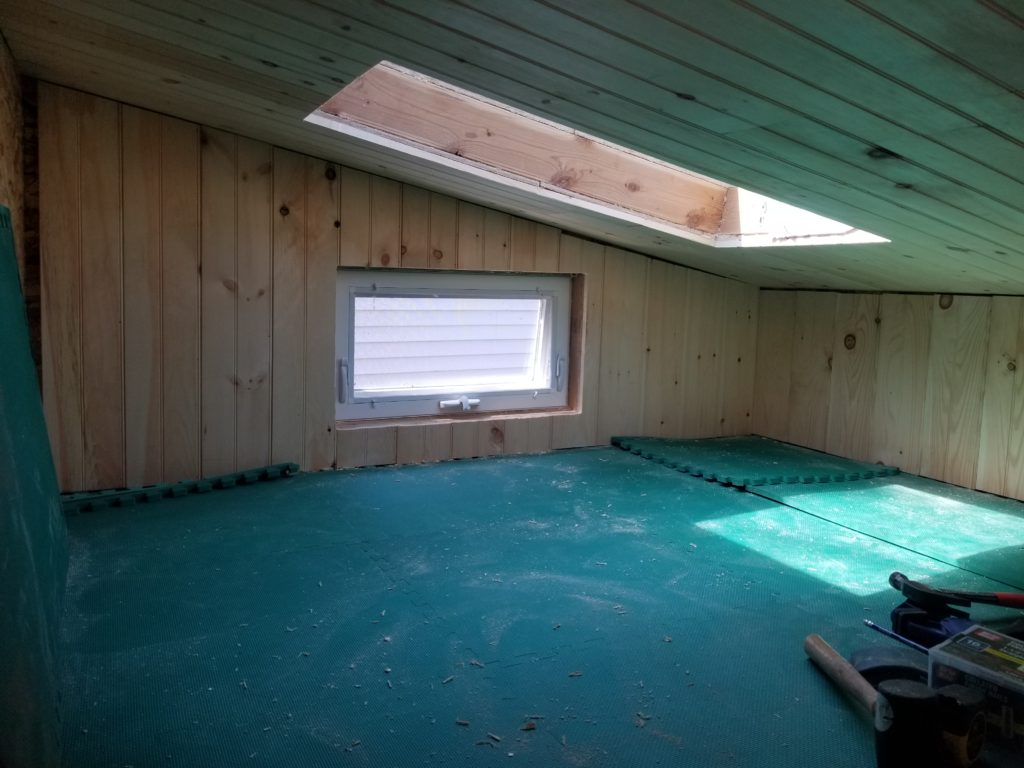
I won’t tell you how long it took me to realize I didn’t have to cut any angles for where the ceiling meets the low wall, since that junction will be covered by trim. I will tell you I realized it.
The floor for now is just some interlocking foam mats, not even cut to fit. This keeps the plywood from beating up my knees when I’m up there. Something softer seems appropriate for the floor, but at the same time, I’m hesitant to subtract even more precious headroom by making it any thicker. Frankly, I’m not quite sure what to do about that just yet. The ceiling height was driven by the deck height which in turn was driven by the ceiling height of the main level which was driven by how close something can be to my head before it feels like it’s too close.
While I contemplate a better finish flooring material, you can gaze admiringly at the glass block partition wall, now with a little more paint and with the glass blocks sealed in place.
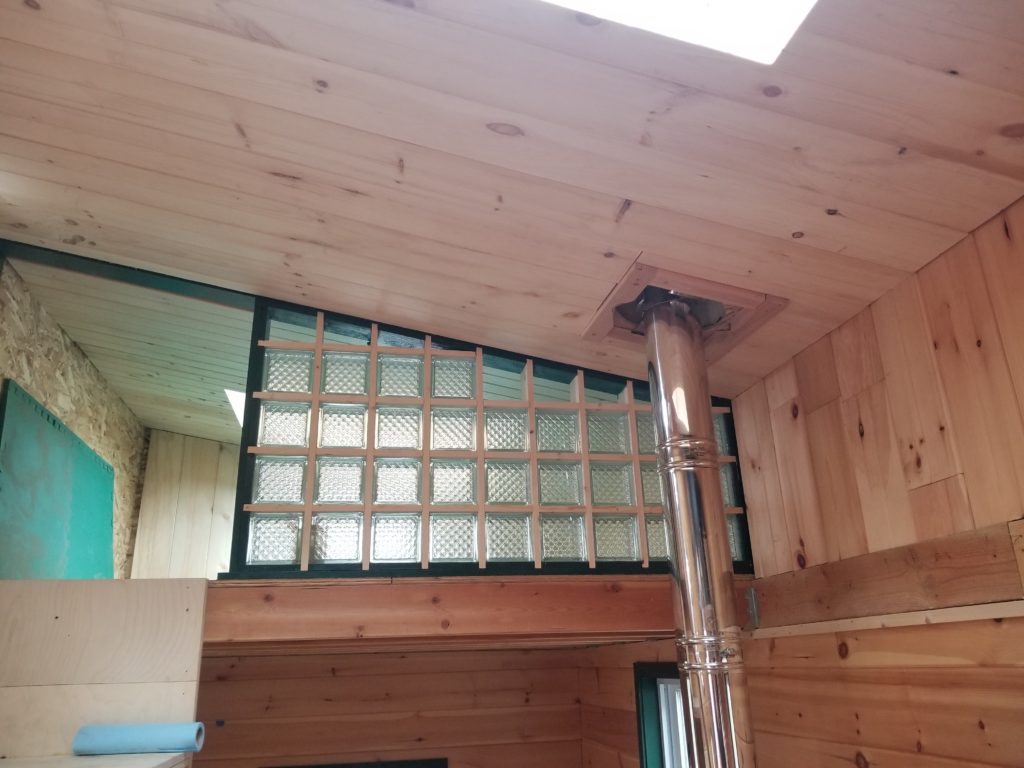
As I expected, the diamond patterns on the glass really scatter the light coming in from the skylight and the side window. Ironically, by adding a wall, I actually brightened the place. What to do with those fractional sections that were too small for a glass block? Dunno yet. Maybe I’ll fill them with solid plywood panels. Maybe some acrylic plastic (a/k/a Plexiglas) that’s been scuffed to continue the privacy aspect the diamond patterned blocks started. None of that needs to be decided any time soon and there’s other stuff more pressing.
Among those other things are applying some finish to the ceiling recently installed. That’s next, so I can get the scaffold outta there and return to work on the kitchen.
Meanwhile, on a recent cold day when working outside just didn’t seem like a fun thing to do, I did this.
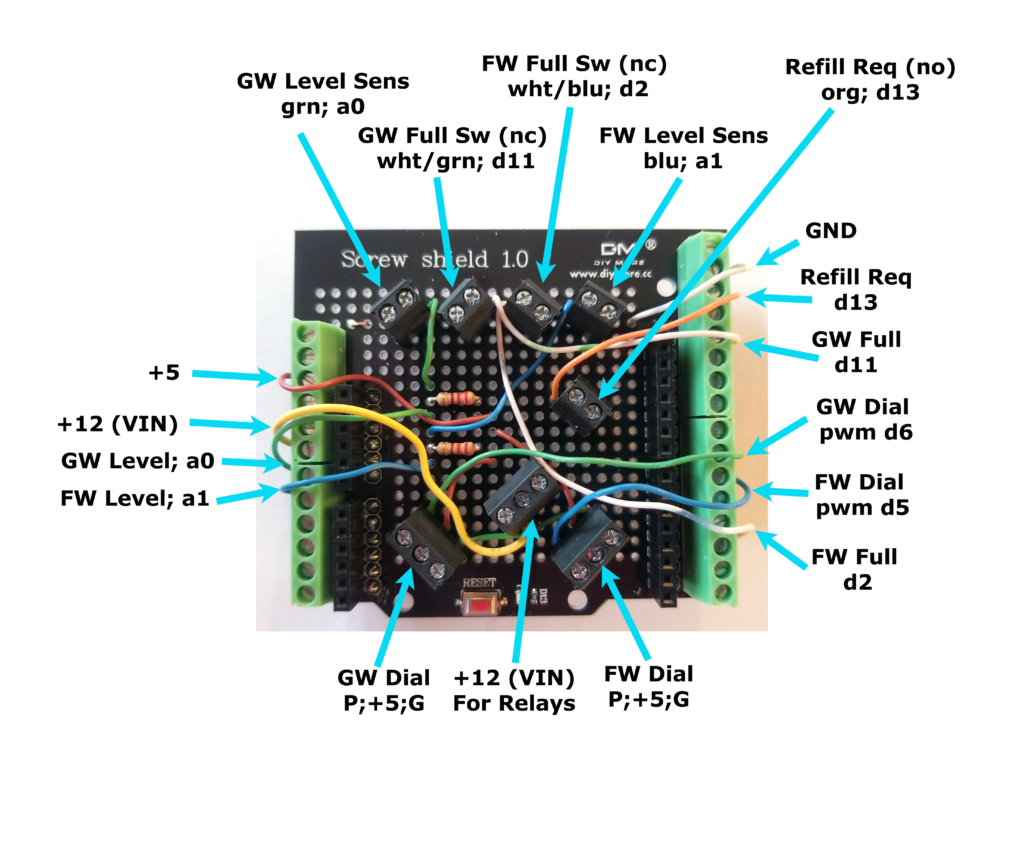
And what exactly is this? It’s a board that stacks on to the Arduino computer that I call BoxBrain – the little machine that will monitor fresh and gray water levels, drive the indicator servos, run the well pump — and stop the well pump, that kind of thing. The thing is, all these sensors and actuators need to connect to the computer and they need to do so in an orderly fashion. It’s hard to be tidy when space is so constrained, but what you’re looking at here are a set of individual connector blocks (black with silver screws) each of which will receive the wires for one and only one widget. So instead of having one wire of the widget go here and another wire of the widget go there and trying to remember what goes with what, all of the “there” has been brought to “here” so sensors and actuators and such just plug in simply to their designated block on this board. It’s little more than a bunch of wires but the significance is that it makes hookup and diagnostics much simpler.
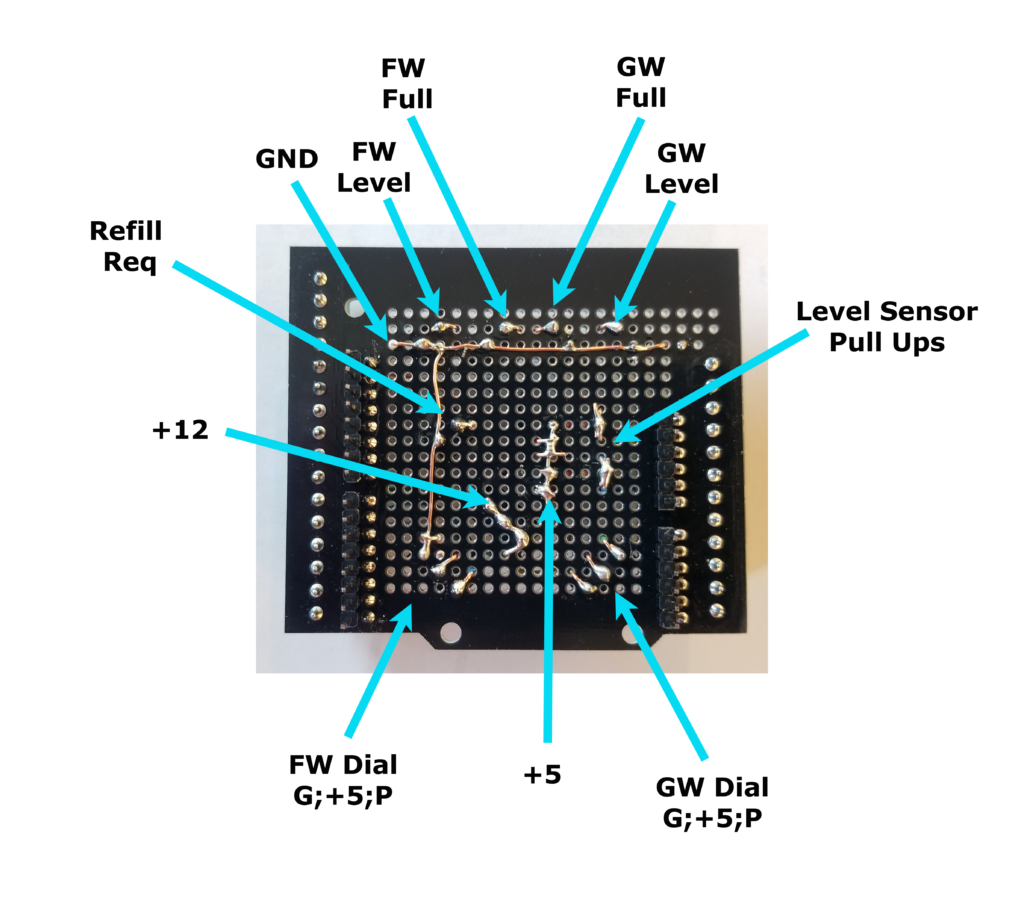
This is the bottom view. You can see some long copper lines and a handful of nexuses. That’s the whole point. Instead of having to tie all those things together out in space, they’re tied together here and run out to individual connectors so it’s always one-for-one when hooking up stuff.
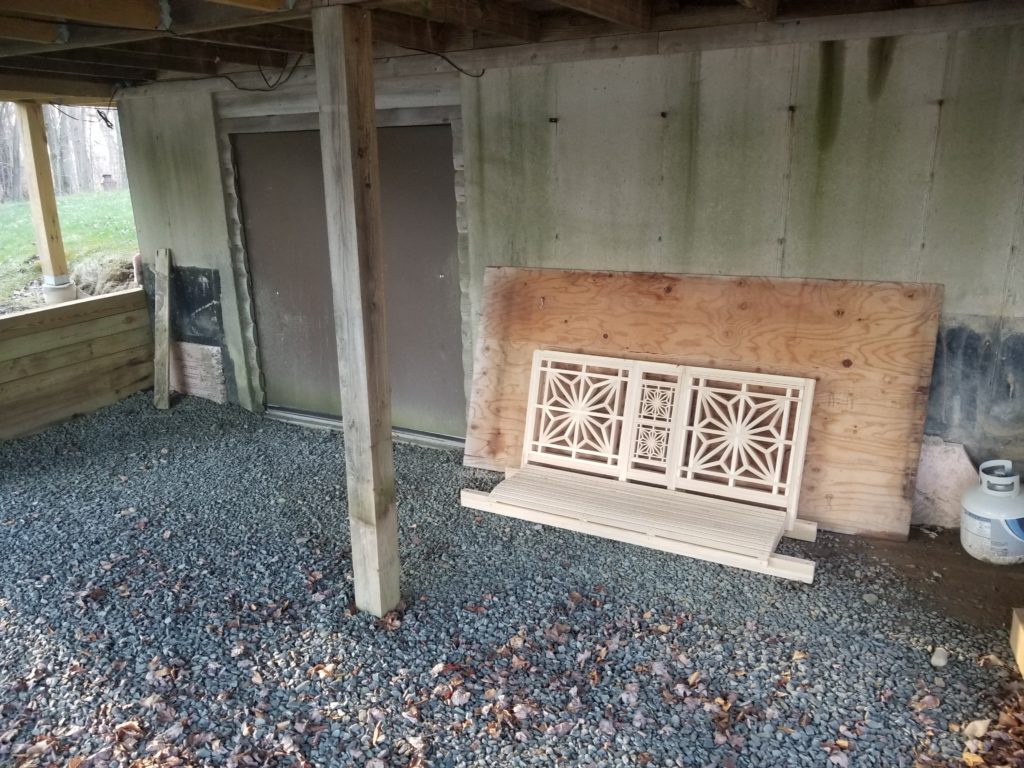
What, you might ask, does this scene have to do with building a tiny house? The answer is nothing. But that was the wrong question. The right question is “why are you showing me this?”. The answer to that question is: behold, the fancy Kumiko chair swing I designed and built for my friend who is letting me homestead on his land. That’s what this is, minus the hanger bolts and chains. Since I was going to be heading down to the site this month and the weather was mostly decent, I put construction of the house on standby and focused most of my attention to getting this finished so I could bring it with me. Site visited, chair delivered – there it is, under the deck of his vacation cabin, waiting for him to install it. How big? Well, those big pattern panels are 21″ square and the detail parts are 3/4″ wide. The little panels in the middle are 9″ square. I designed and built the whole thing myself. It’s made of Cypress, which is a nicely weather-resistant wood. h/t Mike Pekovich, whose class on kumiko (the style of pattern work shown here) woodworking I took last winter inspired this project.
So, about that site visit. Aside from delivering a fancy-pants chair swing, why was I there? I was there to stake out where the solar arrays go, where the house goes, where The WOG goes. I was there to make sure that the placement of doors and windows for The WOG were sane when considered in the context of the existing trees and the lay of the land before telling the people building The WOG’s shell that they were good to go.
I also got to see the new shale road. This may not look so exciting to you, but this path was a rutty, soggy, muddy mess the last time I saw it. Now it’s a nicely tamped, red rock road. Lovely! It is my driveway. You can see it goes up and into the woods a bit. Indeed it does. I’m gonna need something to plow that…
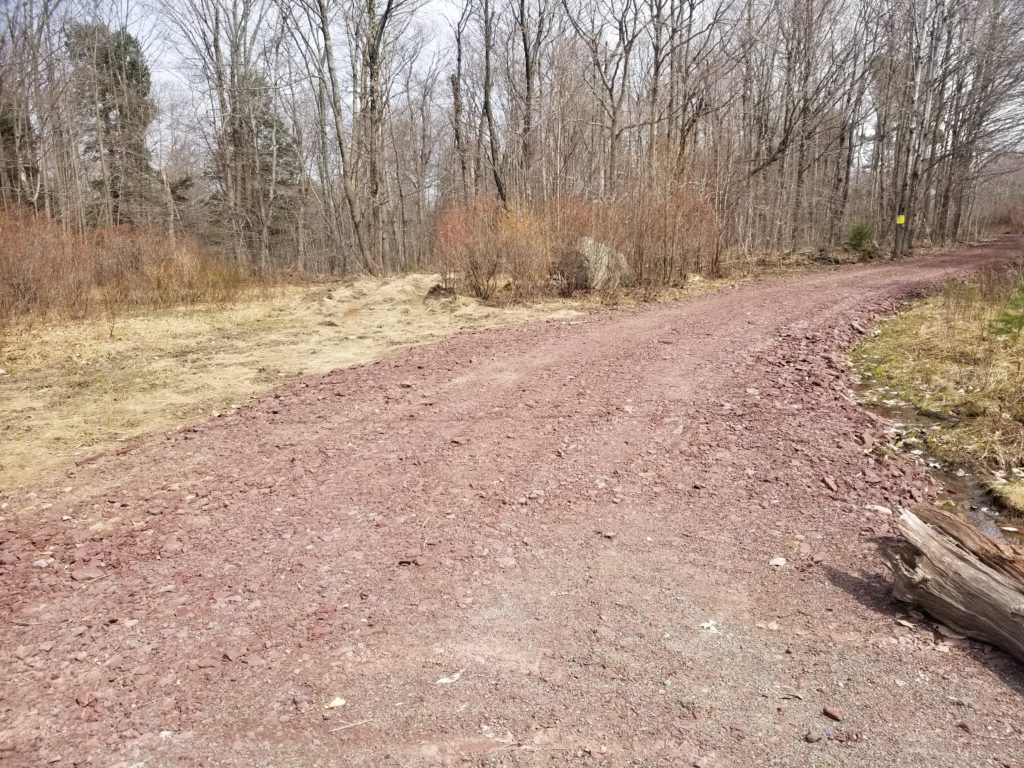
But admiring the road, while a right worthy thing to do (nice job, Paul H), what I was really there for was to stake out some things, check some measurements, etc.
The stakes were small compared with the spaces being marked, so it doesn’t make for great photography, sadly.
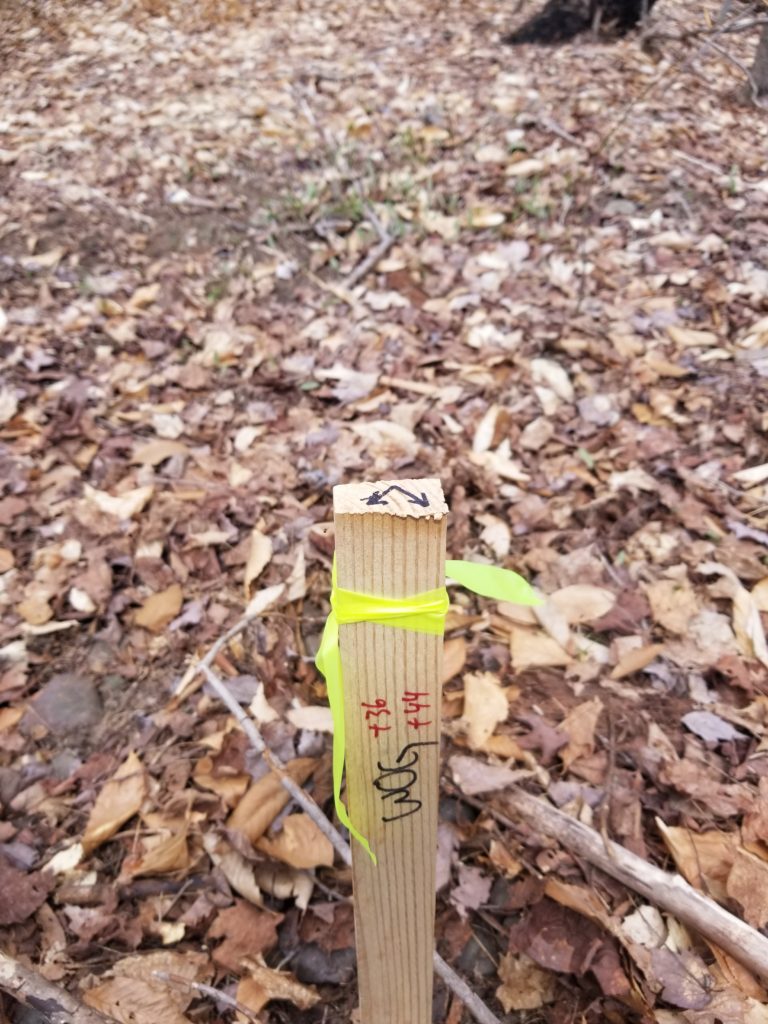
Once you’ve seen one marker stake, you’ve pretty much seen them all.
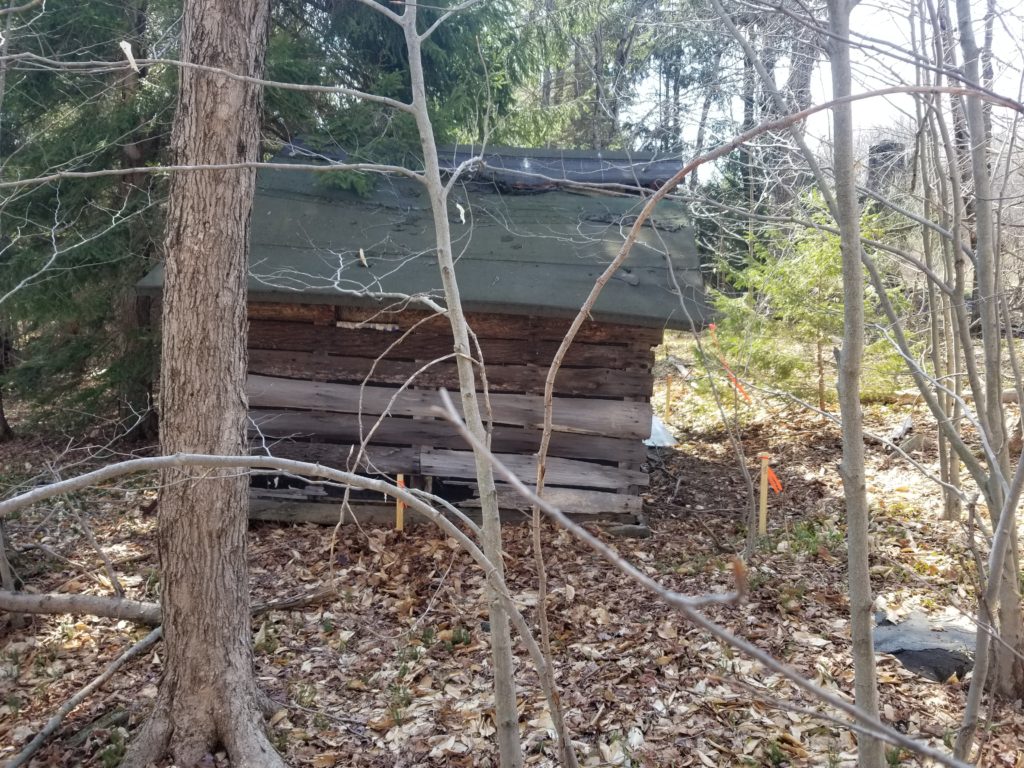
The HomeBox goes here, in the green outline. The derelict cabin in the background will be removed. It’s hard to see in this picture, but the cabin is actually some distance behind the rear of the green outline.
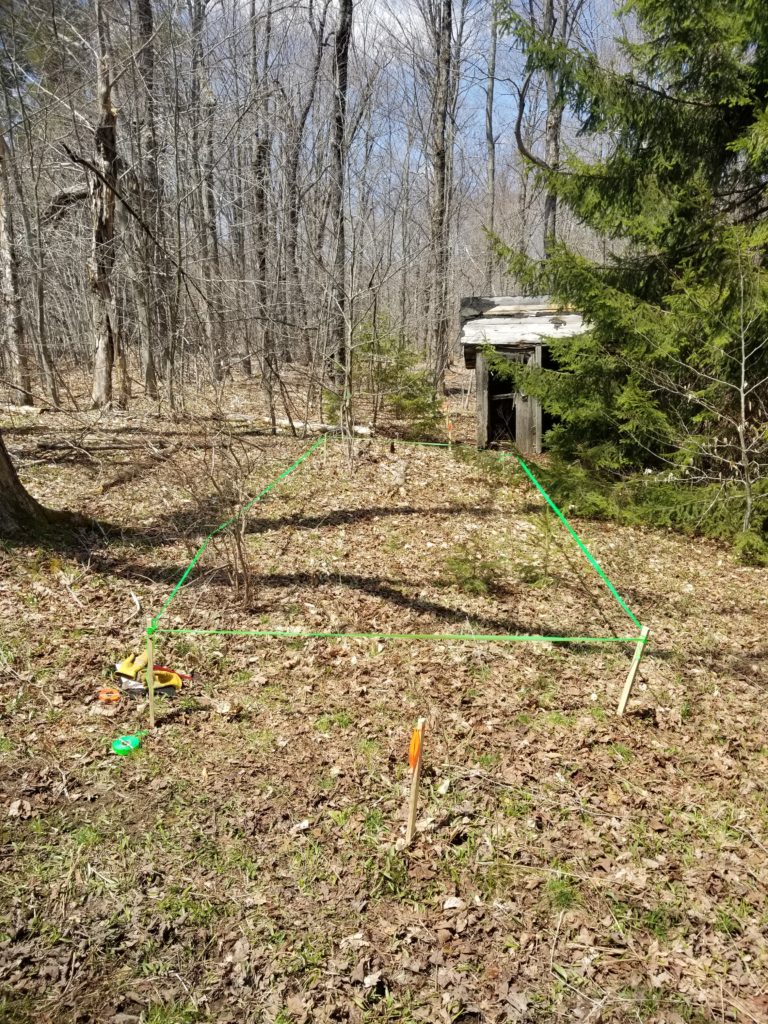
Orange markers designate future site of graywater holding tank.
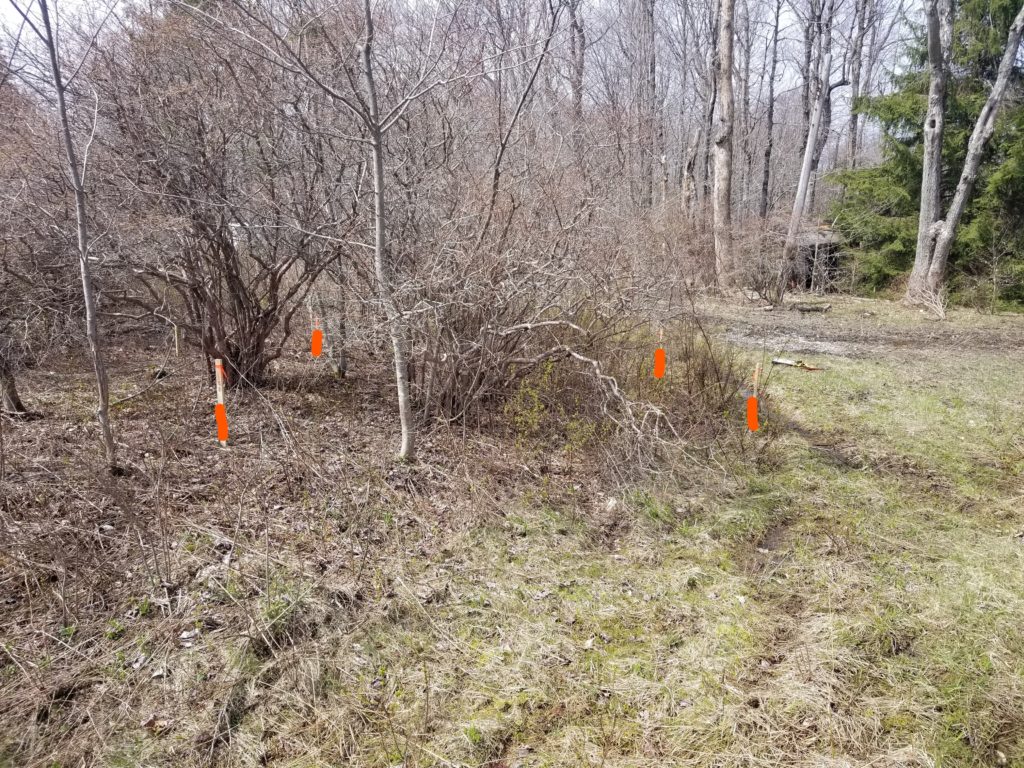
There will be separate solar arrays for the HomeBox and The WOG. They’ll actually be next to each other, but they are independent. The array for the house is shown here, with red annotations added to the photo to make the stakes easier to see. Obviously, these bushes will have to go.
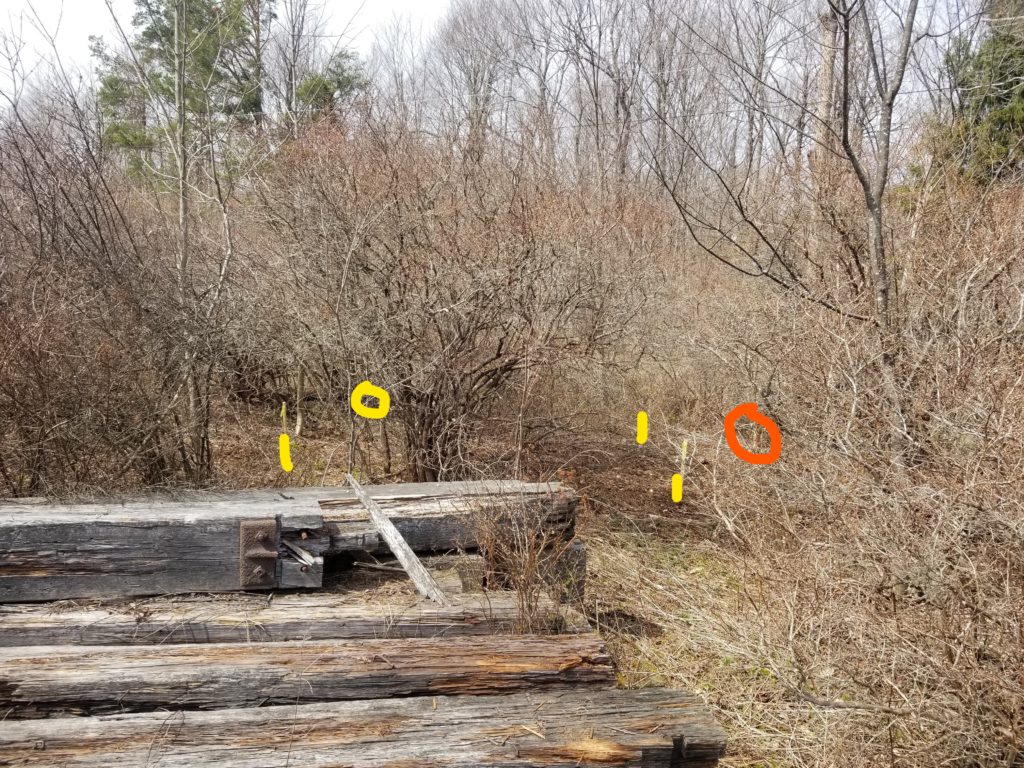
The WOG’s solar array goes here (yellow markers). These timbers are also remnants of that same scout camp to which the derelict cabin and various other ruins belong. There’s a chance that there’s some not-rotten wood remaining at the heart of these timbers. If I can either remove or work around the iron hardware, I’ll see what I can do about reclaiming it. I have the tools which would turn this stuff back to useful lumber. It would be kinda cool to be able to make some furniture out of these. They’ve been here a while, though, and at least some of them are substantially rotten where I was able to inspect them. Still, some of them seemed at least moderately sound (cutting through one of them would be more revealing, but I didn’t have an appropriate tool for that with me). They’re not going to go from “salvageable” to “worthless” in the few months it will be until The WOG is built (where I could then shelter them) – but they are definitely toward the end of their potential life as left outdoors. Ask me about them in a few months.
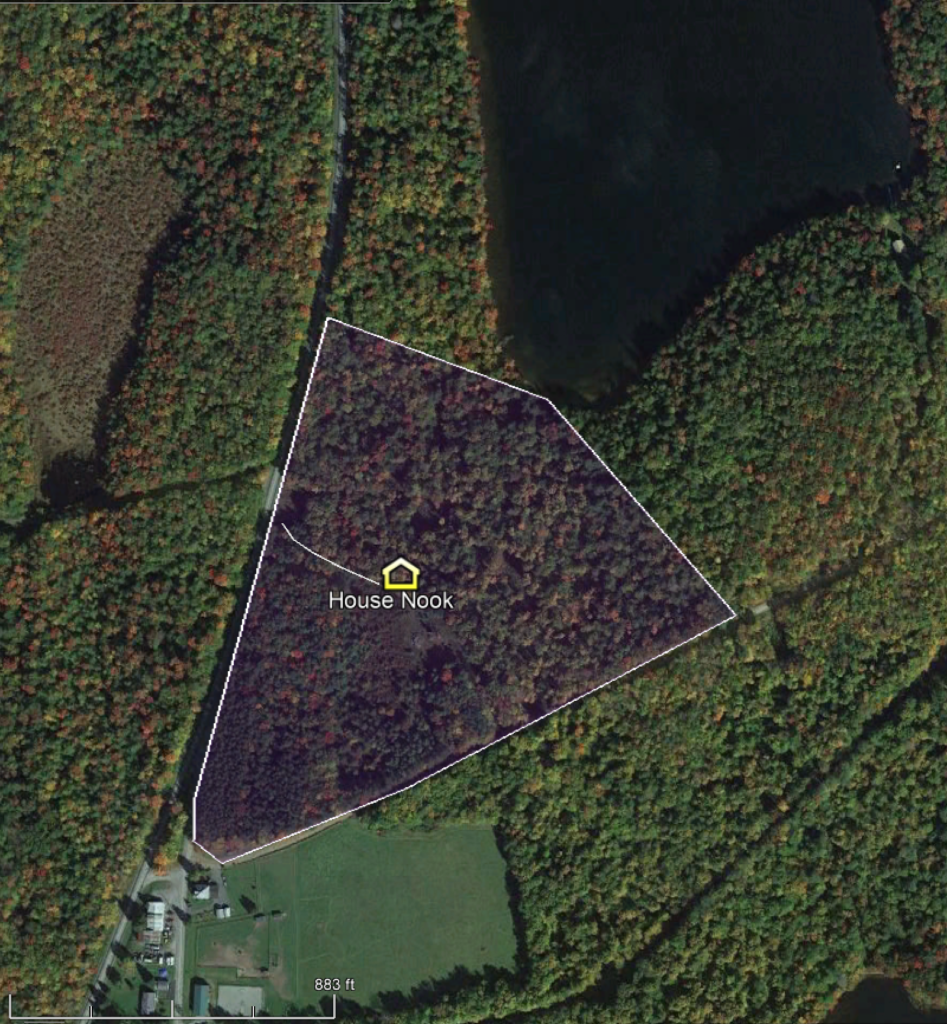
This view from Google Earth can put it in some context. The white line is where the shale road is now. The marker for The WOG is in the back corner – it extends to the left and forward.
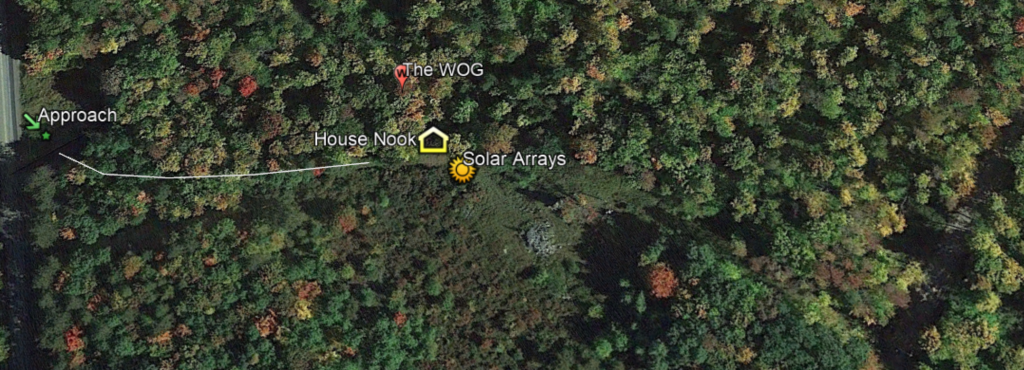
Which is a stripe across the middle of this map
Oh! I almost forgot! The latest plan for The WOG, changed a bit since the last time you saw it.
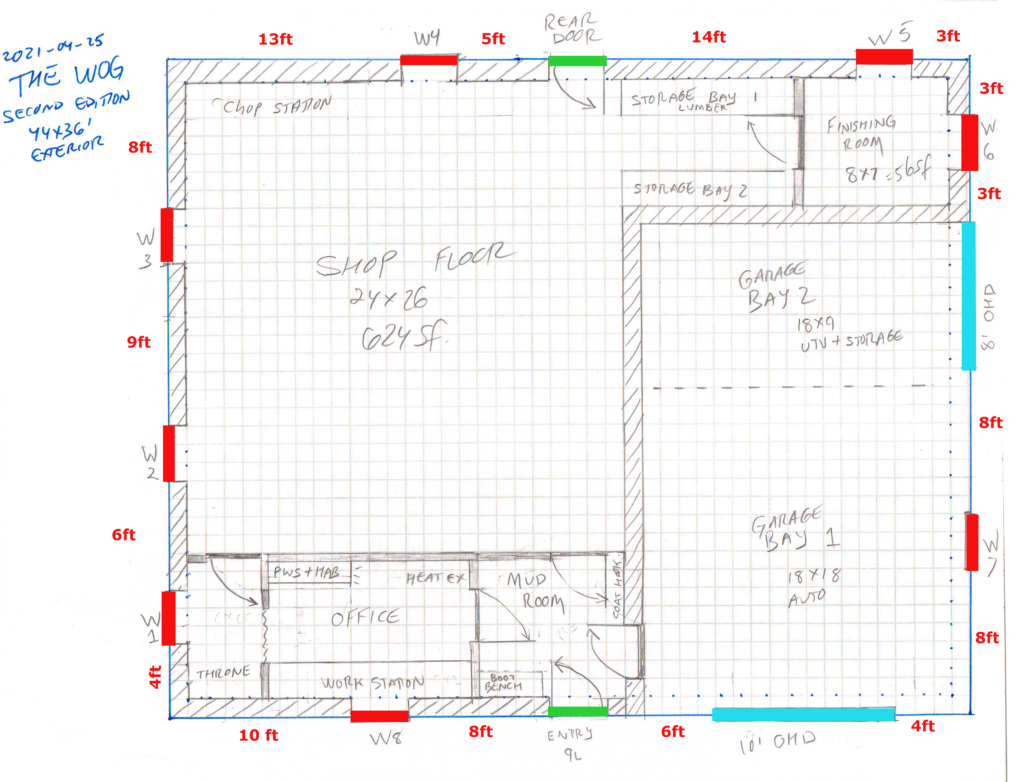
Most notable changes are one garage bay was removed and a dedicated T.H.R.O.N.E. Room was added. I need a place to take a low tech shit while working on my high tech shit, you know? Windows and doors moved around a little and the office got a little bigger. I don’t actually need that much room for the T.H.R.O.N.E., but it had to be accessible easily from the office and also be located behind the sawdust-exclusion wall. Recessing it 4 feet would have freed up 16 square feet of floor space that would be all but unusable… so why bother?
Overall, the workshop footprint isn’t much different from the 2-car garage I’m using now. Still, that garage has built-ins that are dumb (it’s a rental, so I don’t get to make them un-dumb) and this shop plan has a dedicated outboard storage area (upper right) that’s perfect for lumber and a dedicated no-dust room for doing finishing work. Nobody likes it when sawdust lands on your nice wet varnish. And having a door to close so the stinky varnish is on the other side of it seemed like a good idea, too. So while the main shop floor is the about the same area, these two adjunct spaces mean more efficiency all around. I wouldn’t have to wait 2 days for dust to settle and then do nothing other than varnish, for example, if I needed to do some varnish. Instead, with a finishing room, I can just go in there, do that, and keep the door closed to keep the dust out. Then go back to the main shop and make as much more dust as I want while the varnish dries.
The swing, being done and delivered, frees my workshop to return its attention to the house itself. Ceiling, then kitchen. Then probably the murphy bed in the BeDeLiA.
I know nobody ever comments on my posts, but if they did (and it was still enabled!), I’d ask: do you know what this is? Some kind of fancy cheese? Rustic bread? Something else?
