Hearth grout cured, it’s time to complete the installation of the wood stove! Step 1, put the stove on a piece of cardboard so I can slide it easily along the hearth. Step 2, attach another section of flue and adjust the height so I can locate the chimney port of the stove directly under it, like this:
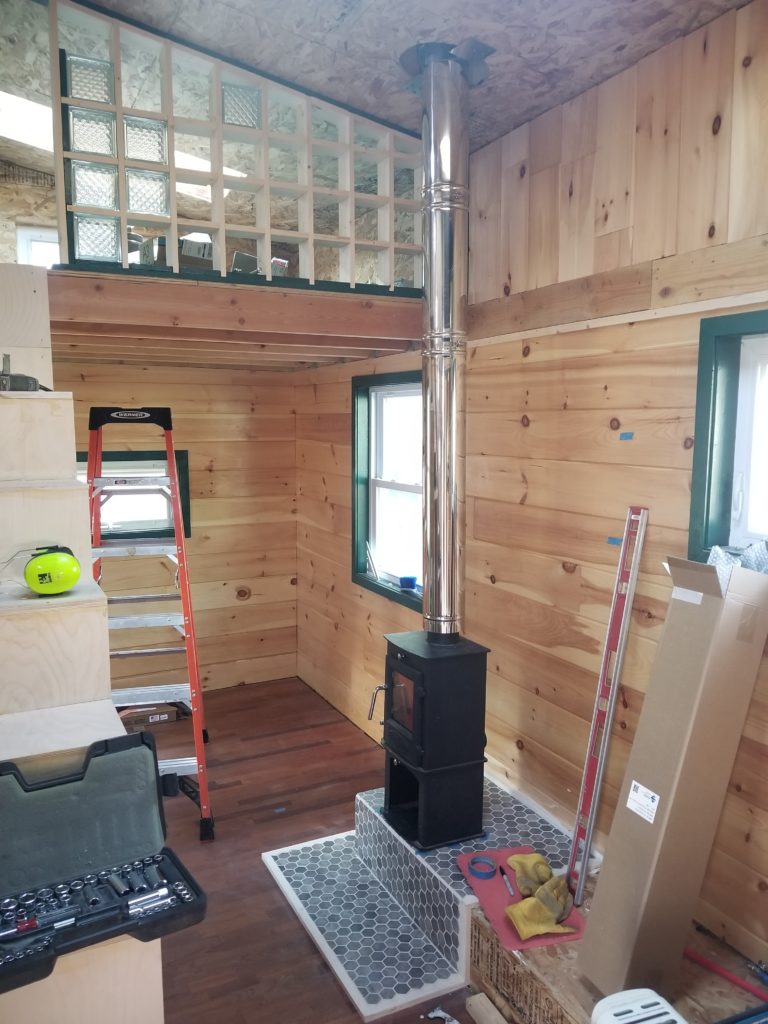
If you’re looking at this and thinking, hey, that fireplace is too close to the wall, you’re right. But it will be perfectly not-too-close when the heat shield is installed, so don’t worry.
It looks like the deck of the hearth is perhaps a tiny bit not-level, which is not altogether surprising, since nothing is. I may need to use a spare tile as a shim – or maybe not, it all depends on how forgiving the flue attachment is. Speaking of flue attachment, evidently I needed one more part that I had failed to account for. And of course it’s back-ordered, just like kind of everything interesting these days. Well, at least I can get the final placement and that’s enough to inform the kitchen design, so I can get on with that.
But first, how to get the mounting bolts positioned for the stove?
I thought about this a bit and decided that attempting to mark the positions through relatively small holes in the foot of the base is asking for trouble. Instead, if I make a tape outline of the stove in place, then remove the stove, make a paper template of the stove bottom, including its mounting holes, then align it to the tape, I should have an easy, reliable position reference. As it turned out, the height added by the cardboard skid also meant I could slide tape under the stove, allowing me to put the tape half in, half out, so I could then use a sharpie to trace the outline without worry that I’d mark the tile I spent all that effort to install.
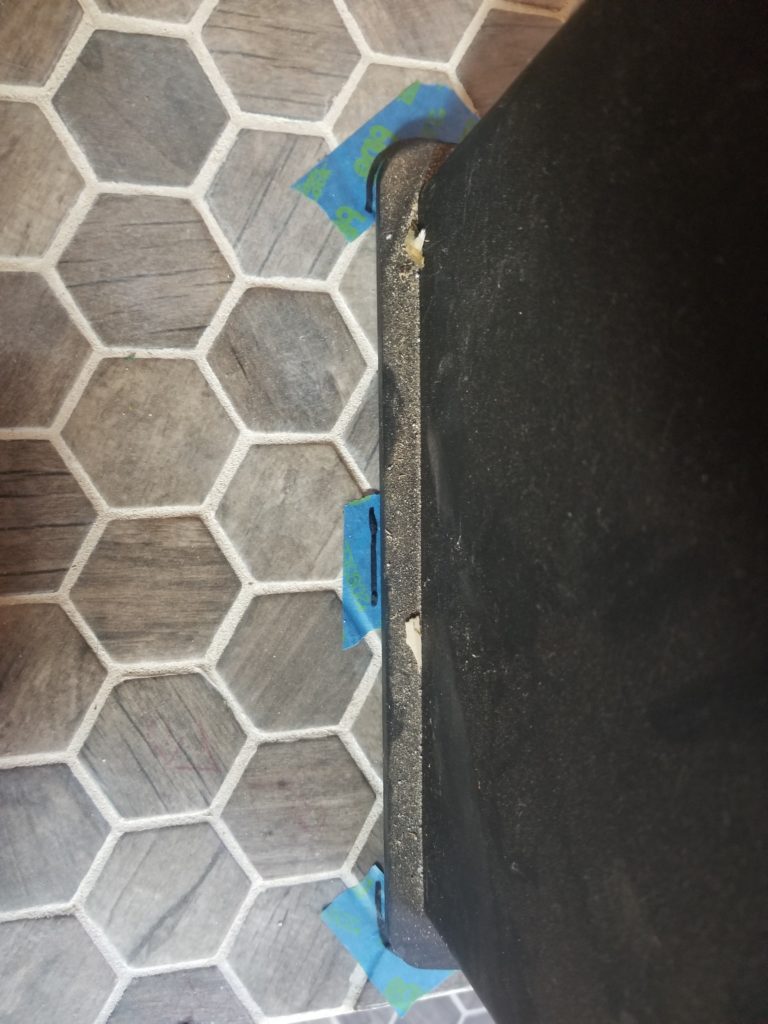
There are like seven pieces of tape around the perimeter, so there’s plenty of positional reference to go on.
Meanwhile, or, rather, actually before I could do that, I discovered that for reasons unknown one of the bolts on the clamp collar that hold the flue in place at the roof was seized. Not even my socket wrench could get that thing loose. I have no idea what happened, but there it is, 9 feet in the air, stuck.
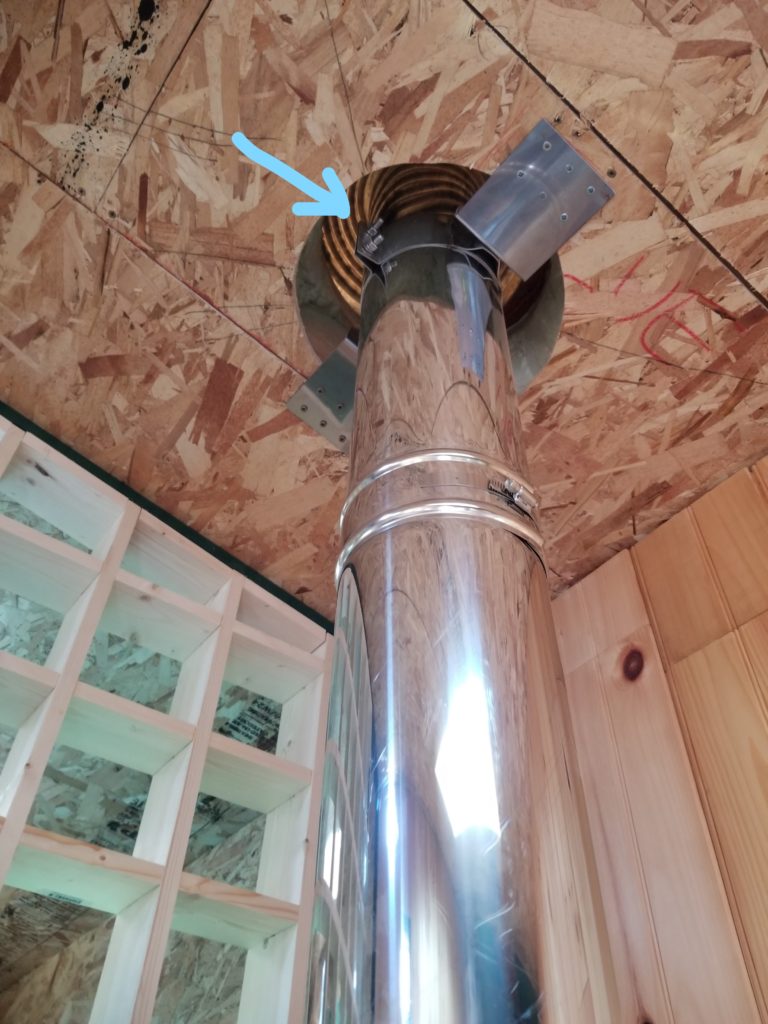
So how, exactly, does one free such a bolt, so high up, and generally inaccessible?
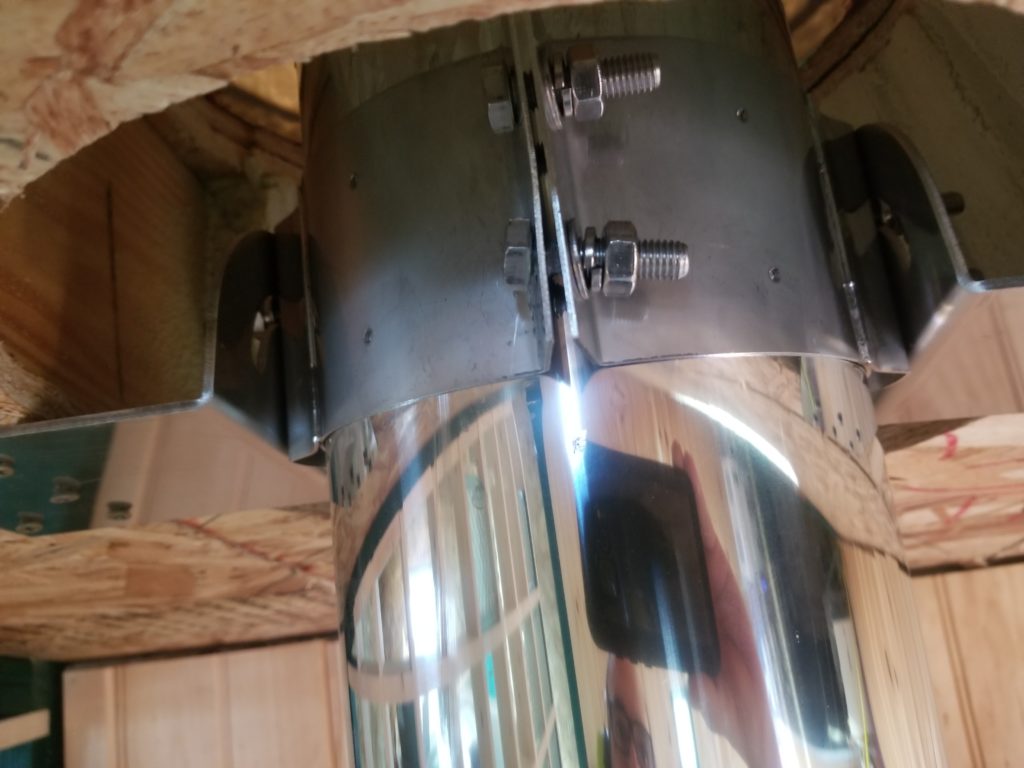
Well, the clamp collar is open just enough to get the business end of my friend MultiMax in there. Ah, yes, MultiMax, my go-to for tricky business like this. That tool has a special place of honor in my toolbox. Well, no, it just sits on a shelf like all the others, but I do have a deep appreciation for its unique talents.
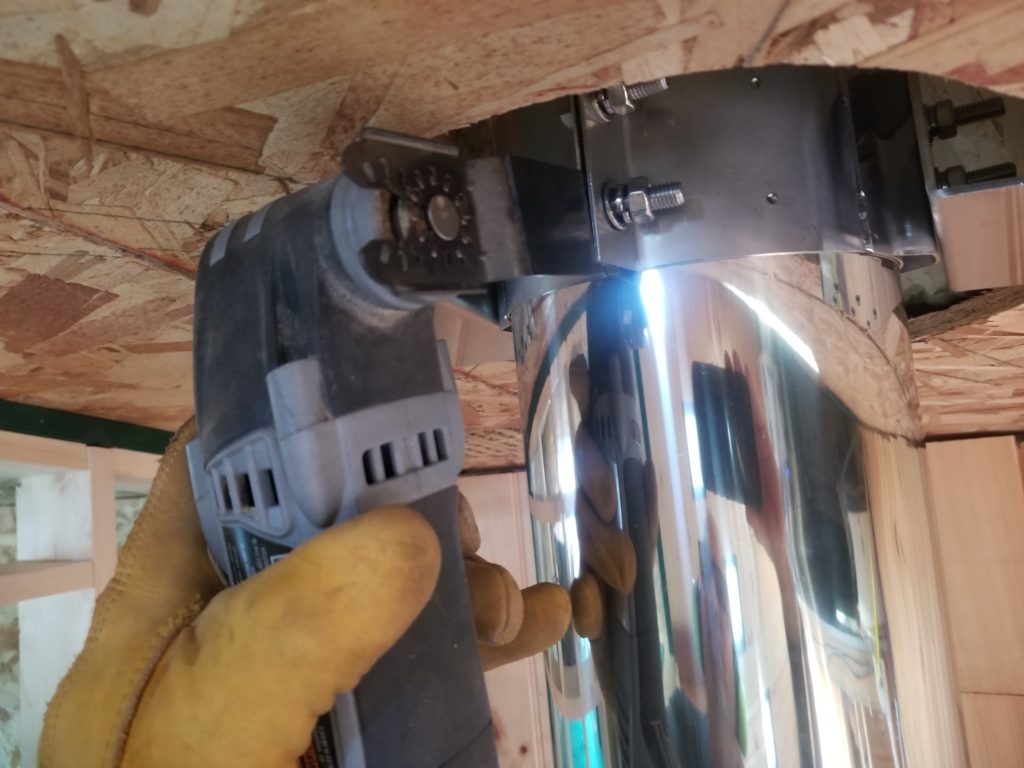
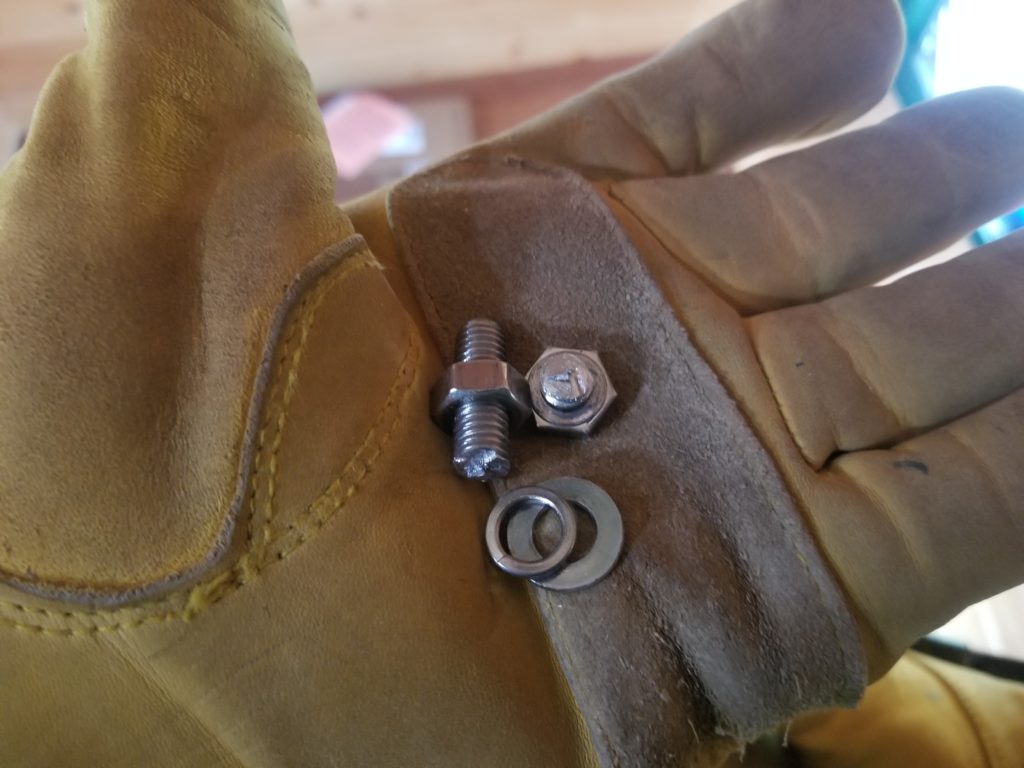
This, at the top of a ladder (with a spanner wrench holding the other end when not posing for photos), for like 10 minutes. But it worked. Bolt is cut free and should be easy enough to replace. It cost me an entire carbide blade to do it, but it got done.
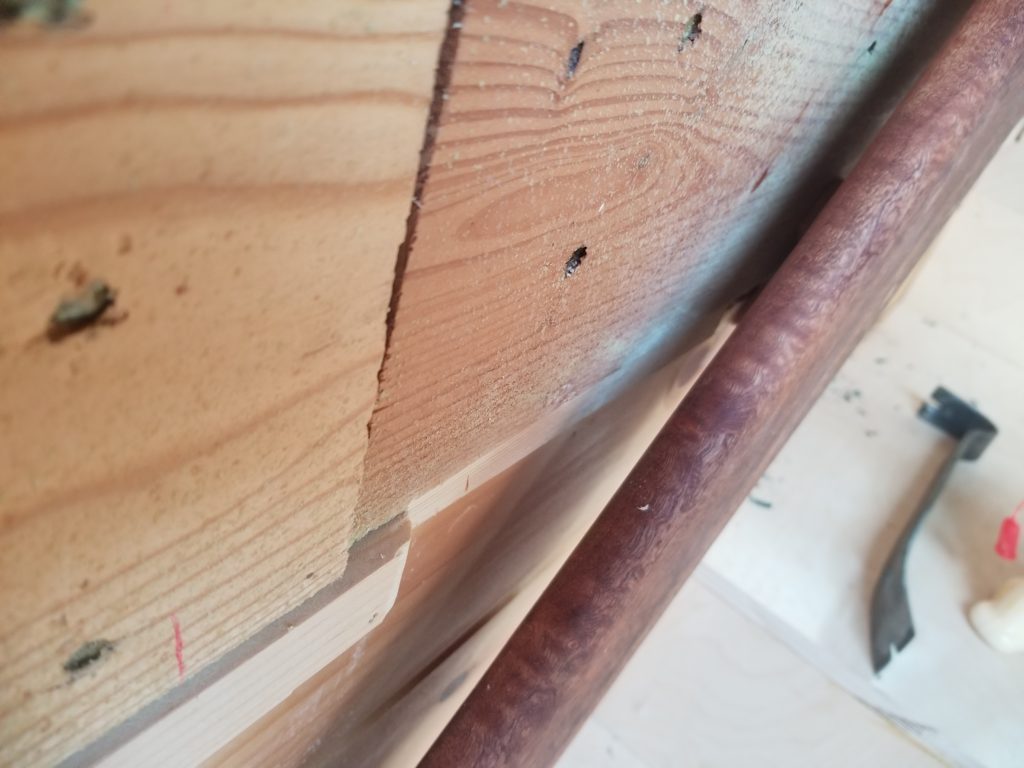
MultiMax came to the rescue for another tricky problem today, too. There’s that too-tight spot on the hand rail that I thought I could live with, but no, it needed to go. This is that same spot that caused me to chop up that stand-off block, actually. The belly band (horizontal board) makes it a little snug, but that trim piece below it makes it too snug and probably a finger-trap hazard. I really didn’t want to remove the railing to deal with it, though, so MultiMax saves the day again!
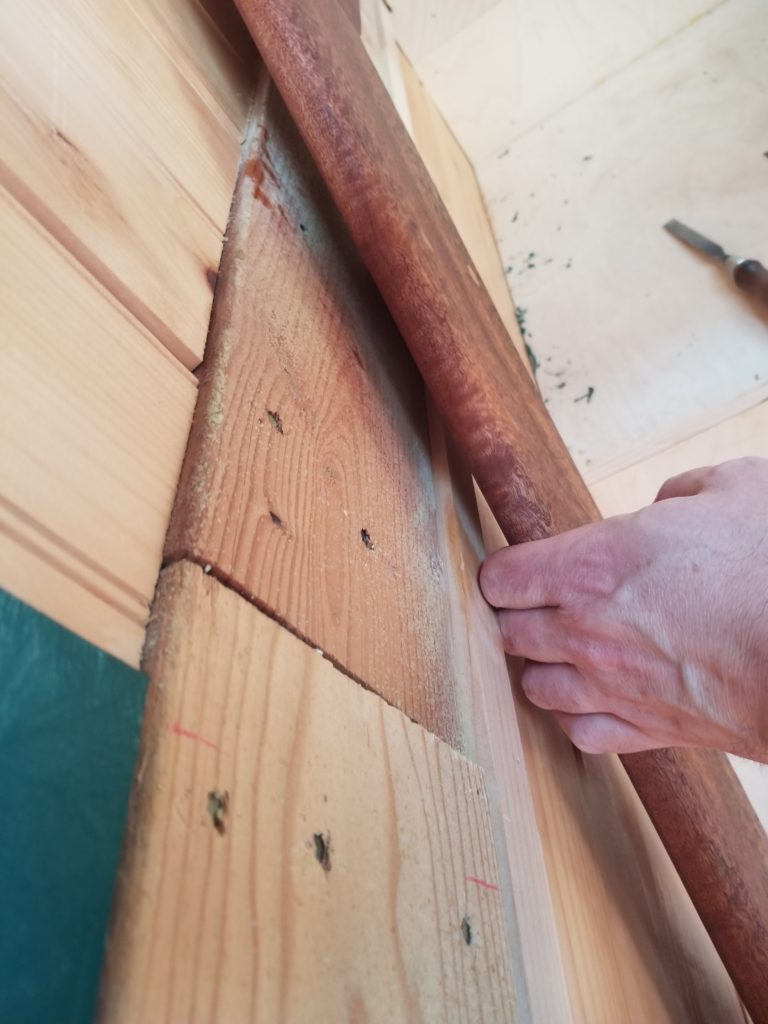
Max’s specialty is perpendicular plunge cuts. He can trim trim right where it stands.
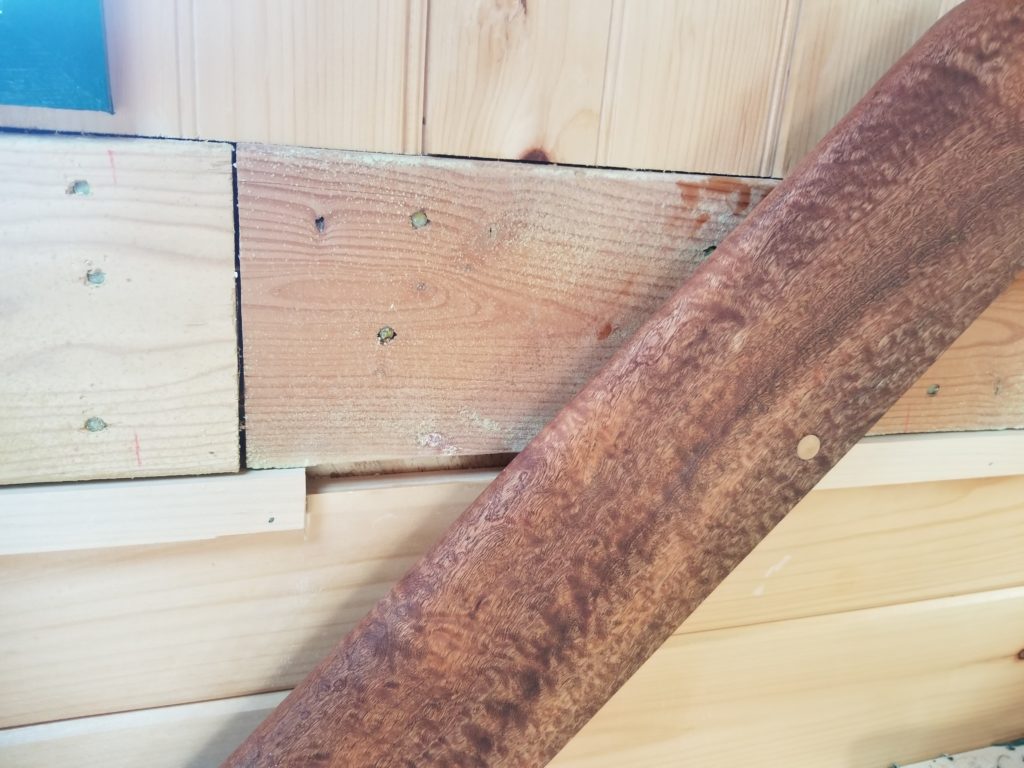
Now, what to do with that gap that the trim was there to cover? Fill it with something that matches, but is flush, that’s what. And chisel the square end of the other trim to make a smoother transition. It’s not beautiful, but it’s effective.
And from the front, actually, it’s not so bad. It’s not so great, but it’s not so bad.
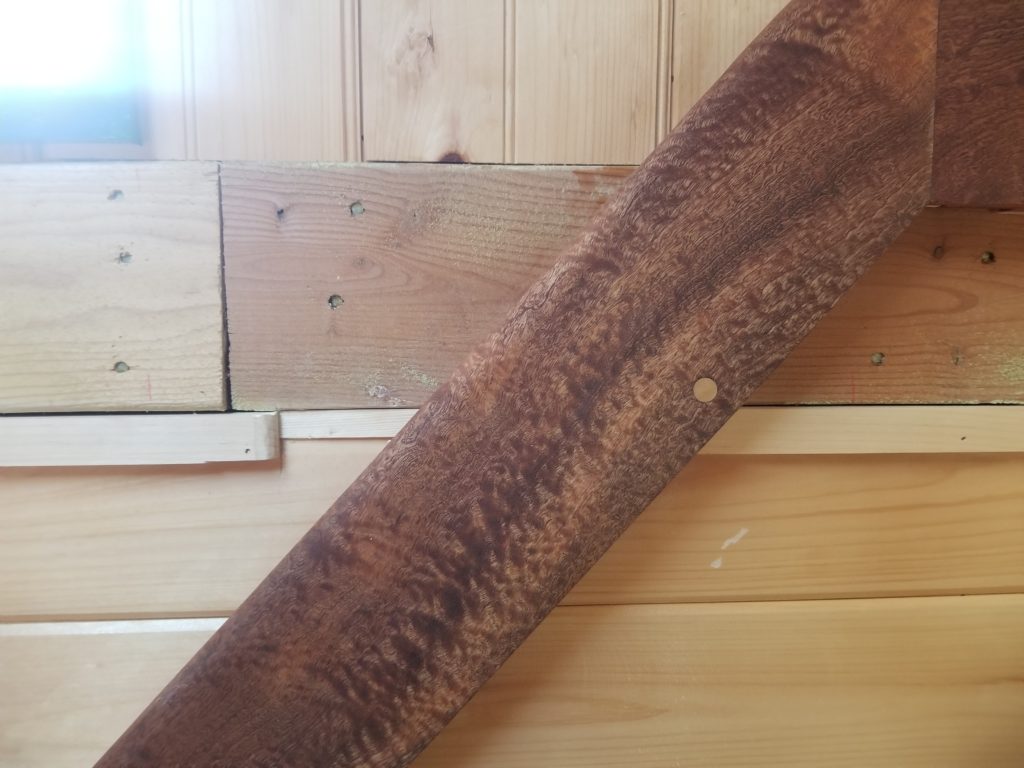
I mean, there’s nothing pretty about the woodwork here — lots I’m not proud of — much of what’s ugly was done early thinking it would get covered with something decorative, then that simply didn’t happen, because reasons. So there it is. And a beautiful piece of Sapele handrail to hopefully distract you. And anyway, why are you looking at the wall when you’re climbing the stairs anyway? 🙂
Meanwhile, I did order the cookstove, though it, too, is evidently back-ordered. Sigh. Everybody’s blaming C19 but I’m not convinced. Maybe it’s real, but it sure seems like a cop-out for managing stock well from here. These guys at least admitted they didn’t have it in stock at the time I bought it. Their web site said it was expected to ship about a week later. Ok, not so bad, I can wait a week. That week came and went. Then the ship date moved. Then it moved again. I remember this game. No, thanks. Order canceled. I was actually able to find another vendor who had what appears to be the identical unit under a different name (that happens more than you may think it does), so I wrote to them and said “okay, but do you really have it now and can you ship it soon?” They answered in the affirmative. And hey, it was $100 less than the other guys! I bought it. True to their word, something weighing 70# is en route to me just a couple of days after. I’m eager for its arrival, as that’s the last piece of the puzzle with respect to things the kitchen must be designed around.
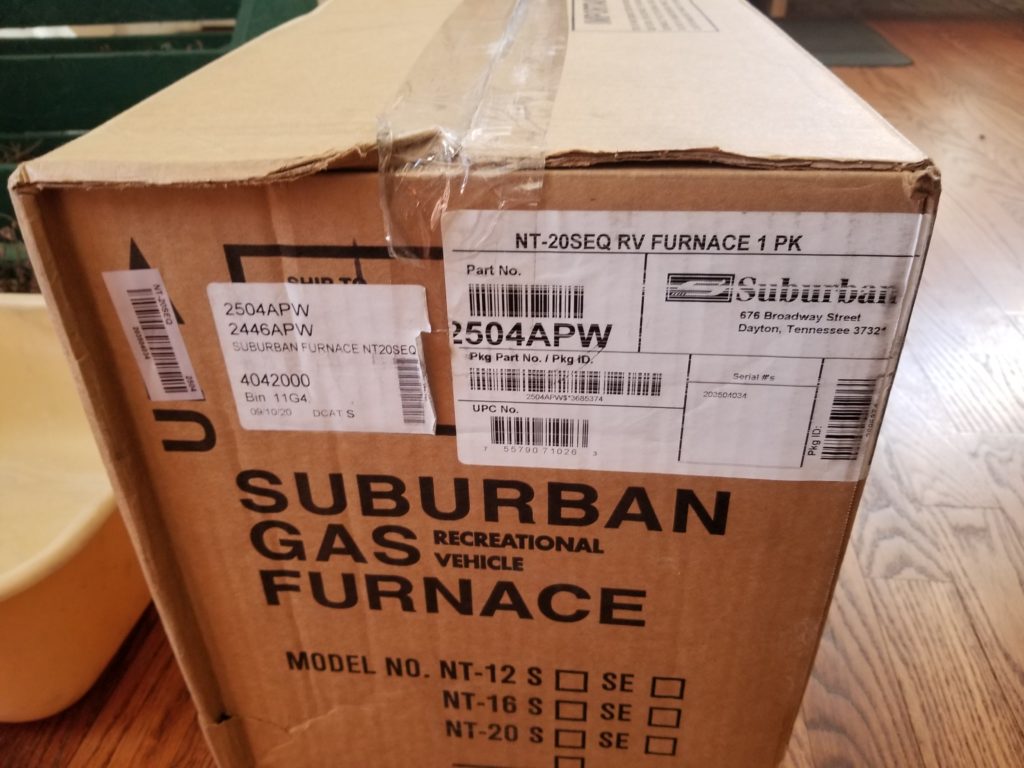
As long as I’m talking about things that burn gas to make fire, hey guess what?? The correct furnace (NT20-SEQ) actually arrived! Evidently in good condition, even! Huzzah! The wrong one is already en route back to the vendor.
Waiting for the gas appliances to get all worked out before starting the kitchen final design and build, I went ahead with the ceiling. You see why I’ve always got a few projects moving at once? Invariably, there’s a need to wait — for glue to dry, grout to cure, parts to get shipped, etc. — and I don’t like to be involuntarily idle. Hence, multiple projects so I can move something along whenever I am inclined to make progress.
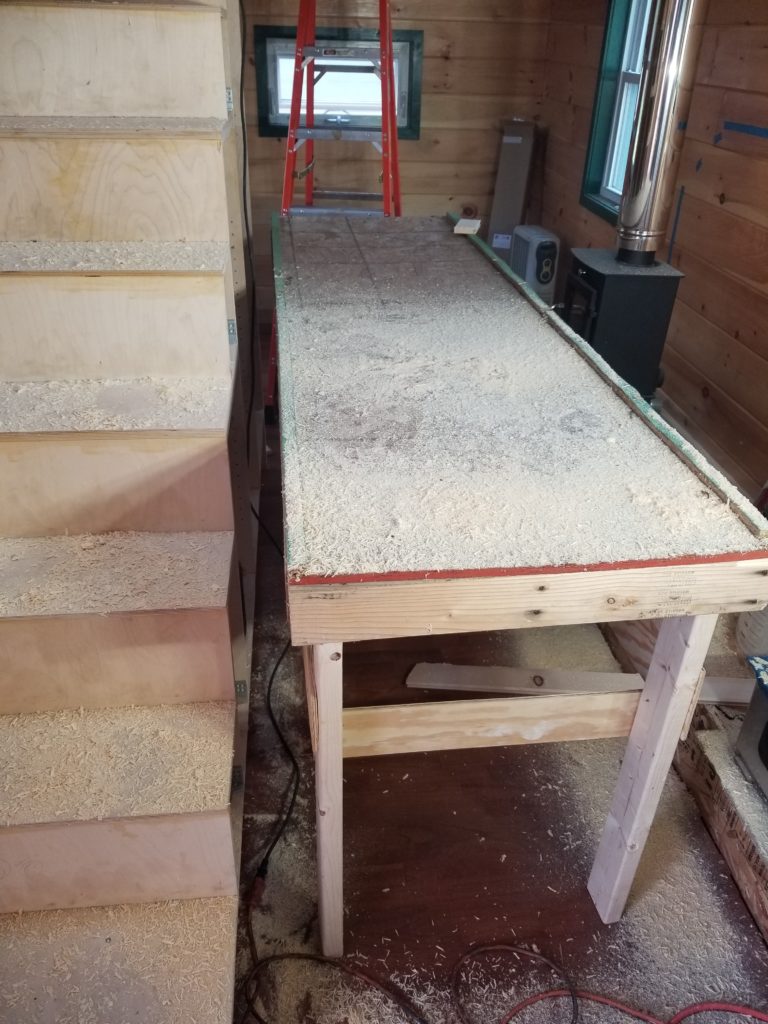
That’s why I started the loft partition wall and it’s why I’ve been working on the ceiling, too. This is one of those moderately transformative steps where just a couple of days’ work really makes a huge difference in appearance. The first step isn’t on the ceiling at all, though! It’s retrieving from its hibernation under the house this scaffold/table I used to install the sub-ceiling, building some new legs for it (the prior legs had been reclaimed for other work), attaching a few scraps of plywood as lateral braces, and setting it up. This time luck was with me and the width of the scaffold was just less than the space between the stairs and the hearth. The last time the scaffold was in place, neither of those were here. It’s tight, but tight is okay. It fits and that’s what matters.
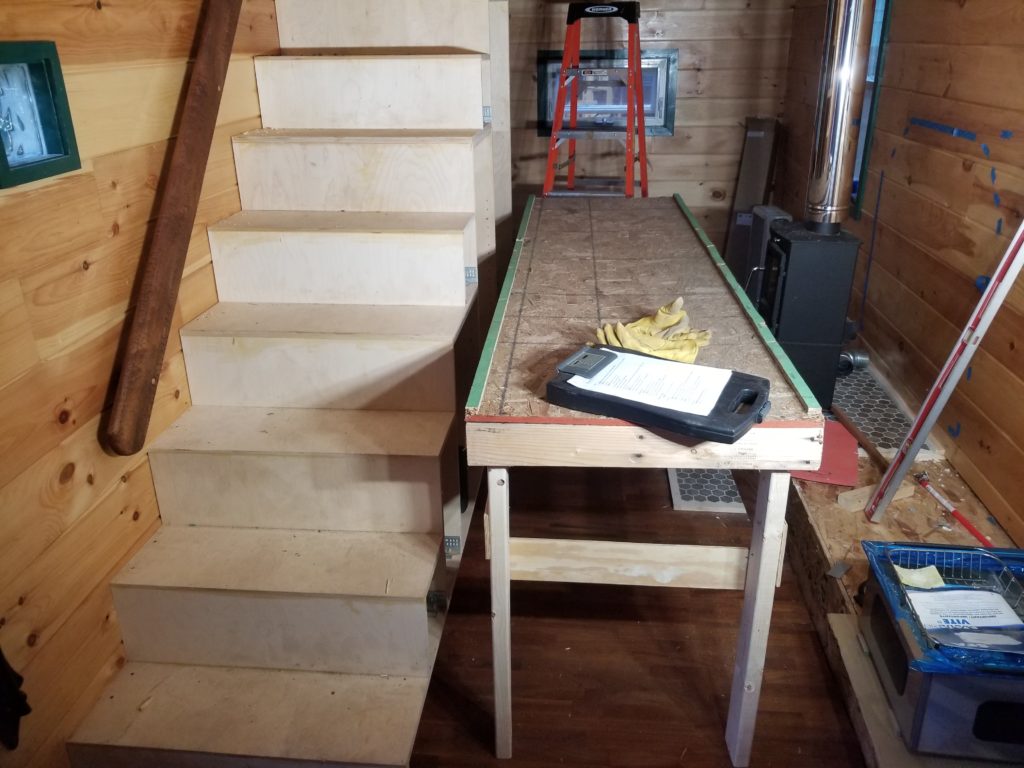
I just plowed through the job, though, so not much by way of in-progress shots. Really, there’s not a lot interesting about laying one T&G board next to another. But when it’s (almost) done, it looks like this:
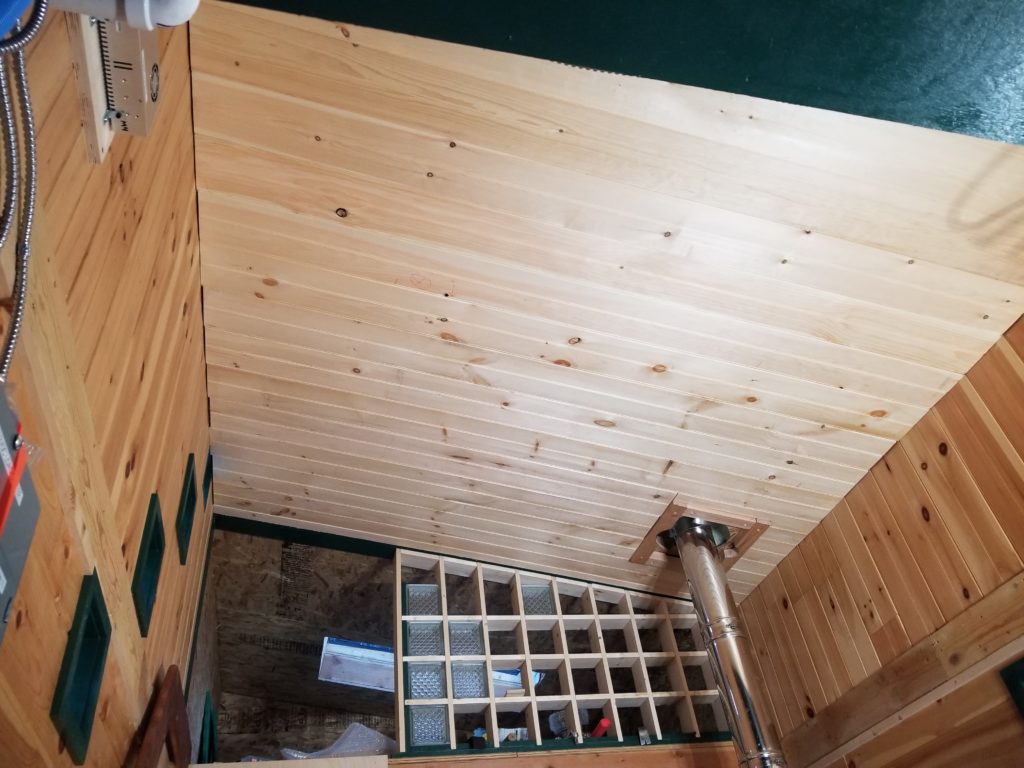
There are a couple of things to note here aside from the missing trim, which will come a little later. First, the light color – that’s both the wood being new and that it hasn’t seen my shellac brush yet. That’ll come soon. Second, I boxed out the space around the flue.
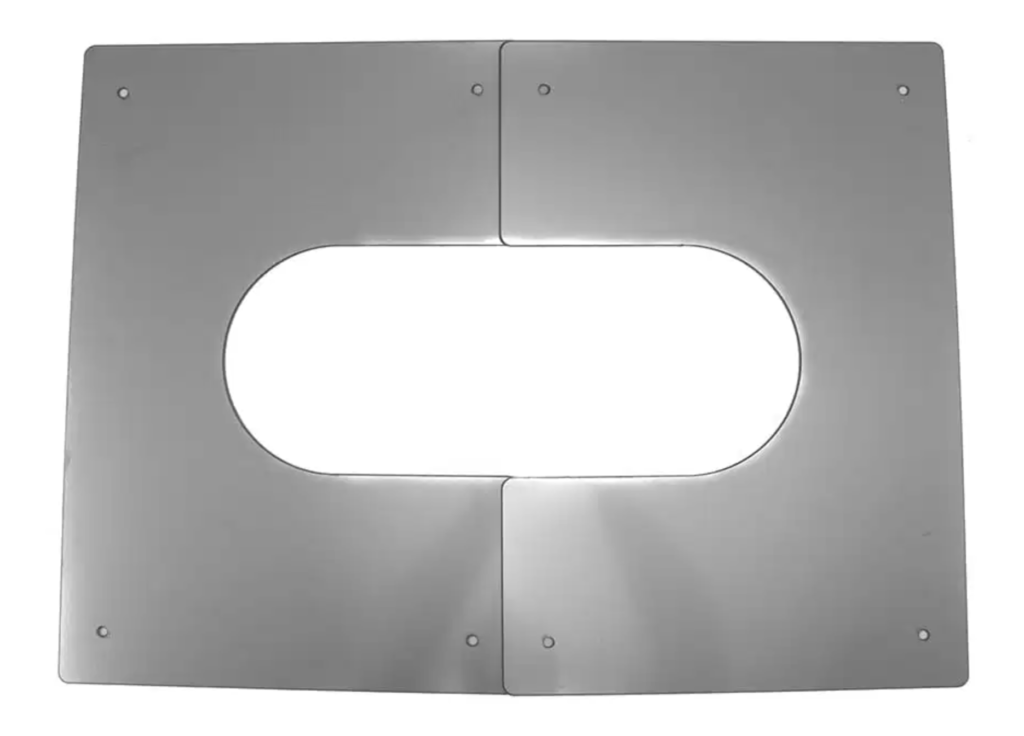
There’s a pair of metal panels with U-shaped cut-outs that will cover this opening, fitting snug up against the flue. The U-shape lets me space the panels exactly according to the needs of the sloped ceiling. This won’t get installed until the height of the flue is final, which isn’t until the adaptor part comes (in May; I told you: multiple projects) to mate the flue to the stove.
Third, hey wait! I paved over the skylight! Well, yes, but no. Working around openings is actually far easier to just go right over them and then use a router with a flush-trim bit to cut away the cover. It’s always necessarily exact, saves a lot of measuring, and is quick. It is very dusty, though, as a lot of wood is turned into sawdust as it goes and that sawdust flies everywhere. Hence the full-face shield.

It also makes a dusty, hazardous mess of my scaffold. Sawdust is a pretty effective dry lubricant, actually. Do not underestimate the danger it poses to sure footing.
But after routing out the skylight, once again, fiat lux!
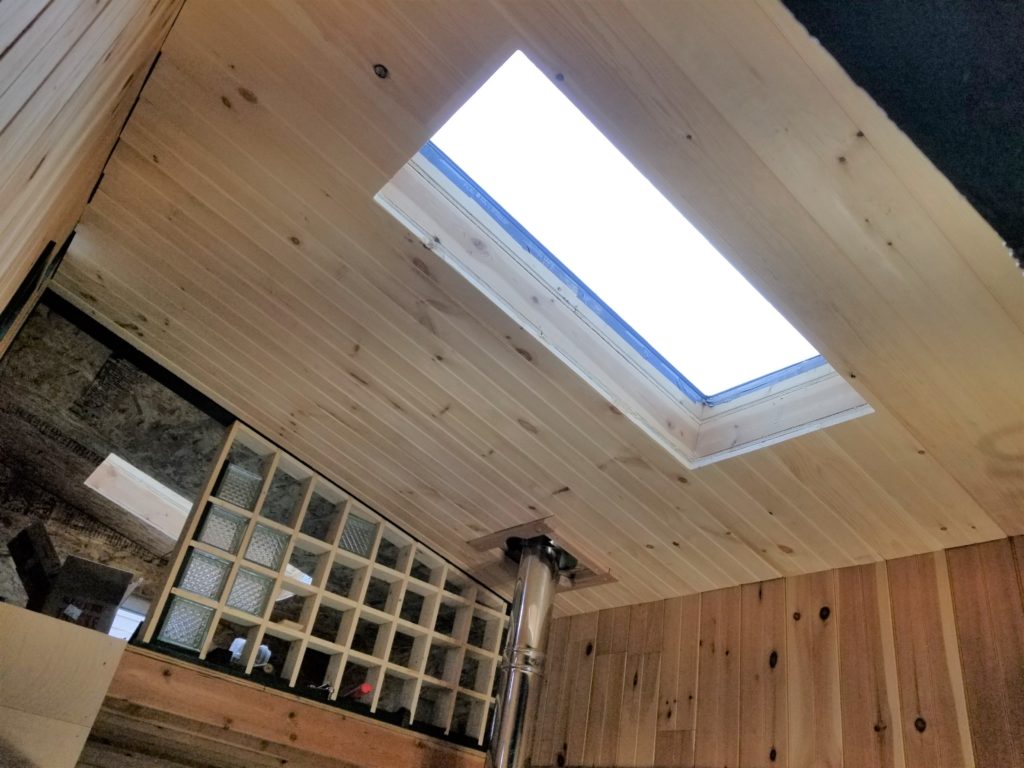
I’ll need to dress the inside faces and add some trim all around, but you get the idea.
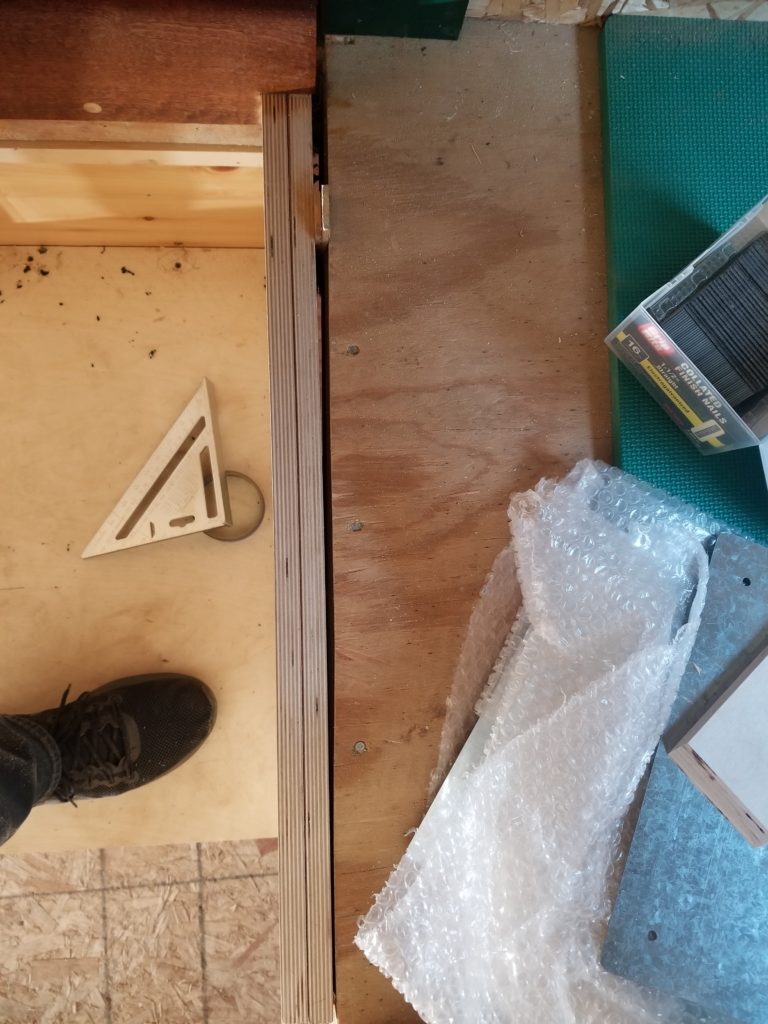
I’ve been saying all along that this project has taught me a lot about how important it is to get things square from the start, that little errors add up and make everything harder. The ceiling was no exception. It turns out I made the loft slightly rhomboid. This doesn’t really affect the look and function of the loft, but it does complicate things that meet it. The partition wall, for example, obviously has to be flush to the front of the loft deck. No problem. Except the front of the loft deck isn’t square to the sides of the house, by about an inch or so. Actually, I think I may have hung the joists on opposite sides of the marks on opposite walls, way back when. That would do it at about this scale and certainly explains why the stairs, nicely square to the wall, don’t meet the loft deck perfectly:
Anyway, the partition wall looks fine but it does mean that the ceiling, which has distinctive accent lines that obviously have to be parallel to the short axis of the house, will need a wedge-shaped termination when it gets to the partition wall, to meet its angle. Fortunately, I know how to deal with that. Again, better to use the physical thing as reference than to measure, transfer a measurement, then cut to the line. That’s three chances to accumulate errors.
Step 1 – gently tack a board right on top of the last full board.
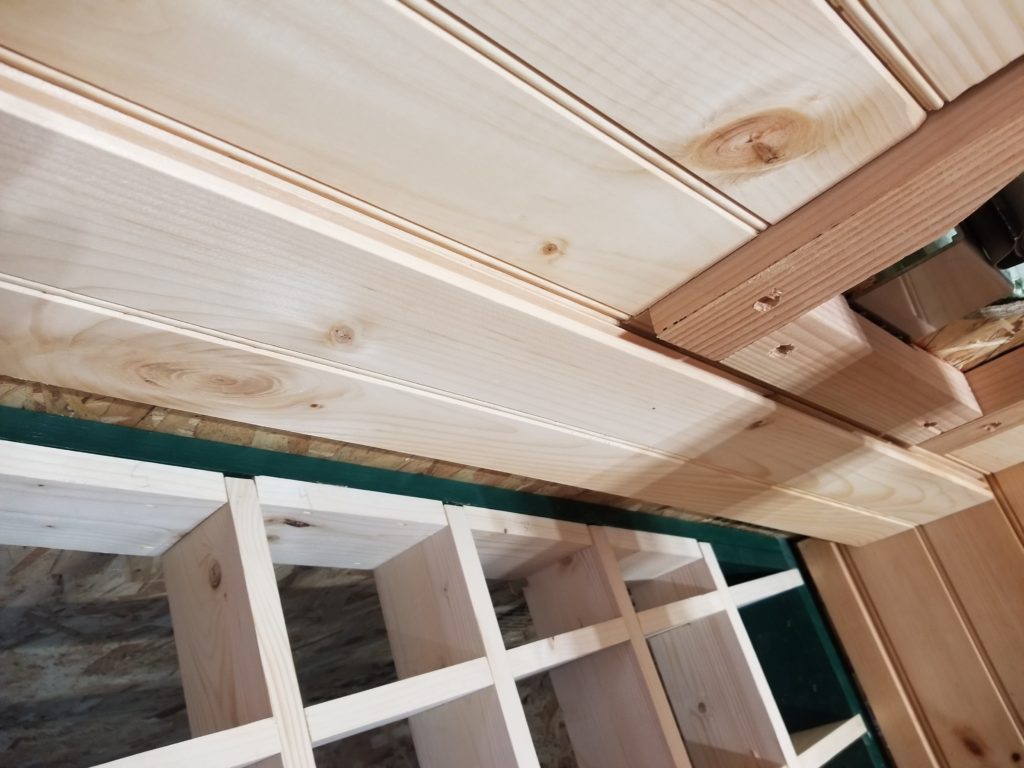
Step 2 – Cut a scrap that’s exactly one board wide (really, the important bit is that it’s as wide as the offset to the board; I set the board one full board back) and slide that scrap along the reference edge, marking the board as you follow the contour. Shown below as a posed scene without properly holding the pencil because I just didn’t have enough hands to take the pic and hold all the things correctly as they’d be in use.

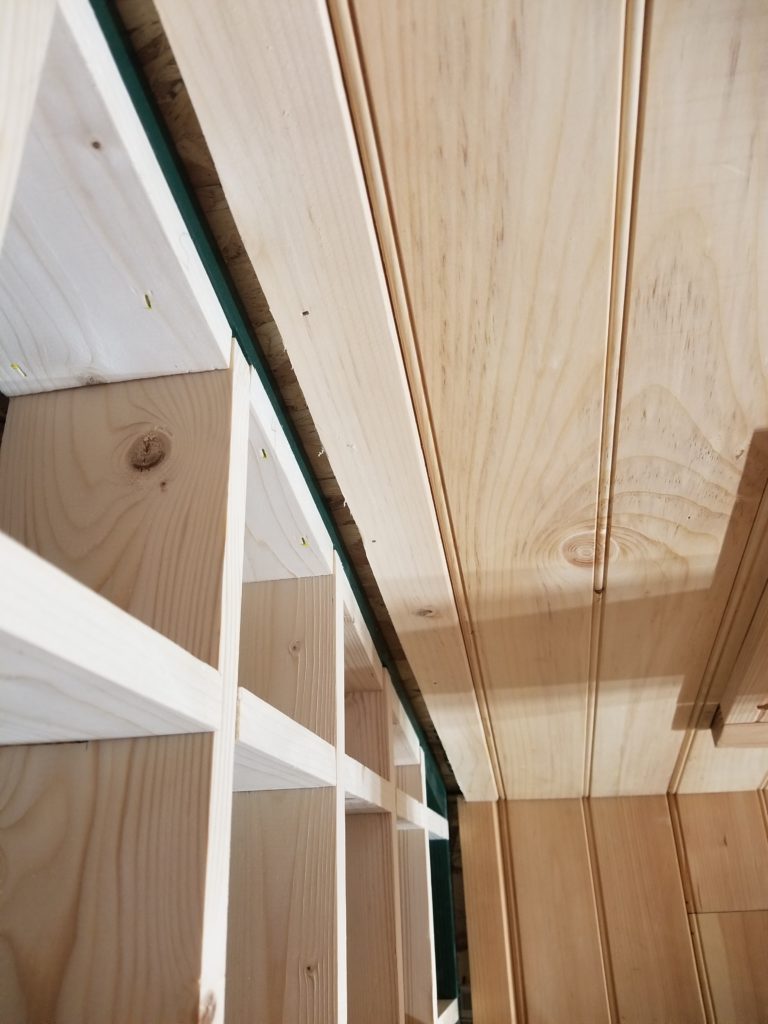
After tracking that line, remember these are tongue-and-groove boards so there has to be room to slide the groove onto the tongue! That necessarily introduces a gap, which will need to be trimmed over. The other way around this is to cut the back half of the groove off the final board, basically creating a ship-lap joint, but those are likely to come out of flush because the cut board isn’t captured by the tongue of its neighbor. So a lot more nails and some prayer, or maybe glue, or just do it this way and add some trim I was going to add anyway. Before cutting, offset the scribed line by enough to accommodate the grove-to-tongue installation, a visit from the jig saw, then install.
If it looks like I over-did the gap, compared with the vertical board on the wall that’s wider, realize that the partition wall went in after that board was placed, so there was no obstacle. If I’d really been thinking, I would probably have put the finished ceiling in first, then the partition wall, since then there’d be no need for any accommodations like this at all. I can see deep into the future when it comes to planning out good software architecture (my day job!) but I’m still learning about these kinds of consequences regarding house construction. Lesson learned (I hope?) but not without first failing. I’ll add some nice trim here and you’ll only know it looks like this under because I showed you today.
I was pretty happy to have remembered a prior lesson about using the router for cutting out openings, though. If there’s a knot hole in the framing, chances are it doesn’t affect the integrity of the framing at all, but what it does do is present a divot in what is otherwise a flat reference surface for the router bit so as the bit follows the surface, the cut-out made also follows the divot, propagating the defect. You can see below the knot hole and the corresponding divot in the sub-ceiling board. See that there’s no divot in the dress board below that? Right. I marked the spot and went around it with the router.
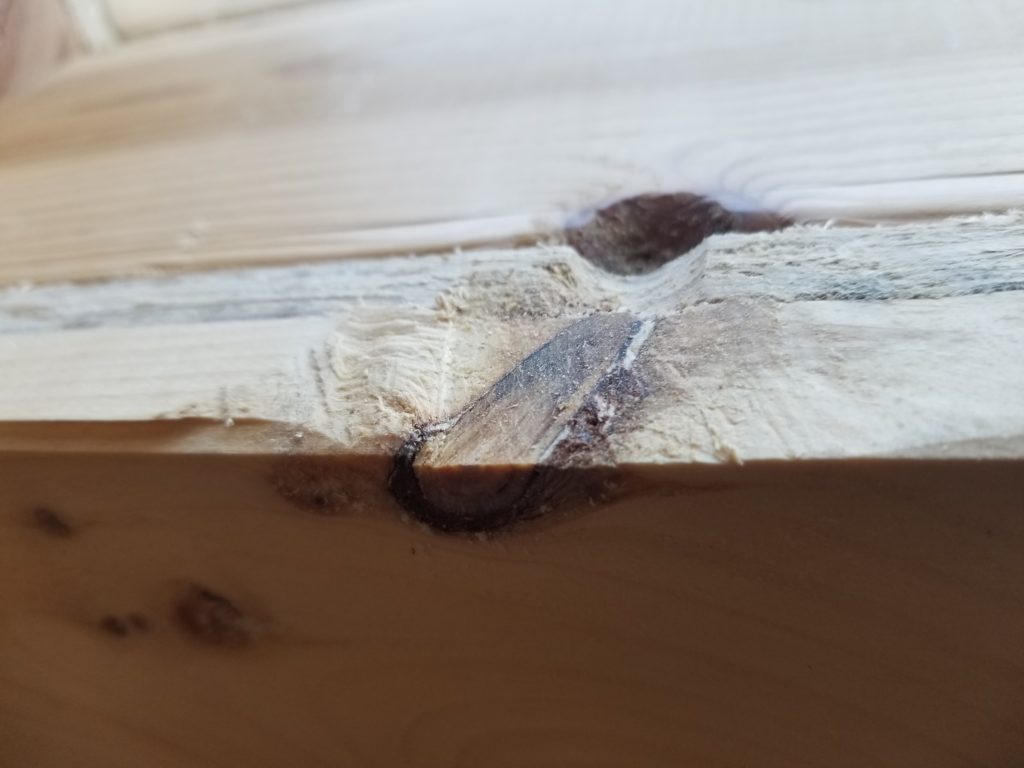
Leaving this tab…
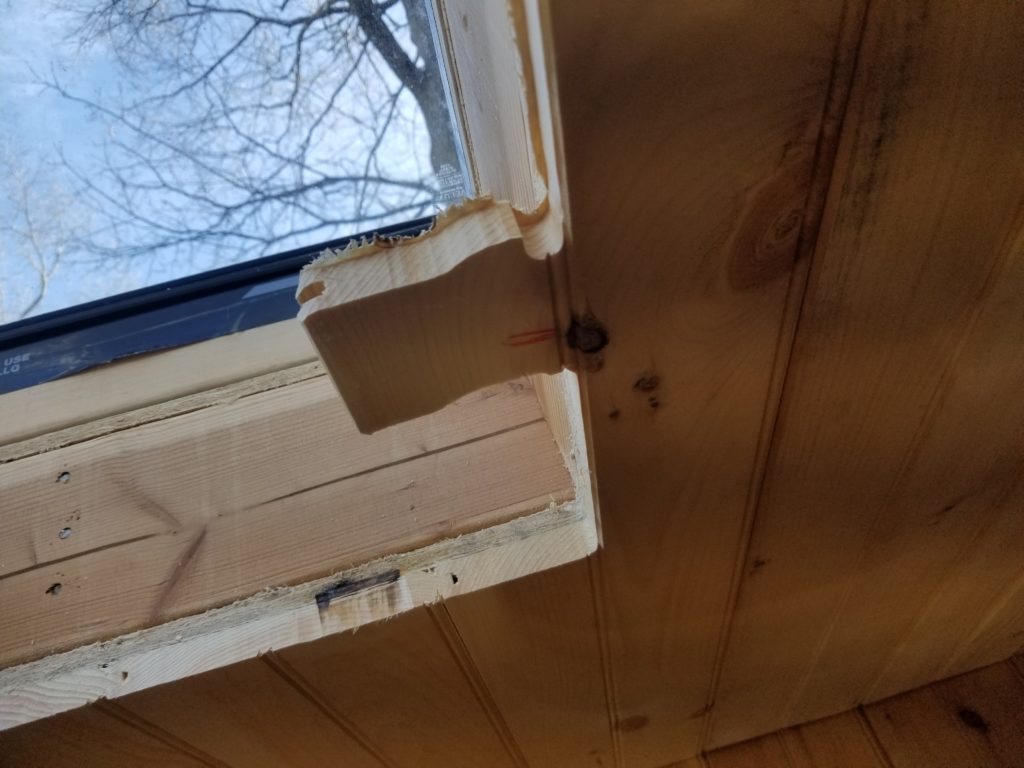
…which I simply cut free with a handsaw, since there was plenty of flat reference to either side.
Next up, continue the ceiling into the cozy loft, including another scribe job and another dusty encounter with the router around the skylight. Then a break from the overhead work to spend a little time on some not-the-house projects and do some workshop cleanup. After that, once the stove arrives, spend some quality time planning the kitchen cabinetry and utility placement for real, and get on with building it! I can’t finish installing the wood stove until the back-ordered flue part comes, but I do know where it’s gotta go, so that’s enough to understand the heat shield needs and thus the placement of things in the kitchen, which is why I did all that work on the hearth, so I could place the stove, so I could know all that. And now I do, so now I can.
In a couple of weeks, I’ll be taking a visit to the homestead site to stake out the corners of The WOG, the solar array, find a place to put the graywater holding tank, and whatever else needs site-specific consideration or location. I’ve given the go-ahead to my solar vendor to put together a final package and shortly thereafter I’ll order those parts, too. I’ll just hold on to them until the exact time they’re ready to install. I thought about waiting, but there’s some merit to having everything for a system on hand, as I’ve learned recently with all the delays with the gas appliances.
Speaking of having things on hand, I’ve taken some good advice from a friend and am also accumulating backups for critical systems. I have a backup for the 12V DC power supply and for the water pressure pump. The one other thing I absolutely need a backup for is the gray water lift pump. Collectively, these three things represent items that can’t be readily purchased off-the-shelf just anywhere and whose absence, even for a day, would be seriously inconvenient. It does mean about $600 in idle equipment on hand, but I’m okay with that. Think of it as prepaid insurance. That’s exactly what it is.