To tile the hearth area, and to be sure my tiles wouldn’t drift past the reference line that went around the corner, I thought it prudent to install the fractional tiles at the bottom of the vertical faces, perfectly at the line, then let their cement set, before proceeding with the corresponding vertical faces. Further, because those vertical faces needed to carefully align with each other around that same corner, and since it’s so easy to displace adjacent tiles while the cement is wet, I thought it prudent to do one face at a time. That worked brilliantly, though it did mean this relatively small (in area) tiling job wound up being spread over an entire week and there’s still just a tiny bit to finish. Click image for larger.
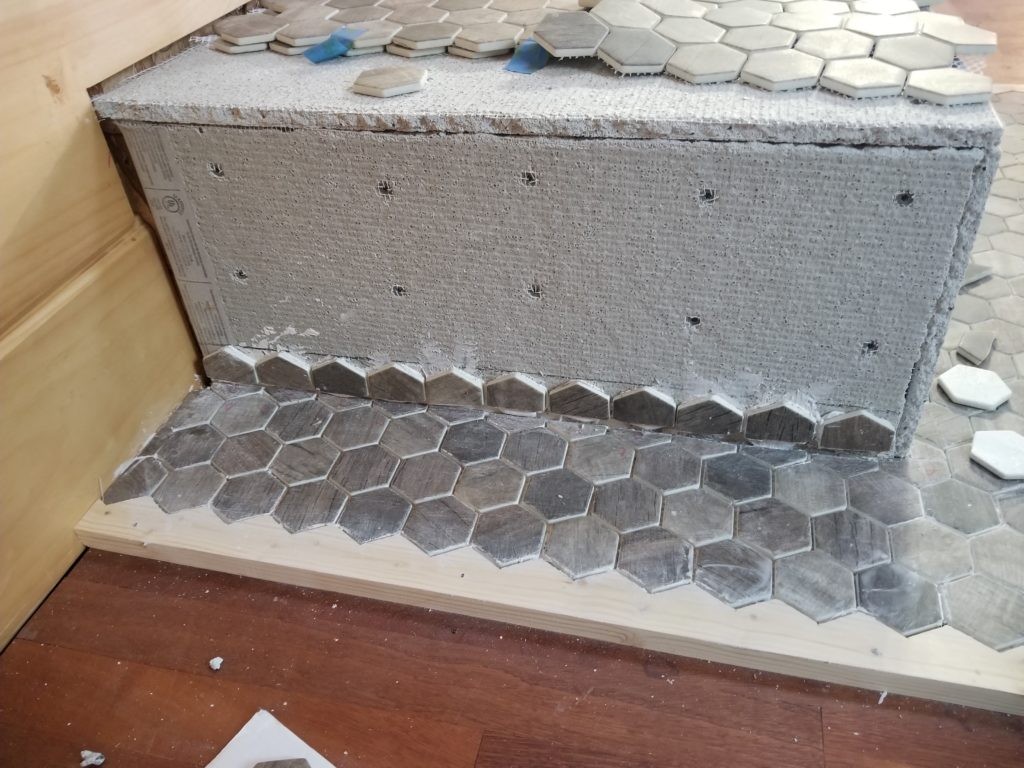
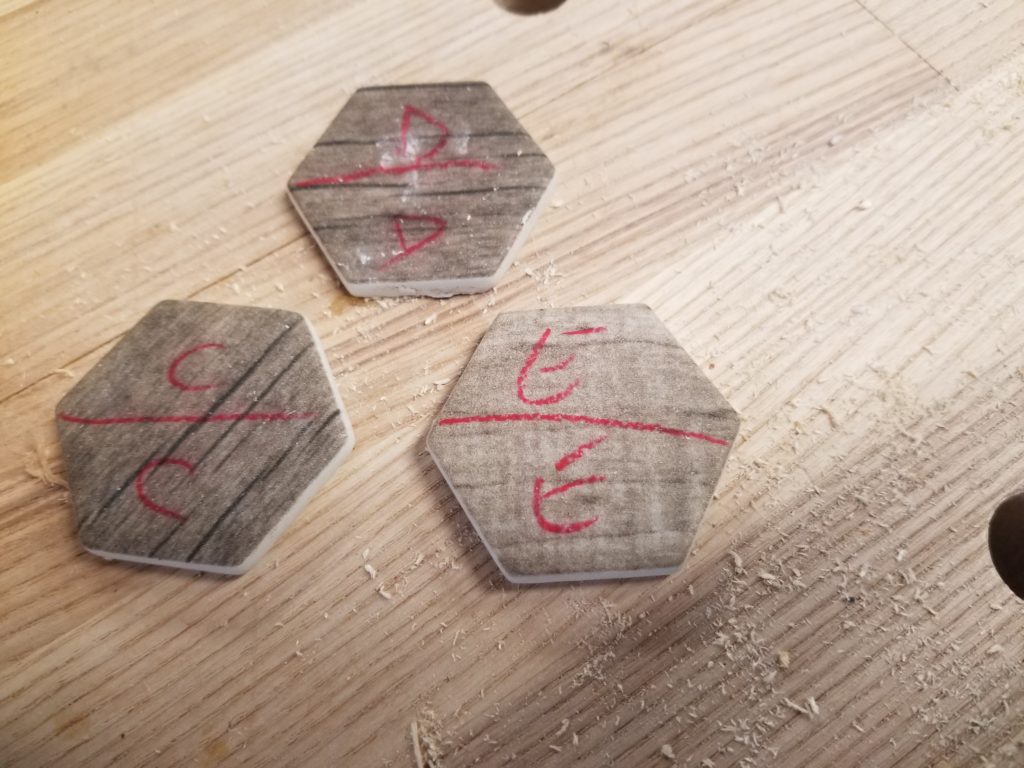
First, the fractions 
Then the field 
Then more fractions 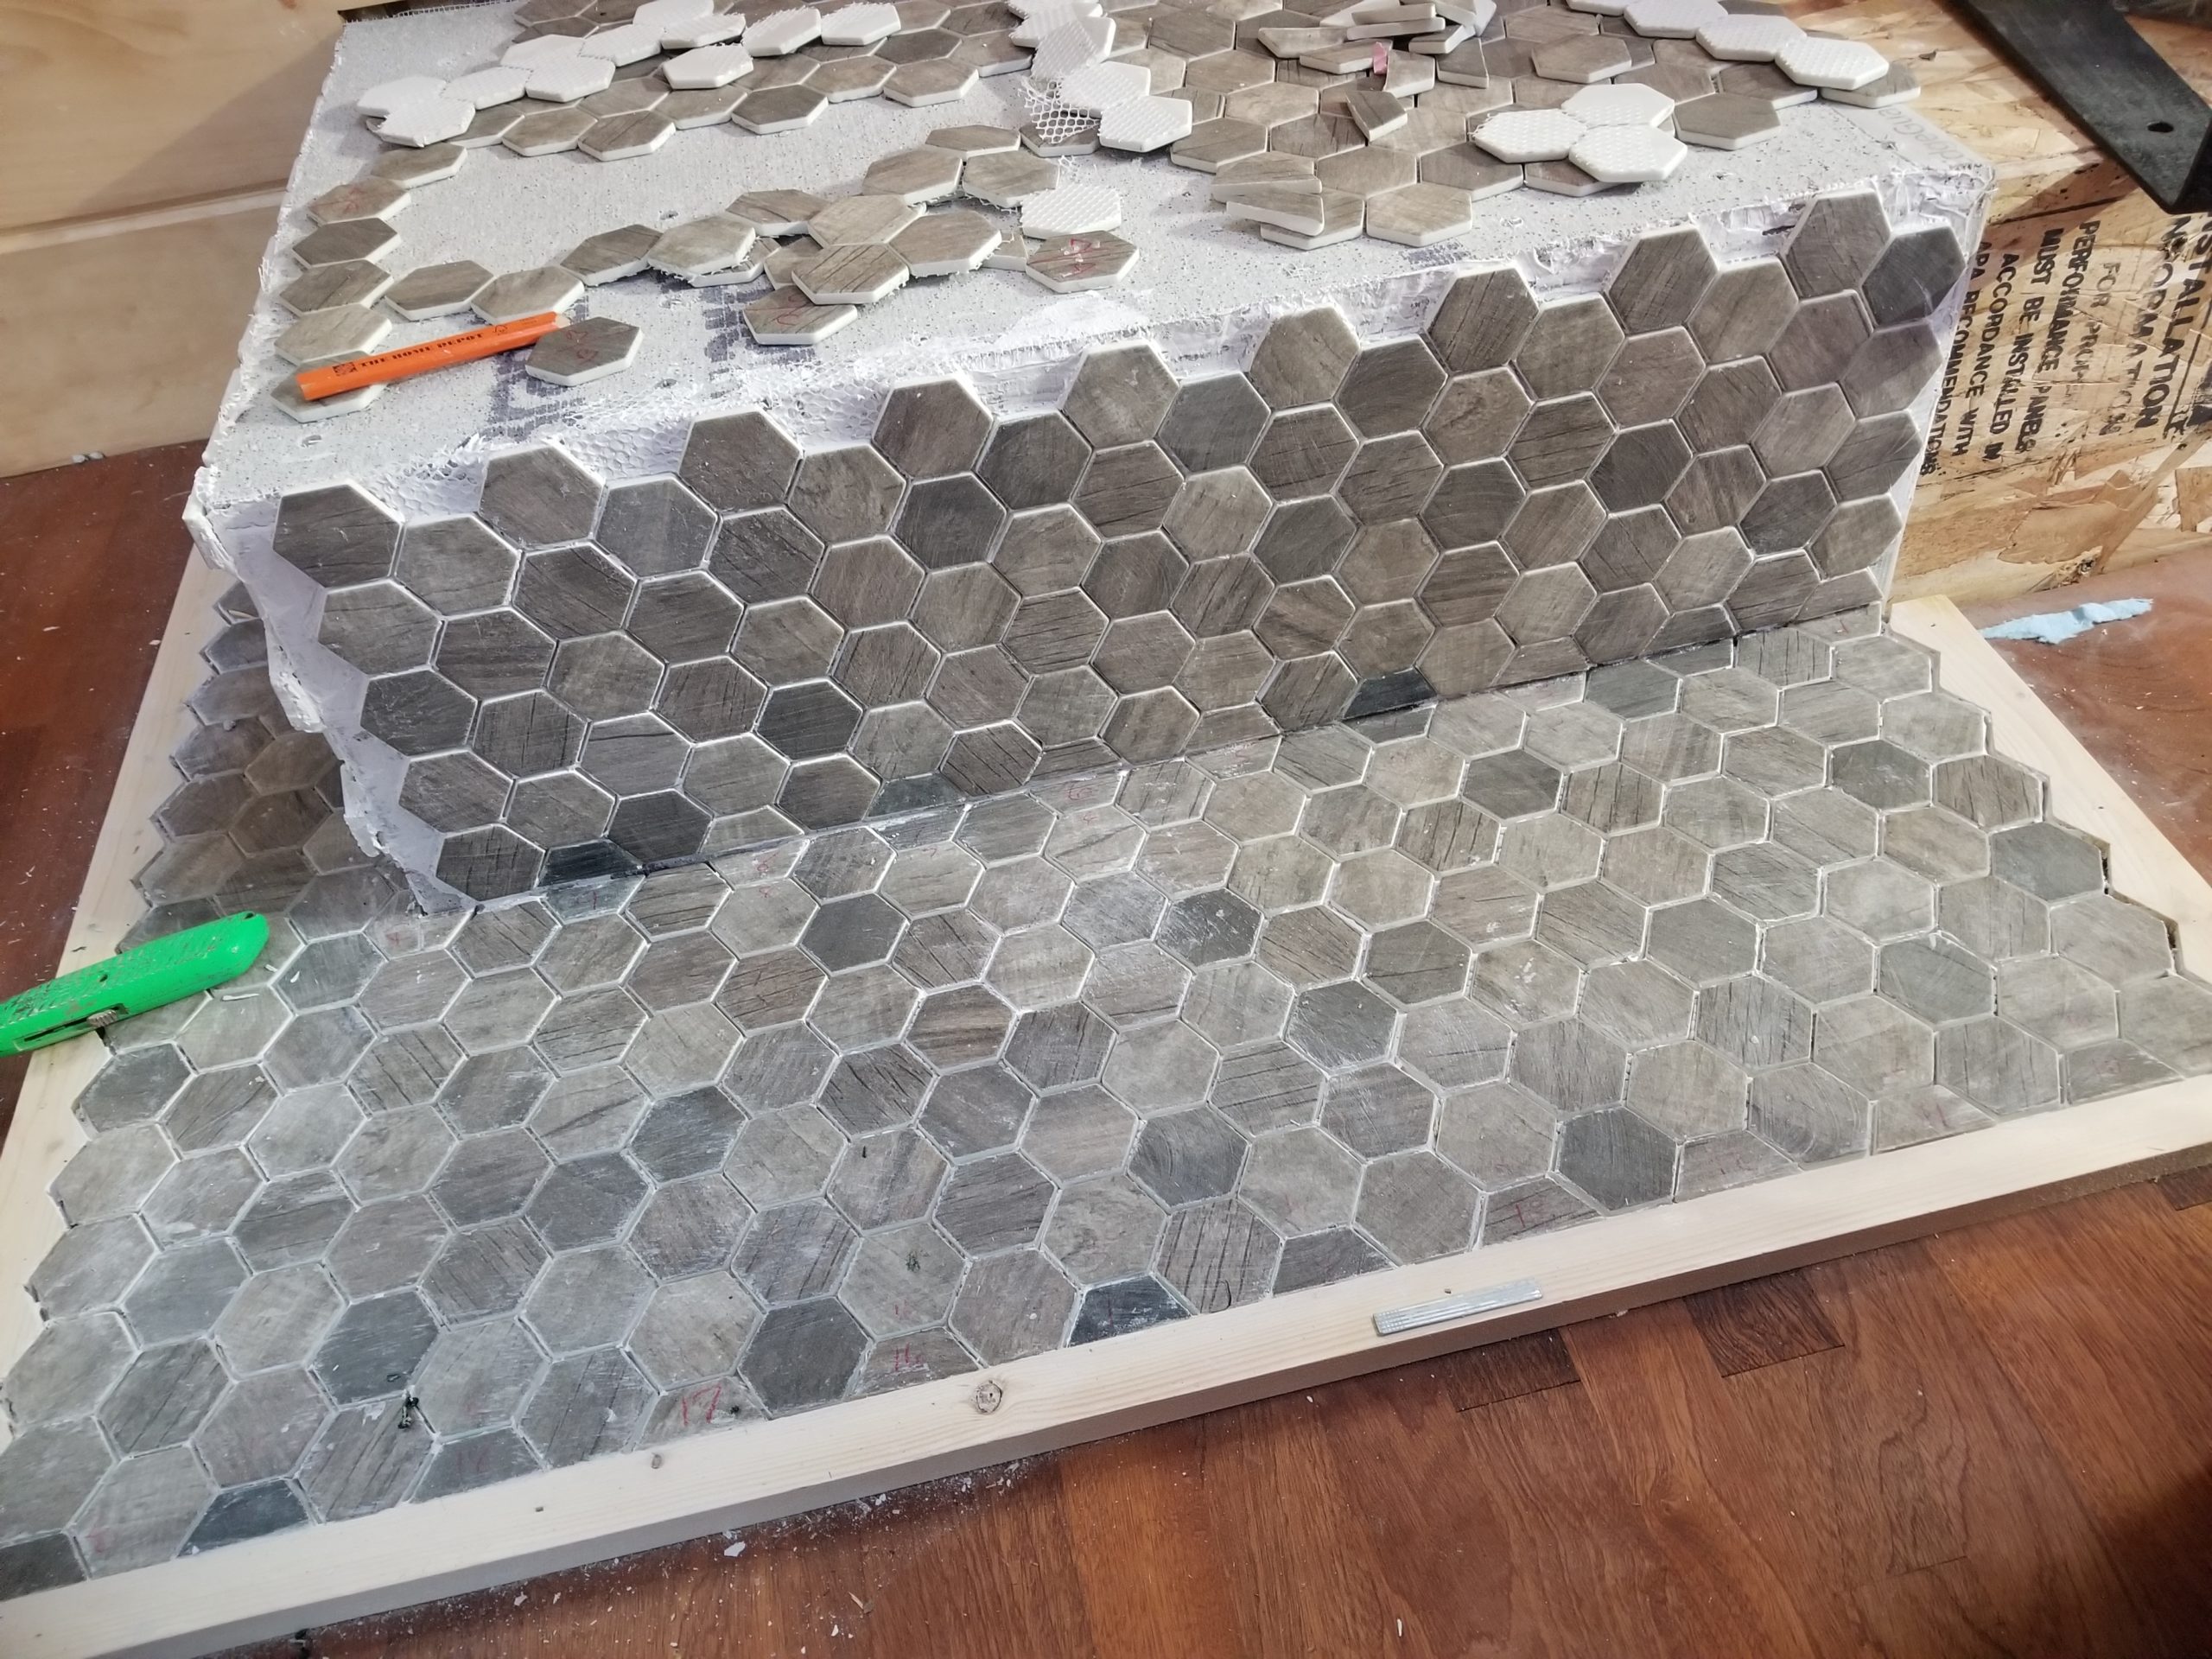
Then more field 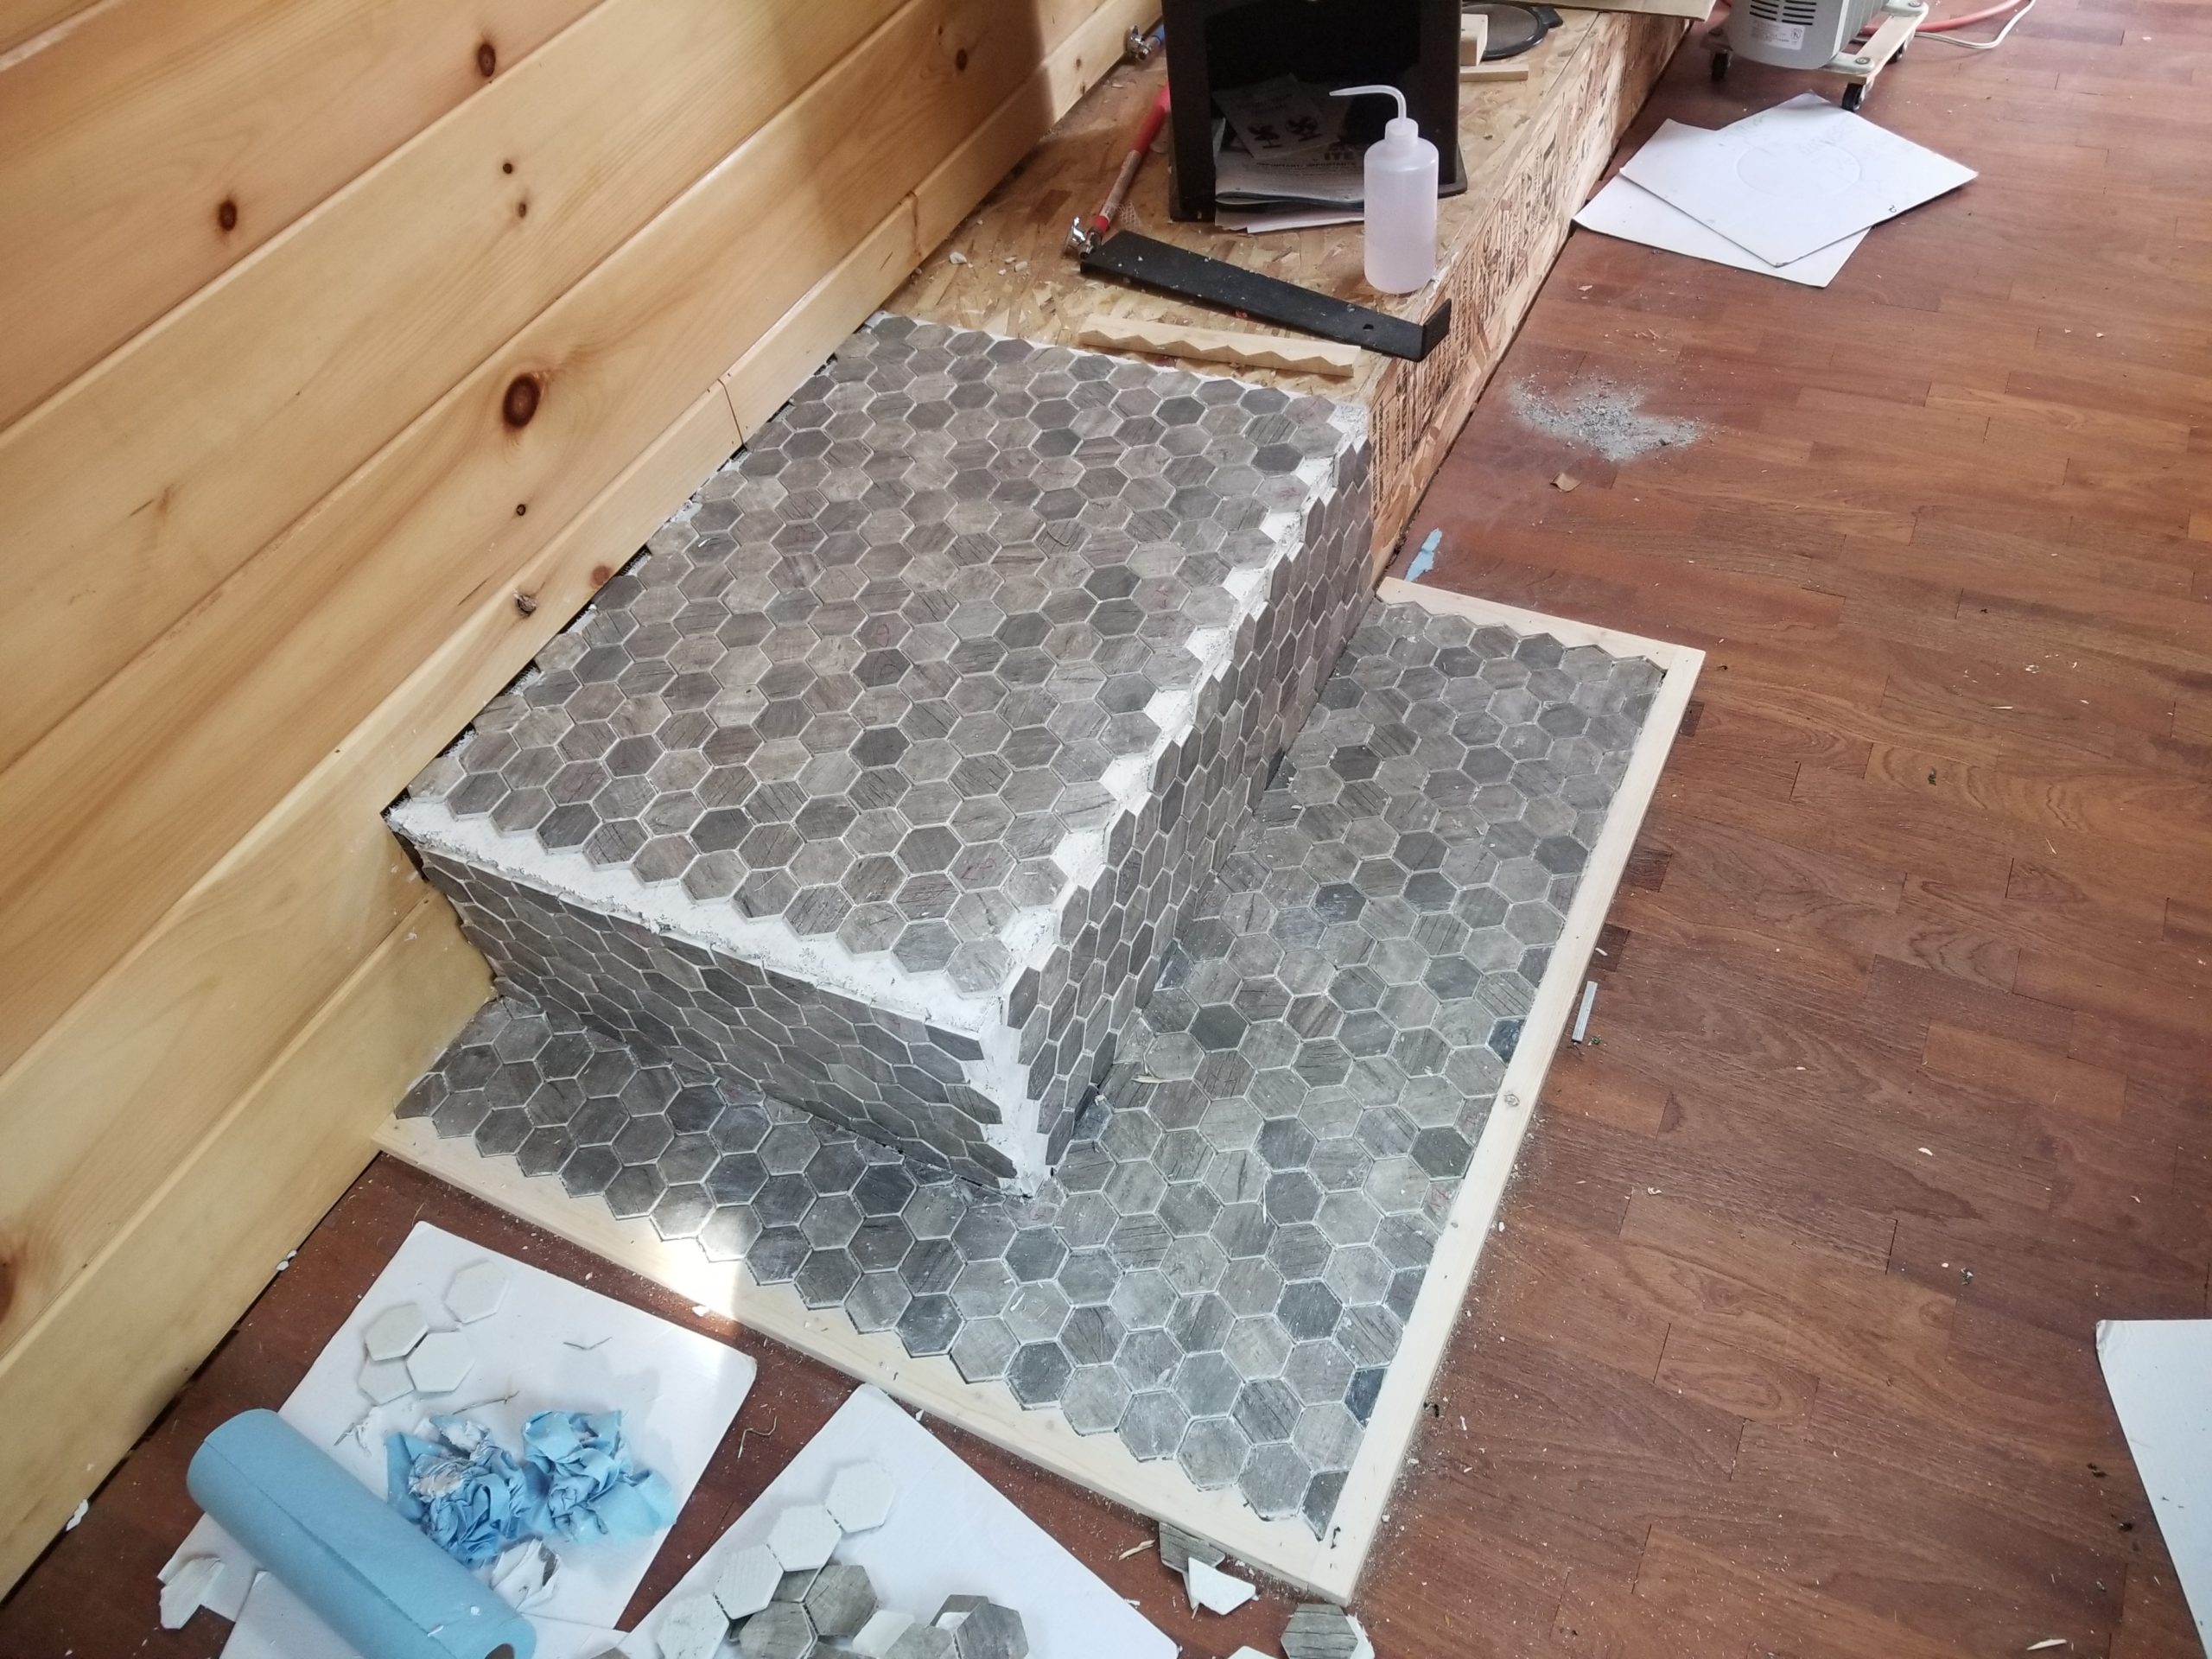
Now the top can align to the sides 
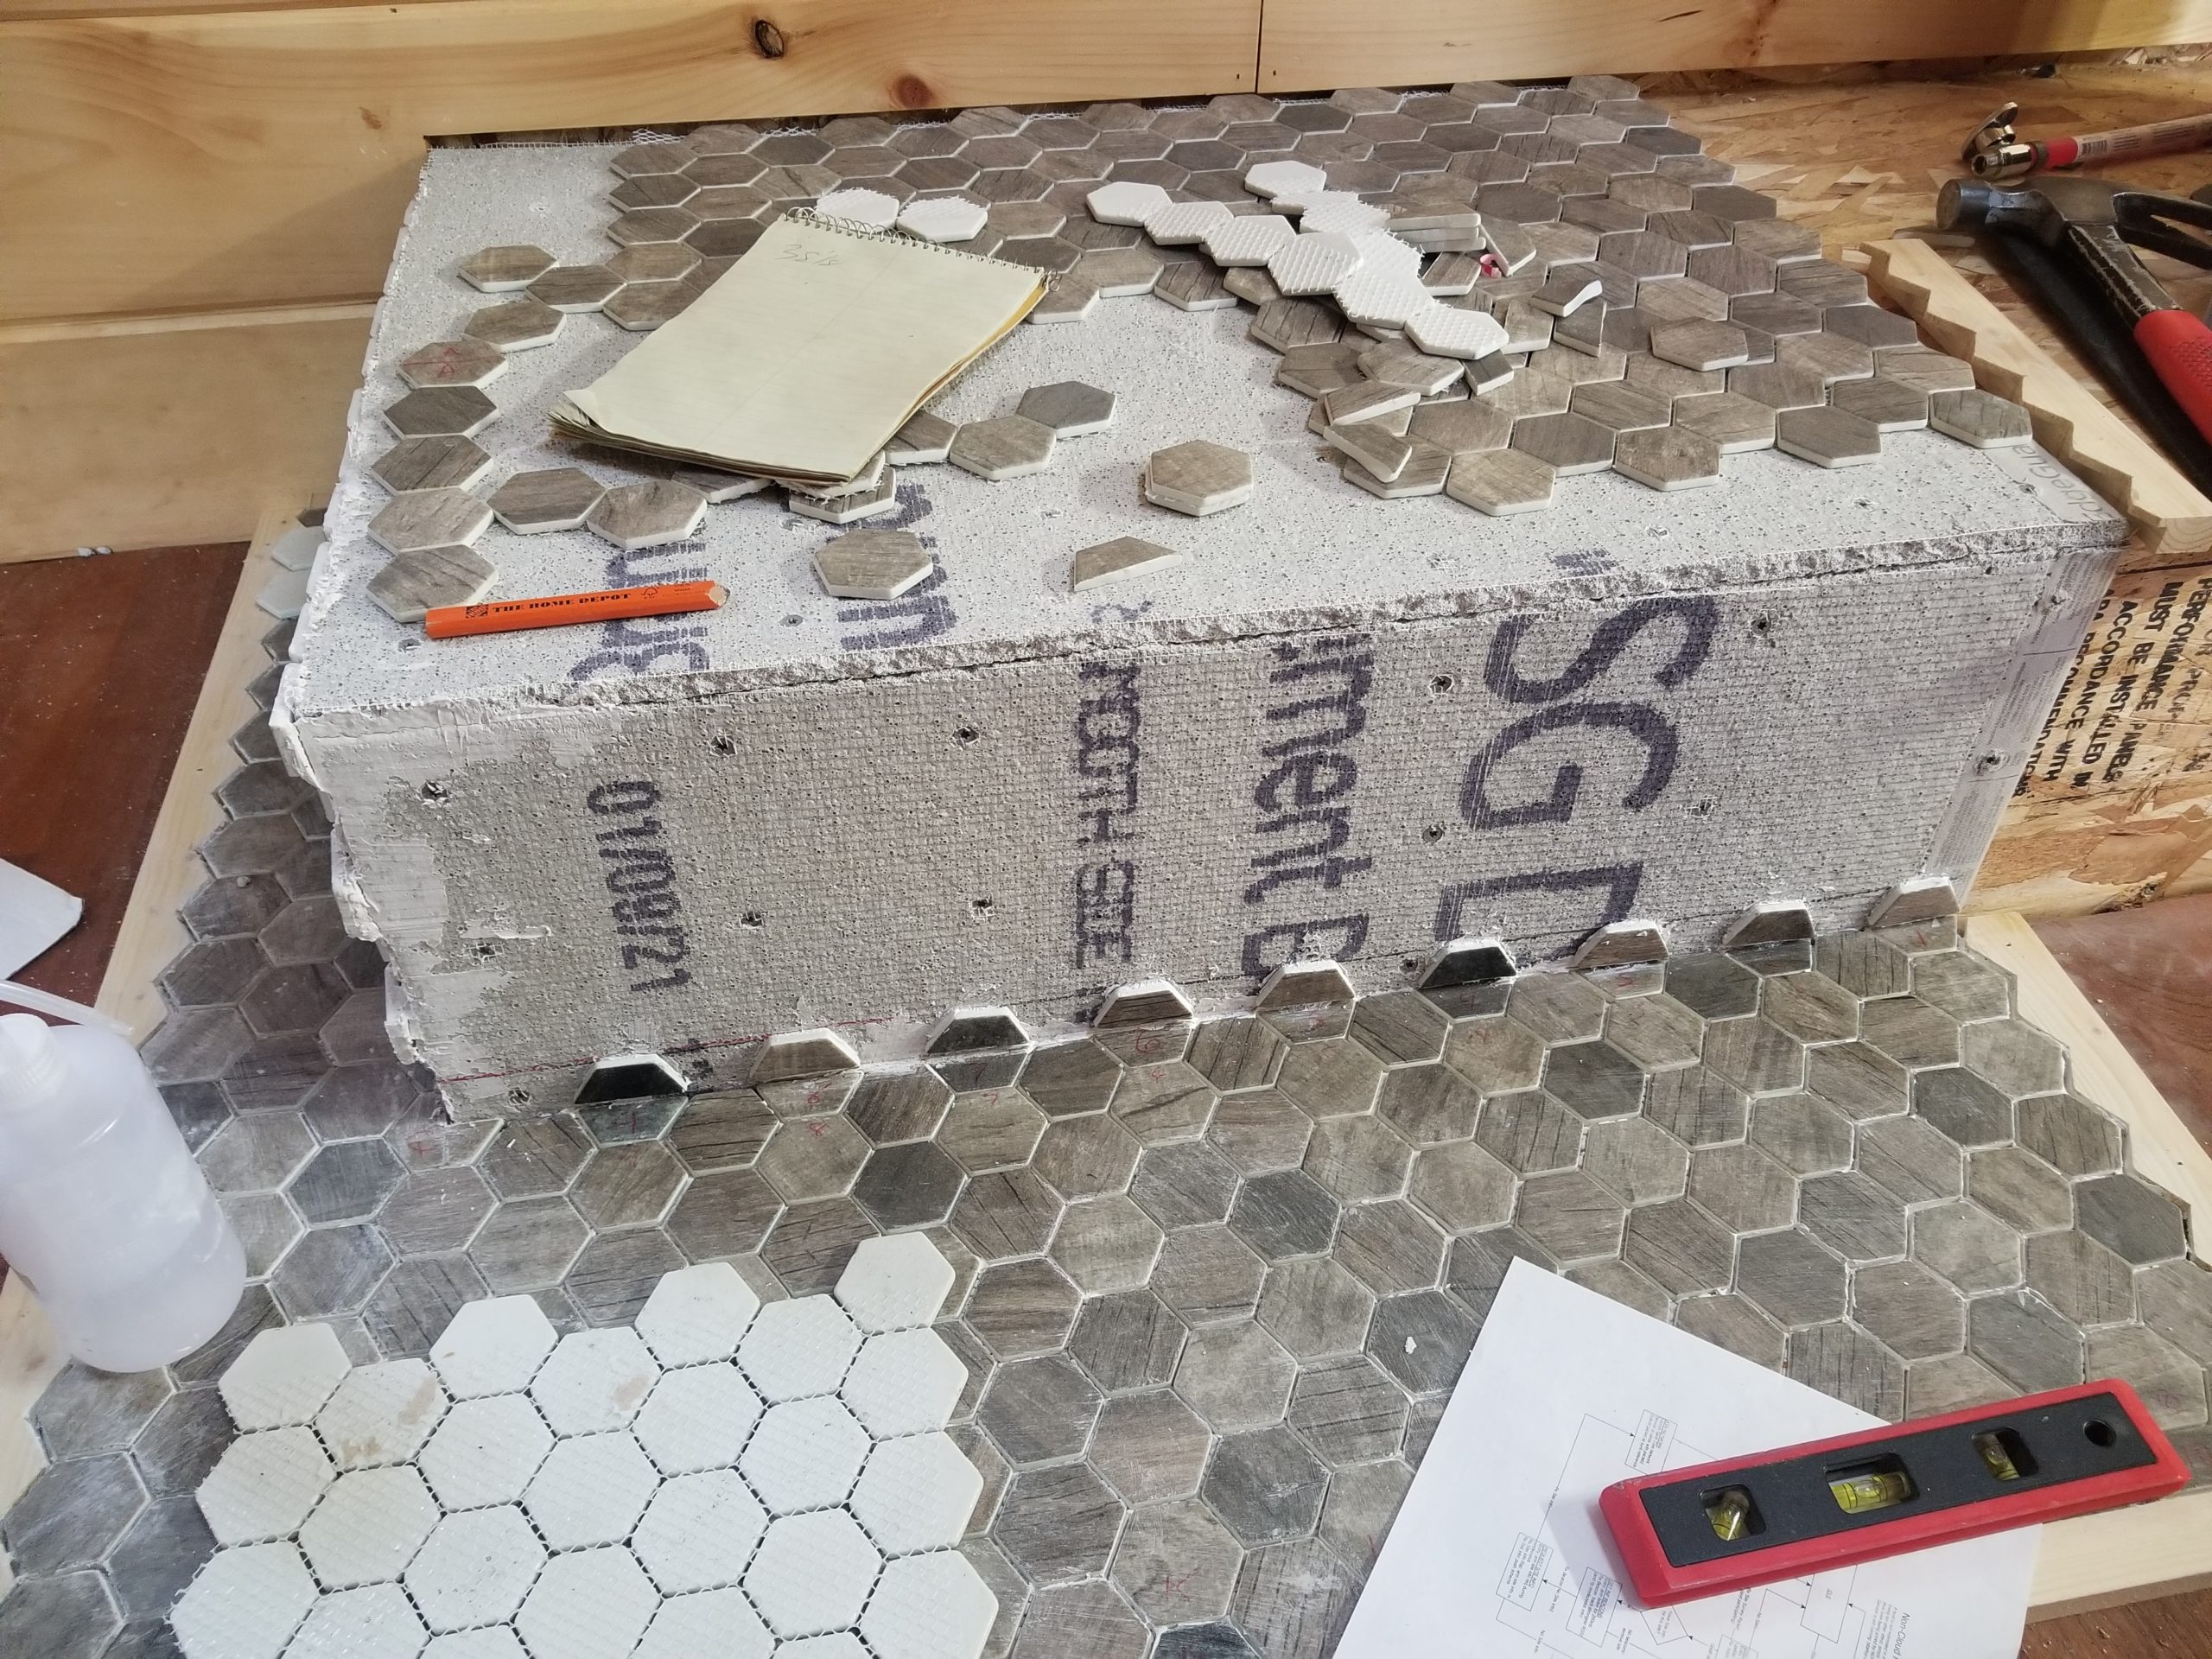
Fill in most of the edges

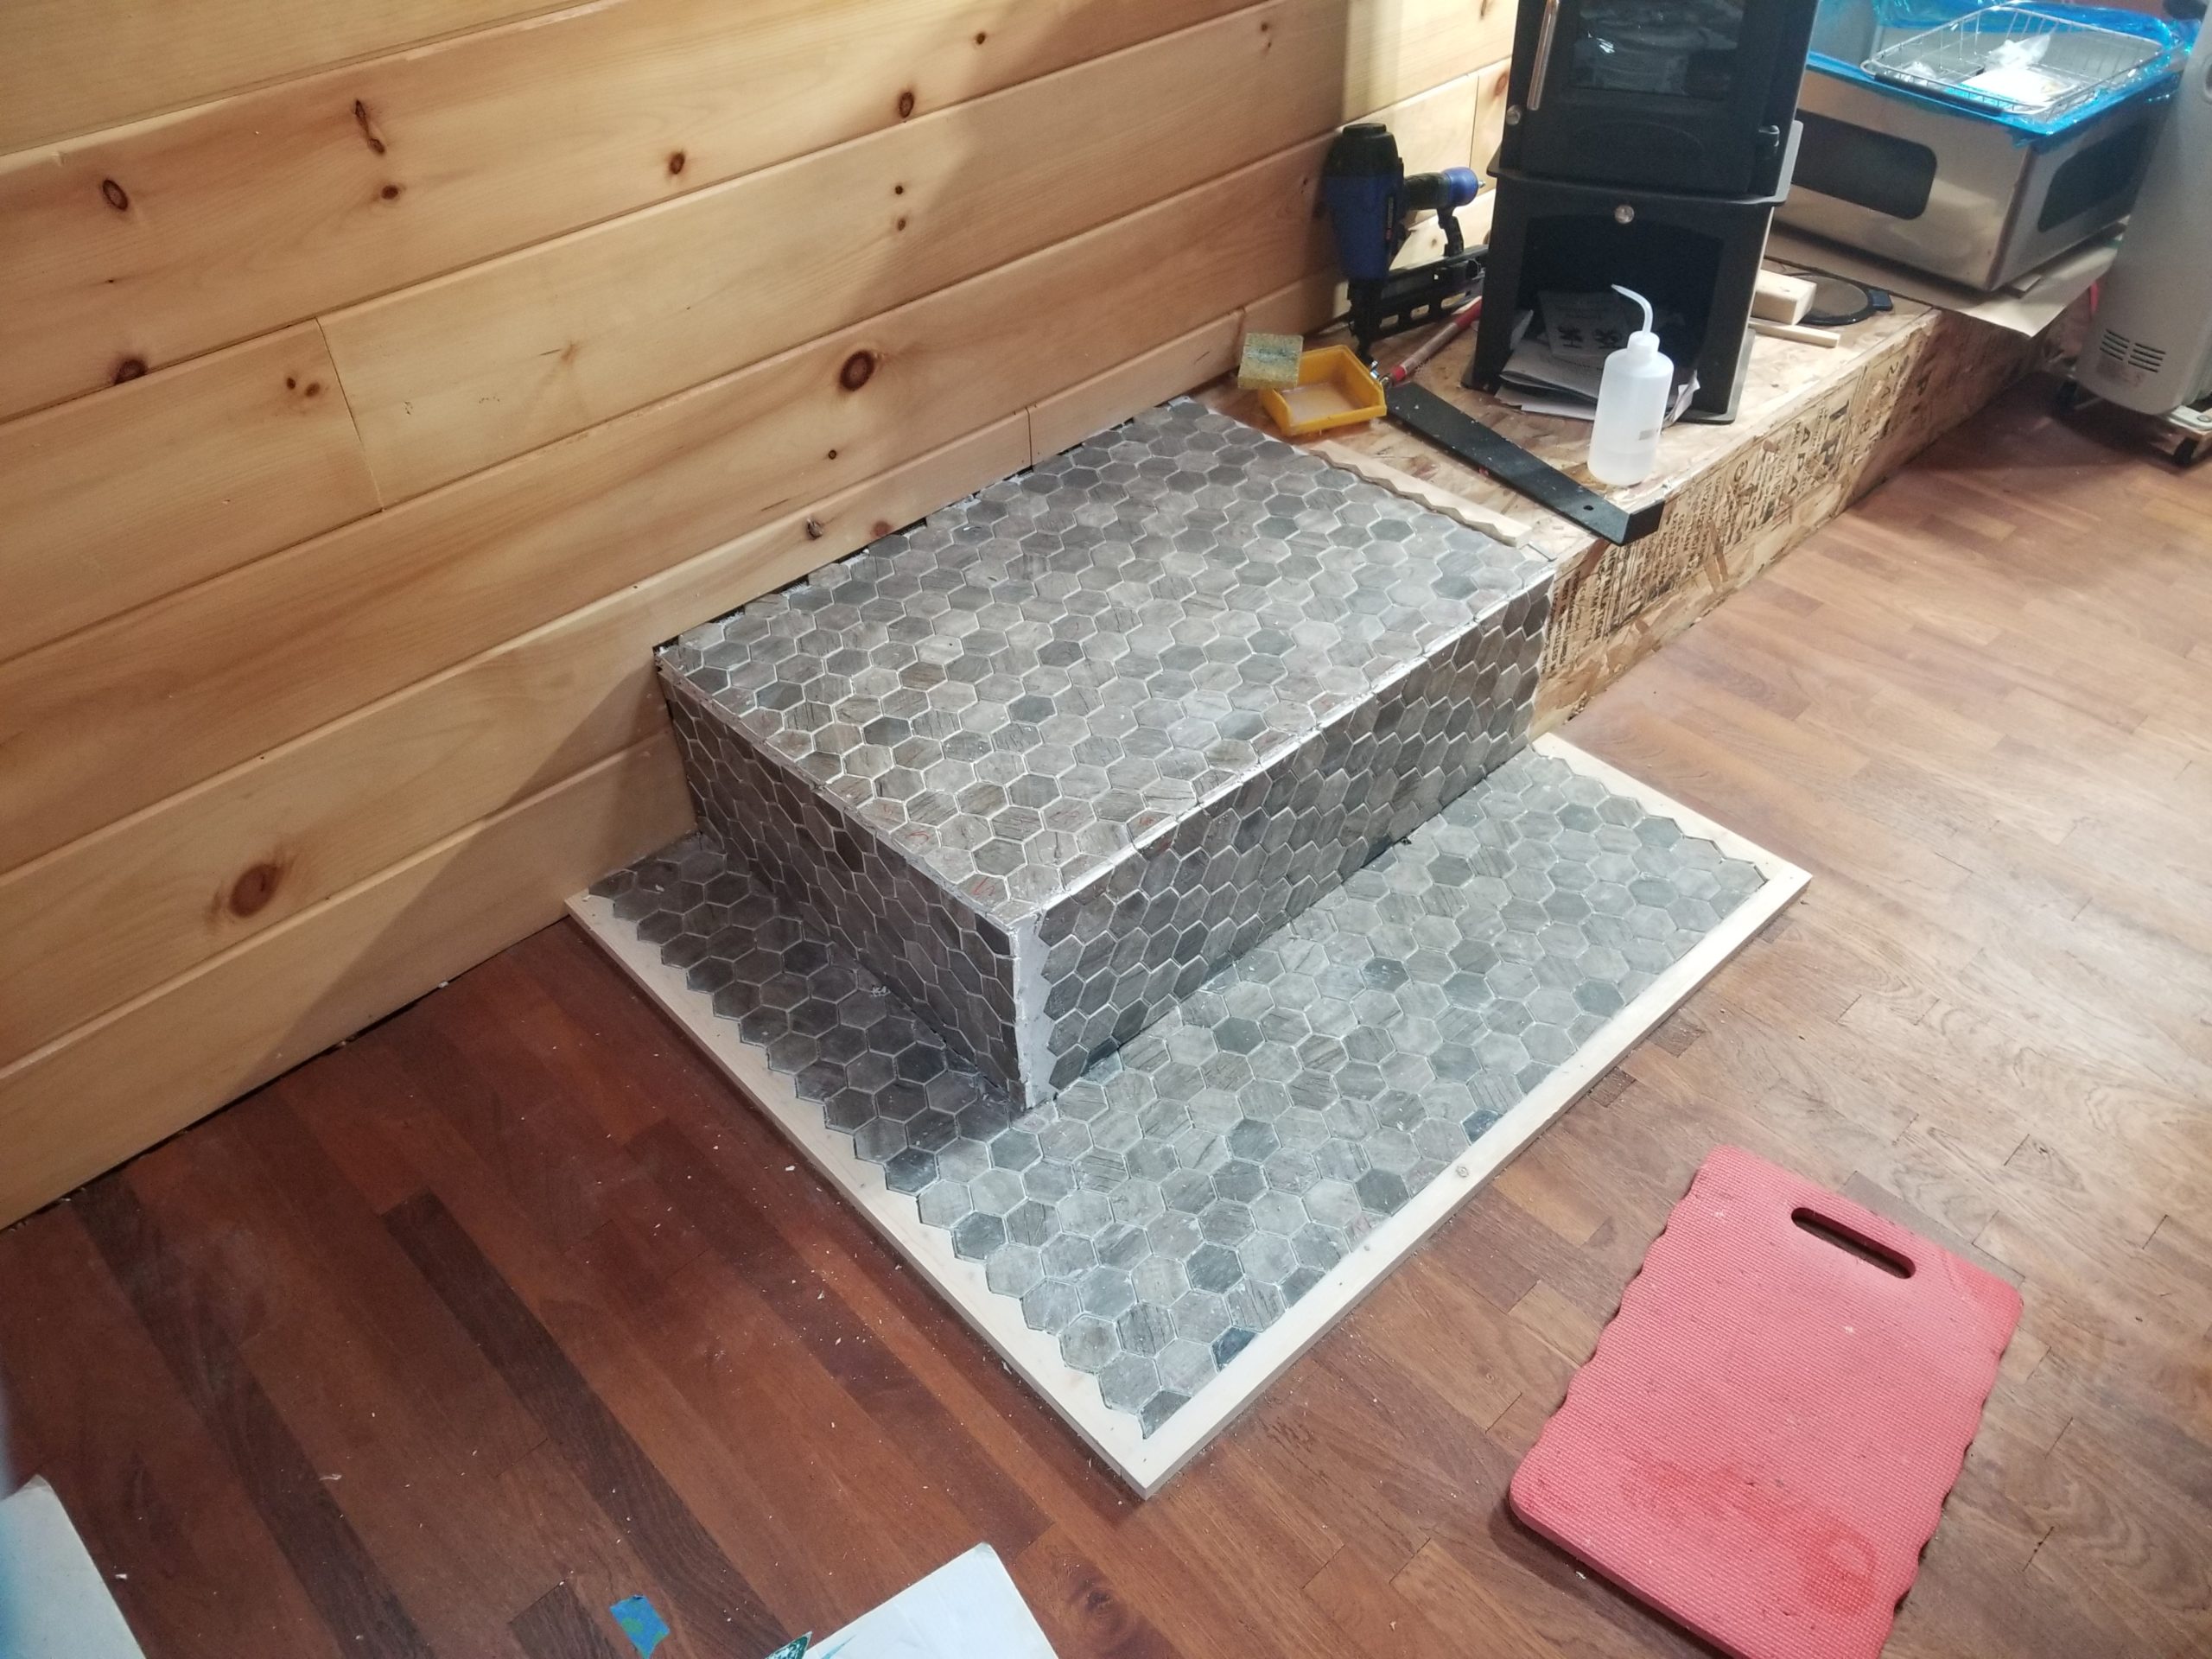
So maybe you know a thing or three about tile installation and are wondering why I didn’t use corner pieces at the corners. The answer is I couldn’t find any outside corner pieces that looked good with this tile family. Honestly, though, I didn’t look that hard. My plan is to simply sculpt some grout into those outside corners to round them off. Will it work? Well, I am not completely certain it won’t just crumble away, but that’s what I’m going to try first. I thought about using some metal corner bead, like the sort you would use for drywall, but the bead would appear deeply recessed if I used it with the tile. No bueno. I decided to wing it 🙂 Everyone who is surprised… stand on your head.
What remains is the last course of fractional tiles on what is the left side of the front vertical face. I didn’t want to risk displacing the fractional tiles on the other vertical face by working both sides of a vertical corner at once. I did, in fact, do both top and front fractional tiles around the front edge at the same time, but those had a lot going for them in terms of support to hold them in place. Then there’s the rest of the wooden trim to finish along the back wall and up the right side and of course the grout.
I’ll admit that along the transition between the outer skirt of the tile and the verticals, the fractional tiles there do not actually mate. That is to say, half a tile here and half a tile there aren’t actually from the same tile. You can tell easily if you think to look. But if you don’t, you won’t. I was smart enough not to make that error three times, though, and for the final course of half-tiles, along the front, top edge, I did this before I cut them so any texture they had going would properly continue around the corner.
Better late than never? As I’ve said many times before, this entire project has been an exercise in acceptance. It has also increased greatly my appreciation for how little errors tend to magnify on a project, making everything considerably more difficult the further down the road you go. If things were more square/parallel/level, a lot of other things would go more easily rather than having to be tweaked or scribed to fit. Well… now I know. Next time I build a house (if it isn’t made of Earth bags or straw bales or some such), I’ll pay a lot more attention to getting the bones square and plumb, dead-on-bawlz-accurate. It’s not just a matter of “cover it with trim” — you can do that at the end, but all the things that happen before the end still like square/plumb much more than not.
Meanwhile, since each stage in the tiling job was relatively quick and required a day’s wait until the next thing, I had time to work on some other things simultaneously. Among them… getting the Cozy Loft glass wall going.
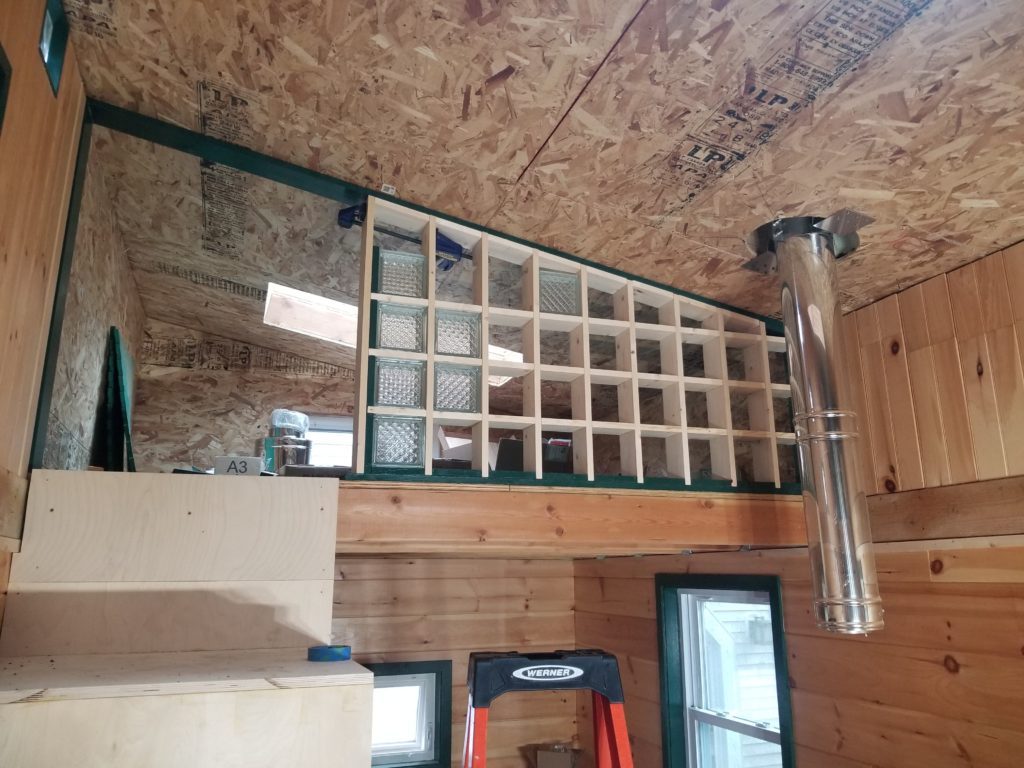
Shown here with the glass blocks just sitting there, not formally installed just yet. There’s more to do here, including painting, though I tell you, the seeming wisdom of pre-painting the parts actually made things significantly harder to assemble, as the painted surfaces both made the fit tighter (paint has thickness – we don’t think of this most of the time, but it definitely does) and the relatively fresh paint was itself a little tacky, making those tight fits even harder to work.
There will be one more horizontal span at the top there, capping the upper course of 4 blocks. The too-small-for-blocks cubbies will get covered with something — I’m not sure exactly what’s going to happen there. Maybe a carefully cut pane of plywood, recessed in, or made flush. Maybe something else. I don’t really care right now; I’m focused on getting the framework together and the blocks in.
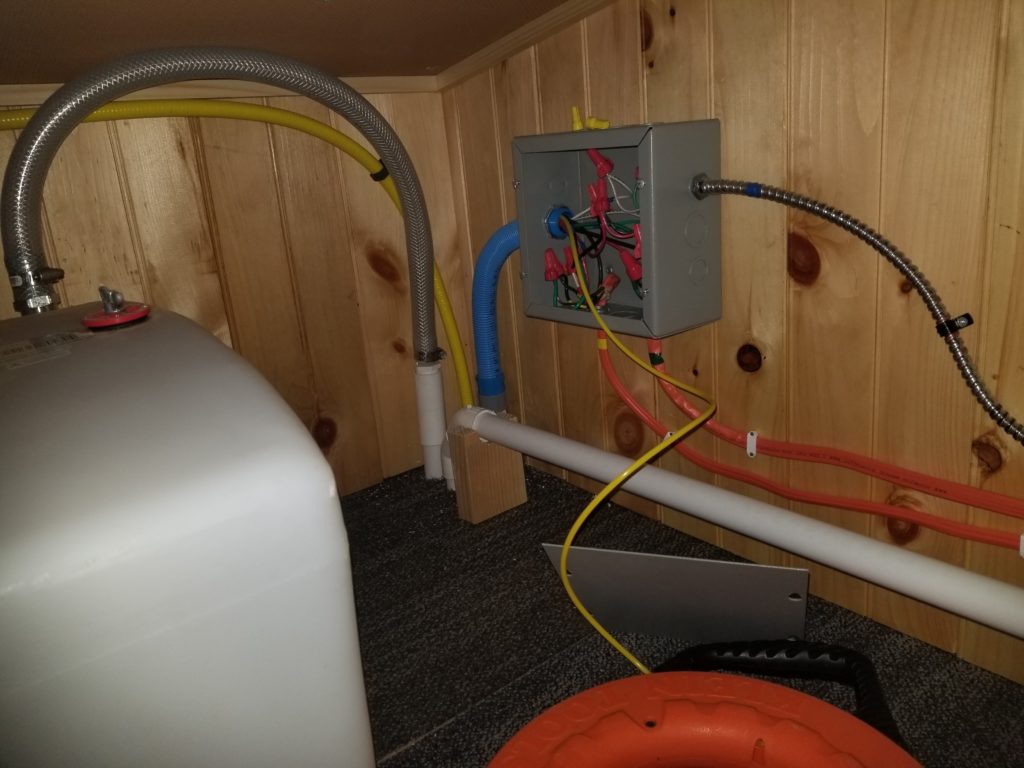
Another thing I realized I needed but hadn’t done yet was run a wire from where the house computer (“BoxBrain”) is going to go, down to the well pump junction box. Why? It will drive the freshwater supply riser purge valve solenoid, that’s why. The what? The Freshwater Supply Riser Purge Valve Solenoid. It’s the very low-energy answer to how to keep the section of freshwater inlet that’s above the frost line but not yet inside the heat envelope of the house from freezing: don’t let water stay there! The supply line will come from the well, which is a few hundred feet away, in an underground pipe below the frost line, until it gets to the HomeBox. Then it obviously has to take turn and come up through the ground and into the house. Before it does, though, it will tee with a little valve — the freshwater supply riser purge valve, to be precise — which, when energized, will allow the pipe above it to gravity drain into the not-frozen ground around it. A smart fellow would make a bit of a dry well here to accept the water quickly so it can then percolate as it will, after that. BoxBrain will power the FSRPVS (you may call it “fizzer-pivvis” if you want) for a few seconds after running the well pump. But to power the FSRPVS, there must be wires. Those wires need to get from the well pump junction box all the way back up to the SUL where BoxBrain will be located. But I already pulled all that wire through the conduit. Suppose there’s room for one more?
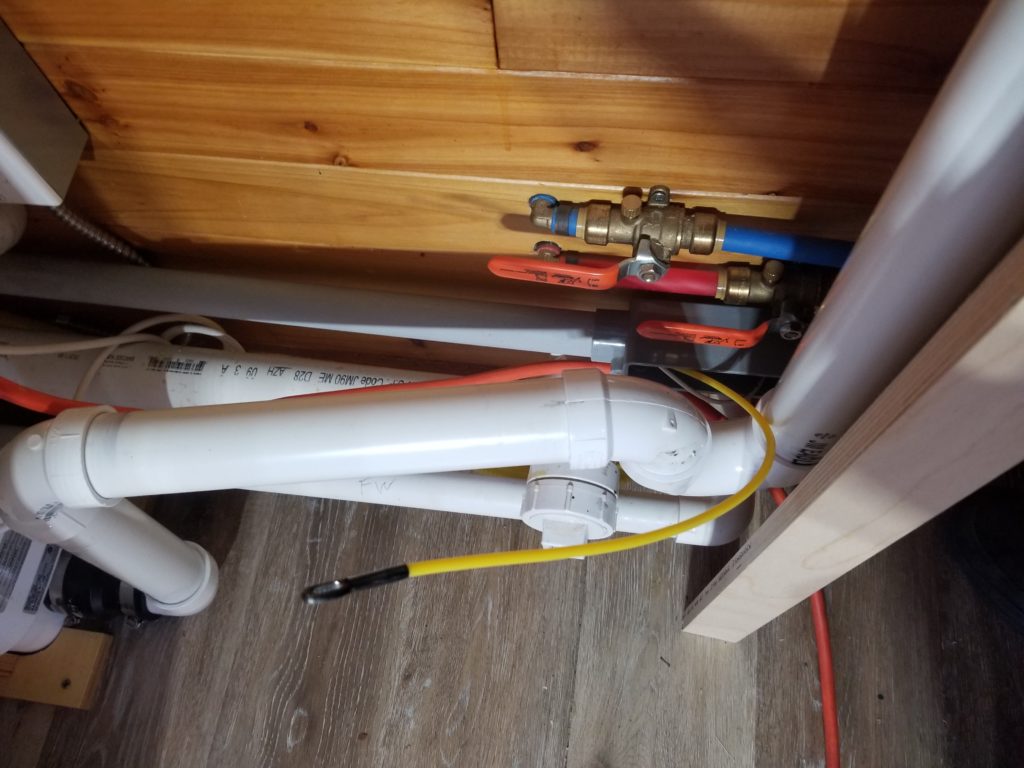
If I had been thinking ahead, I would have pulled a string along with all that wire so if I wanted to pull another wire, I could just tie it to the string, already routed all the way through, and pull it (along with a new string, if I were thinking further ahead). Alas, I didn’t think of that at the time, so I had to push a wire pulling widget all the way back up through the conduit. This gives it every opportunity to get stuck in tangles, caught on transitions between fittings, etc, whereas an already-pulled-through string by definition already has an unobstructed path end-to-end. Ah, well, here I am. I have this wondrous yellow pulling filament which is just stiff enough to push (because you can’t push a string) yet flexible enough to be pushed around corners and generally weasel itself along even when the conduit is crowded. It took a couple of tries, but I managed to push it from here, in the loft…
…down the blue feeder line, down 8 ft to the T.H.R.O.N.E. Room, around a corner, 6 ft across the wall to the junction box where the conduit turns and goes through the wall to the Propane Porch.
That box is “conveniently” located behind the drain pipe for the wash sink. But that was good enough. Feeding the pull filament through all that conduit was not unlike inserting a catheter . . . though not quite as unpleasant.
Tie the cable to the loop at the end of the filament…
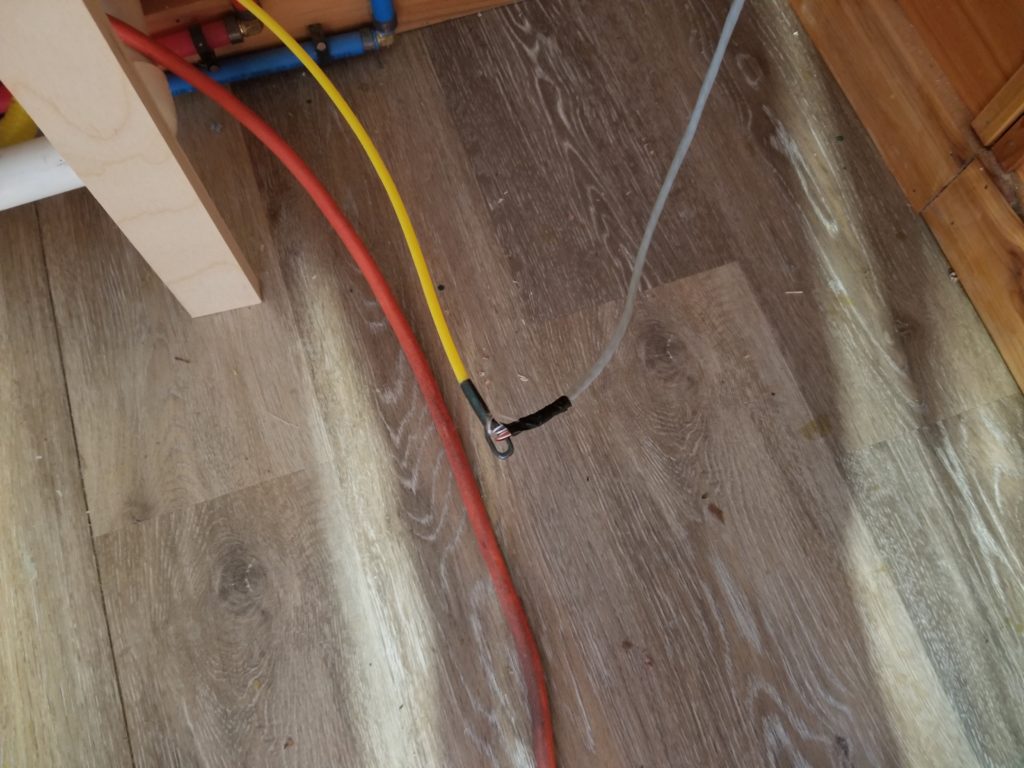
…and pull it back to the loft, making sure to leave a bunch extra for final routing. Then unroll a bunch more wire in the T.H.R.O.N.E. Room to finish the run out to the well pump box. Because of all the directional changes, it simply wasn’t practical to push this catheter all the way from the final destination back to the loft. I had to do it in a couple of stages. Now that the head of the run is pulled through, it’s time to deal with the rest of it. That means pre-cutting the wire so I can grab the tail end of it and pull it the rest of the way through the system.
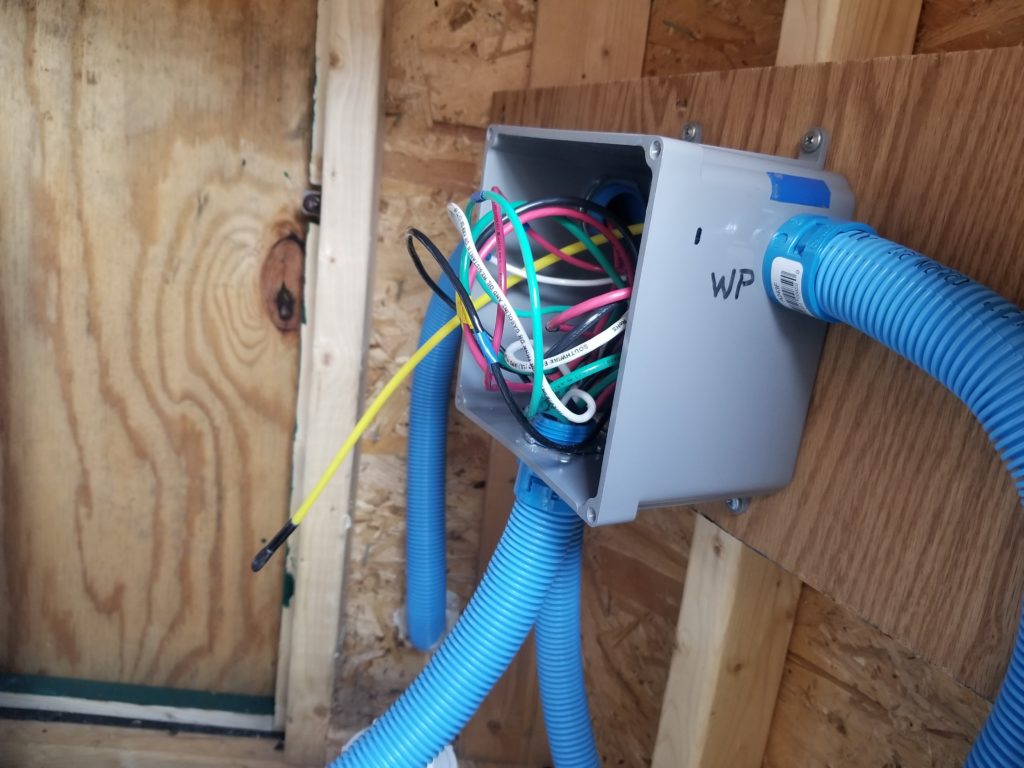
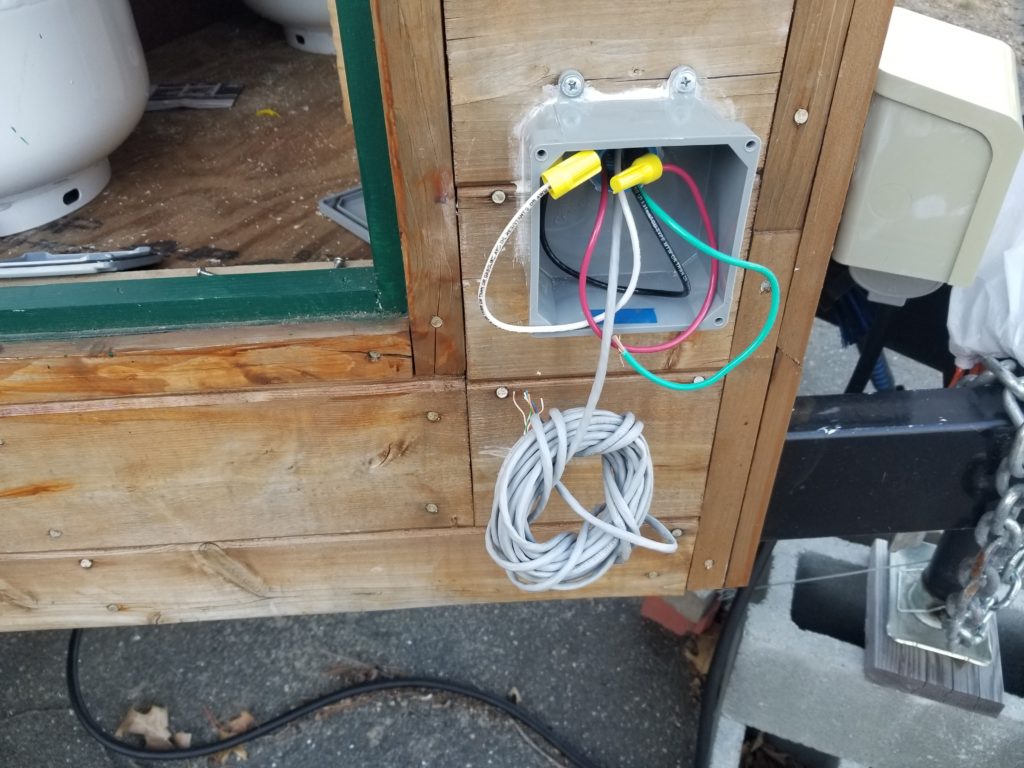
That starts with shoving the filament through the well pump junction box into the Propane Porch…

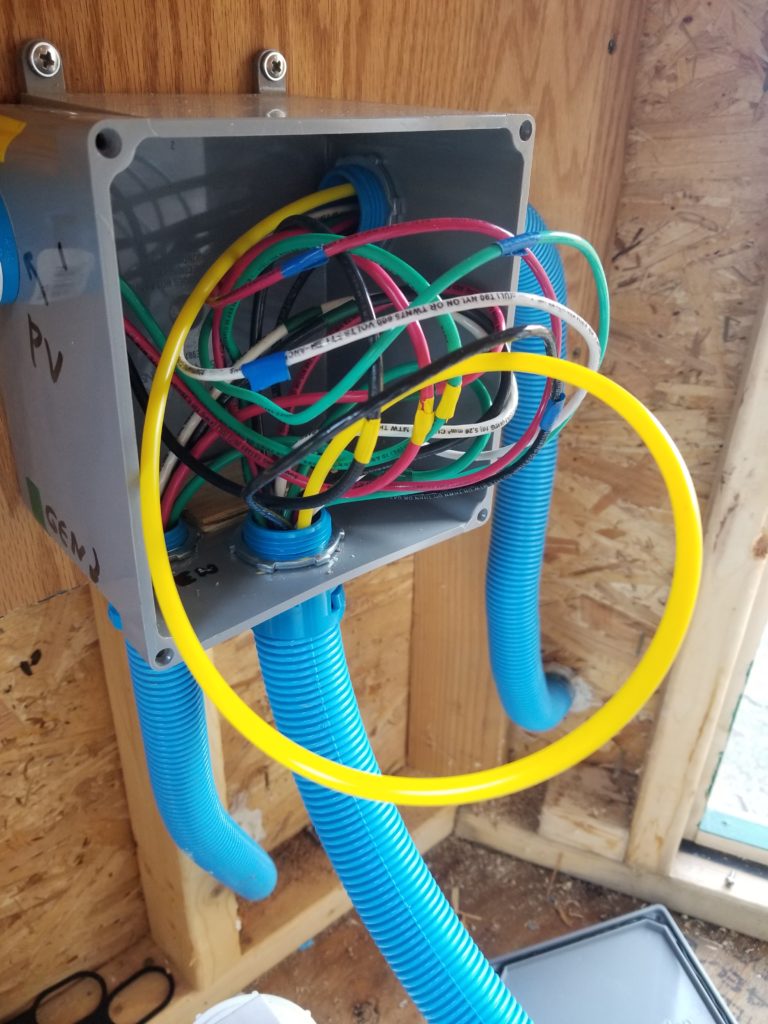
…where it emerges at the Propane Porch Nexus Of Power.
Take a left turn and head down the rabbit hole toward the T.H.R.O.N.E. Room junction where we just were.
Now tie the tail end of the wire to the pull filament and yank it (carefully) back.
And, after all that, a low-voltage wire from the SUL down to the well pump junction box. I figured as long as I’m running this wire, might as well run eight of them, right? Actually, the reason isn’t that I needed 8 wires — I just needed two — but I happened to have some CAT-5 ethernet cable on a spool left over from… a very long time ago… so I used it rather than buying new 2-conductor cable. If I want to do a wired security system or some other signaling like a sensor at the mailbox (which will be a fair distance away) or driveway, this wire would be the place to hook it in.
I know what you’re thinking. You’re thinking: hey, wait, what ever happened to that part from Sketch-E-Commerce? and Did he ever manage to find a furnace he could actually buy and get the thick-wall parts required for his installation?
Well, after whatever it was that I got the tracking number for from Sketch-E-Commerce went to Baltimore, I sent them a nastygram. A couple of days went by without a response, so I submitted a formal complaint to PayPal. That process is ongoing – they theoretically also tried to get in touch with the vendor but I kinda doubt they were successful. I’m expecting PayPal to rule in my favor in a week or so.
Okay, then, so much for the one “source” for the through-the-wall part I needed for that particular furnace. Recall I realized later that I could do an installation requiring a thinner wall if needs be as a last resort by digging out some of my wall system, but I really wanted to be able to just do it the right way. I found another furnace for which I could get the relevant through-the-wall parts for my thick-wall installation! Okay! As it happens, this one was smaller, lower cost, lower power, easier to install, yet still big enough to keep the place from freezing. Excellent! Sorry I missed it at first. Having learned my lesson, though, I ordered the corresponding through-the-wall part (from an American vendor) ahead of investing in the furnace itself. It arrived and appears to be the correct part! So far, so good. Now I need to get the corresponding furnace and see if the part fits.
I found a vendor for it and placed my order. About a week goes by and I get an email with a tracking number. Cool. It should be en route soon. I realize that due to C19 some companies have slower warehouse operations — inconvenient, but not a big deal, really. A week goes by (now two weeks since ordering) and the tracking number still shows “pending” when I look it up on the carrier’s web site. Not so good. I inquire of the vendor. It turns out they don’t actually have it in stock and have no idea when it will be available. WHUT? Nowhere on the web site did it say “not in stock” and nowhere on my receipt did it say “back ordered” and in all other respects there was zero indication that this thing wasn’t ready to ship when I bought it. I really should have known better — the name of the vendor is Adventure RV. Ask M why “adventure” is a bit of dirty word around here.
I wrote a “sternly worded letter” to Adventure RV saying that I was going to go shopping for the unit elsewhere and if I found it before they could ship, I would expect a prompt and easy refund from them.
In a fit of poor customer service, they took that to mean I wanted them to cancel the order immediately. I found this out when the order cancellation email arrived the next day. That’s not what I wanted nor what I asked for. However, at this point it seemed best that our business relationship be terminated, so I let the cancellation stand.
Meanwhile, I have located a second vendor (State Trailer RV Supply in Utah) who claims to have the furnace (for which I actually have the through-the-wall part on hand) and, unlike the other one, shows what appears to be real stock information on their web site (“we have 1 in store X and 1 in store Y”). I place an order. I am gratified to see the web site updated shortly thereafter (“we have 1 in store Y (only)”). This is a good sign. At least their computer can count. But will the thing actually get shipped?
A day or two goes by and I get a tracking number. Okay, good. But a tracking number is not a parcel en route. A few days go by, still pending. Shit. Not again. I write a polite email to inquire. The rep writes back “oh, sorry – store X usually just hands outbound parcels to UPS when UPS makes deliveries to the store but there haven’t been any to-store deliveries in a few days. I’ll make sure it goes out today.” Well, that’s better than “we don’t actually have it”… I check the next day. Parcel is en route and the delivery address isn’t even Baltimore!
The refund from Adventure has processed, so that’s good.
Meanwhile, the parcel from State Trailer (which has a declared weight that seems about right) is making its way across the country and is expected to be here in 3 days. Maybe it’ll both arrive intact and be correct!