This was a light work weekend, as such things go, but especially during this C19 madness, I make it a point to listen to my body and mind and when they say “dude, just chill”, I oblige. These days, I find I definitely need more relaxation time than I used to. There’s a lot to be stressed about, out there.
But that’s not to say I didn’t get stuff done. I surely did. And this is what.
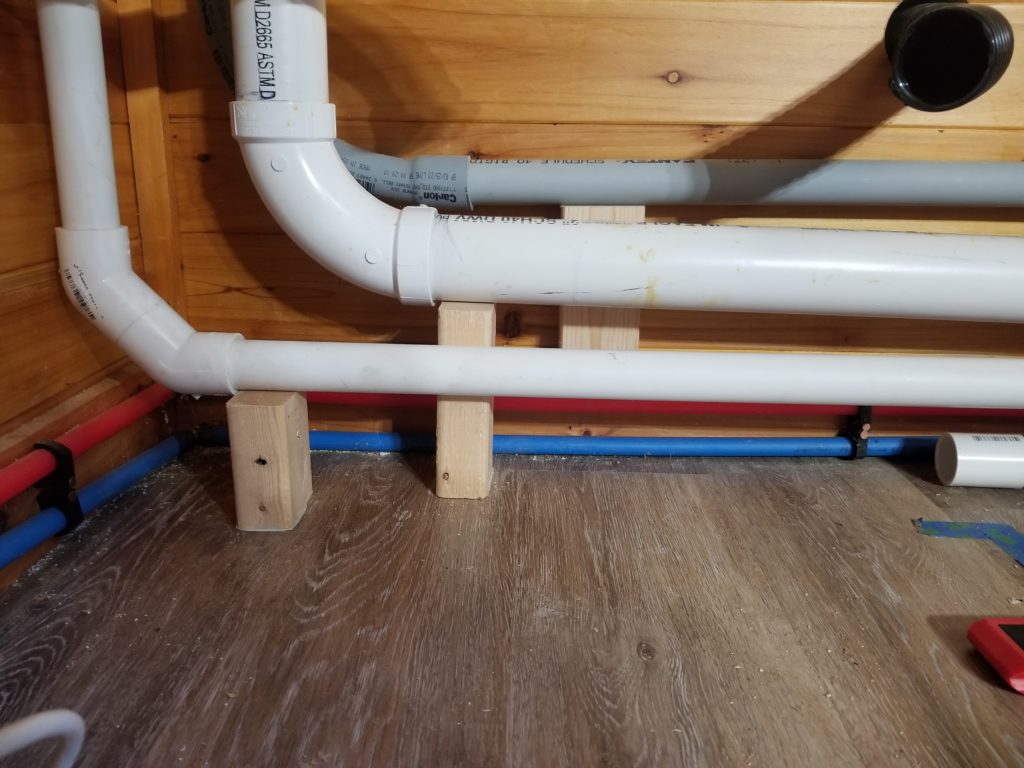
First things first – there are pipes and conduit (which I suppose is just another word for “pipe”) in the T.H.R.O.N.E. Room which need some support. I gave them some support. Really basic, but just enough to keep the stress off the pipes and fittings. They’re not strapped in because they don’t need to be – there’s pretty much no room for lateral movement and weight keeps them down.
The main drain gate valve needs some support, too, because it gets pulled on. For ease of future service, the valve is plumbed in with rubber couplers and hose clamps. This is great for getting the valve out of there if there’s a need, but it also means the whole assembly is quite flexible. Given the length of the pipe, too, there’s a lot of play. Enter these custom-fabricated brackets. Yes, I remembered to place them far enough away from the couplers so the couplers could be un-clamped and retracted to remove the valve.
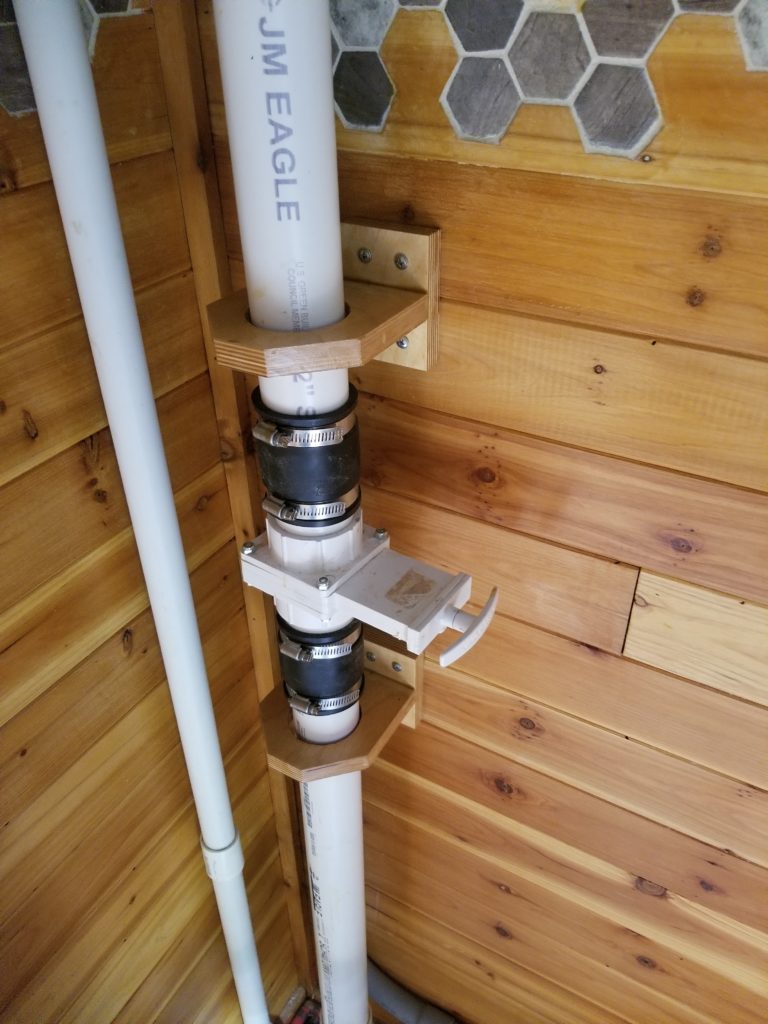
That inner set of screws, though, no self-respecting screw driver is going to get in there. The two outer screws are probably enough, but I really wanted both sets for stability. This is a job for…
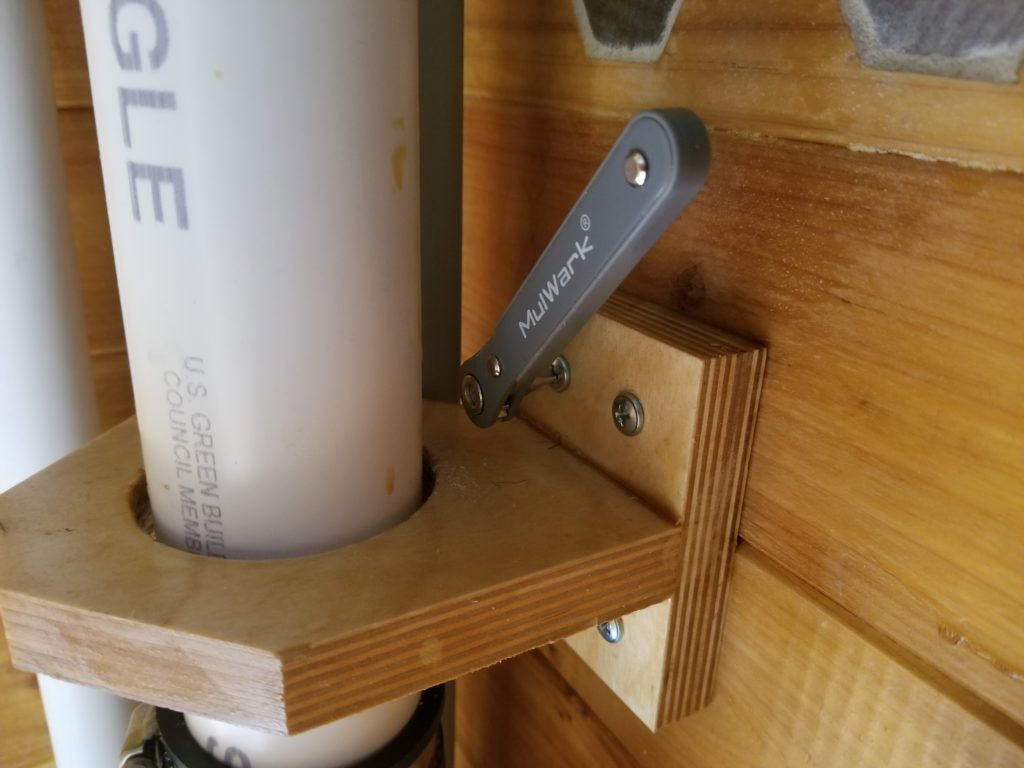
Super Tight Space Screwdriver Widget! Everybody should have one of these.
Speaking of pipes, continuing the punch-down list for the T.H.R.O.N.E. Room, I also need to get the gray water lift pump all plumbed in. Part of that is accommodating the kitchen sink drain. And anyway, that drain has to run behind the tub, so I need to get that installed before I can install the tub.
But before anything can be done, something else must first be done. You should know that by now. Before the sink drain line can go in, I need to be sure it will clear the tub filler pedestal, which means I need to know where the tub filler pedestal goes for real, which means I need to know exactly where the shadow of the tub’s biggest dimensions will land on the floor, so I can be sure to put the filler pedestal just outside that.
The tub itself has complex curves on every side, so it’s not like I can just turn it upside down and trace it, even if could actually get it in position upside down, because it wouldn’t sit flat and would slide around because it was balanced on two points. Hm. What to do? Improvise!
This is the tool I built for the job:
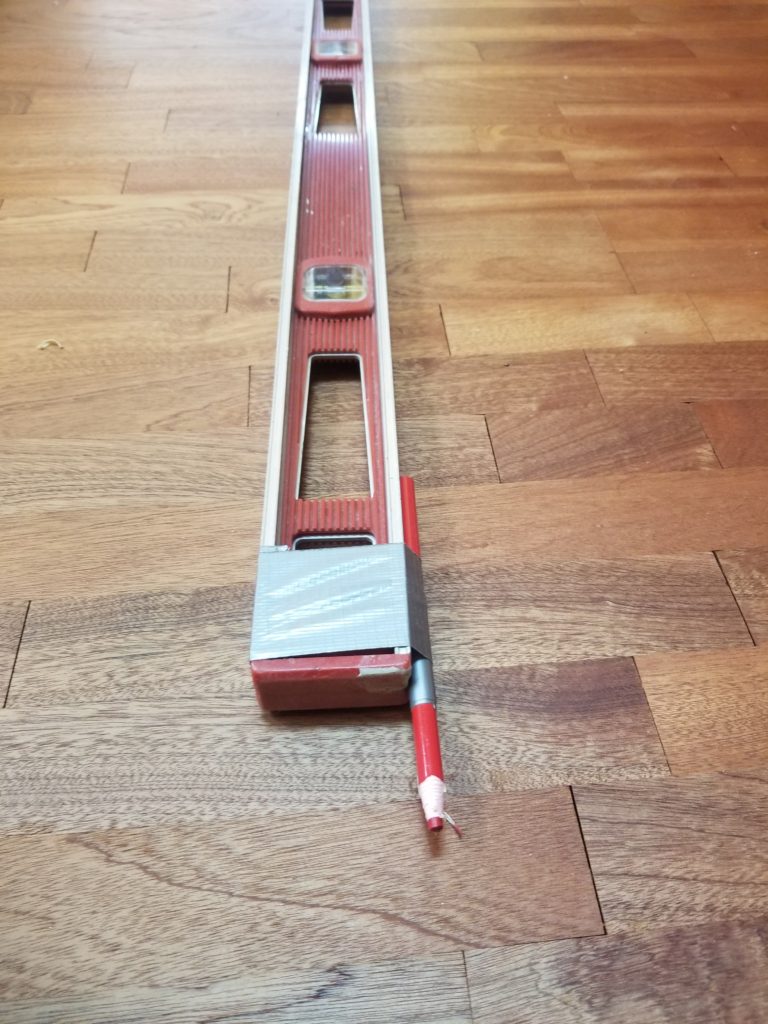
Yep. It’s a 4-ft level with a grease pencil taped to the end. High tech, right? Well, it’s high tech enough to let me trace an edge up top with the level and have a line drawn on the floor that’s close. The bubble in the level, if I hold the level flat to the rim of the tub, tells me that I’m holding it perfectly vertical (and when I’m not…) so I can be sure the line I trace is true.
Hold level firmly against the side of the tub, following its contour, check for level, and draw.
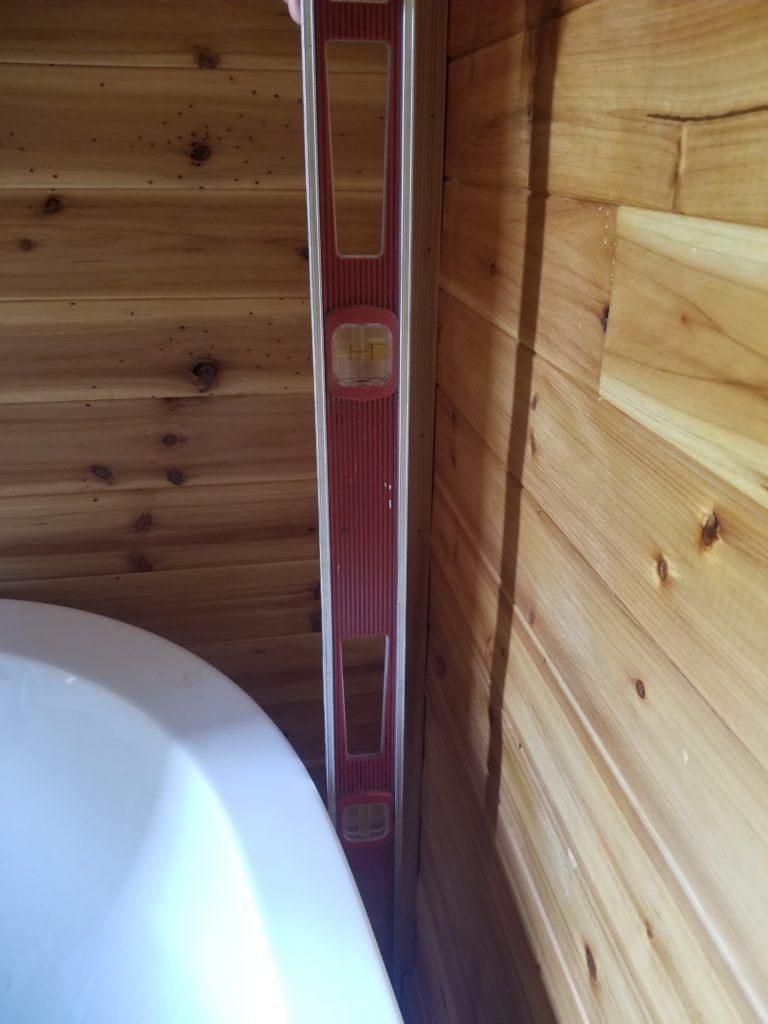
It worked. It’s not beautiful, but it worked. I can of course double check it with my eyeball, but given the high likelihood of parallax, it was important to do the drawing with an instrument, even a clumsy one.
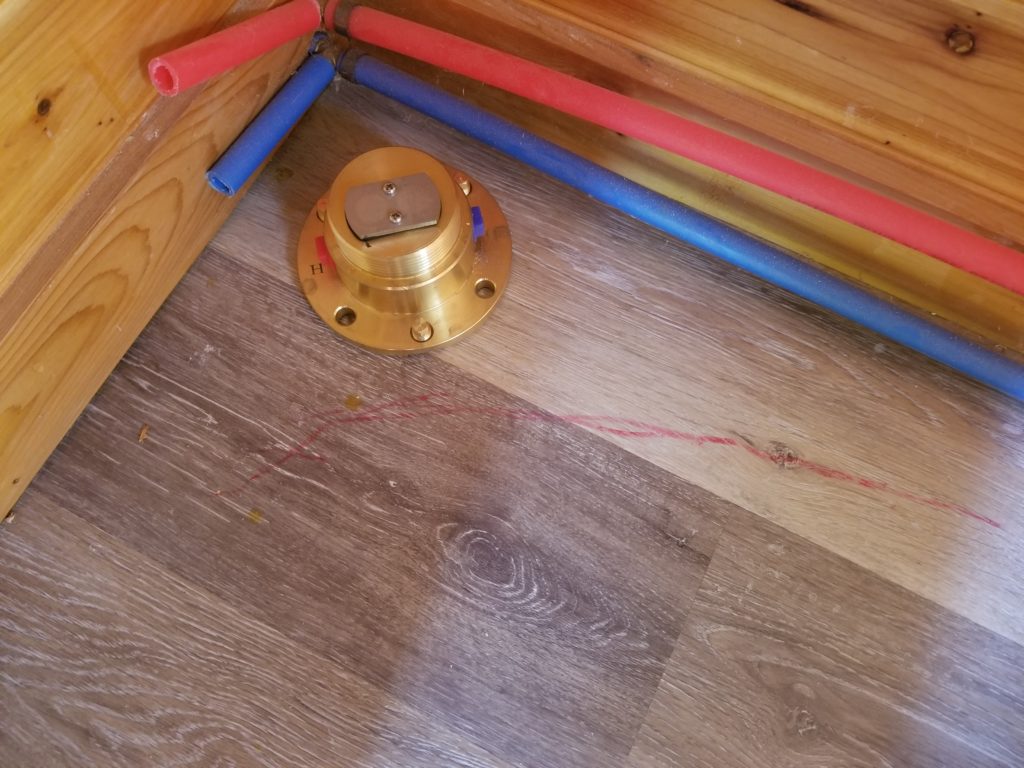
With the red line in place, I can locate the pedestal base and convince myself there’s room for a 1.5″ pipe between it and the wall. Now all I have to do is drill that hole through 3″ of wall, at a 1.2 degree down angle (standard drain slope of 0.25 inch per foot). My hole saw isn’t big enough to drill this in a single shot. So I take a long, very skinny drill bit and make a pilot hole through the entire wall at the proper angle. This will let me align the drill perfectly on the inside and the outside of the wall.
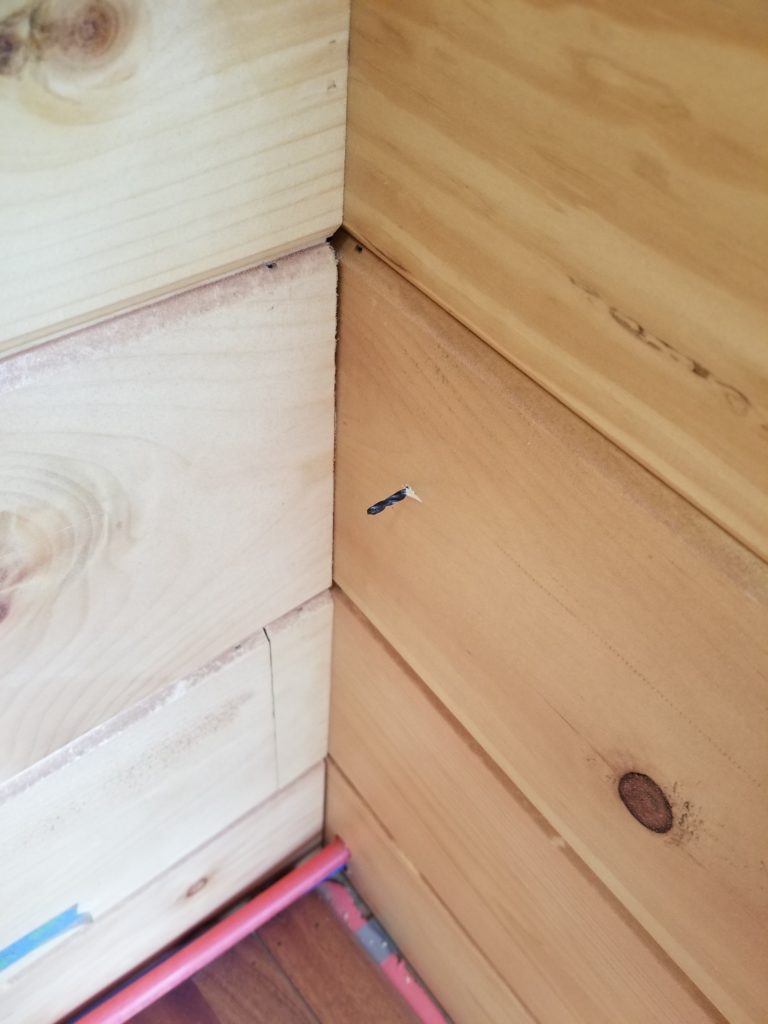
Poink! Done. Now go back and drill both sides and run that pipe already.
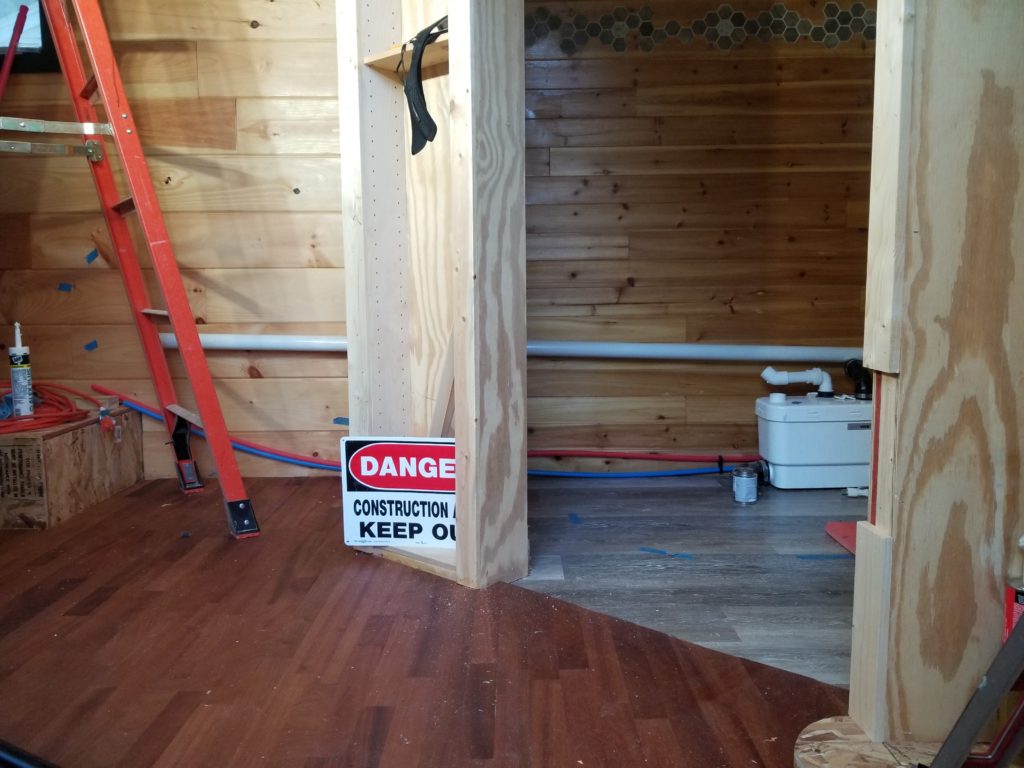
And so it was, a gently sloping kitchen drain pipe. The kitchen end of it is just floating in mid-air. I don’t know what’s going on there yet and probably won’t get to that til the 2021 construction season. For now, though, the space behind where the fridge will go is reserved by the pipe and it is in place in the T.H.R.O.N.E. Room such that I can put the tub in front of it. That’s actually the gray water pump with that stubby white pipe sitting there on the floor. It’s temporarily displaced while I work on some other things. The drain pipe will actually attach to this… when it is back in place… soon.
So does it fit?
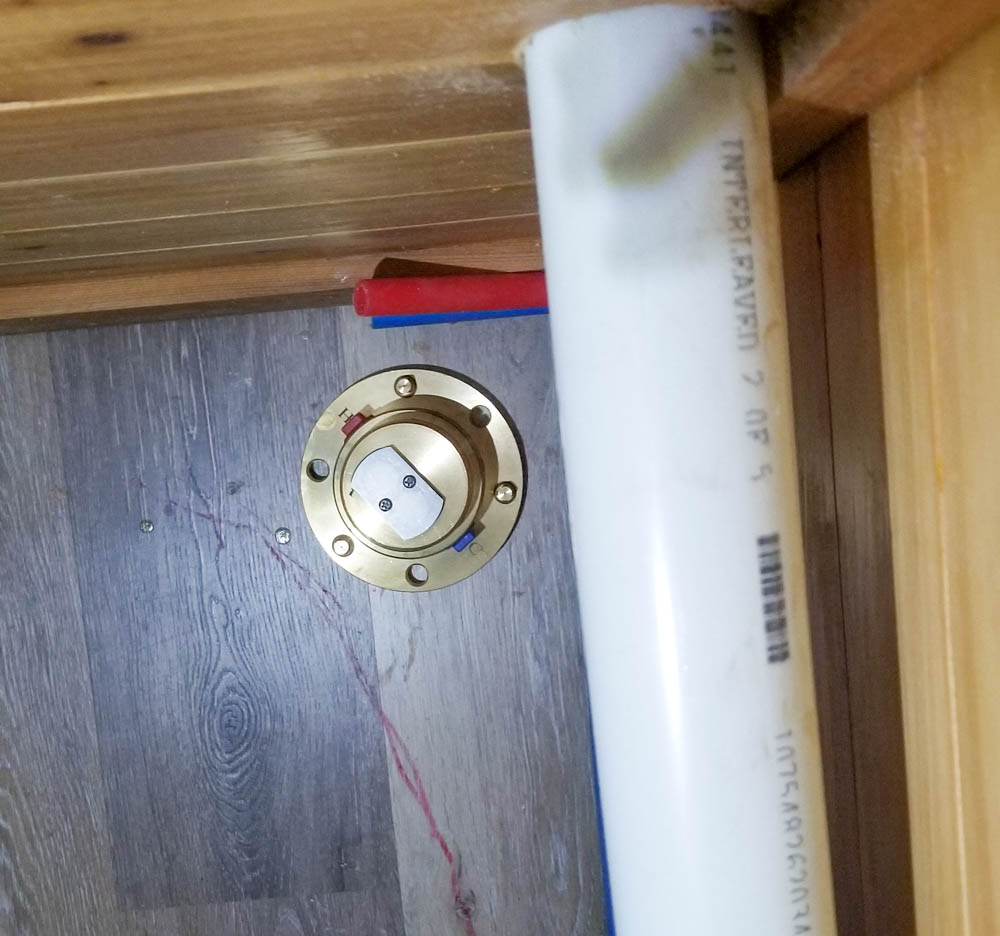
It does. It’s close, but it fits. Close is fine. It is a tiny house after all.
I should check it with the tub really there, too… another day. Getting the tub in and out of that room is a real chore. This picture of the tub passing through the doorway may help you understand that better.
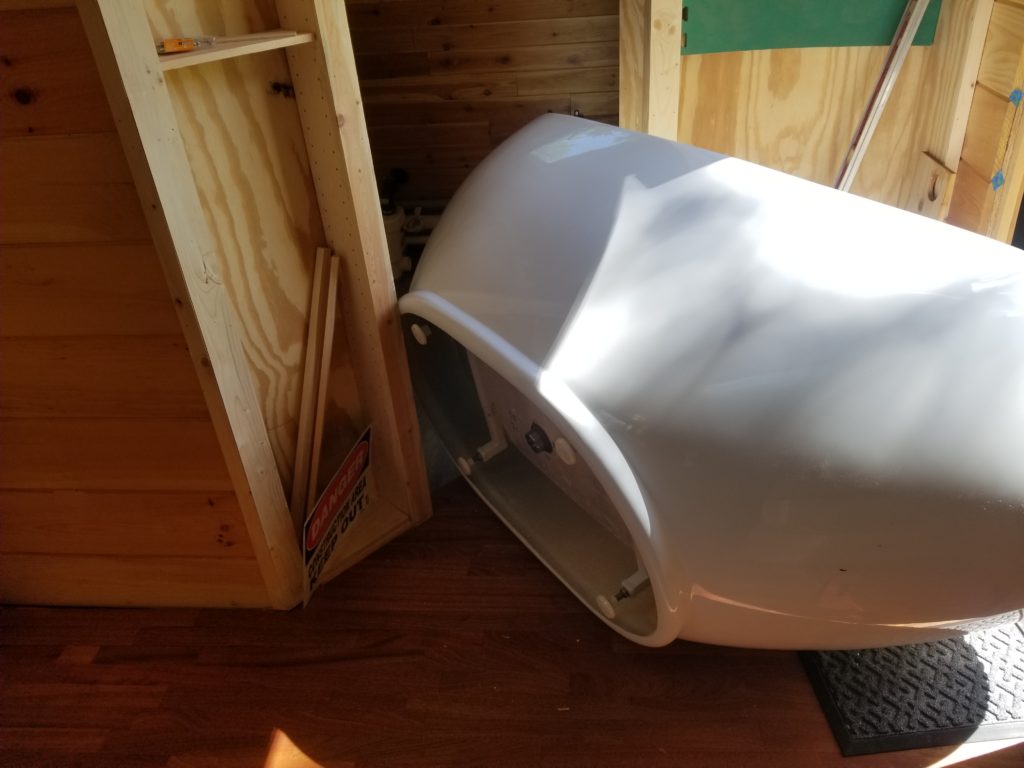
The tub has to be rotated a few times, through a few dimensions, to get in and out of there. It almost invariably gets scuffed along the way, so I try to minimize the ins and outs. Still, I do need to know for sure that the tub can coexist with the drain line so I will need to do at least one more in-and-out to check that — and make final notes about where I can put the valves for the filler pedestal. That’s gonna be a tight fit, too.
You might be wondering how I’m going to hook up the tub train. I was wondering that for quite a while, too. I settled on using a semi-rigid hose. This will let me make all the connections before the tub is in its final placement and I can simply make a carefully calibrated hump in the hose to effectively form a trap. I wouldn’t want to have to unclog that line (it would mean lifting the tub 3ft up, really, to get under there without actually removing it), but like I said, it’s a tiny house, not everything is gonna be easy in there.
I think I’ve figured out how to hook up the pedestal filler to the water supply, including how to accommodate some cut-off valves, even given the very cramped quarters. Gotta try it before I’ll know for certain it’ll work. I’ll come back to that in a bit.
Meanwhile, the other thing that has to go in before the tub is the propane line! There’s no propane used in the T.H.R.O.N.E. Room, true (the water heater is in the loft), but the propane tanks live on the Propane Porch which is just on the other side of the wall from the wash sink and gray water pump so the propane line must penetrate the wall there, come into the T.H.R.O.N.E. Room, take a right turn, skirt the floor for a bit, take an up turn, and disappear into the ceiling (storage/utility loft). From there, it makes its way to the on-demand water heater, then down the wall again to the kitchen, where the stove/oven will be as well as the space heater. Why a space heater when I have this lovely wood stove? Simple – the space heater runs unattended!
My original plan was to use the wood stove for comfort heat when home but use the propane to keep the freeze away all other times… and to supplement the wood stove if needs be. This was pre-C19 and pre-working-from-home. If I’m home — even a few steps away from the HomeBox in the Garofforkshop — I can certainly tend the stove from time to time. I’m still not certain I would never return to a commuter job while living in the HomeBox, so having it stay heated unattended still has value.
To run the propane line, which will be corrugated stainless steel tubing (flexible and continuous – fewer joints, fewer chances to leak), I need to know what size line to run. Which means I need to know the maximum propane flow. Which means I need to know the consumption of all my appliances that might run concurrently (all of them). Except I have only bought one of the three in question. The other two are still in the decision phase. No problem; I’ll just do what I always do: research a handful of representative units, take note of their specifications, and use the worst of those to guide my estimate. I don’t know exactly where they’re going to go in the house, either, but I can make a decent guess about worst-case distances. Done. 50 ft is the longest distance and 120,000 BTU/hr is how hungry the entire system would be if the water heater were running full blast, so, too, the space heater, and three burners on the stove. That’s kind of madness, but it does put a useful upper bound on the system, which is what I need for sizing the line. It turns out that I can use the smallest line, 1/2″ nominal diameter, which won’t drop more than 0.5″ WC (ah, imperial units) over 50 ft at 11″ WC nominal regulation pressure. Okay, it works.
Wait. Does it? Can my regulator supply that kind of volume? Better check. I did. It can. Good.
Now to design the run for the propane line, with all the fittings, or at least enough to get me through the T.H.R.O.N.E. Room, so I can install the bathtub. Right. The bathtub. That’s why I’m running the propane line and the kitchen drain right now. I want to finish the T.H.R.O.N.E. Room. Why else? 🙂
Oh, and I painted the foyer ceiling. Because I need to be able to run lights and outlets to the T.H.R.O.N.E. Room. What? Yeah. Some of those electrical runs will be on the ceiling. Which is why it has to be painted first because painting it after there’s stuff on it is harder.
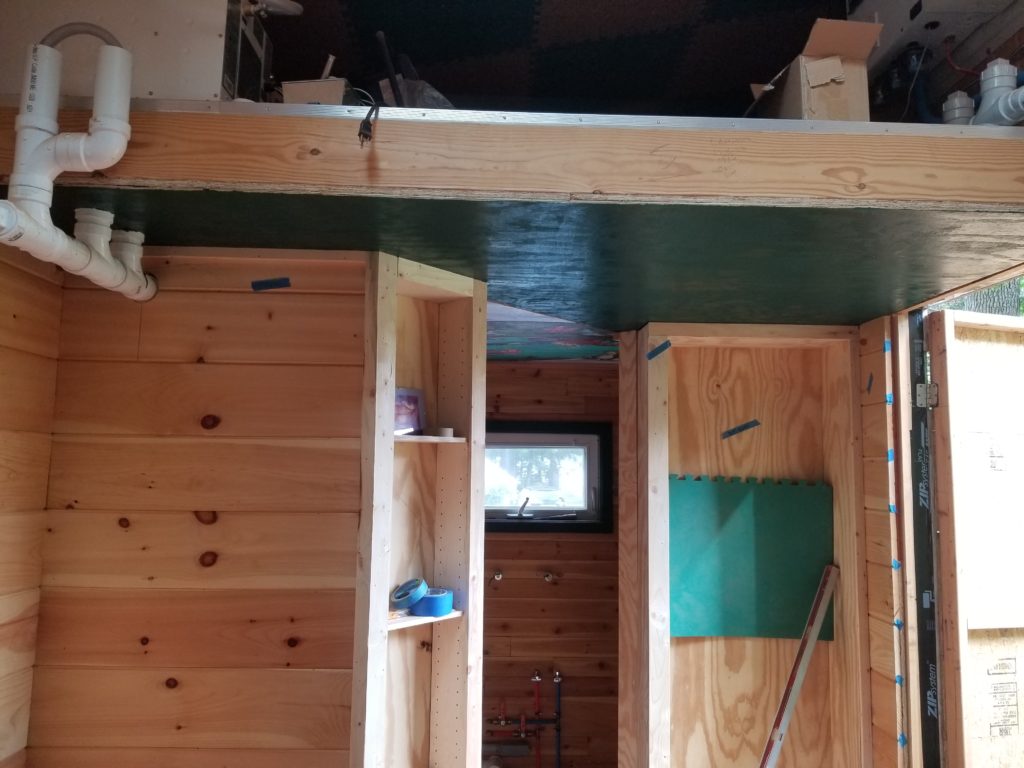
The color is a little dark, but the metallic armored cables that are about to decorate it will brighten it up a bit. Also, this is an artificial angle for the sake of showing the ceiling. Nobody is actually going to be looking at it this way.