With all this sequential sibilance you start to seriously suspect a story in parseltongue, but that is not the case today 🙂 I did in fact see a cute little snek in the workshop yesterday, though. A garden variety garter snake, I believe, going about its ssserpentine businesss under a shelving unit. I thought I had left some heavy cable on the floor. Nope. Is snek. It musta been a shy one, as it disappeared back under the shelving unit before I could get a good picture.
Recent work on the HomeBox has been pretty dramatic. The laying of the hardwood floor, for example (floor example, that is), and now the storage stairs. I’ve posted a sketch of the stairs before. Today it’s time for show & tell.
The big challenge for the stair build was dealing with the fact that the cabinet plywood was 18mm thick but the rest of the design was in imperial units. I realized that I could just use pieces of the stuff itself for making measurements, so I wouldn’t have to do inconvenient conversions like dealing with 18mm = 0.709 inches, which isn’t anything.
For example, I needed a panel be 2 units of stair rise (9-3/8″ x2 = 18-3/4″) minus the thickness of the tread material. This is a very common type of computation for stairs. However, subtracting 0.709 inches from 18-3/4″ is no fun at all. Here’s the easy way: first, set the table saw to 18-3/4″ directly.
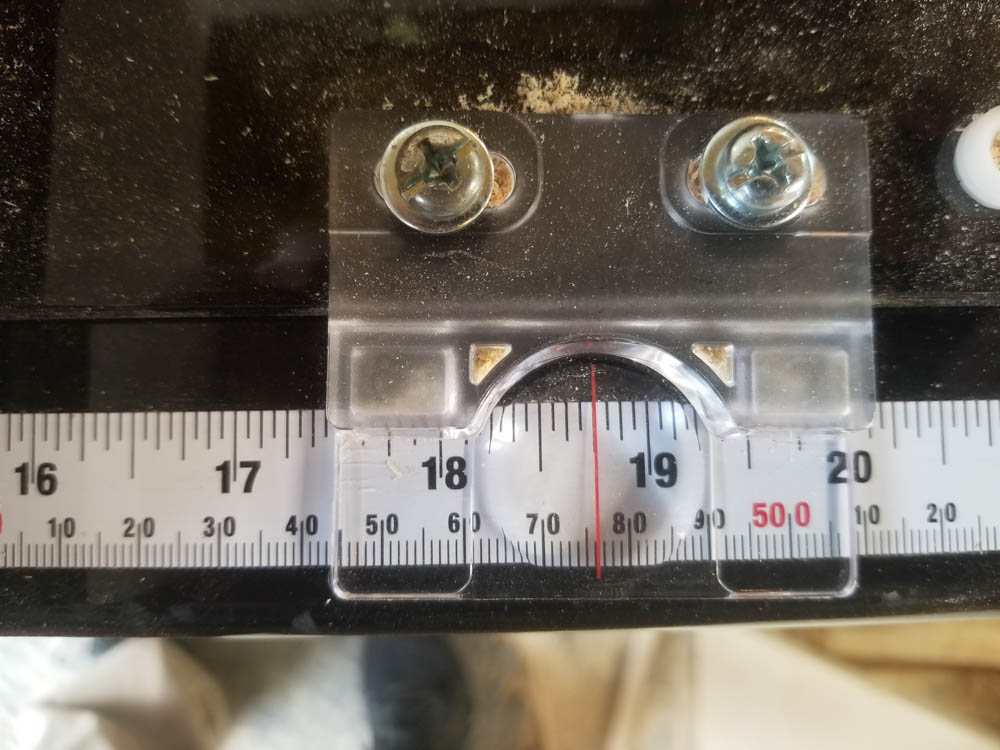
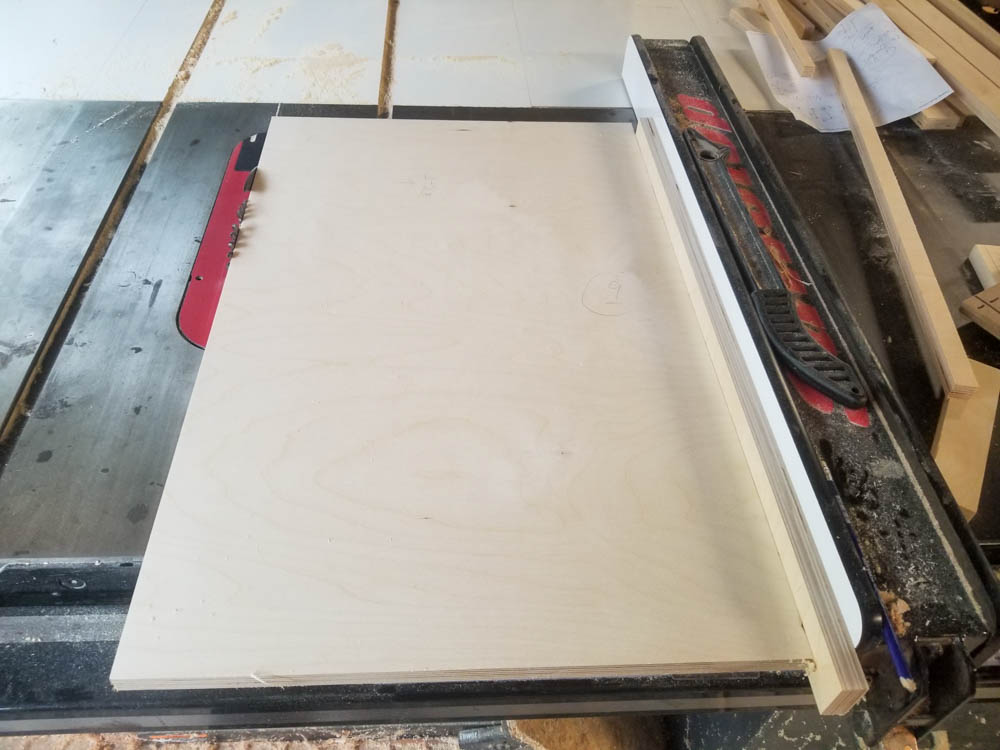
Then, use the material whose thickness I wish to subtract as a shim (see it up against the rip fence). Now I just perform the cut, making the whole package 18-3/4″ wide, but that package includes the thickness of the shim, which will fall away when I take the panel off the saw. Presto, a panel that’s 18-3/4″ minus 1 thickness, whatever that thickness is.
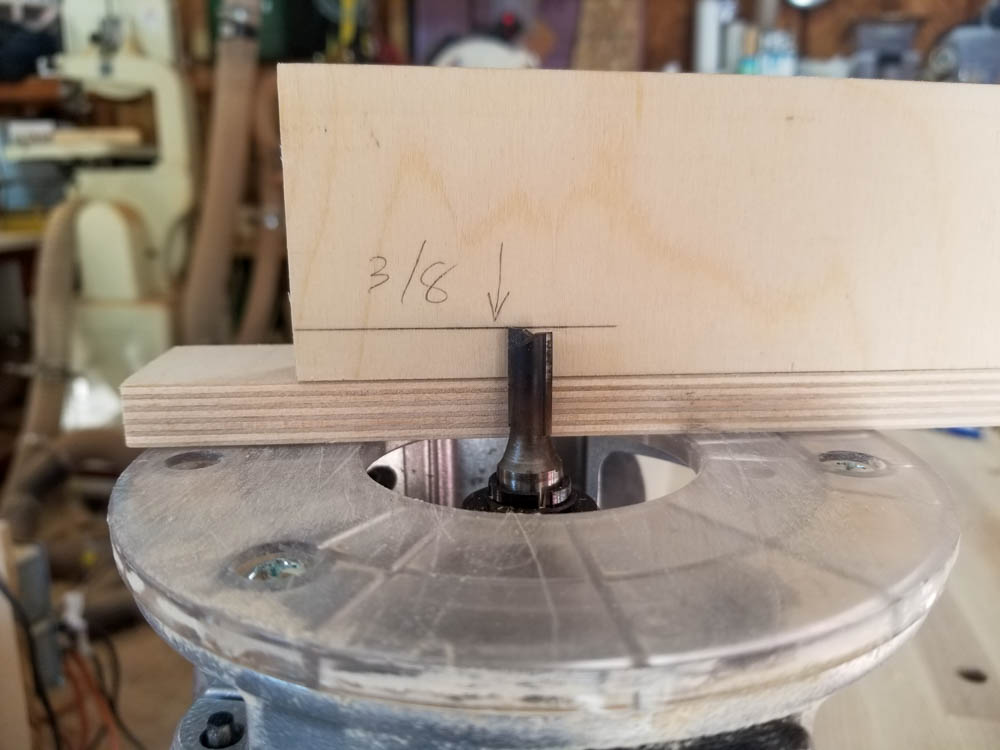
Likewise, I have found an easy way to set cutter depths that compensate for the thickness of templates, etc. Same thing, different direction: use a scrap that’s the same thickness as the template as an offset and then set the tool to meet a reference line. This isn’t rocket surgery, of course, and many woodworkers know these tricks. Still, your host is a journeyman builder who is still learning & discovering ways to do things easier/more directly in his woodworking. I have come to really appreciate the speed and indeed accuracy of using set-up tools like this simple block with a line drawn on it. As an engineer, I want to measure everything and go by the numbers. As a builder, I am learning that it is often better to just use the thing to be however big it is, whatever shape it is, to convey sizes and shapes most accurately. With a ruler/tape measure & pencil, there’s always some imprecision. With a thing, the thing is always as big as the thing is.
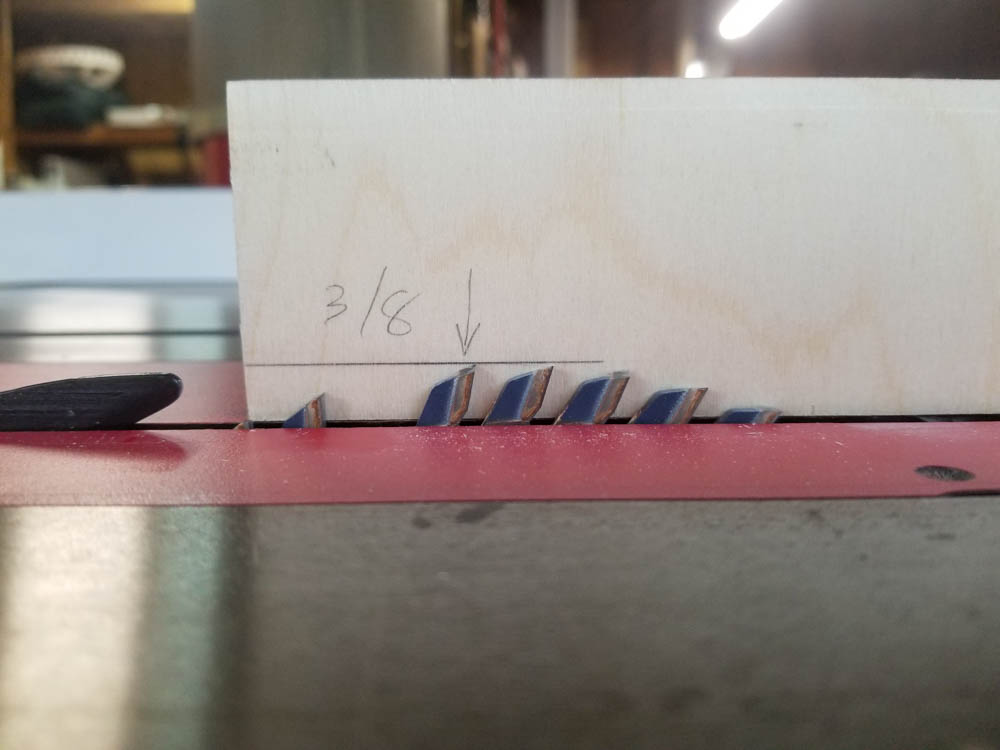
It works without template shims, too, of course, such as setting up my table saw for a dado 3/8″ deep.
I realized that it was going to be madness to try to compute the exact offsets for everything given the mix-and-match of imperial and metric systems, but the good news is that the stairway can be expressed in terms of the stair ratio (8-1/2″ run with 9-3/8″ rise) and everything else in terms of material thickness or dado depths. Thus, I can do all my math in imperial units to locate one face of everything and then just use the metric material to provide its own thickness to find where the other face of any given piece should be.
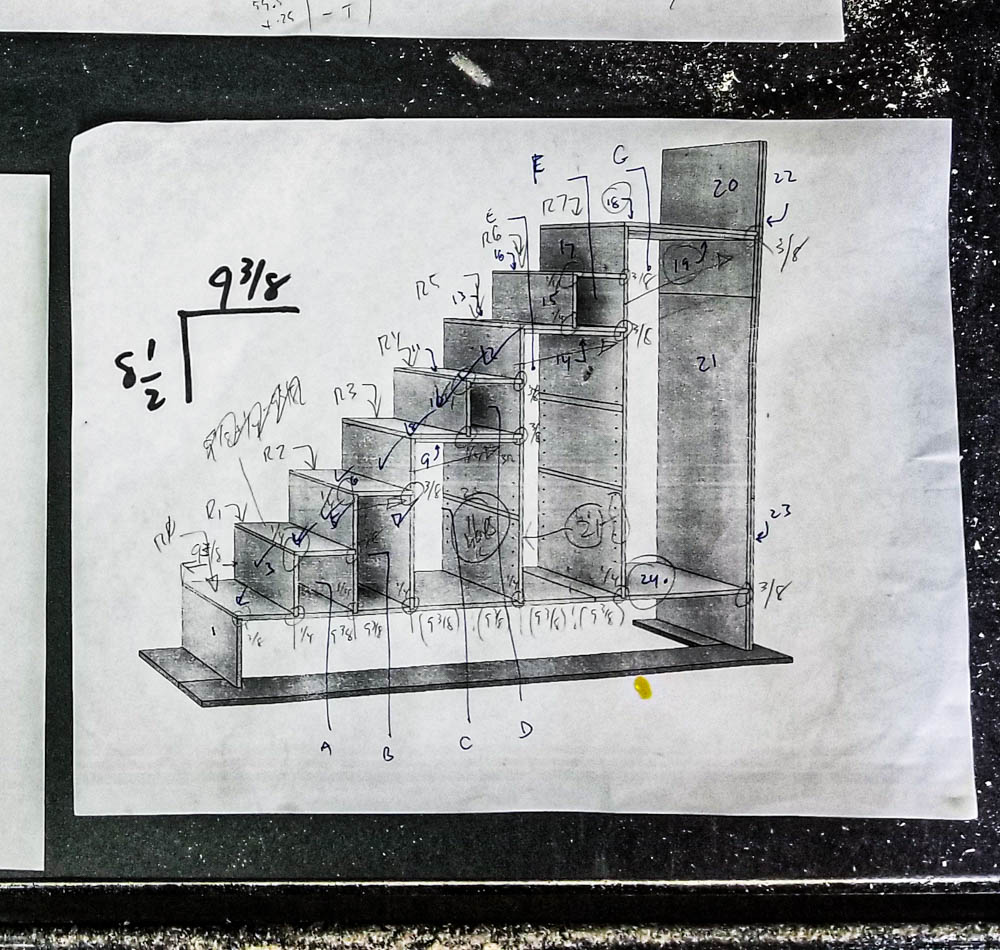
People sometimes ask me if I have “plans” for the house. I don’t. I am totally winging it. That said, I do sketch certain more interesting things in my 3D model to get an approximate sense of size and scope. Approximate? In a computer model? Yeah. The house itself isn’t flat, square, or level (I do try…) and it was surprisingly difficult to get an accurate map of the interior once it was built up a bit. So all these computer models are just very fancy sketches. Exact dimensions must be obtained by what’s really there. Still, if I round up a bit, the sketches will tell me how much material I need and how to rough cut it before I get serious. Shown here, the stairway model heavily annotated identifying each individual piece, depths of dadoes, numbers of shelf pin holes, and of course, how each piece fits in place.
To deal with that whole metric-thickness problem, I did a series of tiny sketches showing details of individual piece fittings, with “R” meaning “one unit of rise”, “U” meaning “one unit of run”, and “T” meaning one unit of thickness. This lets me confirm the sketch is right in terms of stair steps — a piece that should back two stairs should be 2R high and a piece that’s underneath two stairs should be 2U long. You can see on this page where I account for 1/4″ (vertical) and 3/8″ (horizontal) dadoes, as well as rabbets where applicable. Some of the groove work is load bearing. Some is just to positively and securely locate a board with respect to another. This helped keep things square and properly aligned during assembly.
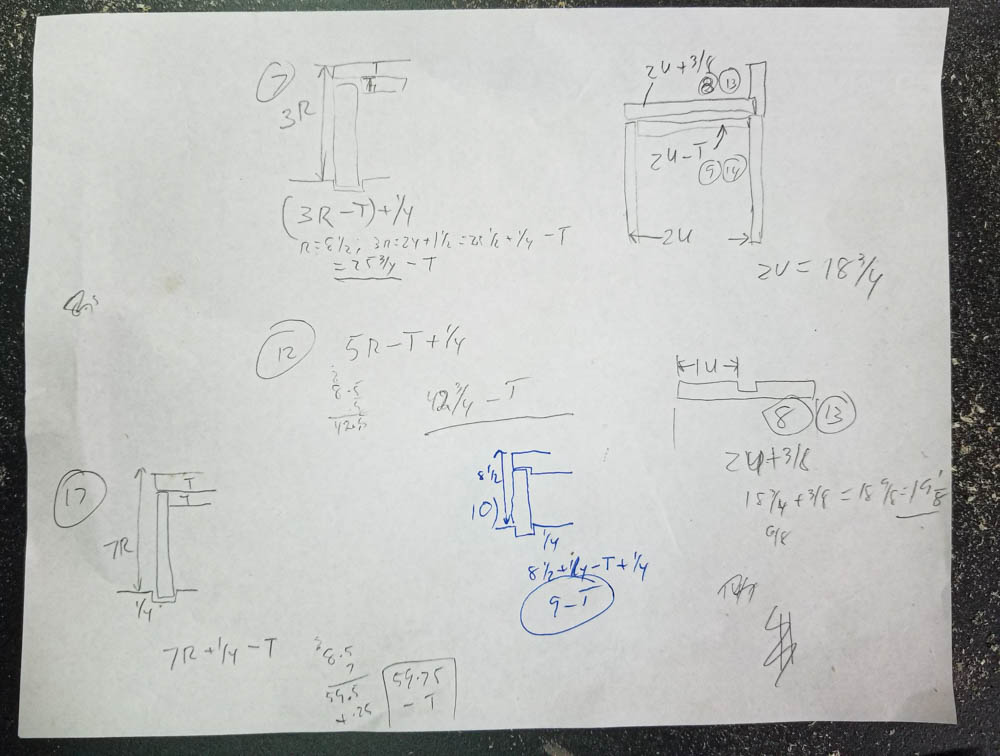
But that’s about as far as I go with “plans” — a sketch of what I mean to do and some detail scribbles working out particular measurements as needed.
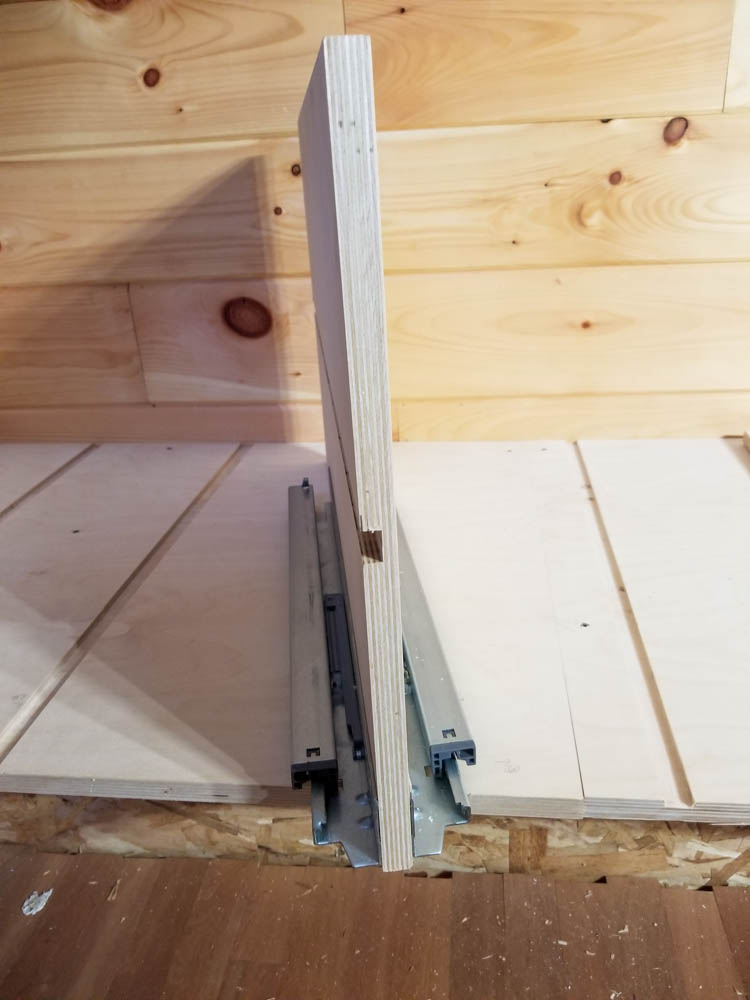
Speaking of planning, though, if you’re going to build stairs with drawer slides built in, and some of those drawer spaces are going to be very cozy, you’d better install the drawer slides first, before actually assembling the stairs, or you’ll never get it done because tools won’t fit in the little drawer cubbies. I’m proud to say I did not find this out by accident 🙂 This was one of those happy times a little forethought went a long way.
Some pieces had drawer slides on both sides, even. Watch out that their mounting screws are in different locations!
The first couple of steps, of course, are the most critical. Everything will reference off them and they need to be both solid and perfectly square. The dadoes and rabbets help make that possible (it’s almost as if I did that on purpose). The black “assembly squares” also help. Even so, since these parts are too thin to drive nails or screws without busting them open, most of the staying power is provided by wood glue. That’s fine, except what will hold the assembly perfectly together til the glue sets? The clamps can hold the position, but they can’t do anything for the other 26 inches of width.
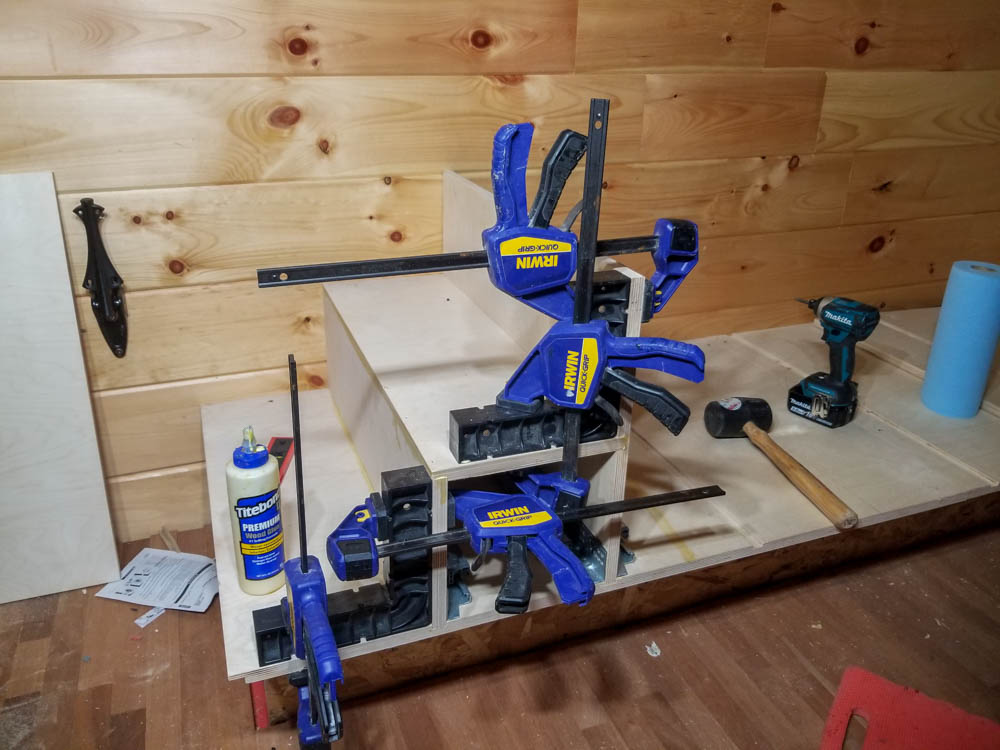
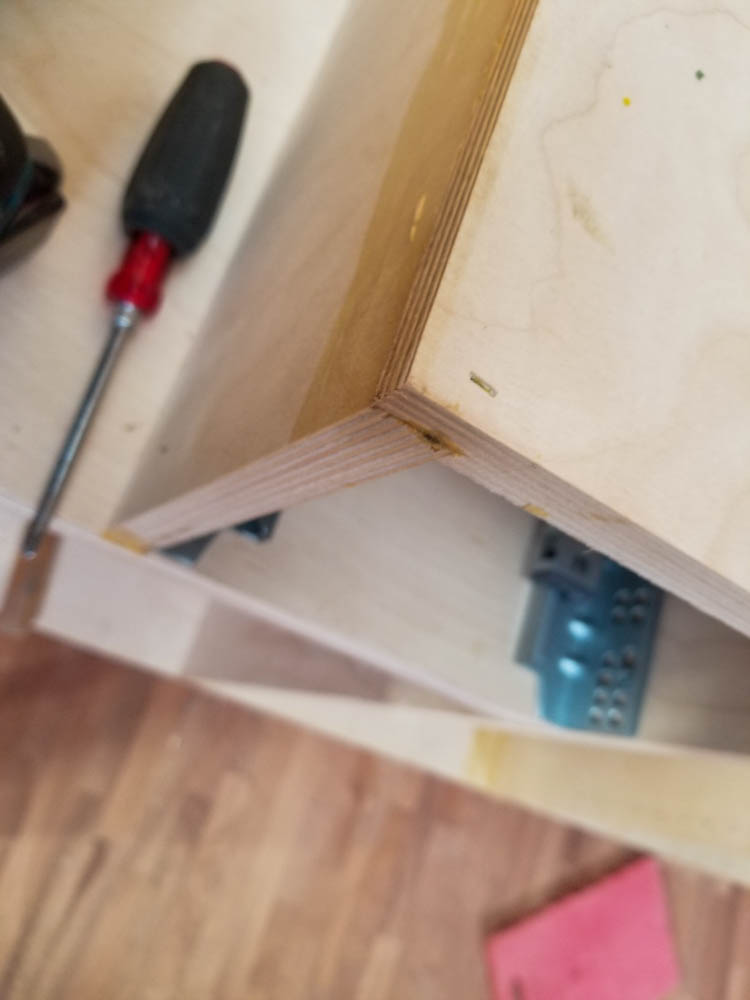
Some strategically shot staples, however, will both hold the relative position perfectly as well as apply some clamping force of their own. Here’s one in a corner. The glue and dadoes/rabbets will do all the real work of holding the stairs together (indeed, they are mechanically sound without the glue, which only serves to hold the mechanically sound parts properly aligned to each other), but the staples will do the work of holding the parts in place til the glue cures. Quick and easy. I plan to put some decorative wood over all the treads and risers anyway, so I don’t care that the glue is messy nor am I concerned by staple divots.
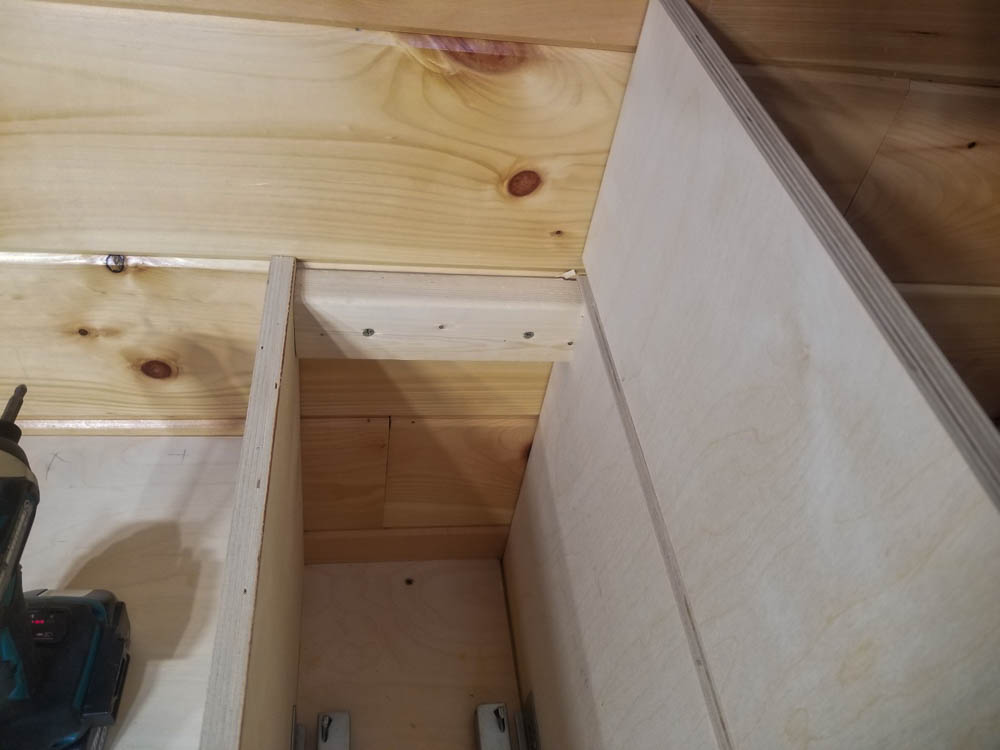
Each stair has a cleat, too, screwed deep into the wall. The treads will be screwed (scrod?) to these cleats to provide some additional deflection-protection and anchor the stairway to the wall. I don’t think it needs to be anchored, given its wide footing and how everything is attached to everything else, but more anchorage is more betterer, so I do it.
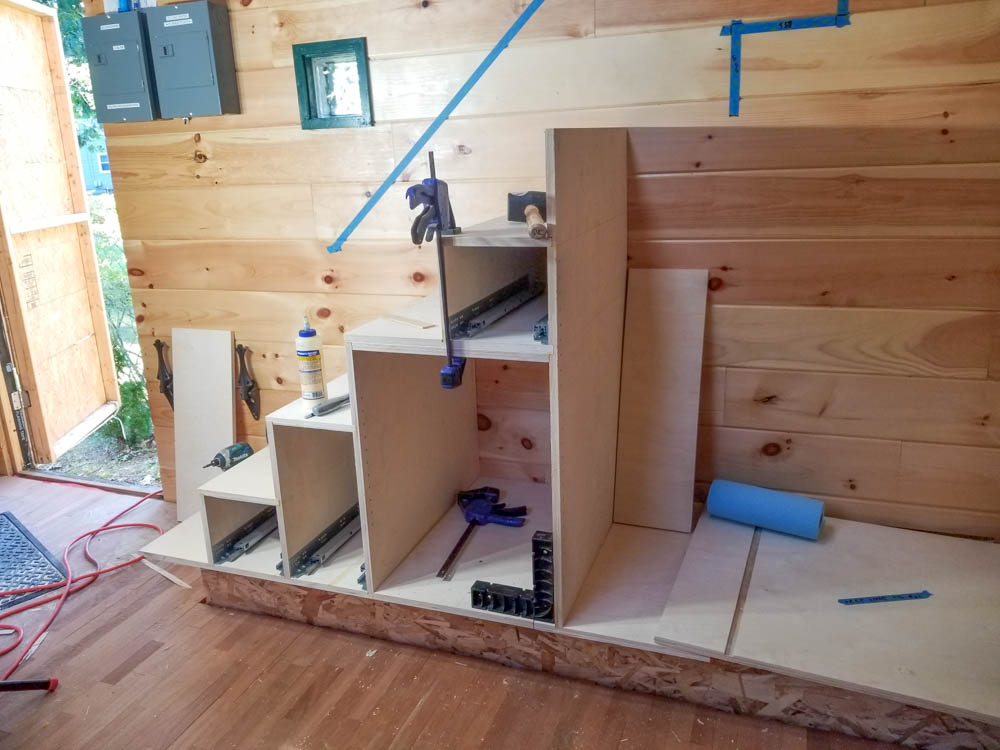
Before things get too crowded, here’s a nice view of the stairway in process. You can see the drawer slides in three of the bays. Note the double-thick span across the wide bay (with clamp). A single thickness is enough to bear my weight, but it deflected more than I liked during a test, so I doubled it up. The layers are glued and screwed together, making them very rigid.
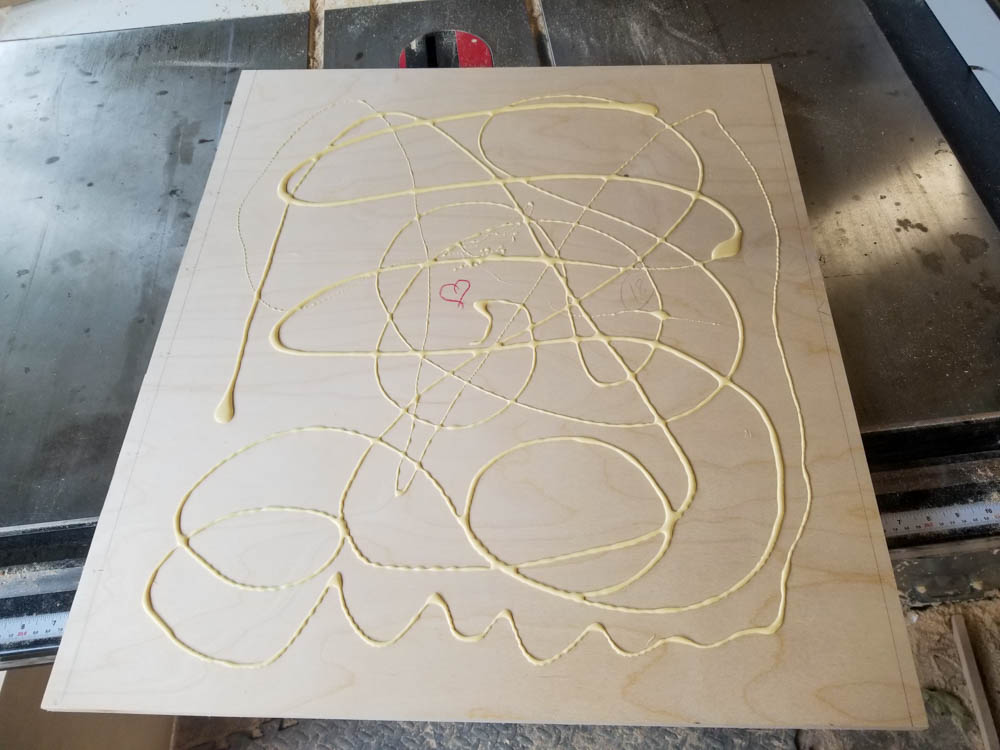
Just before assembling the upper landing lamination, a quick visit with the grease pencil to put a little more love into it. Because reasons.
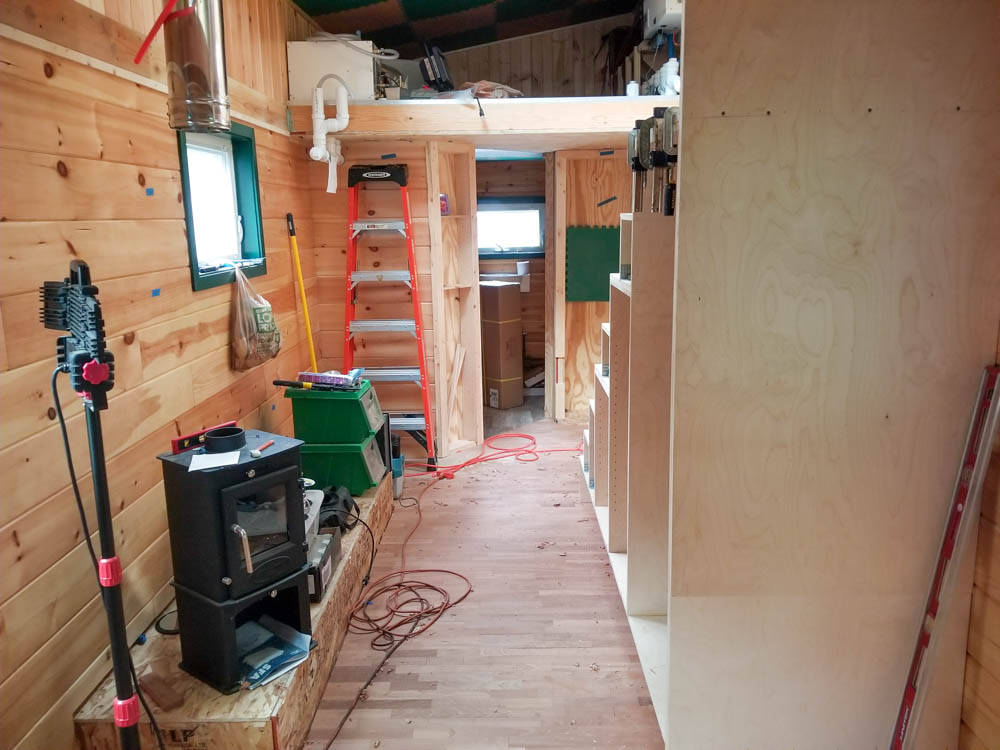
The house is too narrow to be able to get the entire staircase in one decent picture. Here’s most of it. That area below the base plate, where you can see the OSB sheathing of the wheel box, will become a series of tip-out bins, most likely. I have no idea what will go in them, but it seems a shame to waste the space, odd-shaped though it is. Maybe they collectively become the household “junk drawer”, where rubber bands, paper clips, glue sticks, twist ties, that kind of thing may be found. Who knows. I have some time to contemplate it. The stairs are perfectly sound without them, so it can wait until inspiration strikes.
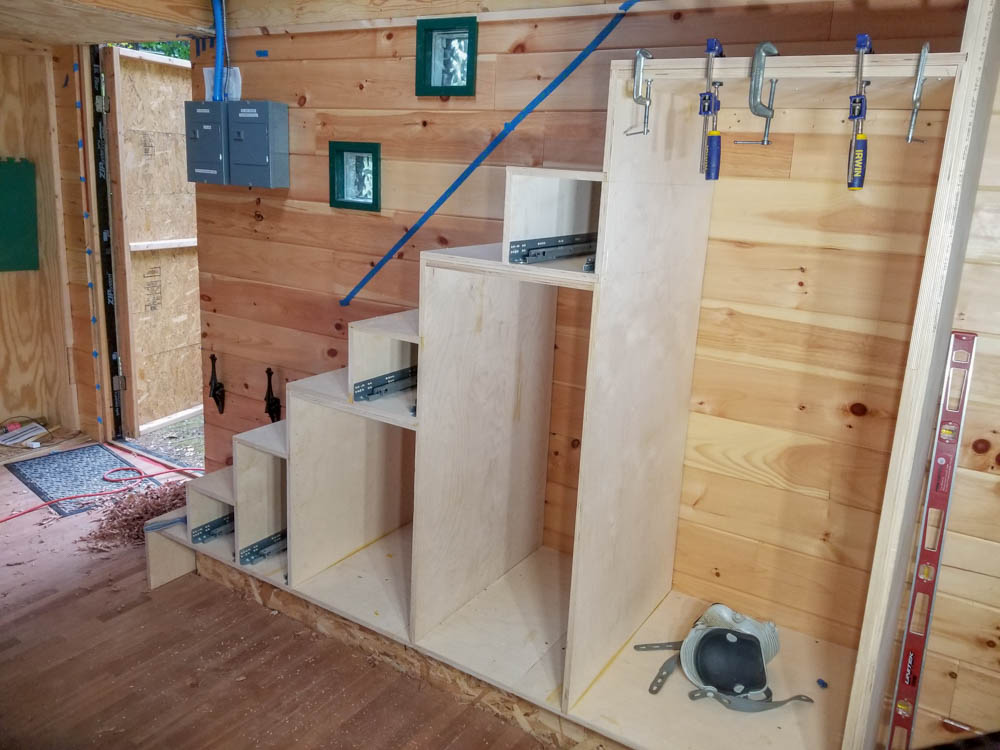
Completed stairway, the rest of it. The upper landing is somewhat wider than the other stair treads, to allow for maneuvers required to transition from standing (traversing the stairs) to crawling (even the highest point in the loft is only like 40″). As soon as the glue cures on that last section, I’ll try out those maneuvers and figure out what else might need to be there to make them easier.
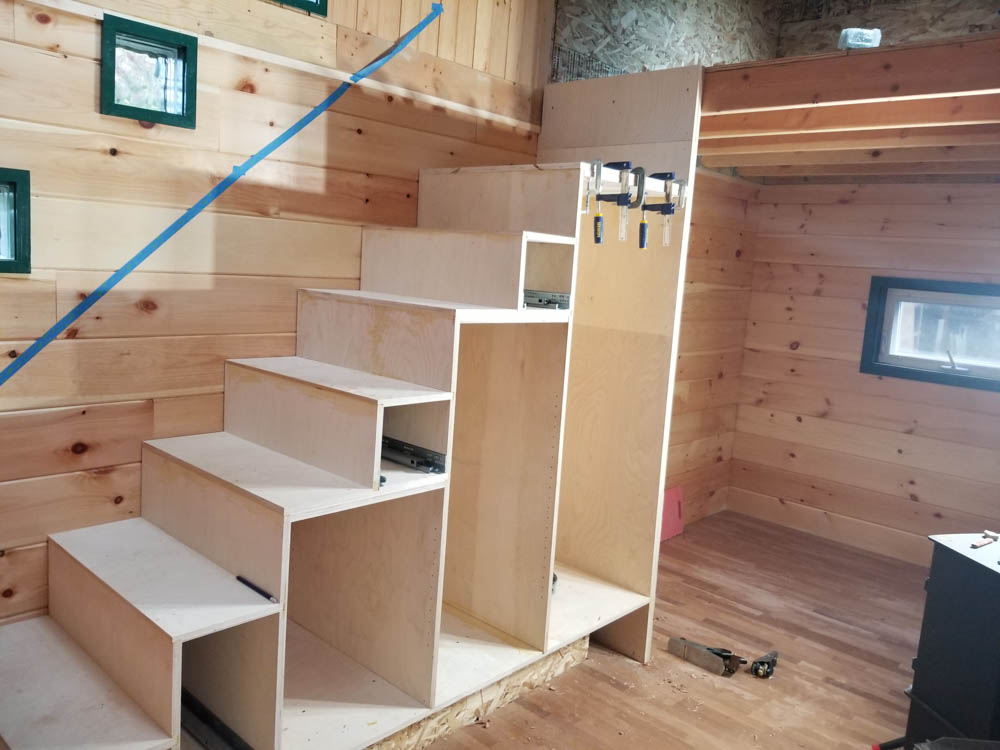
Like I said, there is no one picture that can really put the entire stairway into context, so I’ll need to show you a few different, overlapping views and let your brain put them together. Here’s the view up the stairs from the doorway to the T.H.R.O.N.E. Room. It shows the whole domain and range of the stairway as well as the transition to the loft.
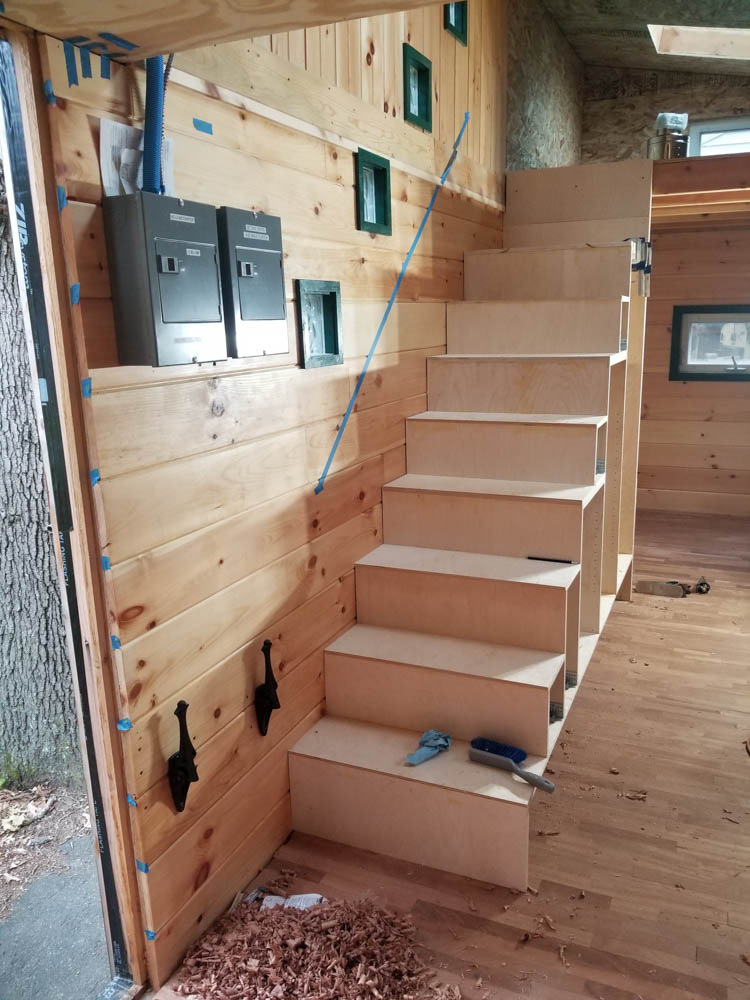
Here’s a similar shot, but showing how much width the stairway takes from the house. It’s a fair bit, yes, but not insanely much. Also, with the cathedral ceiling in the atrium above the stairway, there’s still rather a lot of openness here. What’s not here yet is the kitchen, which will occupy most of the right hand side where the things have been piled up. The wheel box is about 20 inches from the wall, I think. A standard counter top is like 22-24″ wide. So what we have here will definitely be considered a “galley kitchen”, but I don’t think it will feel too badly closed-in since the BeDeLiA is open to the left and the sky is open above. The kitchen is most likely a next-year project, though, so I have plenty of time to ponder that over the winter.
M said she thought the house felt bigger now that the stairway is in place. At first, that didn’t make any sense to me, as I had just enclosed a significant volume of previously-open space. Then I realized what made it feel bigger. The loft and the main floor are now connected. This means the upstairs is now easy to get to and thus has become part of the living space and not just some abstract “up there” space, making what is actually a smaller living area feel bigger because now the ~60 square feet of loft has become readily accessible.
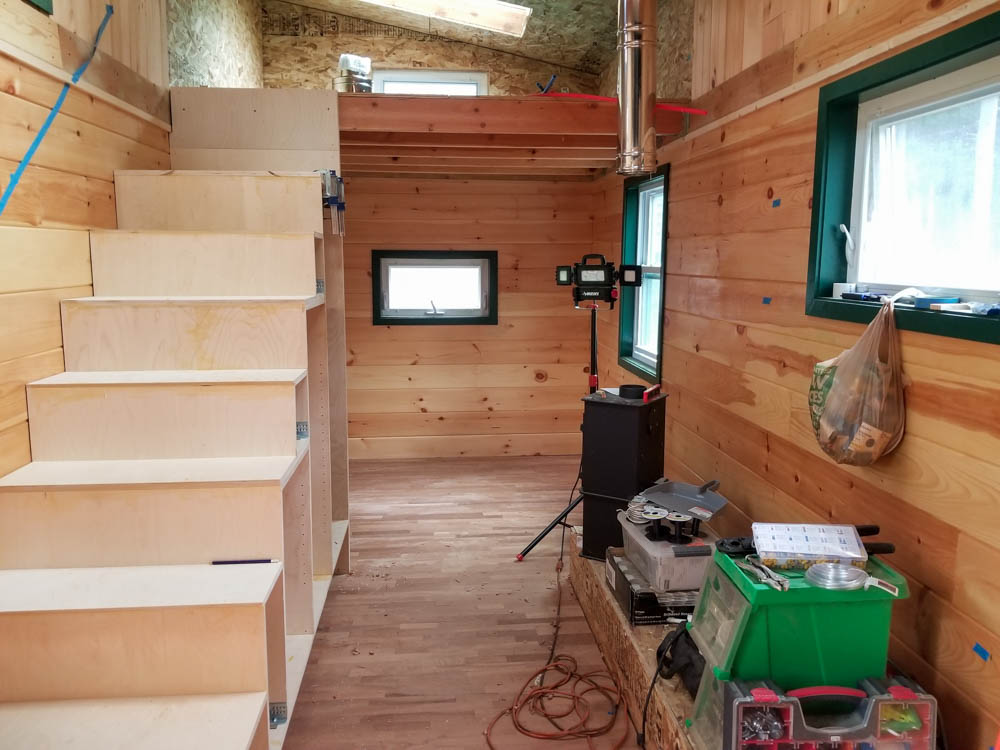
Last view of the stairway, this time from the BeDeLiA looking toward the T.H.R.O.N.E. Room. The wall of the stairway really does close in the BeDeLiA noticeably but not objectionally. It adds some coziness to it, a sense of place. Of course the big flat surface of the stairway’s high panel doesn’t have to stay blank. It’s a fine spot for some art, some hooks or little trinket shelves, a magnetic poetry board… plenty of options.
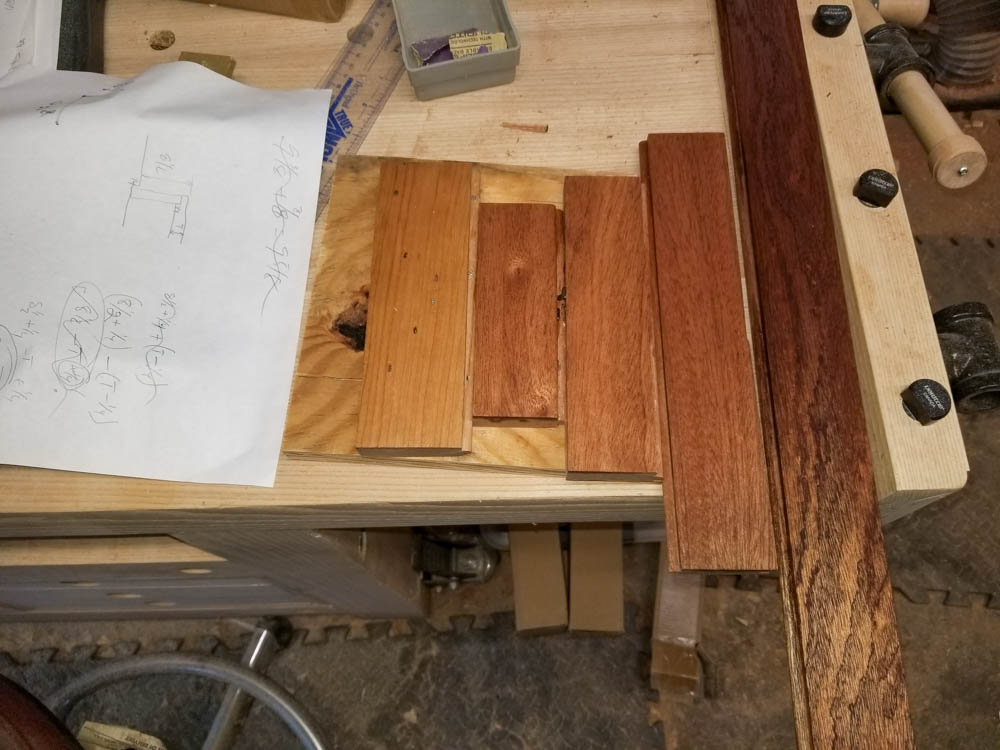
On to the floor! The flooring is down, obviously, but it remains unfinished. There was a finish the guy at my wood store recommended, called Rubio Monocoat. It’s interesting stuff and has the advantage of being especially kind to the person applying it (no volatile compounds) and is generally pretty green. I bought a sample and tried it on a few scraps of the sapele wood I had laying about, each with some unique grain or coloration. It’s hard to believe, perhaps, that these are all from the same kind of tree, but they are. The grain and color varies a bunch. The mahogany red is the dominant color but it gets chocolaty sometimes and yellowy sometimes. This is what they all looked like with Rubio Monocoat applied. It deepened the color, brought out the beautiful wood grain, and was, indeed, super easy to apply. It resists scratching and has a nice, satin sheen. I like it a lot. It’s expensive, but in one coat (there’s a reason they call it “monocoat”) it looks fantastic, beads water brilliantly, and seems to be quite durable. I’m sold. I bought enough to cover the floor.
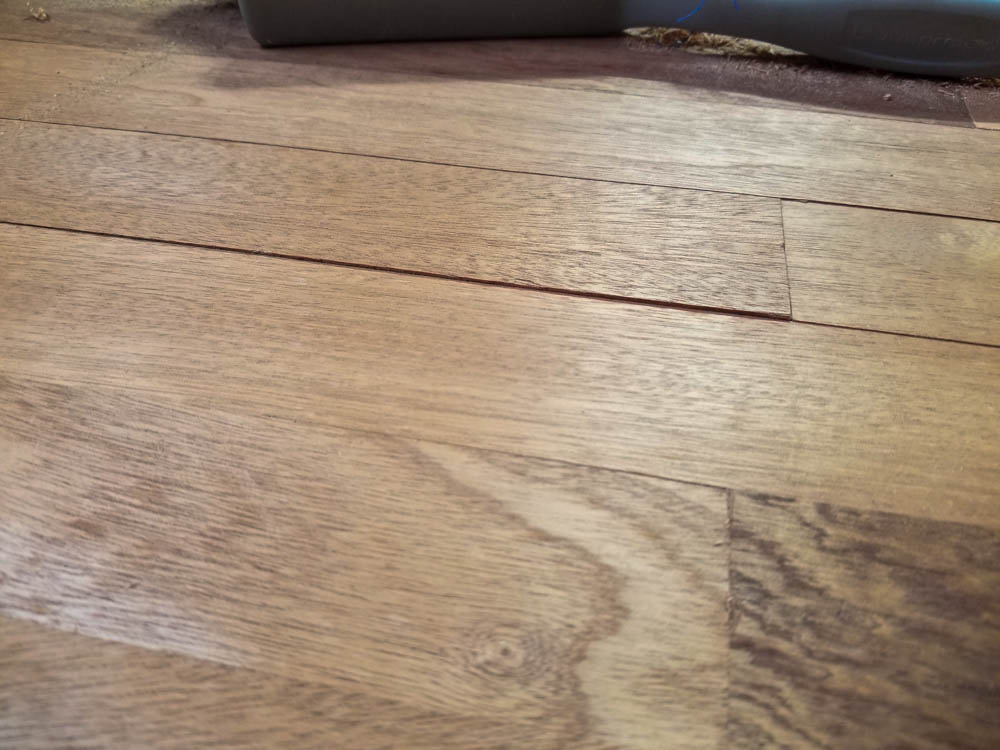
Before the finish is applied, though, I’ll need to sand down the floor to get it nice and smooth and level. There were some boards that were a little warped (bowed, bent, crowned, cupped…) so as they went through the milling process to turn them into floor boards, their interlocking features got slightly out of alignment. This resulted in a few boards sticking up significantly, such as the one top center here, with that dark shadow line emphasizing the discontinuity.
Sanding that out is definitely an option, but that’s a pretty high bump to sand out and it wasn’t the only one. Sanding is really more about surface smoothness and eliminating very small differences in height. This seemed to be beyond the scope of any reasonable sanding, though if I was motivated (and had a lot of sandpaper), it could be done that way. I decided to flatten it out using more appropriate tools: a couple of planes. It worked very well, though also scratched the surface a bit. That’s fine, those kinds of defects are what sanding is about getting out. I’m sure they’ll come right off as part of the sanding process, now that the surface is flat.
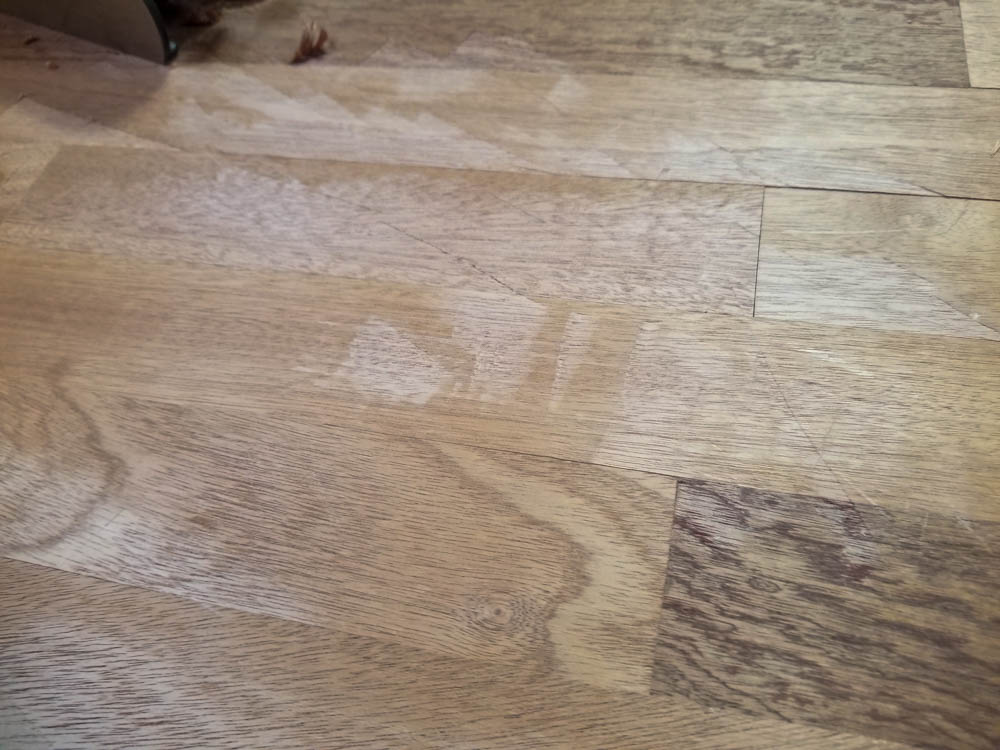
See all those white smears in the photo below? Those are all the places I thought would benefit from planing vs just going at it with the sander. I may have been wrong and maybe the power sander would have done a decent job, but sanders are notorious for wearing down too much on one spot and I was worried about making divots in the floor. Planes can’t do that. This was back-breaking work, though, using the planes on the floor. I got great results, but also a fair bit of muscle ache and hand fatigue out of the deal. This is the BeDeLiA floor, the biggest single area of floor. I still need to do the galley and the foyer. Not today.
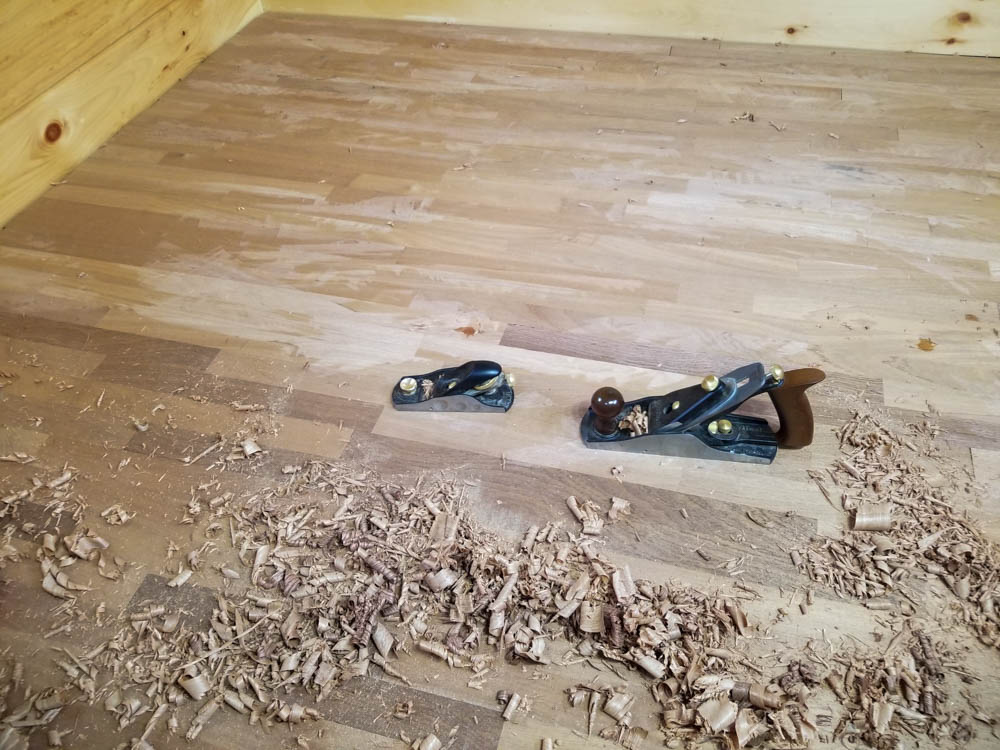
One thing I noticed after this work was that I had a seriously runny nose. This has been an on-and-off thing for the last several weeks, actually. I had attributed it to outdoor allergens, since when indoors I recovered quickly. It turns out that it’s not the great outdoors at all, but the wood dust from the sapele floor, which is known to be sneeze-inducing! Well, known to others, but not to me until today. That also explains why I recovered quickly overnight and was fine this morning… until spending a few minutes in the tiny house with all that sapele dust/shavings. I will clean it up soon. And I took the occasion to motivate the purchase of a comfortable extended-wear dust mask. I have some decent paper ones but they’re no good for long-term use so I avoid them except when I’m doing something immediately very dusty, like using the router. I hope the new mask will be comfortable enough that I can use it more routinely and save my lungs — and nose.
On that same list of wood species was one I’d never heard of, sneezewood. No shit! For real! Sneezewood. Heh. Here’s looking achoo, tree (not “at yew tree”, though those are toxic, too).