That’s Floor, Electric, Stairs, of course, and they’re what’s up in today’s report.
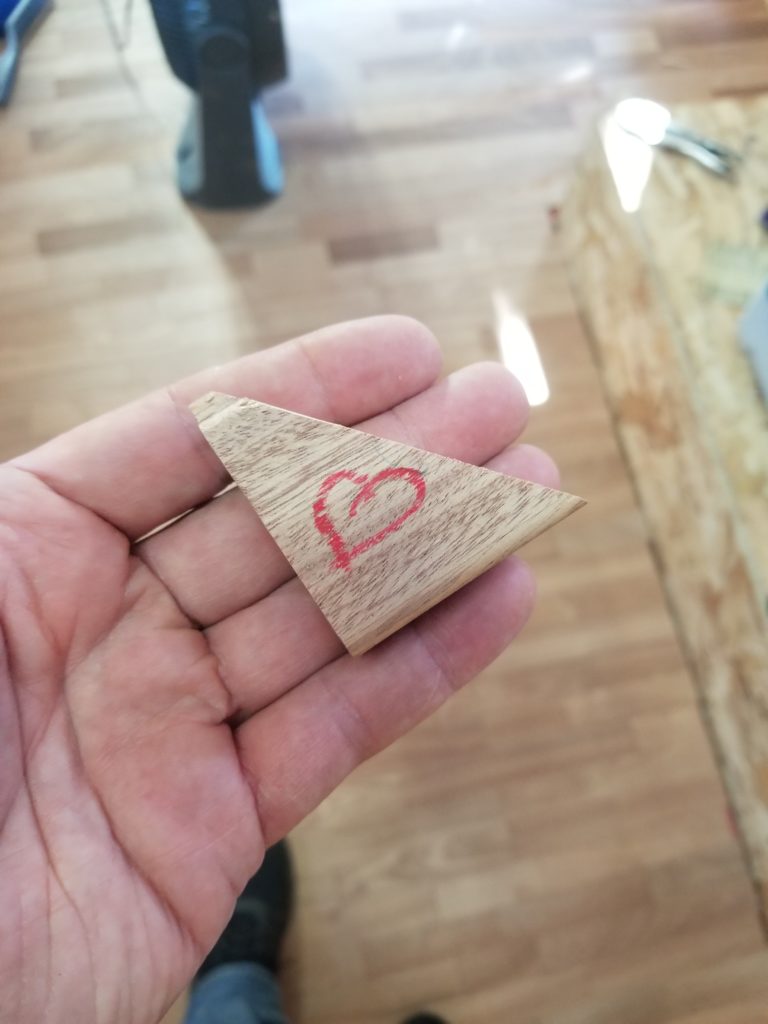
I was just about to place the very last piece of flooring when I remembered something I started way back at the beginning – hiding little blessings in framing, underneath siding, etc. So before the floor was totally in place, there was one last opportunity to put one in with the floor, and so I did 🙂
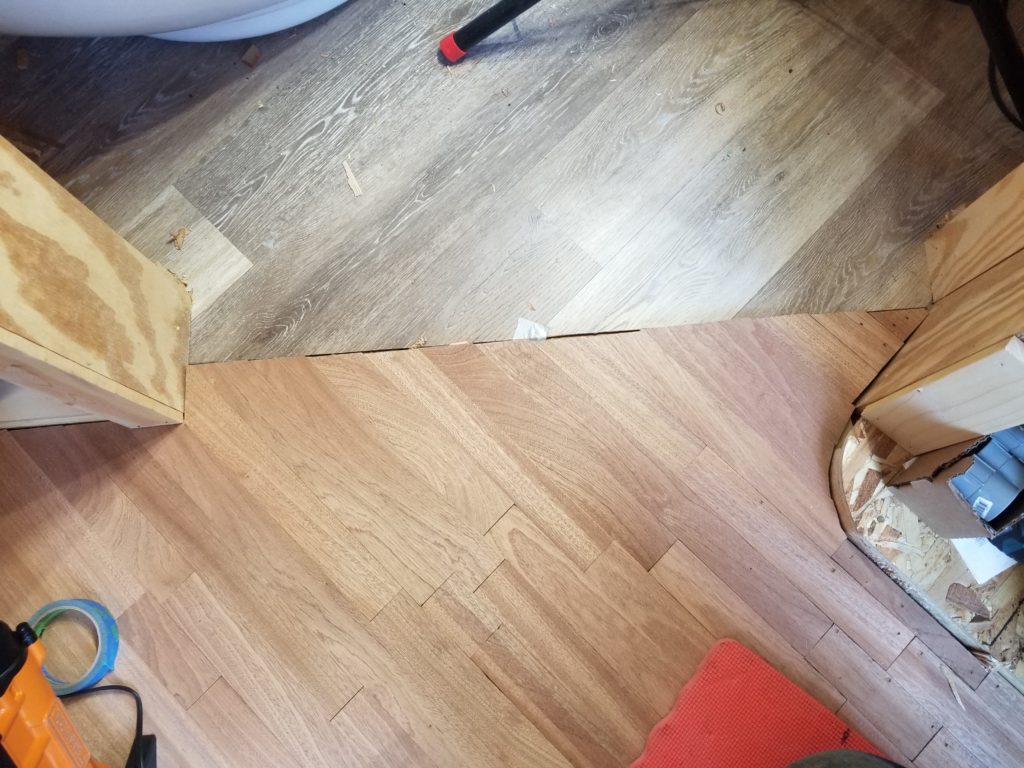
The hardwood floor is now totally in! This is the last little bit, where it gets tricky going around the curved foot of the boot dock and the odd angles of the T.H.R.O.N.E. Room doorway. A proper threshold/transition, as well as base trim, will come later. To my astonishment, I actually had a moderate amount of the sapele floor boards left over after all! I expected to run out. I guess I got the Chanukah variety… in July.
That done, it was time to turn my attention to the electric. I’ve been waiting three weeks now for my wire and finally got sufficiently impatient that I was willing to spend some time talking to “customer service” to see if they could tell me anything the FedEx Ground web site couldn’t. I find that far more often than not, it isn’t worth calling for “service” these days. There is one place that always treats me right — Lee Valley tools. The stuff they sell is premium-priced, no doubt about that, but I always get what I pay for and if I have a problem, they make it right immediately and are cheerful about it. I’ll happily pay for good service. As long as I’m giving shout-outs, I’m going to give one to Parkerville Wood Products, where I’ve been getting my hardwood (the workbench & the floor) as well as the special cabinet plywood I’m using for the tansu stairs. They’re always friendly and helpful, too.
Anyway, I called about my wire and they said (without also saying they were sorry for how long it took) that it should be actually shipping very soon, which the vendor rep told me after theoretically calling the supplier to check about stock. So, okay, maybe it does come soon. Best get on with my conduit rework, then.
Part of that rework is changing out my 3/4″ conduit for 1″ conduit pretty much all over. One consequence of this is that the clearance holes for the fittings are now 1/2″ too small. The hard part about that is the usual way to make a hole like this is to use a hole saw with a center bit that guides it. That works great in new wood but if there’s nothing there now, that center bit has nothing to grab…

Sure, I could temporarily attach something in front for the bit to grab, but as soon as the hole-cutting part got close to the real work to be done, it would also have cut through the bit guide, letting it free as the exact moment it really mattered to be not-free. Then I had an idea.
I don’t actually need the center bit to guide the hole saw. I can guide it from the outside just as well. I remember one time I was feeling brave I just put on my heavy leather gloves and used my gloved hand to guide the hole saw into the wood. Once it’s in about 1/8″ or so, it will keep itself on track. This manual technique works, but it’s really hard to control the landing of the saw at first. It’s easy for it to grab and skate away, either scarring the surface (best case) or digging in and cutting the hole where you don’t want it (worst). Then I realized, I could use a wooden “hand”.
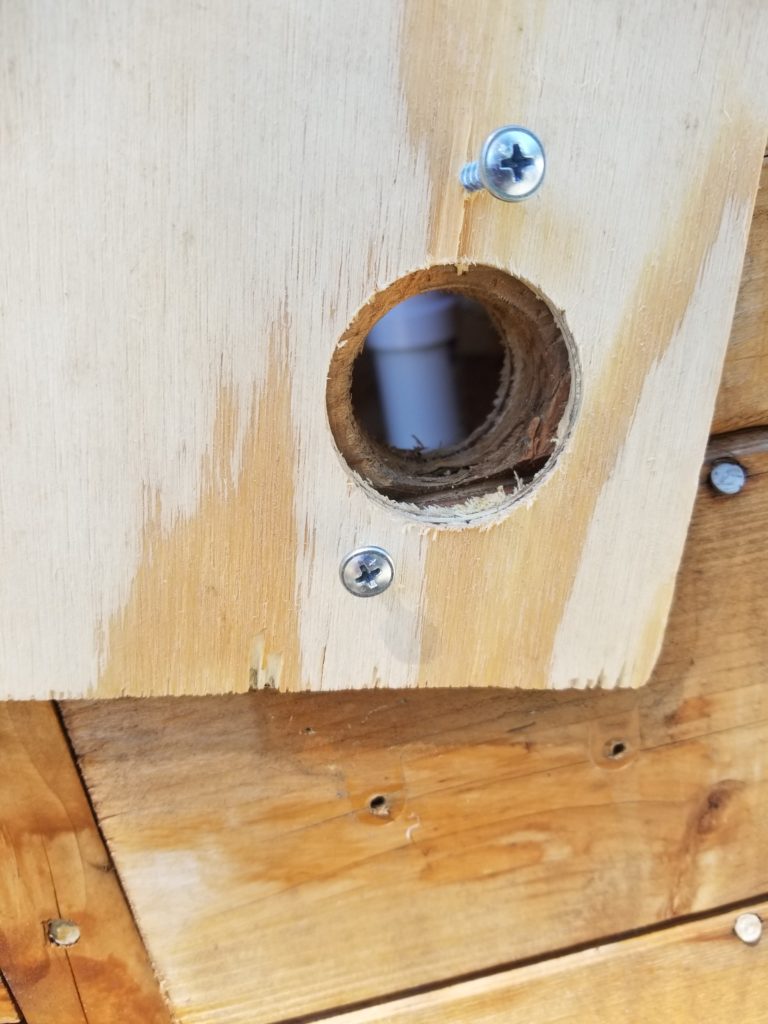
So simple, yet so effective. I grabbed a scrap of plywood and used the hole saw to cut the hole the hole saw cuts. Now I have a hole saw guide that is exactly the size of the hole the hole saw saws. Temporarily attach the guide where I want to make the new hole and presto, the guide holds the saw perfectly in place until it bites in a bit and can guide itself. If I cared about the screw holes, I could have used double-face tape instead. This worked beautifully.
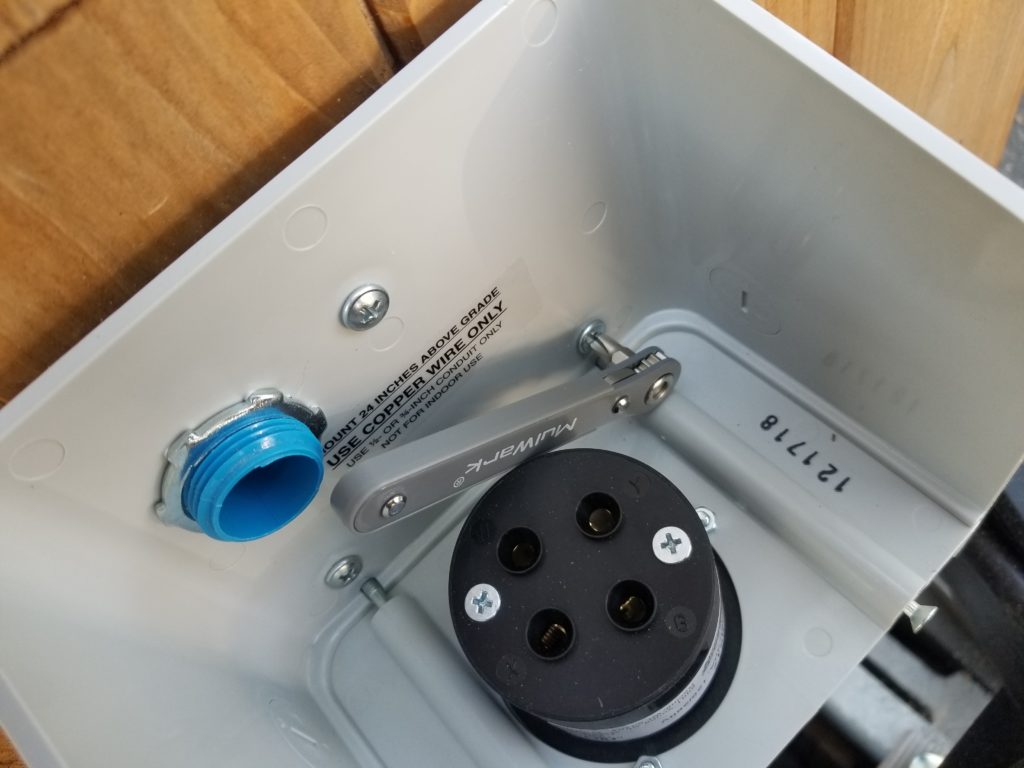
I also wanted to mount the generator inlet box to the front of the Propane Porch. The hard part about that is knowing exactly where the floor of the porch is, referenced to the exterior. I wanted to have the conduit come in from the inlet above the floor, obviously, but also not arbitrarily high. Because the siding does weird things outside, there is no obvious reference for the porch floor on the exterior of the house.
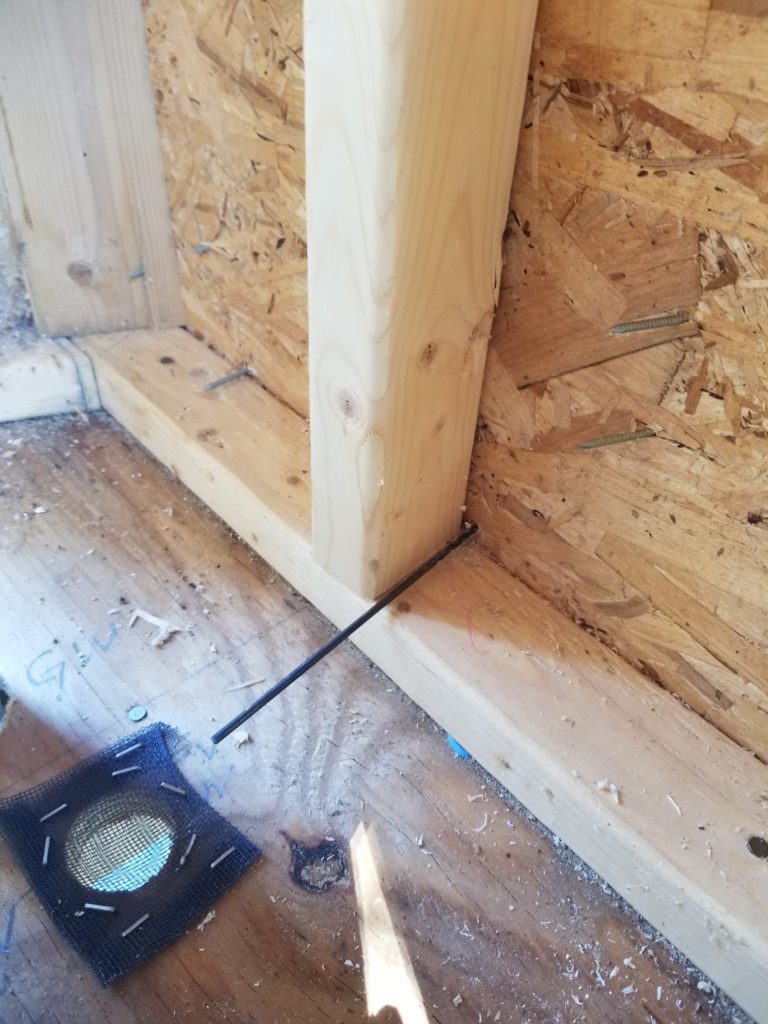
Sometimes, the answer isn’t measuring. Sometimes the answer is just marking. This is interior of the nose of the Propane Porch. I took a long, skinny drill bit (black) and just drilled through to the outside. Now I had a hole inside and outside that were at about the same level that I could use to reference one to the other. No measuring. The first time I did this little trick was when I was installing a ceiling fan. I couldn’t for the life of me figure out where in the attic the center of the room was, where I wanted to install the support for the fan. I tried measuring from the doorway. I tried measuring from a wall. I just couldn’t get a fix because the features in the attic weren’t the same as features in the room. Finally, I just drilled up from the room into the attic, stuck a wire through the hole so there’d be something to see, and then went up in the attic, looking for that wire. It was not at all where I expected it to be. But for sure it was exactly in the right place, by definition. So, okay, when you don’t know where a thing is from one room to the next and no amount of referencing other things seems to get it done, drill a hole and poke something through. Then you know for sure. You also have a little hole to deal with, but if you’re about to drill a bigger one anyway it’s unlikely to matter. And if you’re not, well, now you have a tiny hole to repair.

There it is. That’s the bottom of the porch, as seen from the outside. I needed to mount the generator box such that the conduit passed into the porch above this point, but also such that the box did not interfere with the trailer’s front foot crank (top of black cylinder, right). There wasn’t a lot of range to satisfy both constraints, but there was some, and any would suffice.
Of course, what is the perfect location for the conduit-to-porch passage and clearing-the-handle is also the perfect location for not being able to get a good angle to drive the screws because the trailer foot mechanism is in the way. A stubby driver might work here, but probably not, given the sides of the box and my big paws. A flexi-driver would do it, but I don’t actually have one of those.
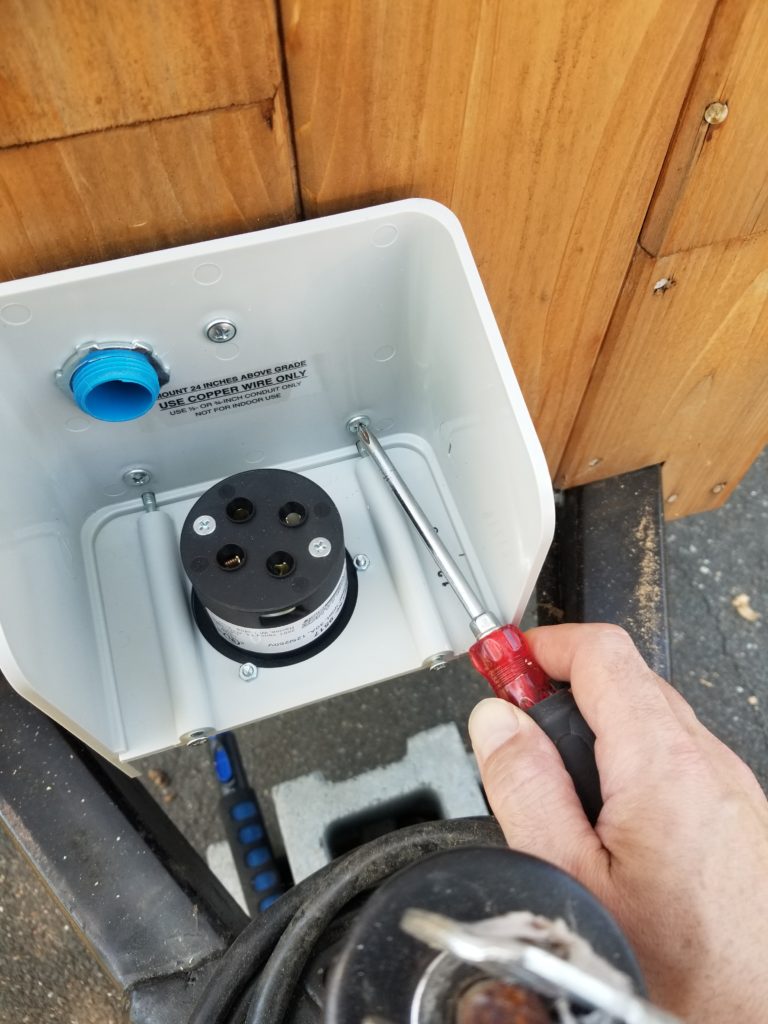
I do, however, have this nifty ratcheting bit driver that can get into some really confined places, which did the trick nicely. It’s always something, though, and this is the kind of thing I’m talking about when I say tiny building is actually harder than conventional building. I mean, you’d never have a trailer foot crank in the way on an ordinary house, would you?
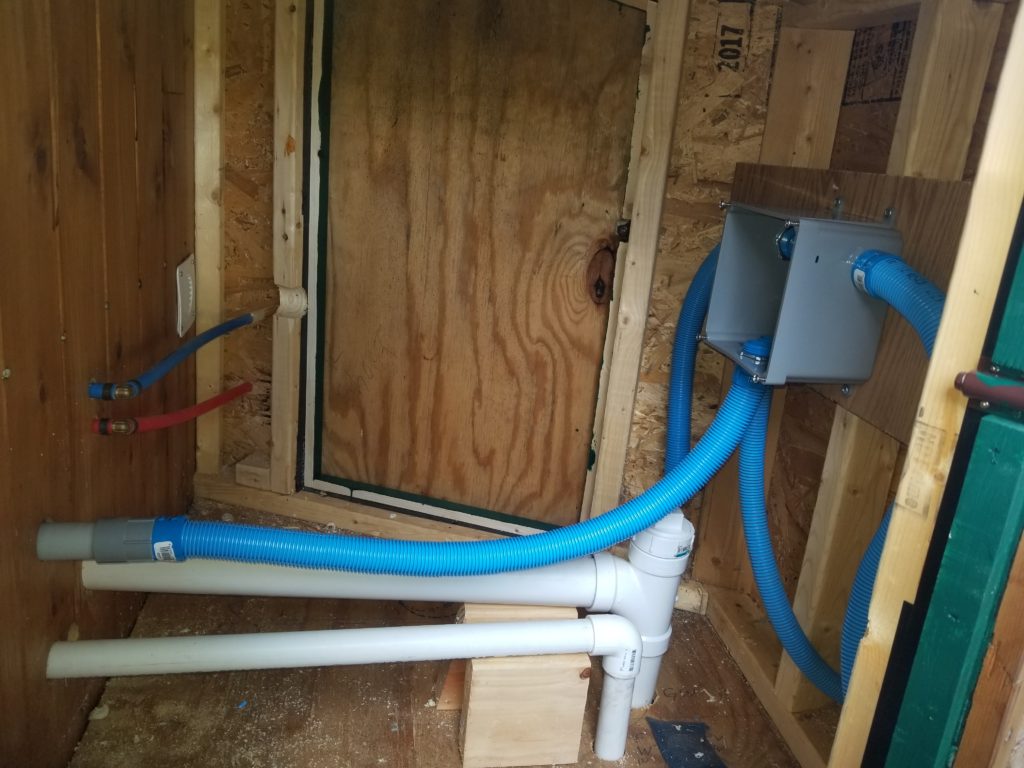
New boxes installed, for solar power, well pump, and newly the generator, it’s time to bring them all together into a new junction box such that all their many (future) wires may be properly routed up to the Storage/Utility Loft through that nice, big 1″ conduit I put in recently. Remember that old desk, parts of which were used in the stair model and other parts of which became the deck for the T.H.R.O.N.E.? Well, one more part of that old desk became one with the house today. It’s not glamorous, but it is useful: providing a backer for this junction box.
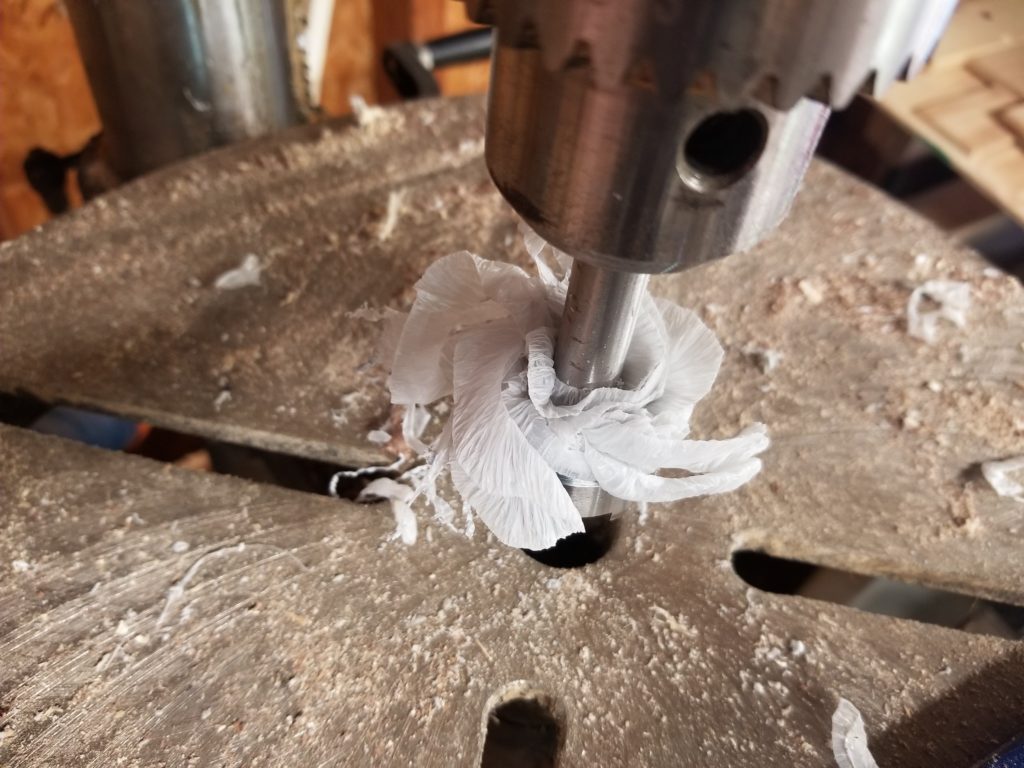
Before we leave electric land for today, I did notice something kinda fun while I was drilling holes for the new conduit in some plastic boxes. I used a Forstner bit in the drill press for this, since that would give me the best control. Evidently, it also gives me plastic flowers…
Moving on to the other project for the weekend, now that the floor is done and I’ve made as much progress on the electric as I can without actually having the wire at hand: the tansu stairway to the cozy loft.
This is the CAD model of the stair, with the wheel box not shown but clearly occupying that open space along the bottom. Cabinet doors and drawer fronts not shown, either, since they’re not important to this phase. The red skirt is a stand-in for the flooring, to help me get measurements right.
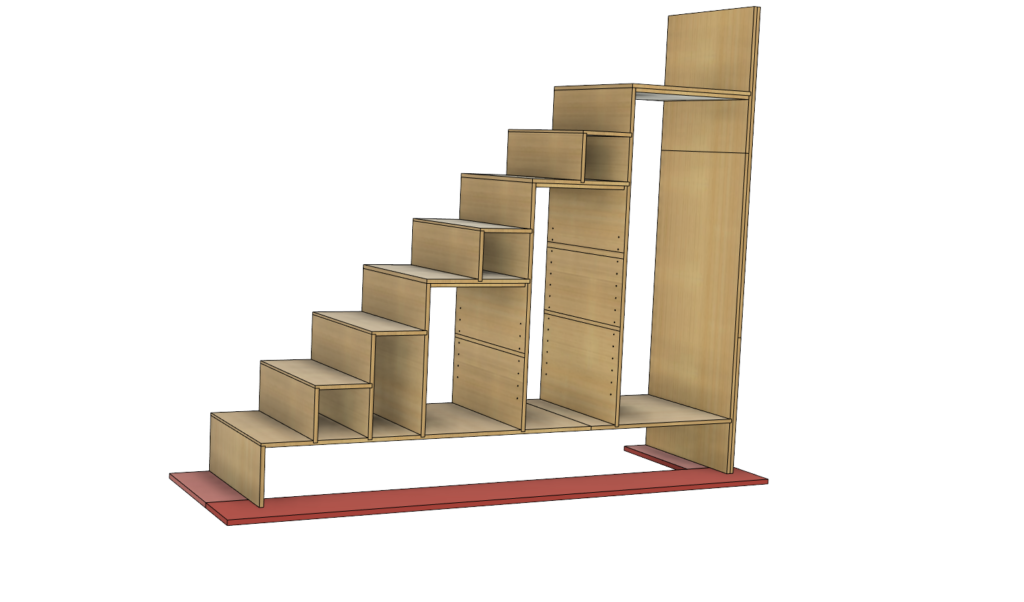
The tricky bit here is the super-strong cabinet plywood I’m going to use for the stairs is sold as 3/4″ but it is actually 18mm thick, which is 0.709 inches, not 0.750. It also means that since the rest of my design is in imperial units (as are all my measuring tools), that I can’t just take measurements off the CAD model and expect things to line up perfectly. I mean, I don’t have a tape measure or ruler that can show me 1-5/8″ plus 18mm, for example. That’s 2 and 5.34/16ths. Nope, not happening.
Instead, I will use build-as-you go, measure-using-the-thing techniques. Never mind the wood is 18mm thick. If I strike a line at 1-5/8″ and need to know where the other side of the wood will be, I can just use a piece of that wood to get its thickness and scribe a line on the other side of it. That will work just fine and let me run my design in imperial units while the thickness of the wood is in metric. It does mean, though, that I need to pay a lot of attention as I go.
One of the keys to this is to undo the engineer’s training “measure twice, cut once” and instead follow the cabinet maker’s training “measure once, cut lots of times”. What? Yes. Here’s how that works. Say you want to make a stairway with an 8-1/2″ rise and a 9-3/8″ run. Start by cutting a reference block that embodies these dimensions.
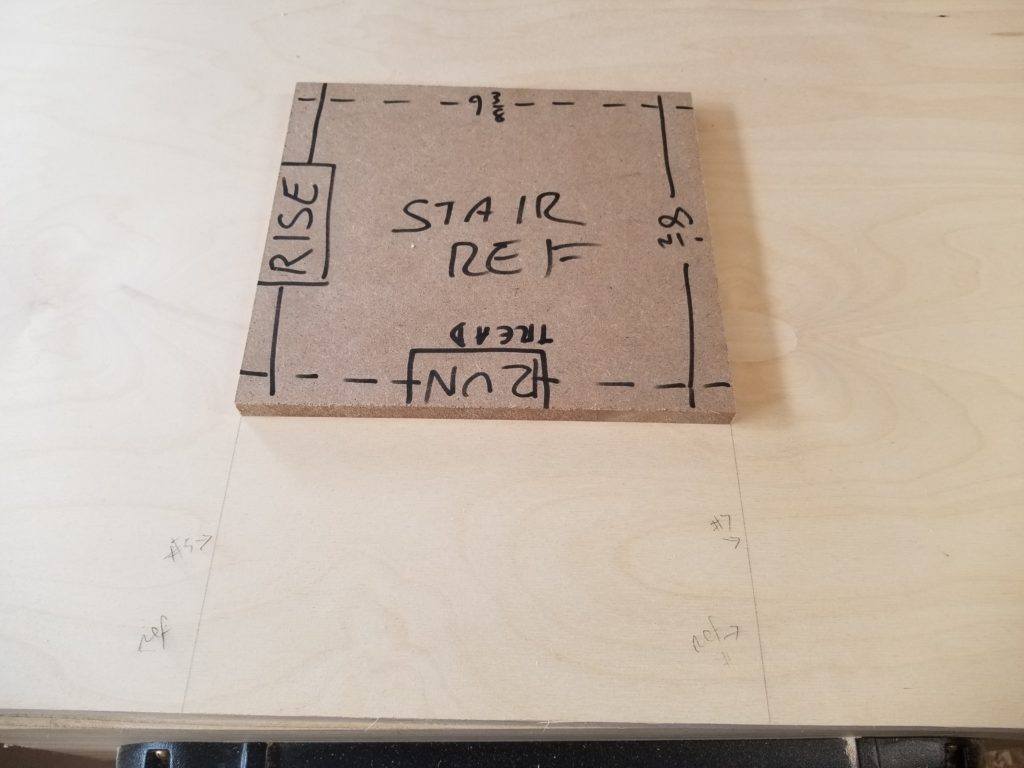
Now, whenever I need to space something by rise or run, I just use the corresponding side of the block. No measuring, just doing. These two lines, for example, are one tread-width (run unit) apart. If I need to know where the other face of one of those 18mm boards would be when aligned to one of these lines, just put a scrap against it and the other side of that scrap is the answer. No measuring there either. The face is where the face is. Mark along the face.
Of course, one must be very careful to do this layout properly. It’s easy to scribe a line and then make the groove on the wrong side of that line, for example. Ask me how I know.
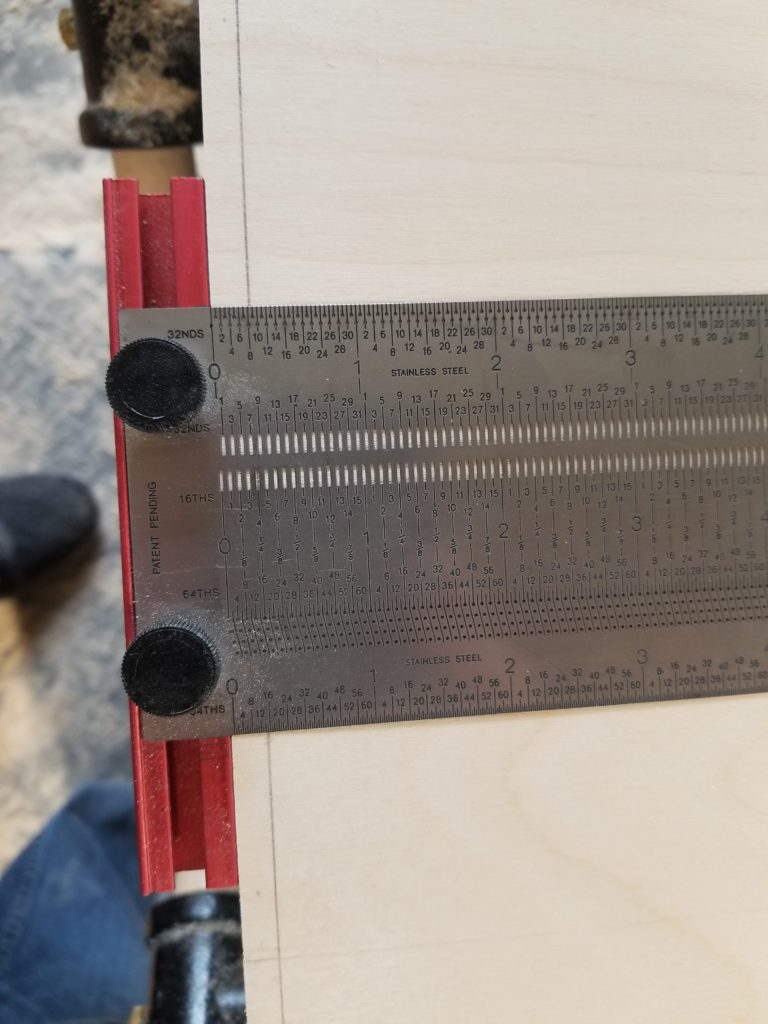
And for when I can’t use the reference block directly, say when a board is recessed 1/4″ into another, I can use this extremely handy widget to lay out where that recess would be and then use the reference block against that line to get my answer.
This widget (Incra T-Rule) is my favorite layout widget. It has holes or slots every 1/64″. Those holes just so happen to be exactly 0.5mm across, the size of the lead for most mechanical pencils. Thus, stick the pencil tip in the hole/slot of interest, then just drag the widget along and you get a perfectly straight line, perfectly offset from the edge at your choice of distance.
This was my brilliant plan.
After cutting up 24 pieces of plywood to rough size (from 12 half-sheets) and it was time to get going on the layout for the pieces with slots where things interlock. I managed to catch myself a few times laying out to the wrong side of a line or along the wrong edge of a board. No problem – just erase and carry on. But when I found the second actual cutting error, I knew it was time to stop for the day. Clearly I had run out of focus and there’s only so much spare wood with which to make corrections. Happily, the errors made so far can be corrected with what I have on hand, but I was using up my overstock way faster than I was completing the stairway, so I took that as a hint that it was time to quit for the day and do some relaxing on the weekend, for a change. I did not take pictures of the errors… though I will probably document their correction in the next post. I’ll talk about it then.
Once the stairway is done and, assuming my wire actually arrives, the electric is done, I do plan to take a break from construction for a week or two. I may do some recreational woodworking, such as making little puzzles or even attempt to make a totally wooden padlock (I have a book which illustrates how). It’s definitely time for a little break. I don’t like to squander prime building weather, but also it is necessary to take a brake from time to time.