As I wait for my electrical supplies to arrive, I have a few other projects I can advance, such as the cozy loft stairs and aspects of the T.H.R.O.N.E. Room.
Recall from my prior post, I made a two-step model of the stairway to test how the treads would deflect under my weight across their widest span. . . and they deflected a bit too much. I made a test piece that was a double lamination of the plywood to see if that would be stiff enough. This time, though I didn’t have a helper to check the deflection so my first task was to figure out how to observe that while also standing on it.
The solution: set up my phone to record video, watching the board while I step on it. This worked beautifully.
And the double lamination of cabinet plywood also worked beautifully. Deflection under my 245# self was only 1/32″. That’ll do just fine.
Next up, fit the hinges for the T.H.R.O.N.E. Room side cars. These are the bins to either side of the T.H.R.O.N.E. proper.
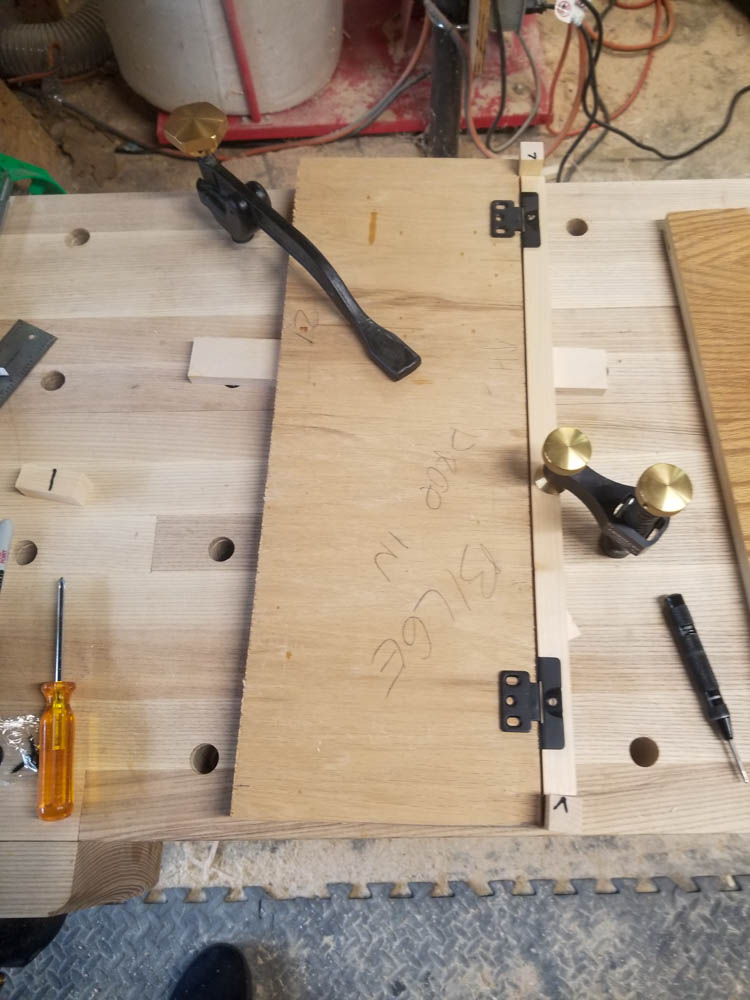
What made me very happy about this was how easy it was to hold everything in place on my spiffy new workbench using hold-downs of various kinds. This held everything tight while I could mark the locations for the hinge screws. So nice.
What made me not so happy was the realization, after I had attached the hinges, that these are the wrong kind of hinges for the way the these doors have to operate. This is the bottom view – the hinges are largely concealed. That’s good, but that means there has to be some kind of lip for (as shown here) the right-hand side of the hing to attach to. As built, there is no such lip. The doors are 100% inset with respect to the deck and the opening. Oops. Well, at least I got to enjoy using the bench’s hold-down features a bit, even if I also had to undo what I did and buy some other hinges… for which I must wait… so, what else can I work on?
Well, there’s the front door. I haven’t worked on the door in quite a while. Recall my patchwork door, made entirely from off-cuts and scrap wood.
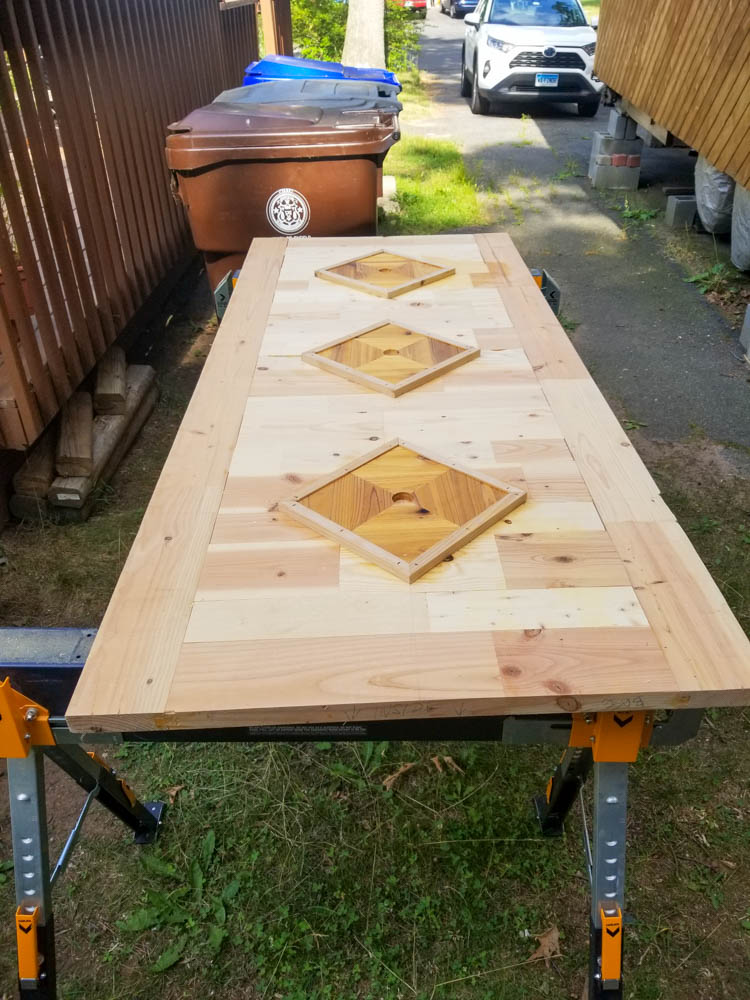
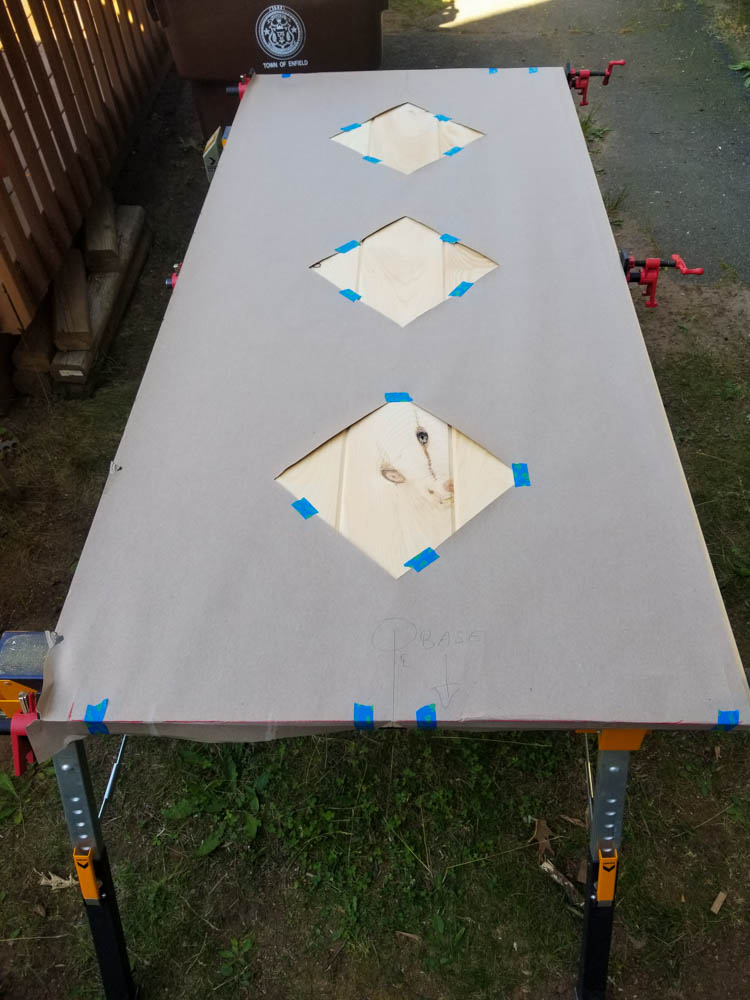
The body of the door, however, wound up being a bit too thin for being a proper door so I wanted to build it up a bit. Also, while I expect the patchwork to be a point of visual interest inside the house, I think it would be distracting from the very regular siding pattern outside. Something simpler facing out seems like a good idea. First things first, make a template!
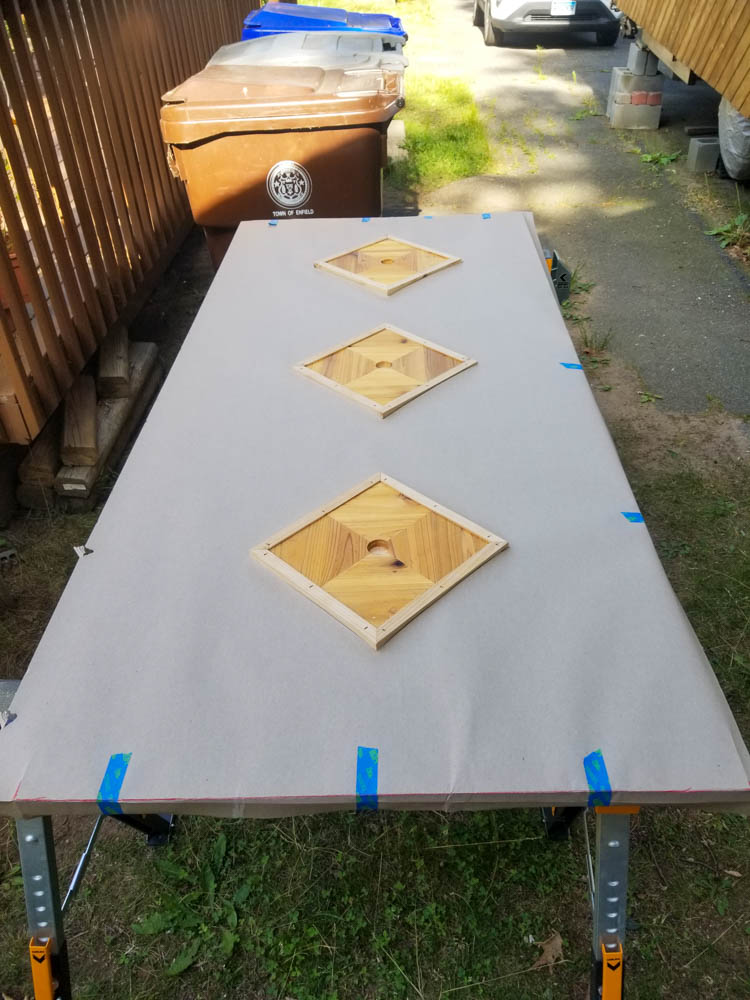
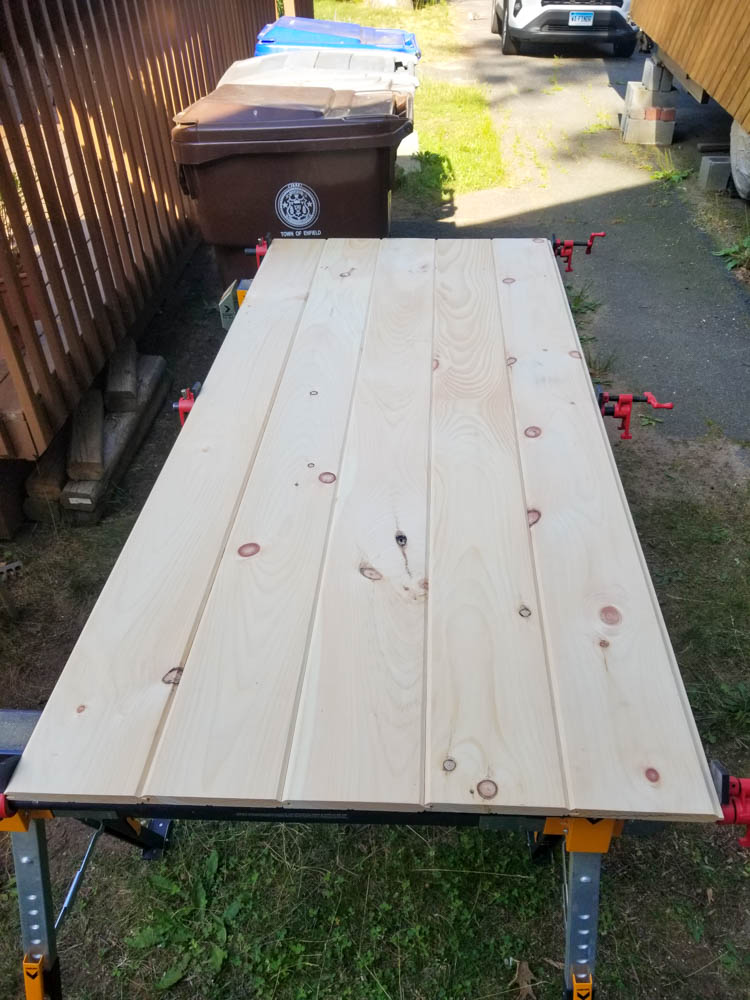
Second things second: lay out the boards I will use to clad the door.
And third things third: secure template to the boards (and clamp the boards in place so they don’t shift). Fourth thing: trace the holes with a knife. 5th thing: darken the knife lines with a pencil. 6th: separate everything and cut out the marked diamonds with a jig saw. 7th: refine the fit with sandpaper and file until everything is all nicey-nice.
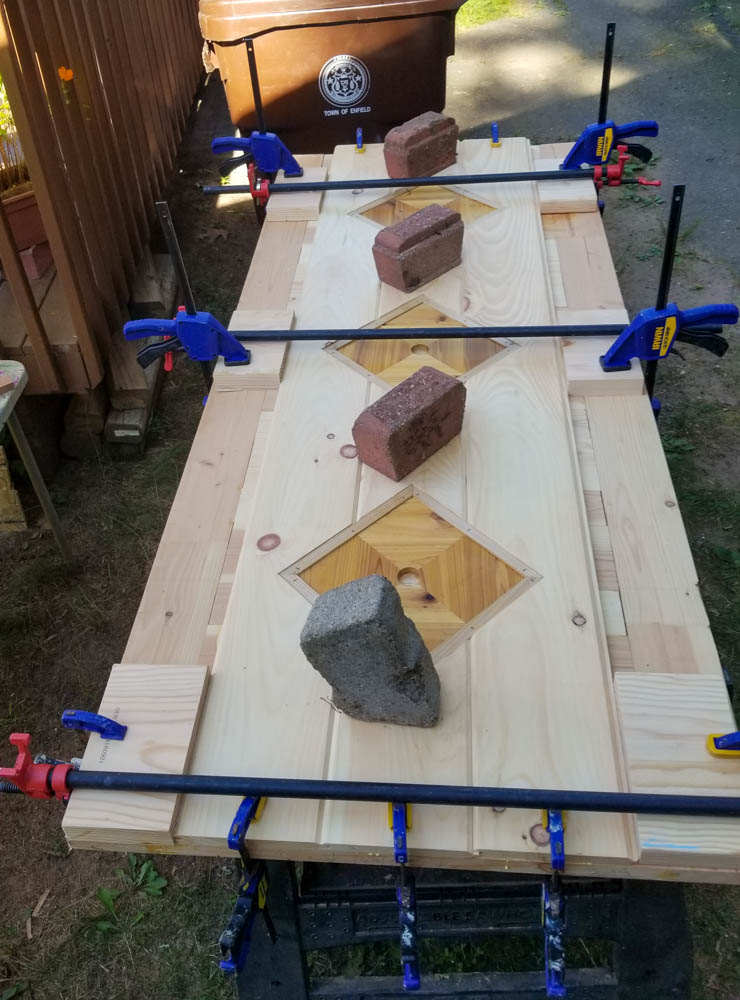
Skipping ahead a bit, now that the cladding has the diamonds cut out and fit to the door, it’s time to glue them on. The outer boards are just plain, so no special fitting is required of them. First, focus on the tricky fit. Per usual, sometimes one needs face clamps where no face clamps could possibly fit. Per usual, paving bricks do pretty well for that.
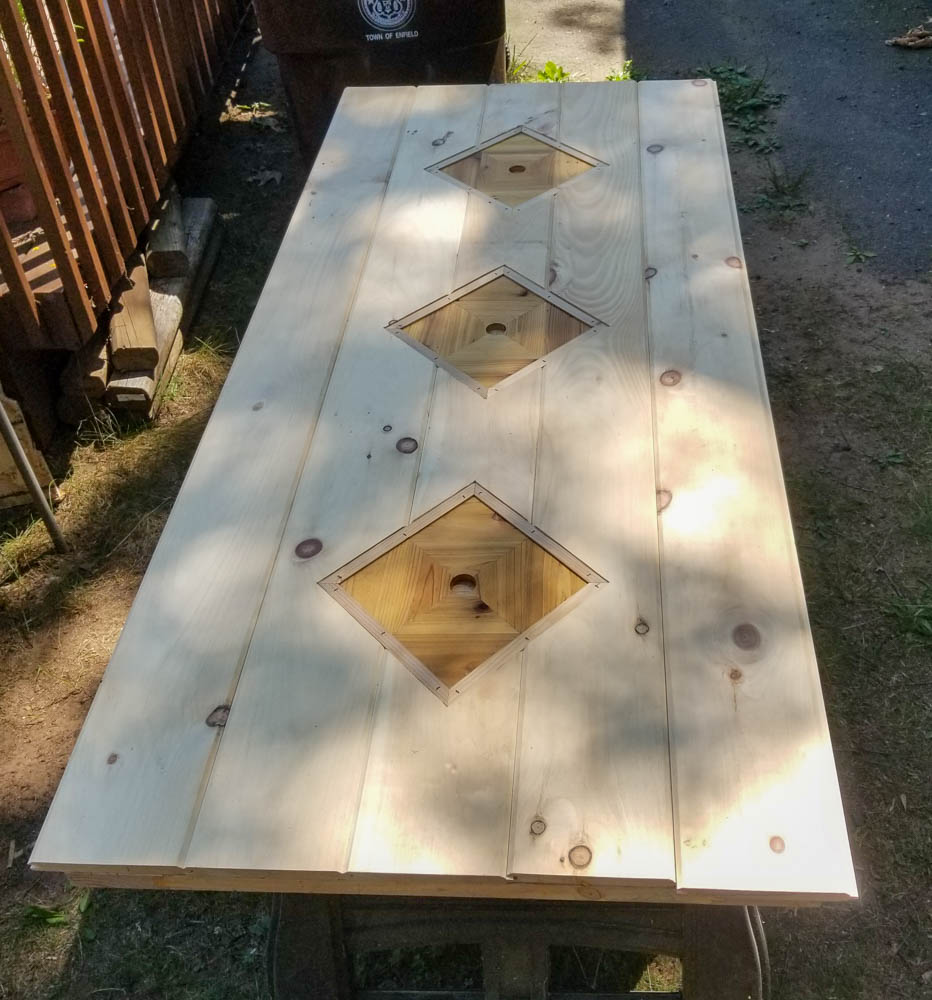
And, finally, the door with its new facing. I still need to apply some finish to it as well as fill the staple holes around the diamond trim, but you can certainly see where this is going and how it will look in the middle of the diagonal siding all around it. Those diamonds are actually made from scraps of siding, fit together to make square grain patterns. The holes are where some spheres will be epoxied in place. I’ll leave that one a mystery for now 🙂
On to the next thing.
I did ultimately decide that yes, I am going to fabricate my own hardwood flooring. This, while not a trivial task, is not a difficult one, either. First thing for that, of course, is figure out how much wood I need. Having never made a floor before, I knew I’d need to buy more than the area of the floor, to account for sawmill boards being odd widths and not generally adding up to an even number of floor board widths. But I had no idea how much more to add. So I measured the floor I intended to cover, rounding up to the nearest foot at every point. 130 square feet needed. Okay, so I’ll buy 160. Nah, make that 180. Surely that will be enough wood. I have chosen Sapele, which is similar to Mahogany in color and density and toughness but is more economical. It’s beautiful wood… and it turns out to be on special at my supplier, too!
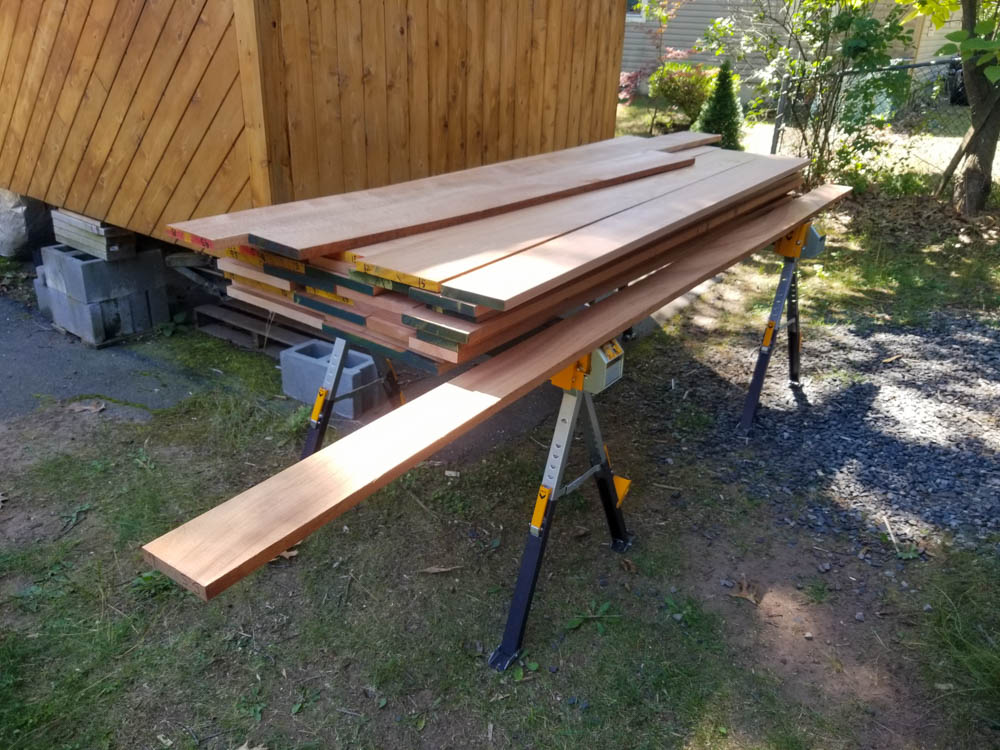
And here it is. Most of the boards from the mill were 15 foot long. That was way too long to get them all home in/on the White Ravvit, so I had them cut the boards in half. Shown here, nearly all the boards 7.5 feet long. There was one which was particularly lovely that I had them leave full length, in case (a) I didn’t need it for flooring because I ordered too much wood and (b) I could find something decorative to do with it.
I mean, seriously, is this not a lovely specimen, what with its wavy, oceanic grain pattern?

There was another board that was clearly special, as well. This one counted for about 10 square feet (if I save it, then my 182 sq foot purchase is really only 172, but I only needed 130, right, so I should be fine… right?). This board had what they call “curly figure”.
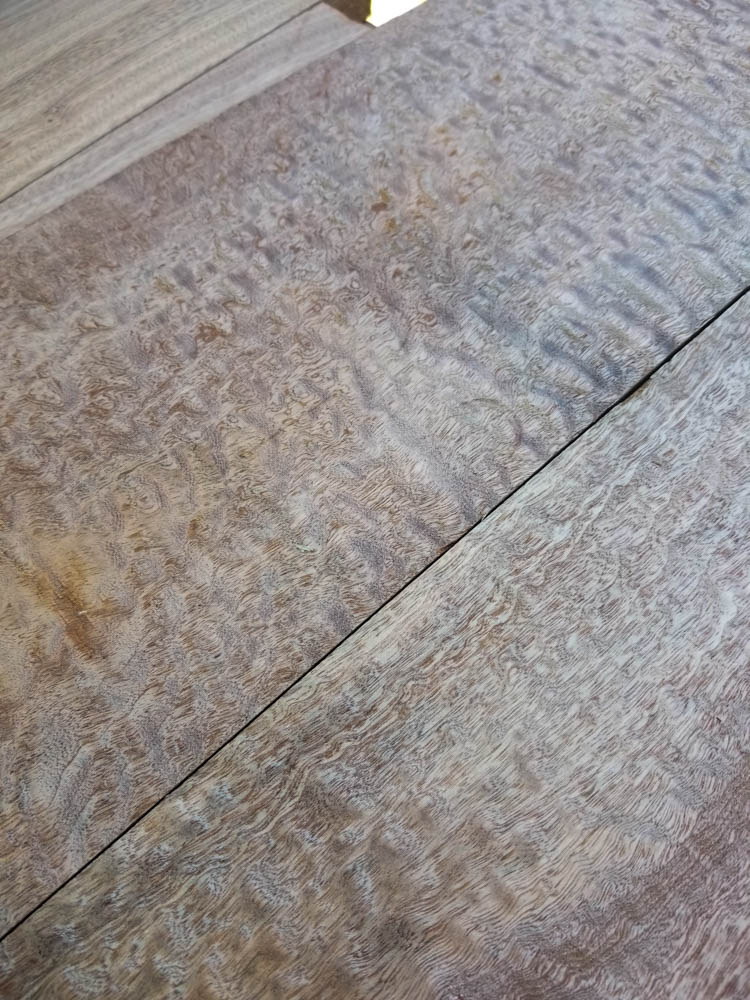
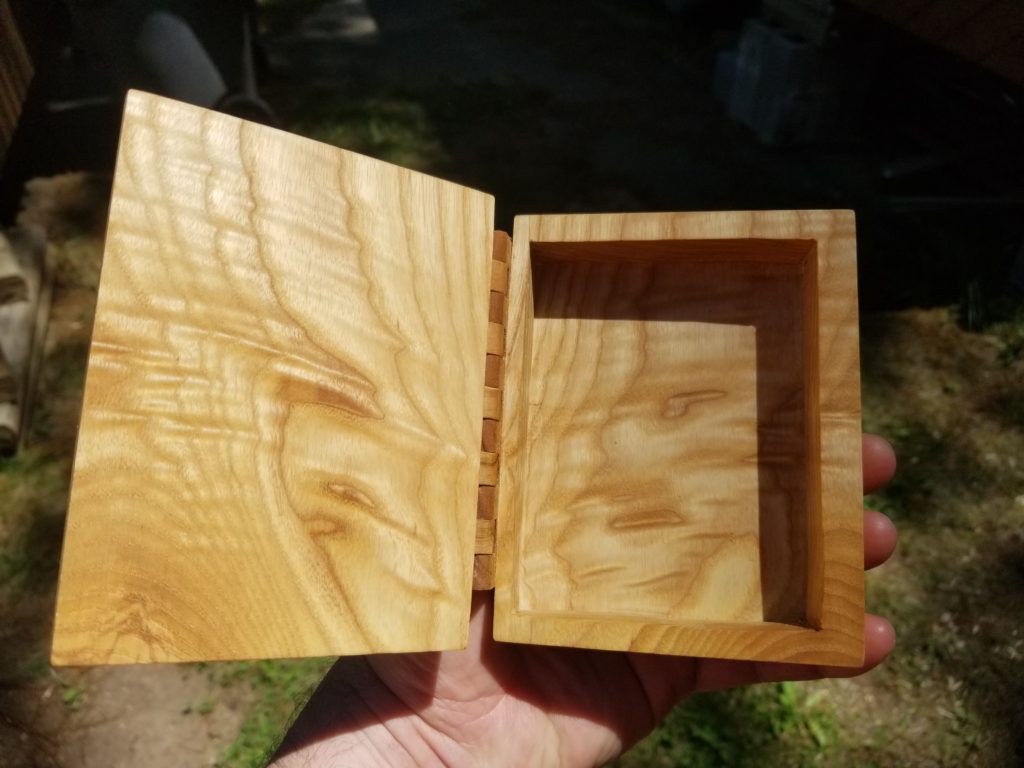
Unlike the straight or gently undulating grain most of the wood had, this was turbulent in little curls. Specimens like these are prized. When I found a piece of ash from my bench project with funky grain, I set it aside and later made it into this little treasure box.
I don’t know what I’m going to do with this curly piece, but I have set it aside until inspiration strikes. When a finish is applied to it, these curls will positively shimmer. It definitely cries out to be a special thing. When I figure out what that special thing needs to be, I’ll make it into that.
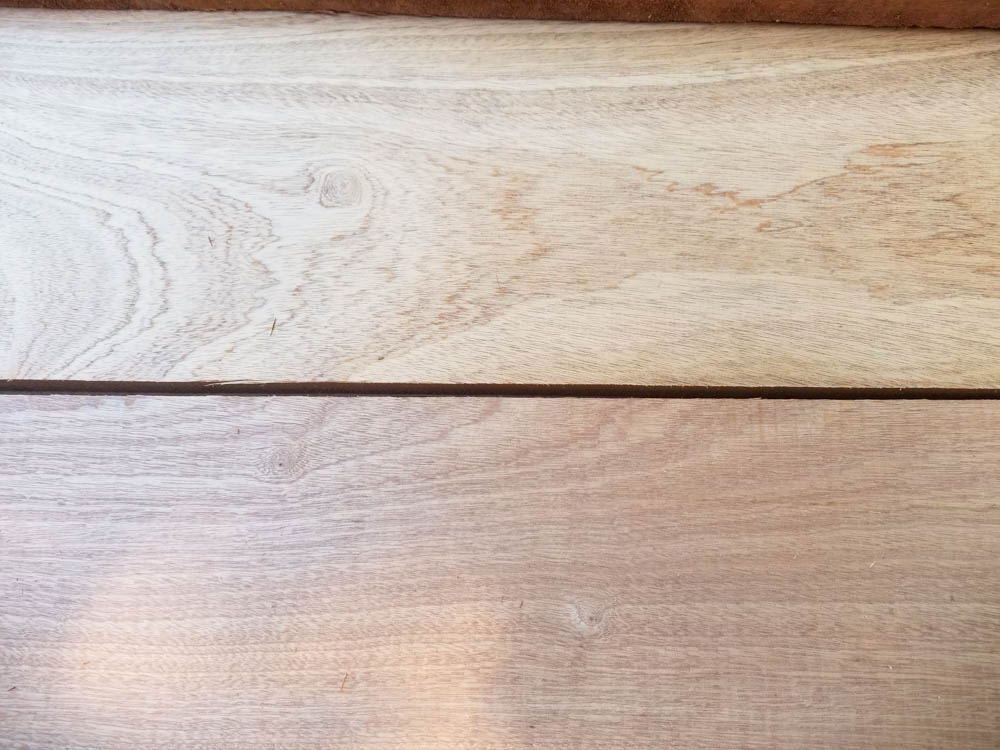
For reference, the wood normally looks more like this:
With the rest of the wood, it’s time to mill it down into planks about the size they need to be to become flooring. Off to the table saw I go…
…and when I’m done processing all the boards, this is what I have.
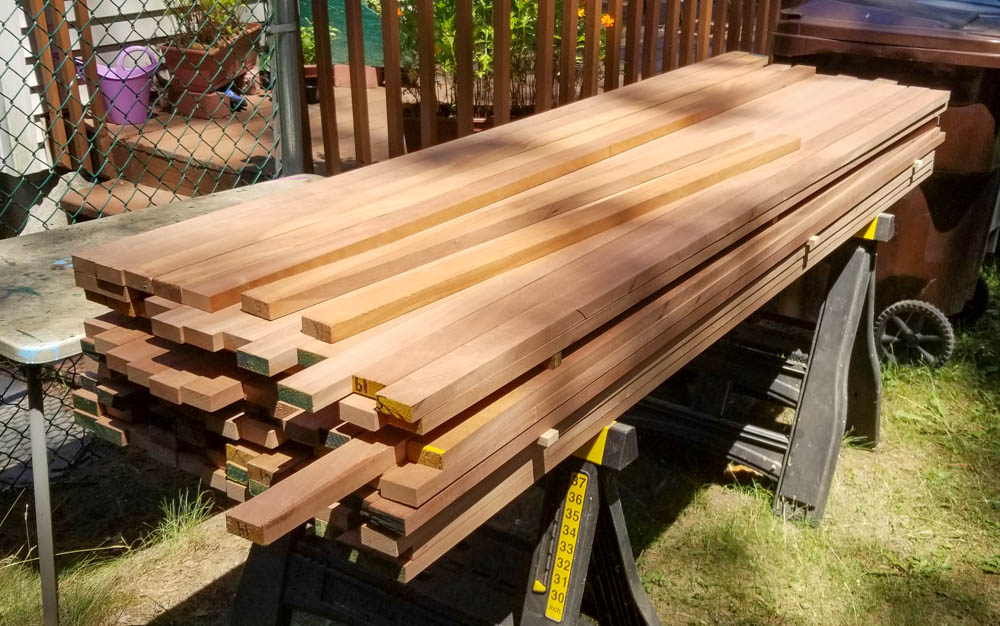
Seems like a lot of wood, right? It is. I counted it up. 12 planks per course, at 2″ nominal floor covering per board, so at 7.4 feet long, that’s 14.8 square feet per course, 8 full courses therefore equals 118.4 square feet. Wait… whut?? I knew there would be off-cuts and a little waste, but out of the 172 square feet I cut (subtracting out that curly piece from the 182 I bought), only 118 square feet yield? Well, hold on, lemme count the partial course, too. 5 full length boards = 6.25 sf, for a total of 124.65. I thought I needed 130.. but then, I did round up everything as I computed that. So I go back and compute it more carefully. I don’t quite need 130 sf. But also these 2″ nominal boards are going to cover less than 2″ each, since they will interlock slightly. For sure it’s gonna be close and I probably need more wood…. but I don’t want to over-buy. Hardwood isn’t cheap. This load was over $1100. What to do? Well, in the spirit of the patchwork door, I gathered all the off-cuts that were more than a sliver, to see if I could reconstitute them back into boards.
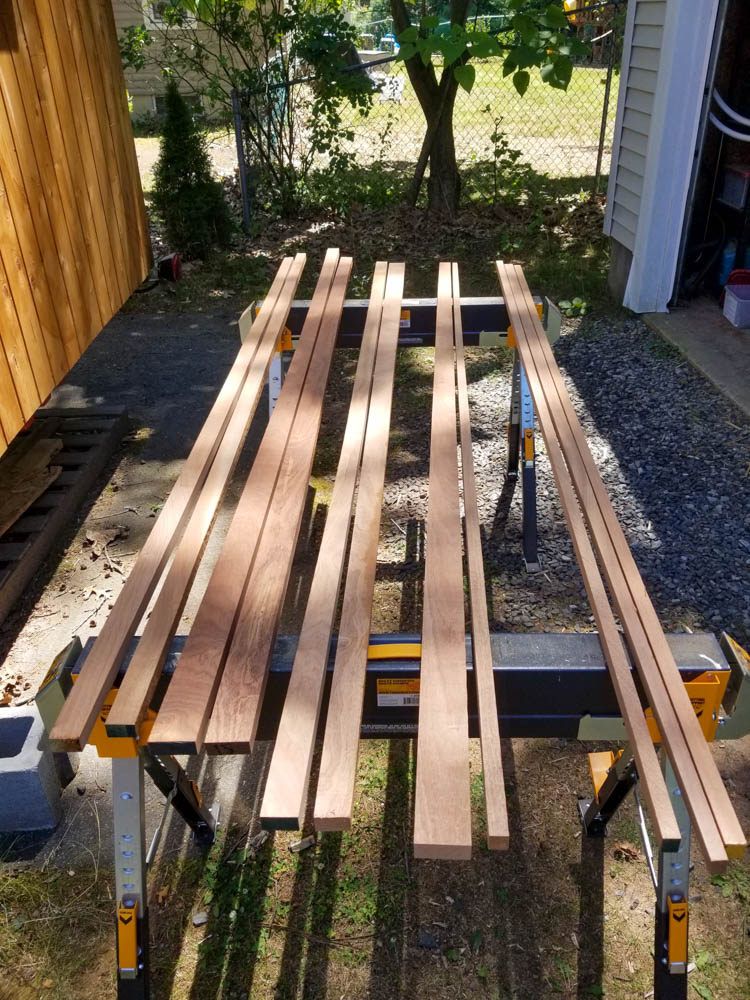
Looks like there are 5 boards I can build. Anything thinner than about 3/4″ is just too thin to use, as I must machine the surfaces before edge-joining them and thinner than 3/4 is just too small to process.
I get right to it.
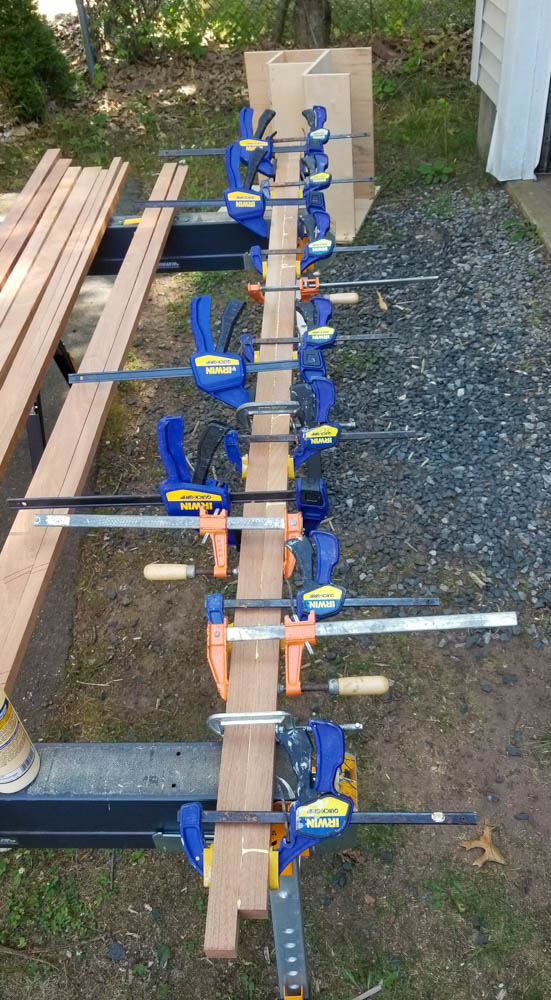
Ask any woodworker and she’ll tell you: there is no such thing as too many (or even “enough”) clamps. Here is one of many examples why this is so. I think I counted 16 in this picture. If I had more clamps, I could have done all 5 of the laminated boards at once, instead of having to wait an hour per each for the glue to set before removing the clamps to the next one.
I have reconstituted five boards, which will become 2″ x 7.4 foot boards, or about 6 square feet. At this point, my plan is to mill all of what’s here fully into flooring (clearly my 172 square feet of stock did not exceed my 130 sq ft estimate and no way am I going to use that pretty curly board for flooring — it would clash anyway), install it, and if I can’t actually reach the end of the job with the wood I have, I’ll go buy enough to finish it at that time. The wood does not appear to be in short supply for the time being, at least, and I won’t need a lot more. How much? I can’t begin to guess. Wood always seems to go a lot less far than I think it will. Of course, part of that is I always forget to account for the sawdust. Seriously. A trip through the table saw takes just over 1/8″ of wood away. On a 7.5 foot board, that’s 0.078 square feet. Take three cuts on that board and now it’s 0.234 square feet turned into sawdust. I have 8 full courses of 12 boards racked up = 96 boards. By my computation, that’s 22.5 square feet of would-have-been-flooring that is sawdust. Then all those < 3/4 inch strips I couldn’t save. Doing the math: worst case, 3/4″ x 7.5ft = 0.47 square foot per board — so if only 11 strips could be saved, then 85 could not, so worst case that’s nearly 40 square feet of wood lost. In truth, not all the strips were just under 3/4″, many were thinner. So let’s average it out and say the lost wood was more like 20 sf. Okay, add it all up: 172 to start minus 22.5 in sawdust, minus 20 in unrecoverable off-cuts, now I’m down to 129.5!
I had 124 sq feet in full boards and another 6 square feet in recovered wood, for a total of 130 square feet. Yeah, okay, the math works out remarkably well, given that there’s a lot of estimation in there. Awrighty then, that’s how 172 square feet of stock yielded only ~130 square feet of boards. Now I see. And now I know I’m going to need to really rethink how I estimate wood for a job when buying it raw. 30% extra isn’t too much extra. It’s probably just barely enough.
A trip through the chop saw (taking 2″ x 0.125″ x 96 boards = 0.17 sf lost) turns them into floor board blanks of random lengths. These now will sit for a few days to acclimate and relax before I plane them to final thickness and run them through the router table to put the interlocking floorboard features on them. My flooring nailer won’t be here for several days anyway, so waiting seems like the right thing to do.
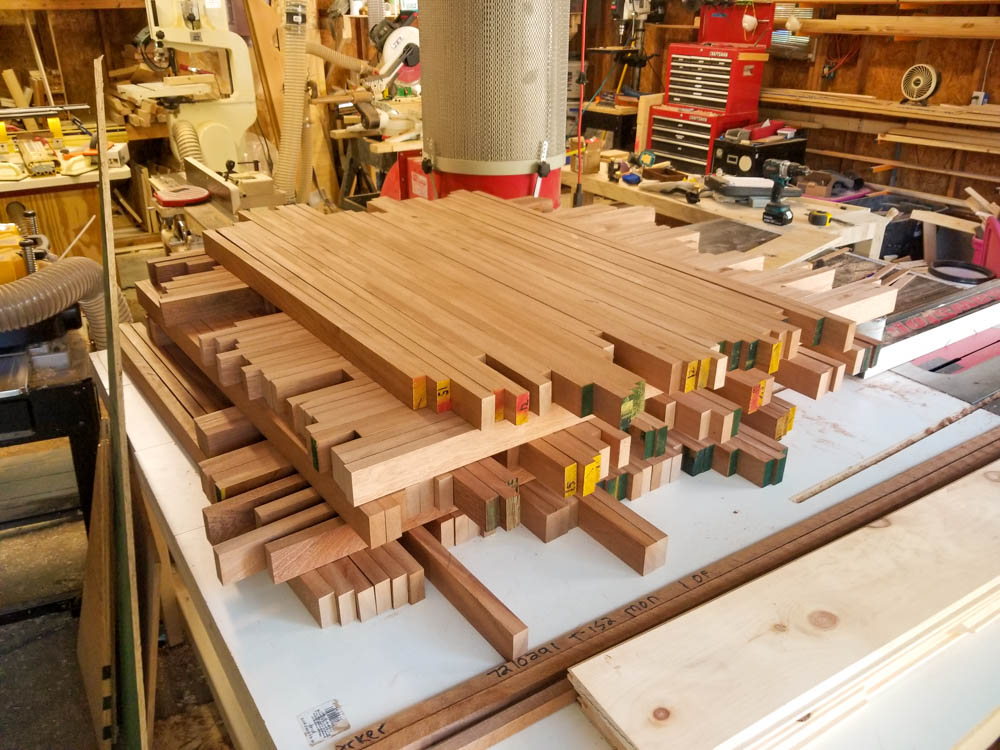
What else can I work on? The bifold doors for the coat closet!
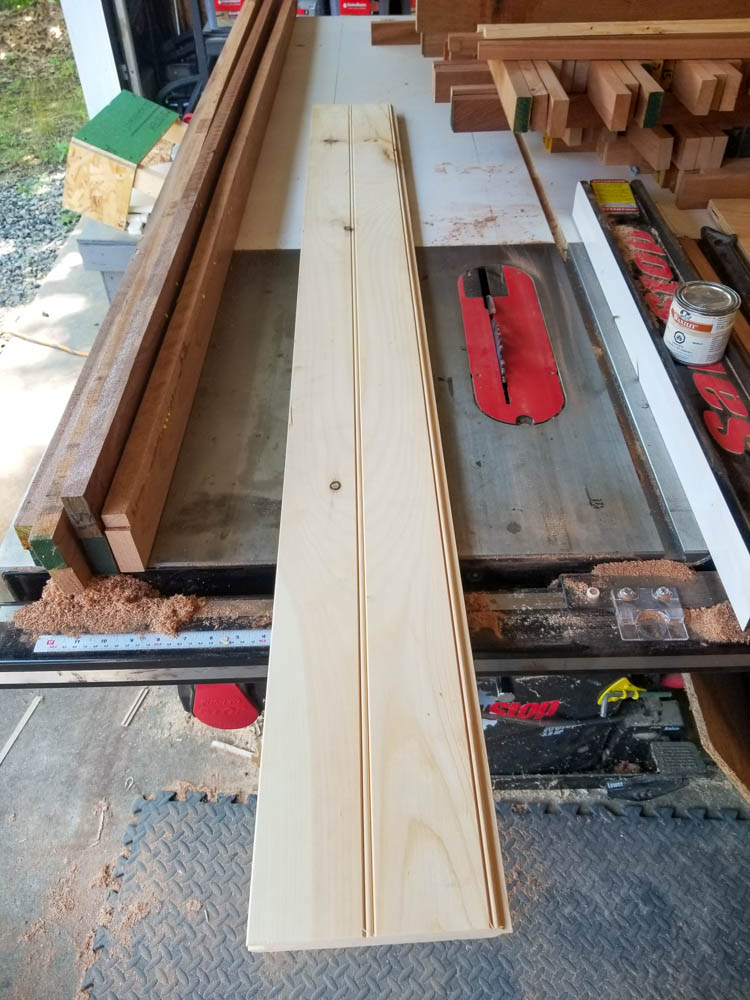
One of the things I really appreciate about having a fully outfitted wood shop is that I can take pretty much any lumber and reformat it into pretty much any shape I need. Take this off-cut from the door cladding job. I wanted contiguous pieces for the facing for aesthetic purposes. These boards (shown with bead side up; the other side is plain and is what I used for the door) come in 12 foot lengths. The door is just under 7 ft tall. Clearly, I had a bunch of wood left over. No problem! I can totally use it for something else entirely.
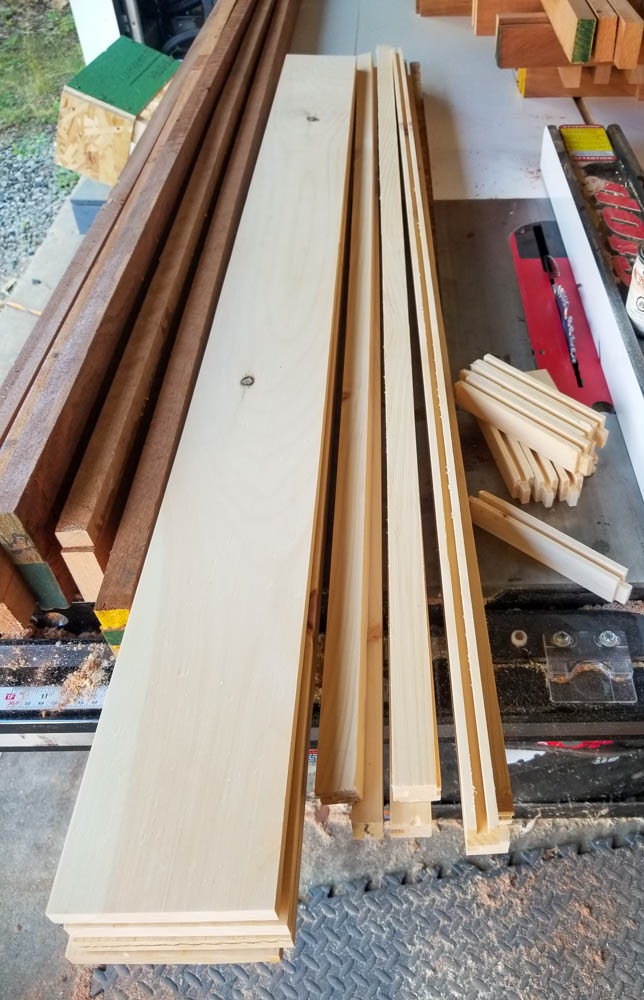
Planed down to become interior panel blanks for the closet door (left), stiles for the door frames (middle), and stubby little rails for the tops and bottoms. Presto – closet door parts (this collection came from more than one door off-cut).
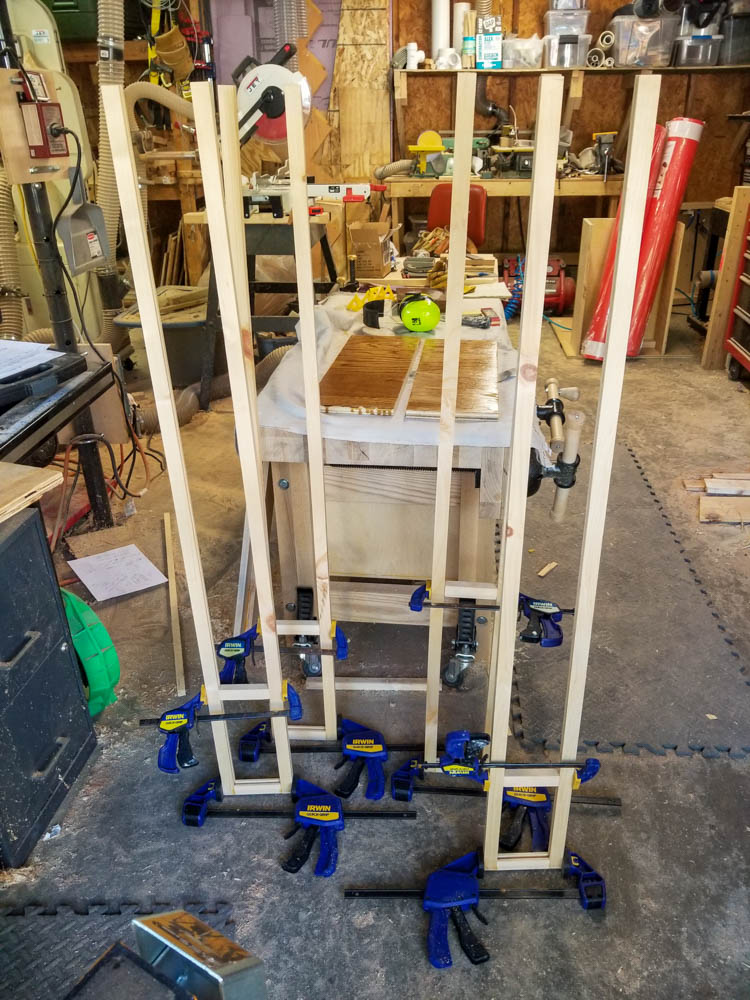
Assembly begins on the bifold door frames. I can’t put the tops on before sliding the panels in and I can’t put the panels in until I machine them to fit and even after that, a wise person will apply finish to them before assembly because they’ll move a bit with the weather and expose previously inaccessible (and therefore unfinished) faces over the course of a year. Best to apply finish to the whole thing, then put it together. Shown here, the top rails are clamped in place (dry, no glue!) to hold the shape while the bottom rails are glued in. What are those amber slabs on the bench?
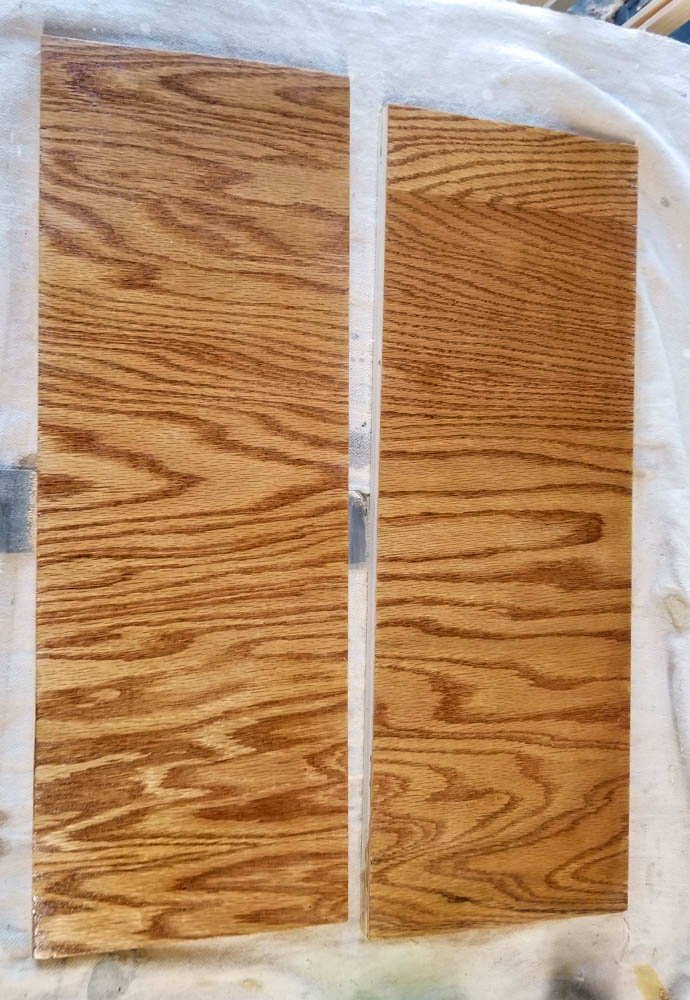
The amber slabs on the bench are the recently-finished side car doors for the T.H.R.O.N.E. Yep, the same that I was fitting the wrong kind of hinges to earlier. I have the right kind of hinges now. So time to finish the doors, and, for that matter, the T.H.R.O.N.E. deck itself, so it all matches.
Speaking of reformatting and re-using wood, these doors, as well as the deck from which they were cut, are actually reclaimed from a knock-down desk I made years ago. The desk was a big L shaped thing with two built-in file cabinets and tons of workspace. It came with me to CT but has since been dismantled in favor of downsizing everything (you know, because I’m actually going to live in this thing when it’s done). I saved as much of it as I could. A piece was used on the stairway model, too. Sections have been used variously between then and now and there’s still a little bit of it left, which will surely find utility along the way somewhere.
Those doors will go here. With the toilet seat removed, the attachment points look rather a lot like eyes and the bucket hole appears as a big friendly maw. Yep, my toilet has a face. I’m not sure that’s wonderful, but it is at least amusing 🙂
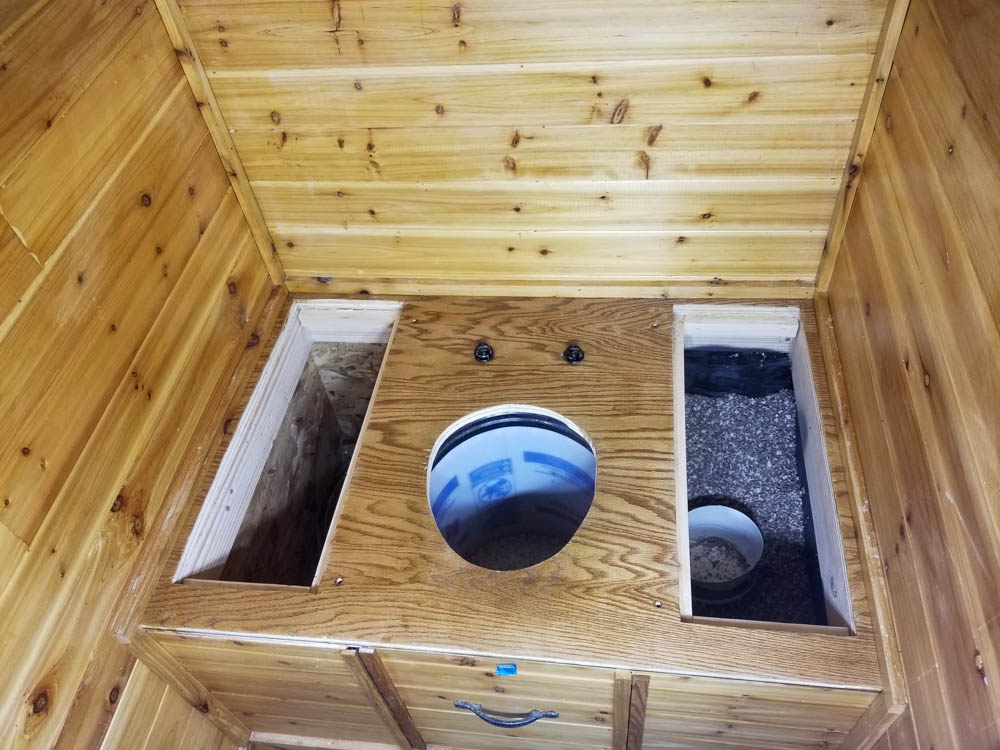
Speaking of amusing, I leave you today with this self-portrait I’m calling “Hellboy Handyman”
