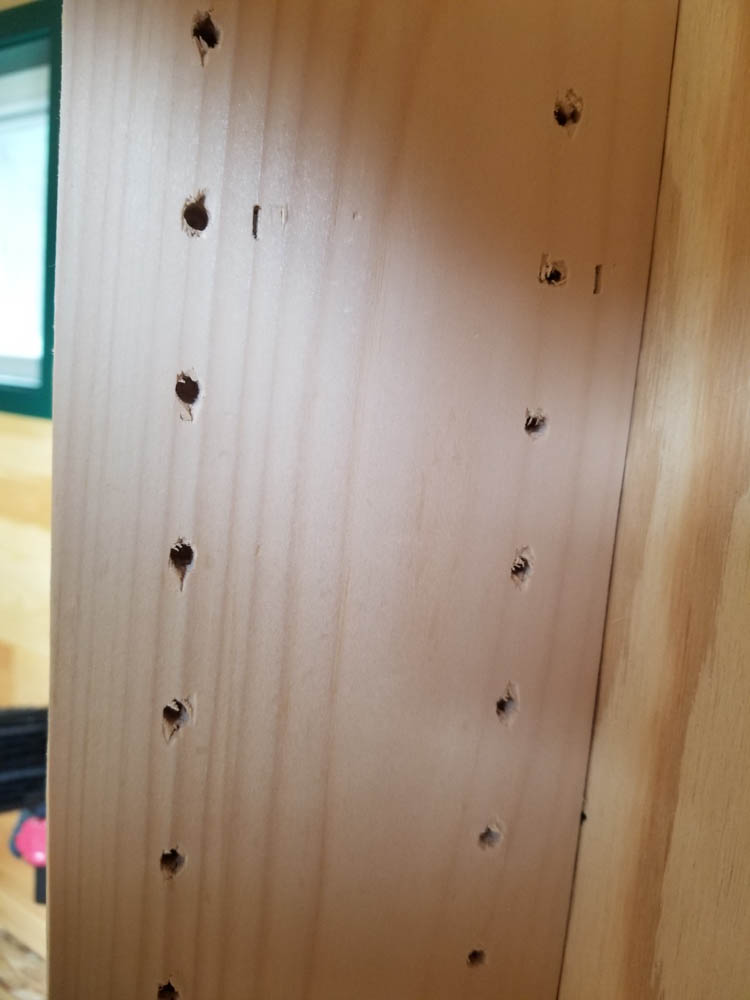
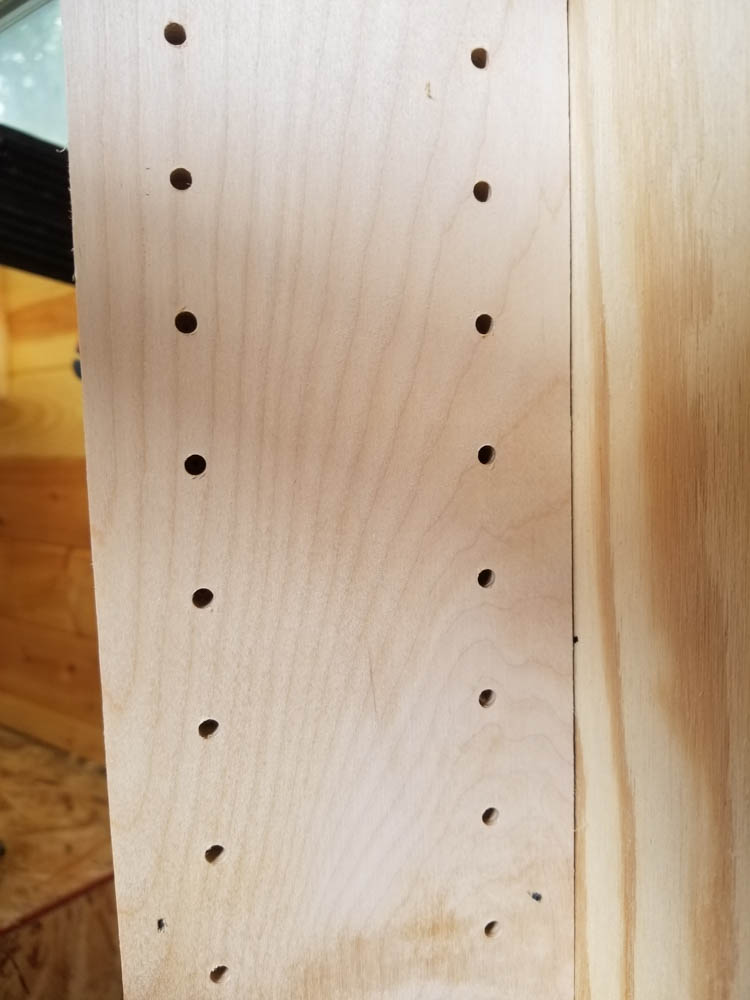
Lots of little things going on right now, and some big things. First, another bit of supporting evidence for the axiom of there being two ways to do anything: right… and again. This time, it’s the pantry shelf pin holes. I don’t know why the first edition of them came out so badly – maybe I was in a hurry, maybe the drill didn’t like the soft wood I was using… but it was kinda terrible. At first I thought it would disappear under some paint but really, no, redo it and make it right. So I redid it and made it right.
But then, of course, I have these boards with sloppy holes in them. Waste not, want not. I originally cut the parts with holes intending to use them as trim, but the holes went just deep enough to poke through a tiny bit on the other side and thus the boards were not sufficiently decorative. However, the middle section was fine, so that become case trim for the pantry.
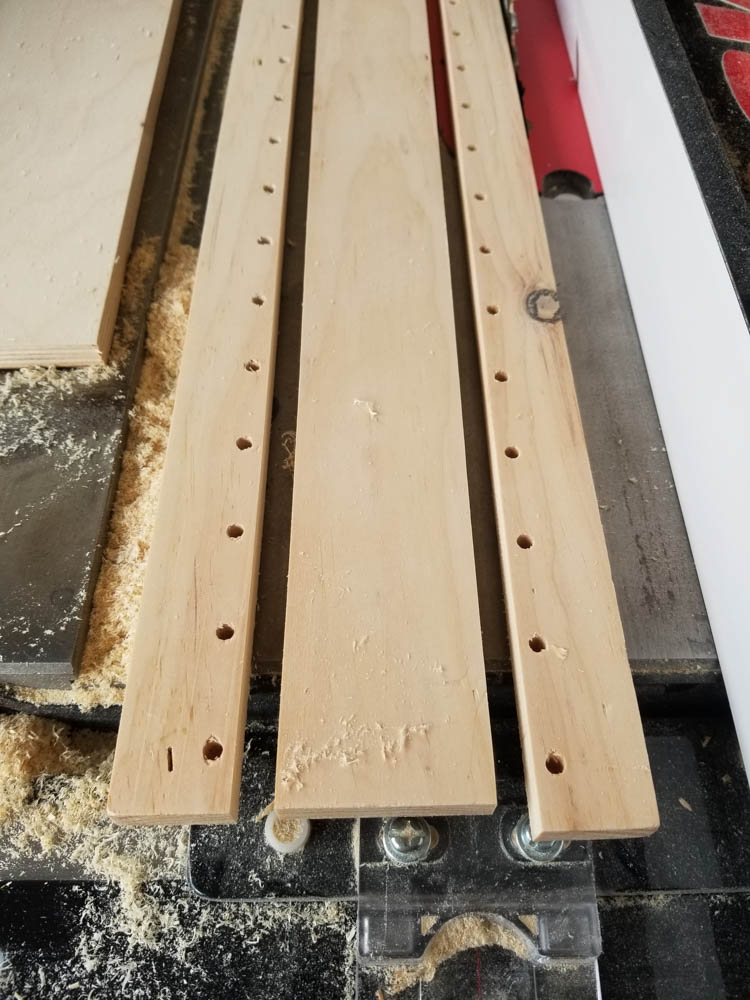
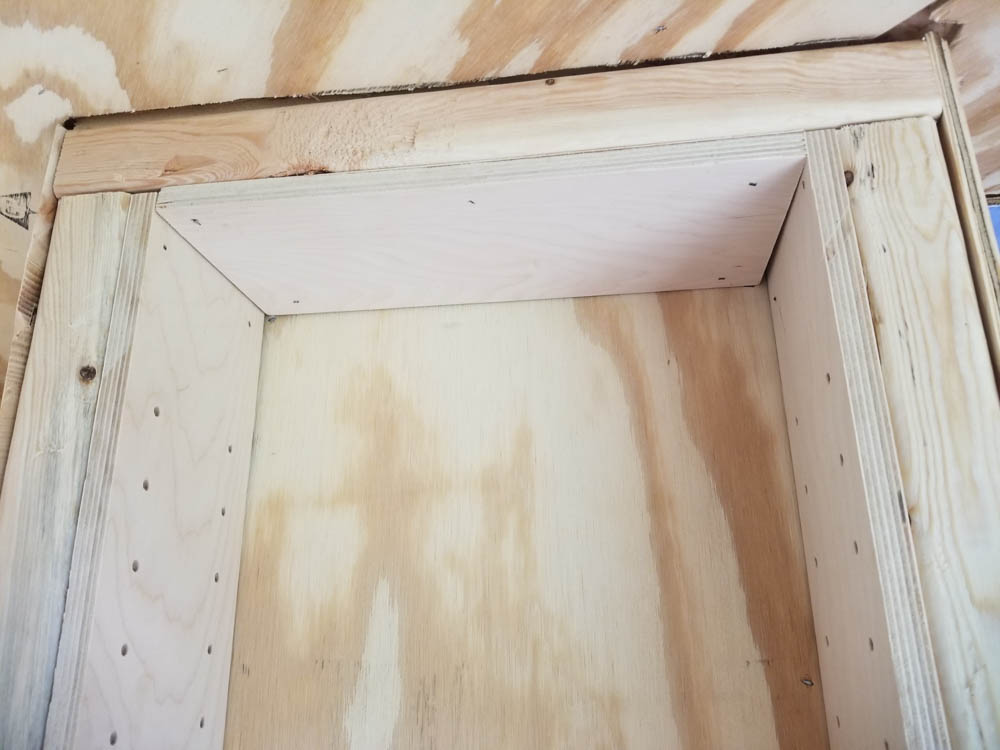
Speaking of waste not, want not… This new section got drilled wrong — too close to an edge. Turn it upside down and now it becomes inside top facing!

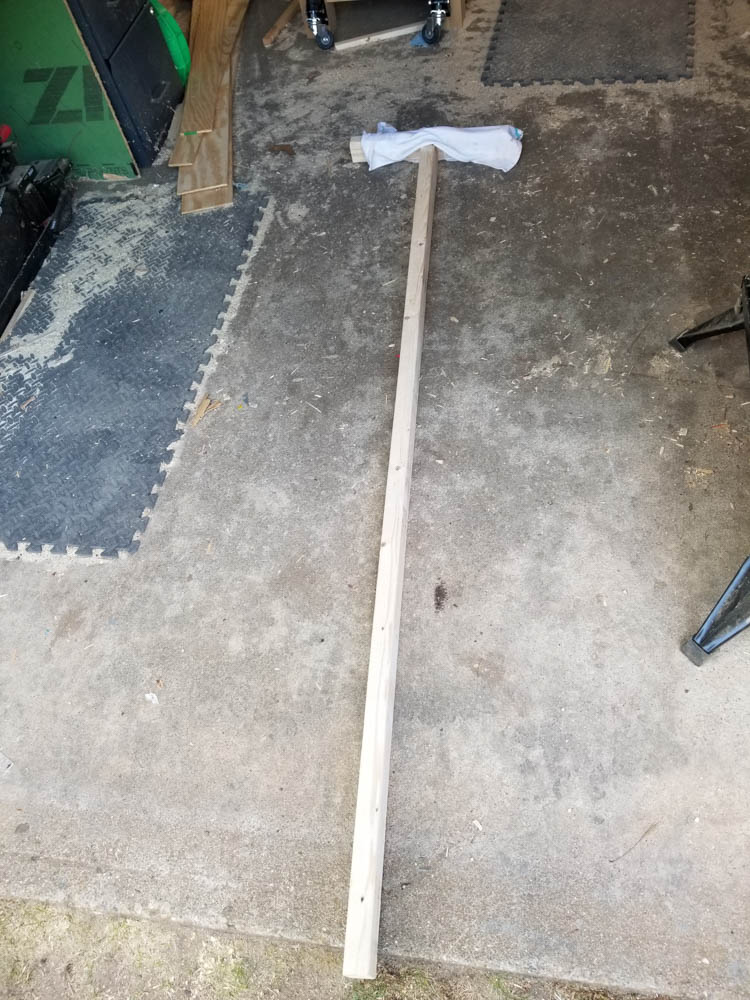
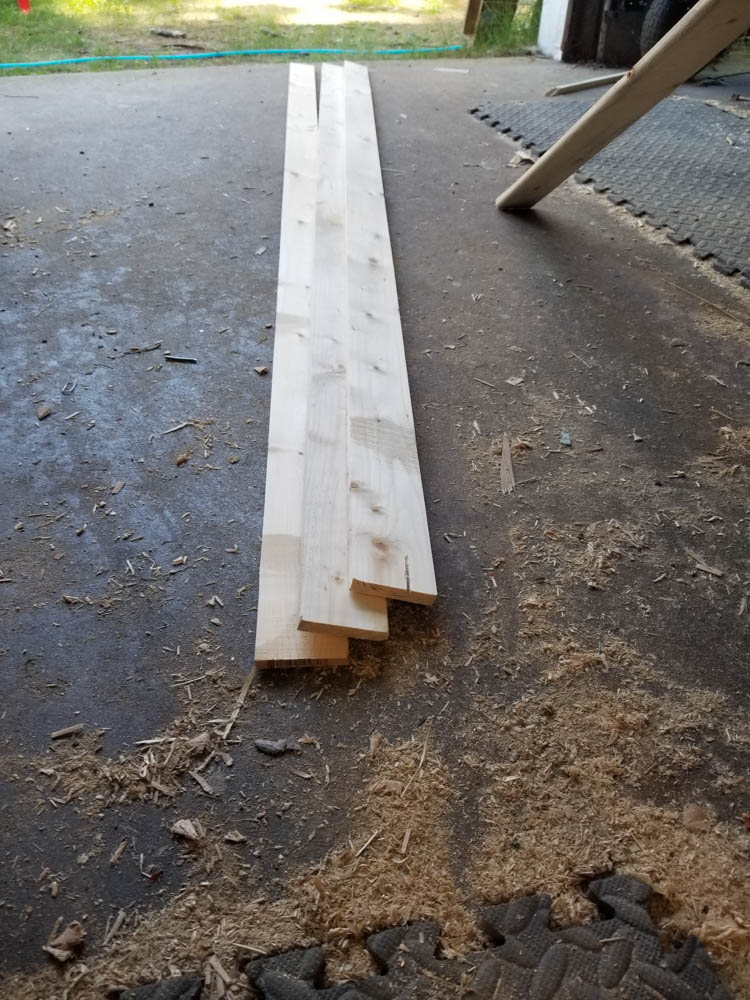
Remember those T-braces I made to work on the ceiling? I’m done with them and have no use for the studs… but a trip through the band saw and thickness planer turns them into something I can use now: more trim boards!
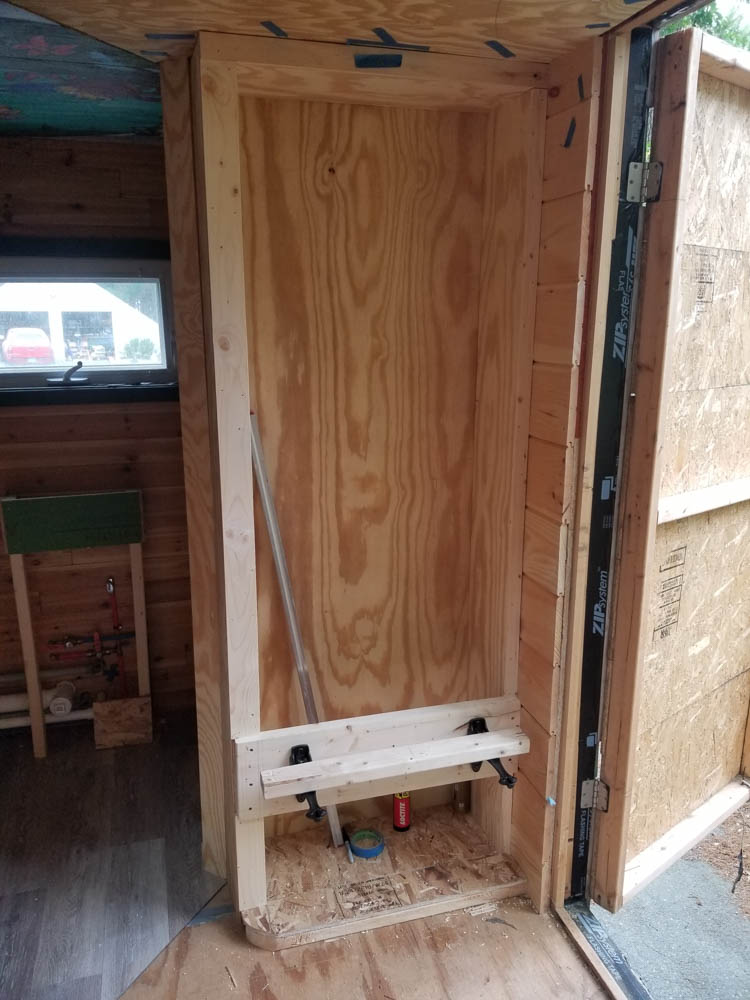
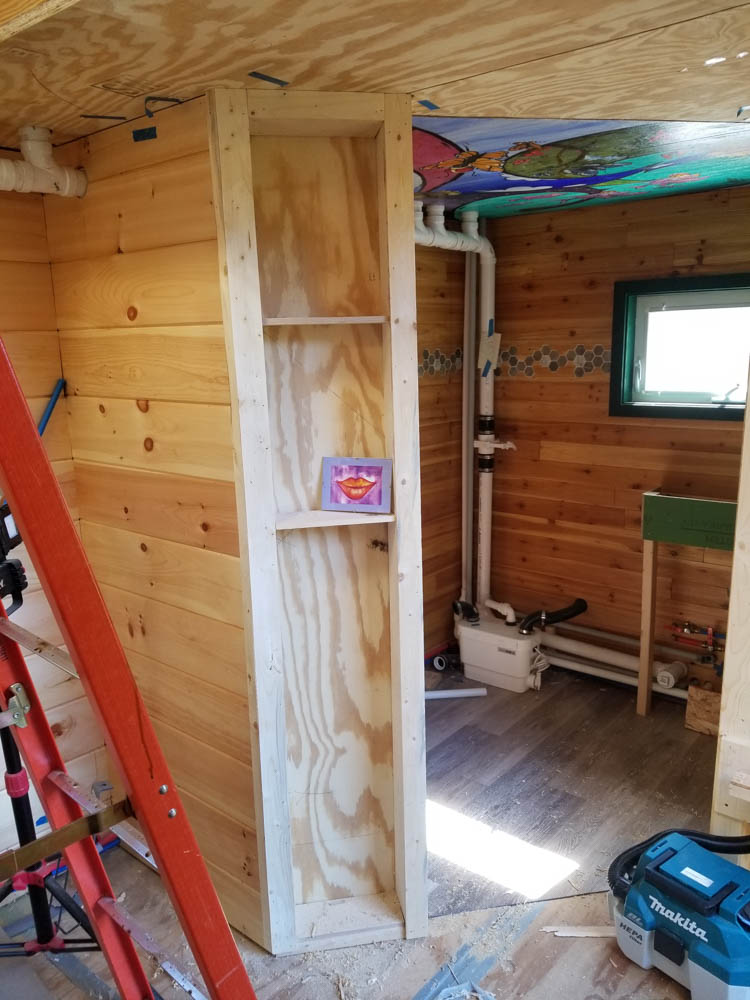
I’ve always got a use for trim boards! Here, the coat closet and boot dock (and butt-rest, a/k/a keister coaster) is sporting some nice new case trim. This will have a big panel door in the top section. The bottom section stays open for ease of shoe access and for drying / airing them.
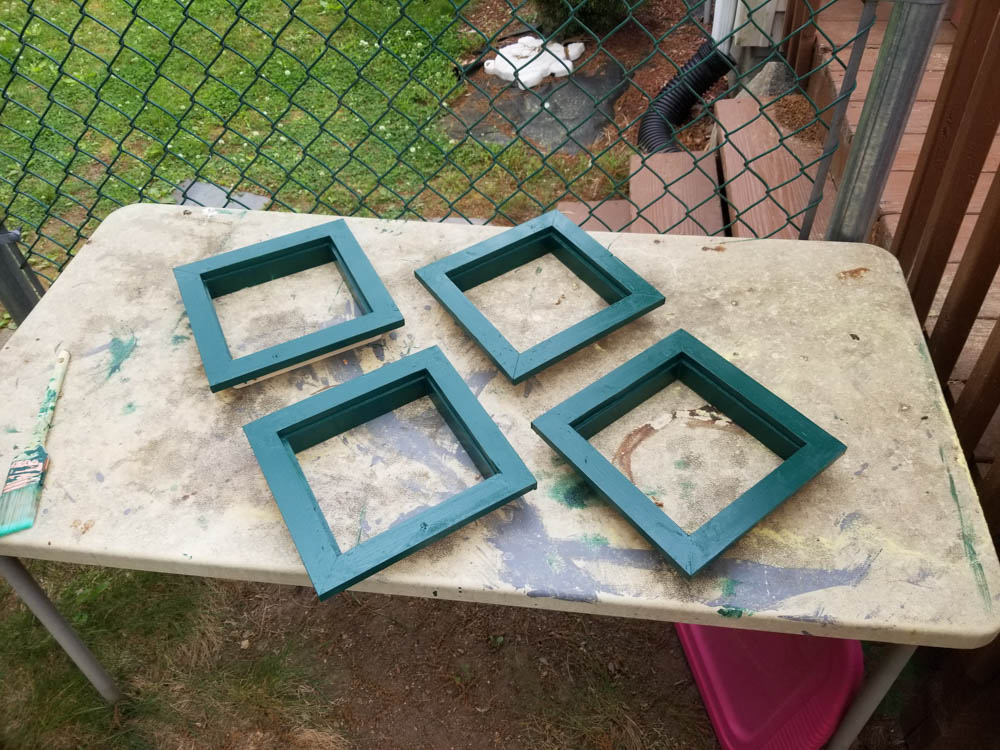
What else, besides making lots of sawdust reclaiming wood? The light ports got some trim, too. I had such terrible results masking off the interior walls when I painted the main window trim (maybe the slightly rough texture of the walls made a poor seal under the tape?), for these, I pre-built and pre-painted the trim before installing.
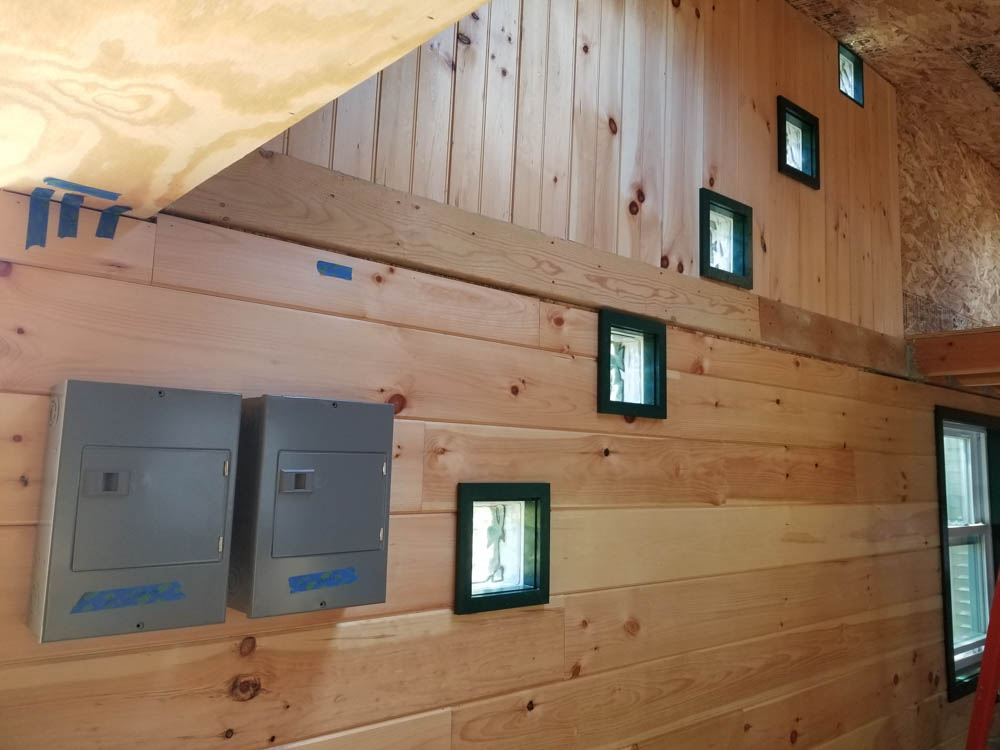
If you look closely, you might notice something else new on that wall… two gray boxes. These are electrical panels. They’re empty now, but they will be electrical panels. The one on the left is for AC, the one on the right for DC.
While you might not expect there to be a lot of circuits in such a tiny house, there are a decent number. These boxes hold up to 8 circuits each. For AC, we have bathroom (graywater lift pump + bathroom utility outlet), fridge, microwave, kitchen utility, first floor utility outlets, cozy loft + exterior utility outlets, well pump. For DC, there’s the water heater (electronics), freshwater pump, lighting 1, lighting 2, furnace (electronics, blower), and maybe something I haven’t thought of yet. So, yeah, circuits. The 12V DC system is branched off the 48V battery bus, with a 480W power supply. That should be plenty. And yes, you can use ordinary breaker boxes for DC if you (a) use low voltage and (b) use breakers that are DC rated. The Square D QO series, which I’ve used many times for sub-panels and like, is DC-compatible.
Meanwhile, working on the freshwater pressure system, I have this pump and this accumulator tank.
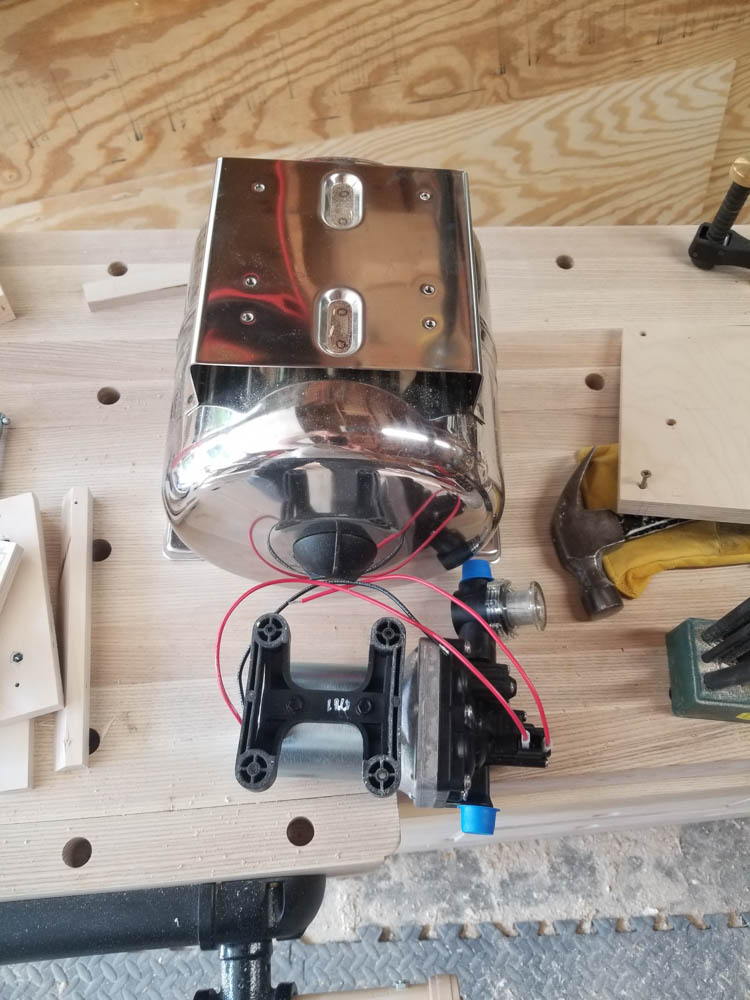
At first, it’s very encouraging. There’s this nice mounting plate attached to the tank and it has tapped holes just begging to line up with the rubber mounting feet on the pump…
… but no, they don’t align. And drilling the plate, which is welded to the tank with very little clearance, is just not an option. Feh.
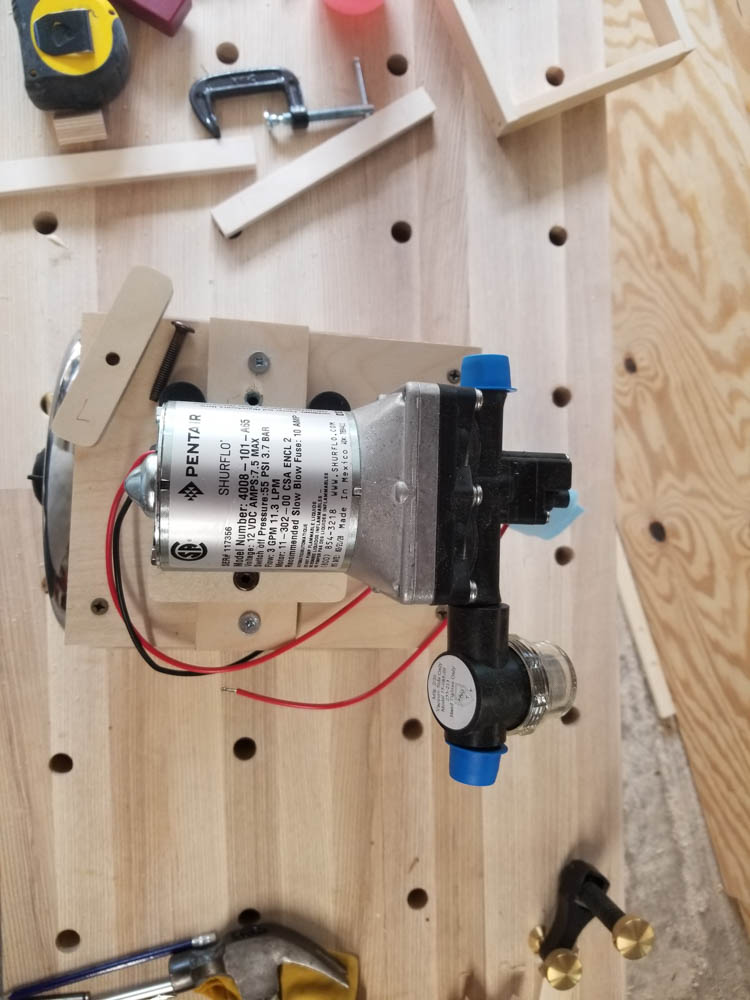
Okay, then, I make my own mounting bracket that captures the pump. I do recognize the merit in having machine screws here, so the pump may be removed/replaced when the time comes. No pump lasts forever. I use insert nuts to secure the retainer battens. You can see one and its screw on the upper left of the platform. The lower batten is installed.
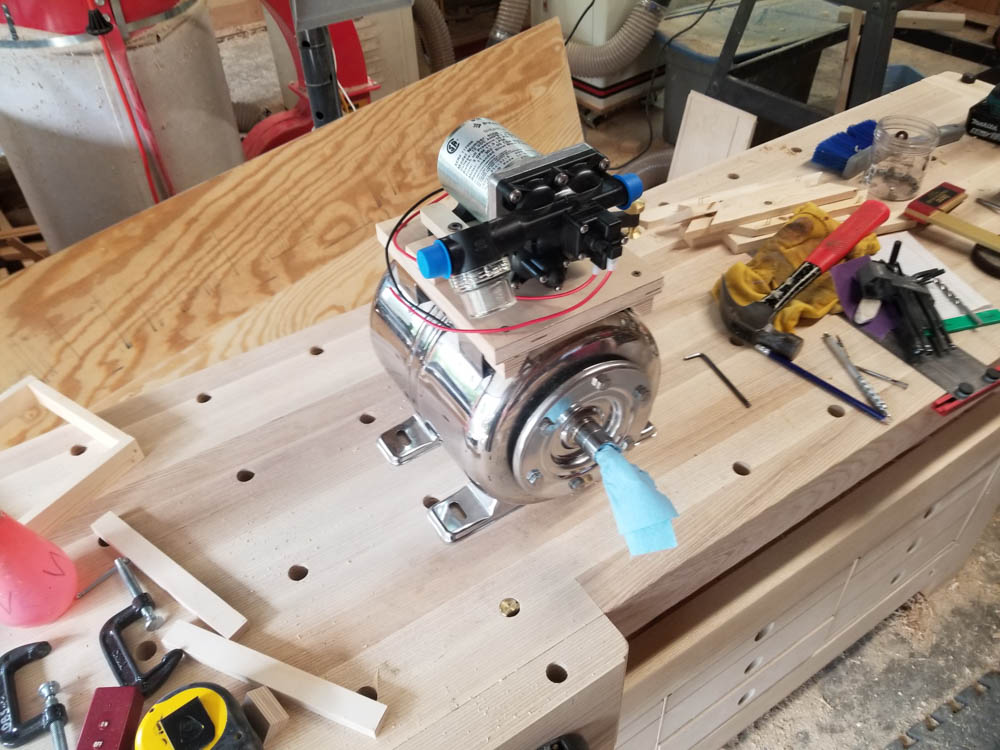
All set! Wooden mounting plate sandwiches the metal plate to hold itself in place. Insert nuts and battens hold the pump to the wooden plate. All together, a thing.
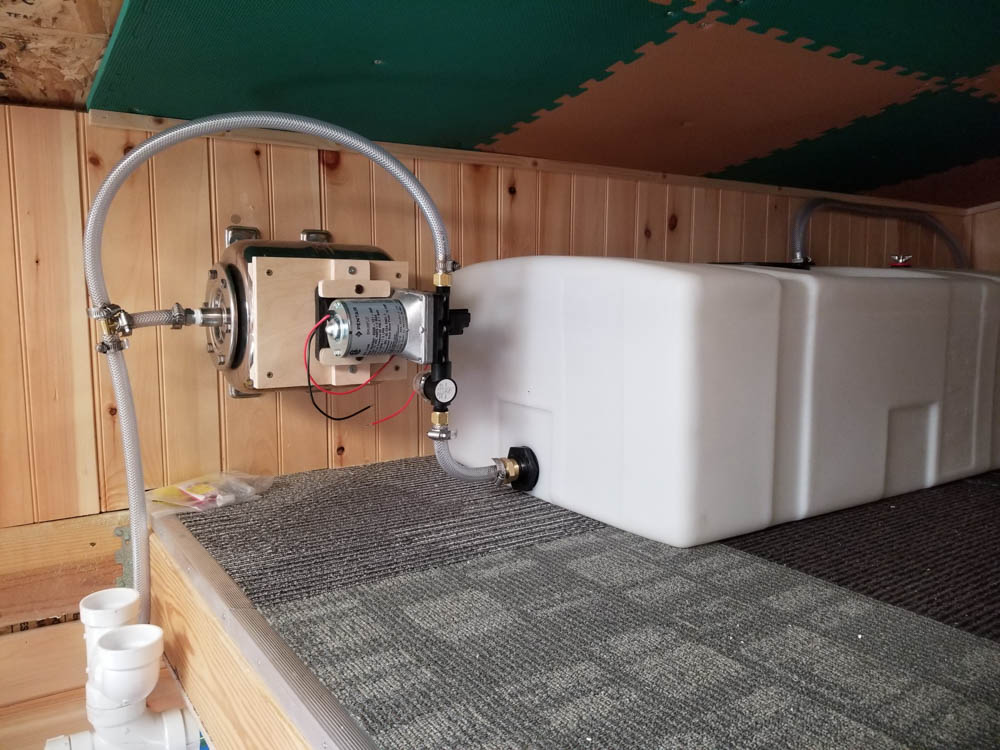
And the thing is now screwed to the wall and plumbed in to the fresh water tank. The fresh water tank is also now connected through to the fresh water inlet pipe. Now there’s a path from inlet to reservoir to pressure pump with accumulator. Now all I need to do is attach the output of the pump (disappearing behind the white pipes to the lower left) to the freshwater distribution pipe. That one won’t get installed for a little while yet. Before anything can be done, something else must first be done… you know how that goes.
As for the rest of the electrical, I’ve ordered a bunch of heavy wire (#2 and #0) as well as some crimp lugs, bus bars, and so forth, to start hooking up the battery bank to the power center. That’s the first step in getting the electric going for real. Once that’s done, I should be able to actually charge the batteries using a generator (no solar cells set) and have independent power in there! Of course, I don’t currently have a generator… but that’s another story. I can also just plug it in to my sub panel in the workshop to charge things up. Stay tuned for the electrical work. For now, though, I wait for parts.
I don’t know if this seems like a lot of work or a little… but it’s a lot. Some of it is thinking about where to place or route things. Some is thinking about engineering details like whether I can use this load center for this power distribution job. Some is thinking about how to resaw unused/reclaimed wood into boards I can use — and then doing it. None of that is really so interesting to see, but it takes time.
Speaking of interesting to see, though, today I have something for show-and-tell!
Here’s a quick video showing my prototype for connecting this liquid depth sensor (black float on steel shaft) to some home-brew dials. The dials aren’t built yet. Here, the servo motors that drive them are standing in. If this were a real level gauge, the little plastic pointers on the servos would be replaced with something both bigger and prettier – maybe made of wood!
Observe how the pointers track the level.
This is a relatively short gauge – 4″ of travel – and thus given how it’s built (a series of magnetic sensors inside the shaft respond to a magnet in the float), it doesn’t have a lot of resolution. Hence the choppiness of the motion. Still, it’s enough to give Empty, 1/4, 1/2, 3/4, Full, which gets it done. The freshwater tank has over 12 inches of depth, so the sensor for that will be able to have more resolution and offer a smoother output. This short gauge is for the in-ceiling graywater holding tank.
Why are there two pointers? This is just a proof of concept showing that there can be more than one pointer for any given sensor. The thinking is that especially for fresh water, we might want to know the level in the kitchen (doing dishes) as well as in the T.H.R.O.N.E. Room (bathing), so we don’t run out when full of suds, say. This prototype shows two pointers driven from one sensor. In fact, I can have fairly many driven from one sensor, though I don’t think I’ll want more than two. That little green computer board will be able to monitor numerous sensors and drive as many pointers as I want.
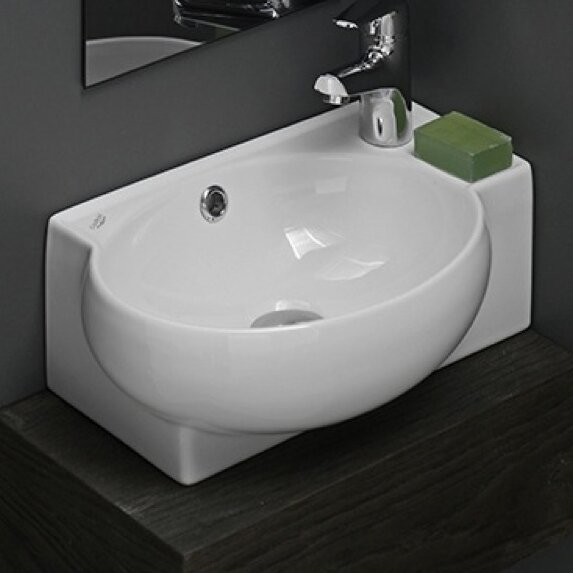
Oh! And I found a perfect tiny wash sink for the T.H.R.O.N.E. Room! It’s already been ordered and is expected to ship soon.
I’m thinking it’s about time to get serious about the floor, too. One of the benefits of building tiny is that certain materials and processes become possible because one only needs a little bit of anything. For example, I estimate the actually flooring need at about 150 square feet (includes waste, off-cuts, etc). At such a small area, lots of materials become more affordable. Indeed, we’re giving serious thought to making the floor out of South American (distinct from African) mahogany! It’s just a really nice color and a good hard flooring wood. I ordered some wood samples to just get a real sense of its color (understanding that wood varies a lot because it’s wood). I can buy sawmill slabs of mahogany locally and create interlocking flooring boards from that using the router table and a special flooring bit set. Totally do-able. As raw material, it’s about 3x the price of Red Oak. But at 150 square feet, it only matters a little. If I were doing a 2000sf house, that’s another story entirely.
And that’s about where things stand today. Lots of different parts of the project moving along as they’re able.