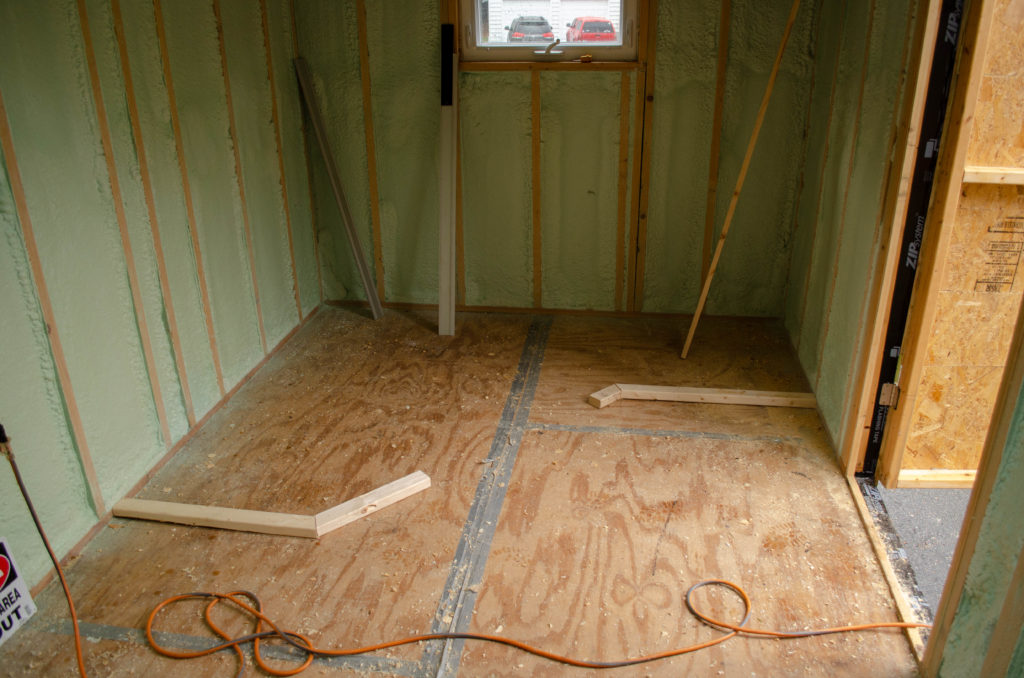
Today’s goal was simple: install the bathroom partition wall. You can see the foot of the wall laid out on the subfloor here. Just copy this on the ceiling, measure for the studs, install, done, right? Right.
No.
First, there’s the matter of the tub corner (against wall, left). Looking at the layout, I wasn’t totally convinced the tub would fit. I mean, it fit in the computer model, but that model shows the tub as a perfect ellipse because it was easy to do so. The tub is not actually a perfect ellipse. If the ends of the tub don’t taper enough, this whole plan will never work.
Oh oh.
But how to check without making a life-sized template out of poster board? Well, I thought about taping together like 10 sheets of poster board and tracing the tub profile onto it, but this seemed like Quite A Lot Of Bother.
Then I had an idea.
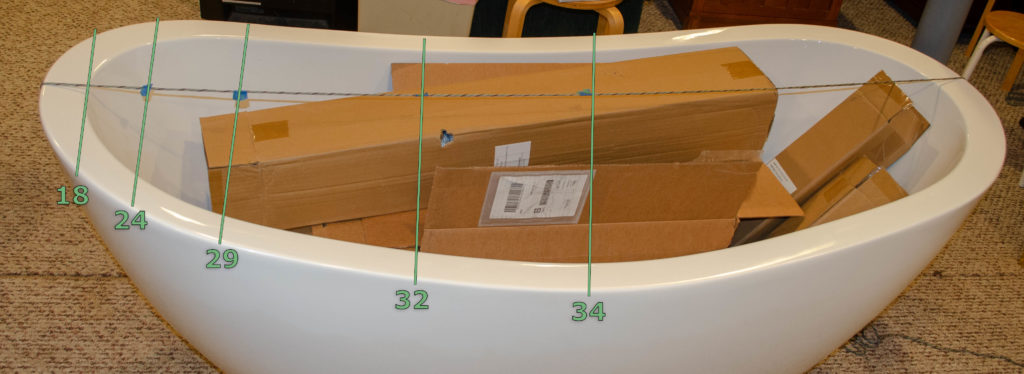
Disregarding the stove pipe parts in the basin, I ran a string across the tub, down the center line. I then put a few pieces of tape on the string, at strategic loci. I then measured across the tub at each piece of tape. This gave me a high-fidelity approximation of the actual profile of the tub.
I went back to my computer model, plotted these known-correct points, then drew a spline through them to get a significantlly more accurate model of the shape of the tub.
It does fit. At least in the model it does.
Back to the layout in the tiny house to double check everything, given the profile measurements I took. Yep. It fits. It’s cozy. It’s VERY cozy. But it fits.
Check again.
Still fits.
Okay. Let’s do this.
By the way – the tub will have to enter this room on end, lay down, then rotate into position… it’s gonna be some fun rigging in such a tight space. It’ll work, though.
Okay! Tub clearance checked (many times, in the model, on the real layout). Time to build that partition wall.

Look up. The placement of the partition wall is such that the TOP of the wall has nothing to attach to. It’s between studs. Ordinarily, this is no big deal – just nail a block between the rafters so the wall header has something to attach to. Except I can’t do that. My in-ceiling graywater tank is in the way.
Before anything can be done, something else must first be done. Sound familiar? This won’t be the last time you hear it, either.
The only way I’m getting anything to anchor the partition wall header to is if I actually install the plywood on the ceiling. It can screw/nail/glue to that. Okay. Off to the store to buy plywood.
Got plywood.
Wait.
Before anything can be done, something else must first be done. I really shouldn’t install the ceiling boards until I have leak tested the tank chambers. They’re going to be a huge hassle to repair once the ceiling boards get in front of them.
Okay. Time to leak test the tank chambers. Back to the store: I need a test cap and I do not have a test cap.
Test cap in hand. Now to leak check the chambers. So I can install the ceiling. So I can build the partition wall.
(In point of fact, only FOUR chambers were in the ceiling at the time of this activity. This photo was taken later because I didn’t think to take one at this point in the story).
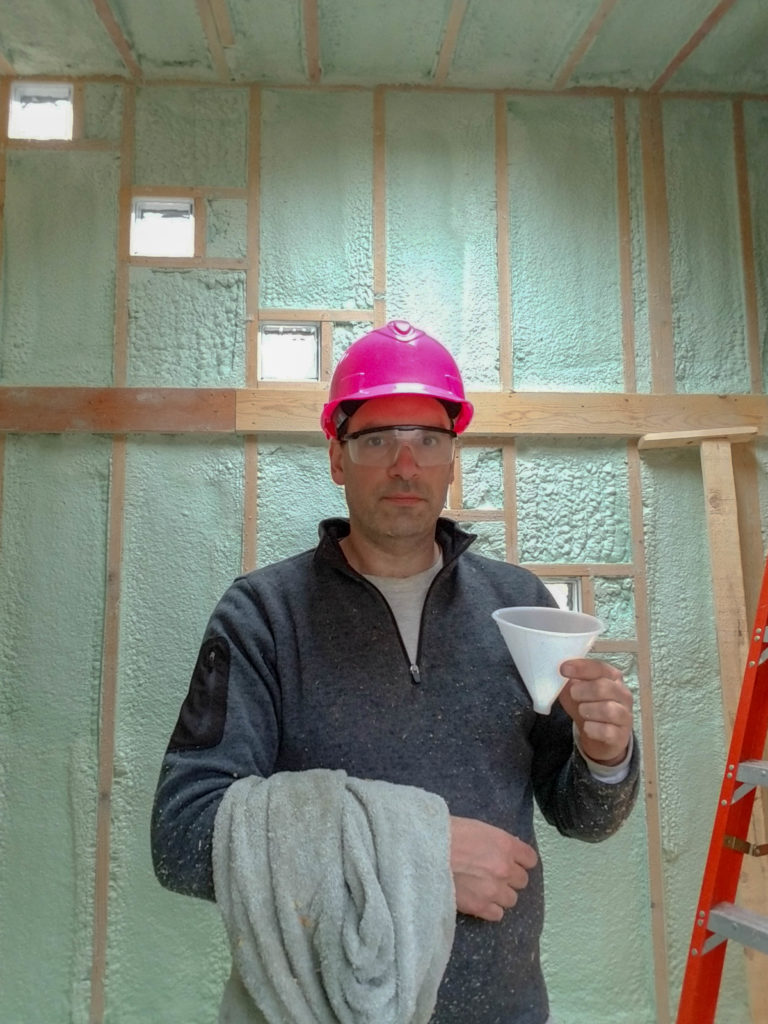
This is how one dresses to leak test in-ceiling tank chambers. Towel to catch splashes. Funnel to direct watering can pour-out into 2″ inlets of pipe. Hard hat? Hard hat. Why? Because if one of these tanks should fail to stay in place while I’m checking them for being dry – FROM BELOW – it might whack me in the noggin. HARD. Each chamber weighs a bit. 5 Gallons of water weighs a lot. Hard hat.
After leak testing the four chambers actually in the ceiling, it occurs to me I can leak check the not-yet-installed chambers somewhat more conveniently. And so I do.
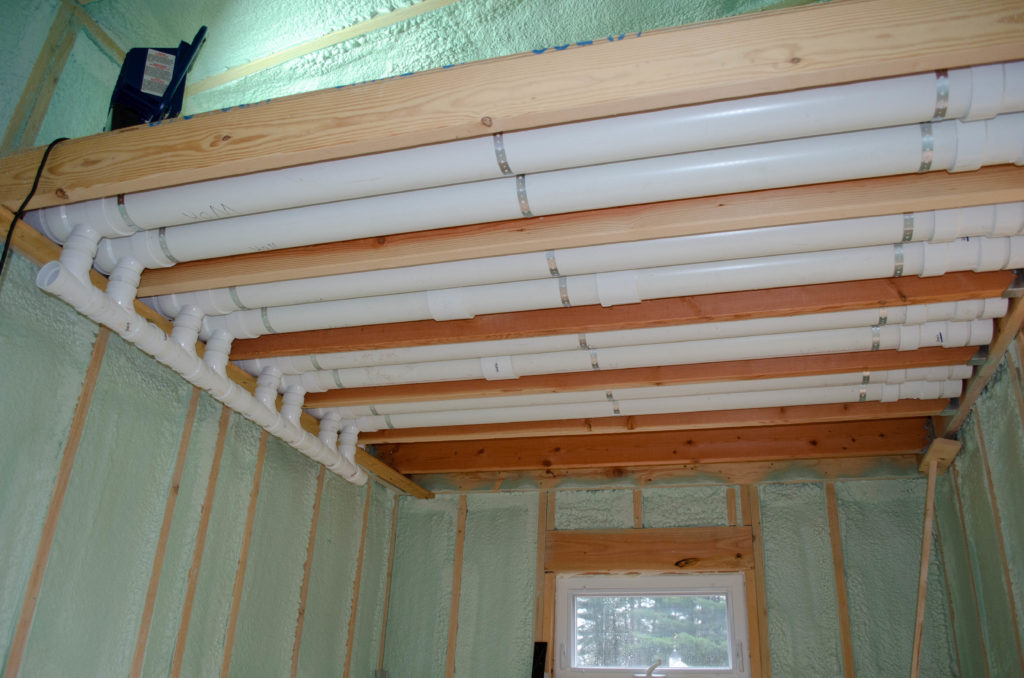
And as long as I’m going to be installing the ceiling boards, I might as well build as much of the in-ceiling tank as I can, so I can install the boards efficiently and in reasonable section sizes. I won’t be able to install the tank chambers after the ceiling boards are up. If I only do the ceiling parts that the partition wall requires get done, it’s gonna have more seams than necessary.
Before anything can be done, something else must first be done. Four more chambers built.
Okay! Time to install the ceiling boards!
No.
Before anything can be done, something else must first be done. I can’t pre-drill the holes in the ceiling board for the pass-through of the graywater tank drain line connections until I’m actually sure where those holes are going to be.
To know where the holes are going to be, I have to finish pluming the drain side of the tank. Why? Because the tank chambers can wiggle a bit as hung and they’ll need to shift a bit as they get all connected together, anyway. So before I can install the ceiling boards, I really need to finish joining the drain side of the in-ceiling tank.
Happily, I do have the parts for that. So now 8/11 of the tank is complete — plenty enough so I can install the outer ceiling boards in reasonably-sized sections, with the pipe holes absolutely located.
But now it’s like 4:30pm and I’d like to do something else with my day aside from drive to and from Home Depot, build, and install pipes. So I go inside and write up the day’s adventures.
“What part of the film is this?”
“This is now”
“What about then?”
“That’s in the future”
“When will then be now?”
“Soon.”
—
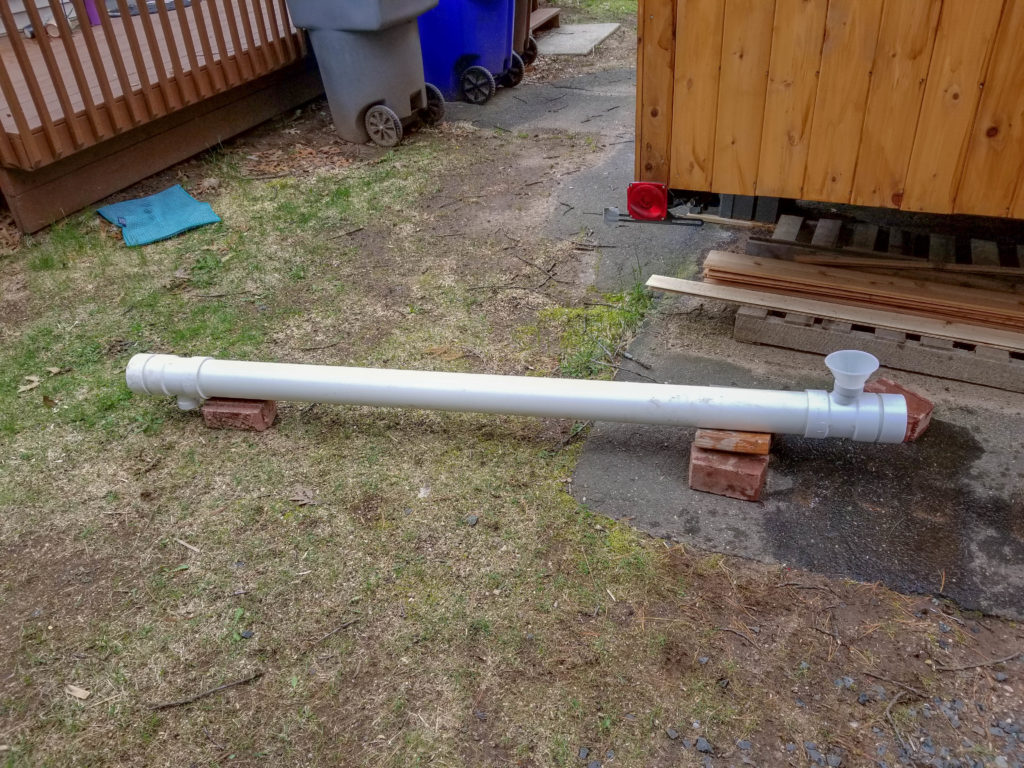
By the way, if you look at the 6th pipe down, and really look closely, maybe you can see a thin red line along the underside, from end-fitting to end-fitting. Most importantly, also ACROSS the coupling. I didn’t make that mistake twice.
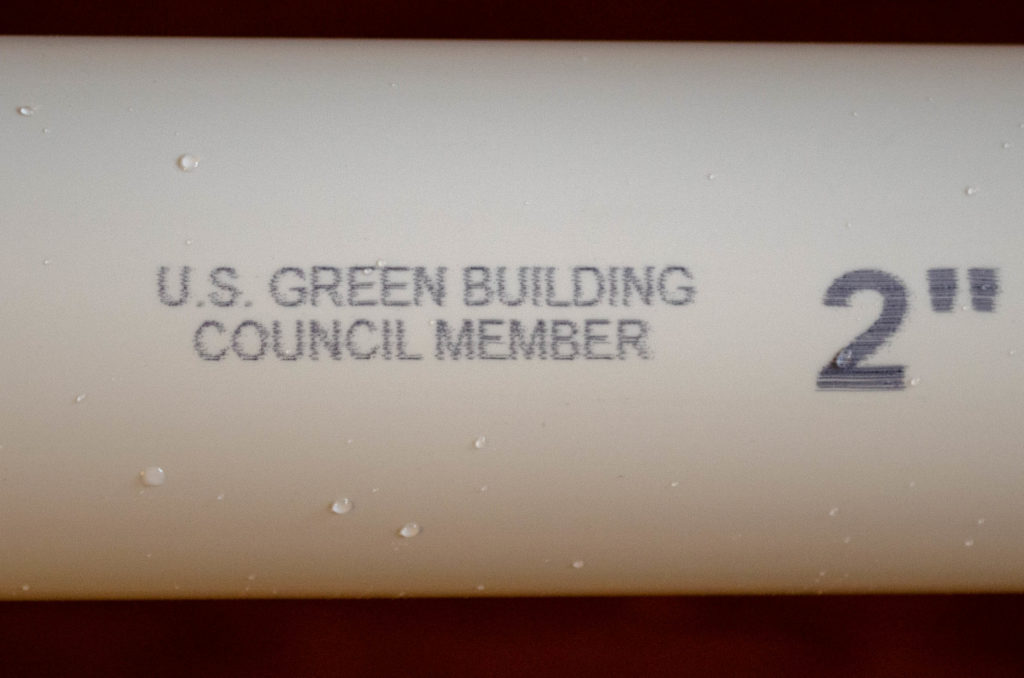
While I was doing the plumbing, I noticed a couple of things that made me laugh. This was one of them.
What’s wrong with this picture?
Answer: this is PLASTIC PIPE. Nothing “green” about that.
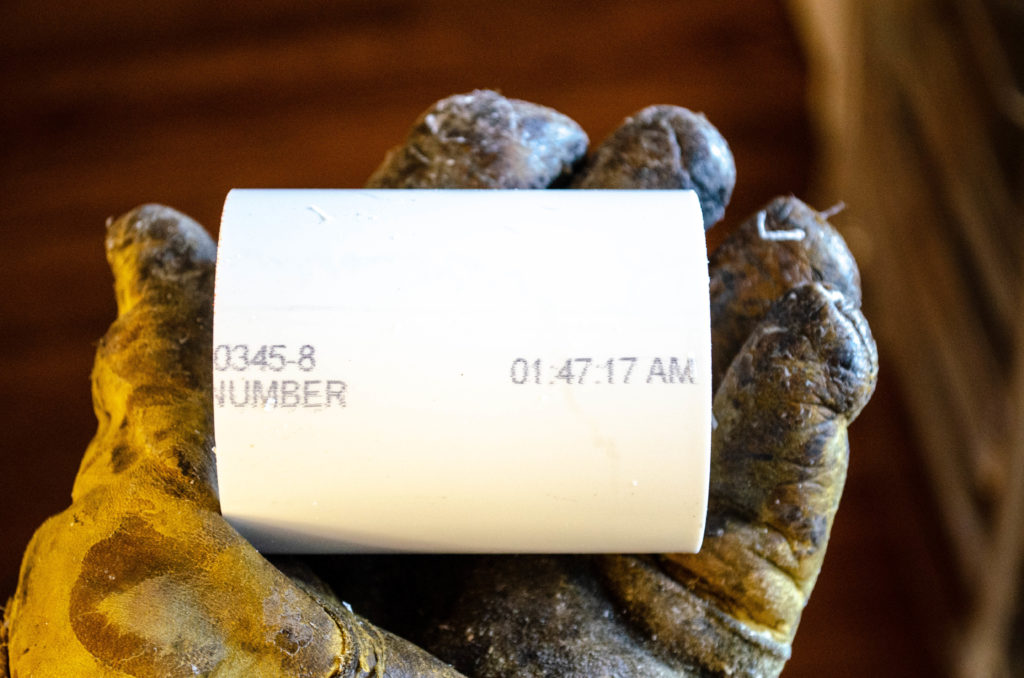
01:47:17AM? Sure. If I can be lying awake thinking about plumbing instead of sleeping, they can be awake making plumbing. It’s only fair…