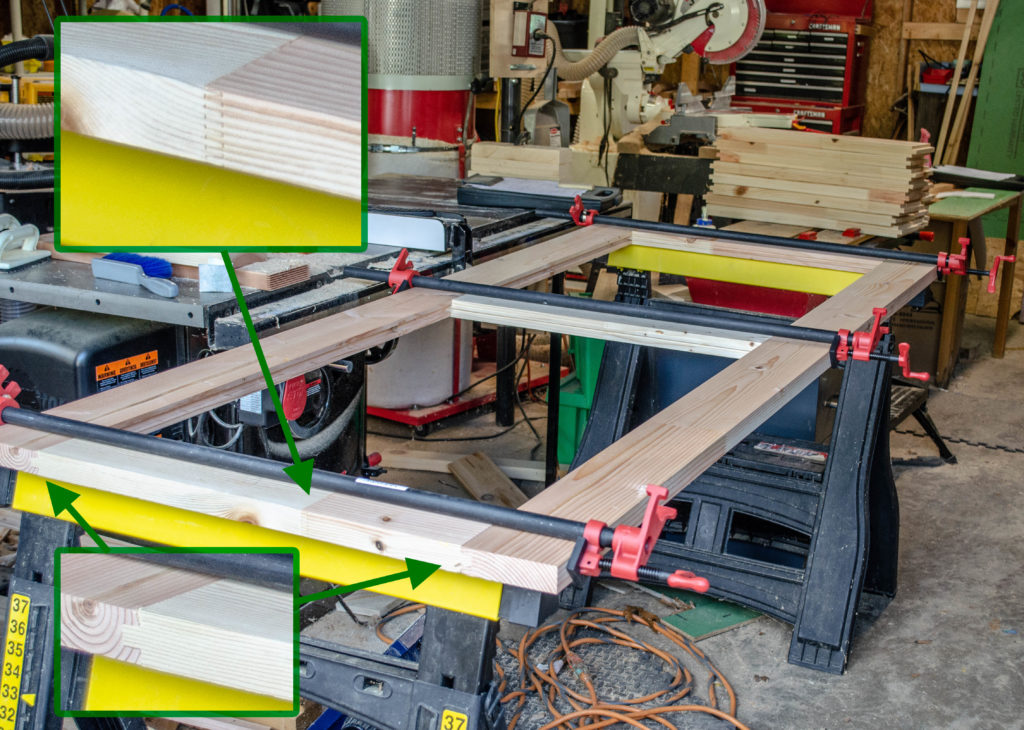
Start with a bunch of 2×6 and 2×4 scraps, not a one of which is longer than about 18″. These are off-cuts from wall studs and floor joists.
Next, use a finger joint (upper inset) and some glue to convert short lumber in to long lumber by piecing them together. Only one joint is indicated here but there are three per long edge and one per short edge of this frame.
Next, fashion a mortise-and-tenon joint (inset, lower) then glue it all together to make what will become a door frame.
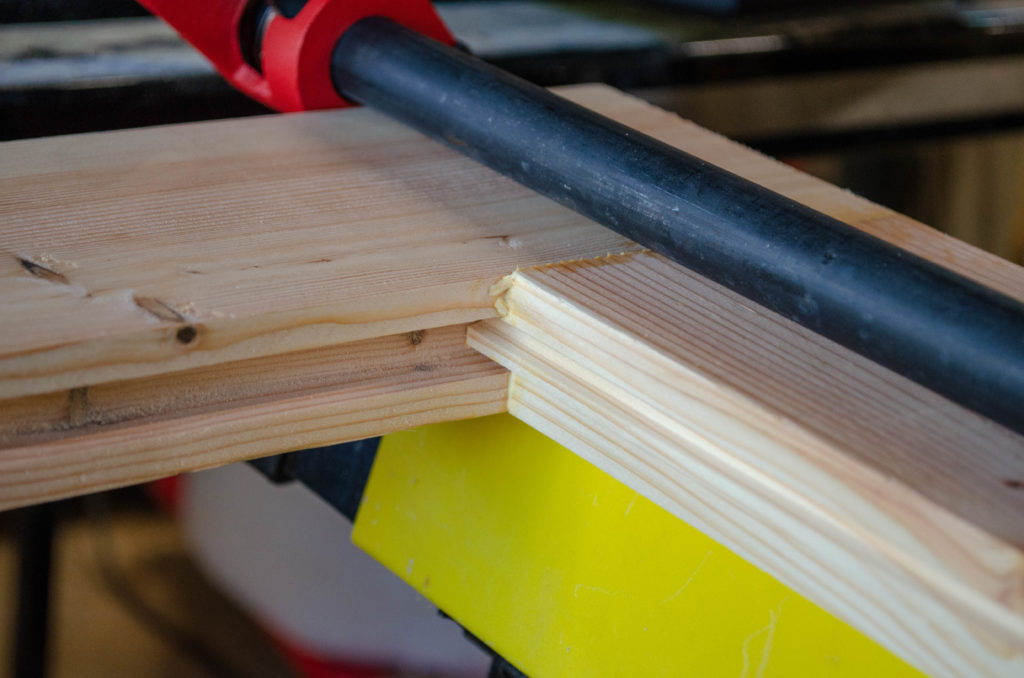
Because all I’m using are 2×4 and 2×6 scraps, the body of the door must be made up of a series of boards. To keep the boards in the door, they each have a tenon that slides into the long slots on the inside of the frame.
To keep individual boards in plane with each other, I routed an interlocking feature, shown here as a rib on the light face at right and more easily seen in the next photo.
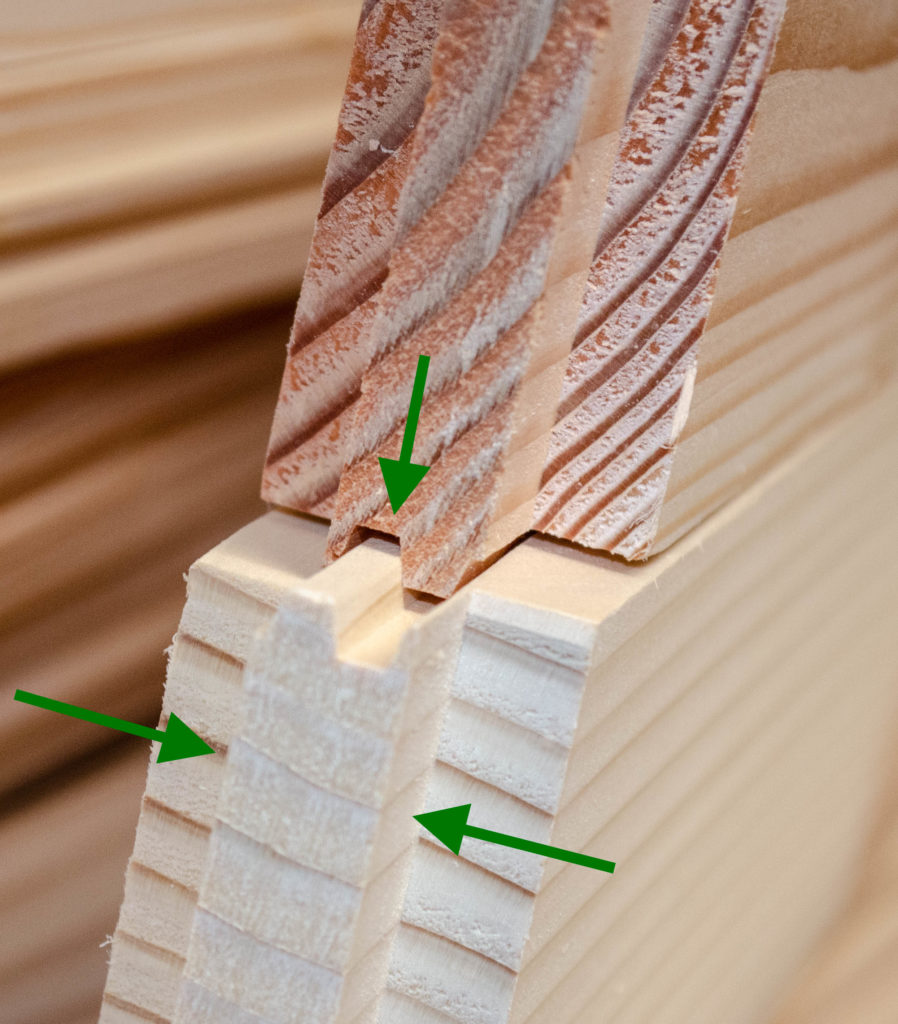
Individual field boards have an interlocking profile routed into them to keep them alinged in plane. It also provides extra surface and strength for gluing.
The ends of each board have a tenon cut which aligns them into the door frame and provides ample surface for glue.
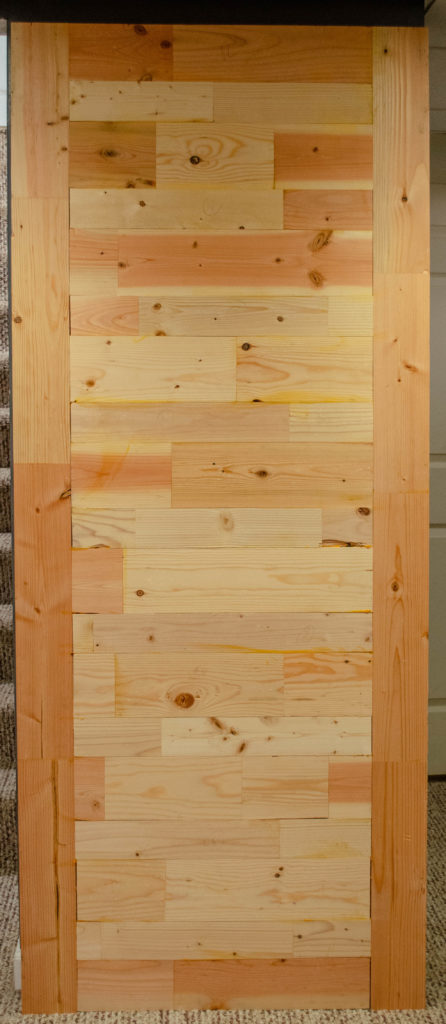
The patchwork door after glue-up (there were many sessions of gluing in a few boards at a time). You can really see the different length and width boards in this image. I rather like the patchwork look here and it pleases me greatly that the whole door was made from what was otherwise “useless” stubs of lumber left over from elsewhere in the project.
Gaps will be filled, glue sanded off, etc, before it is put into service.
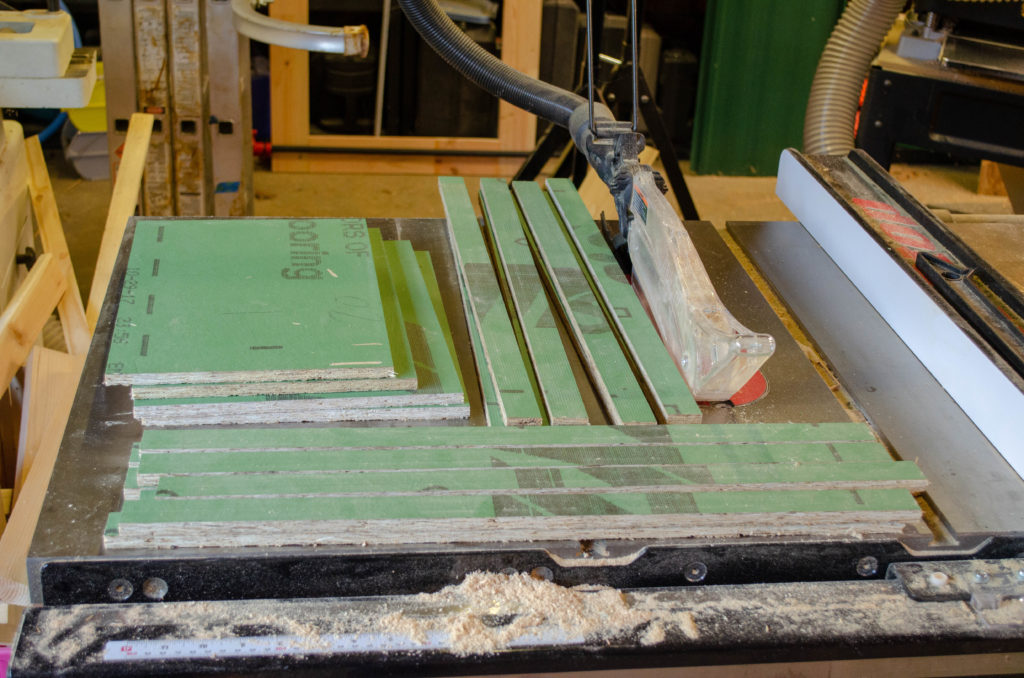
Speaking of scrap lumber – do you know what you get when you cut up the sheathing board into panels and sticks?
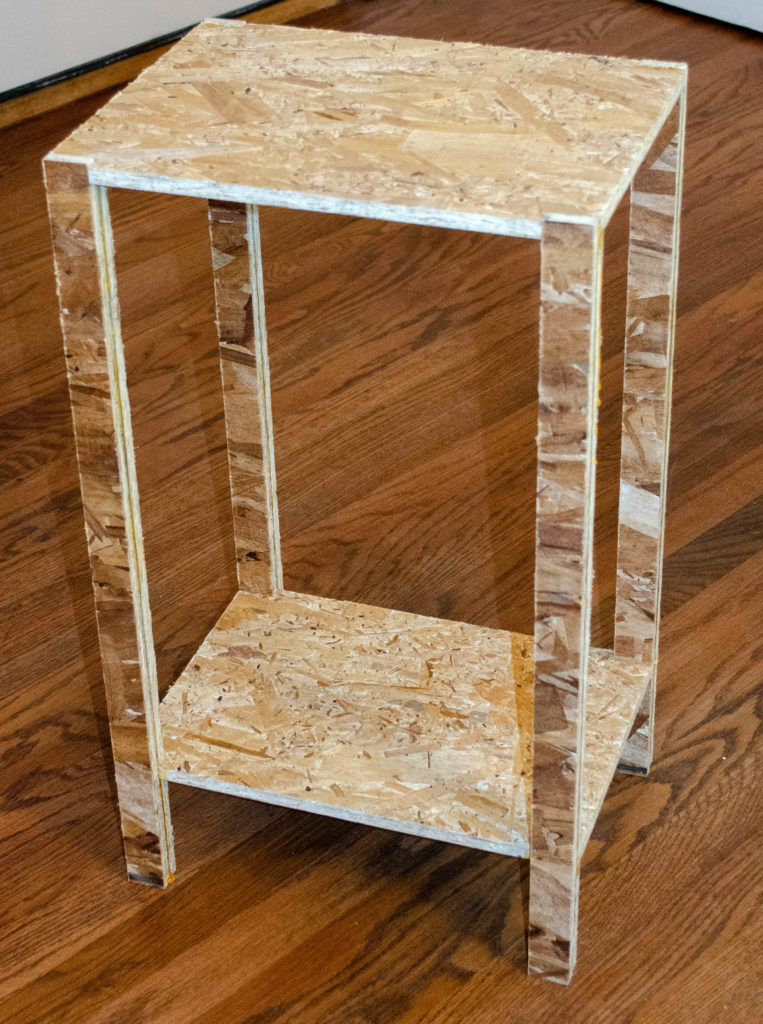
Smaller scraps. But if you then glue those together carefully, you get a perfectly useful little end-table/night stand. It was painted after this photo was taken. The legs are actually two sticks, glued together for strength.
If you are exceptionally astute, you may have noticed there was about 2x the lumber in the prior photo than would be needed to make this table. You’d be right. I made two.
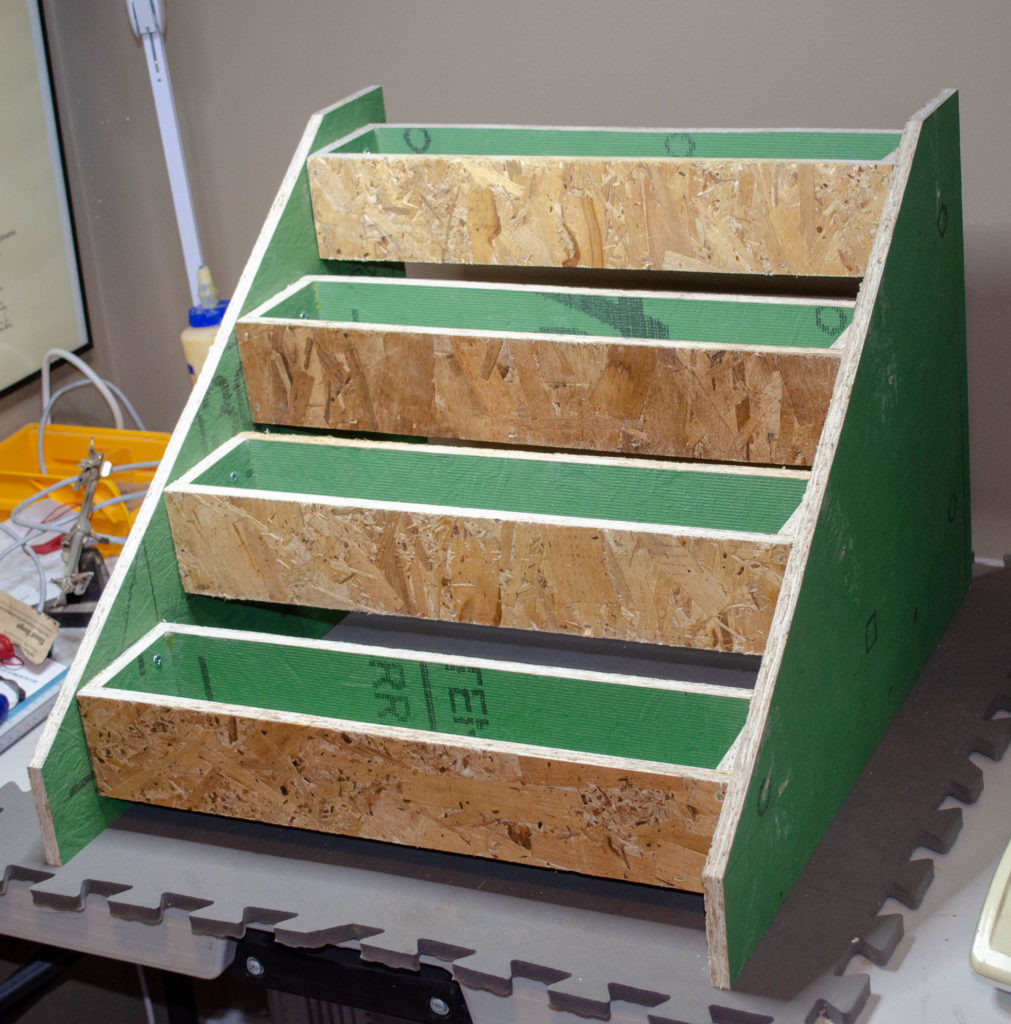
Also in the “let’s make useful things from scrap wood” department, this four-tier indoor herb planter. I don’t know that I’d call it “beautiful” (this, too, was later painted), but it is high functioning and does, indeed, beautifully convert scrap greenboard into something of value. By now you may have guessed I get a certain pleasure out of making useful things out of scraps.
This is true generally, but especially wood. Trees gave their lives for this wood. The least I could do is use as much of it as possible. Sure, wood grows on trees (it grows AS trees, as a matter of fact) but still, energy was spent and forest disrupted to bring me this wood. I should make the most of it.
This planter was later painted with exterior-grade paint to make it moisture-resistant and ready for dirt.
In other news, I wanted to put the whole building up on blocks so the tires didn’t fatigue being loaded in one position for years as I slowly build this thing. Also, I’m told that there are chemical/materials reasons one wants seldomly-actually-used tires off the pavement. So, okay, how do you lift about 6,000 pounds (wild guess) high enough to put it on blocks?
It was not altogether obvious. Some long time ago, I sent an email to the trailer manufacturer to ask about jacking it up. They said (I still do not believe them) that they’d never heard of putting a trailer on blocks before. And anyway, they had no advice for how to jack it safely. I was fully unimpressed.
I did realize on my own that had a couple of distinct problems to solve. 1. What can lift it? 2. How to keep the jack from slipping off the chassis as the house tilts during lifting? 3. How to do this such that there’s not too sharp an angle at any time, given that the total lift desired was about a foot.
Answers:
1. A 12-ton-rated bottle jack, readily available online for surprisingly little money, was totally able to do this job.
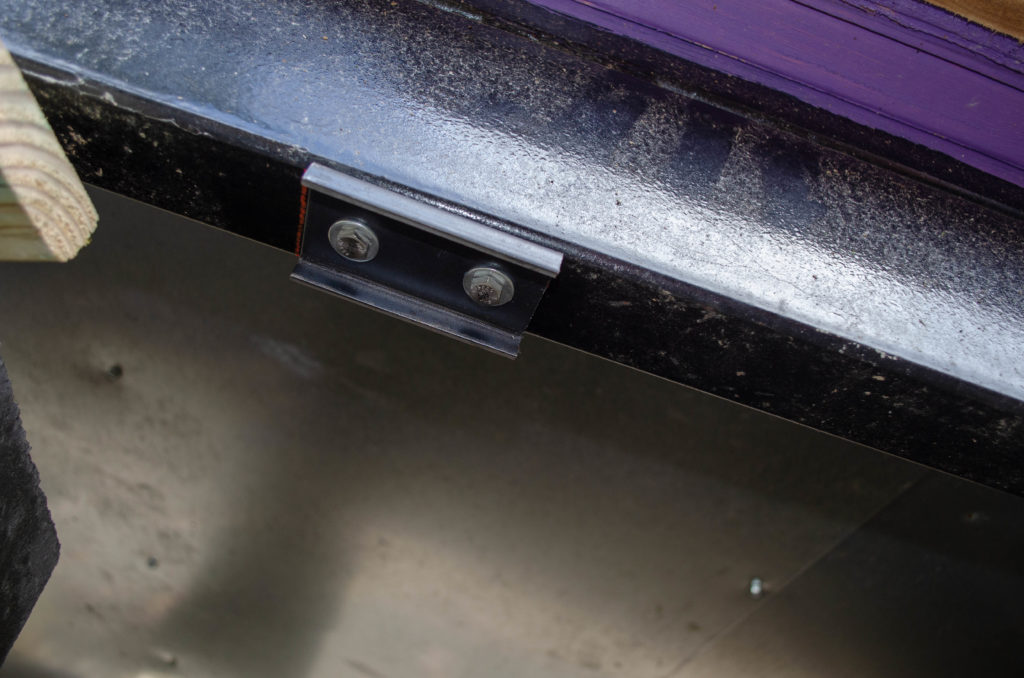
2. I needed some kind of jack points to receive the head of the jack piston and keep it from sliding off. In collaboration with a friend, these jack points were designed (shown above). It’s a short run of steel c-channel, simply bolted to the chassis (I drilled & tapped the holes). The sides of the c-channel capture the head of the jack on one axis and the bolt heads themselves capture it on the other axis. Presto: a secure landing spot for the jack that keeps it from slipping out when at shallow angles.
3. To avoid severe angles, jack up each corner a little bit, shim it in place, then proceed to the next corner. Repeat. Repeat. Repeat until high enough (wheels in air) and level.
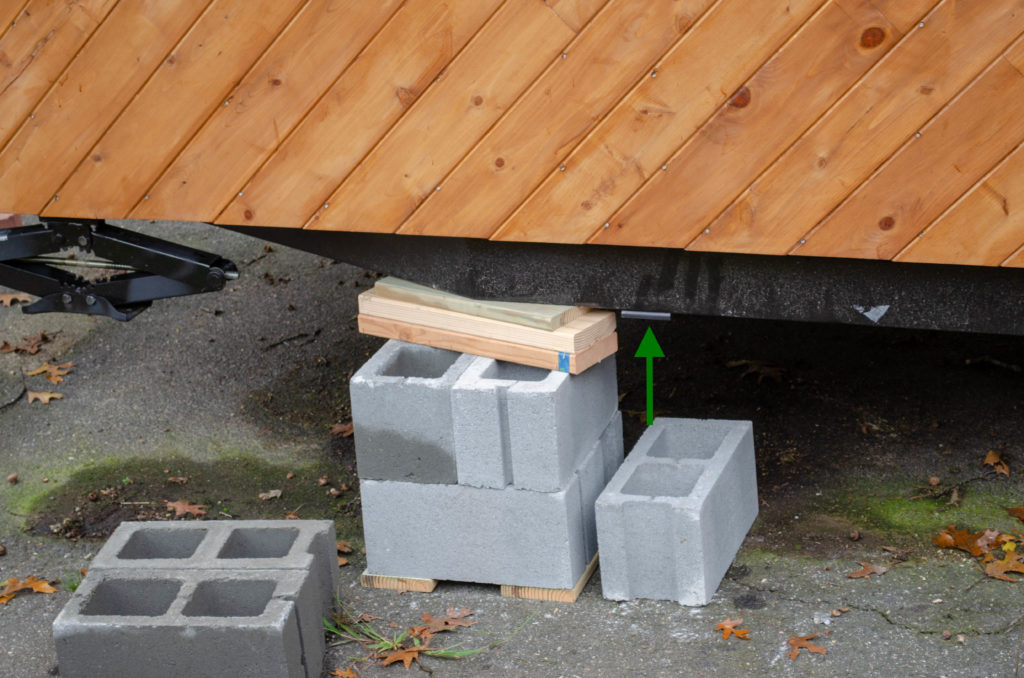
This is what a jacked edge looks like. Concrete blocks bear the weight. Scraps of 2×6 and other boards shim the fractional distance. The lone block with the green arrow was used to accommodate the shortness of the jack itself, which could perform a lift of about 6″. To reach the final height, the jack itself needed to be raised off the ground a bit after the initial lift was done. A few boards (not shown) on top of the lone block provided the right footing and a height boost so the jack could finish the job.
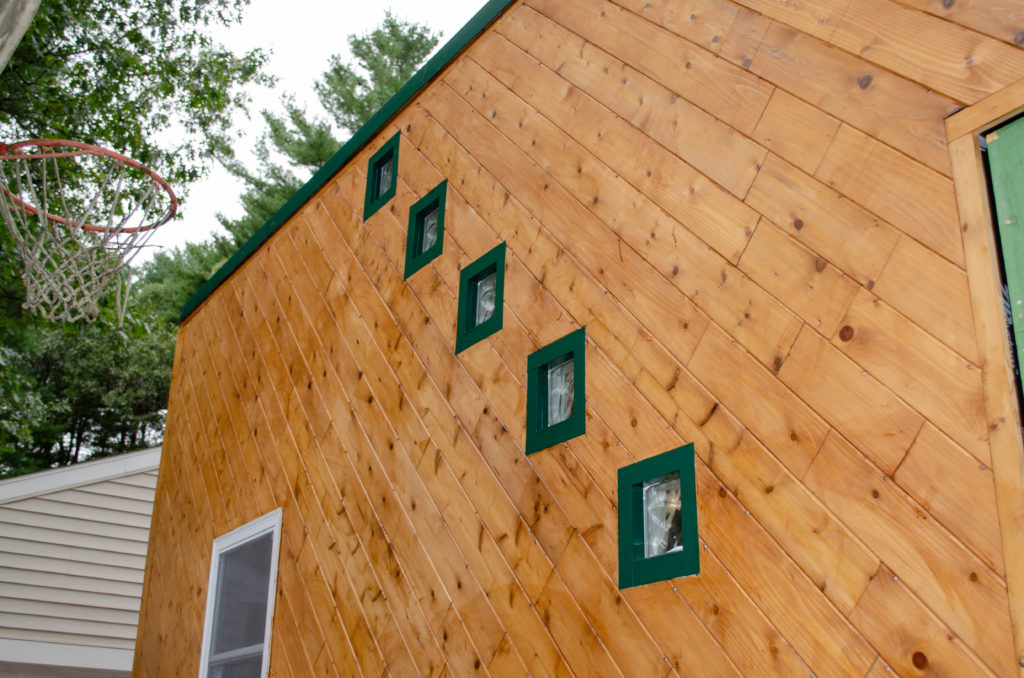
Looks like I forgot to post the final pics of the light ports, too. Here they are, color-matched to the roof and everything 😀.
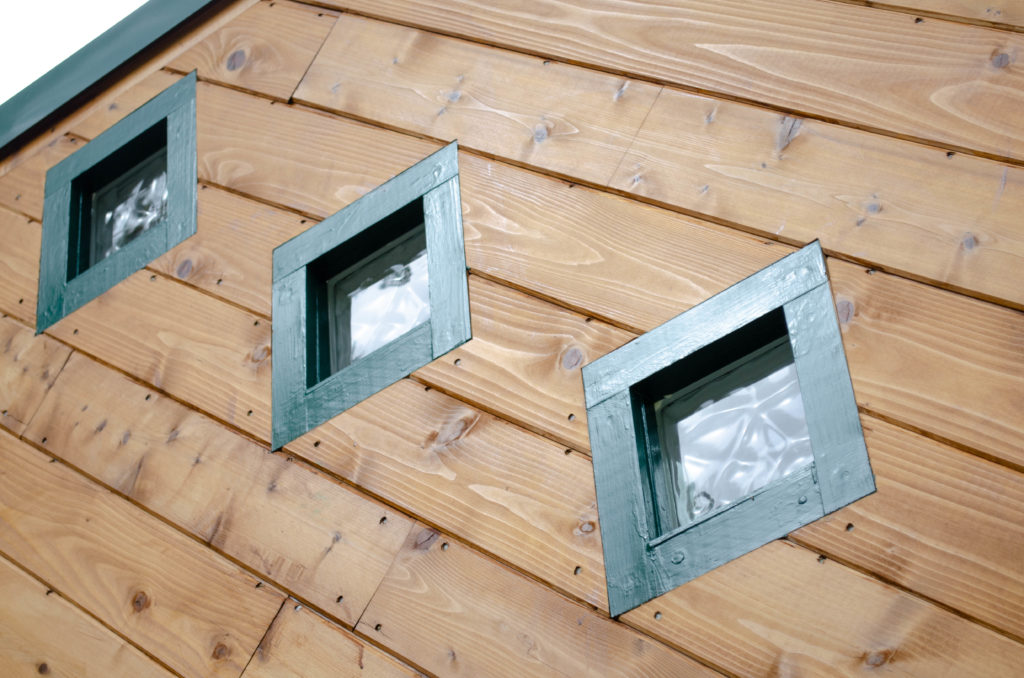
A few of them close-up.