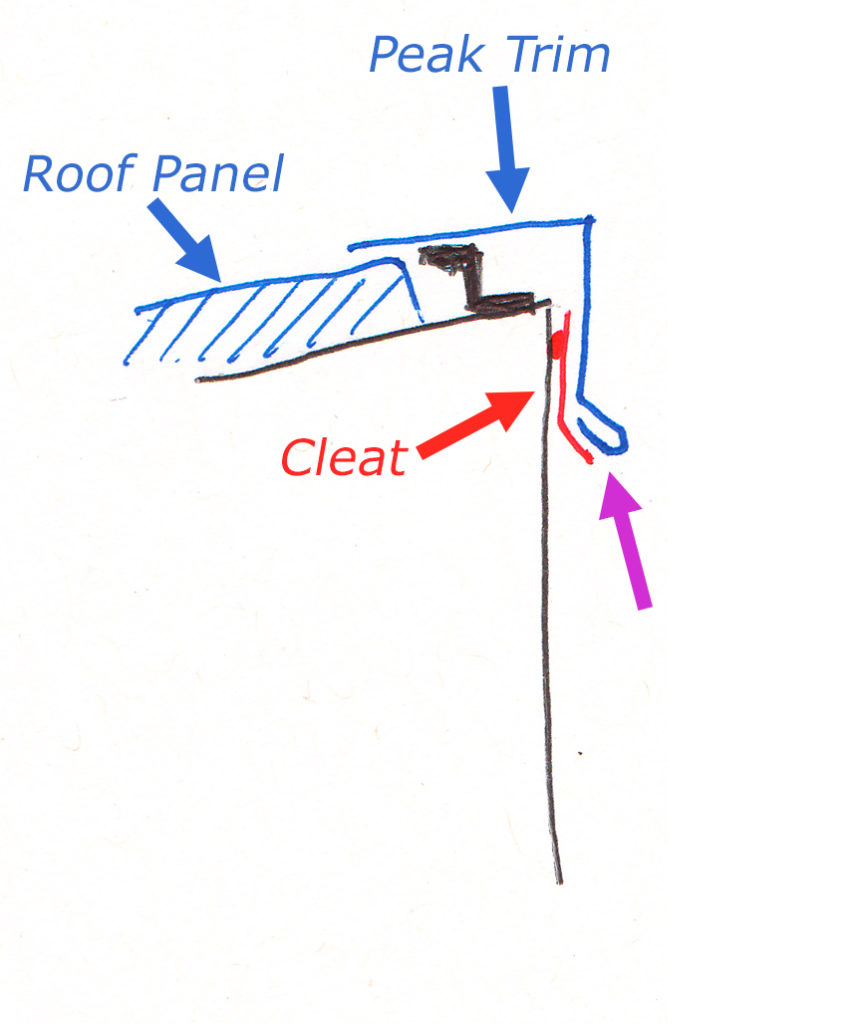
After installing the roof peak trim, I noticed from the ground that a section of the bottom drip edge/hem which is supposed to wrap around the cleat was actually flapping freely (purple arrow). This is a problem. The cleat is what keeps the end of the trim in place when there’s a bunch of wind, such as when it’s windy also when driving down the highway. Lastly, it keeps critters out. Well, shit… the rest of the peak trim is screwed/riveted in place and not going anywhere. How to get that hem around the bottom of the cleat? I tried to finesse it by hand but no bueno. Also, this whole scene is 13 ft 6″ above the ground, either at the top of a ladder or upside down and over the edge of the roof. Neither approach is especially convenient nor comfortable. What to do?
Ultimately, I realized what I had to do was un-hem the hem, then simply bend it around the cleat and squeeze it closed again. I had the closure tool but how to OPEN it in the first place, in close quarters, without very much access at all?
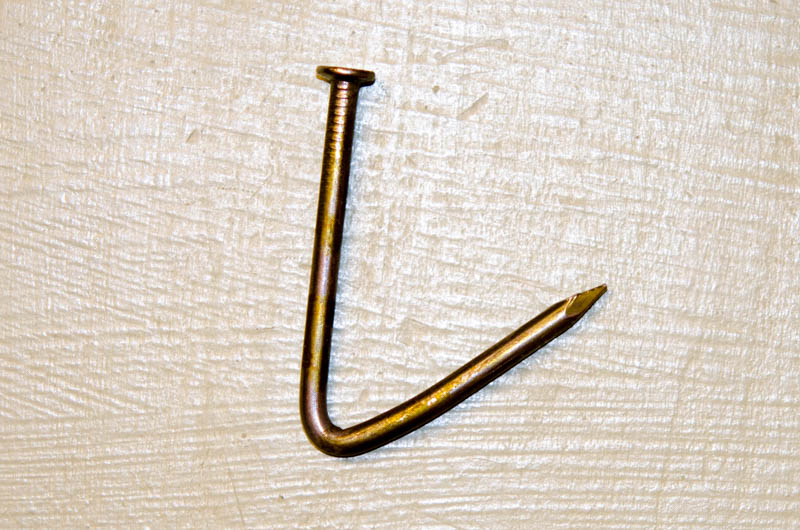
I tried a few tools but nothing I had came anywhere near getting the job done. Then I realized I could fashion a tool to do it. Guess what I used?

This! It’s an ordinary nail, bent sharply. The head of the nail could get purchase on the open edge of the trim hem if I pushed it into the opening right at the tip of the purple arrow in the previous drawing. Once it was in position, I could use the hook shape of the bent shank to get a solid grip and just pull down on the nail, pulling open the hem, bending it. I worked this back and forth along the length of the offending trim. PRESTO! Hem unfolded! From there, it was a short matter to re-wrap it around the cleat and squeeze it shut, tight to the cleat, with the duck-bill hem-closing tool. Fixed!
Never underestimate the utility of a simple nail… and if you need a tool you don’t have: make it.