What do you do when you’ve pre-built a frame and made it very secure and sturdy and you realize it is exactly one inch too wide? You realize that you’d actually have to destroy some of the lumber to get it apart and thus, you set it aside as a potential source of smaller (and with nail holes) lumber in case you run out of clean lumber. And you measure 3x next time. More importantly, you measure ALL the things, not just most of the things.
So, okay, properly-sized loft end wall is pre-built and ready to install.

This is where that prefab wall section goes. The first level is 7ft high and the main deck is 2 ft from ground level. Now, how am I gonna get that thing up there safely?
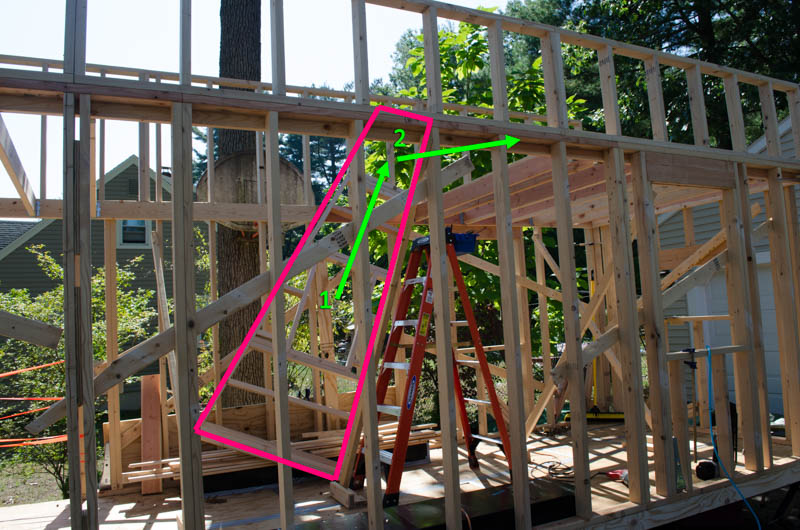
The sanest thing I could think of for getting this prefab wall in place was to just shove it up onto the loft. Conveniently, once it’s about half way up there (the approximate limit of my reach while standing on the main deck), it will tip of its own weight and come to rest on the loft deck.
The prefab wall section having just pivoted itself upright, now that more than half its weight is on the far side of the pivot point. A sheet of plywood was previously shoved up there temporarily (at right) to serve as a makeshift floor, allowing the builder considerably surer footing while moving the wall section around.
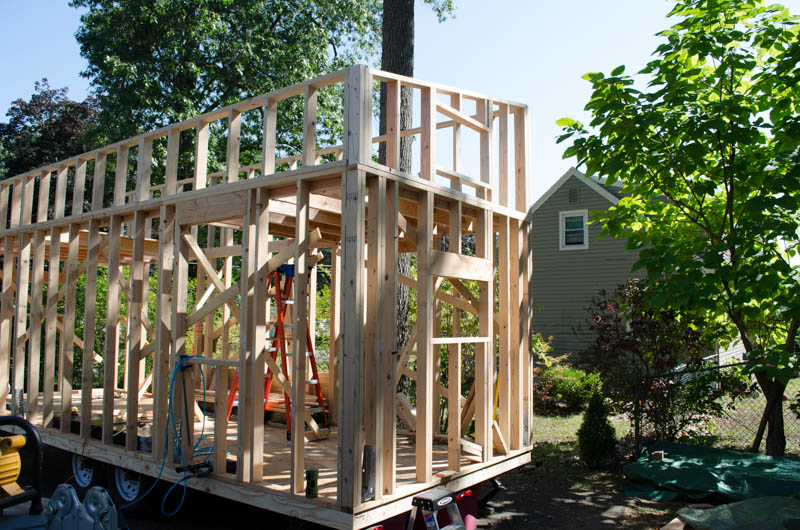
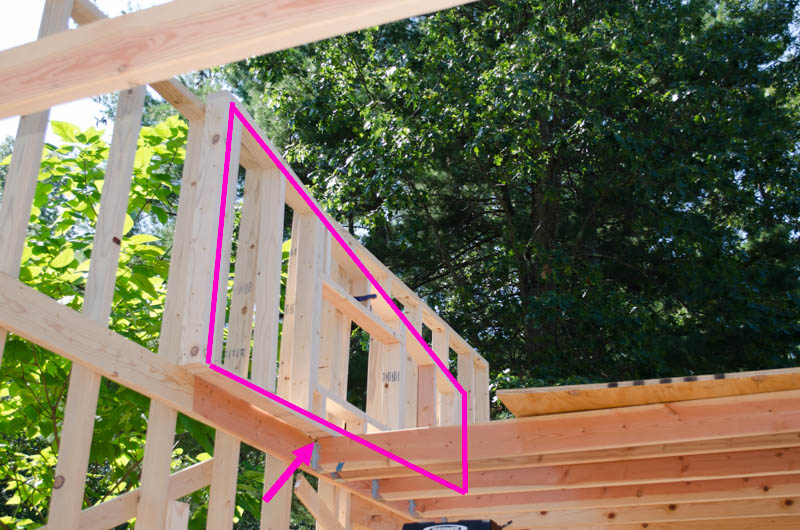
Upper end wall in place.
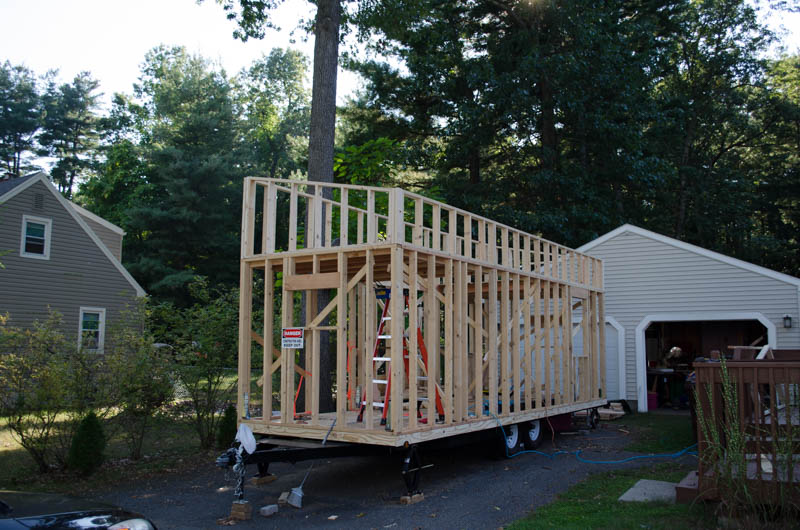
Same thing for the front. Now all the wall framing is done!

This leaf was delivered to my Zip Wall pile when I wasn’t looking. I’m pretty sure it’s from an Eastern Redbud tree, which tend to have heart shaped leaves, though this is a bit more elongated than the ones I have seen elsewhere.

And this little cricket paid me a visit at my sawing station. Hi!
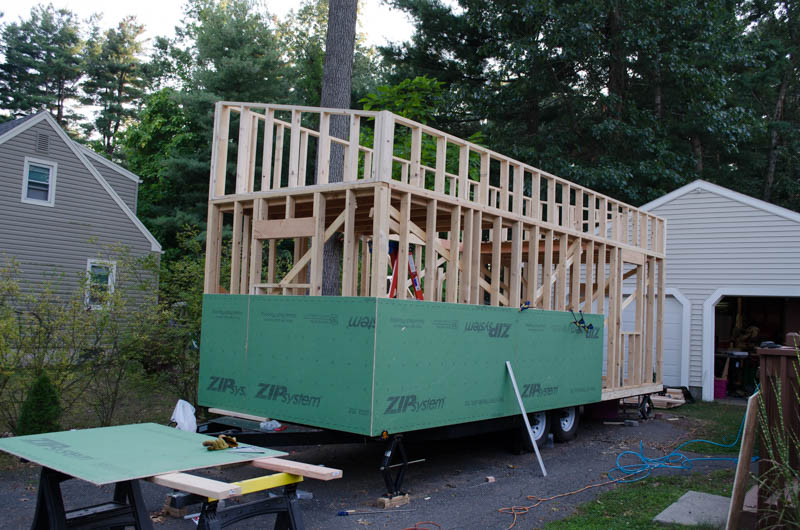
Next step is to install the sheathing. By the time the workday was over, I had the first course installed all around except for two sheets at the end (which would be opposite the ones to the right of this scene, where the metal straight-edge is leaning). I’ll finish those up tomorrow and do some rigging in hopes of keeping this week’s rain water off the main deck. The deck has taken more than its fair share and is showing some early signs of distress. I am eager to get the sheathing up and the roof deck in place.

I intend to install the rim joist and the roof rafters on Saturday Sep 23, 2017. A helper would be nice but is not required for that. Sunday the 24th, however, is when the roof deck gets installed. I will DEFINITELY need a second pair of strong hands attached to a person who is not afraid of heights. I’m thinking this would only take a few hours — it’s not an all-day affair, I think. Morning preferred.