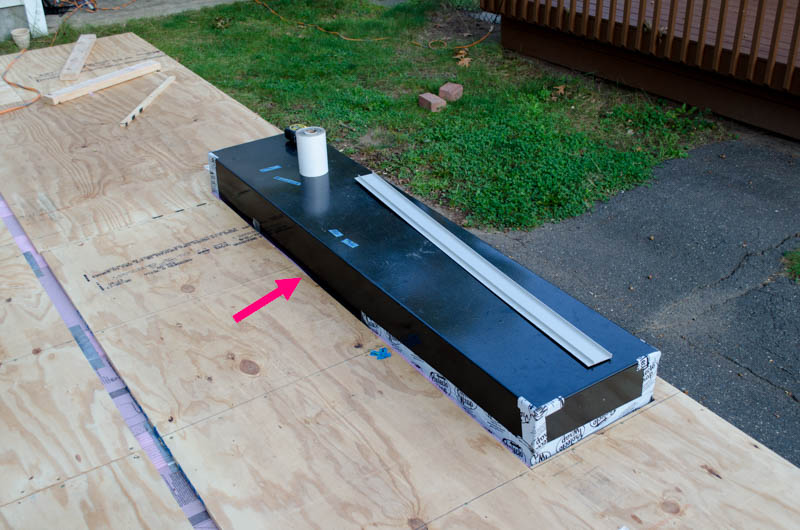
The next few photos will seem a little out of sequence with the story line simply because I got ahead of myself while I had a backlog of pictures.
Shown here, the deck nearly done when I notice there is some ProtectoWrap missing from around one of the wheel covers. This is very inconvenient, as the ProtectoWrap sticks to the side of the black metal and goes UNDER the plywood. But the plywood is already very much in place and screwed down in about ten thousand places. What to do?
There is only one answer.
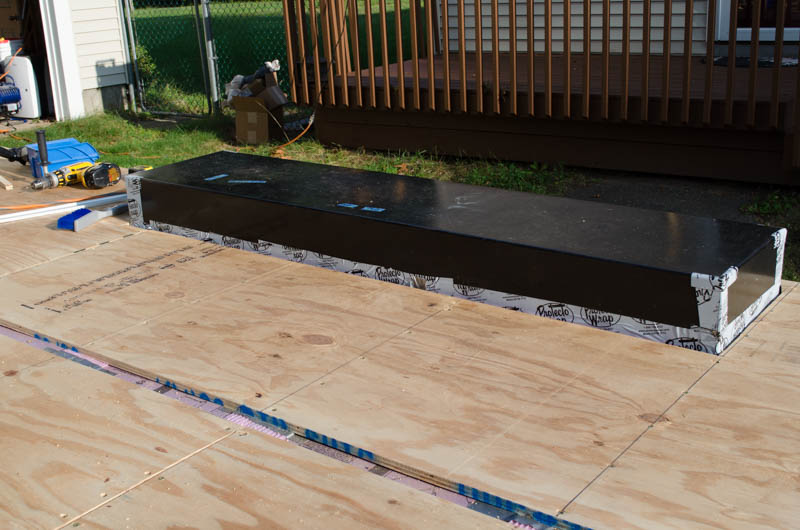
Take up the plywood, install the ProtectoWrap like it should have been, re-install the plywood, and hope you don’t strip out the screw holes.
Indeed, it went well and I’m glad I did it, though not glad to have sunk the time.
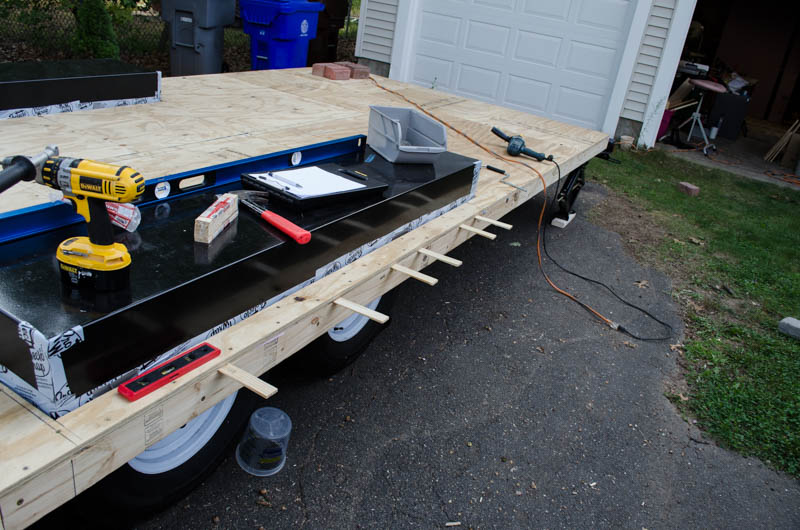
Before framing begins, it’s time to make sure the trailer is totally level and the deck is nice and flat.
Well, it turns out the edges by the wheel covers were not flat. Despite my best efforts in assembly (and they were some really good efforts, I tell you), the squishyness of the sill seal foam and maybe other factors contributed to there being some pitch to the course of plywood along the wheel covers. This would tip out the wall section there — no good — or the wall would sit on just an edge rather than a flat surface — also no good. Very well, that’s why there are shims. And now, that’s why there are shims… here.
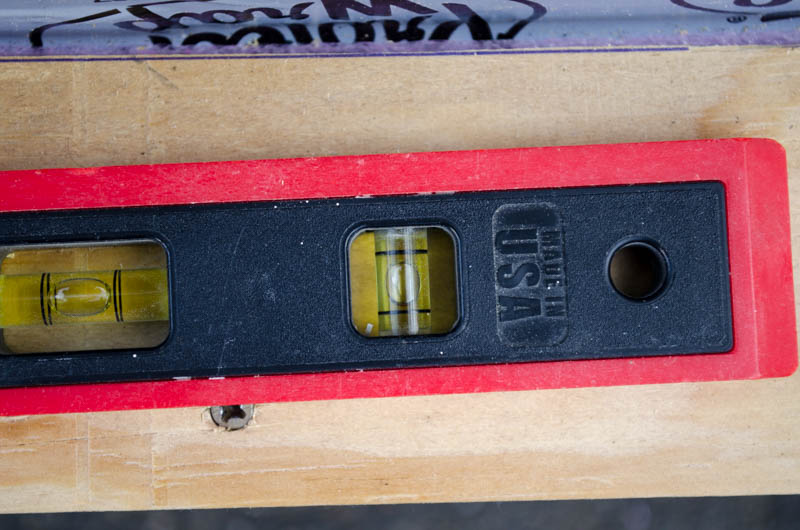
The treated sections of deck are now totally flat. In fact, it’s “dead-on-bawlz accurit”.
Fun fact! As the project moved along, it did not stay level! How could this be, you ask? Well, it’s parked on an asphalt driveway. As the project got heavier, it actually deformed the driveway a little, sinking in… unevenly. There were times I noticed this and times I did not! Some things in the house are bubble-level but not actually parallel/perpendicular to other things because the house actually shifted. It turns out that it is really quite challenging to perform fine level adjustments on something this big and heavy. Those corner jacks are pretty good at fine adjustment, yes, but they’re not intended for long-term weight bearing and they can get wobbly, so they’re not actually a great choice for pitch and roll control. — DBS 2019-10-12.
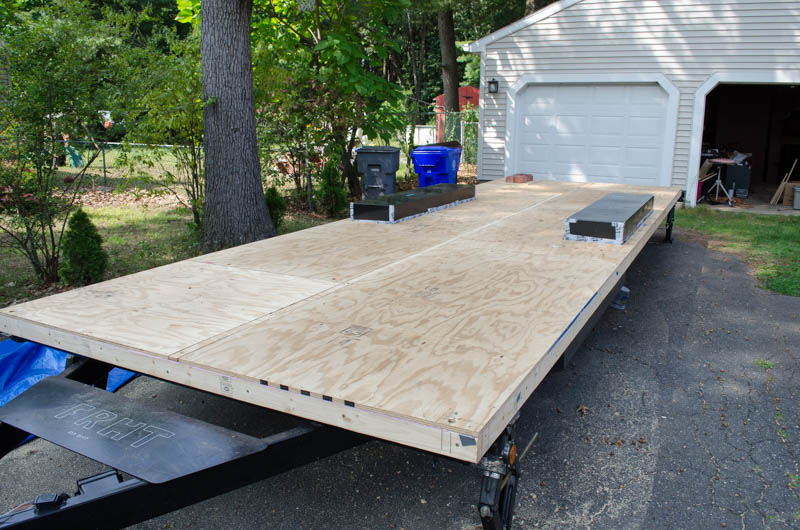
The deck, level, flat, square as I can make it. Ready. Between this picture and the next, the story fast-forwards a bit. All the seams were taped to prevent water infiltration. Layout lines were carefully scribed for positioning the walls. A sizeable pile of lumber was purchased (which you have already seen).
The entire day of Saturday September 2, 2017 was spent measuring, laying out walls, shopping for windows, re-designing things when logistical conflicts arose, etc. I had been hoping to pre-fabricate the wall sections that day, but it didn’t happen that way.
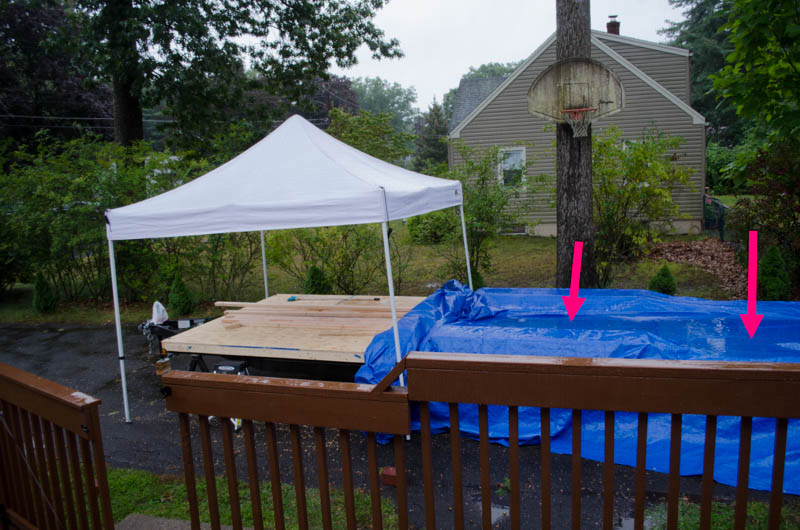
Sunday, September 3, 2017. This is my back-up pre-fab day. Helpers are coming on Monday to assist with wall-raising. The walls need to be ready.
But it’s raining. A lot. Like a lot a lot. Note the pooling (arrows). I still need to build stuff today, rain or no rain. Then I had a fine idea: pull out my 10×10 canopy and build under it. That seems straight-forward enough, but of course there’s less than a foot of overhang on each side, so it’s not like I’m going to stay dry as I stand at the edges and work, though at least I can keep the project from getting soaked (it will get damp).
Of course, erecting a 10×10 canopy is best done with four people. It can be done with 2 people and a little finesse. Doing it with just one person? A big bother composed of twenty incremental steps, buzzing around from leg to leg to leg to leg, moving each one 4~6 inches, trying not to bend it so far that it doesn’t bend back. Needless to say, everything took a lot longer to do today than it would have had the weather been clear.
My poncho got lots of use today. And it turns out my waterproof sturdy shoes aren’t as waterproof as they once were. Or maybe the rain came in from around the opening for the foot (having been delivered there by the poncho…). Cold, wet feet. No fun. Still, gotta get it done.
The word for today is Perseverance.
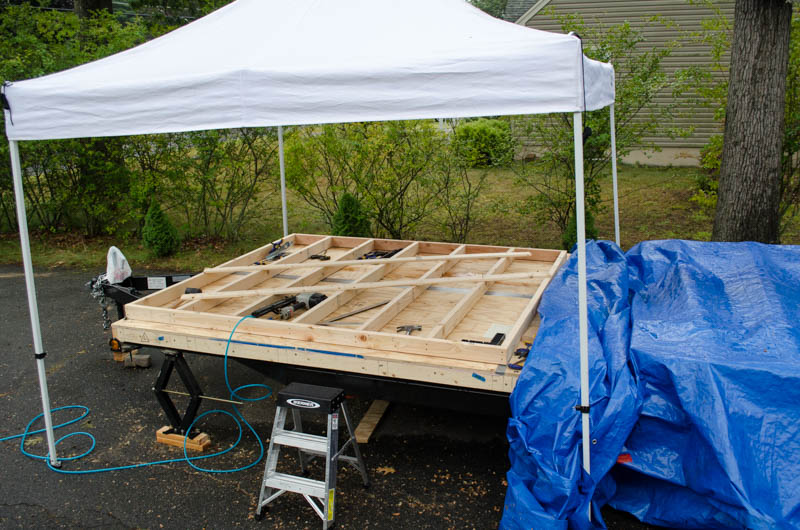
First wall section done. Racked it until it was square, then braced (diagonals) it to stay that way.
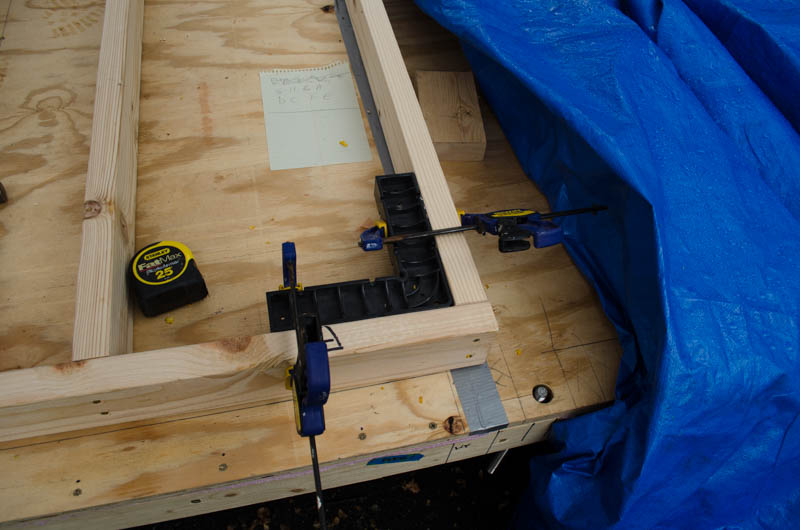
Pretty much every aspect of construction is easier to do when there are helpers. Today, I had a lot of work to do and zero helpers. Well, I did have helpers – I had square jigs and clamps. They did not simply follow me along as I worked, though, like a human helper might. These I had to place and move, place and move, place and move. It adds up. So does all the carrying of lumber. And the measuring. And cutting. And double-checking.
And sometimes, as a result of double-checking, you realize that you changed the window size on the plan but not on the layout (marks on the wood which show where stuff should go). Oops. Undo. Undo. Undo. Adjust. Tweak. Rebuild. Lather, rinse, repeat
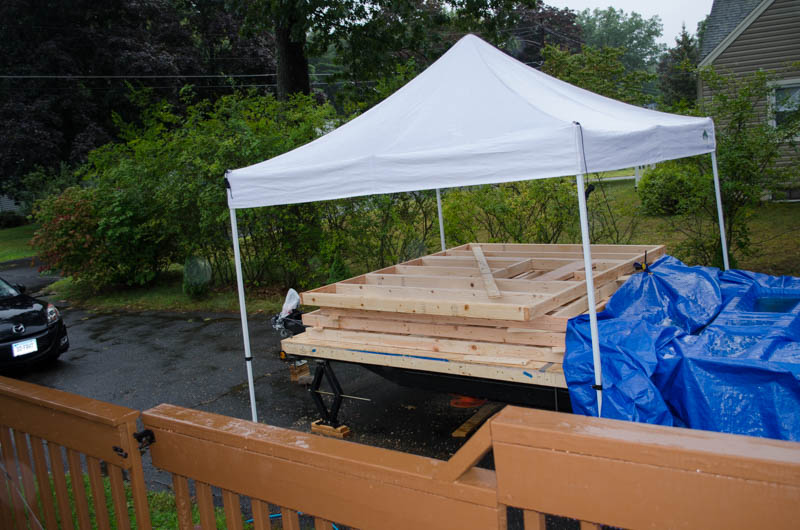
First stack of wall sections DONE! There will be a second stack on the other side of the trailer, too. If I did this right, they will just “unfold” from this position. The top one goes on the end (head of trailer, toward car). The next one stands up to the right of the trailer (toward background of scene). Next stands up toward foreground. And the last one requires a little bit of wrangling because it goes in the mid section (covered by tarp in this picture). However, with three walls standing and braced to each other, there should be adequate support for the fourth one.
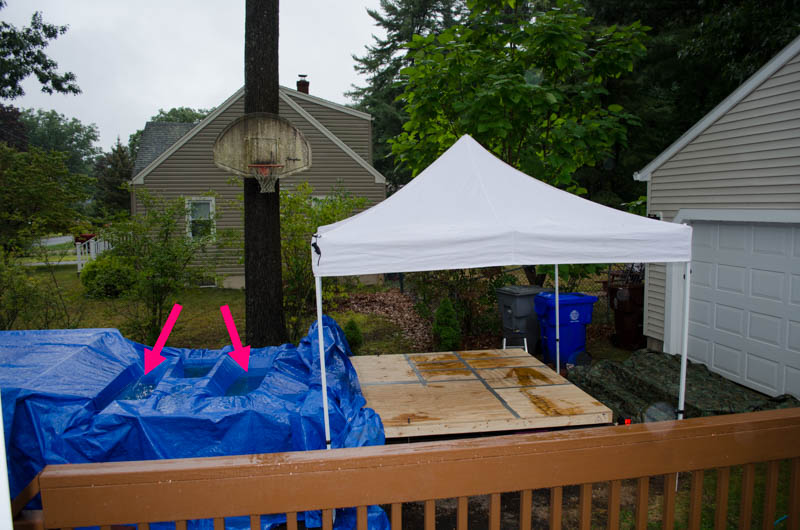
Okay, so the first stack is done. Good! Time to start the second stack. Step 1 – perform portage on the canopy. It’s still raining. A lot. Moving the canopy, like setting it up, is easiest to do with four people. Or even two. Just one? It can be done if the area is clear and the one person is tall (standing in the middle, under the canopy, holding the whole thing above their head). But when the canopy is low over a slippery deck, covered in pools of water (arrows) and a tarp, not so much with the Atlas impersonation. So it’s leg to leg to leg to leg, moving each one a few inches. Sound familiar? Why did it take me 13 hours to get 6.8 wall sections done? This kind of nonsense is part of the reason. Double-checking, making corrections, that’s another part. So is noticing the chop saw blade is laboring and thus it’s time to go buy a new blade. It all takes time.
I did realize, about 6pm, that my estimate of lumber was probably just a tiny bit shy. The project is big enough that it was impractical to actually do a cut plan where every single piece is accounted for, thus revealing the exact number and kind of lumber required. I did a best guesstimate which came to 72 studs and a handful of other stuff. Looking at the last two wall plans, it looked like I was going to be short by one or two… and if I make a cutting error, more. Better get some more wood before Home Depot closes. Sure, I can spare 30 ~ 45 minutes. No, actually, I can’t, but running out of wood when the store is closed is worse.
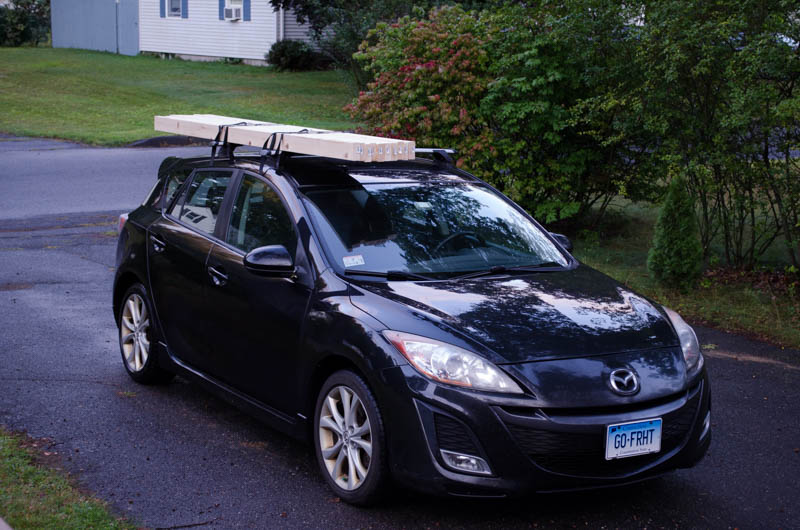
For small loads, I don’t bother renting the truck. You’d be amazed at what you can fit on the roof of a sporty little car if you’re motivated. Ten studs? No problem 😀
By the end of the day, I got 6 wall sections totally done (including revisions). #7 is nearly done – I have about 15 minutes to go on that one, but quiet hours arrived before I could finish it. Wall #8 remains to be built, though it is laid out. I should double-check it… somebody might have tweaked the window size without updating the layout marks 🙃
So, 90 minutes in the morning to finish the wall sections, then they’ll be ready to raise! Woot!
The stacking idea seemed like a good idea at the time, and it seems like one now, too, but it turns out that at the foot of the trailer, some of the wall sections are actually a little too big to fit neatly in the stack while allowing enough room for the first section (tail end) to be placed. I’ll need to build a temporary ledge hanging off the tail of the trailer to support that rear wall while the ones around it are raised. There’s just not quite enough room for them to lay flat with the tail wall in place, given other obstacles. Feh. Ah, well. Understand. Adapt. Keep going.